Home>Gardening & Outdoor>Landscaping Ideas>How To Lay Fake Grass On Concrete

Landscaping Ideas
How To Lay Fake Grass On Concrete
Modified: March 2, 2024
Learn how to transform your concrete space with our landscaping ideas. Discover the best techniques for laying fake grass on concrete. Create a beautiful outdoor area today!
(Many of the links in this article redirect to a specific reviewed product. Your purchase of these products through affiliate links helps to generate commission for Storables.com, at no extra cost. Learn more)
Introduction
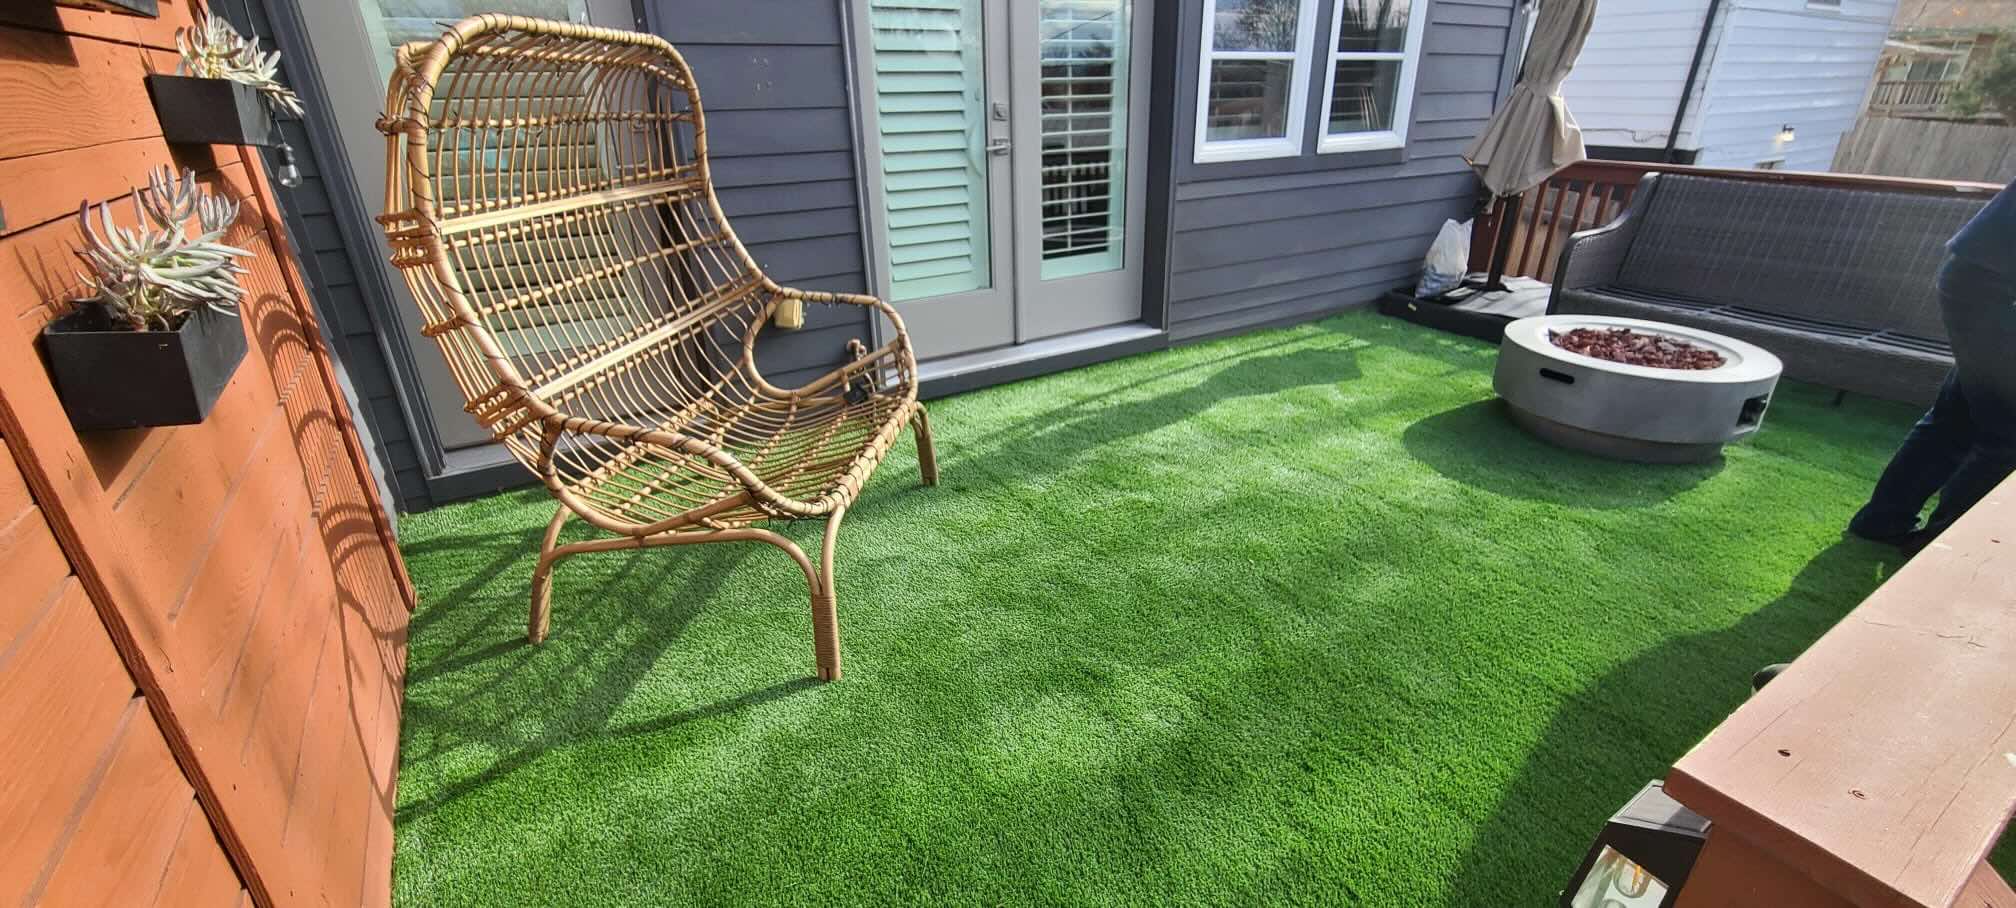
So, you have a concrete area that could use a vibrant touch of green, but you're not sure how to make it happen? Well, fear not! With the advancements in landscaping materials, you can transform that dull concrete space into a lush and inviting area with artificial grass. Whether it's a balcony, terrace, or patio, laying fake grass on concrete is a fantastic way to add a natural aesthetic without the maintenance that comes with real grass.
Artificial grass, also known as synthetic turf, offers a low-maintenance, visually appealing alternative to natural grass. It's durable, versatile, and can withstand various weather conditions, making it an ideal choice for enhancing concrete surfaces. By following a few simple steps, you can create a beautiful, green oasis right on top of your existing concrete.
In this guide, we will walk you through the process of laying fake grass on concrete, from preparing the surface to securing the edges and adding infill. Whether you're a seasoned DIY enthusiast or just starting to dabble in home improvement projects, this step-by-step guide will equip you with the knowledge and confidence to transform your concrete space into a stunning, artificial grass paradise.
So, grab your tools and let's dive into the wonderful world of artificial grass installation on concrete!
Key Takeaways:
- Transform your concrete space into a lush oasis by following simple steps to lay fake grass. Enjoy low-maintenance greenery without the hassle of traditional lawn care.
- Create a vibrant and inviting outdoor area by preparing the concrete surface, installing a supportive base, and laying artificial grass with care. Enjoy the beauty and durability of synthetic turf.
Read more: How To Lay Fake Grass Down
Step 1: Prepare the Concrete Surface
Before you begin the installation process, it's crucial to prepare the concrete surface to ensure optimal results and long-lasting performance of your artificial grass. Here are the essential steps to prepare the concrete:
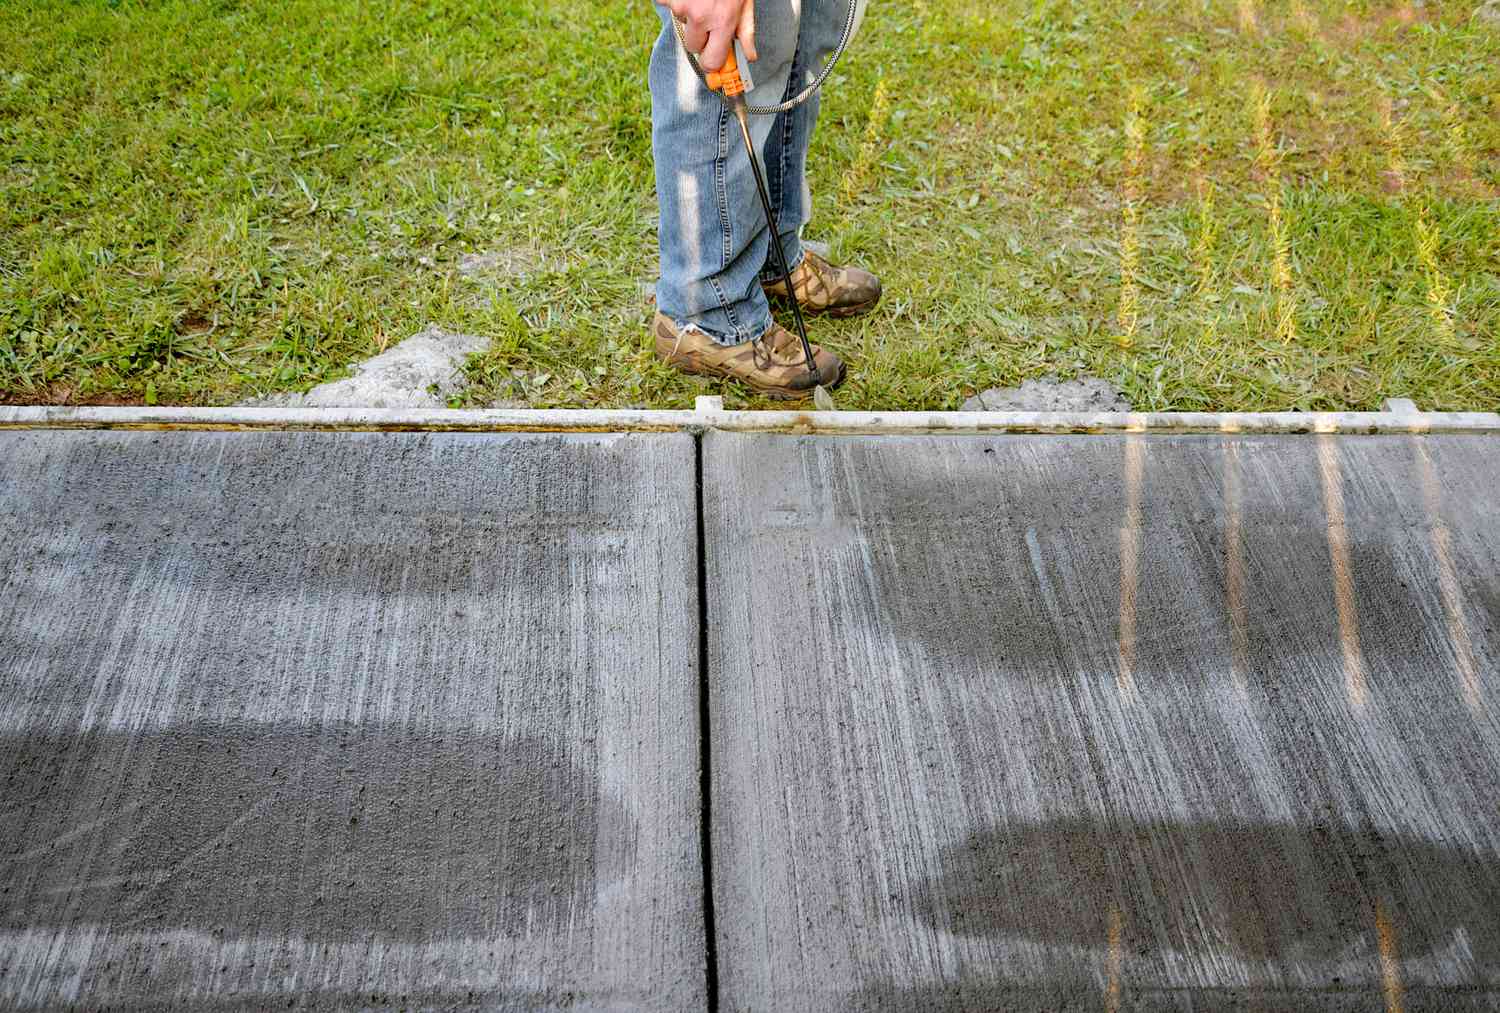
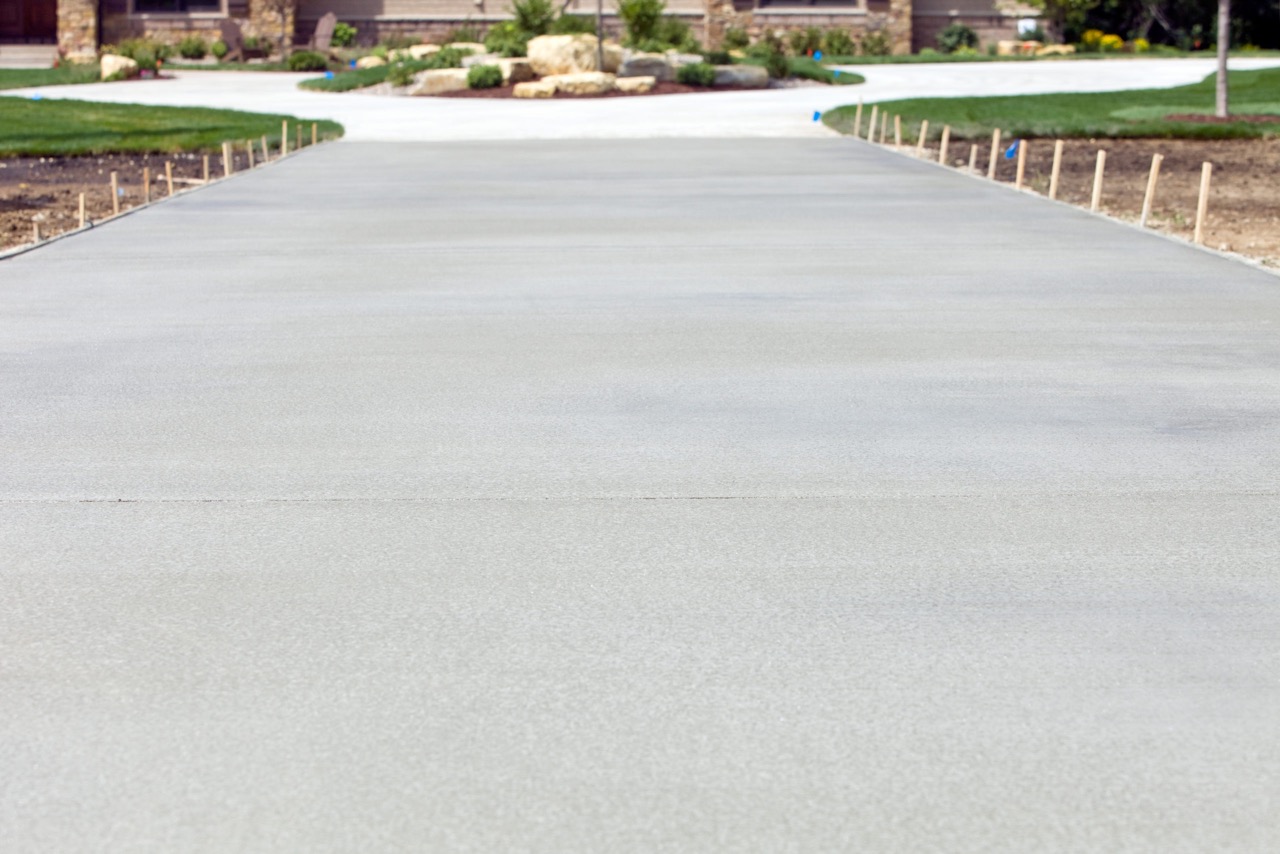
- Clean the Surface: Start by thoroughly cleaning the concrete to remove any dirt, debris, or organic matter. Use a stiff-bristled broom to sweep away loose particles, followed by a power washer to eliminate stubborn stains and grime. Ensuring a clean surface will promote better adhesion and a smoother finish for the artificial grass.
- Repair Cracks and Imperfections: Inspect the concrete for any cracks, holes, or uneven areas. Repair any damage using a concrete patching compound, following the manufacturer's instructions. Smoothing out imperfections will create a level surface for the artificial grass to lay on, preventing any irregularities from showing through.
- Apply a Primer (Optional): Depending on the condition of the concrete and the specific requirements of the artificial grass manufacturer, you may consider applying a primer to enhance adhesion. A primer can help create a strong bond between the concrete and the artificial grass backing, especially in areas prone to temperature fluctuations or heavy foot traffic.
By taking the time to properly prepare the concrete surface, you can ensure a solid foundation for the artificial grass installation. This initial step sets the stage for a successful and visually appealing transformation of your concrete area.
Step 2: Install the Base
Once the concrete surface is prepped and ready, the next step is to create a stable and supportive base for the artificial grass. This base will provide cushioning, drainage, and stability, ensuring that your synthetic turf looks and feels natural. Here's how to install the base:
- Measure and Cut the Base Material: Determine the area where the artificial grass will be installed and measure it accurately. Cut the base material, typically a geotextile or weed barrier fabric, to fit the dimensions of the space. The base material will prevent weed growth, promote drainage, and add a layer of separation between the soil and the artificial grass.
- Lay the Base Material: Place the cut pieces of the base material over the prepared concrete surface, ensuring that they overlap slightly to create a seamless barrier. Secure the base material in place using landscape fabric staples or adhesive, making sure it lies flat and smooth across the entire area.
- Add a Drainage Layer (If Needed): Depending on the specific requirements of your installation site, you may need to incorporate a drainage layer into the base. This can be achieved by adding a thin layer of crushed rock or gravel to enhance water drainage, especially in areas prone to heavy rainfall or water accumulation.
By installing a reliable base, you can enhance the performance and longevity of your artificial grass while ensuring proper drainage and stability. The base serves as a crucial foundational element that contributes to the overall quality and resilience of the synthetic turf installation.
Step 3: Lay the Artificial Grass
Now that the concrete surface is prepped and the base is in place, it’s time to lay down the artificial grass. This step involves carefully positioning and securing the synthetic turf to create a seamless and natural-looking surface. Follow these steps to lay the artificial grass effectively:
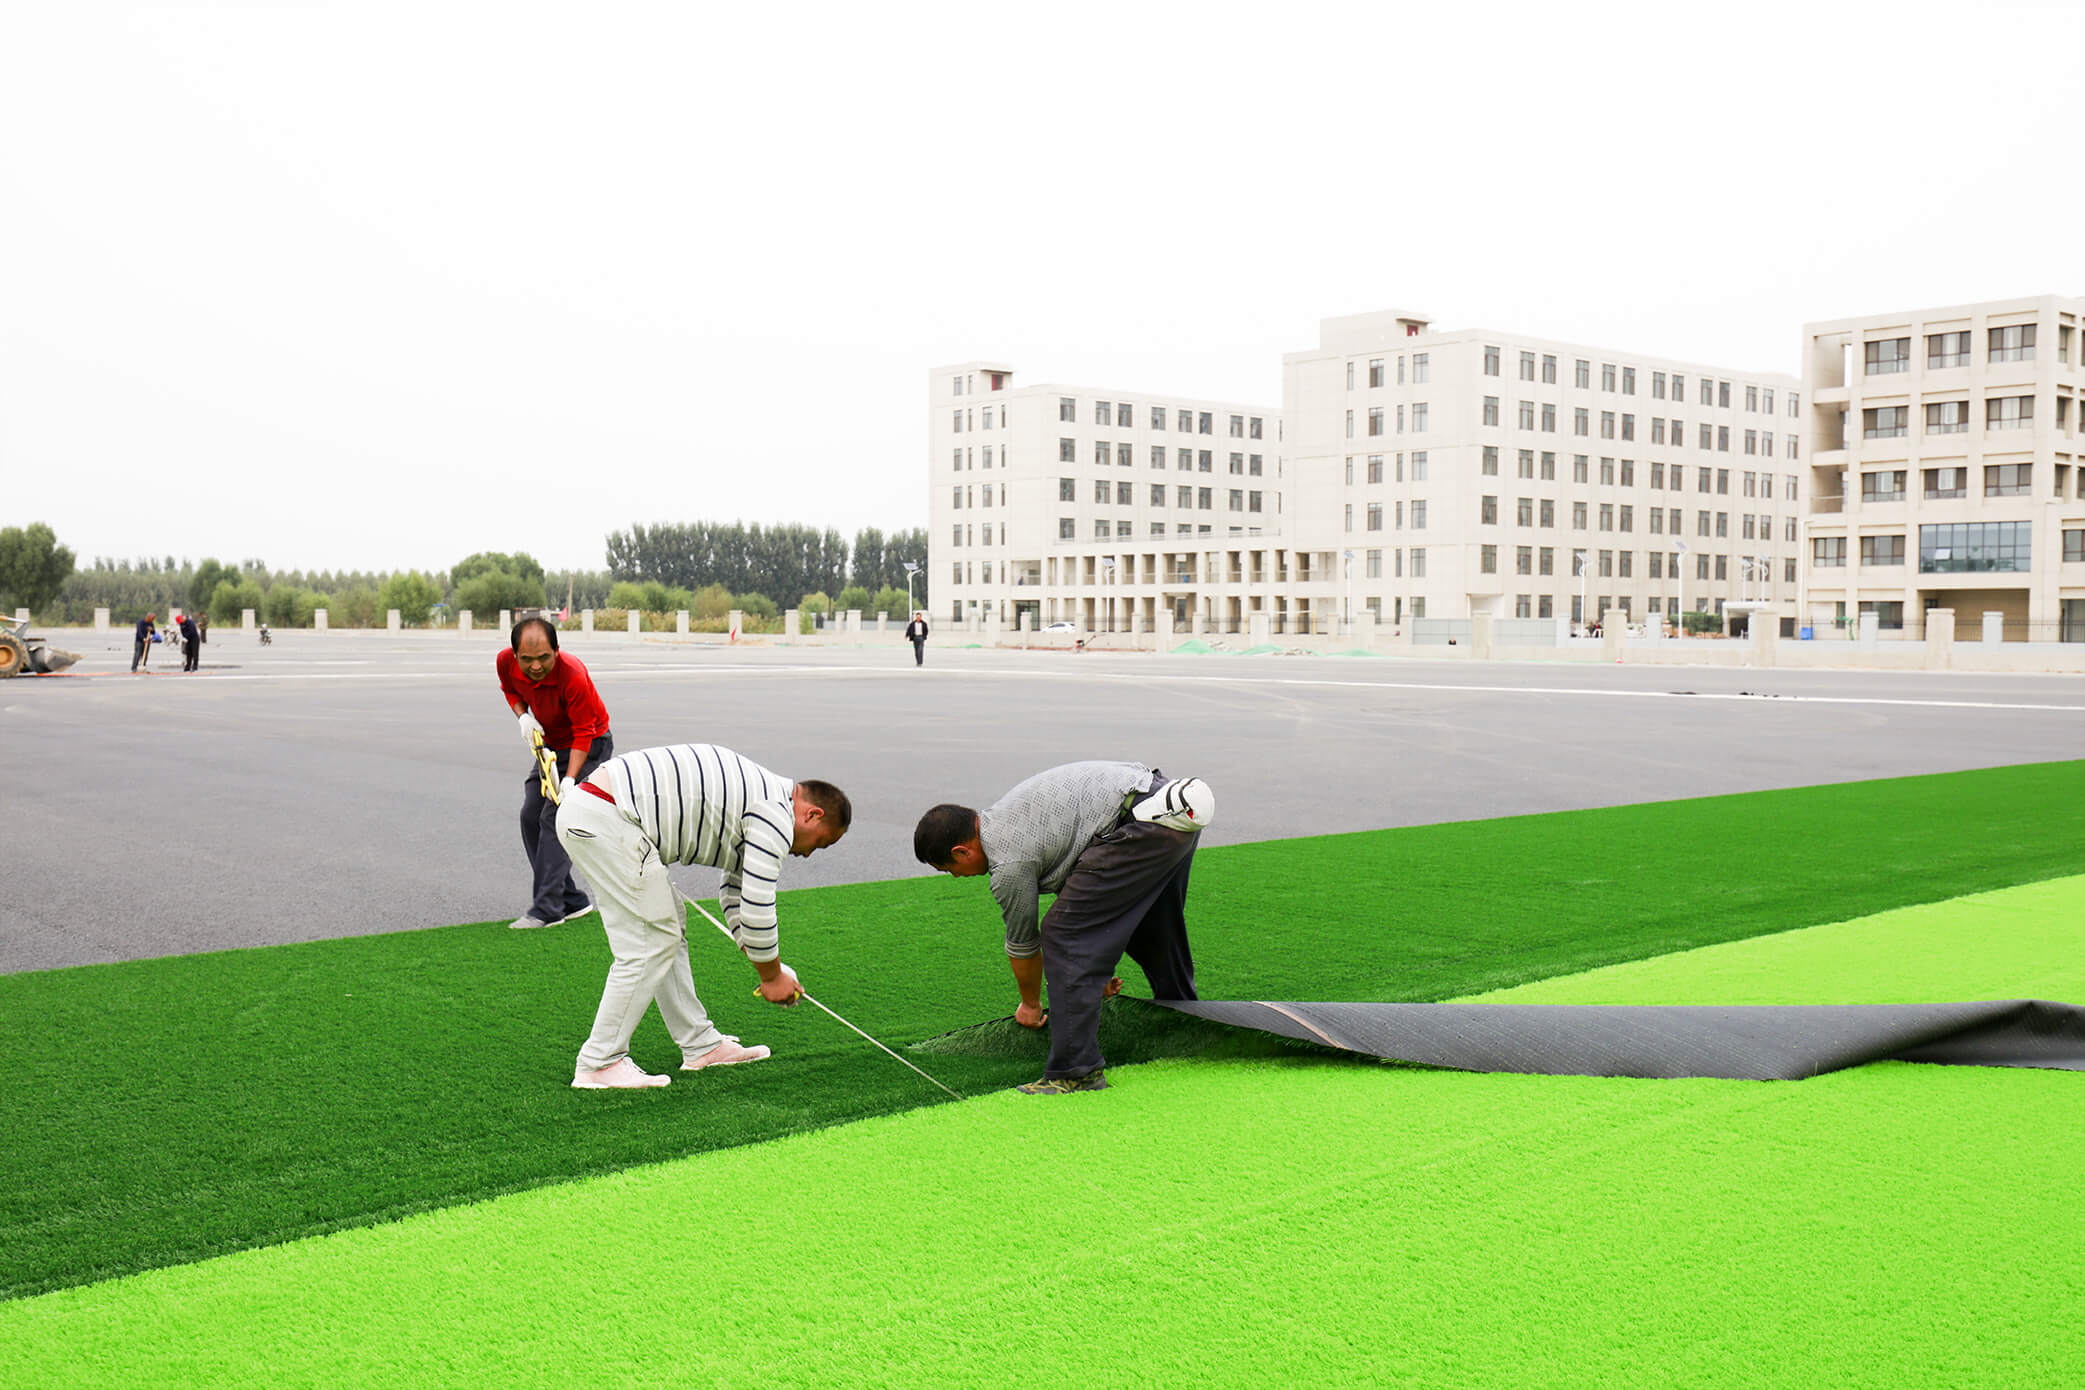
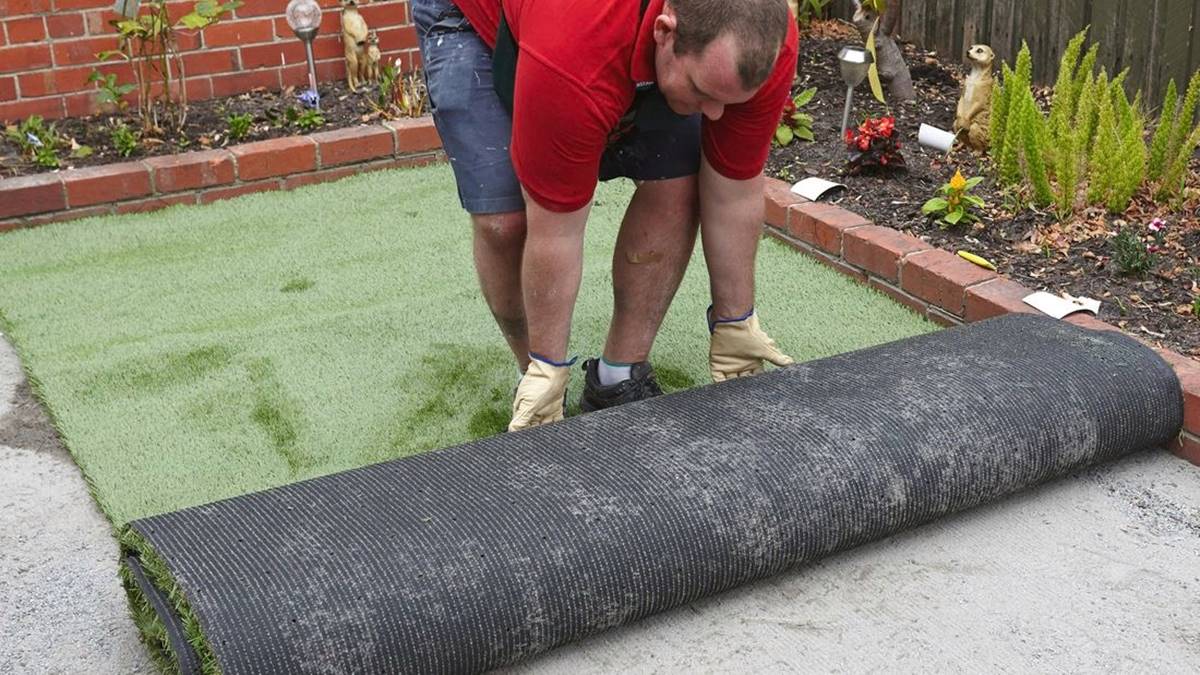
- Roll Out the Artificial Grass: Unroll the artificial grass over the prepared base, ensuring that the grain of the blades faces the same direction for a consistent and visually appealing look. Take your time to position the turf accurately, allowing for a slight overlap along the edges to accommodate trimming and adjustments.
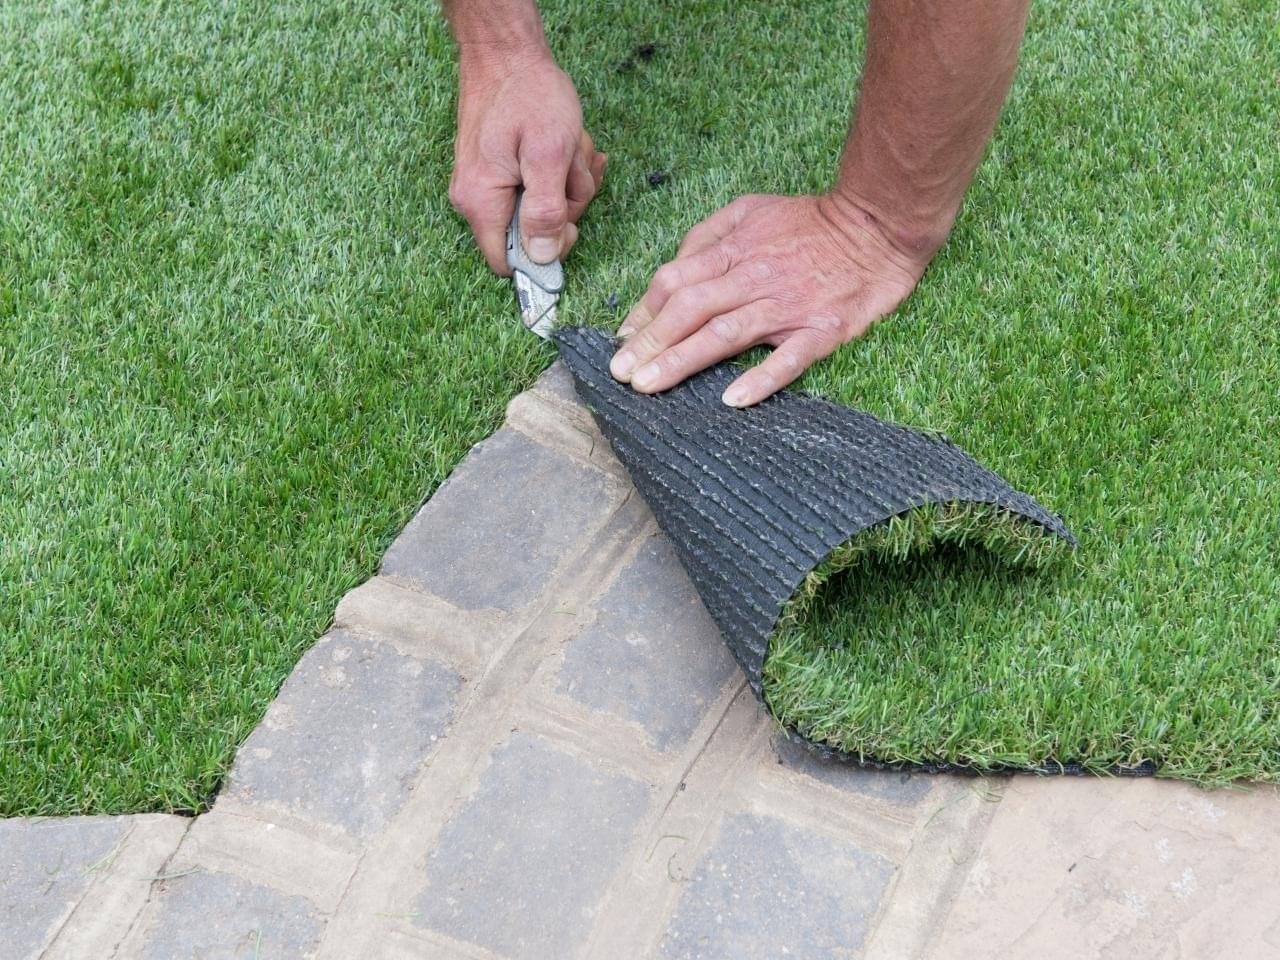
- Cut and Trim as Needed: Use a sharp utility knife to trim any excess artificial grass along the edges, corners, or around obstacles such as posts or fixtures. Pay attention to precision and detail, as clean and accurate cuts will contribute to a polished and professional finish.
- Secure the Artificial Grass: Once the turf is positioned and trimmed to fit the area perfectly, secure it in place using landscape staples or synthetic turf adhesive. This will prevent shifting or movement, especially in high-traffic areas or regions exposed to strong winds or inclement weather.
By laying the artificial grass with precision and care, you can achieve a flawless and natural-looking surface that enhances the aesthetic appeal of your concrete area. Taking the time to position and secure the synthetic turf properly will contribute to a visually stunning and long-lasting installation.
Before laying fake grass on concrete, make sure the surface is clean and smooth. Use a weed barrier to prevent growth, and apply a layer of sand for drainage. Then, lay the fake grass and secure the edges.
Step 4: Secure the Edges
Securing the edges of the artificial grass is a critical step that ensures a seamless and professional-looking installation. By properly anchoring the edges, you can prevent the synthetic turf from shifting or becoming uneven over time. Here’s how to secure the edges of the artificial grass:
- Create a Neat Edge: Use a straight edge, such as a board or a piece of metal, to create a clean and defined edge along the perimeter of the artificial grass. This step is essential for achieving a polished and well-manicured appearance, especially in areas where the turf meets other surfaces or landscaping features.
- Secure with Nails or Adhesive: Depending on the specific requirements of your installation site, you can secure the edges of the artificial grass using galvanized nails or synthetic turf adhesive. Drive the nails into the edging material or apply adhesive along the edges, ensuring a firm and reliable attachment to the underlying surface.
- Weigh Down the Edges (Optional): In areas where nails or adhesive may not be suitable, such as on a balcony or terrace, you can use heavy objects or landscape edging to weigh down the edges of the artificial grass temporarily. This will help ensure that the edges remain in place while the adhesive sets or the turf settles.
By securing the edges of the artificial grass, you can maintain a crisp and tidy appearance while preventing any movement or displacement of the synthetic turf. This step adds a professional touch to the installation and contributes to the overall durability and stability of the artificial grass surface.
Read more: How To Lay Fake Grass On Decking
Step 5: Add Infill (Optional)
Adding infill to the artificial grass is an optional but beneficial step that can enhance the performance and longevity of the synthetic turf installation. Infill, typically made of materials such as silica sand or rubber granules, provides several advantages, including improved resilience, stability, and cushioning. Here’s how to add infill to the artificial grass:
- Distribute the Infill Evenly: Spread the infill material evenly across the surface of the artificial grass using a drop spreader or a shovel. Ensure that the infill is distributed uniformly, reaching the base of the turf fibers to provide support and resilience throughout the entire area.
- Brush in the Infill: Use a power broom or a stiff-bristled brush to work the infill material into the fibers of the artificial grass. This process helps the infill settle and intertwine with the turf, promoting stability and preventing the fibers from matting or becoming compressed over time.
- Adjust the Infill Quantity: Depending on the specific requirements of your artificial grass and the intended use of the installation area, you can adjust the quantity of infill to achieve the desired level of firmness and support. Consult the manufacturer’s guidelines for recommendations on infill depth and type based on your specific application.
By adding infill to the artificial grass, you can enhance its performance and resilience, creating a surface that feels natural and maintains its aesthetic appeal over time. While infill is optional, it offers valuable benefits in terms of durability, stability, and overall playability for areas that experience regular use and foot traffic.
Conclusion
Congratulations! By following the steps outlined in this guide, you have successfully transformed your concrete space into a vibrant and inviting area with the installation of artificial grass. The process of laying fake grass on concrete has not only added a touch of natural beauty to your environment but has also provided a low-maintenance and durable alternative to traditional landscaping.
Through meticulous preparation, precise installation, and attention to detail, you have created a stunning surface that replicates the lush appearance and soft feel of natural grass. The artificial grass not only enhances the visual appeal of your concrete area but also offers a versatile and resilient outdoor space for relaxation, recreation, and enjoyment.
By preparing the concrete surface, installing a supportive base, laying the artificial grass with care, securing the edges, and optionally adding infill, you have achieved a professional-quality installation that will stand the test of time. Whether it’s a balcony, terrace, patio, or any other concrete area, the addition of artificial grass has elevated the aesthetic and functional value of your outdoor space.
As you take a moment to admire your handiwork, envision the countless hours of enjoyment, gatherings, and leisure that await in this transformed oasis. Embrace the beauty of artificial grass and the freedom it offers from the demands of traditional lawn maintenance. Now, it’s time to sit back, relax, and savor the beauty of your newly rejuvenated concrete space, adorned with the lush greenery of artificial grass.
Thank you for embarking on this journey of artificial grass installation on concrete. May your revitalized outdoor area bring joy and tranquility to your surroundings for years to come!
Frequently Asked Questions about How To Lay Fake Grass On Concrete
Was this page helpful?
At Storables.com, we guarantee accurate and reliable information. Our content, validated by Expert Board Contributors, is crafted following stringent Editorial Policies. We're committed to providing you with well-researched, expert-backed insights for all your informational needs.

0 thoughts on “How To Lay Fake Grass On Concrete”