Home>Garden Essentials>How To Make Trellis For Vertical Garden

Garden Essentials
How To Make Trellis For Vertical Garden
Modified: May 6, 2024
Learn how to make a trellis for your vertical garden and maximize your garden space. Create a beautiful garden with the help of our step-by-step guide!
(Many of the links in this article redirect to a specific reviewed product. Your purchase of these products through affiliate links helps to generate commission for Storables.com, at no extra cost. Learn more)
Introduction
Welcome to this comprehensive guide on how to make a trellis for your vertical garden. If you’re looking to maximize your gardening space and create a stunning display of plants and flowers, a vertical garden with a trellis is the perfect solution. Not only does it add aesthetic appeal to your outdoor space, but it also allows you to grow a wider variety of plants, making the most efficient use of limited space.
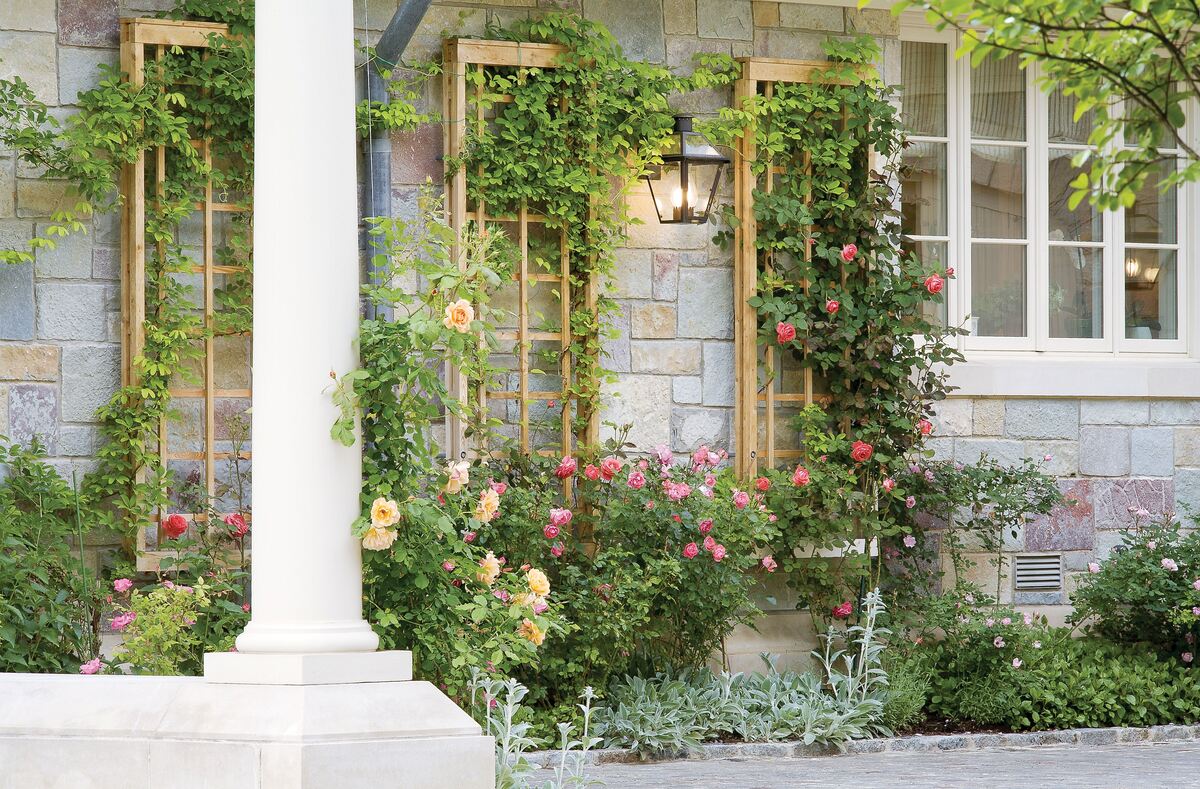
A trellis is a structure made of vertical posts and horizontal supports that provides support to climbing plants. It serves as a framework for the plants to grow on, ensuring that they have the necessary support and stability as they reach for the sun. Building a trellis for your vertical garden is a relatively simple yet rewarding project that can be done by gardeners of all skill levels.
In this guide, we’ll walk you through the step-by-step process of creating and installing a trellis for your vertical garden. We’ll cover everything from choosing the right location, gathering the necessary tools, selecting and preparing the trellis materials, and installation. Additionally, we’ll provide tips on planting, nurturing, maintaining, and pruning your plants to ensure a successful and flourishing vertical garden.
Whether you have a small balcony, patio, or backyard, a vertical garden with a trellis can transform your space into a green oasis. So let’s dive in and learn how to make a trellis for your vertical garden!
Key Takeaways:
- Creating a trellis for your vertical garden is an exciting and rewarding project that maximizes space and allows a wide variety of plants to thrive. It’s a simple yet impactful way to add beauty to your outdoor space.
- By carefully choosing the right location, materials, and plants, you can build a stunning vertical garden with a trellis. Regular maintenance and pruning will ensure your garden remains healthy and vibrant.
Read more: How To Make A Garden Trellis
Materials Needed
Before embarking on your trellis-building adventure, it’s essential to gather all the necessary materials to ensure a smooth and successful project. Here’s a list of the key materials you’ll need:
- Wooden or metal posts: These will serve as the vertical supports for your trellis. Opt for sturdy materials that can withstand the weight of climbing plants.
- Horizontal supports: These can be wooden or metal bars that will connect the vertical posts. Make sure they are of adequate length to span the desired width of your trellis.
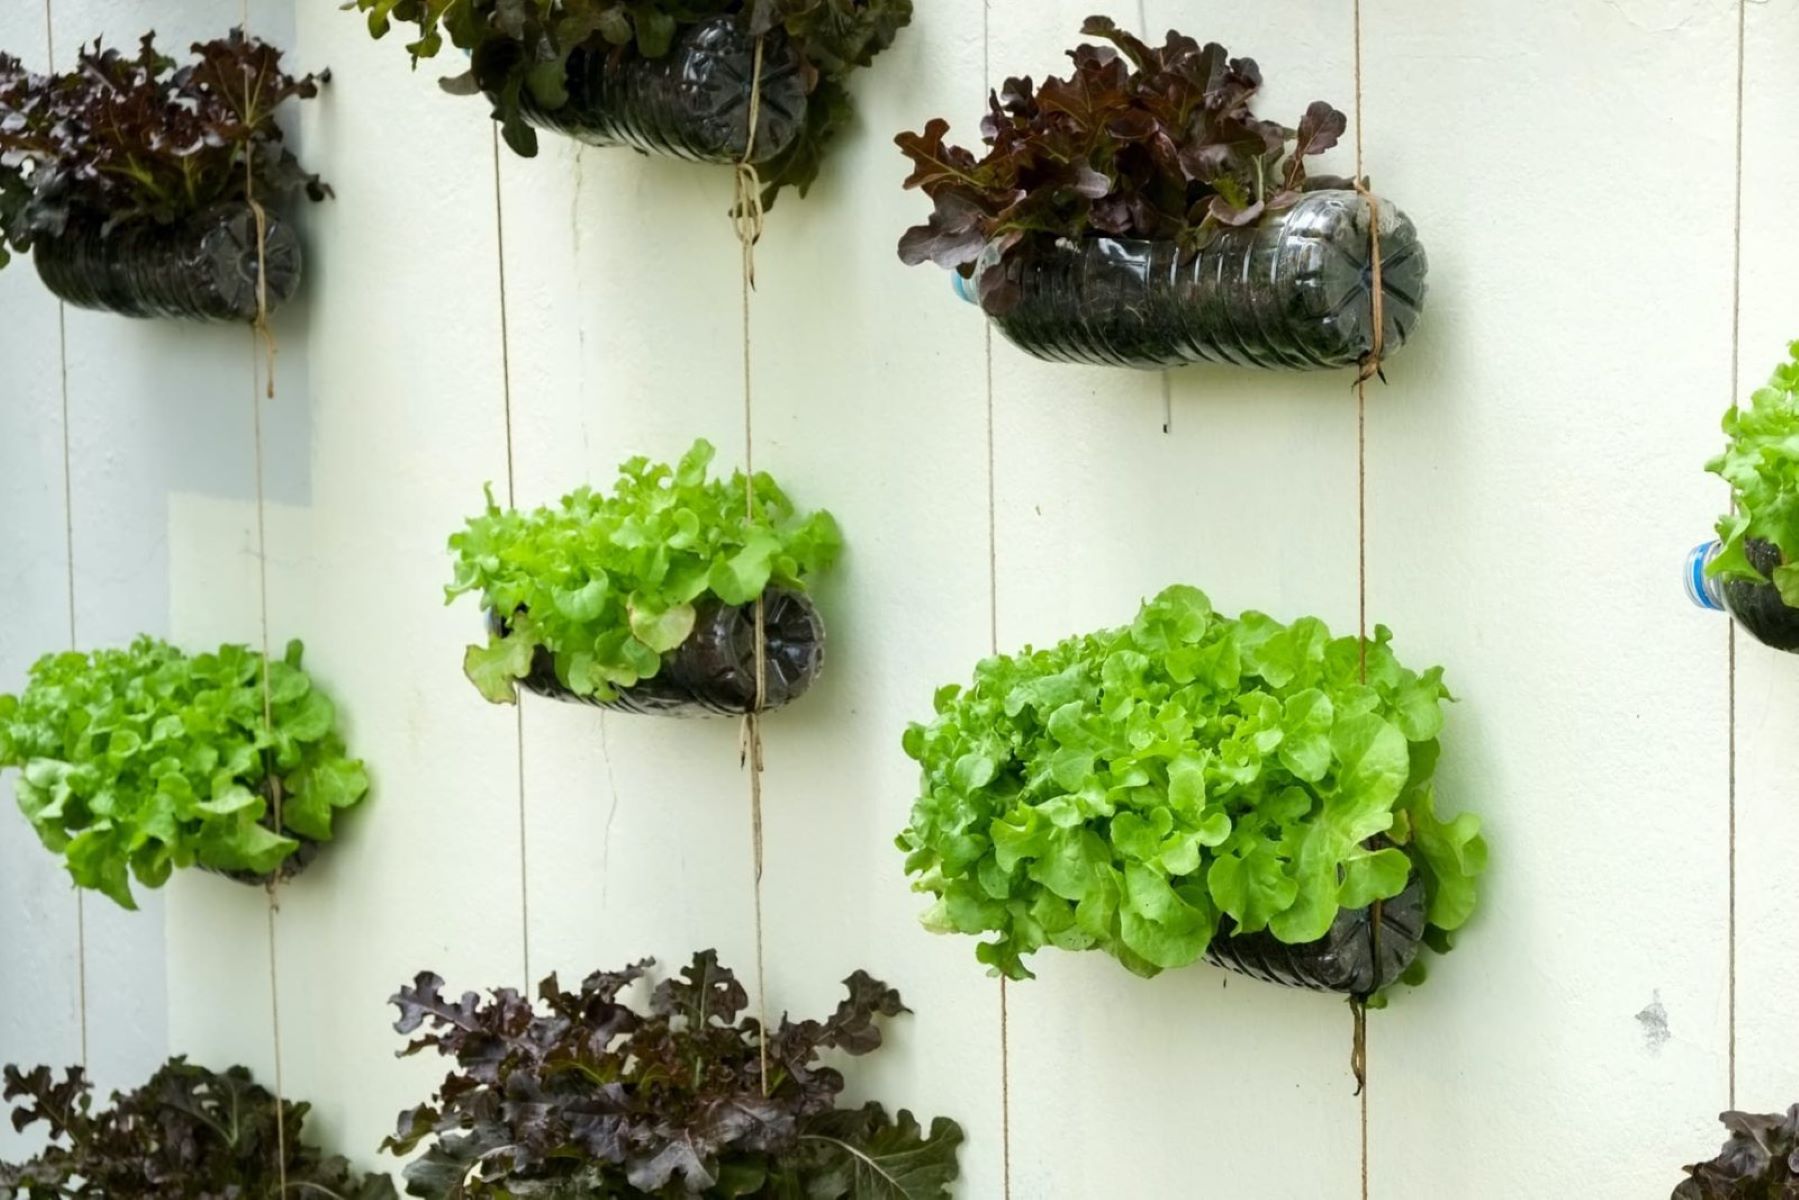
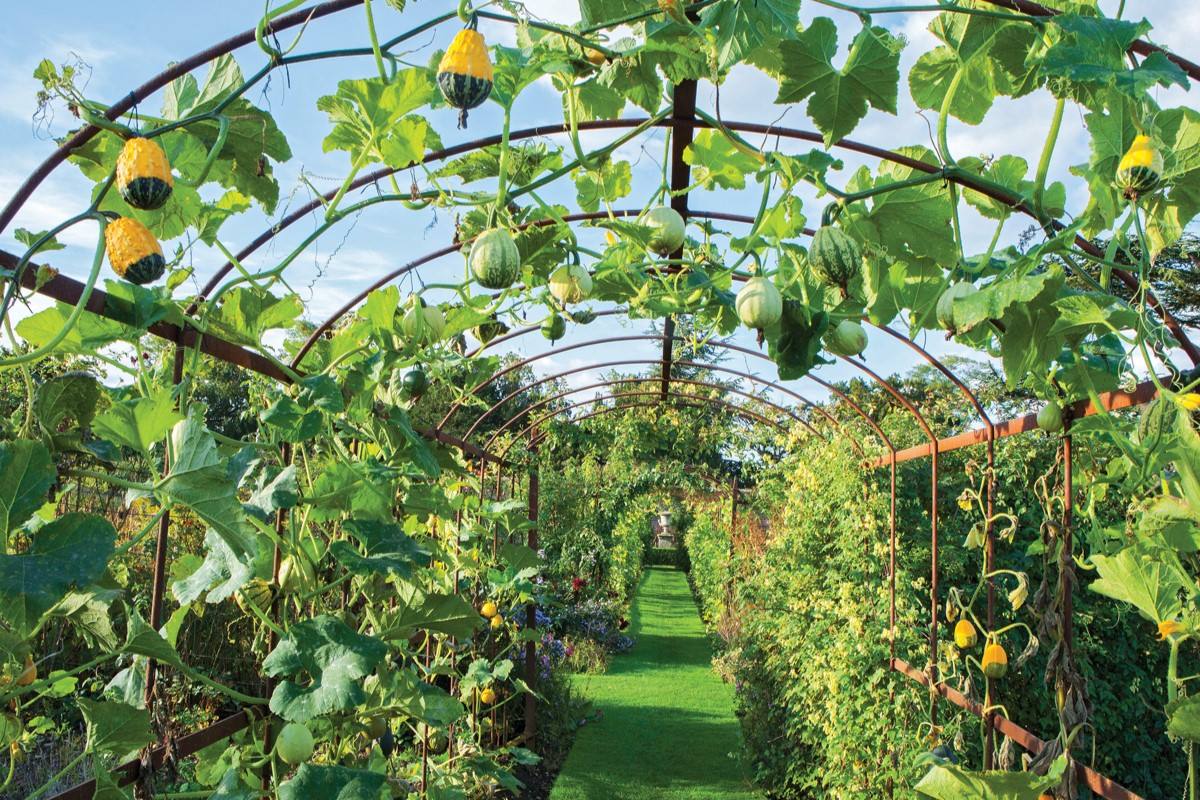
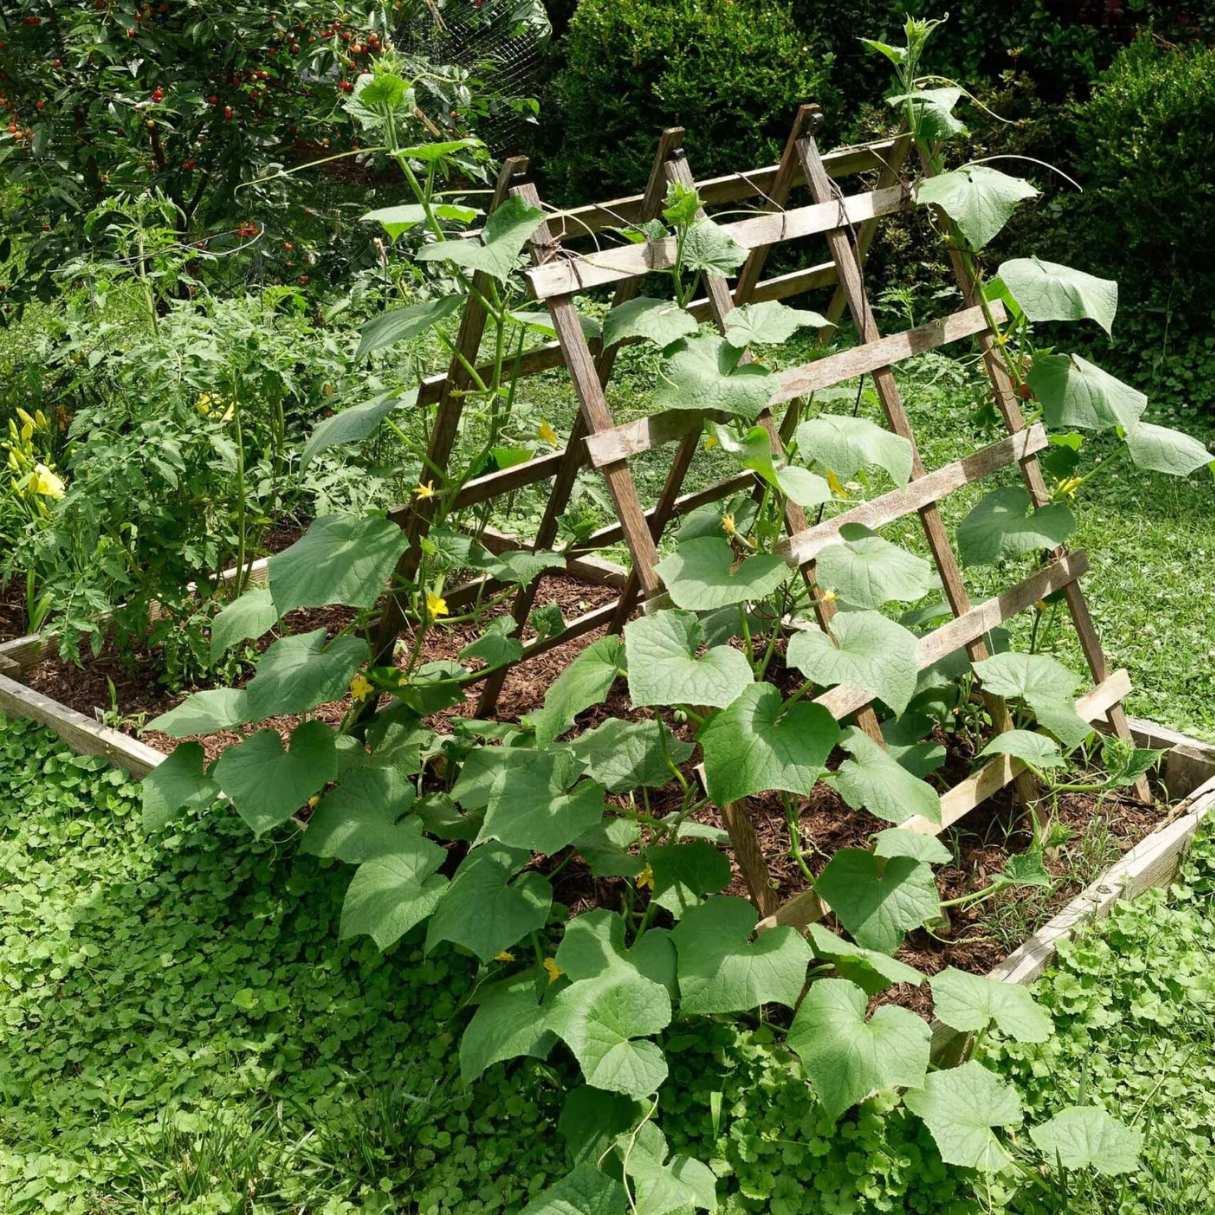
- Trellis material: Choose a strong and durable material to create the actual framework for your plants to climb on. Popular options include wire mesh, nylon netting, or even recycled materials like old wooden pallets.
- Screws or nails: These will be used to fasten the horizontal supports to the vertical posts.
- Power drill or hammer: Depending on the type of fasteners you choose, you’ll need a power drill or hammer to secure them in place.
- Level: Use a level tool to ensure that your trellis is perfectly straight and level when installing it.
- Measuring tape: This will help you determine the proper dimensions for your trellis and ensure accuracy during the installation process.
- Cable ties or twine: These will be useful for tying and securing the trellis material to the framework.
- Garden soil and compost: Prepare your vertical garden by having high-quality soil and compost ready for planting.
- Seeds or potted plants: Choose your favorite climbing plants or vegetables to grow on your trellis. Popular choices include roses, cucumbers, clematis, and morning glories.
- Gardening tools: Don’t forget basic gardening tools such as a trowel, gloves, and pruning shears.
Having all these materials readily available before starting your trellis construction will save you time and make the process more efficient. Now that you have everything you need, let’s move on to choosing the right location for your vertical garden and trellis installation.
Step 1: Choosing the Right Location
The success of your vertical garden heavily depends on choosing the right location. Consider the following factors when selecting a spot for your trellis:
Sunlight: Most climbing plants thrive in full sun or partial shade, so choose a location that receives at least six hours of direct sunlight a day. Avoid areas that are heavily shaded by buildings or trees.
Space: Assess the available space and consider the size of your trellis and the plants you want to grow. Ensure there is enough room for the plants to expand without overcrowding.
Accessibility: Make sure the location is easily accessible for watering, pruning, and harvesting. You don’t want to struggle to reach your plants or maintain them properly.
Structural support: Take a look at nearby walls, fences, or structures that can provide additional support for your trellis. This can help ensure stability and prevent any damage caused by strong winds.
Aesthetics: Consider the visual appeal of your vertical garden. Choose a location that enhances the overall aesthetic of your outdoor space and complements the surrounding environment.
Once you have identified the perfect location, it’s time to gather the necessary tools for the trellis construction.
Step 2: Gathering the Necessary Tools
Now that you have chosen the right location for your trellis, it’s time to gather the tools you’ll need to construct it. Here are the essential tools you’ll require:
- Tape Measure: Use a tape measure to determine the desired height and width of your trellis. This will help ensure accurate measurements during the construction process.
- Pencil or Marker: Have a pencil or marker on hand to mark the spots where you’ll be installing the trellis posts.
- Power Drill: If you’re using screws to secure your trellis, a power drill will make the process quicker and easier. Make sure you have the appropriate drill bits for the screws you’re using.
- Hammer: If you’re using nails instead of screws, a hammer will be necessary for driving the nails into the wood.
- Saw: If you need to cut the trellis material or trim the posts to the desired length, a saw will come in handy.
- Screwdriver: Even if you’re using a power drill, a screwdriver will be needed for making any final adjustments or tightening screws manually.
- Level: To ensure your trellis is straight and level, a small level tool will be essential.
- Gloves and Safety Glasses: Protect your hands and eyes by wearing gloves and safety glasses when handling tools and materials.
Having these tools readily available will make the construction process much smoother and more efficient. Once you have gathered all the necessary tools, it’s time to move on to selecting and preparing the trellis material.
Step 3: Selecting and Preparing the Trellis Material
The trellis material is a crucial element of your vertical garden structure. It provides the framework for your plants to climb on and adds visual appeal to your garden. Here’s how you can select and prepare the trellis material for your project:
Choose the Right Material: There are various options to consider when selecting the trellis material. Popular choices include wire mesh, nylon netting, and wooden lattice. Consider the aesthetic appeal, durability, and the needs of your specific plants when choosing the material.
Measure and Cut: Measure the dimensions of the trellis area on your chosen surface and cut the trellis material to size using a saw or wire cutters. Ensure that the material fits securely within the frame of your trellis.
Paint or Stain: If you are using wooden lattice or any other material that can be painted or stained, consider adding a coat of weather-resistant paint or stain to protect it from the elements. This will also add an extra layer of visual interest to your vertical garden.
Prevent Rot and Decay: If you are using wooden trellis material, it’s crucial to treat it with a wood preservative or sealant to prevent rot and decay. Apply the treatment according to the manufacturer’s instructions and allow it to dry completely before moving on to the installation process.
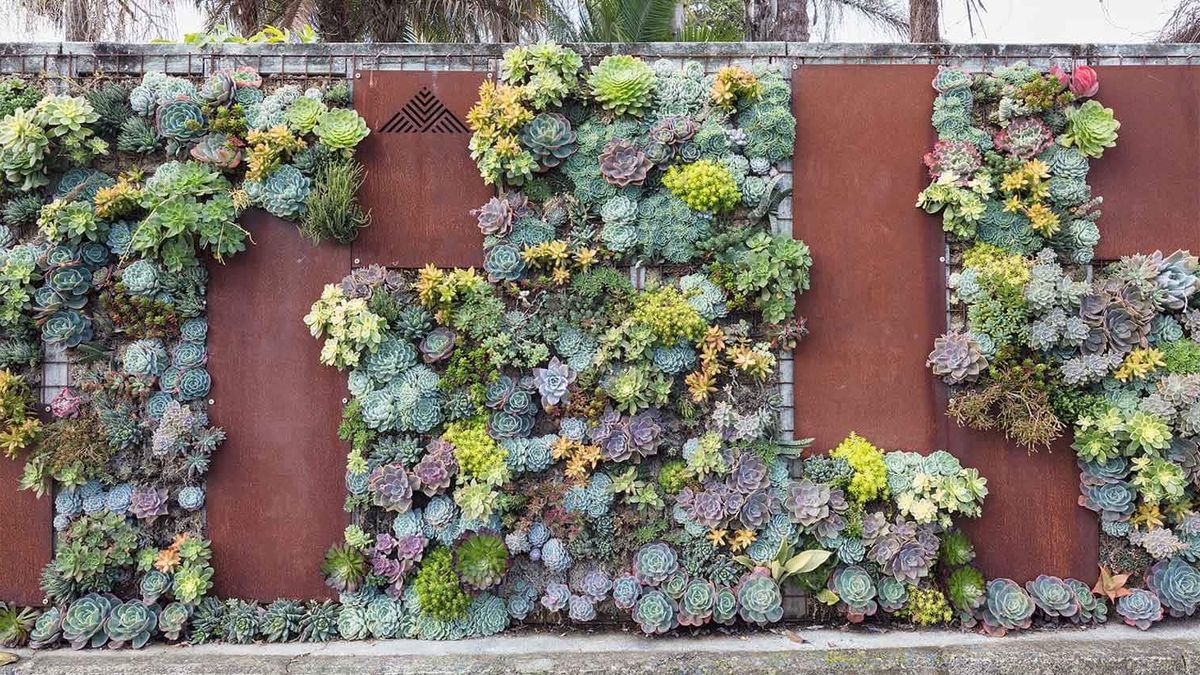
Consider Privacy: If privacy is a concern, choose trellis material with smaller gaps or opt for climbing plants with dense foliage that can create a natural privacy screen.
Add Personal Touches: Get creative and personalize your trellis by adding decorative elements. Paint the trellis in vibrant colors or attach wind chimes or hanging planters for an extra touch of charm.
By selecting the right trellis material and preparing it properly, you are setting the foundation for a sturdy and eye-catching vertical garden. With the trellis material ready, it’s time to move on to the next step: installing the trellis support.
When making a trellis for a vertical garden, use sturdy materials like wood or metal to support the weight of the plants. Make sure the trellis is securely anchored to a wall or structure to prevent it from tipping over.
Read more: How To Make Succulent Vertical Garden
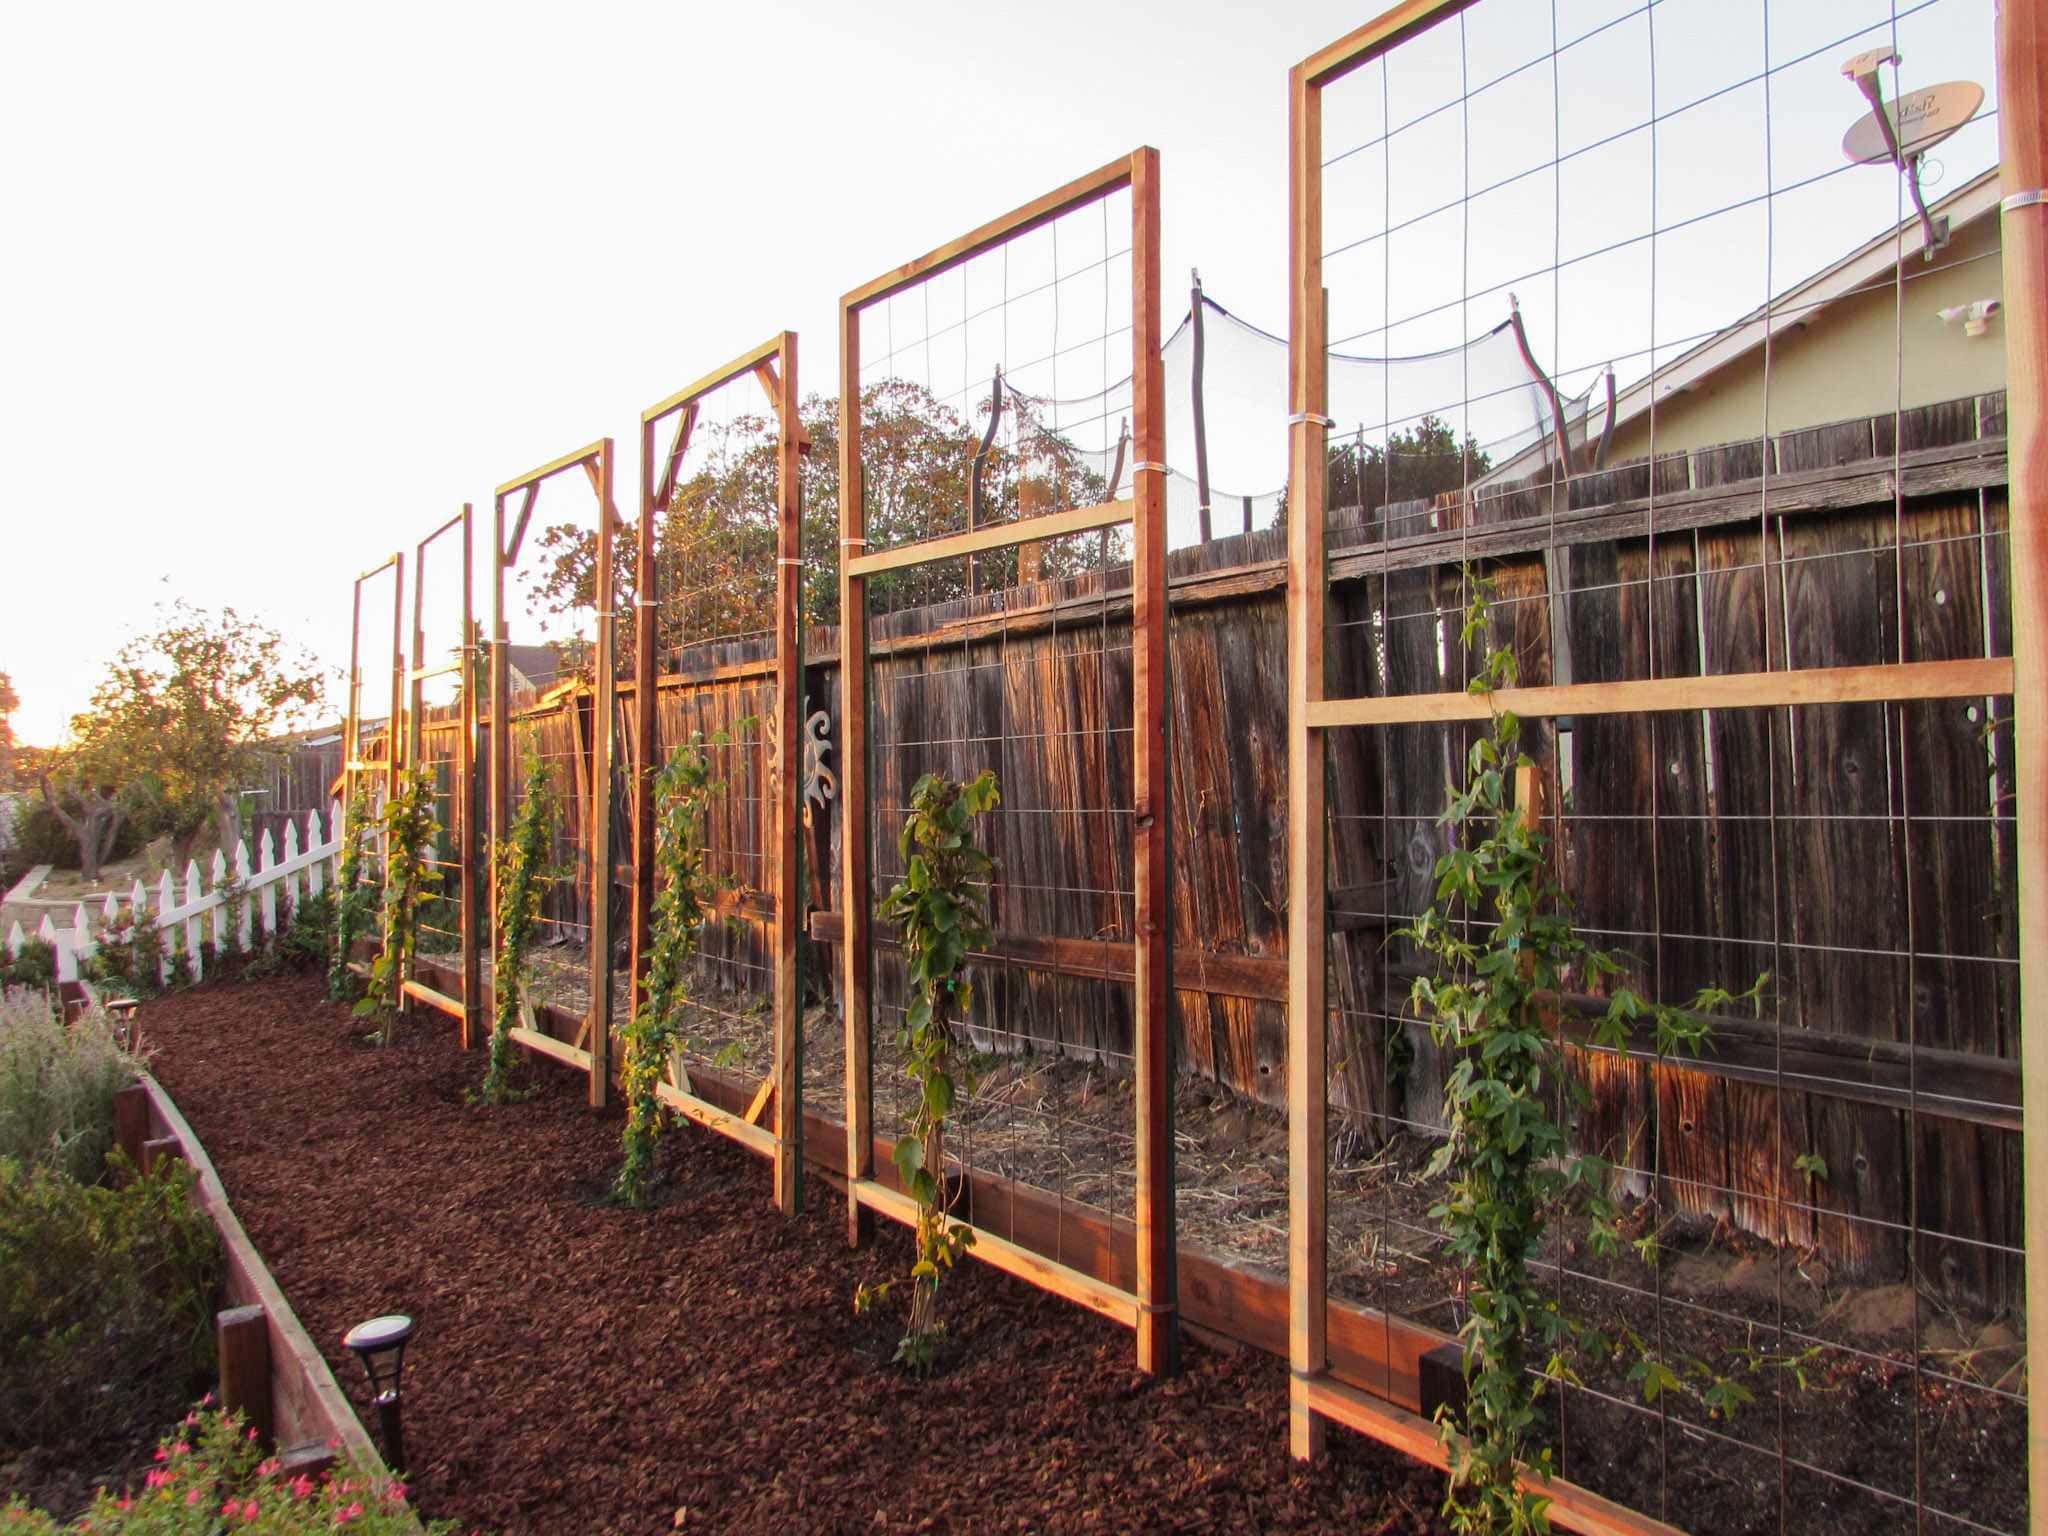
Step 4: Installing the Trellis Support
Now that you have selected and prepared the trellis material, it’s time to install the support for your vertical garden trellis. Follow these steps to ensure a sturdy and secure installation:
1. Mark the Placement: Use a pencil or marker to mark the desired placement of your trellis posts on the chosen surface. Ensure that the marks are evenly spaced and aligned with the measurements from your plan.
2. Dig the Post Holes: Using a digging tool or a post-hole digger, dig holes in the marked spots. The depth of the holes will depend on the height and stability you desire for your trellis. Generally, aim for holes that are at least 1/3 to 1/2 the height of your trellis. Make sure the holes are deep enough to provide stability for the posts.
3. Insert the Posts: Take the vertical posts and insert them into the holes, ensuring they are straight and upright. You may need someone to hold the post in place while you add soil or concrete mix to secure it firmly. Use a level to check that the posts are perfectly vertical and adjust as needed.
4. Secure the Posts: Once the posts are properly positioned, fill the holes with soil or concrete mix around the posts. Tamp the soil or compact the concrete mix tightly to provide stability and prevent the posts from shifting. Follow the instructions on the concrete mix packaging for the best results.
5. Allow Time for Setting: If you used concrete mix, allow the posts to set for the recommended time specified on the packaging. This will ensure a strong and secure foundation for your trellis.
6. Attach the Horizontal Supports: Once the posts are firmly set, it’s time to attach the horizontal supports. Depending on the design of your trellis, these supports can be attached horizontally between the posts or horizontally along the top and bottom of the trellis. Use screws or nails to secure the supports to the posts, ensuring they are level and secure.
With the trellis support installed, you’re almost ready to start adding the trellis material. In the next step, we’ll explore how to secure the trellis material to complete your vertical garden structure.
Step 5: Securing the Trellis Material
Now that you have installed the trellis support, it’s time to secure the trellis material to create the framework for your vertical garden. Follow these steps to ensure a secure and visually appealing trellis:
1. Measure and Cut the Trellis Material: Measure the dimensions of the trellis area and cut the trellis material to fit. Ensure that it is slightly smaller than the overall dimensions of the trellis to leave room for attaching it to the frame.
2. Position the Trellis Material: Place the trellis material onto the frame, ensuring it is centered and aligned properly. If you are using wire mesh or netting, make sure it is taut and evenly distributed across the frame.
3. Attach the Trellis Material: Use cable ties or twine to secure the trellis material to the horizontal supports. Start at one corner and work your way around, tying the material at regular intervals. Make sure the ties are tight enough to hold the material firmly in place but not too tight that it restricts the growth of the plants.
4. Overlap Sections (if necessary): If your trellis area is larger than the width of the trellis material, overlap sections of the material to cover the entire area. Secure the overlaps with additional cable ties or twine to ensure they blend seamlessly.
5. Trim any Excess Material: If there is any excess trellis material hanging over the edges, carefully trim it using scissors or wire cutters. This will give your trellis a clean and polished look.
6. Inspect and Make Adjustments: Step back and inspect your work to ensure that the trellis material is securely attached and visually appealing. Make any necessary adjustments, such as tightening cable ties or straightening the material, to create a professional finish.
With the trellis material securely attached, your vertical garden structure is almost complete. In the next step, we’ll explore how to plant and nurture your plants in the vertical garden.
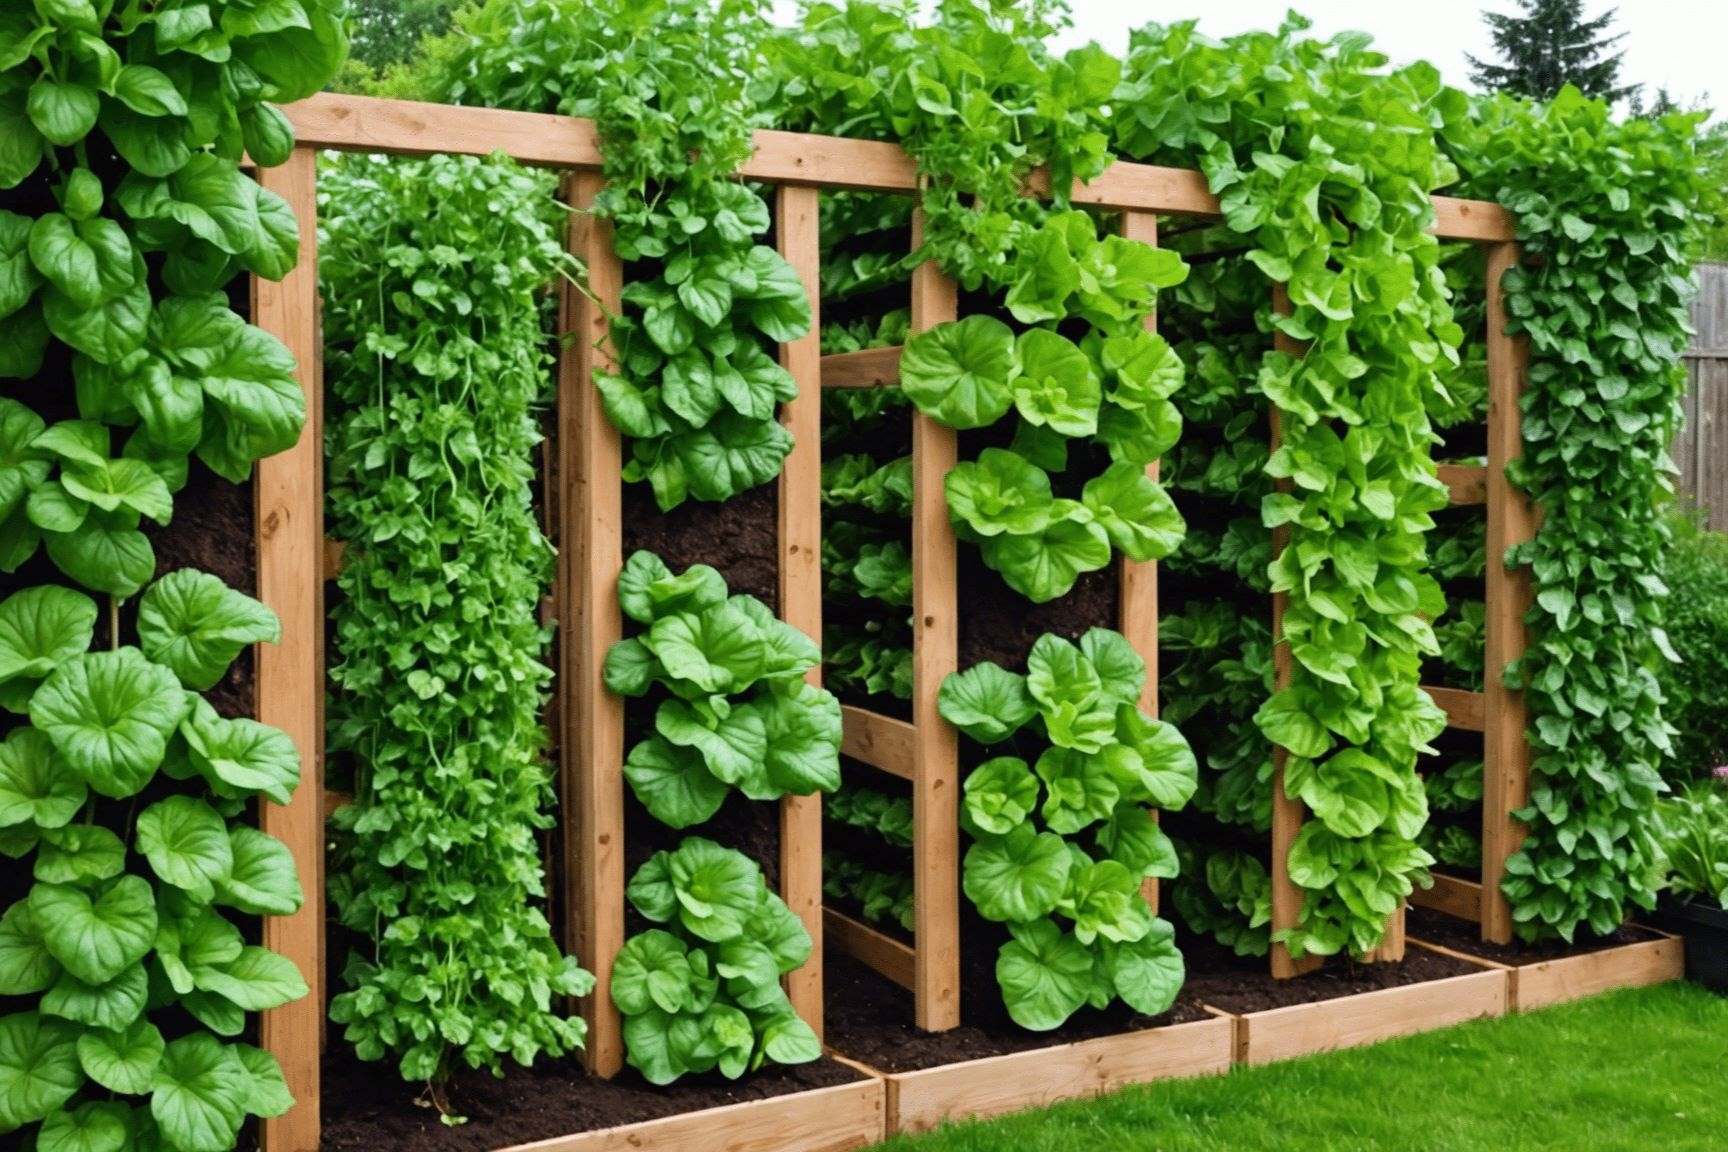
Step 6: Planting and Nurturing your Vertical Garden
Now that your trellis is in place and secure, it’s time to bring life to your vertical garden by planting and nurturing your plants. Follow these steps to ensure the success and beauty of your garden:
1. Prepare the Soil: Before planting, ensure that the soil is well-prepared and suitable for your chosen plants. Remove any weeds or debris and add compost or organic matter to improve fertility and drainage.
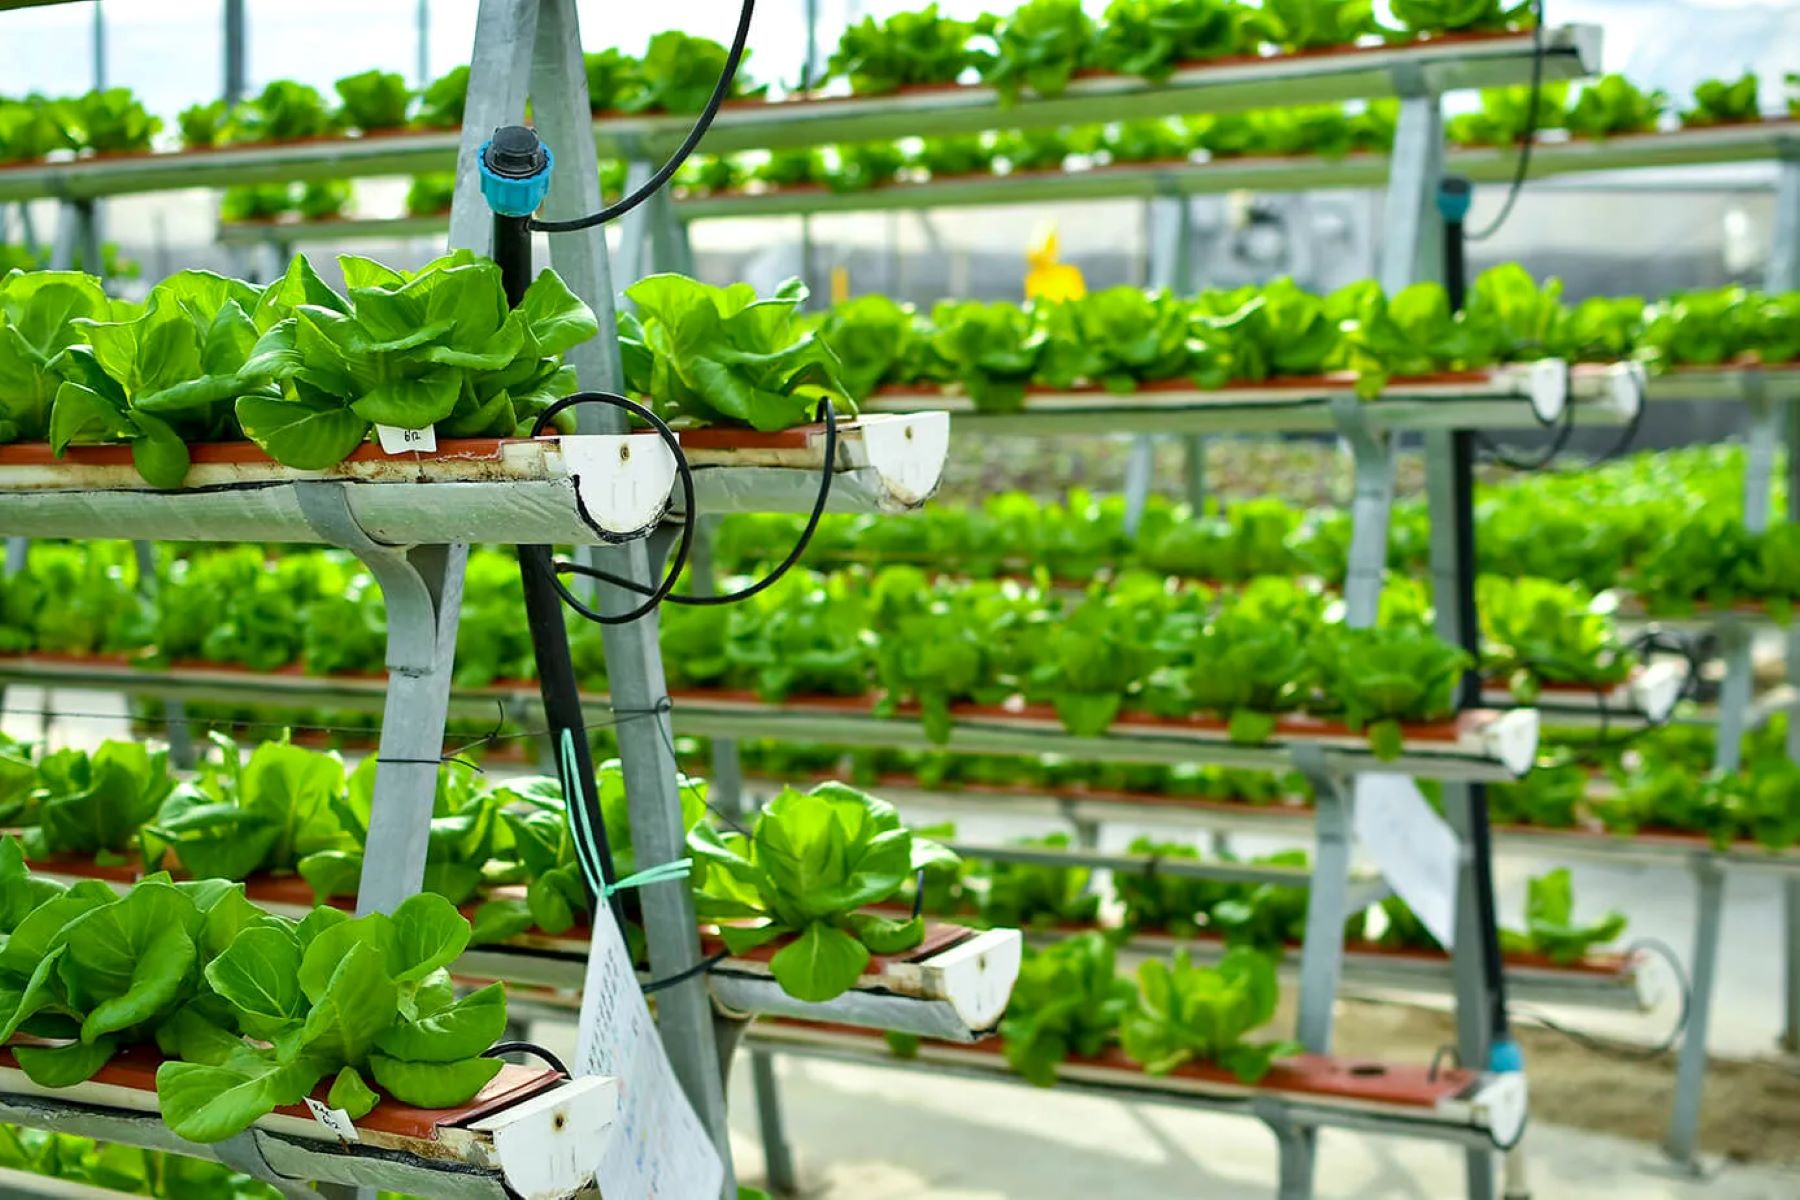
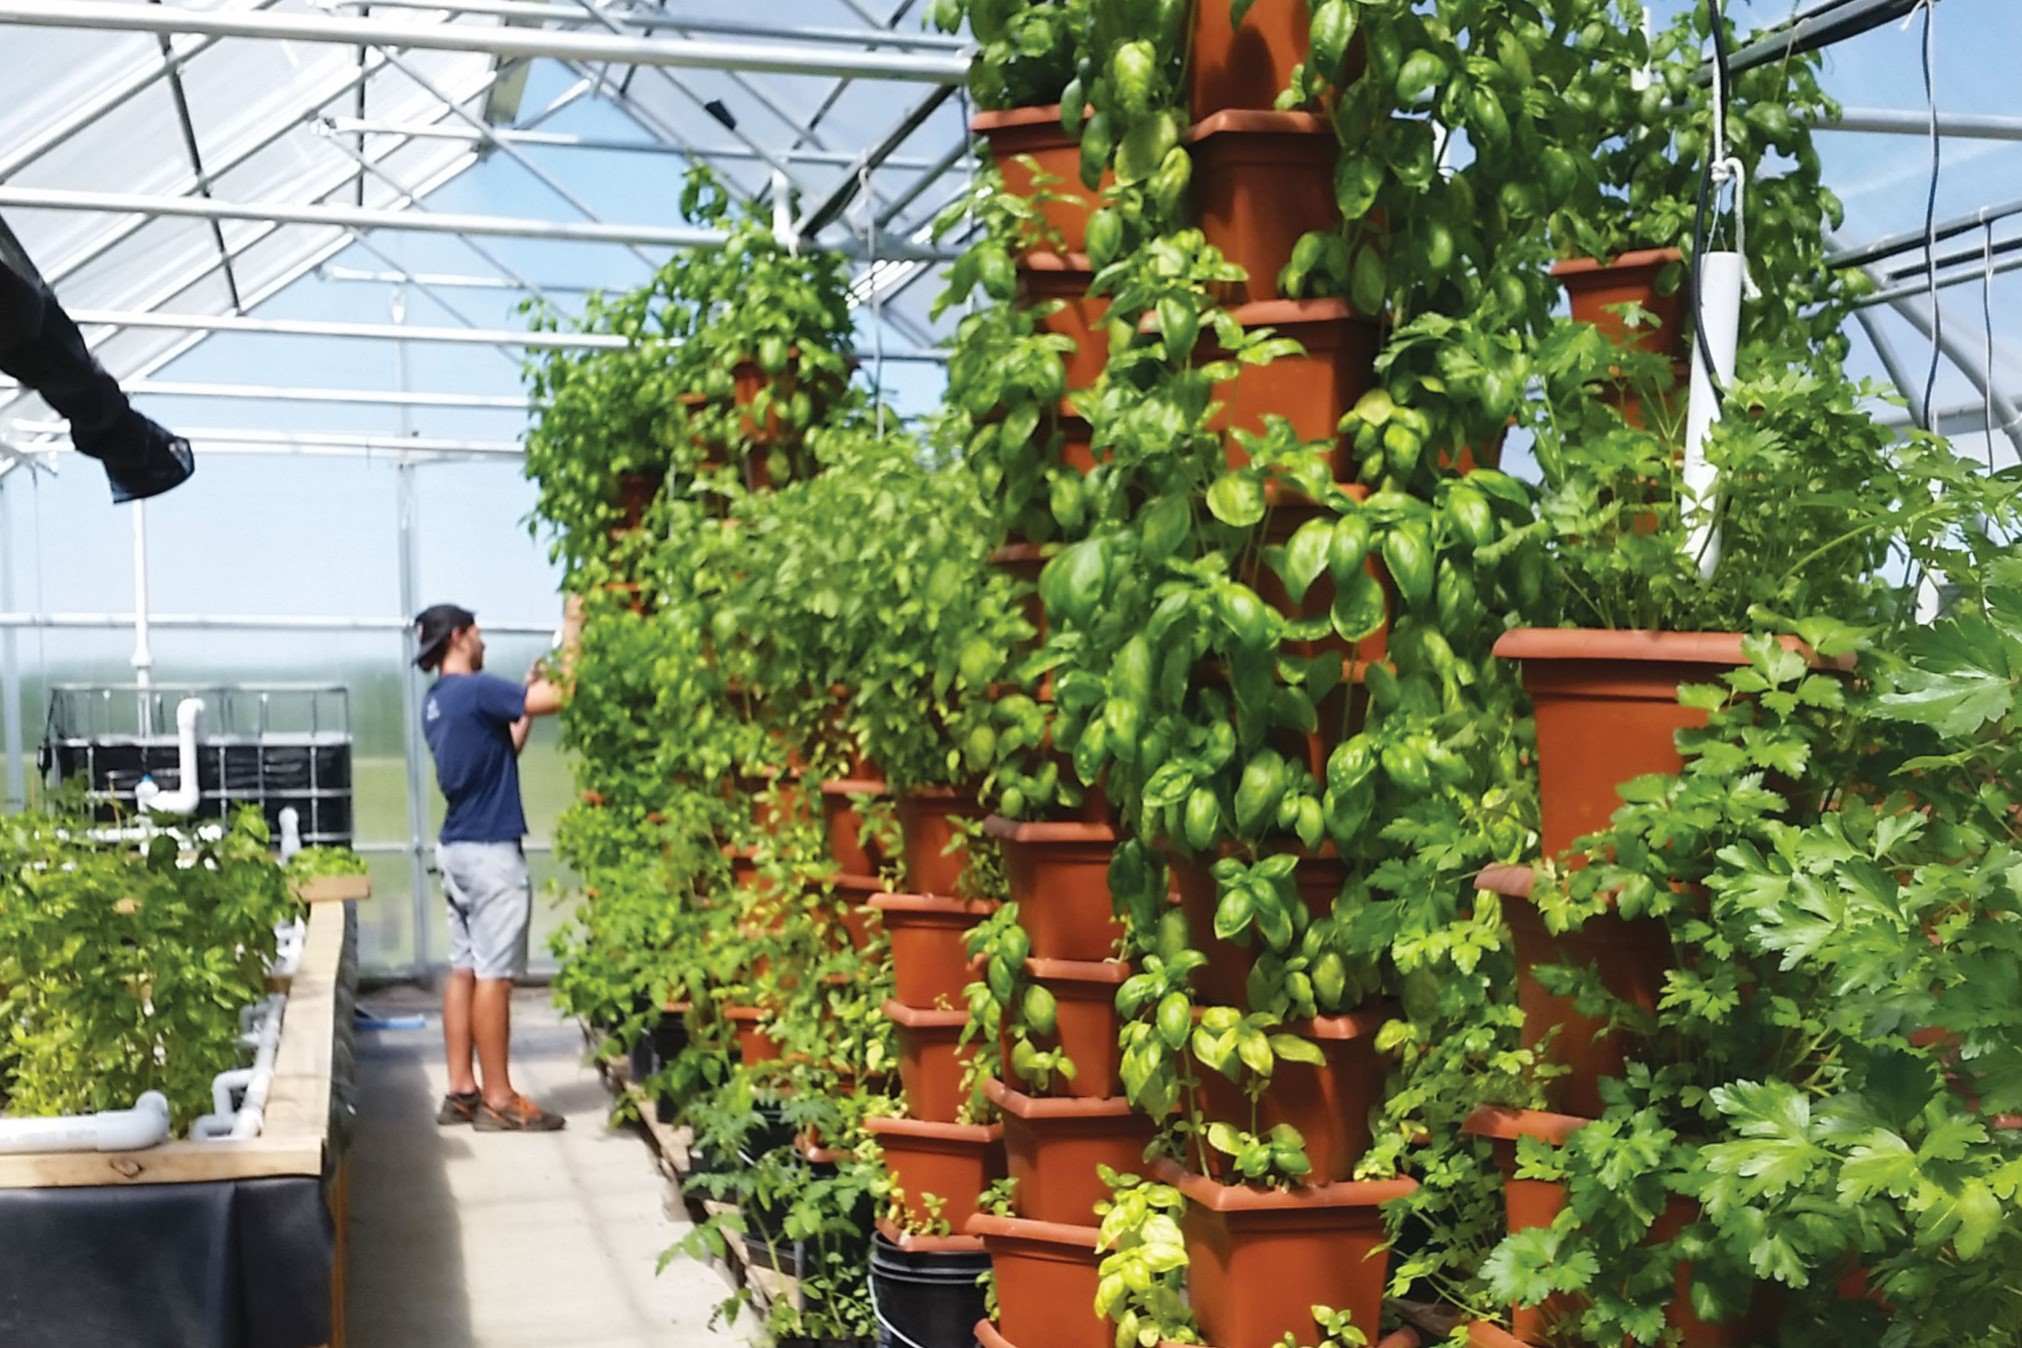
2. Choose your Plants: Select the plants that are suitable for vertical gardening, such as climbers, vining plants, or those with trailing habits. Consider the height, sunlight requirements, and growth habits of each plant, ensuring they will thrive in the vertical environment.
3. Planting Technique: Plant the selected plants at the base of the trellis, positioning them near the trellis material. Gently guide the stems or tendrils to the trellis and loosely tie them using twine or velcro ties. Leave enough room for the plants to grow and spread as they climb.
4. Watering: Provide ample water to your plants, ensuring that the soil remains moist but not waterlogged. Use a watering can or a drip irrigation system to deliver water evenly to the plants.
5. Fertilizing: Regularly fertilize your plants with a balanced organic fertilizer to promote healthy growth and flowering. Follow the instructions on the fertilizer package for proper application.
6. Pruning: As your plants grow, prune them regularly to remove dead or damaged leaves, encourage branching, and shape them as desired. Pruning also helps maintain the overall health and appearance of your vertical garden.
7. Training and Tying: Monitor the growth of your plants and gently train their stems or tendrils onto the trellis. Use twine or velcro ties to secure any loose or wayward branches to ensure they grow in the intended direction.
8. Monitor Pests and Diseases: Regularly inspect your plants for any signs of pests or diseases. Address and treat any issues promptly to prevent them from spreading to other plants in your vertical garden.
9. Regular Maintenance: Stay on top of regular maintenance tasks, such as removing spent flowers, trimming unruly branches, and replacing any damaged or worn-out trellis material or ties.
By following these steps and providing proper care, you’ll create a thriving and visually stunning vertical garden that will be the envy of all. In our final step, we’ll discuss important tips for maintaining and pruning your plants to ensure their continued growth and beauty.
Step 7: Maintaining and Pruning the Plants
Maintaining and pruning your plants is an essential part of caring for your vertical garden. Regular maintenance will ensure healthy growth, prevent overcrowding, and maintain the overall appearance of your garden. Follow these steps to effectively maintain and prune your plants:
1. Regular Inspection: Regularly inspect your plants for any signs of pests, diseases, or nutrient deficiencies. Look for discolored leaves, wilting, or spots on the foliage, and address any issues promptly.
2. Watering: Monitor your plants’ water needs and provide adequate watering to prevent under or overwatering. Water deeply, allowing the soil to dry slightly between waterings, and adjust the frequency based on weather conditions.
3. Fertilizing: Continue to fertilize your plants regularly to provide them with essential nutrients. Use a balanced fertilizer and follow the recommended application instructions. Be cautious not to over-fertilize, as this can lead to excessive growth without proper strength.
4. Pruning Dead or Damaged Growth: Remove any dead or damaged growth from your plants to maintain their health and appearance. Use pruning shears to make clean cuts just above a leaf node or bud.
5. Controlling Growth: Pay attention to the growth of your plants and take actions to control their spread. Trim back any excessively long branches or runners to prevent them from overtaking other plants or blocking sunlight.
6. Supporting Vines and Climbers: As your plants grow, provide support and guidance for their climbing stems. Secure any loose or wayward branches to the trellis or framework using twine or plant ties. This will help maintain an orderly and visually pleasing vertical garden.
7. Removing Spent Flowers and Fruits: Regularly remove spent flowers and fruits to encourage continuous blooming and prevent the plants from putting energy into seed production. This process, known as deadheading, will promote new growth and prolong the flowering season.
8. Training and Tying: Continuously guide and train your plants’ stems or tendrils onto the trellis. Adjust the ties or supports as needed to avoid constriction or damage to the plants.
9. Replacing Worn-out Trellis Material: Over time, the trellis material may deteriorate or become damaged. Monitor its condition and replace any worn-out or broken sections promptly to maintain the integrity and stability of the vertical garden structure.
By regularly maintaining and pruning your plants, you’ll create a well-manicured and thriving vertical garden that will be a delight to behold. With these steps completed, your vertical garden is now ready to impress and beautify your outdoor space!
Read more: How To Make A Vertical Garden With PVC Pipe
Conclusion
Congratulations! You have now successfully learned how to make a trellis for your vertical garden. By following the steps outlined in this guide, you have created a beautiful and functional space where your plants can thrive and bring a touch of nature to your surroundings.
A vertical garden with a trellis offers numerous benefits, including maximizing your gardening space, adding visual interest to your outdoor area, and providing a haven for climbing plants. Not only does it enhance the beauty of your garden, but it also allows you to grow a wide variety of plants, creating a vibrant and dynamic display.
Remember to select a suitable location that receives ample sunlight, gather the necessary tools and materials, and carefully install the trellis support. Choose the right trellis material, secure it properly, and prepare the soil for planting. Once your plants are in place, be sure to maintain and prune them regularly to ensure their health and vitality.
As you maintain your vertical garden, embrace the joy and fulfillment that comes from watching your plants grow and flourish. Take pride in your gardening skills and the unique beauty you have created within your vertical garden.
Now it’s time to sit back, relax, and enjoy the beauty of your vertical garden. Admire the vertical growth of your plants, the charming blooms, and the harmonious sight of nature intertwining with your trellis structure.
Whether you have transformed a small balcony, a patio, or a backyard, your vertical garden with a trellis is sure to be a source of pride and a sanctuary of natural beauty. Happy gardening!
Now that you've mastered creating a trellis for your vertical garden, why not take your outdoor space to the next level? Discover how cozy and inviting your backyard can be with unique garden structures. These designs not only enhance the beauty of your home but also offer a private retreat right in your own yard. Perfect for those who adore spending time outdoors, these structures transform any garden into a haven of tranquility and style. Ready to give your backyard that special touch? Dive into our guide on enclosed garden structures and start planning your cozy backyard retreat today!
Frequently Asked Questions about How To Make Trellis For Vertical Garden
Was this page helpful?
At Storables.com, we guarantee accurate and reliable information. Our content, validated by Expert Board Contributors, is crafted following stringent Editorial Policies. We're committed to providing you with well-researched, expert-backed insights for all your informational needs.

0 thoughts on “How To Make Trellis For Vertical Garden”