Home>Garden Essentials>How To Make Seed Starting Mix
Garden Essentials
How To Make Seed Starting Mix
Modified: August 27, 2024
Discover how to create your own garden seed starting mix with our step-by-step guide. Perfect for any gardening enthusiast!
(Many of the links in this article redirect to a specific reviewed product. Your purchase of these products through affiliate links helps to generate commission for Storables.com, at no extra cost. Learn more)
Introduction
Welcome to the wonderful world of gardening! Whether you’re a seasoned green thumb or just starting out, one of the most essential steps in successful gardening is starting your seeds. And to ensure healthy seedlings, you’ll need a quality seed starting mix.
Seed starting mix, also known as seedling mix or germination mix, is a special type of soil mix specifically designed to provide the ideal conditions for germinating seeds and nurturing seedlings until they are ready to be transplanted into your garden. Commercial seed starting mixes are readily available in garden centers, but did you know that you can easily make your own mix at home?
In this article, we will guide you through the process of making your own seed starting mix. By doing so, you’ll have complete control over the quality of the ingredients and can tailor the mix to suit the specific needs of your plants. So let’s dive right in!
Note: Before you begin, it’s important to gather all the necessary materials. This will ensure a smooth and efficient process, allowing you to create a high-quality seed starting mix with ease.
Key Takeaways:
- You can easily make your own seed starting mix at home using peat moss, vermiculite, perlite, compost, and organic matter. This gives you control over the quality and customization for your plants’ needs.
- Properly store your seed starting mix in an airtight container, label it with the date and ingredients, and keep it in a cool, dry place away from direct sunlight. Check for moisture periodically to ensure its quality.
Read more: How To Make Potting Soil Mix
Materials Needed
Before you start making your seed starting mix, make sure you have the following materials on hand:
- A container or mixing bowl: This will be used to mix all the ingredients together.
- Peat moss: Peat moss is an excellent component for seed starting mixes. It helps retain moisture and provides a lightweight structure for young roots to grow.
- Vermiculite: Vermiculite is a natural mineral that improves aeration and drainage in the seed starting mix.
- Perlite: Perlite is another mineral that helps improve drainage and prevent compaction in the mix.
- Compost: High-quality compost acts as a natural fertilizer, providing essential nutrients to the developing seedlings.
- Organic matter: Organic matter, such as well-rotted manure or leaf mold, enriches the mix and improves its overall fertility.
- pH tester: A pH tester will help you monitor the acidity or alkalinity of your mix. Most seedlings prefer a slightly acidic pH level between 6 and 6.5.
- Water: Make sure you have access to clean water to moisten the mix as needed.
- Measuring tools: A scale or measuring cups and spoons will be useful for accurate measurements of the ingredients.
Having these materials ready will ensure that you can efficiently create your own seed starting mix without any last-minute delays or interruptions.
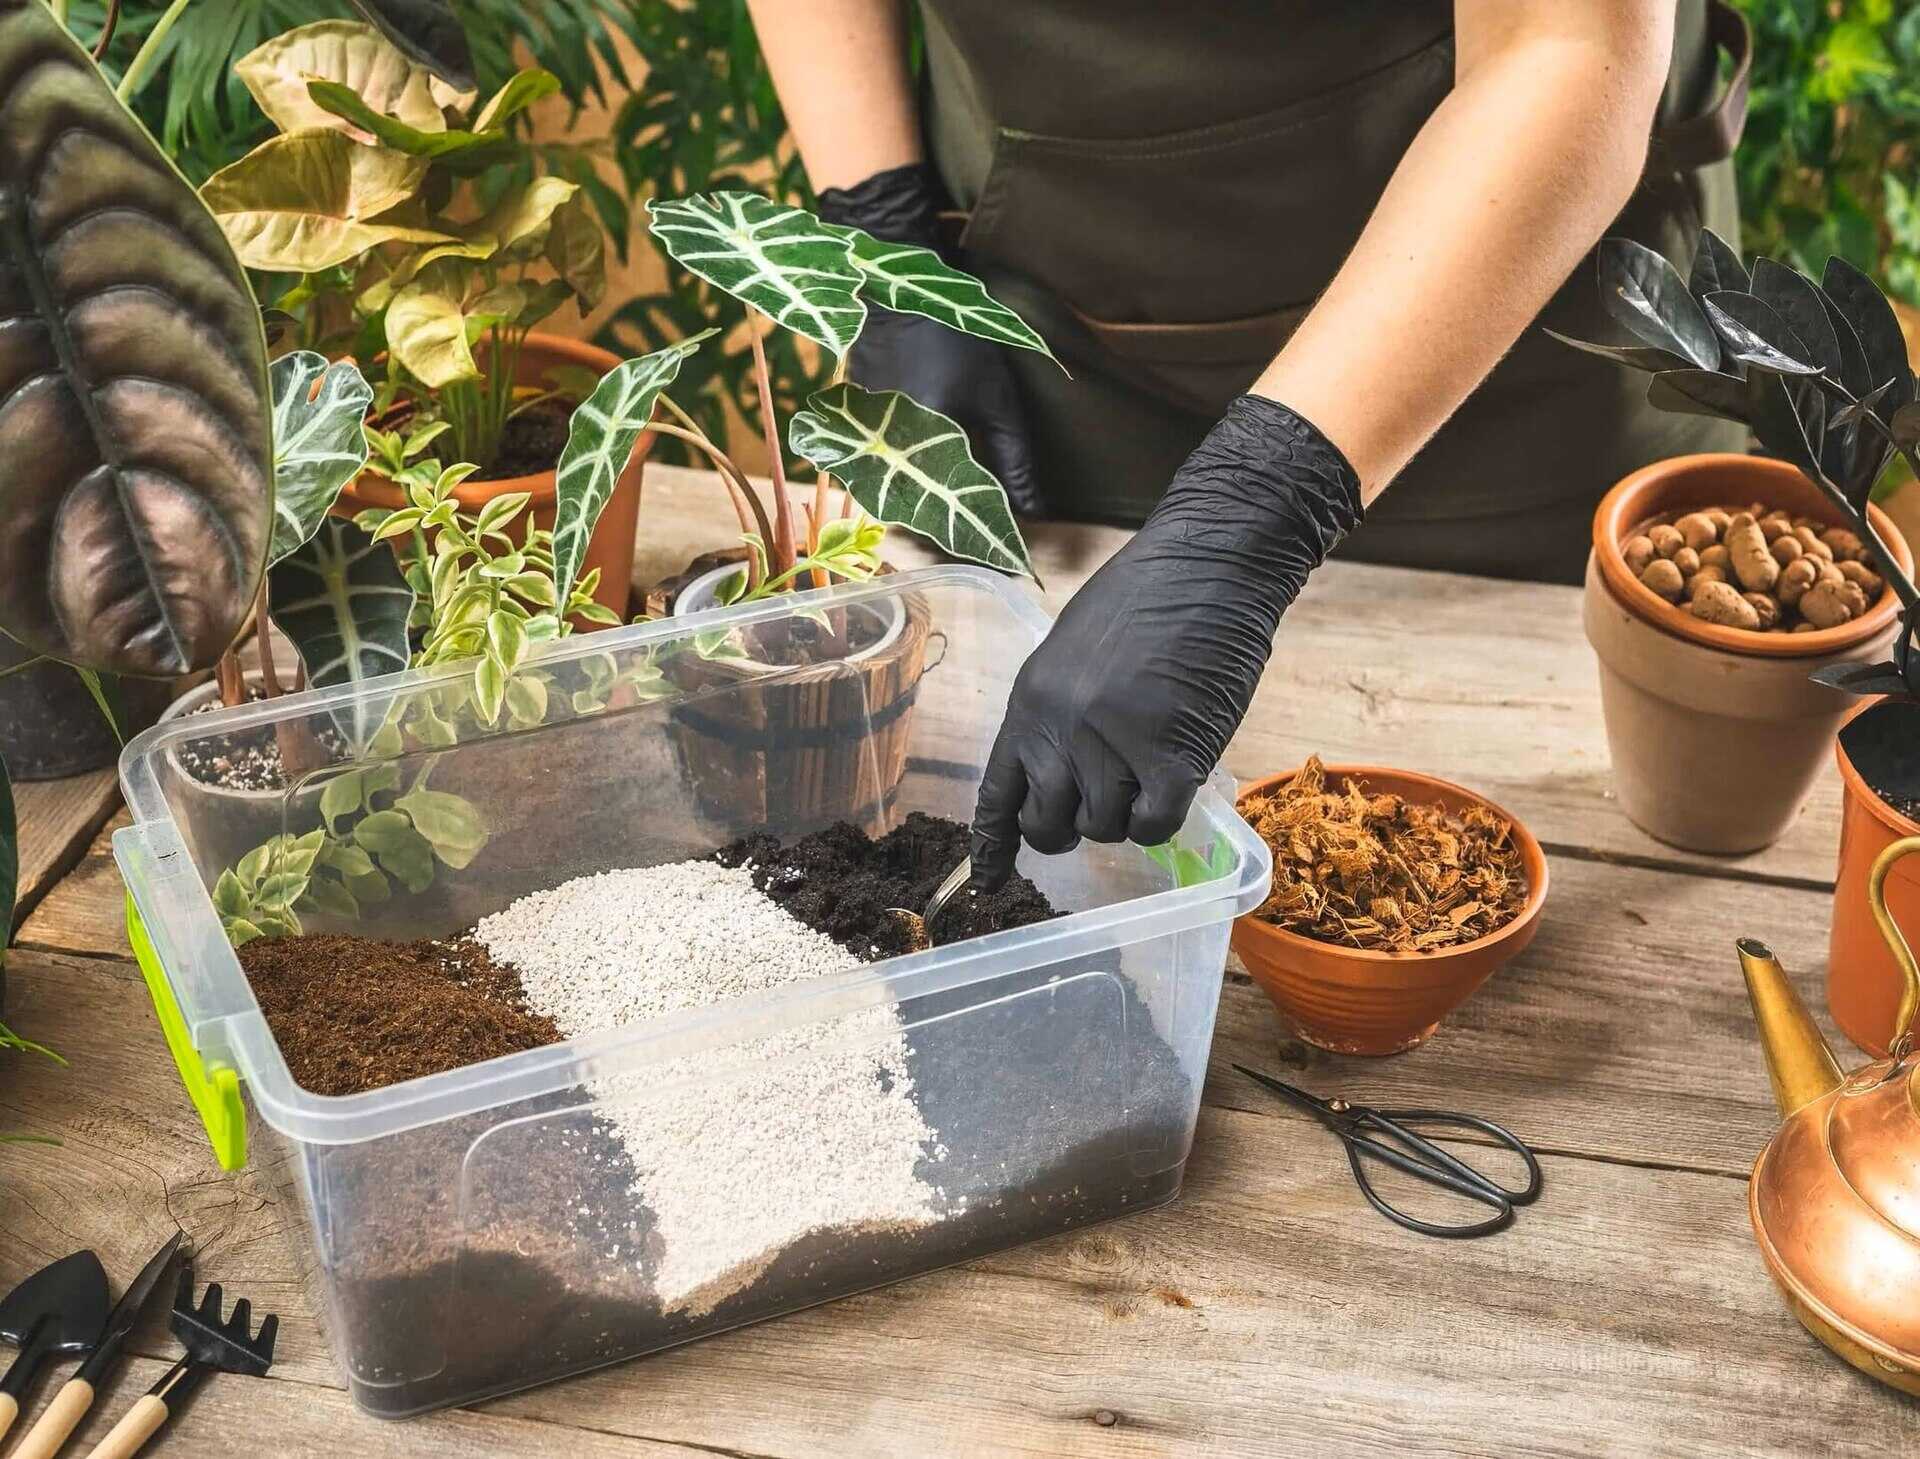
Step 1: Gather Your Ingredients
Now that you have all the necessary materials, it’s time to gather the ingredients for your seed starting mix. The specific quantities will vary depending on the size of the batch you want to make, but here’s a general guideline:
- Peat moss: You’ll need approximately 2 parts peat moss. Peat moss is a common component in seed starting mixes due to its ability to hold moisture while providing good aeration.
- Vermiculite: Add 1 part vermiculite to the mix. Vermiculite helps with moisture retention and provides a lightweight structure for the seedlings to grow in.
- Perlite: Include 1 part perlite in the mix. Perlite improves drainage and prevents the mix from becoming too compacted.
- Compost: Add about 1 part compost to enrich the mix with nutrients. Make sure the compost you use is well-aged and free from any potential pathogens.
- Organic matter: Include approximately 1 part organic matter, such as well-rotted manure or leaf mold, to further enhance the fertility of the seed starting mix.
If you want to make a larger batch, simply adjust the quantities accordingly, maintaining the same ratio of ingredients.
Once you have gathered all the required ingredients, make sure they are clean and free from any potential contaminants. This will help create a healthy environment for your seeds and seedlings.
Note: If you prefer a non-soil-based seed starting mix, you can omit the peat moss and use coconut coir or finely shredded bark instead. These alternatives can provide similar moisture retention and aeration properties.
Now that your ingredients are ready, it’s time to move on to the next step: measuring the ingredients correctly.
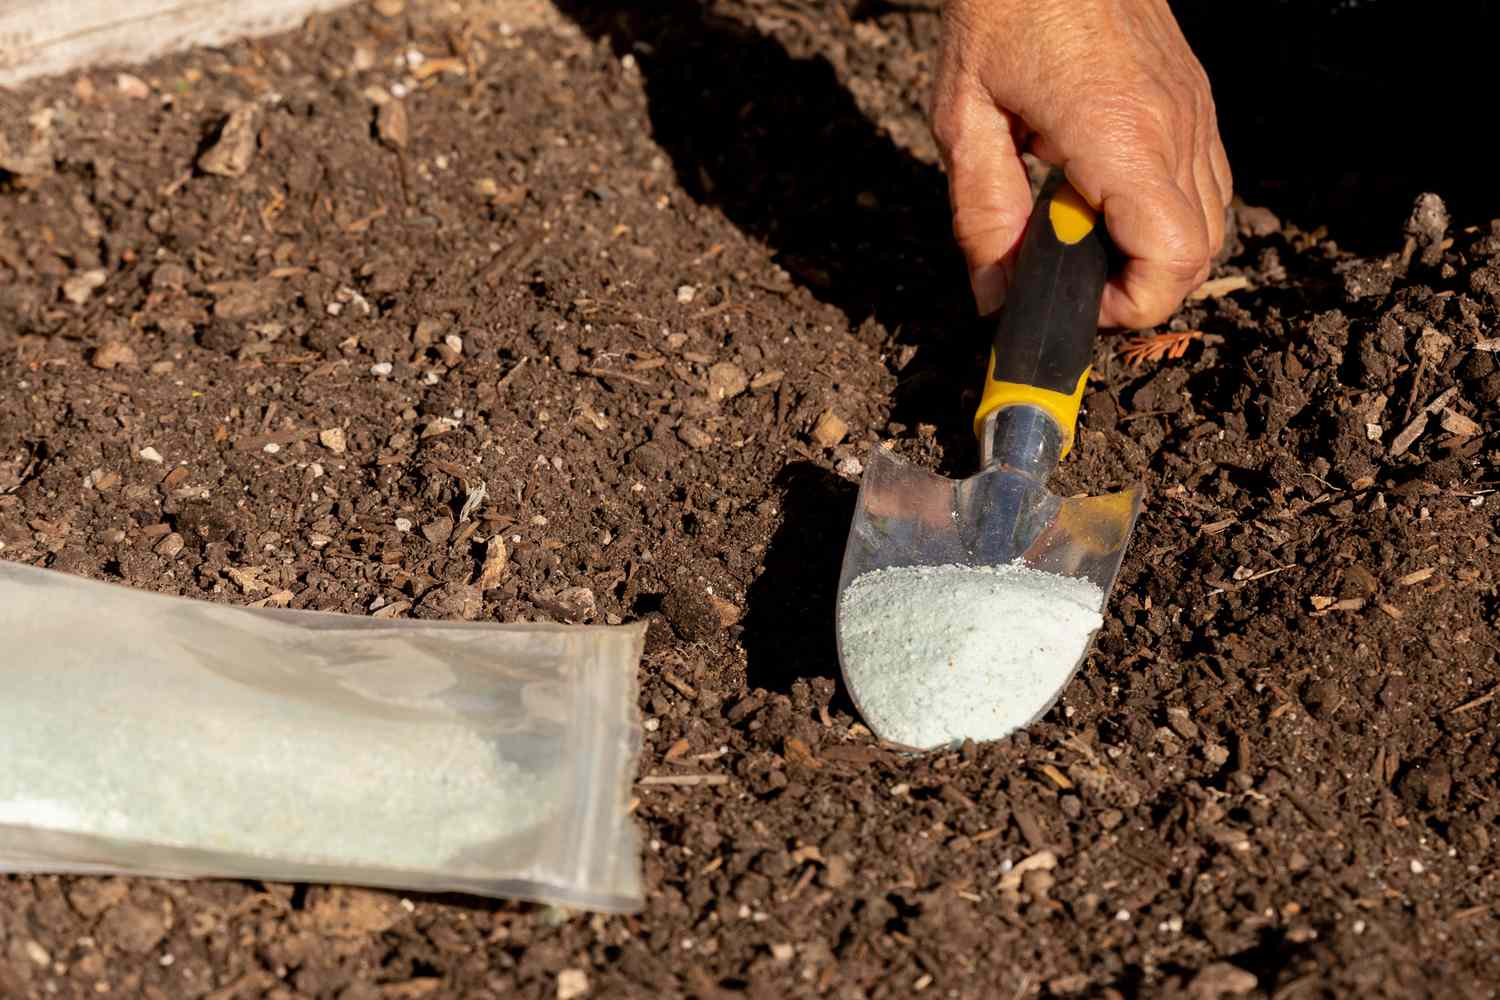
Step 2: Measure the Ingredients
Now that you have gathered all the ingredients for your seed starting mix, it’s important to measure them accurately. Measuring the ingredients correctly will help maintain the proper balance and ensure the desired quality of your mix.
Here’s how you can measure the ingredients:
- Using a scale: If you have a kitchen scale, it can be a precise way to measure the ingredients. Simply place your mixing bowl on the scale and measure the desired weight of each ingredient. Make sure to zero out the weight of the bowl before adding the ingredients for accurate measurements.
- Using measuring cups and spoons: If you don’t have a scale, you can use measuring cups and spoons. Fill the cups or spoons with the appropriate amounts of each ingredient and level off the excess with a straight edge for consistent measurements.
Remember to follow the ratios mentioned in the previous step for a well-balanced seed starting mix. You can adjust the quantities depending on the size of the batch you want to make, but try to maintain the same ratio of ingredients.
While measuring the ingredients, try to handle them gently to avoid compacting or compressing them. This will help maintain the desired properties of each ingredient in the mix.
Once you have accurately measured all the ingredients, set them aside and get ready for the next step: mixing them together.
When making seed starting mix, use a combination of peat moss, vermiculite, and perlite for good moisture retention and aeration. Mix in a small amount of compost for added nutrients.
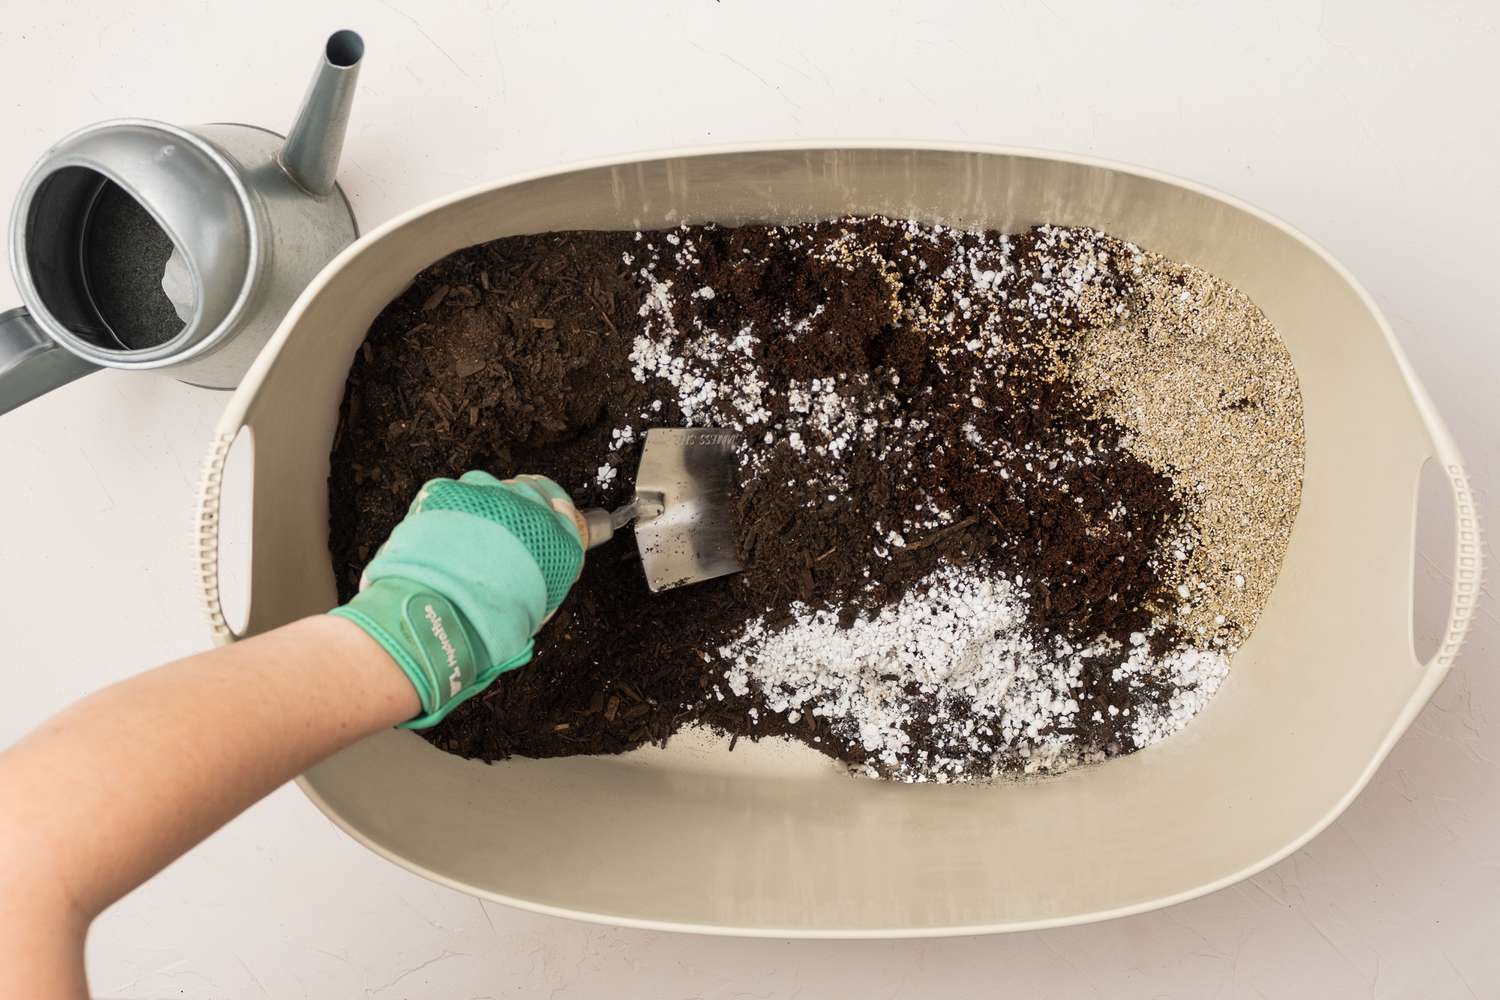
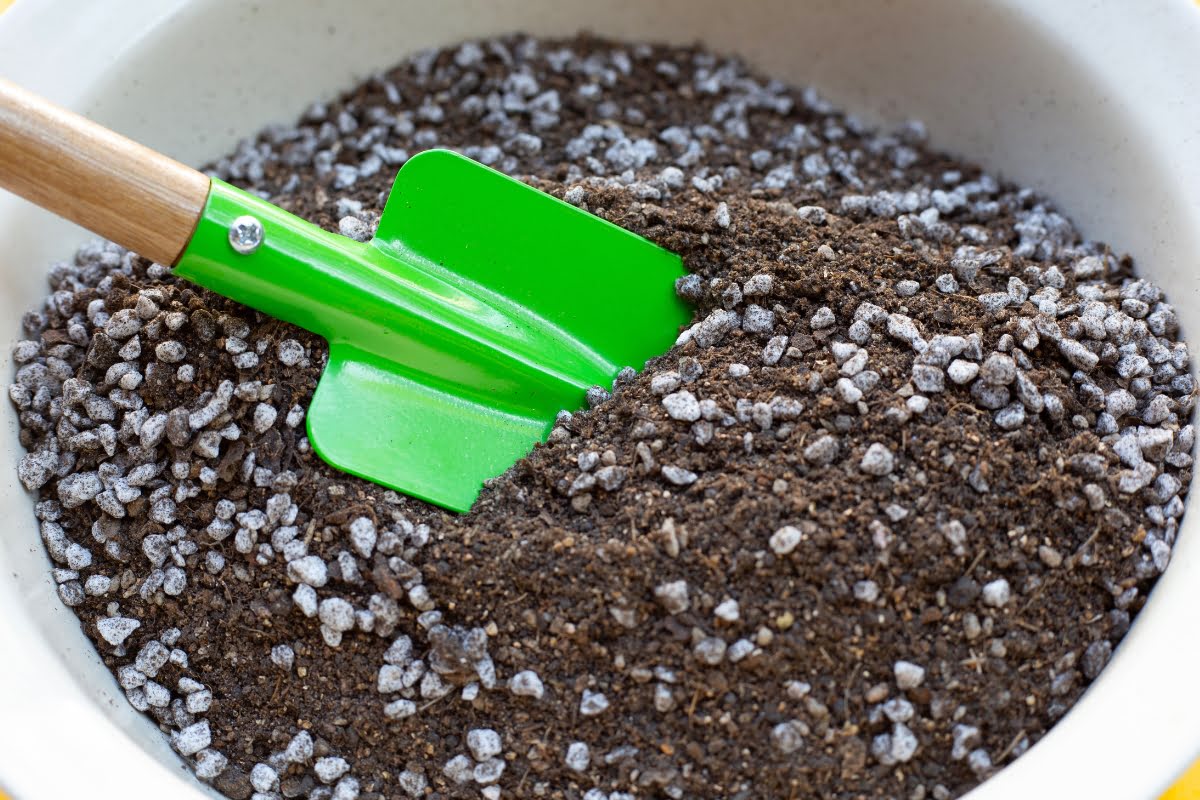
Step 3: Mix the Ingredients
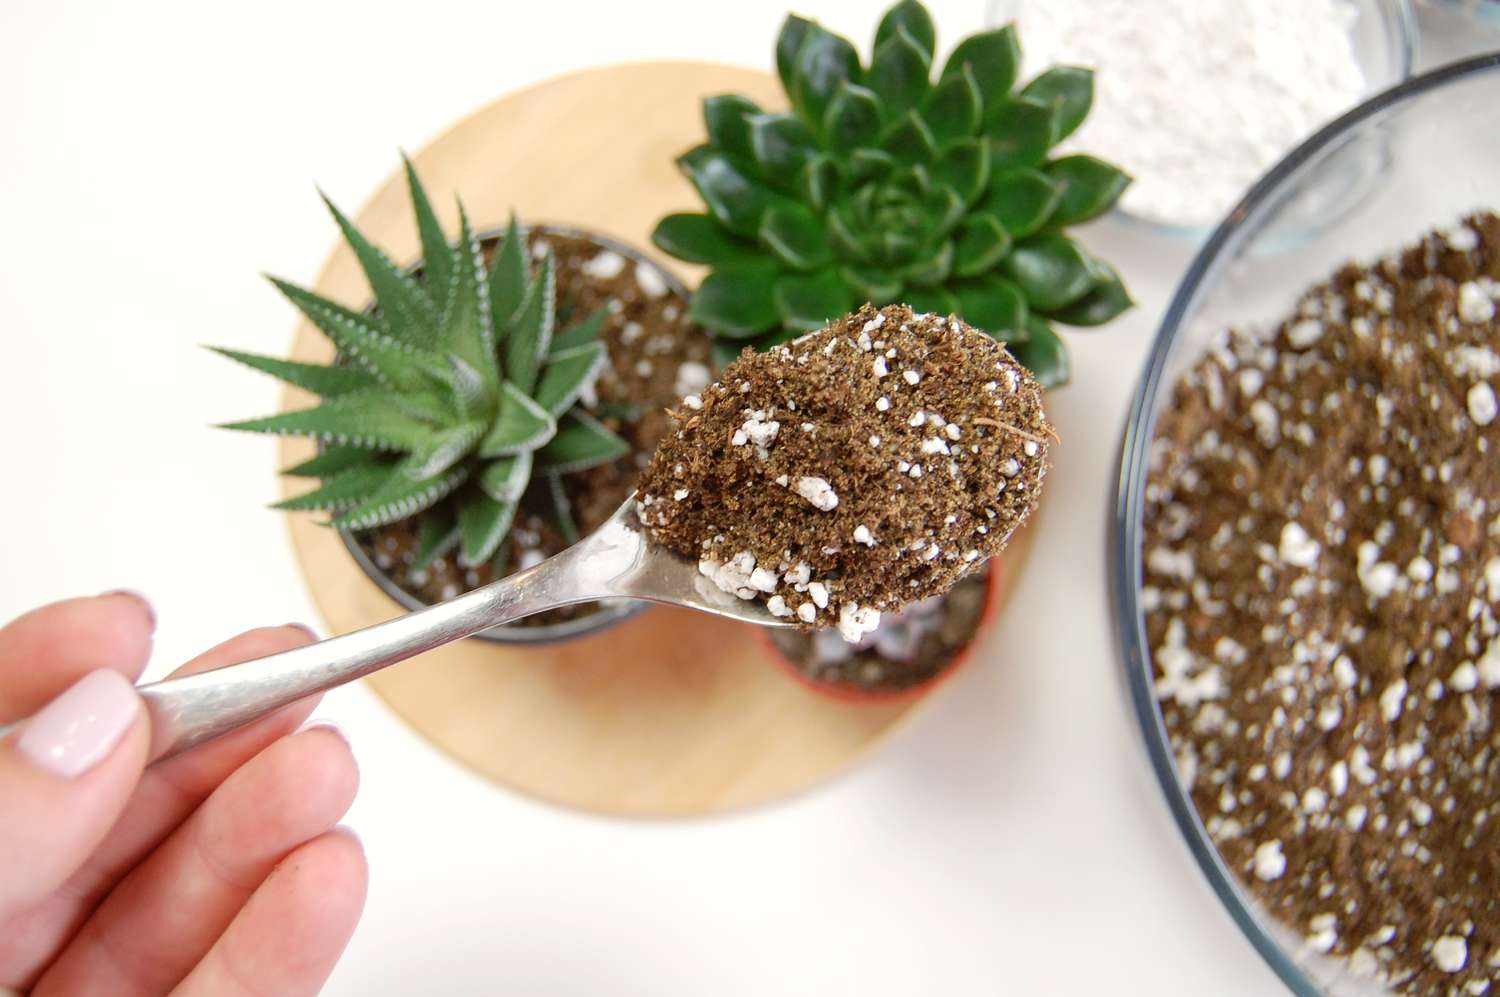
Now that you have measured all the ingredients for your seed starting mix, it’s time to mix them together. Mixing the ingredients thoroughly will ensure that they are well-blended and distributed evenly, creating a uniform seed starting mix.
Here’s how you can mix the ingredients:
- Start by placing all the measured ingredients in a container or a mixing bowl.
- Using a large spoon or your hands, gently stir the ingredients together. Make sure to break up any clumps and ensure that the ingredients are well-mixed.
- Continue stirring or mixing until all the ingredients are evenly distributed throughout the mix. This will ensure that every scoop of the mix contains a balanced combination of peat moss, vermiculite, perlite, compost, and organic matter.
- Pay attention to the texture of the mix. It should be loose, crumbly, and well-aerated. If it feels compacted or clumpy, gently break it apart with your hands or a fork to improve its texture.
While mixing the ingredients, it’s important to handle them gently to avoid excessive compaction or altering the properties of the individual ingredients. Mixing them gently will help maintain the desired characteristics of the seed starting mix.
Once you are satisfied with the mixing, your seed starting mix is ready to use!
Remember that the seed starting mix should be slightly damp but not overly wet. If it feels too dry, moisten it with a sprayer or by slowly adding small amounts of water and mixing thoroughly. You want the mix to be moist enough to provide adequate moisture for the seeds to germinate but not so wet that it becomes waterlogged and prone to fungal growth.
Now that you have created your own seed starting mix, you are one step closer to successfully starting your seeds and growing healthy seedlings. The next step is to test the moisture level of your mix, which we will cover in the following step.
Read more: How To Make Soil Mix For Cactus
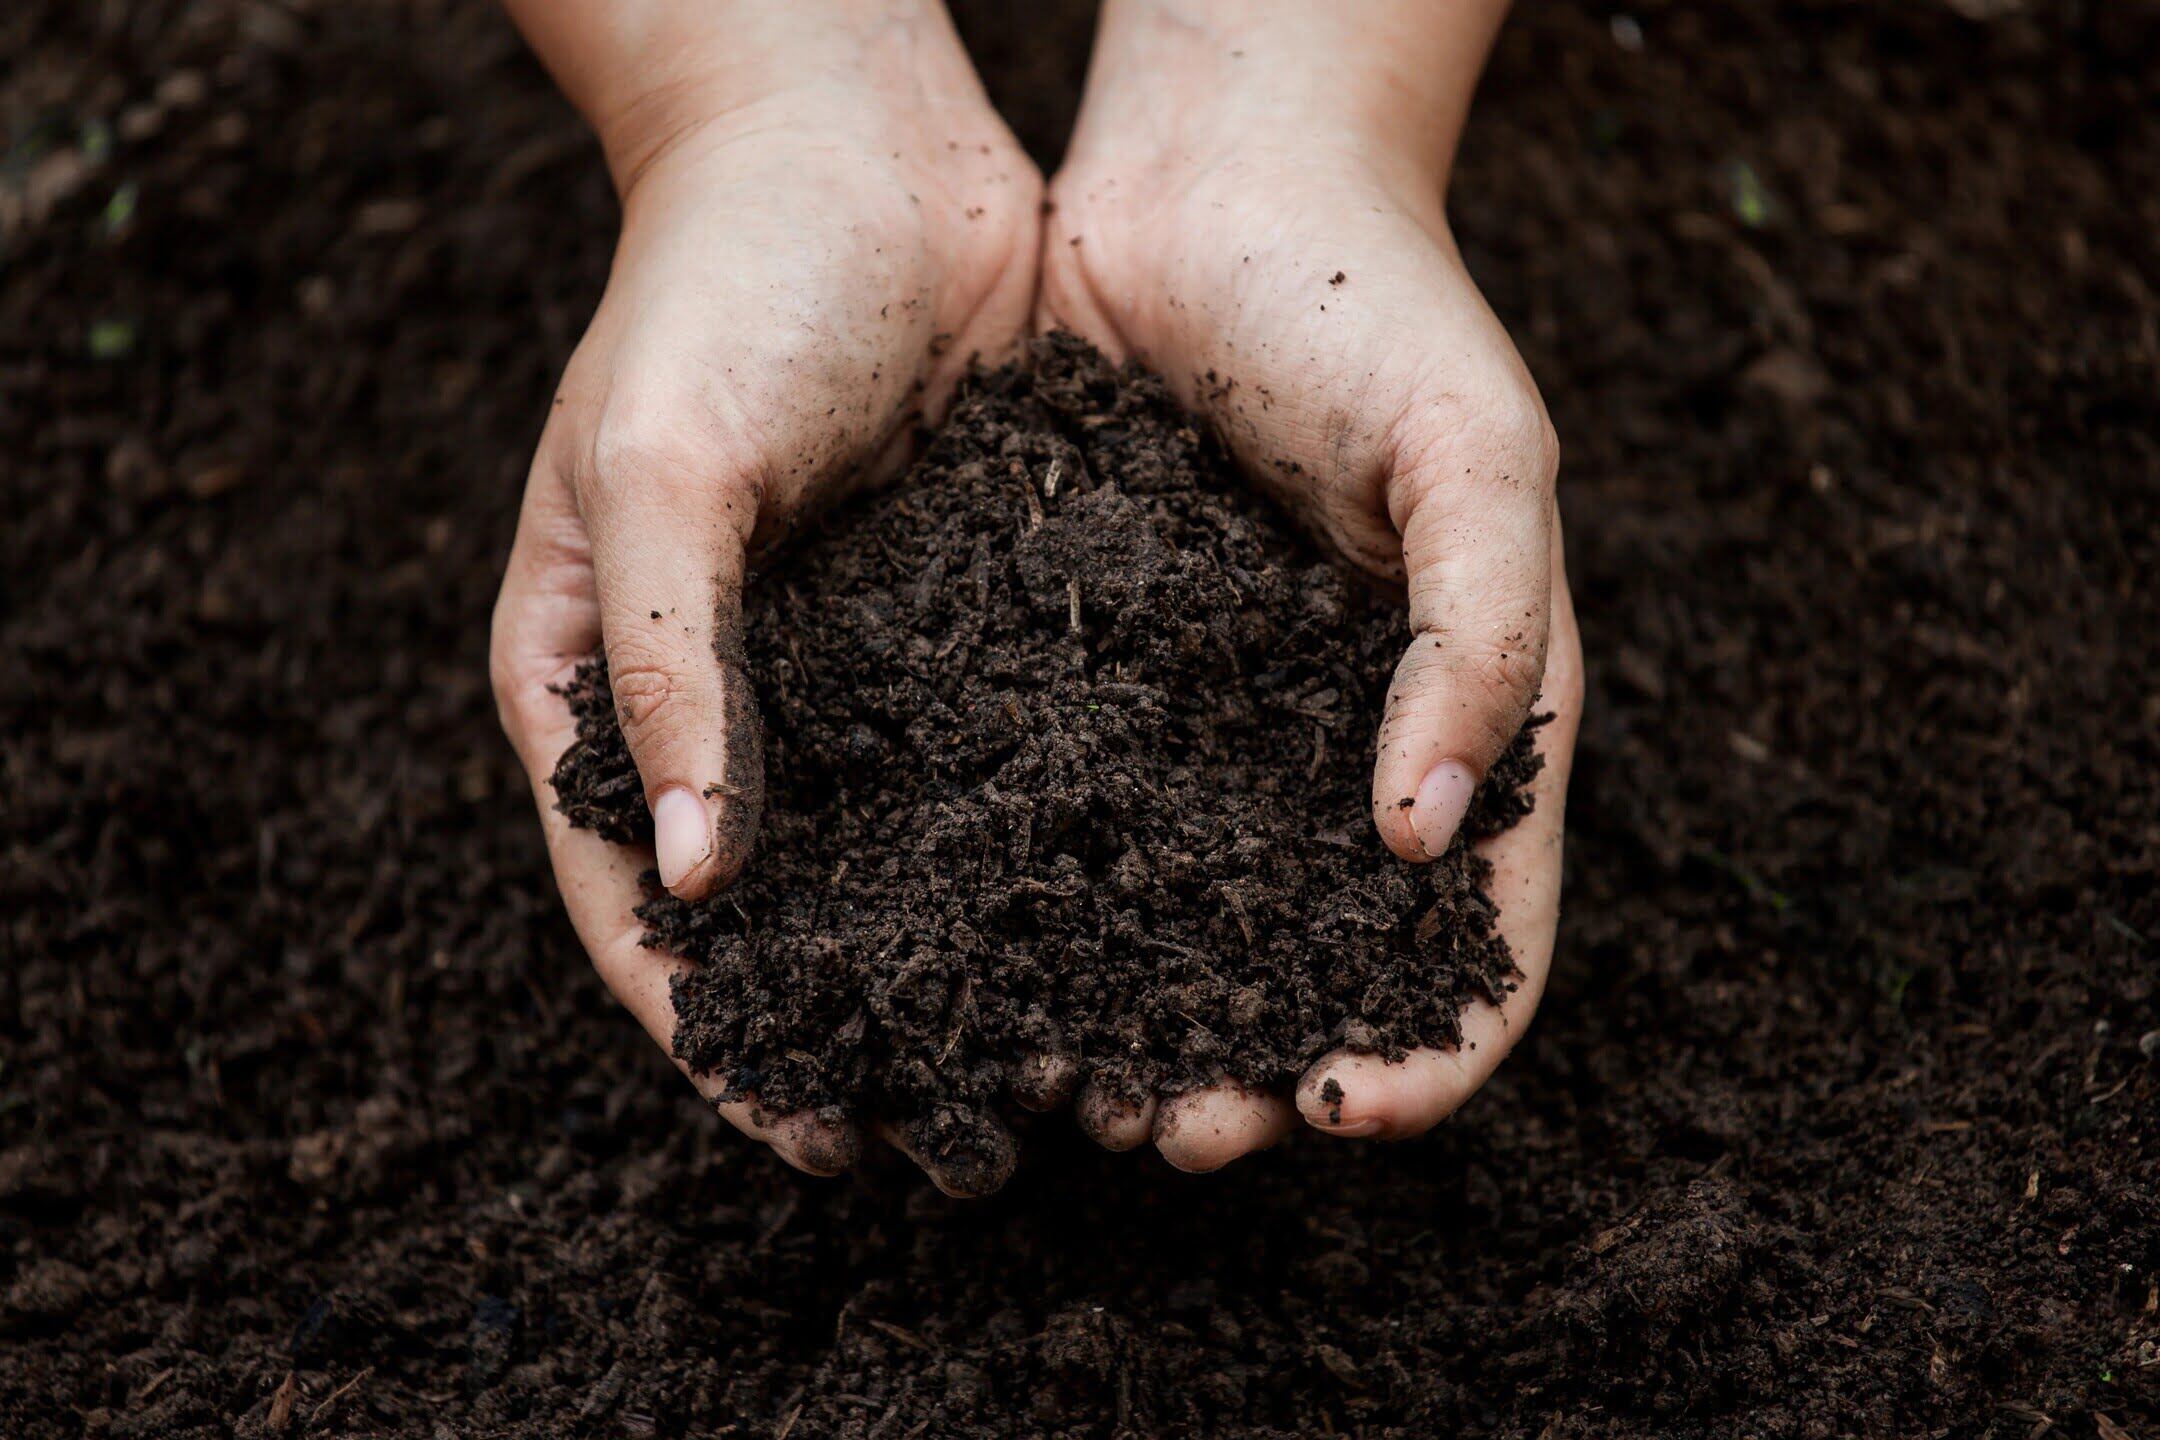
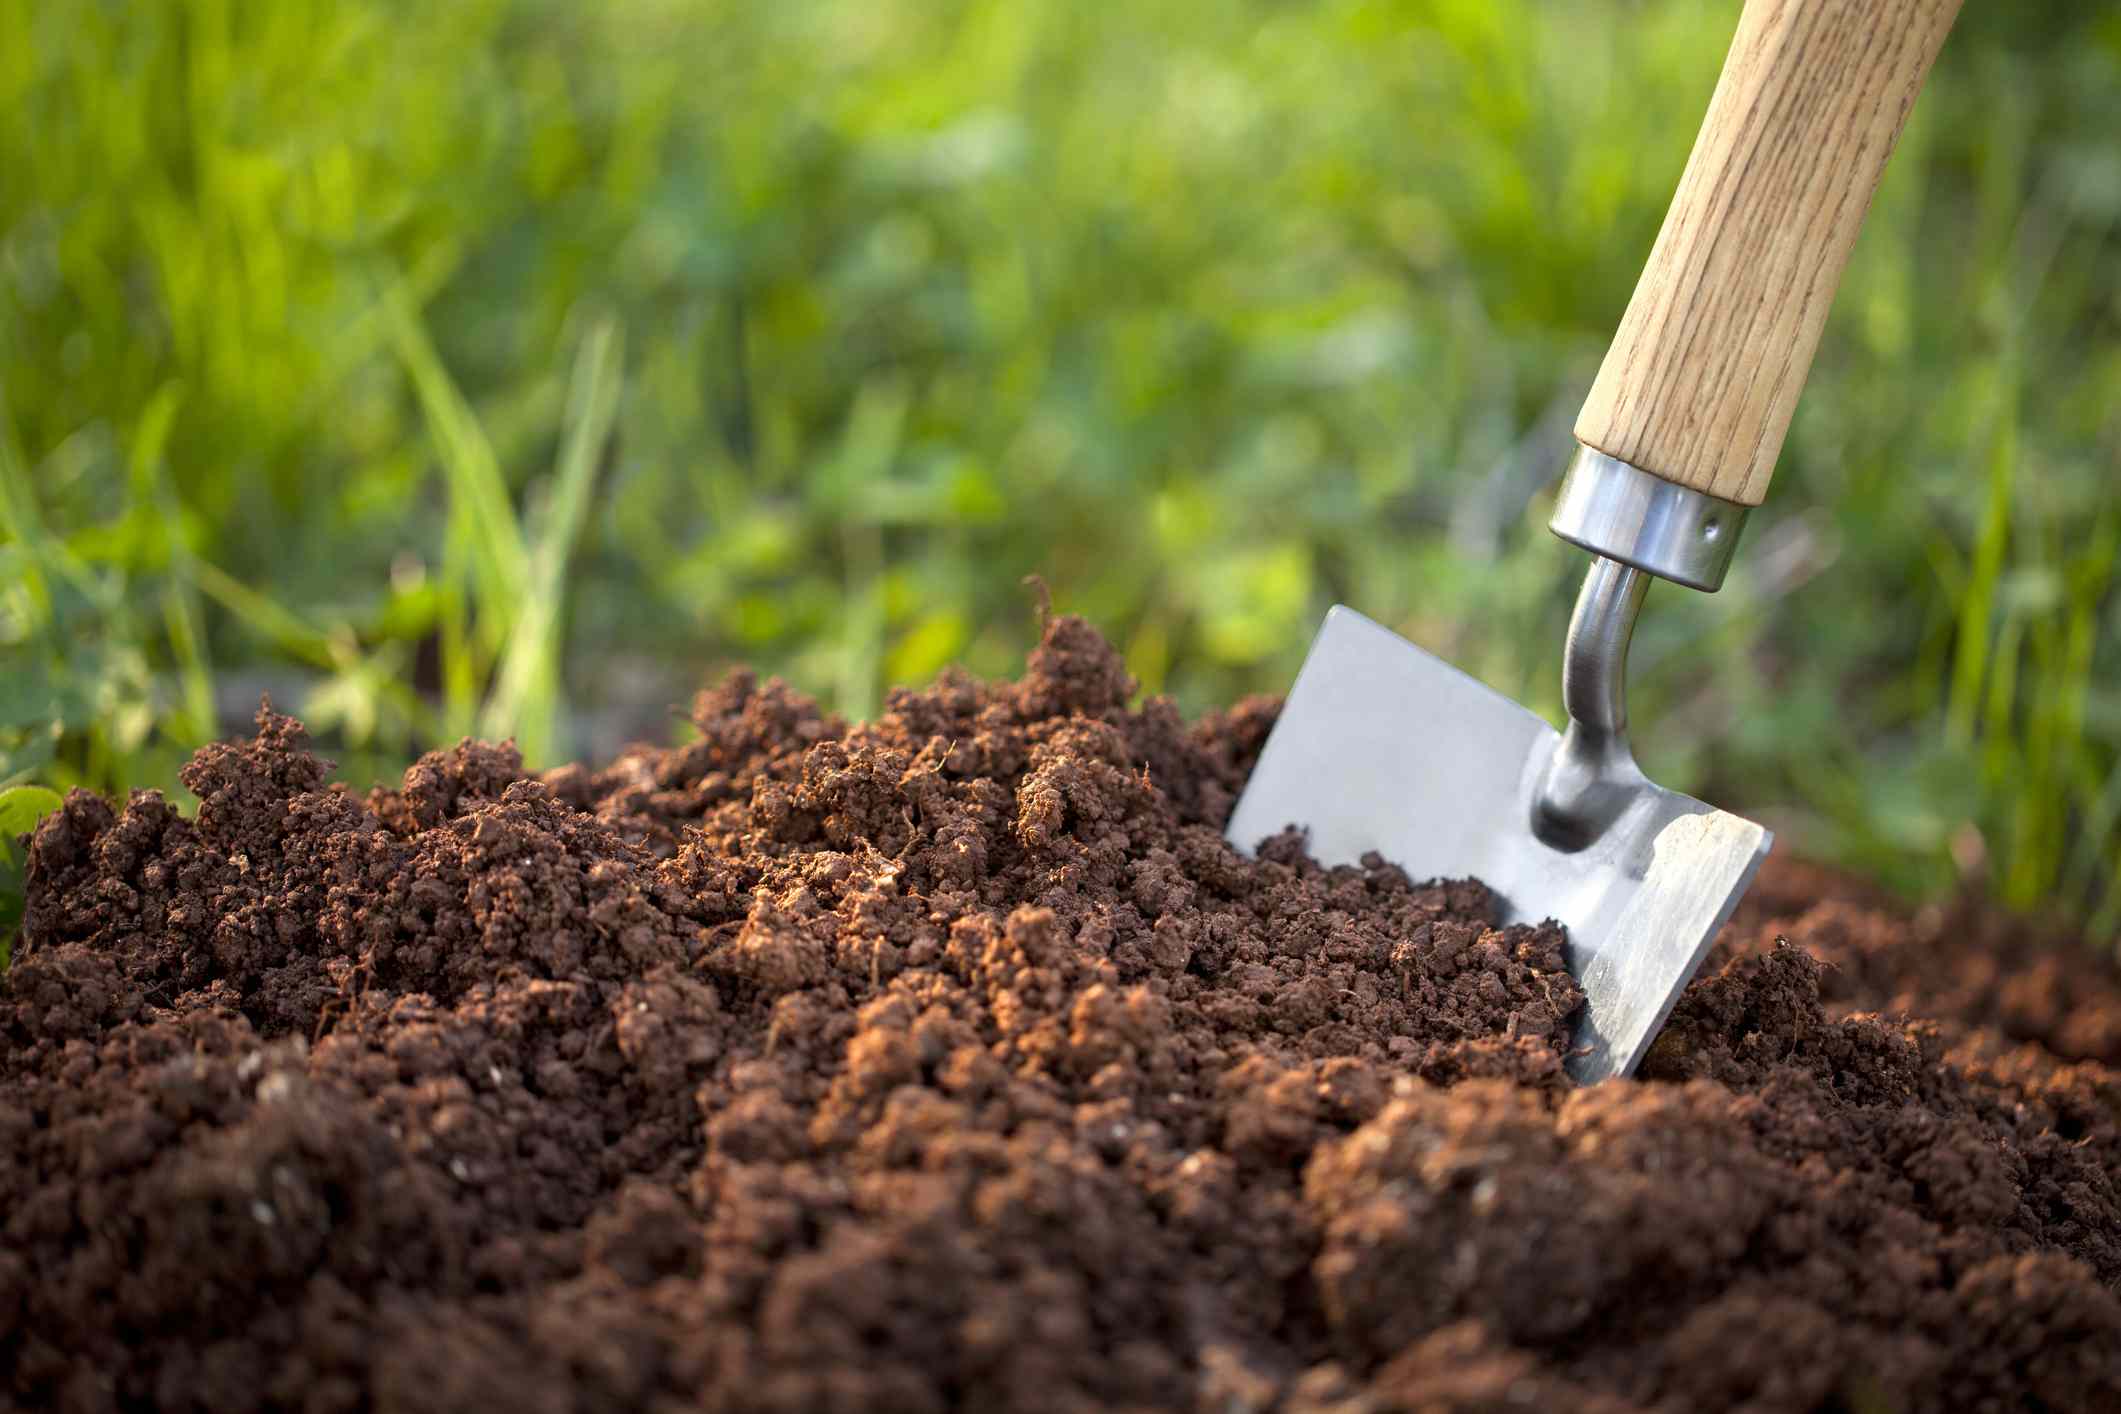
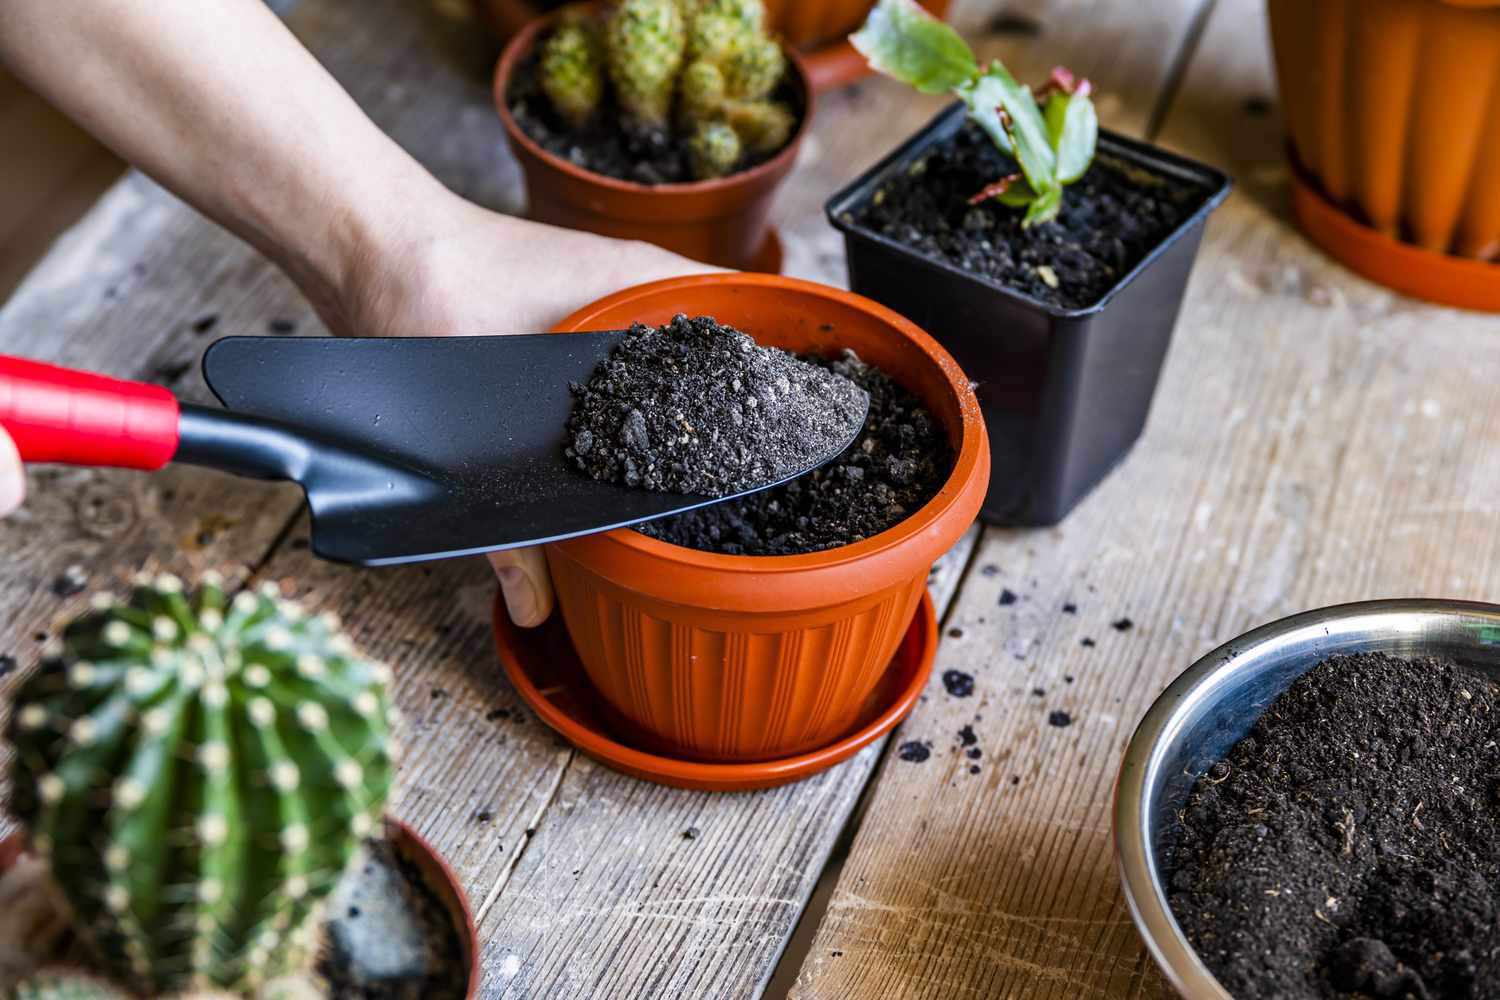
Step 4: Test the Moisture Level
After mixing the ingredients for your seed starting mix, it’s crucial to test the moisture level. Proper moisture is essential for seed germination and the healthy growth of seedlings. Testing the moisture level will help ensure that your seed starting mix is at the optimal moisture level for successful seed germination.
Here’s how you can test the moisture level:
- Take a small handful of the seed starting mix and squeeze it gently in your hand.
- If the mix holds its shape and feels slightly damp without dripping water, it is at the right moisture level. This means it has enough moisture to support seed germination without being overly wet.
- If the mix falls apart easily and feels dry, it is too dry and will need to be moistened. Sprinkle or spray some water onto the mix and mix it thoroughly until it reaches the proper moisture level.
- If the mix feels very wet and water drips out when squeezed, it is overly saturated and too wet. In this case, you will need to add more dry ingredients like peat moss, vermiculite, or perlite to absorb the excess moisture and improve the texture.
Keep in mind that different seeds have different moisture requirements. Some seeds, like lettuce or basil, prefer a slightly moister environment, while others, like peppers or tomatoes, prefer a slightly drier environment. Adjust the moisture level of your mix accordingly to meet the specific needs of the seeds you are starting.
If you are unsure about the moisture level, err on the side of caution and aim for a slightly drier mix. It’s easier to add moisture later if needed than to deal with an overly wet mix that can lead to issues like root rot or damping-off disease.
Now that you have tested the moisture level of your seed starting mix and adjusted it if necessary, your mix is ready to be used for sowing seeds. Next, we will discuss the proper way to store your seed starting mix to ensure its quality over time.
Step 5: Store Your Seed Starting Mix
Once you have created your seed starting mix, it’s important to store it properly to maintain its quality over time. By taking proper storage measures, you can ensure that your seed starting mix remains in good condition and ready to use whenever you need it.
Here are some tips for storing your seed starting mix:
- Choose an airtight container: Transfer the seed starting mix to a clean, dry, and airtight container. This will help prevent moisture from infiltrating the mix and keep it fresh for a longer period. Consider using plastic storage containers with secure lids or resealable bags.
- Label the container: It’s important to label the container with the date of preparation and the ingredients used. This way, you can keep track of the age of the mix and easily identify it when needed.
- Store in a cool and dry place: Find a cool and dry location to store the seed starting mix. Excessive heat and humidity can lead to the growth of mold or bacterial contamination. A basement or a cool closet can be suitable storage spaces.
- Avoid direct sunlight: Sunlight can break down some of the organic components in the seed starting mix and degrade its quality. Keep the container away from direct sunlight, preferably in a dark or shaded area.
- Check for moisture periodically: Even though the mix is stored in an airtight container, it’s a good idea to check for moisture levels periodically. If you notice any signs of excess moisture or mold growth, it may be necessary to dry out the mix or discard it and prepare a fresh batch.
By following these storage tips, you can extend the shelf life of your seed starting mix and ensure that it remains viable and effective for future use.
Keep in mind that seed starting mixes are best used within a year of preparation. Over time, the organic components in the mix can break down, and the overall quality may decline. It’s always a good idea to prepare a fresh batch each year for optimal results.
With your seed starting mix now properly stored, you are ready to embark on your seed starting journey. Happy gardening!
Conclusion
Congratulations! You have successfully learned how to make your own seed starting mix. By creating your own mix, you have the opportunity to tailor the ingredients to suit your specific gardening needs and ensure the best possible conditions for your seeds to germinate and grow into healthy seedlings.
Throughout this guide, we covered each step of the process, from gathering the necessary materials to storing the seed starting mix. By following these steps, you have gained the knowledge and skills to create a high-quality seed starting mix at home.
Remember, the key to a successful seed starting mix is to maintain a balanced combination of ingredients. Peat moss, vermiculite, perlite, compost, and organic matter each play a crucial role in providing moisture retention, aeration, and nutrients for your growing seeds.
As you continue your gardening journey, feel free to experiment with different ratios and ingredients to find the mix that works best for your specific plants and growing conditions. Gardening is a continuous learning process, and adapting your techniques to suit your unique garden will lead to even greater success.
Now that you have your seed starting mix ready, it’s time to plant your seeds, provide them with the right care, and watch them grow into vibrant and thriving plants. Remember to provide adequate light, water, and warmth to your seedlings, and soon enough, you’ll be enjoying the bountiful rewards of your efforts.
Thank you for joining us on this seed starting mix-making journey. We hope this guide has provided you with valuable insights and empowered you to create the perfect environment for your seeds to flourish. Happy gardening!
Frequently Asked Questions about How To Make Seed Starting Mix
Was this page helpful?
At Storables.com, we guarantee accurate and reliable information. Our content, validated by Expert Board Contributors, is crafted following stringent Editorial Policies. We're committed to providing you with well-researched, expert-backed insights for all your informational needs.


0 thoughts on “How To Make Seed Starting Mix”