Home>Garden Essentials>How To Start Wisteria Seeds
Garden Essentials
How To Start Wisteria Seeds
Modified: March 16, 2024
Learn how to start wisteria seeds and create a beautiful garden. Discover expert tips and techniques for successful seed germination and growing wisteria plants.
(Many of the links in this article redirect to a specific reviewed product. Your purchase of these products through affiliate links helps to generate commission for Storables.com, at no extra cost. Learn more)
Introduction
Are you a garden enthusiast who admires the beauty of wisteria flowers? Have you ever thought about growing wisteria from seeds? While it may seem daunting, starting wisteria seeds can be a rewarding and fulfilling gardening experience. By following the right steps and providing proper care, you can grow your own vibrant wisteria plants in your garden.
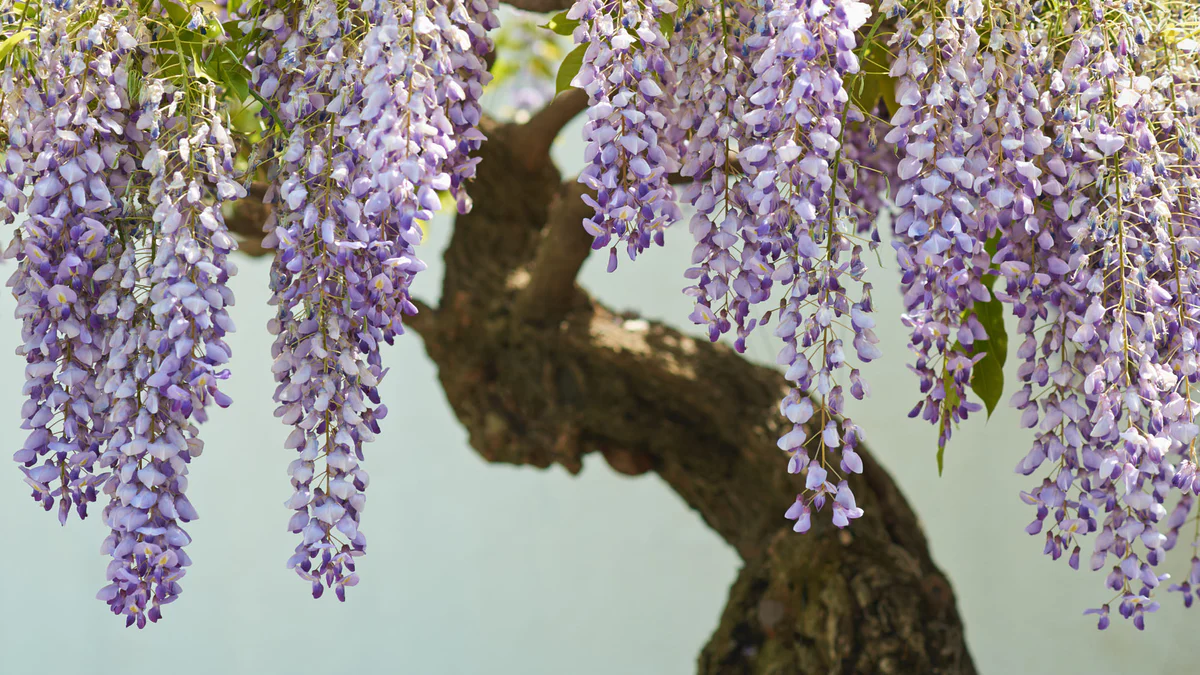
Wisteria, known for its stunning cascades of colorful blooms, is a perennial vine that can add charm and elegance to any landscape. It is a favorite among gardeners due to its vigorous growth, stunning flowers, and enchanting fragrance. While wisteria is commonly propagated through cuttings or grafting, starting from seeds can be a cost-effective and exciting way to grow your own plants.
In this article, we will guide you through the process of starting wisteria seeds and provide you with valuable tips on nurturing the seedlings into healthy and robust plants. So, roll up your sleeves and get ready to embark on a journey of growing wisteria from seeds!
Key Takeaways:
- Grow your own vibrant wisteria plants by starting wisteria seeds with patience and proper care. Enjoy the rewarding journey of nurturing these magnificent vines from tiny seeds to stunning blooms.
- Provide optimal conditions for wisteria seedlings to thrive by following a step-by-step guide. From gathering supplies to planting in your garden, enjoy the process and beauty of growing wisteria from seeds.
Read more: How To Germinate Wisteria Pods
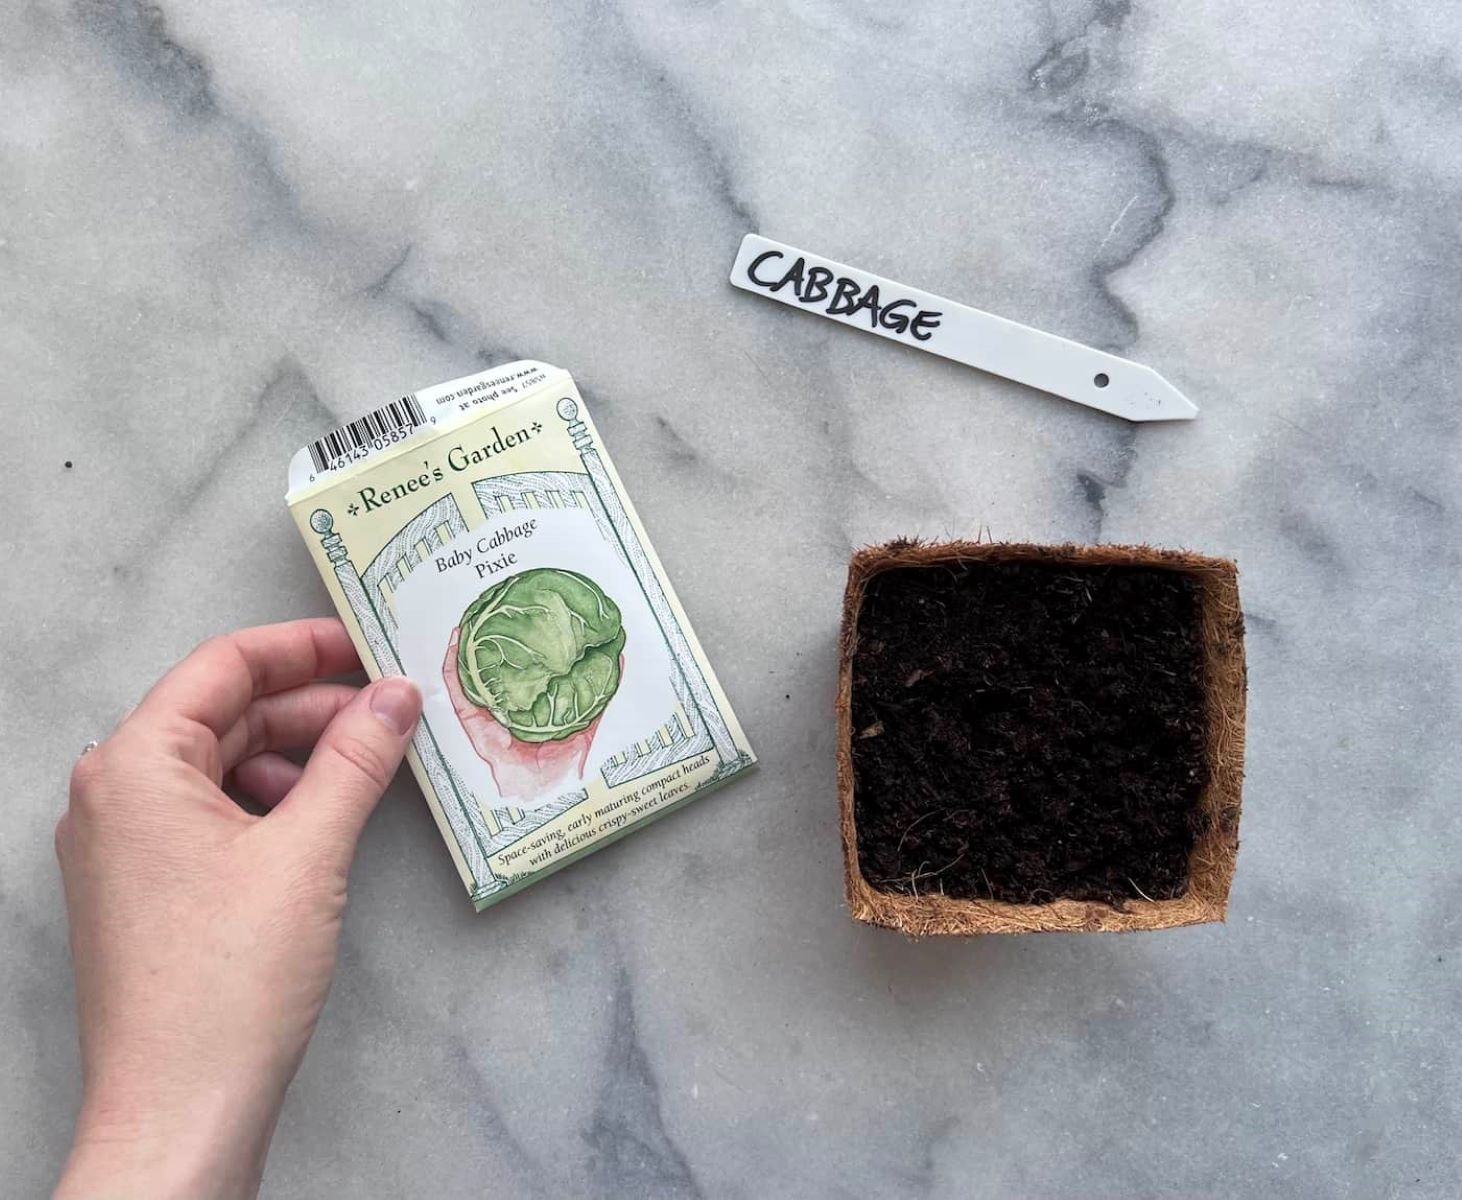
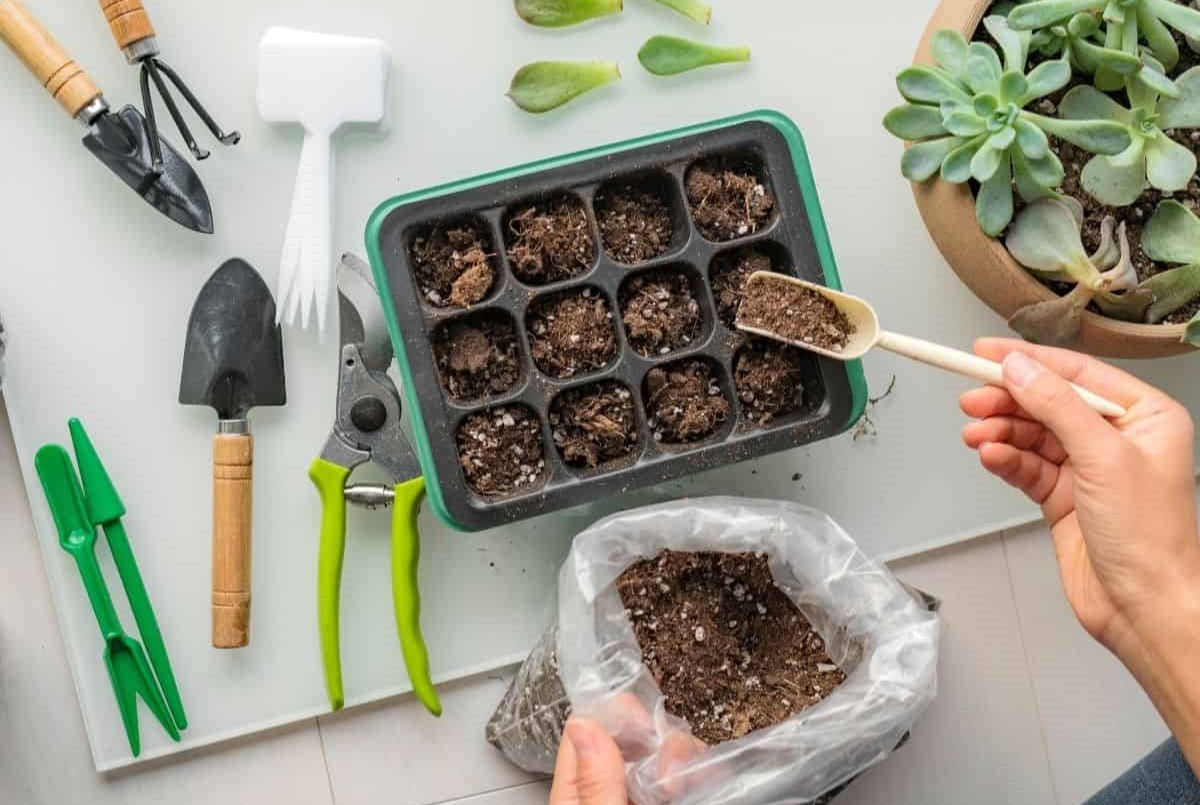
Step 1: Gather Supplies
Before you begin the process of starting wisteria seeds, it’s important to gather all the necessary supplies. Having everything ready will make the process smoother and ensure the success of your wisteria seed-growing venture.
Here are the supplies you will need:
- Wisteria seeds: Obtain wisteria seeds from a reputable source. You can either purchase them online or collect them from mature wisteria plants in your area.
- Potting mix: Choose a well-draining potting mix that is suitable for starting seeds. Avoid heavy soils that retain water, as they can lead to root rot.
- Pots or containers: Select containers that are at least 4-6 inches deep to allow sufficient room for root development.
- Labels: Use labels or markers to keep track of the different wisteria varieties or planting dates.
- Watering can or spray bottle: You will need a watering can or spray bottle to provide moisture to the seeds and seedlings.
- Plastic wrap or seed tray cover: Covering the pots or seed trays with plastic wrap or a seed tray cover will help create a humid environment ideal for seed germination.
- Grow lights or a sunny location: Wisteria seeds require bright, indirect light to germinate. If you don’t have access to a sunny location, use fluorescent grow lights to provide adequate lighting.
- Water source: Ensure you have easy access to a water source for regular watering of the seedlings.
- Plant fertilizer: Once the seedlings are established, you may need to provide them with a balanced liquid fertilizer to promote healthy growth.
By gathering these supplies in advance, you will set yourself up for success when it comes to starting wisteria seeds. Now that you are fully equipped, let’s move on to the next step – harvesting the wisteria seeds.
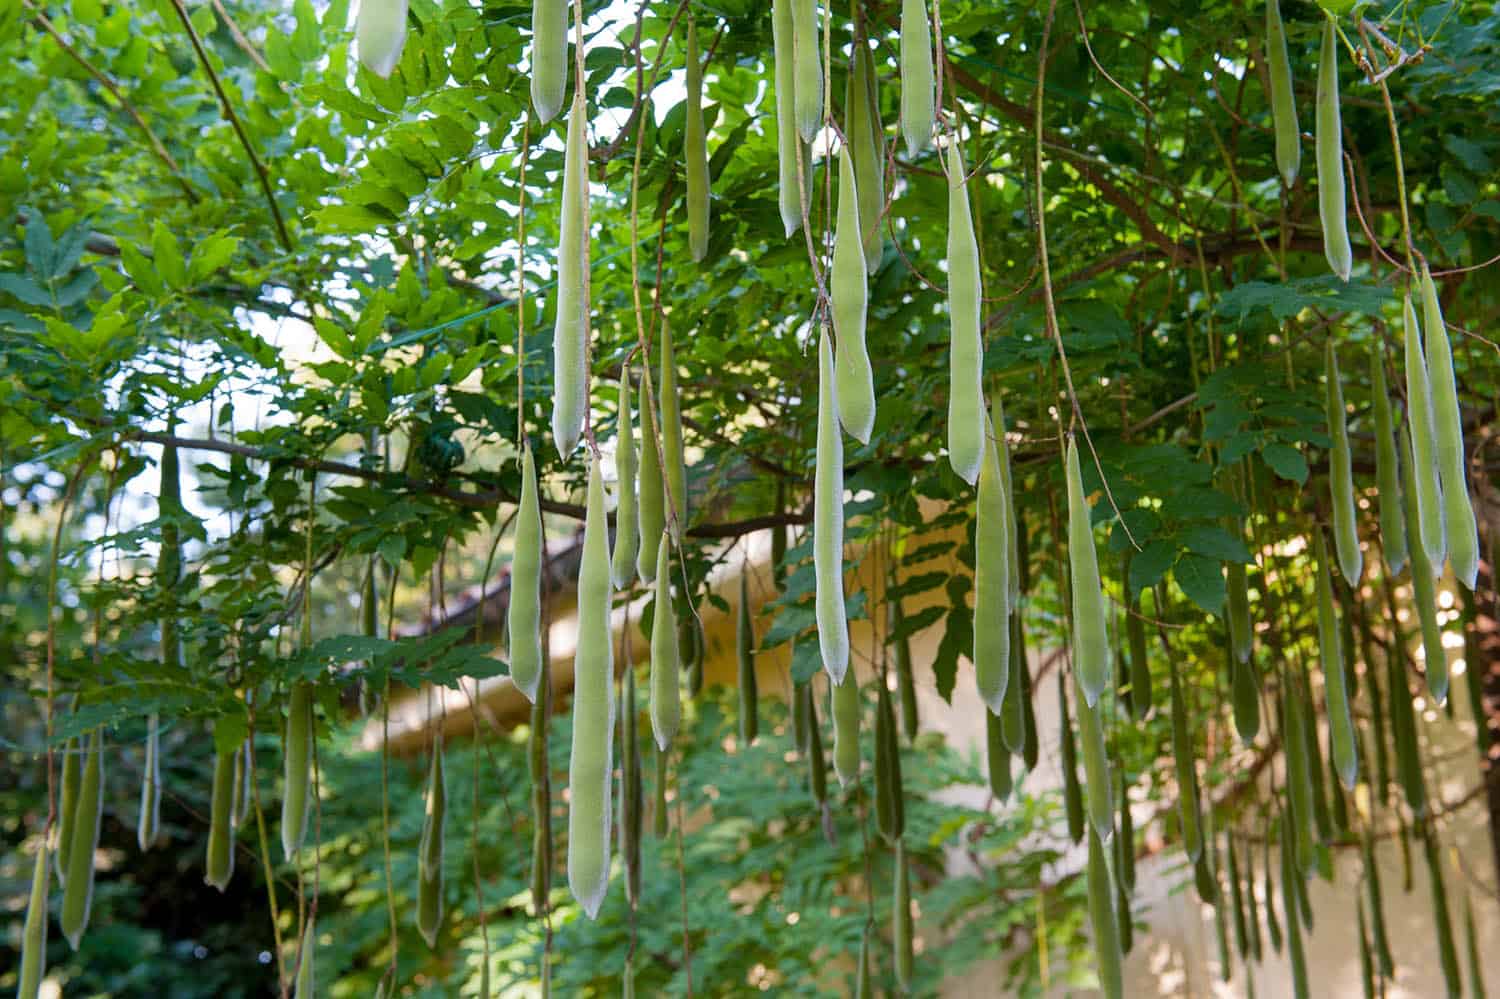
Step 2: Harvest Wisteria Seeds
Once you have gathered all the necessary supplies, the next step is to harvest the wisteria seeds. Harvesting wisteria seeds involves collecting the seed pods from mature wisteria plants.
Here’s how to harvest wisteria seeds:
- Timing: Wait until the wisteria seed pods have turned brown and dry on the vine. This usually occurs in late summer or early fall.
- Locating the seed pods: Inspect the wisteria plant and locate the dried seed pods. They typically hang on the vine and resemble dried bean pods.
- Removing the seed pods: Gently snip the seed pods from the wisteria vine using pruning shears. Place the seed pods in a container or paper bag to prevent seed loss.
- Drying the pods: Allow the seed pods to dry completely in a well-ventilated area for about two weeks. This will ensure that the seeds are fully mature and ready for planting.
- Opening the pods: Once the seed pods are dry, gently open them to reveal the wisteria seeds inside. Be careful not to damage the seeds while opening the pods.
- Collecting the seeds: Collect the mature wisteria seeds and discard any empty or damaged ones. You can store the seeds in a labeled envelope or airtight container until you are ready to plant them.
Remember, wisteria seeds may take a few years to mature and produce flowers, so it’s important to have patience and a long-term vision. With the harvested wisteria seeds in hand, you are now ready to prepare them for germination. Let’s move on to the next step – preparing the seeds.
Step 3: Preparing the Seeds
Now that you have harvested the wisteria seeds, it’s time to prepare them for germination. Properly preparing the seeds will help increase their chances of successful germination and ensure healthy seedlings.
Follow these steps to prepare wisteria seeds:
- Scarification: Wisteria seeds have a hard outer seed coat that can inhibit germination. To help break this coat and promote germination, scarify the seeds. You can do this by gently rubbing the seeds with sandpaper or nicking them with a sharp knife. Avoid damaging the embryo inside the seed.
- Soaking: After scarification, soak the wisteria seeds in warm water for 24 hours. This will help soften the seed coat and speed up germination.
- Stratification: Wisteria seeds require a period of cold stratification to mimic the natural winter conditions they would experience in the wild. Place the soaked seeds in a damp paper towel or vermiculite, then seal them in a plastic bag. Store the bag in the refrigerator for 4-6 weeks.
- Regularly check: Check the seeds periodically during the cold stratification period to ensure they are not rotting or drying out. Keep the medium slightly moist, but not too wet.
- Check for germination: After the stratification period, remove the seeds from the refrigerator and inspect them for signs of germination. Look for tiny root tips emerging from the seeds.
By scarifying, soaking, and stratifying the wisteria seeds, you are creating optimal conditions for germination. Once you notice signs of germination, it’s time to move on to the next step – germinating the seeds.
Step 4: Germinating the Seeds
With the wisteria seeds properly prepared, it’s time to move on to the exciting process of germination. Germinating the seeds will kickstart the growth of your wisteria seedlings, bringing them one step closer to becoming mature plants.
Follow these steps to germinate wisteria seeds:
- Planting the seeds: Fill small pots or seed trays with moist potting mix. Plant one wisteria seed in each pot, burying it about 1 inch deep. Gently press the soil around the seed to ensure good contact.
- Provide proper temperature and light: Place the pots or seed trays in a warm location with temperatures between 65-75°F (18-24°C). Ensure the seedlings receive bright, indirect light. If natural light is limited, use fluorescent grow lights to supplement the light requirements.
- Maintain moisture: Keep the soil consistently moist but not waterlogged. Avoid overwatering, as it can lead to fungal issues. Consider misting the seedlings gently with a spray bottle to maintain humidity.
- Monitor germination: Wisteria seeds generally take 2-3 weeks to germinate, but it can vary. Keep a close eye on the pots and watch for the emergence of seedlings.
- Transplanting: Once the seedlings have grown a few sets of leaves and are strong enough to handle, transplant them into larger individual pots or containers. Use a well-draining potting mix and provide support like a trellis or stake for the seedlings to climb on.
Germinating wisteria seeds can be an exciting and rewarding process. As the seedlings start to emerge, you’ll witness the result of your efforts and look forward to the next stage of growing wisteria from seeds. In the next step, we will discuss how to care for your wisteria seedlings.
Soak wisteria seeds in warm water for 24 hours before planting. Plant in well-draining soil and keep moist. Provide a warm, sunny location for germination.
Read more: How To Propagate Wisteria From Seed
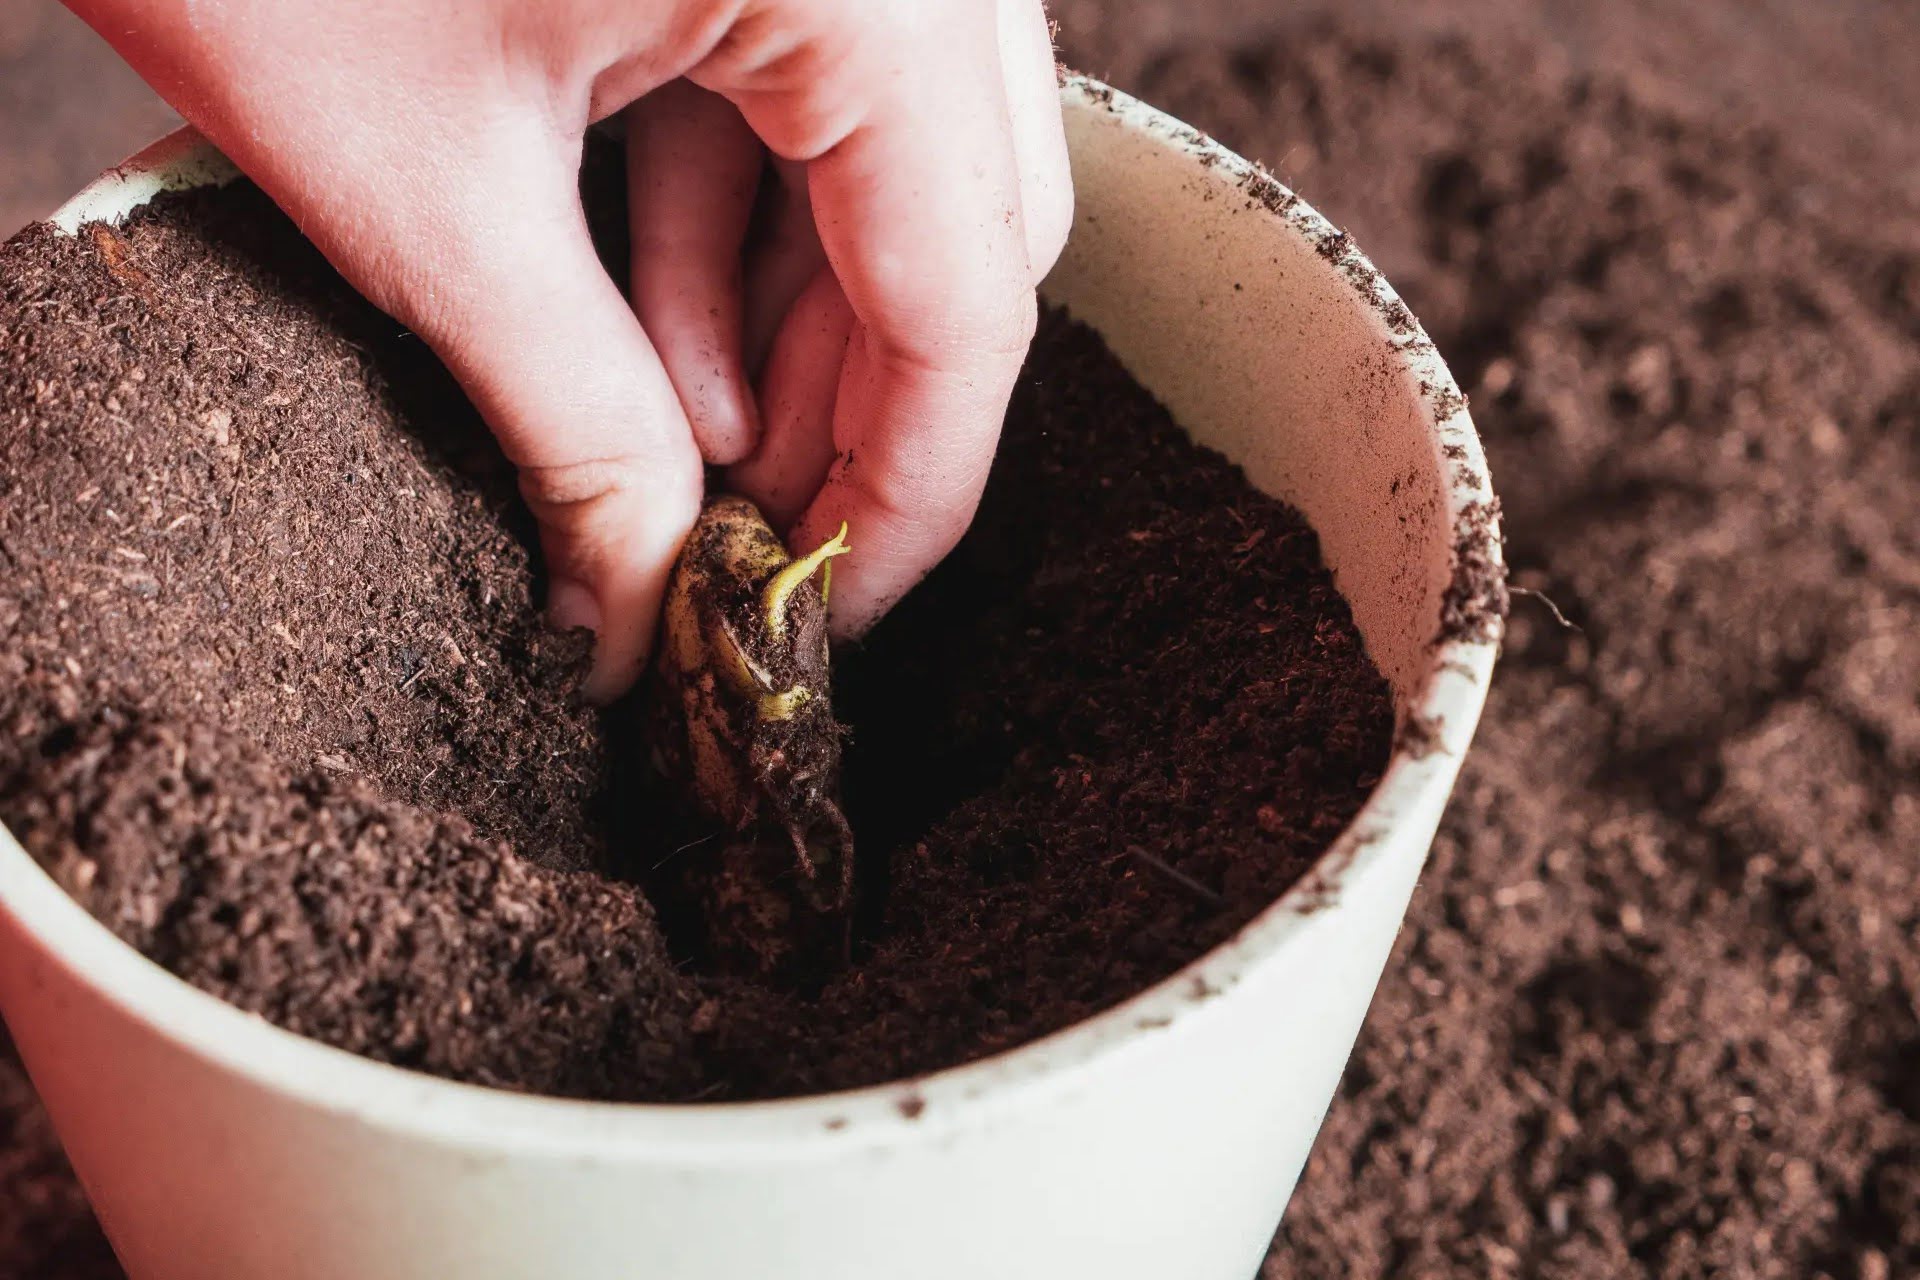
Step 5: Transplanting the Seedlings
Once your wisteria seedlings have grown a few sets of leaves and are strong enough to handle, it’s time to transplant them into larger pots or containers. Transplanting the seedlings will provide them with more space to grow and develop a stronger root system.
Follow these steps to transplant wisteria seedlings:
- Select appropriate pots: Choose pots or containers that are at least 10-12 inches in diameter and have drainage holes. This will ensure good drainage and prevent waterlogged soil.
- Prepare the pots: Fill the pots with a well-draining potting mix, leaving enough space at the top for watering. You can add some compost or organic matter to enrich the soil if desired.
- Remove seedlings from their original pots: Gently loosen the soil around the seedlings and carefully remove them from their original pots. Handle the seedlings by the leaves to avoid damaging the delicate roots.
- Plant the seedlings: Place each wisteria seedling into a prepared pot, making sure the top of the root ball is level with or slightly below the soil surface. Backfill with additional potting mix and gently firm it around the base of the seedlings.
- Water thoroughly: After transplanting, water the seedlings thoroughly to settle the soil and ensure good root-to-soil contact. Allow any excess water to drain away.
- Provide support: As wisteria is a climbing vine, it’s important to provide support for the seedlings. Install a trellis, stake, or other suitable structure near the seedlings to guide their growth and prevent them from sprawling.
Transplanting the wisteria seedlings into larger pots or containers will give them the space and stability they need to thrive. Provide adequate care and support as they continue to grow, and soon you’ll have well-established wisteria plants ready for planting in your garden. In the next step, we’ll discuss how to care for your wisteria seedlings to ensure their healthy development.
Step 6: Caring for Wisteria Seedlings
Now that your wisteria seedlings are transplanted and growing in their new pots, it’s crucial to provide them with proper care to ensure their healthy development. Consistent care and attention will help your wisteria seedlings grow into strong, resilient plants that will eventually grace your garden with their beautiful blooms.
Here are some important care tips for wisteria seedlings:
- Watering: Keep the soil lightly moist, but not waterlogged. Allow the top inch of the soil to dry out slightly between waterings. Avoid overwatering, as it can lead to root rot and other fungal diseases.
- Light: Wisteria seedlings require bright, indirect light to thrive. Place them in a location that receives at least 6-8 hours of sunlight per day. If growing indoors, use fluorescent grow lights to supplement the natural light.
- Fertilizing: Once the wisteria seedlings have been growing for a few weeks, you can start feeding them with a balanced liquid fertilizer. Follow the instructions on the fertilizer packaging for proper dilution and frequency of application.
- Pruning: As your wisteria seedlings grow, they may develop long, leggy stems. Pruning these stems will help promote bushier growth. Pinch or trim back the tips of the stems to encourage branching.
- Support: As wisteria is a climbing vine, it’s important to provide ongoing support for your seedlings. Regularly check the growing stems and gently train them onto the trellis or stake you installed.
- Pest and disease control: Monitor your wisteria seedlings for any signs of pests or diseases. Common pests that can affect wisteria include aphids and mealybugs. If necessary, treat the affected plants with organic pest control methods or consult a professional for further assistance.
By providing your wisteria seedlings with the proper care, you’ll create an optimal environment for their growth and ensure their healthy development. As your seedlings continue to thrive, it’s time to start planning for the final step – planting wisteria in your garden. Let’s move on to the next step.
Step 7: Planting Wisteria in the Garden
After nurturing your wisteria seedlings with care and watching them grow, it’s time to transplant them into your garden. Planting wisteria in the garden will allow the vines to establish themselves and eventually display their stunning blooms for all to admire.
Here’s how to successfully plant wisteria in your garden:
- Choose the right location: Select a location in your garden that receives full sun or partial shade. Ensure the soil is well-draining and fertile, as wisteria prefers soil that is slightly acidic to neutral.
- Prepare the planting hole: Dig a hole that is twice the width and as deep as the root ball of the wisteria seedling. This will give the roots plenty of room to spread out and establish themselves.
- Amend the soil: If your soil is heavy or poor in quality, amend it with organic matter, such as compost or well-rotted manure. This will help improve drainage and provide nutrients for the wisteria.
- Plant the wisteria seedling: Gently remove the wisteria seedling from its pot, taking care not to disturb the root system. Place the seedling in the planting hole, ensuring that the top of the root ball is level with or slightly above the soil surface.
- Backfill and water: Backfill the hole with soil, firming it gently around the base of the seedling. Water the newly planted wisteria thoroughly to settle the soil and remove any air pockets.
- Provide support: Install a sturdy trellis, pergola, or arbor near the wisteria seedling to provide support for the vines as they grow. Ensure the support structure is strong enough to bear the weight of mature wisteria vines.
- Mulch and water regularly: Apply a layer of organic mulch around the base of the wisteria to help conserve moisture and suppress weeds. Water the wisteria regularly, especially during dry spells, to ensure it receives adequate hydration.
With proper planting and ongoing care, your wisteria will have the opportunity to flourish and grace your garden with its stunning display of cascading blooms. Stay patient and consistent with your care, as wisteria can take several years to become fully established and produce abundant flowers.
And there you have it – a step-by-step guide to starting wisteria seeds and successfully planting them in your garden. Enjoy the process, the beauty of your wisteria, and the satisfaction of growing these magnificent vines from the seeds you carefully nurtured.
Conclusion
Starting wisteria seeds and watching them grow into beautiful, blooming vines is a rewarding experience for any garden enthusiast. The process may require patience and care, but the end result is well worth the effort. By following the steps outlined in this guide, you can successfully start wisteria seeds and nurture them into healthy, thriving plants.
From gathering supplies to harvesting the seeds, preparing them for germination, and caring for the seedlings, each step plays a crucial role in the journey of growing wisteria from seeds. Attention to detail and providing the right conditions, including proper watering, lighting, and support, will help your wisteria seedlings flourish.
Remember that wisteria plants take time to mature and produce flowers. It may take several years before you see the full potential of your wisteria vines. But as you witness those enchanting cascades of colorful blooms, you’ll be grateful for the time and effort you invested in growing wisteria from seeds.
Whether you choose to plant wisteria in your garden or in a container on your patio, these vigorous climbers will add a touch of elegance and beauty to your space. Their vibrant flowers and delightful fragrance will create a captivating ambiance that will impress anyone who visits your garden.
So, don’t hesitate to embark on this gardening adventure and start growing wisteria from seeds. With the guidance provided in this article, you have the knowledge to get started and enjoy the process of nurturing these remarkable plants. Get ready to witness the remarkable transformation of tiny seeds into magnificent wisteria vines, and let the magic of gardening unfold before your eyes.
Frequently Asked Questions about How To Start Wisteria Seeds
Was this page helpful?
At Storables.com, we guarantee accurate and reliable information. Our content, validated by Expert Board Contributors, is crafted following stringent Editorial Policies. We're committed to providing you with well-researched, expert-backed insights for all your informational needs.


0 thoughts on “How To Start Wisteria Seeds”