Home>Garden Essentials>How To Start Cabbage Seeds
Garden Essentials
How To Start Cabbage Seeds
Modified: March 16, 2024
"Learn the step-by-step process of starting cabbage seeds in your garden. Discover tips and tricks for a successful cabbage harvest. Get started today!"
(Many of the links in this article redirect to a specific reviewed product. Your purchase of these products through affiliate links helps to generate commission for Storables.com, at no extra cost. Learn more)
Introduction
Welcome to the wonderful world of gardening! If you’re a fan of fresh and nutritious vegetables, growing your own cabbage is an excellent choice. Cabbage is a versatile and hardy vegetable that can be enjoyed in a variety of dishes. Whether you’re a seasoned gardener or just starting out, this article will guide you through the process of starting cabbage seeds and nurturing them all the way to a bountiful harvest.
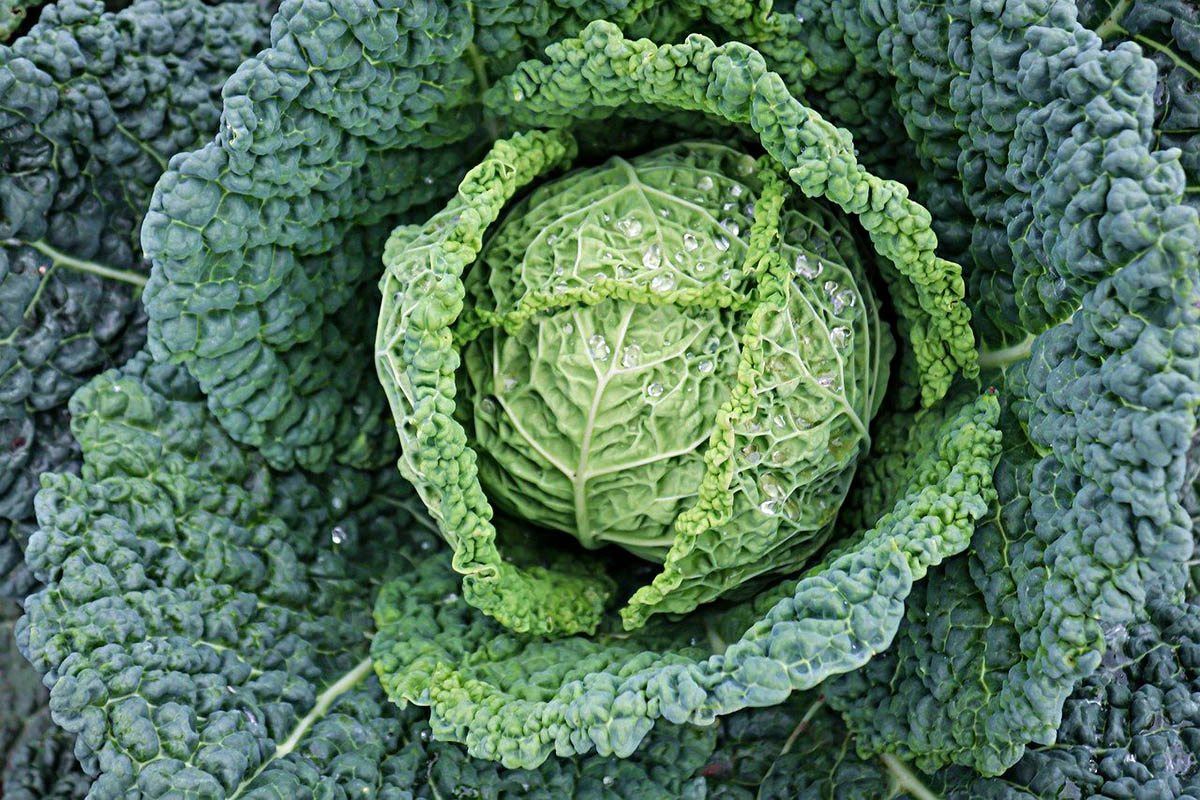
Before we dive into the step-by-step instructions, let’s take a moment to understand why starting cabbage seeds is a great option. Starting from seeds allows you to have more control over the growing process and ensures the health and quality of your plants. It also gives you the opportunity to choose from a wide variety of cabbage types, such as green cabbage, red cabbage, savoy cabbage, or even the fun and unique purple cabbage.
Now, let’s gather our supplies and get ready to embark on this exciting gardening journey!
Key Takeaways:
- Starting cabbage seeds allows you to grow your favorite cabbage varieties and enjoy a bountiful harvest. With proper care and protection, you can savor the satisfaction of homegrown, nutritious cabbage dishes.
- From preparing the soil to harvesting the cabbage heads, each step in the process is crucial for successful cabbage cultivation. Embrace the joy of gardening and connect with nature as you nurture your own delicious cabbage.
Read more: When To Plant Cabbage Seeds
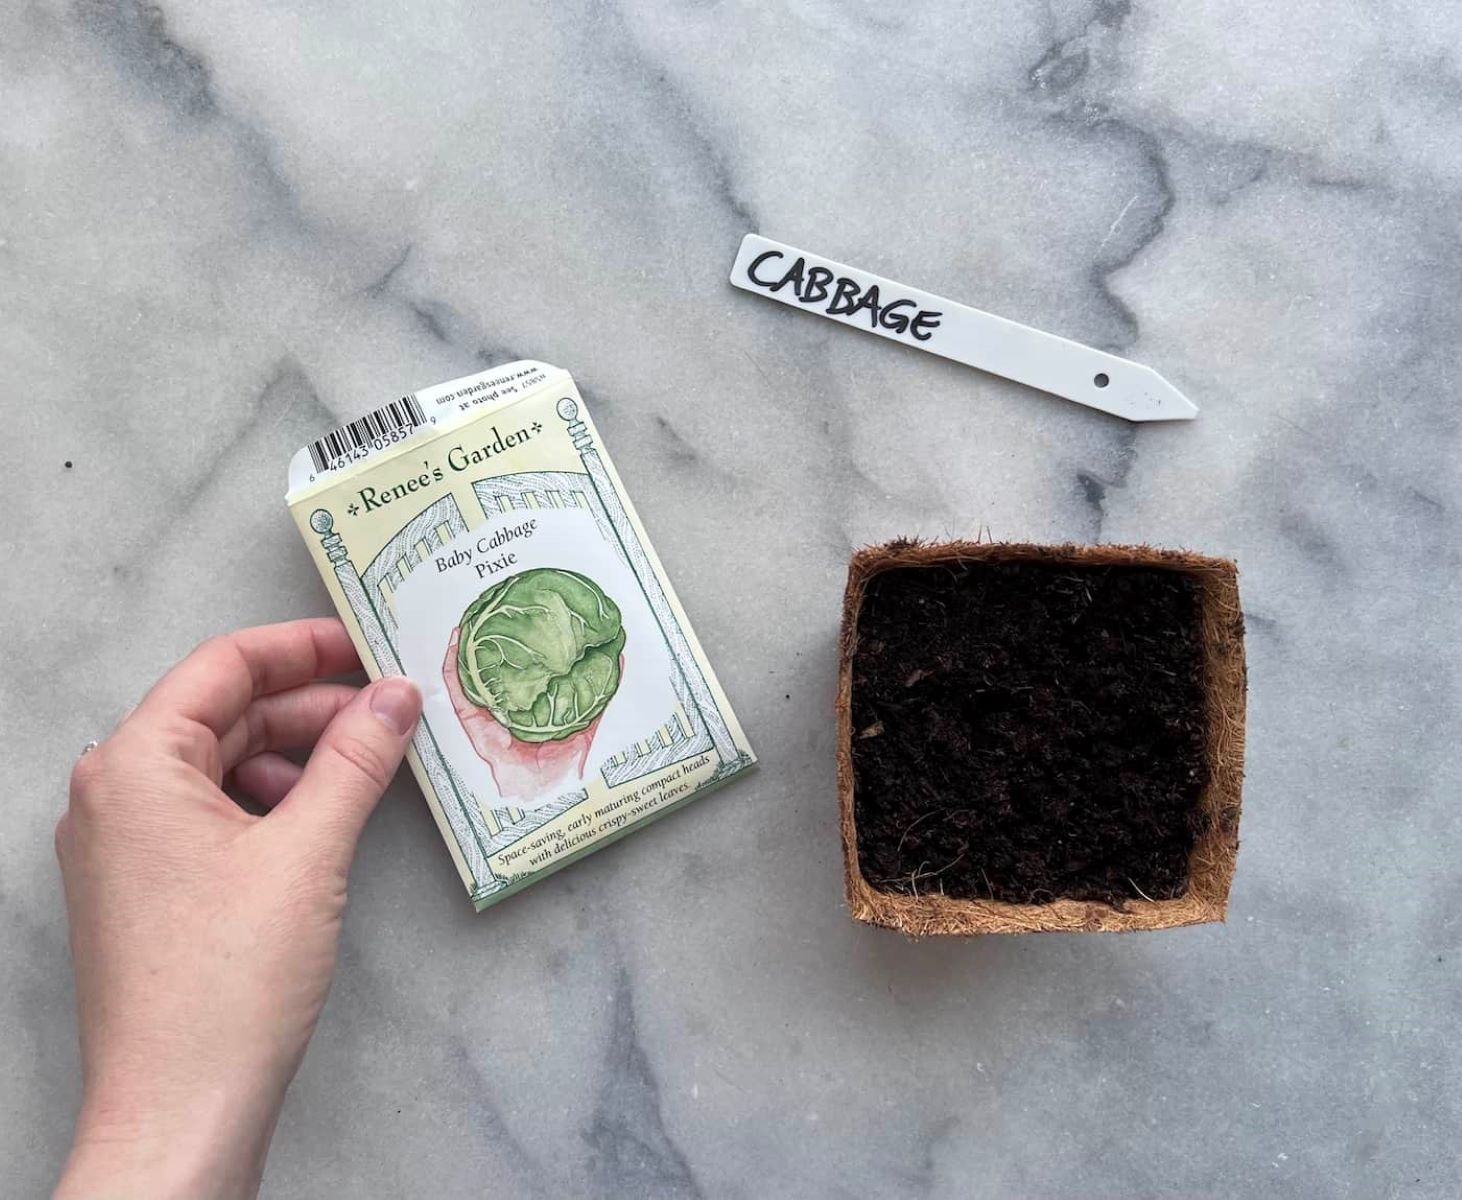
Step 1: Gather Supplies
Before you can start planting cabbage seeds, it’s important to gather all the necessary supplies. Ensuring you have everything you need upfront will make the process much smoother. Here is a list of items you’ll need:
- Cabbage Seeds: Choose high-quality seeds from a reputable supplier. You can select the cabbage variety that suits your taste and growing conditions.
- Seed Trays or Pots: Opt for trays or pots with drainage holes at the bottom to prevent waterlogging.
- Seed-Starting Mix: Use a well-draining and nutrient-rich mix specifically formulated for starting seeds.
- Plant Labels or Markers: These will help you keep track of different cabbage varieties you’ve planted.
- Misting Bottle: A misting bottle or spray bottle filled with water will be useful for keeping the soil moist without disturbing the seeds.
- Plastic Wrap or Seed Tray Covers: These will create a humid environment that promotes germination.
- Grow Lights or a Sunny Spot: Adequate light is crucial for seed germination and healthy plant growth. If you don’t have access to natural sunlight, invest in grow lights to provide artificial light.
- Watering Can: Use a watering can with a gentle showerhead attachment to avoid damaging the delicate seedlings.
- Fertilizer: Choose a balanced fertilizer appropriate for seedlings and follow the package instructions for proper dosage.
- Gardening Tools: Keep a small hand trowel or garden fork handy for transplanting seedlings.
Once you have gathered all the supplies, you’ll be well-prepared to start the cabbage seed germination process. With everything at the ready, let’s move on to preparing the soil in the next step.
Step 2: Preparing the Soil
A crucial aspect of successful cabbage seed starting is preparing the soil properly. Cabbage plants thrive in well-draining and nutrient-rich soil. Follow these steps to prepare the soil for your cabbage seeds:
- Select the Planting Location: Choose a spot in your garden that receives full sun or at least 6-8 hours of direct sunlight each day. Cabbage plants also appreciate some afternoon shade in hotter regions.
- Clear the Area: Remove any weeds, rocks, or debris from the planting area to ensure a clean and healthy growing environment for your cabbage plants.
- Loosen the Soil: Use a garden fork or a shovel to loosen the soil in the designated area. Break up any large clumps and remove any compacted soil. This will create a loose and friable texture that allows the roots to spread easily.
- Improve Drainage: If your soil tends to retain water, adding organic matter such as compost, well-rotted manure, or peat moss can help improve drainage. Work these amendments into the soil until they are well incorporated.
- Test the Soil pH: Cabbage plants prefer slightly acidic soil with a pH range between 6.0 and 6.8. You can use a soil testing kit to determine the pH level of your soil. If necessary, adjust the pH by adding lime to raise it or sulfur to lower it.
- Apply Fertilizer: Before planting the cabbage seeds, apply a balanced fertilizer according to the package instructions. This will provide the seedlings with essential nutrients to support their early growth.
- Rake the Soil: Use a garden rake to level and smooth the soil surface. This will provide an even base for sowing the cabbage seeds.
With the soil prepared, you are now ready to move on to the exciting part of planting the cabbage seeds. In the next step, we will guide you through the process of sowing the seeds in the prepared soil.
Step 3: Planting the Seeds
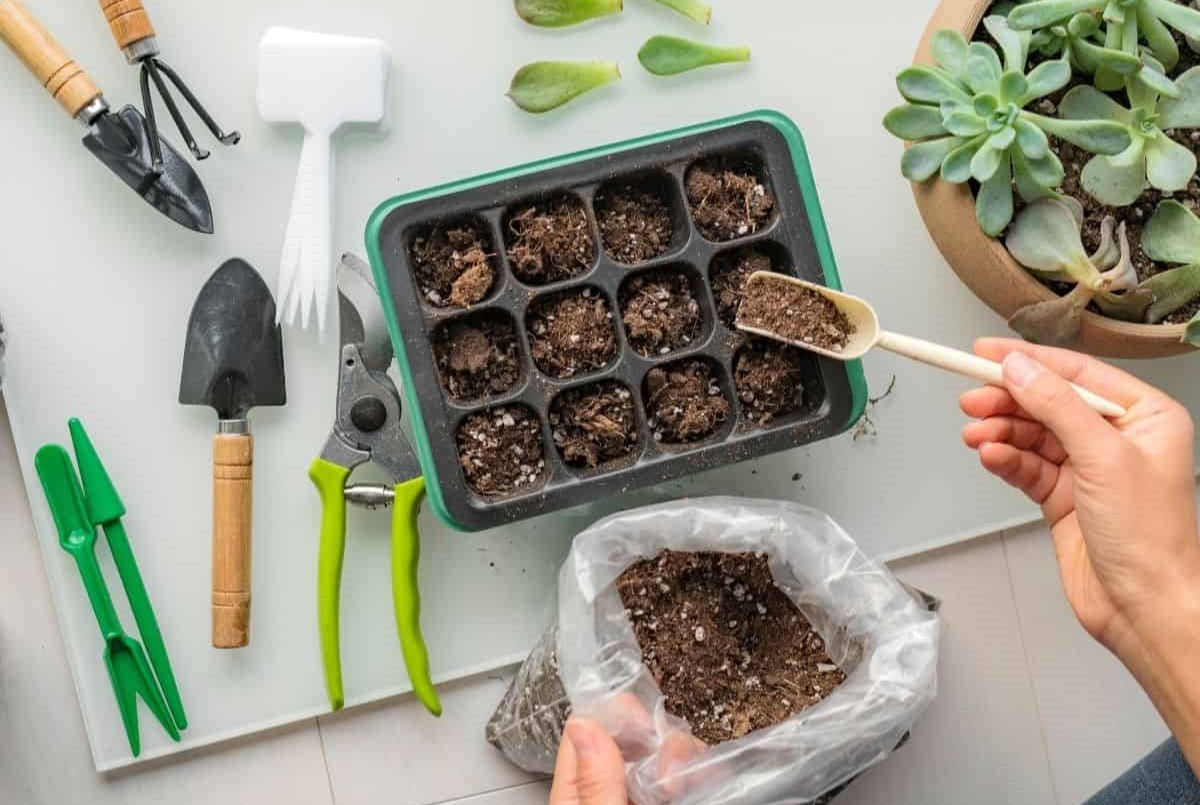
Now that you have your supplies ready and the soil prepared, it’s time to sow your cabbage seeds. Follow these steps to ensure successful seed planting:
- Moisten the Seed-Starting Mix: Before filling your seed trays or pots with the seed-starting mix, moisten it lightly. This will provide a suitable environment for the seeds to germinate.
- Fill the Seed Trays or Pots: Fill the trays or pots with the seed-starting mix, leaving about 1/4 inch of space at the top. Gently tap the trays on a solid surface to settle the soil.
- Sow the Seeds: Place the cabbage seeds on the surface of the soil, spacing them about 2 inches apart. Press the seeds lightly into the soil, ensuring good seed-to-soil contact.
- Cover and Label: Sprinkle a thin layer of seed-starting mix over the seeds to cover them. This layer should be about 1/4 inch thick. Place clear plastic wrap or a seed tray cover over the trays to create a greenhouse-like environment. Don’t forget to label each tray with the cabbage variety and the date of planting.
- Provide Adequate Light: Place the trays in a sunny location or under grow lights. Cabbage seeds require at least 12-16 hours of light per day for optimal germination. If using grow lights, keep them about 2-3 inches above the seed trays.
- Maintain Proper Moisture: Check the trays regularly and mist the soil with water whenever it feels dry. Ensure that the soil is consistently moist, but not soggy. Avoid overwatering as it can lead to rot or damping-off disease.
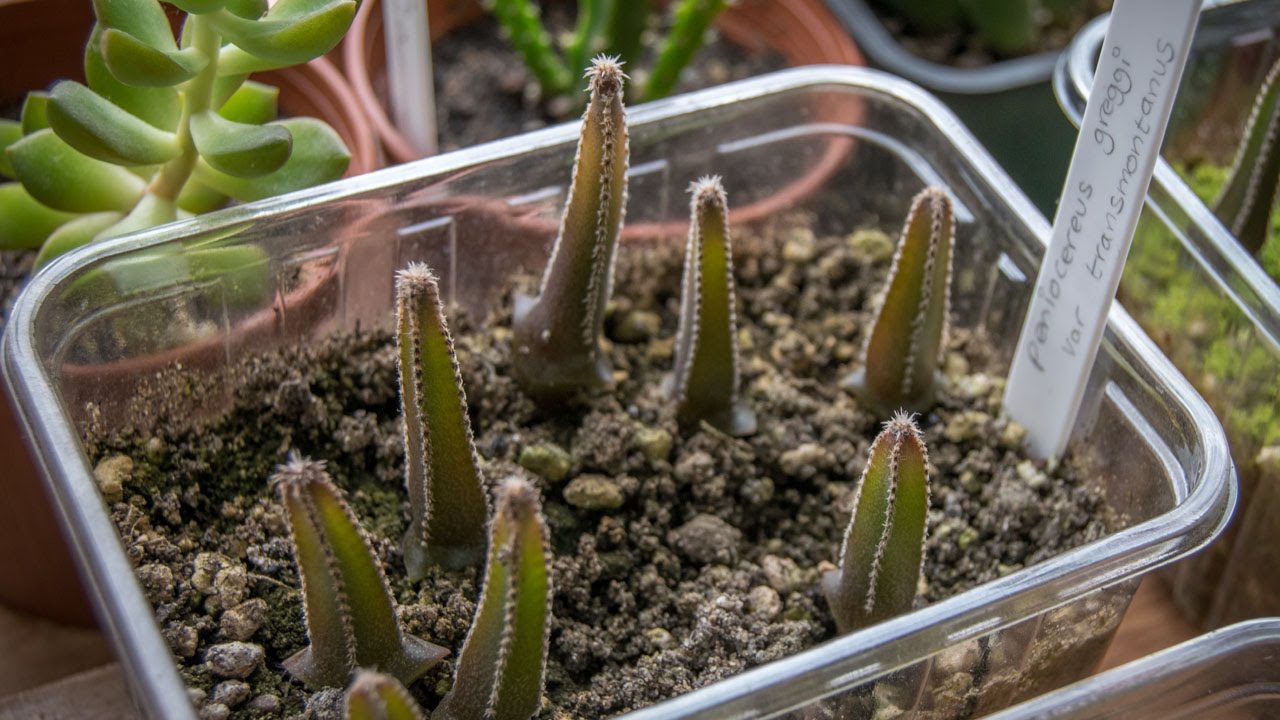
- Be Patient: Cabbage seeds typically take about 7-10 days to germinate. However, some varieties may take longer. Be patient and resist the urge to disturb the trays during this time.
Once the cabbage seeds have germinated and the seedlings have emerged, it’s important to provide them with proper care and maintenance. In the next step, we will guide you through the essential steps to ensure healthy cabbage plants.
Step 4: Care and Maintenance
Caring for your cabbage seedlings is crucial for their healthy growth and development. Follow these essential steps to ensure that your cabbage plants thrive:
- Provide Adequate Water: Water your cabbage seedlings regularly, keeping the soil consistently moist. Avoid overwatering, as it can lead to root rot. Water at the base of the plants to prevent wetting the leaves, which can invite disease.
- Monitor Sunlight: Ensure that your cabbage plants receive at least 6-8 hours of direct sunlight each day. If necessary, use reflective mulch or shade cloth to protect the plants from scorching afternoon sun.
- Thin Out the Seedlings: Once the cabbage seedlings have grown their first set of true leaves, thin them out to ensure proper spacing. Leave the healthiest and strongest seedlings, spacing them about 12-18 inches apart to allow ample room for growth.
- Fertilize Regularly: Feed your cabbage plants with a balanced fertilizer every 2-3 weeks, following the product instructions for dosage. This will provide them with the necessary nutrients to promote vigorous growth.
- Watch for Pests: Keep an eye out for common cabbage pests such as cabbage worms, aphids, and flea beetles. Inspect the plants regularly and take prompt action if you notice any infestations. Consider using organic pest control methods such as neem oil or companion planting with pest-repellent herbs.
- Control Weeds: Remove weeds regularly from around your cabbage plants as they can compete for nutrients and water. Mulching around the plants can help suppress weed growth and retain moisture in the soil.
- Support the Plants: As your cabbage plants grow larger, they may benefit from some support. Consider using stakes or cages to provide extra support, especially in windy areas.
- Monitor Soil Moisture Levels: Regularly check the moisture levels of the soil and water as needed. Avoid letting the soil dry out completely, as this can lead to stunted growth and poor cabbage quality.
By following these care and maintenance steps, you’ll ensure healthy and thriving cabbage plants. In the next step, we will guide you through the process of transplanting your cabbage seedlings into their final growing location.
Start cabbage seeds indoors 6-8 weeks before the last frost. Use a seed starting mix, keep the soil moist, and provide plenty of light. Transplant seedlings outdoors after the last frost.
Read more: When To Sow Cabbage Seeds
Step 5: Transplanting Seedlings
Once your cabbage seedlings have grown into strong and sturdy plants, it’s time to transplant them into their final growing location. Follow these steps to ensure a successful transplant:
- Choose the Right Time: Ideally, transplant your cabbage seedlings when they have developed about 4-6 true leaves and are around 4-6 inches tall. This is usually 4-6 weeks after germination.
- Prepare the Transplanting Area: Clear the area of any weeds or debris and ensure that the soil is well-drained and enriched with organic matter.
- Water the Seedlings: Water your cabbage seedlings a few hours before transplanting. Moist soil will make it easier to remove the seedlings without damaging their delicate roots.
- Dig the Holes: Dig holes in the transplanting area that are slightly larger than the root balls of the seedlings. Space the holes according to the recommended spacing for your cabbage variety.
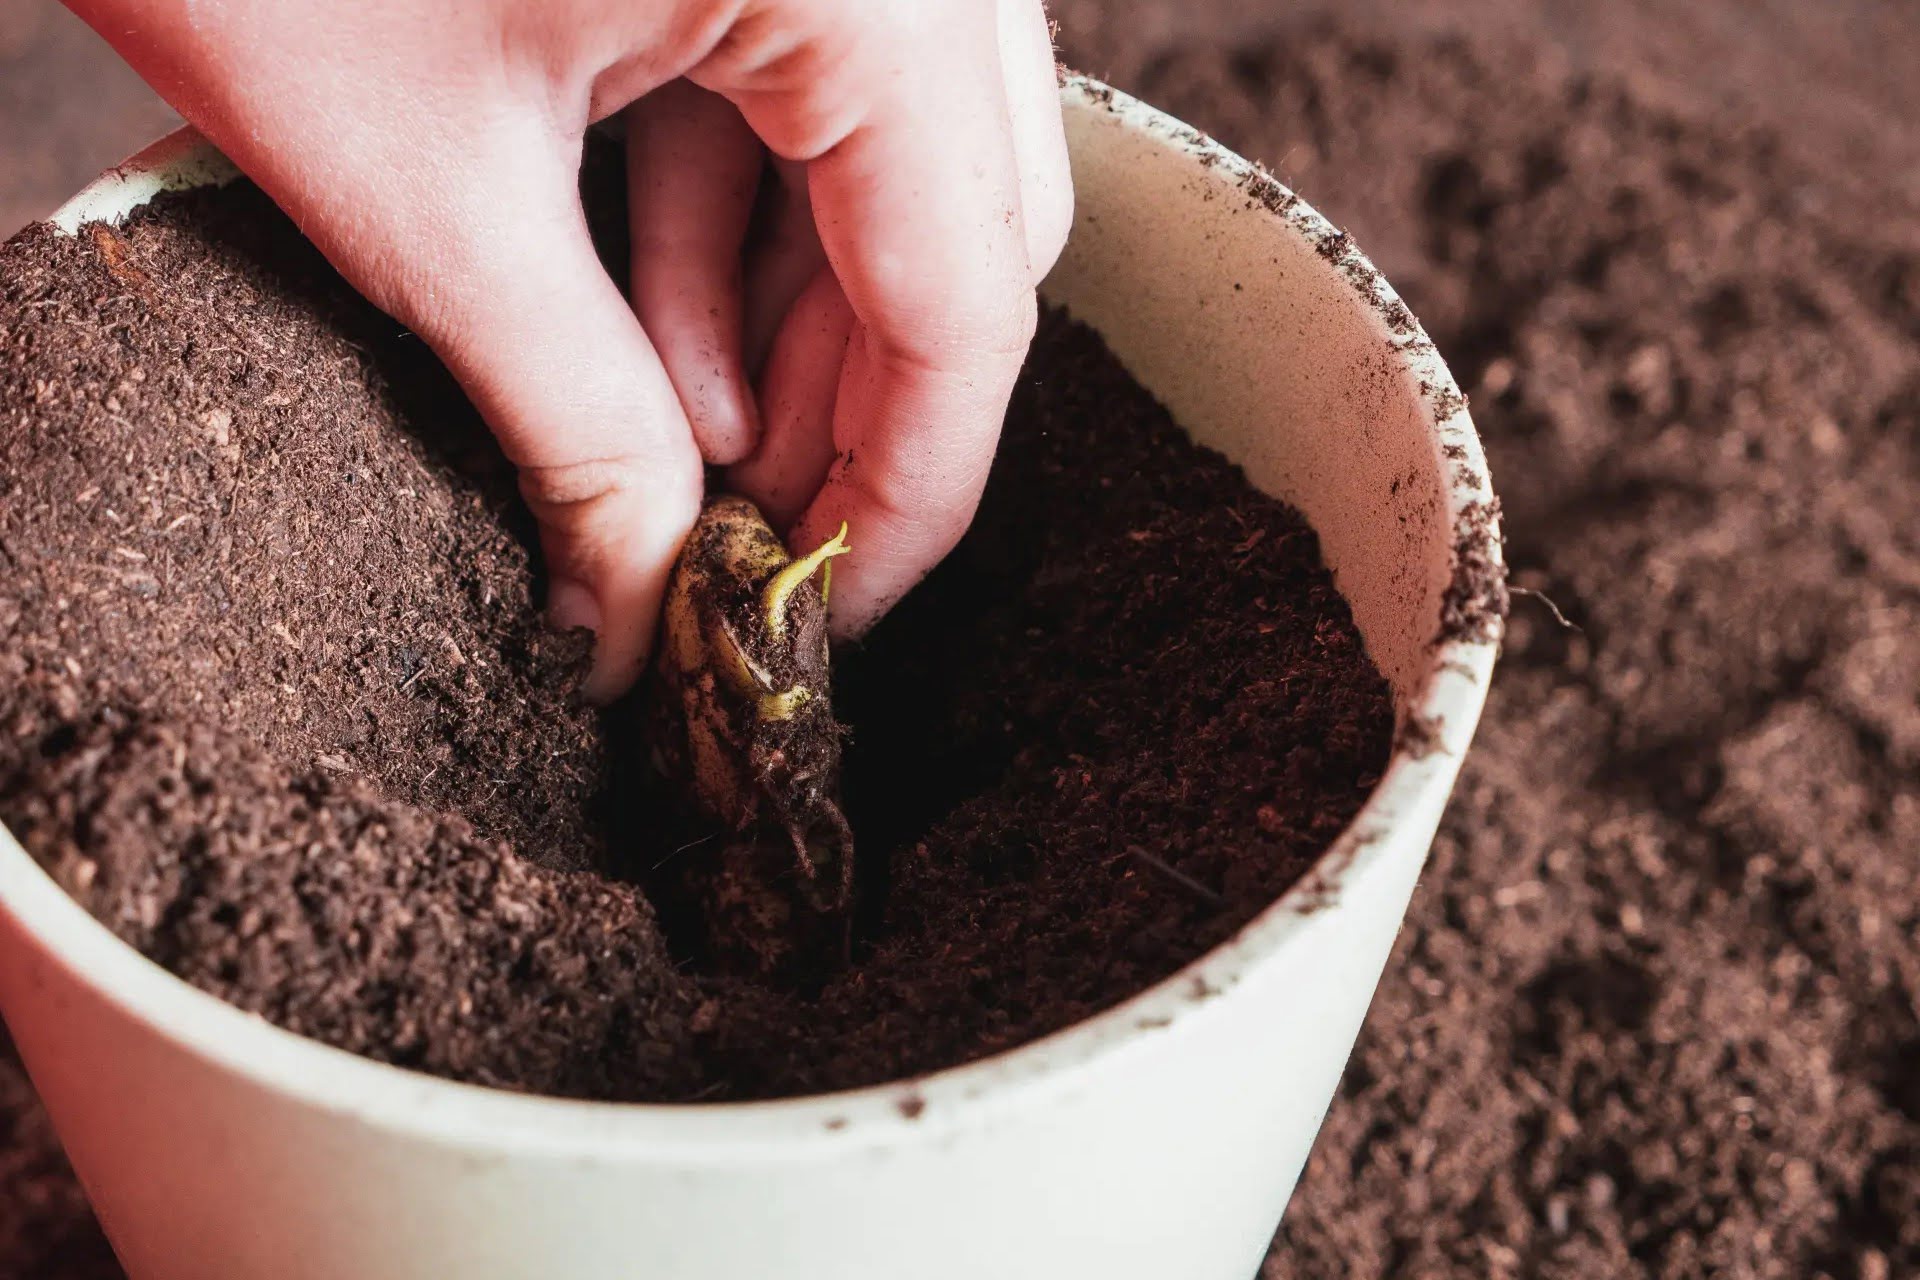
- Carefully Remove the Seedlings: Gently loosen the soil around the seedlings with a trowel or your hands. Carefully lift the seedlings, holding them by their leaves, and avoid touching or damaging the stems and roots.
- Plant the Seedlings: Place each seedling into a hole, ensuring that the base of the leaves is level with the soil surface. Backfill the hole with soil, gently firming it around the seedling to eliminate air pockets.
- Water and Mulch: After transplanting, water your cabbage plants thoroughly to settle the soil around the roots. Apply a layer of organic mulch, such as straw or shredded leaves, to conserve moisture and suppress weed growth.
- Provide Shade (Optional): If the weather is hot or the cabbage seedlings are not well-established, you can provide temporary shading using shade cloth or row covers. This will protect the transplants from excessive heat and sunburn.
Transplanting can be a delicate process, so it’s important to handle the seedlings with care. With your cabbage seedlings successfully transplanted, the next step is to protect them from potential threats.
Step 6: Protecting Your Cabbage Plants
Protecting your cabbage plants from pests, diseases, and environmental stressors is crucial for ensuring a successful harvest. Follow these steps to safeguard your cabbage plants:
- Monitor for Pests: Regularly inspect your cabbage plants for common pests like cabbage worms, slugs, and aphids. If you notice any signs of pest infestation, take appropriate measures to control them. Use organic pest control methods or consult your local garden center for safe and effective options.
- Practice Crop Rotation: To reduce the risk of disease buildup, avoid planting cabbage or other related crops in the same location year after year. Rotate your crops and give the soil a break from cabbage family plants for at least three to four years.
- Protect from Extreme Weather: Cabbage plants are susceptible to extreme weather conditions. In hot climates, provide shade or afternoon light filtering to prevent the plants from wilting or getting scorched. Use row covers or cloches to protect young plants from frost and cold temperatures in cooler climates.
- Remove Damaged Leaves: Regularly inspect your cabbage plants for any damaged or diseased leaves. Promptly remove these leaves to prevent the spread of disease and to maintain overall plant health.
- Water Wisely: Water your cabbage plants deeply and infrequently, preferably in the morning. This encourages deep root growth and reduces the risk of fungal diseases. Avoid overhead watering, as wet foliage can promote disease development.
- Apply Organic Pest Controls: Consider using organic pest control methods such as insecticidal soaps, neem oil, or companion planting with pest-repellent herbs like mint, thyme, or marigold. These natural remedies can effectively deter pests without harm to your cabbage plants or the environment.
- Use Floating Row Covers: Floating row covers act as a physical barrier, protecting your cabbage plants from pests while allowing air, light, and water to pass through. Secure the covers firmly to prevent pests from gaining access.
- Practice Good Sanitation: Remove any fallen leaves or plant debris from around your cabbage plants to minimize the risk of disease. Keeping the garden clean and tidy will reduce potential pest and disease problems.
By implementing these protective measures, you’ll help your cabbage plants stay healthy and productive. With proper care and protection, your cabbage plants will soon be ready for a bountiful harvest.
Step 7: Harvesting Cabbage
After weeks of care and patience, it’s finally time to harvest your cabbage. Follow these steps to ensure a successful and flavorful harvest:
- Observe Head Formation: Cabbage heads are ready to harvest when they feel firm and solid. The size of the head will depend on the specific variety you planted, so refer to the seed packet or plant label for guidance.
- Check for Maturity: Cabbage heads mature at different rates, usually ranging from 70 to 100 days after planting. Check the expected maturity date and monitor the heads as they grow. Harvesting too early or too late can impact the taste and texture of the cabbage.
- Use a Sharp Knife: When you’re ready to harvest, use a sharp knife or garden shears to cut the cabbage head off at the base. Cut the stem just above the lowest set of leaves.
- Inspect for Quality: Examine each harvested cabbage head for any signs of damage or disease. Remove any damaged outer leaves and discard them. Make sure the remaining head is intact and firm.
- Store Properly: Cabbage can be stored for a few weeks in the refrigerator. Before storing, remove any loose outer leaves and wrap the cabbage head in plastic wrap or place it in a perforated plastic bag to retain moisture.
- Enjoy Fresh or Preserve: Fresh cabbage can be used in various recipes such as salads, slaws, stir-fries, and soups. If you have a surplus, consider preserving cabbage by fermenting it into sauerkraut or pickling it for longer shelf life.
- Save Seeds (Optional): If you want to save seeds for future planting, allow a few cabbage plants to bolt (flower) and set seed. The flowers will turn into seed pods that can be collected once they have dried on the plant.
Remember, harvesting cabbage is an ongoing process. As you harvest the mature cabbage heads, younger plants will continue to grow and develop new heads. This staggered harvesting allows you to enjoy fresh cabbage throughout the growing season.
Congratulations on successfully growing and harvesting your own cabbage! The satisfaction of tasting the delicious results of your hard work makes it all worthwhile. Now, you can share your gardening knowledge and bountiful harvest with friends and family.
Conclusion
Congratulations on completing the journey of starting cabbage seeds and cultivating your own cabbage plants! By following the steps outlined in this guide, you have gained the knowledge and skills needed to successfully grow healthy and delicious cabbage in your own garden.
From gathering supplies to harvesting the cabbage heads, each step of the process plays a vital role in the success of your cabbage plants. Starting with high-quality seeds, providing them with optimal growing conditions, and protecting them from potential threats, you have ensured the best possible outcomes for your plants.
Gardening is not only a rewarding hobby but also a way to connect with nature and enjoy the fruits of your labor. The joy of tending to your own garden and reaping the benefits of fresh, homegrown cabbage is truly unparalleled.
Remember to continue learning and experimenting with different cabbage varieties, planting techniques, and gardening practices. Each growing season presents new opportunities for growth and improvement. Pay attention to what works well in your specific garden environment and adapt your approach accordingly.
Whether you enjoy cabbage in salads, stir-fries, soups, or as a delightful side dish, the versatility of this nutritious vegetable is unmatched. Harvesting your own cabbage not only allows you to enjoy its wonderful flavors but also provides a sense of pride and accomplishment.
We hope you’ve found this guide informative and inspiring. Now it’s time to put your newfound knowledge to good use. Start planning your next batch of cabbage seeds, explore different varieties, and continue to nurture your love for gardening.
Remember, gardening is a continuous learning process, and with each season, you’ll deepen your understanding of the natural world and enhance your skills as a gardener. So, roll up your sleeves, get your hands dirty, and enjoy the journey of growing your own delicious and nutritious cabbage!
Frequently Asked Questions about How To Start Cabbage Seeds
Was this page helpful?
At Storables.com, we guarantee accurate and reliable information. Our content, validated by Expert Board Contributors, is crafted following stringent Editorial Policies. We're committed to providing you with well-researched, expert-backed insights for all your informational needs.


0 thoughts on “How To Start Cabbage Seeds”