Home>Garden Essentials>How To Put Fake Grass On Soil


Garden Essentials
How To Put Fake Grass On Soil
Modified: March 7, 2024
Learn how to easily put fake grass on soil in your garden and transform the look of your outdoor space. Create a stunning, low-maintenance lawn with these simple steps.
(Many of the links in this article redirect to a specific reviewed product. Your purchase of these products through affiliate links helps to generate commission for Storables.com, at no extra cost. Learn more)
Introduction
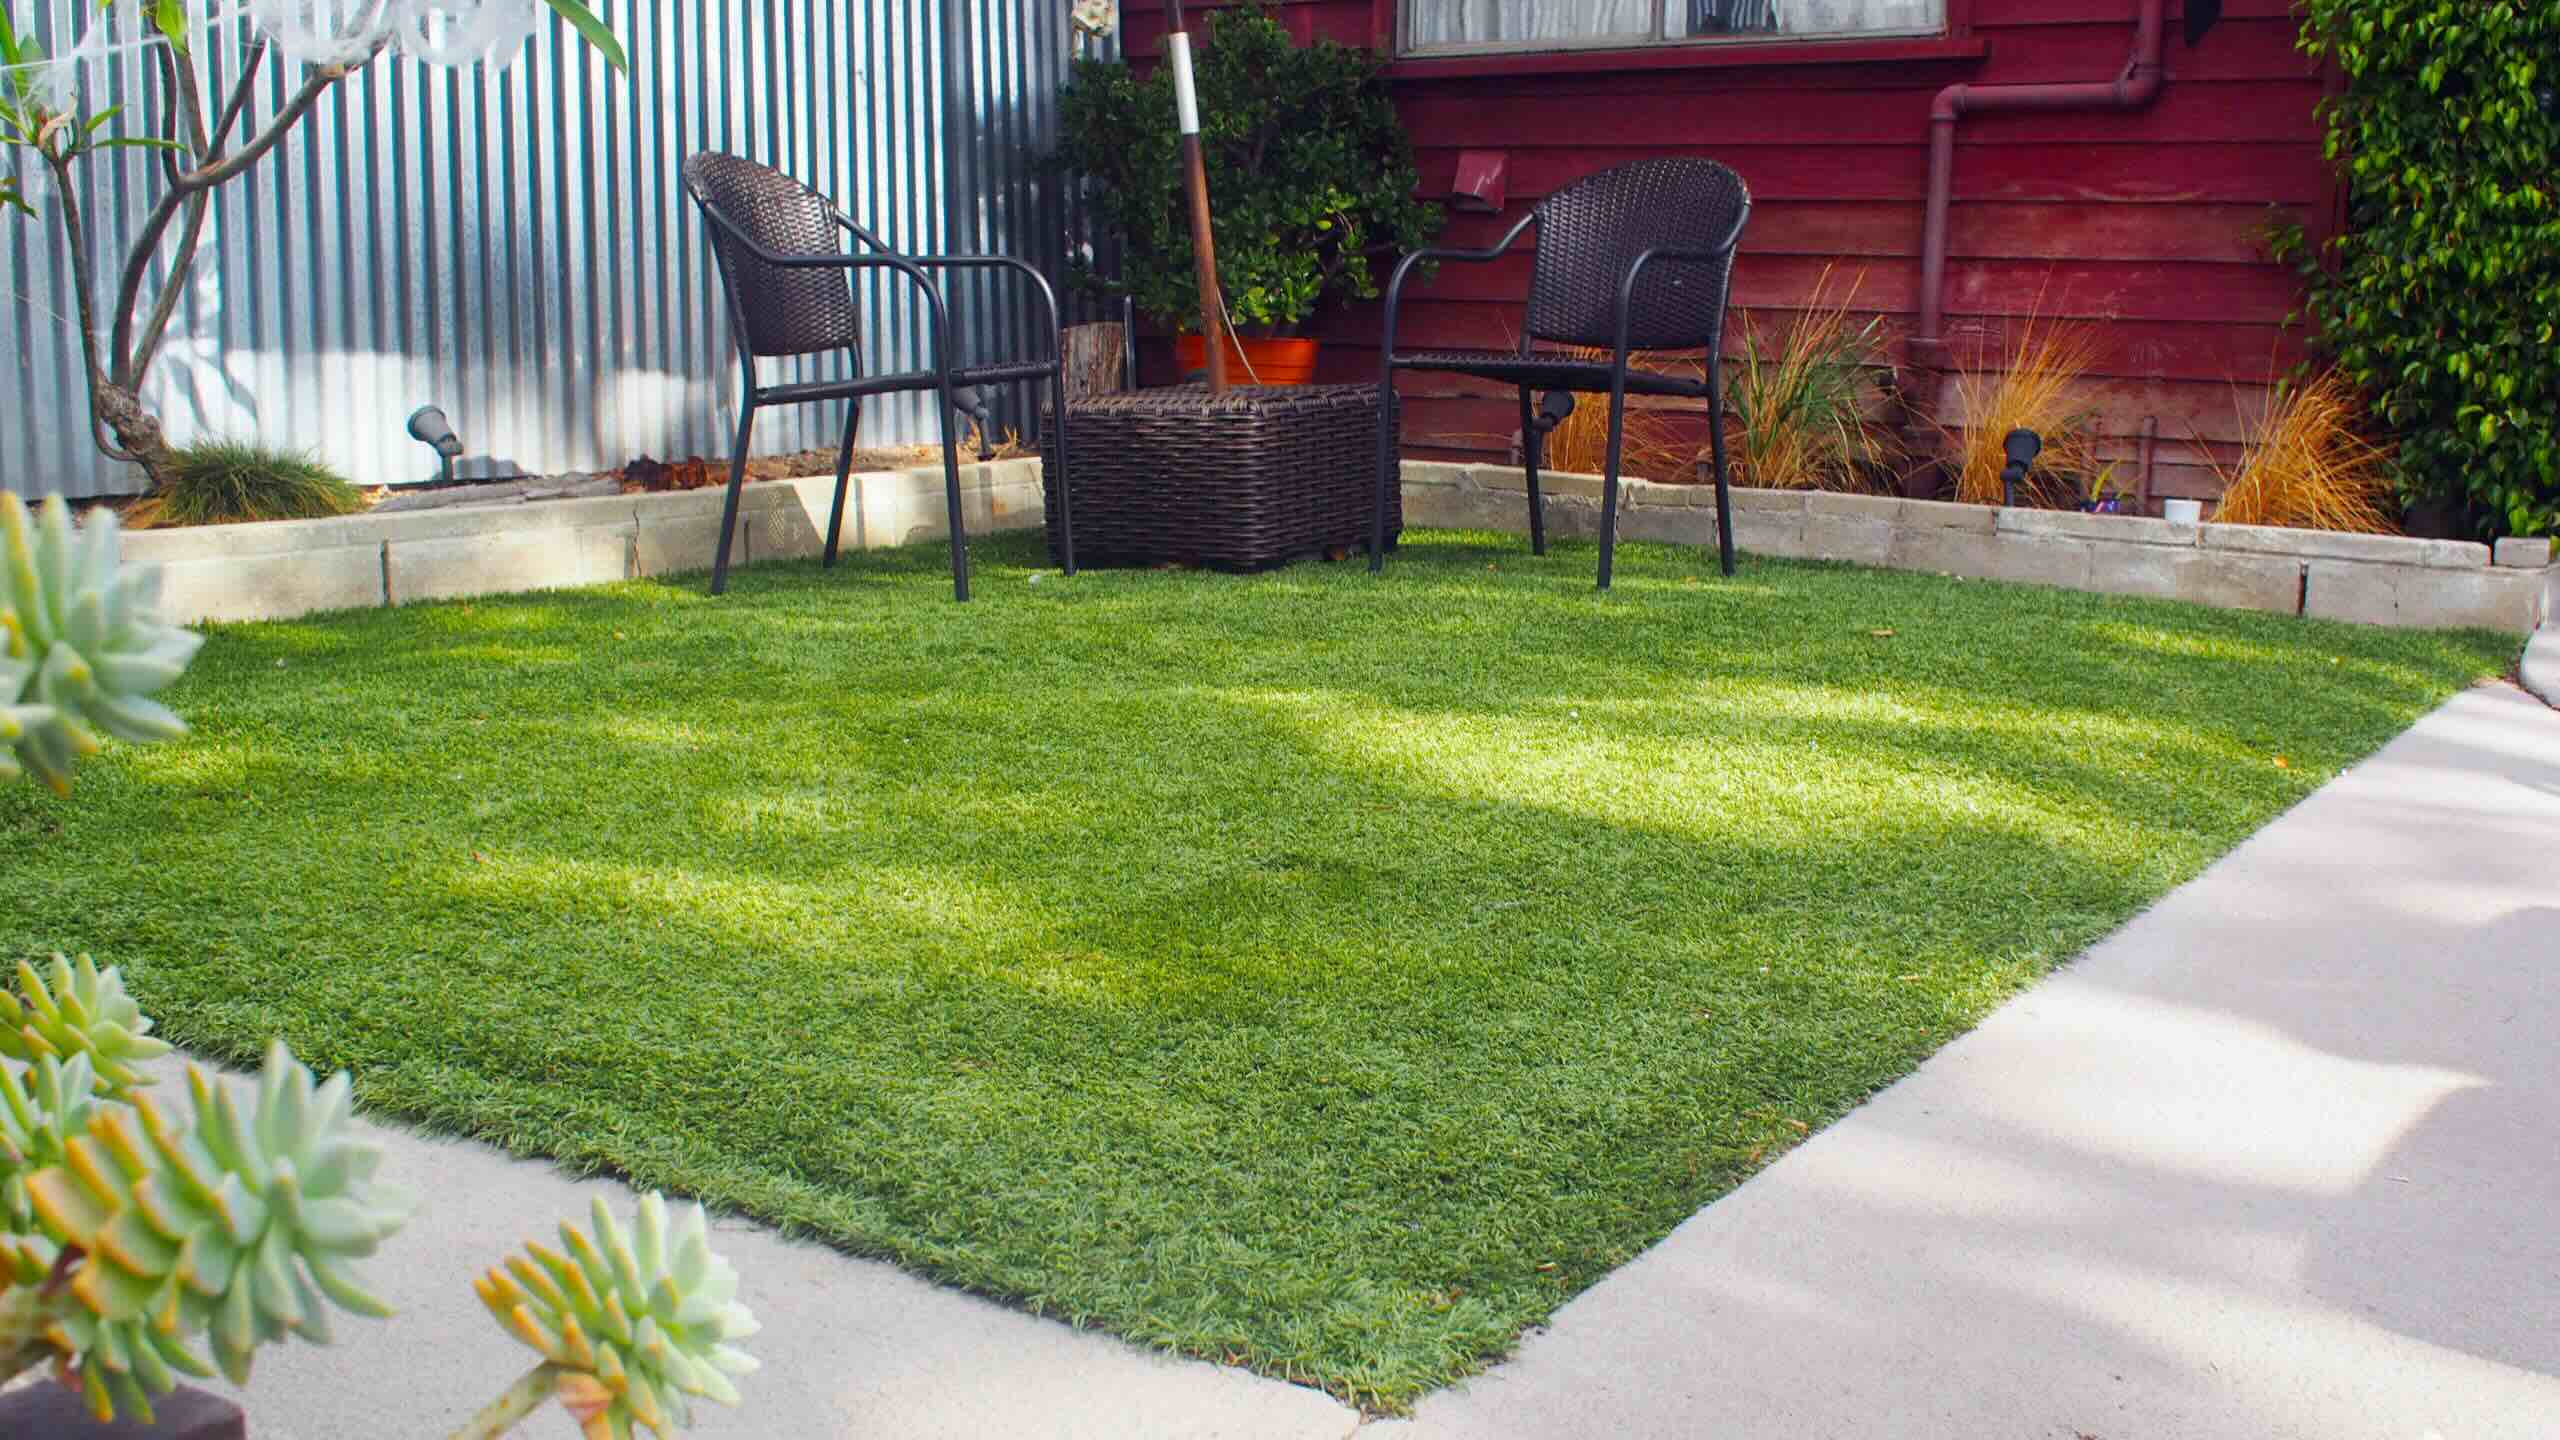
Creating a lush and beautiful garden is the dream of many homeowners, but maintaining real grass can be a time-consuming and expensive task. Luckily, with the advancements in technology, artificial grass has become a popular alternative for those seeking a low-maintenance and long-lasting solution.
Installing fake grass on soil is a great way to transform your outdoor space into a green oasis without the hassle of regular mowing, watering, and fertilizing. Whether you have a small backyard or a large lawn, this article will guide you through the step-by-step process of putting fake grass on soil, so you can enjoy a vibrant and realistic-looking lawn all year round.
Before we delve into the installation process, let’s take a look at the materials you’ll need to get started.
Key Takeaways:
- Say goodbye to the hassle of mowing, watering, and fertilizing with fake grass. Enjoy a vibrant and low-maintenance lawn all year round!
- Transform your outdoor space into a lush oasis with artificial grass. Follow the simple steps to install and maintain a beautiful, hassle-free lawn.
Read more: How To Put Fake Grass On Concrete
Materials Needed
Before you begin the installation process, gather the following materials:
- Fake Grass: Choose a high-quality artificial grass that suits your desired look and purpose. Consider factors such as color, texture, and pile height. Measure the area you want to cover to determine the amount of fake grass you’ll need.
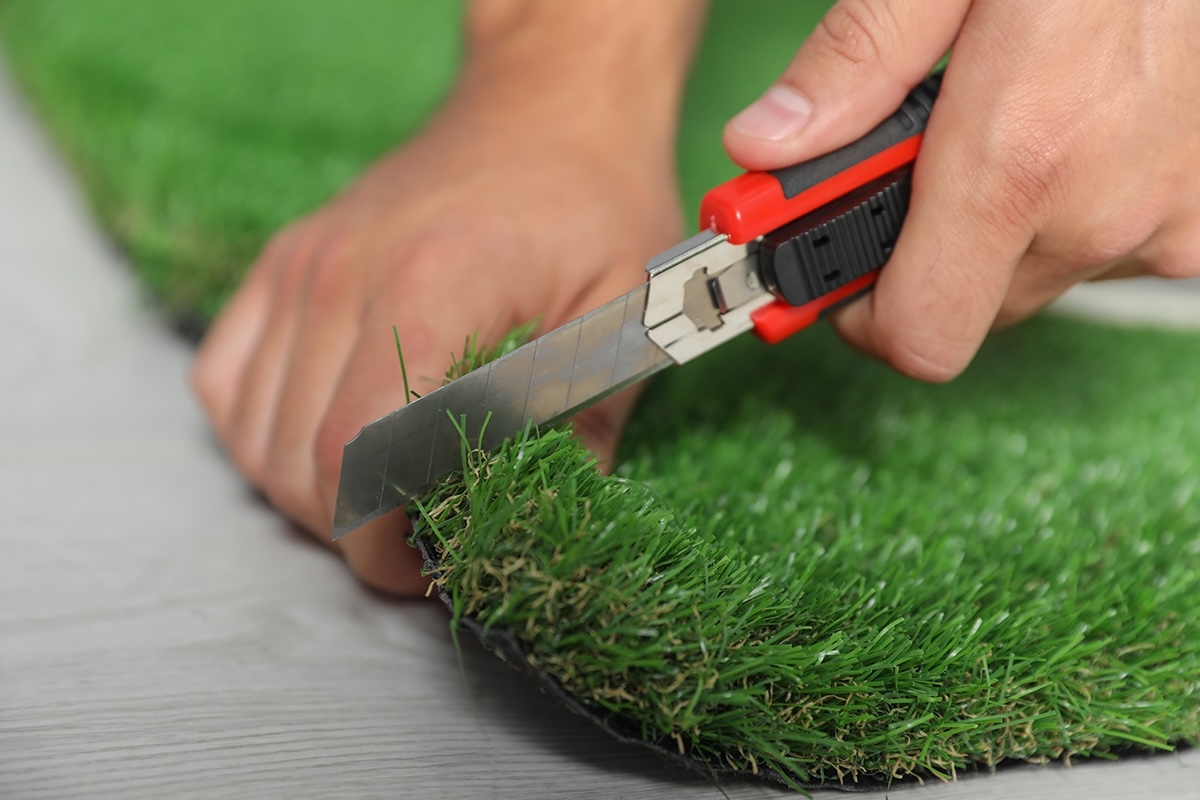
- Utility Knife: A sharp utility knife will be useful for cutting the artificial grass to fit your lawn’s dimensions.
- Geotextile Membrane: This fabric acts as a weed barrier, preventing unwanted plants from growing through the artificial turf.
- Ground Stakes: These stakes will help secure the edges of the fake grass to the ground for stability.
- Adhesive or Seaming Tape: Depending on your preference, you can use adhesive or seaming tape to join different pieces of artificial grass together.
- Infill Material: Infill is an optional material that can provide additional stability and cushioning. Common infill options include silica sand or rubber granules.
- Rakes and Shovels: Rakes and shovels will be handy for preparing the soil and leveling the ground before installing the artificial grass.
- Watering Can or Hose: You’ll need a watering can or hose to properly clean and rinse the artificial grass after installation.
Having these materials on hand before you start the installation process will help streamline the process and ensure a successful outcome.
Step 1: Preparing the Soil
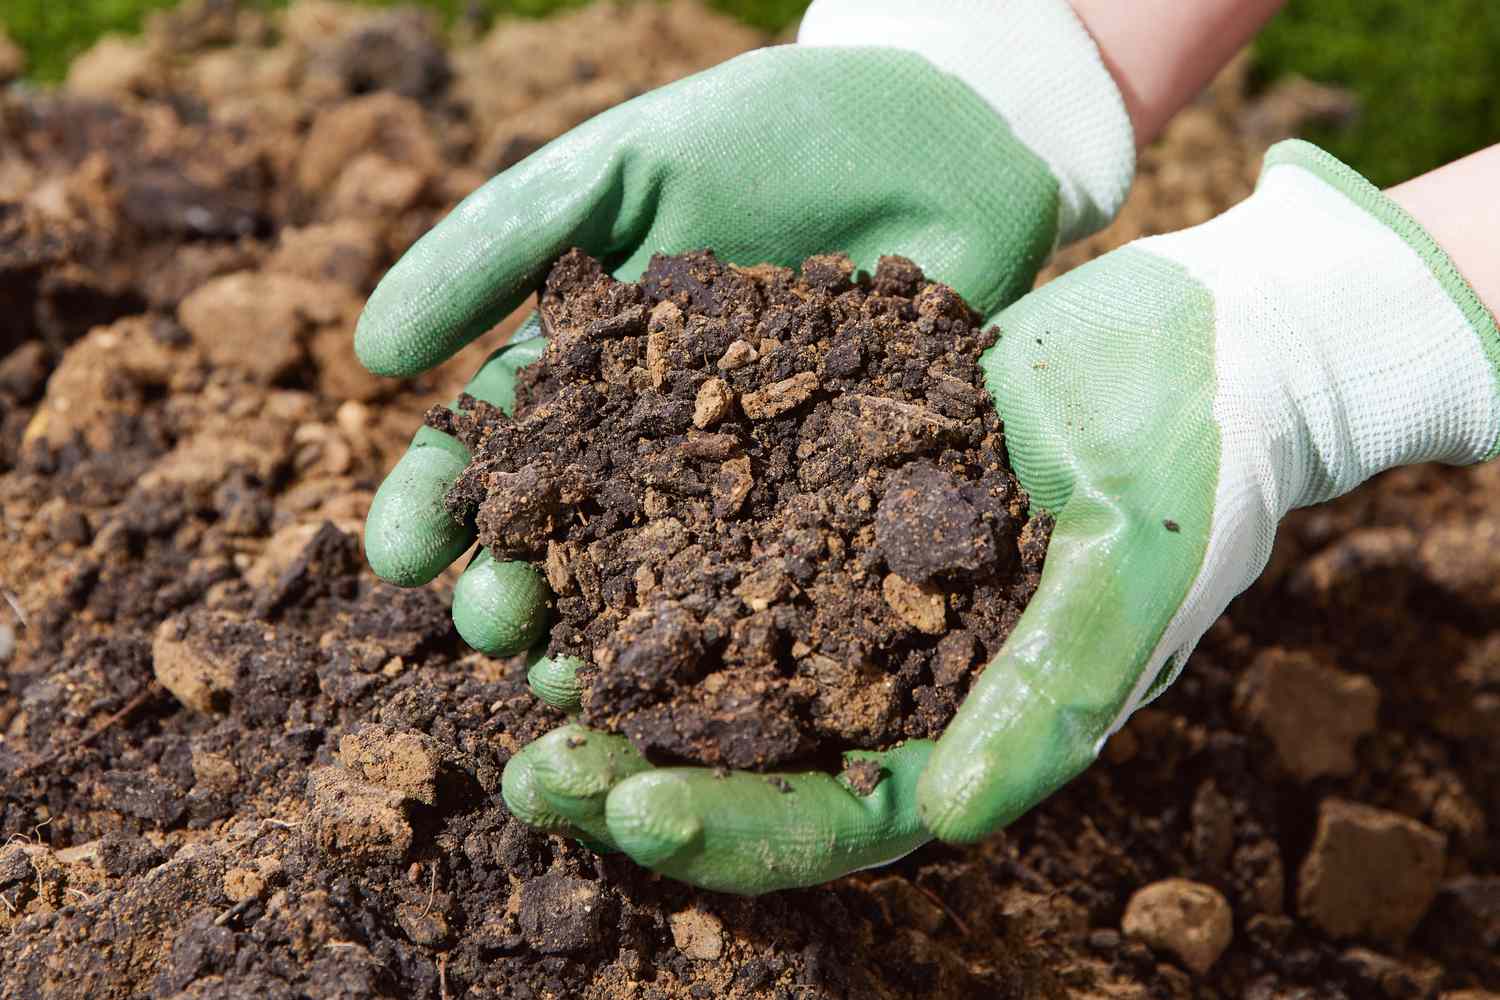
Proper preparation of the soil is crucial for a successful fake grass installation. Follow these steps to ensure the soil is ready:
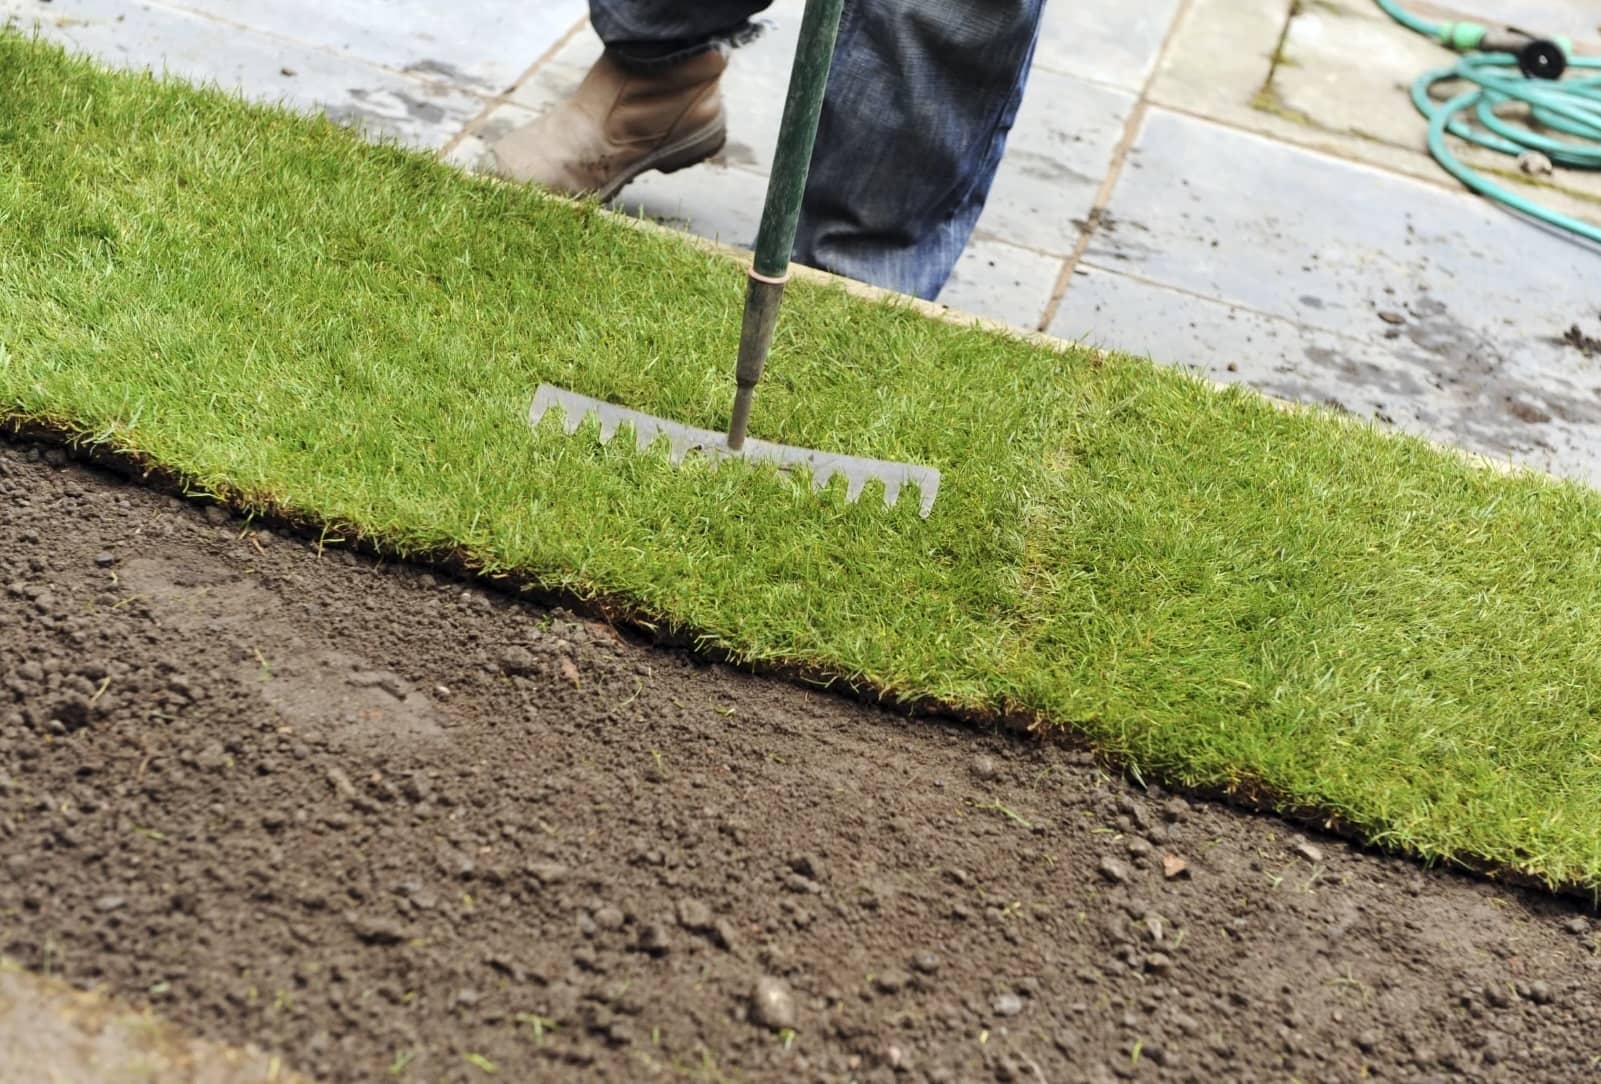
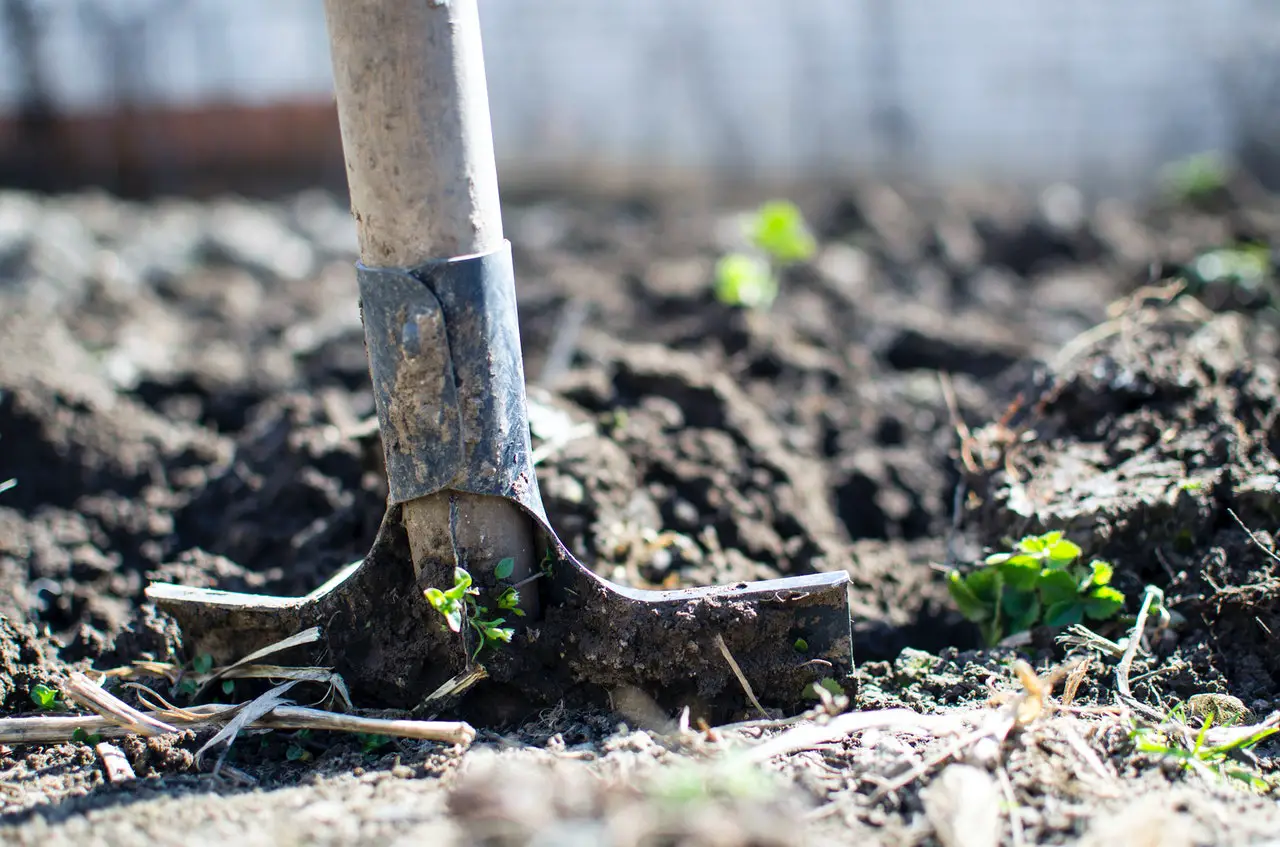
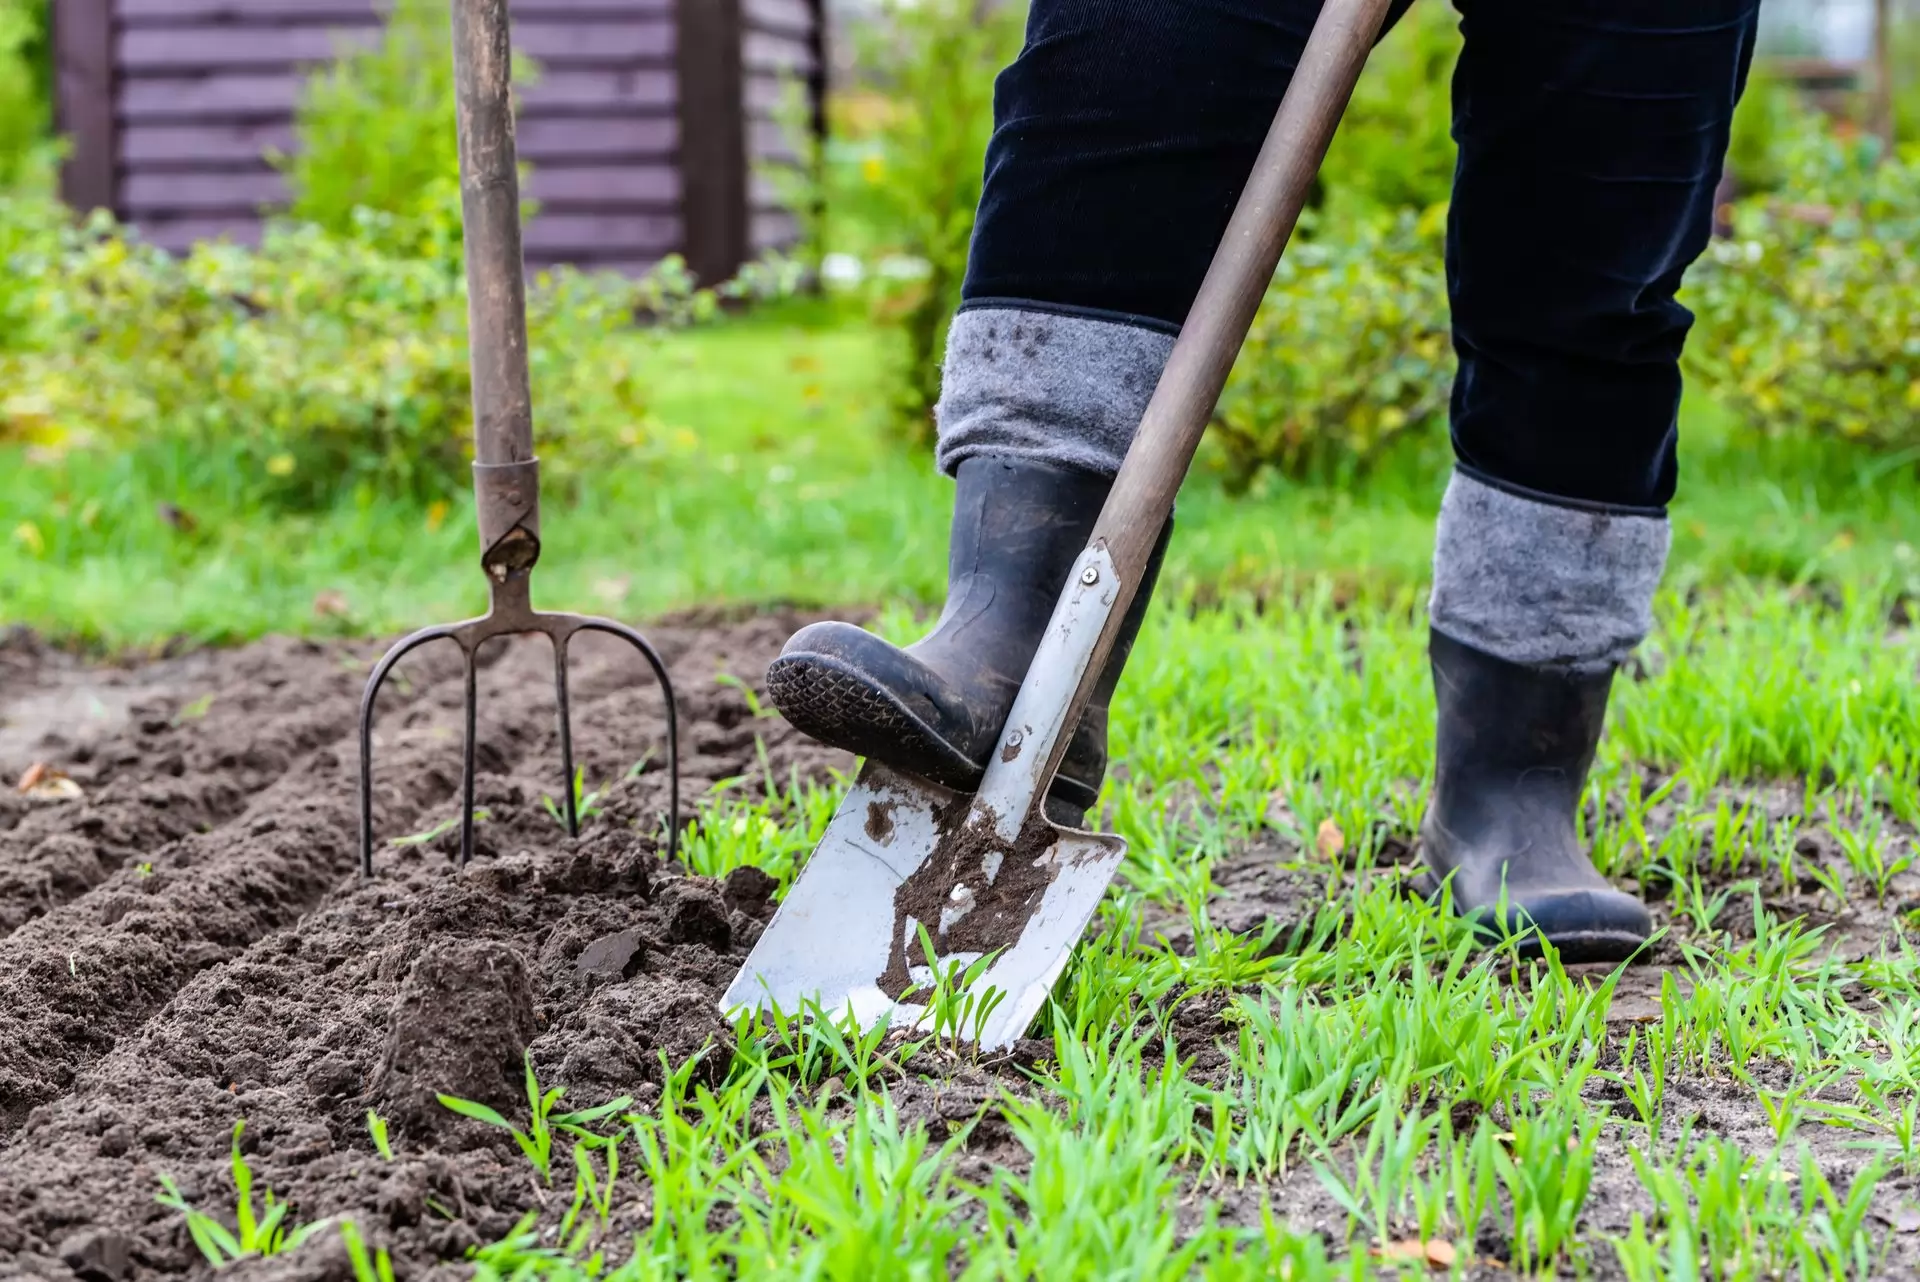
- Clear the Area: Begin by removing any existing grass, weeds, rocks, or debris from the area where you plan to install the artificial grass. Use a rake or shovel to thoroughly clear the space.
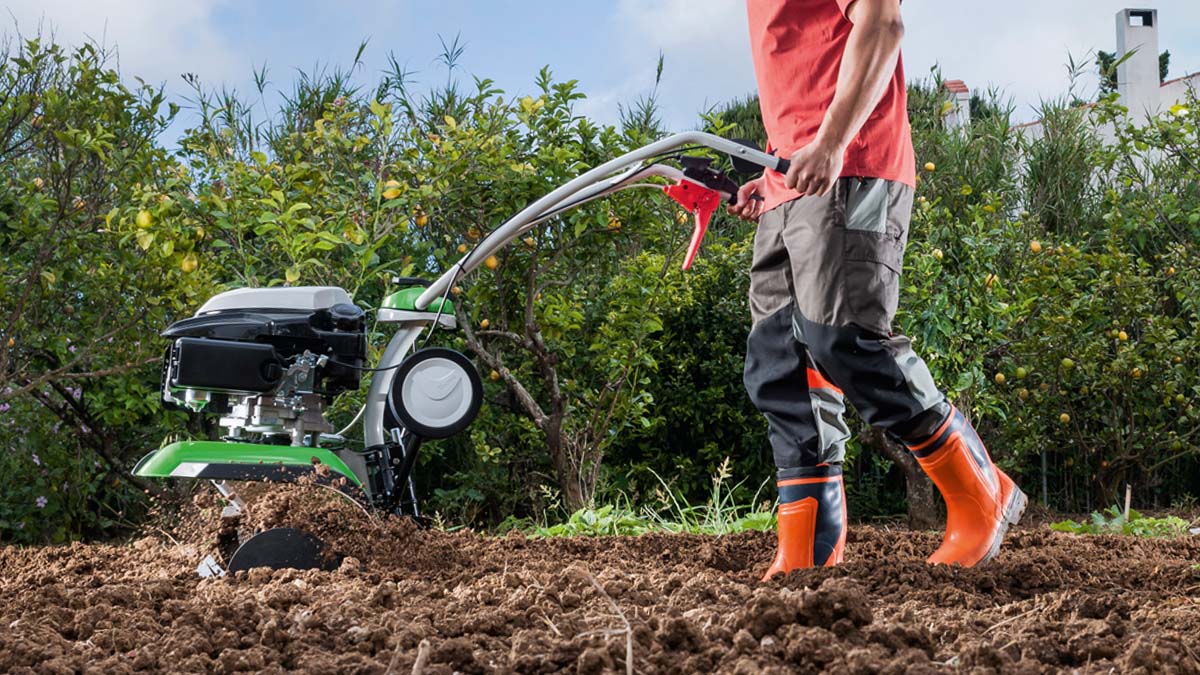
- Level the Ground: Next, use a rake or shovel to level the ground. This will ensure that the surface is smooth and even, providing a solid foundation for the fake grass. Pay attention to any low or high spots and make adjustments accordingly.
- Add a Geotextile Membrane: Lay down a geotextile membrane over the leveled soil. This fabric will prevent weeds from poking up through the artificial grass and ensure a clean and tidy look. Trim any excess membrane and secure it to the ground using ground stakes.
- Water the Area: Before moving on to the next step, water the soil lightly to help compact it. This will create a firm surface on which to lay the artificial grass.
By properly preparing the soil, you create an ideal base for the artificial grass and ensure its longevity. Now that the soil is ready, it’s time to move on to the next step: installing the base.
Step 2: Installing the Base
Once the soil is prepared, it’s time to lay the base for your fake grass. Follow these steps to install the base:
- Add a Layer of Crushed Stone: Start by adding a layer of crushed stone on top of the geotextile membrane. This layer acts as a stable and effective drainage system, allowing water to flow through the artificial grass and prevent waterlogging. Spread the crushed stone evenly and use a compactor to ensure a solid base.
- Add a Layer of Fine Sand: Next, spread a layer of fine sand on top of the crushed stone. The sand helps to level the surface and create a smooth and even base for the fake grass. Use a rake or shovel to distribute the sand evenly across the area.
- Compact the Sand: Once the sand is evenly spread, use a compactor to compact it. This will ensure a firm and stable sub-base for the artificial grass. Compact the sand in multiple directions to achieve optimal results.
- Check for Proper Drainage: To ensure proper drainage, check that the base has a slight slope away from any structures or the foundation of your home. This will prevent water from pooling and causing damage.
Installing a solid base is essential for the longevity and performance of your artificial grass. Now that the base is in place, it’s time to move on to the exciting part: laying the fake grass itself.
Step 3: Laying the Fake Grass
With the base prepared, it’s time to lay the artificial grass. Follow these steps to ensure a smooth installation:
- Measure and Cut the Grass: Begin by measuring the area where you’ll be installing the fake grass. Leave a slight overlap at the edges to ensure a clean and seamless appearance. Use a sharp utility knife to cut the artificial grass to the correct size.
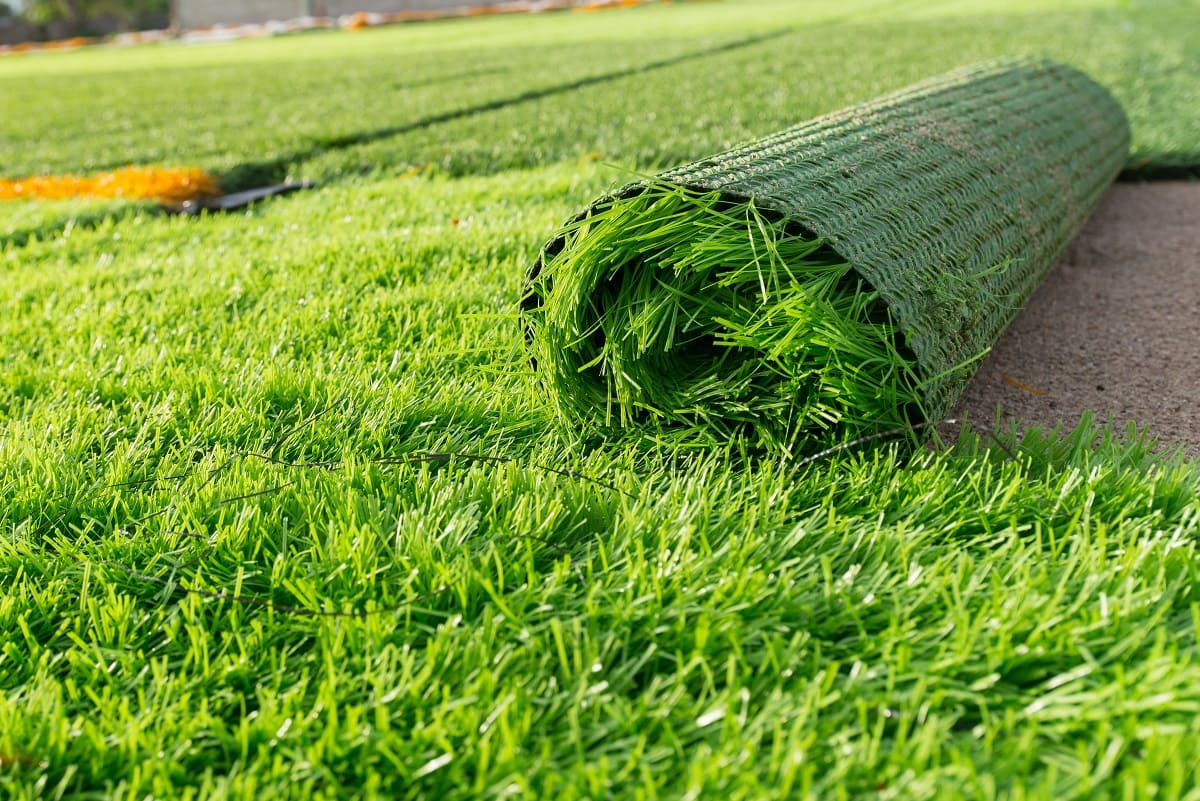
- Roll out the Grass: Unroll the artificial grass over the prepared base. Make sure it is positioned correctly and covers the entire desired area. Allow the grass to settle for a couple of hours to remove any creases or wrinkles.
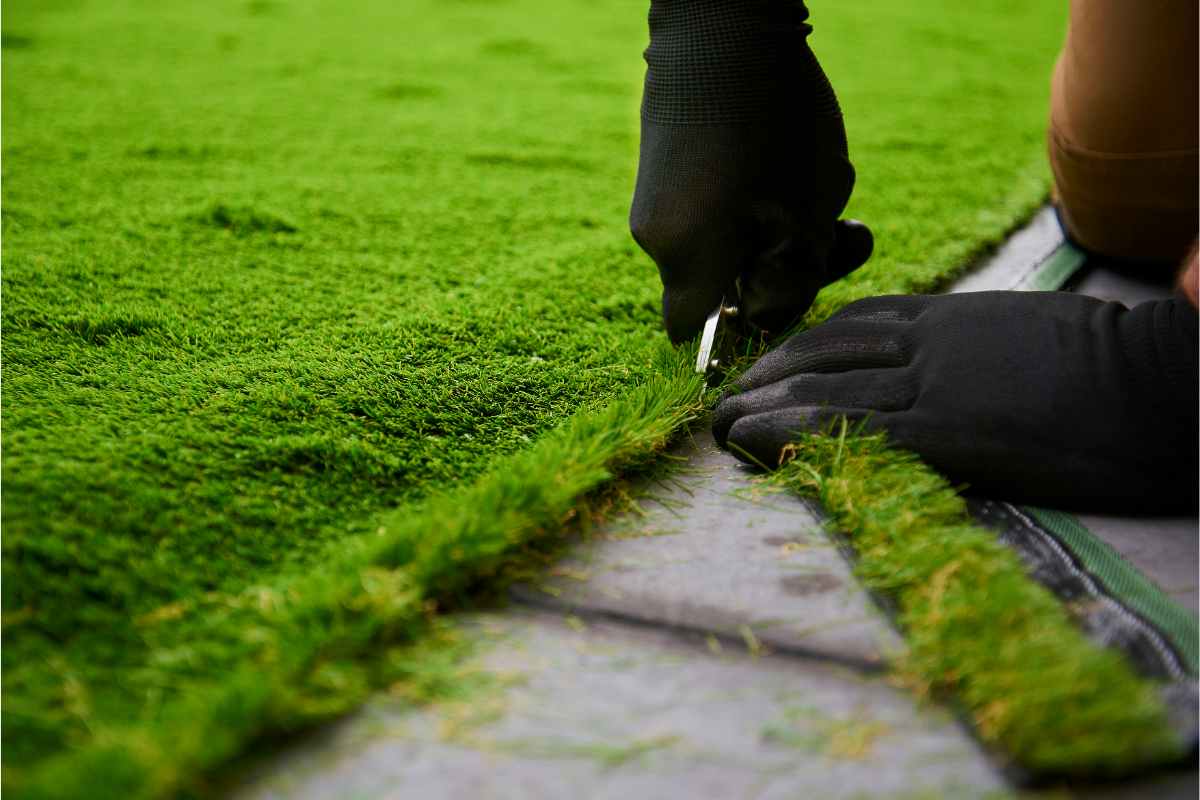
- Trim Excess Grass: If necessary, trim any excess grass along the edges using a utility knife. Be careful not to cut into the base material or trim the grass too short.
- Join Multiple Pieces: If you’re working with multiple pieces of artificial grass, use adhesive or seaming tape to join them together. Follow the manufacturer’s instructions for the specific product you’re using.
- Secure the Grass: Once the grass is in place, use ground stakes to anchor the edges and corners. This will ensure that the artificial grass stays in place and doesn’t move or shift during use.
Take your time during this step to ensure proper alignment and an even surface. Once the fake grass is laid and secured, move on to the next step: securing the edges.
Before laying fake grass on soil, make sure the ground is level and free of debris. Use a weed barrier to prevent any growth underneath. Secure the edges properly to avoid shifting.
Read more: How To Put Fake Grass Down
Step 4: Securing the Edges
Securing the edges of your fake grass is an essential step to ensure a professional and long-lasting installation. Follow these steps to secure the edges:
- Use Nails or Staples: To secure the edges of the artificial grass, use nails or staples designed for this purpose. Place them approximately 6-8 inches apart along the edge of the grass, making sure they penetrate the base material.
- Hammer the Nails or Staples: Using a hammer, carefully hammer the nails or staples into the ground. Be cautious not to hit the fake grass itself or cause any damage to the fibers.
- Check for Smooth Edges: Once the edges are secured, check for any unevenness or bumps along the perimeter of the grass. Use a broom or rake to smooth out any imperfections and create a clean and neat appearance.
- Trim Excess Grass: If there is any excess grass extending beyond the secured edges, carefully trim it using a utility knife. Ensure a clean and tidy edge for a professional finish.
Securing the edges of your artificial grass will not only provide a polished look but also prevent the turf from shifting or coming loose. With the edges secured, you can move on to the next step, which is adding infill (optional).
Step 5: Adding Infill (optional)
Adding infill to your fake grass is an optional step but can provide additional stability and enhance the overall performance of the artificial turf. Follow these steps to add infill:
- Choose the Right Infill Material: There are various options for infill materials, including silica sand, rubber granules, or a combination of both. Consider the specific needs of your artificial grass and consult the manufacturer’s recommendations to select the appropriate infill.
- Spread the Infill Material: Use a drop spreader or a shovel to evenly spread the infill material across the artificial grass. Ensure that it is distributed uniformly to avoid clumping or unevenness.
- Brush the Infill Into the Grass: Once the infill is spread, use a stiff brush or a power broom to brush the infill material into the artificial grass. This will help the infill settle and penetrate the fibers, providing stability and support.
- Add More Infill as Needed: Check the depth of the infill and add more if necessary. The recommended depth will depend on the type of artificial grass and the manufacturer’s instructions.
Adding infill can improve the durability and lifespan of your fake grass. It also helps to keep the fibers upright, providing a more natural and realistic appearance. Once the infill is added, you can move on to the final step: maintenance and care tips.
Step 6: Maintenance and Care Tips
Proper maintenance and care are essential to keep your fake grass looking its best and ensure its longevity. Follow these tips to maintain your synthetic turf:
- Regular Brushing: Brush the artificial grass regularly to keep the fibers upright and prevent matting. Use a stiff brush or a power broom and brush against the grain to lift the fibers.
- Cleaning Spills and Stains: Clean up any spills or stains promptly to prevent them from setting into the artificial grass. Use a mild detergent mixed with water and gently scrub the affected area. Rinse thoroughly with water and let it dry.
- Remove Debris: Regularly remove leaves, twigs, and other debris from the surface of the fake grass. Use a leaf blower, a rake, or a broom to keep the lawn clean and free from clutter.
- Watering: Although fake grass doesn’t require watering like real grass, occasional rinsing is beneficial to remove dust and maintain its appearance. Use a watering can or a hose to spray water over the surface.
- Prevent Weeds: While artificial grass reduces the chances of weed growth, occasional weed seeds may still find their way onto the surface. Regularly inspect and remove any weeds to maintain the pristine look of your lawn.
- Avoid High Temperatures: Be cautious with high-temperature objects such as barbecues or fire pits, as they can cause damage to the artificial turf. Keep such objects away from the lawn or ensure proper insulation.
By following these maintenance and care tips, you can keep your fake grass looking fresh and vibrant for years to come. Enjoy the beauty of a hassle-free and low-maintenance lawn!
Conclusion
Installing fake grass on soil is an excellent way to create a beautiful and low-maintenance outdoor space. By following the steps outlined in this guide, you can transform your yard into a lush and realistic-looking lawn that requires minimal upkeep. Whether you have a small backyard or a sprawling garden, artificial grass provides the perfect solution to enjoy the beauty of a green landscape all year round.
Remember to start by preparing the soil, ensuring it is level and free from debris. Install a solid base using crushed stone and sand to provide stability and drainage. Carefully lay the artificial grass, ensuring the edges are secured and the blades are evenly spread. Optional infill material can improve the performance and appearance of the turf. Lastly, maintain your fake grass by regularly brushing, cleaning spills, removing debris, and preventing weed growth.
With proper installation and regular care, your fake grass will provide years of enjoyment without the need for constant maintenance. Say goodbye to mowing, watering, and fertilizing, and hello to a vibrant and hassle-free lawn! Embrace the beauty and convenience of artificial grass and make the most of your outdoor space.
Frequently Asked Questions about How To Put Fake Grass On Soil
Was this page helpful?
At Storables.com, we guarantee accurate and reliable information. Our content, validated by Expert Board Contributors, is crafted following stringent Editorial Policies. We're committed to providing you with well-researched, expert-backed insights for all your informational needs.



0 thoughts on “How To Put Fake Grass On Soil”