Home>Gardening & Outdoor>Landscaping Ideas>How To Lay Fake Grass Down
Landscaping Ideas
How To Lay Fake Grass Down
Modified: October 21, 2024
Learn how to lay fake grass down with our expert landscaping ideas. Transform your outdoor space with our step-by-step guide.
(Many of the links in this article redirect to a specific reviewed product. Your purchase of these products through affiliate links helps to generate commission for Storables.com, at no extra cost. Learn more)
Introduction
Welcome to the world of hassle-free landscaping! If you’re looking to revamp your outdoor space with lush greenery but don’t want to deal with the maintenance that comes with natural grass, artificial grass is the perfect solution. Not only does it provide a vibrant and welcoming atmosphere, but it also requires minimal upkeep, making it an attractive option for both residential and commercial properties.
Installing fake grass may seem like a daunting task, but fear not! With the right guidance, you can transform your outdoor area into a stunning, low-maintenance paradise. In this comprehensive guide, we’ll walk you through the step-by-step process of laying fake grass, ensuring that you achieve professional-looking results without breaking a sweat.
Whether you’re a seasoned DIY enthusiast or a first-time landscaper, this guide will equip you with the knowledge and confidence to tackle the project with ease. So, roll up your sleeves, grab your tools, and let’s dive into the wonderful world of artificial grass installation!
Key Takeaways:
- Transform your outdoor space with hassle-free artificial grass. Follow the steps to create a lush, low-maintenance paradise for everyone to enjoy, without the need for mowing or watering.
- By meticulously preparing, laying a stable base, and adding finishing touches, you can achieve a professional-looking artificial grass installation. Embrace the simplicity of maintenance and enjoy your vibrant outdoor oasis!
Read more: How To Lay Fake Grass In Arizona
Step 1: Prepare the Area
Before diving into the installation process, it’s crucial to prepare the area where you plan to lay the artificial grass. Proper preparation sets the foundation for a flawless and long-lasting result. Here’s a breakdown of the essential steps to get the area ready:
- Clear the Space: Begin by clearing the designated area of any debris, rocks, or existing vegetation. This ensures a smooth and even surface for the artificial grass to be laid upon.
- Measure and Mark: Measure the area accurately and mark the boundaries where the artificial grass will be installed. This step helps you determine the amount of artificial turf needed for the project.
- Excavate the Soil: Once the area is marked, it’s time to excavate the soil to a depth that allows for the base and turf to sit level with surrounding hardscapes. This typically involves removing around 3 to 4 inches of soil, depending on the specific requirements of your project.
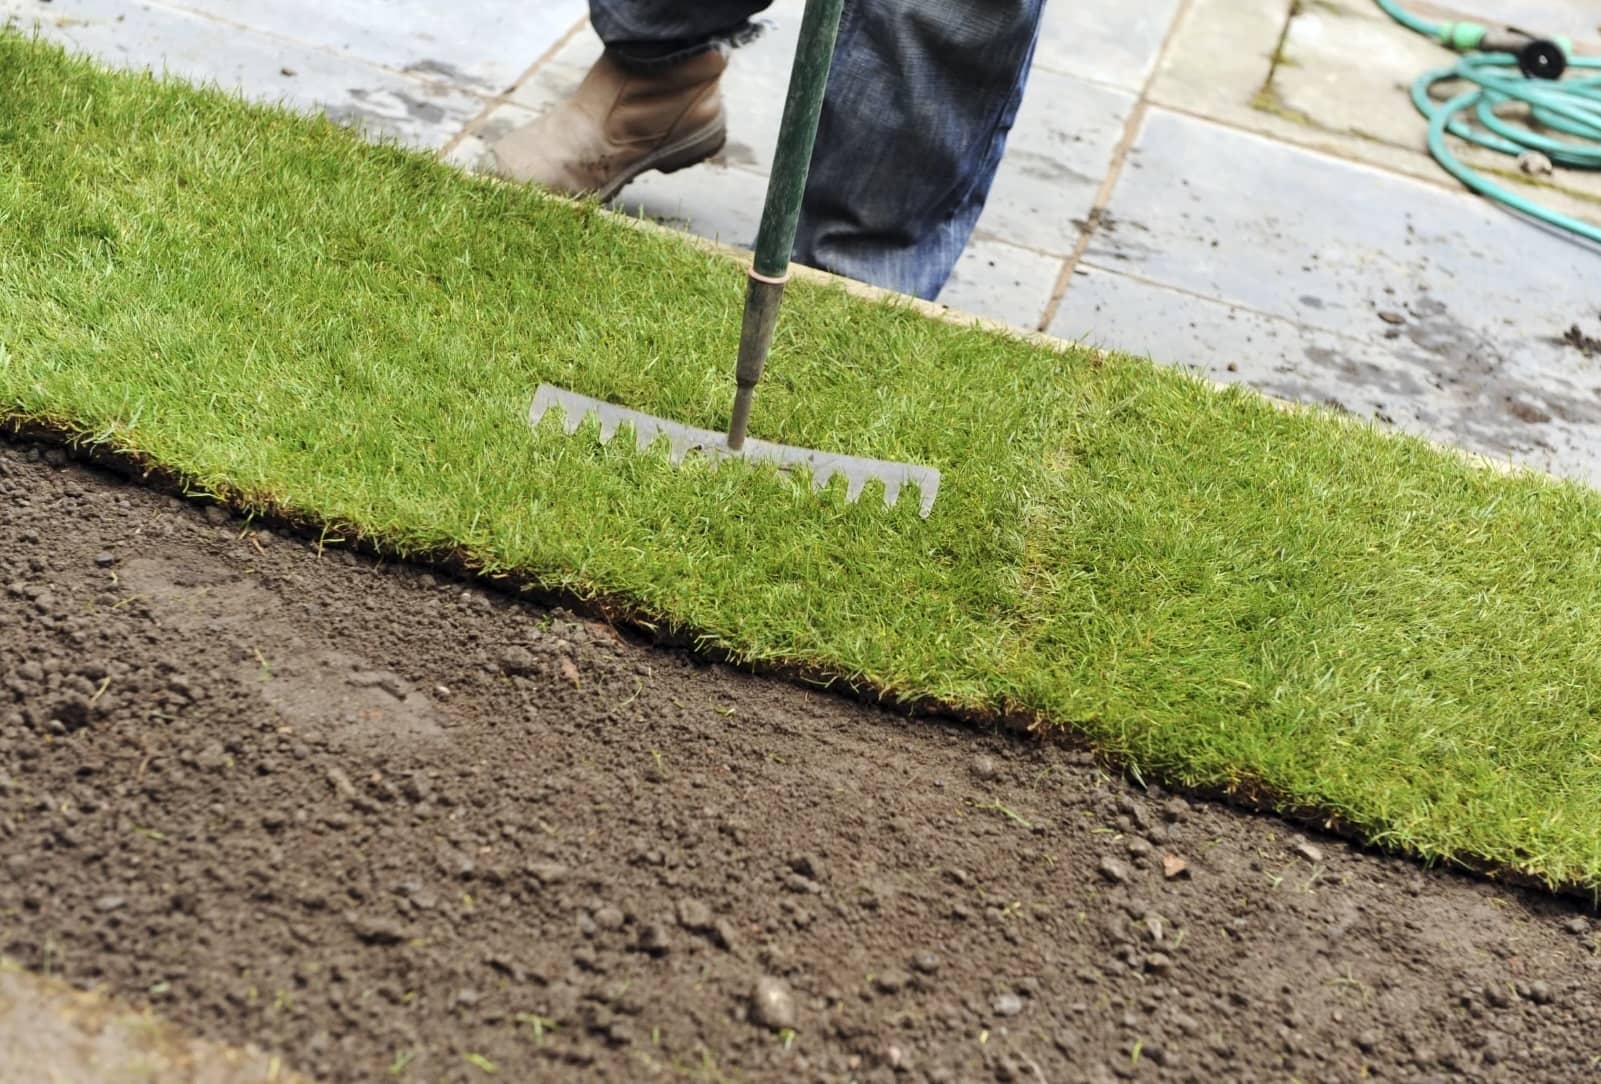
- Grade the Surface: After excavating the soil, use a rake to grade the surface, ensuring it’s level and free of any bumps or depressions. A smooth and even base is essential for a professional-looking artificial grass installation.
- Install Edging: To contain the artificial grass and prevent it from shifting, install edging around the perimeter of the area. This can be achieved using flexible bender board, sturdy plastic or metal landscape edging, or other suitable materials.
By meticulously preparing the area, you’re laying the groundwork for a seamless and visually appealing artificial grass installation. Once the area is properly prepped, you’re ready to move on to the next steps in the process.
Step 2: Lay the Base
With the area prepared, it’s time to create a stable and reliable base for your artificial grass. The base serves as a crucial foundation, promoting proper drainage and ensuring the longevity of your synthetic turf. Follow these steps to lay the base effectively:
- Add a Weed Barrier: Before laying the base material, it’s advisable to install a weed barrier fabric over the excavated soil. This barrier helps prevent the growth of weeds and ensures a clean, low-maintenance surface for your artificial grass.
- Apply a Sub-Base Material: Next, add a layer of sub-base material, such as decomposed granite or crushed rock, to the excavated area. This material should be spread evenly and compacted to create a stable and permeable foundation for the artificial grass.
- Compact the Sub-Base: Use a compactor or tamper to firmly compact the sub-base material. This step is essential for achieving a solid and level surface that can withstand foot traffic and environmental factors.
- Add a Layer of Fine Aggregate: Following the sub-base, apply a layer of fine aggregate, such as silica sand, over the compacted surface. This layer helps improve drainage and provides additional support for the artificial grass fibers.
- Distribute and Level the Aggregate: Distribute the fine aggregate evenly across the surface and use a rake or leveling tool to ensure it’s uniformly spread. The goal is to create a smooth and level base that promotes proper water drainage and enhances the performance of the artificial grass.
By meticulously laying the base according to these steps, you’re establishing a solid and well-prepared foundation for the artificial grass installation. The base not only supports the synthetic turf but also contributes to its overall resilience and aesthetic appeal. With the base in place, you’re ready to move on to the exciting phase of installing the artificial grass itself.
Step 3: Install the Artificial Grass
Now comes the exciting part—installing the artificial grass that will transform your outdoor space into a vibrant, low-maintenance oasis. Follow these steps to ensure a seamless and professional installation of the synthetic turf:
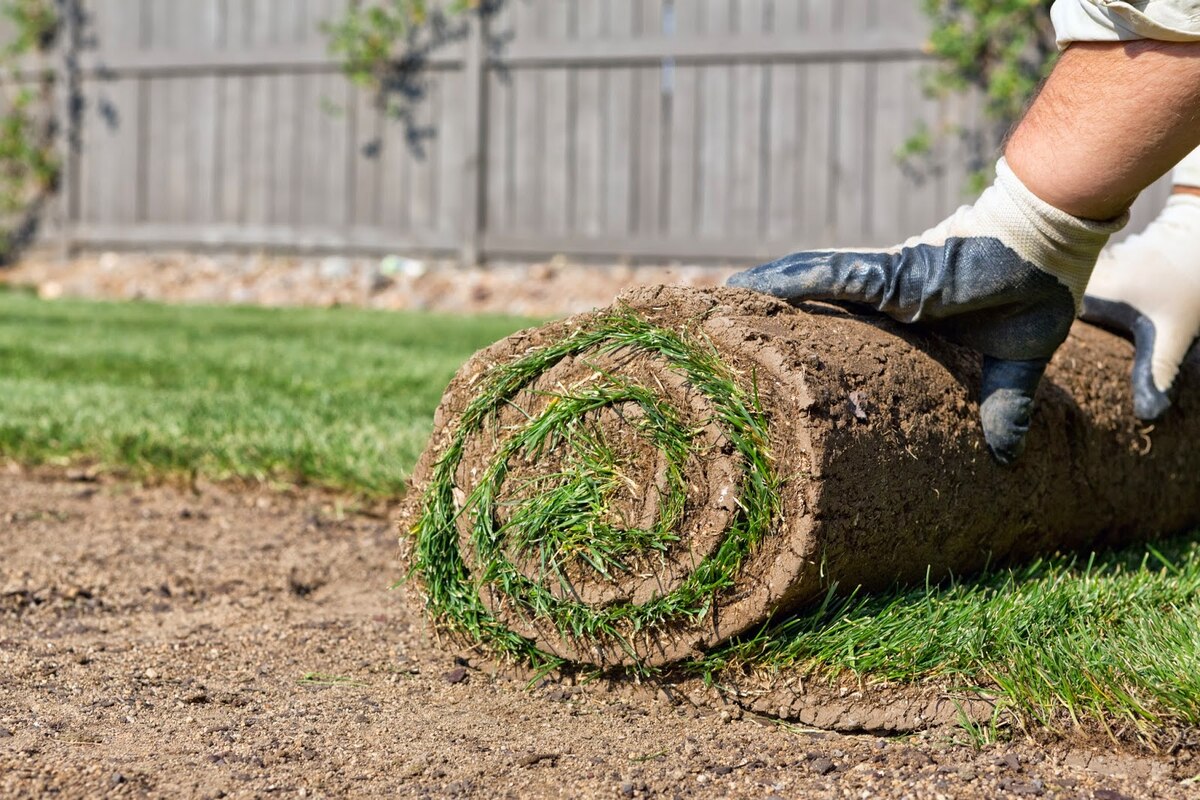
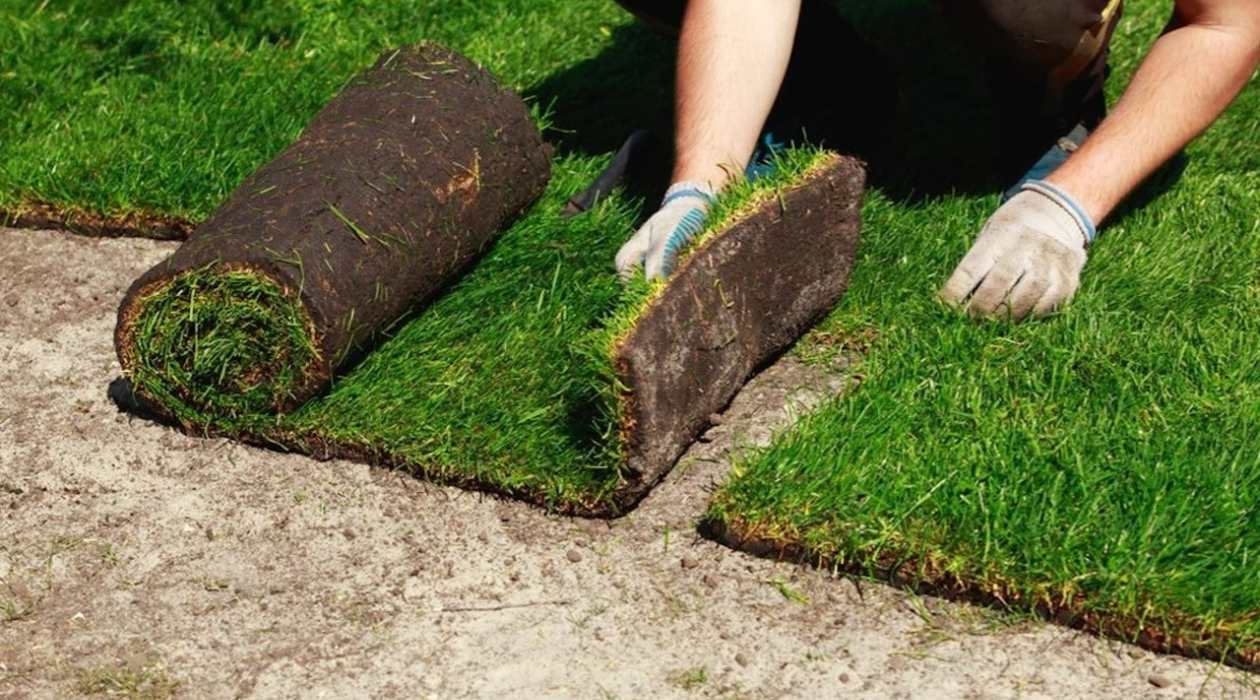
- Roll Out the Artificial Grass: Unroll the artificial grass across the prepared area, allowing the turf to acclimate to the surroundings for a few hours. This step helps the grass fibers settle and relax, facilitating an easier installation process.
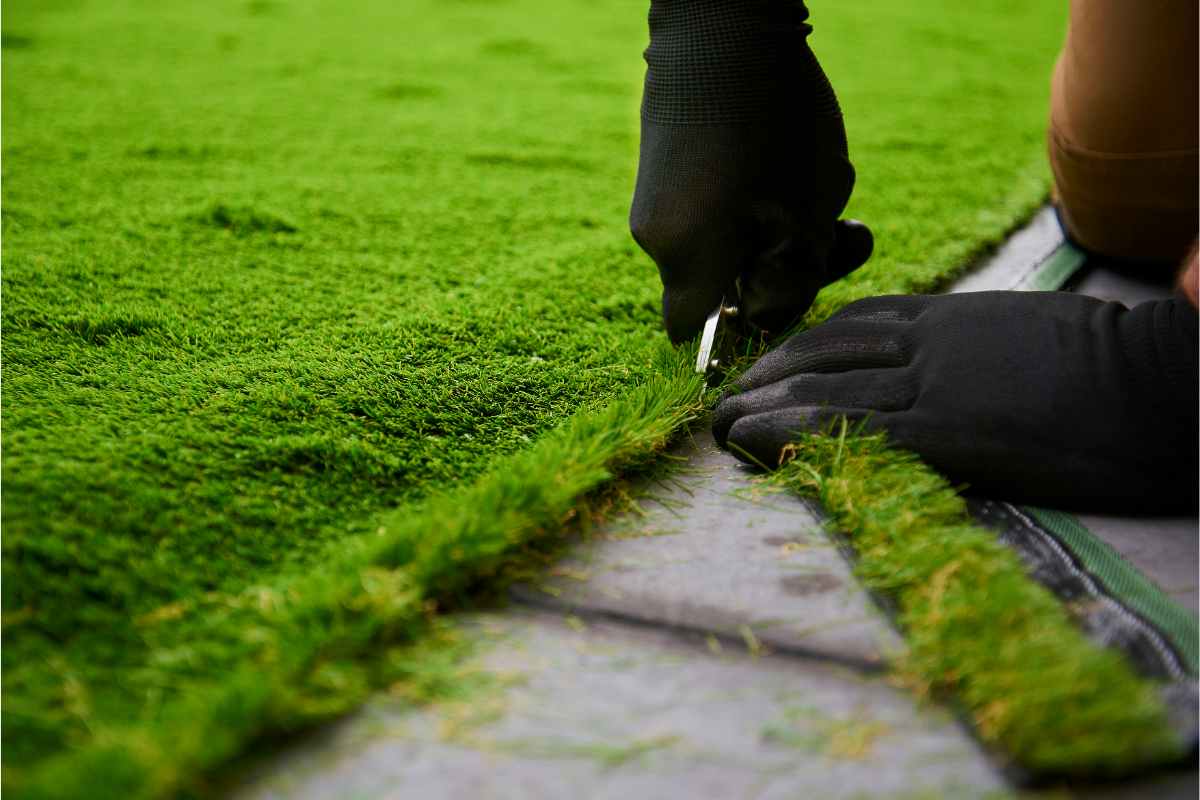
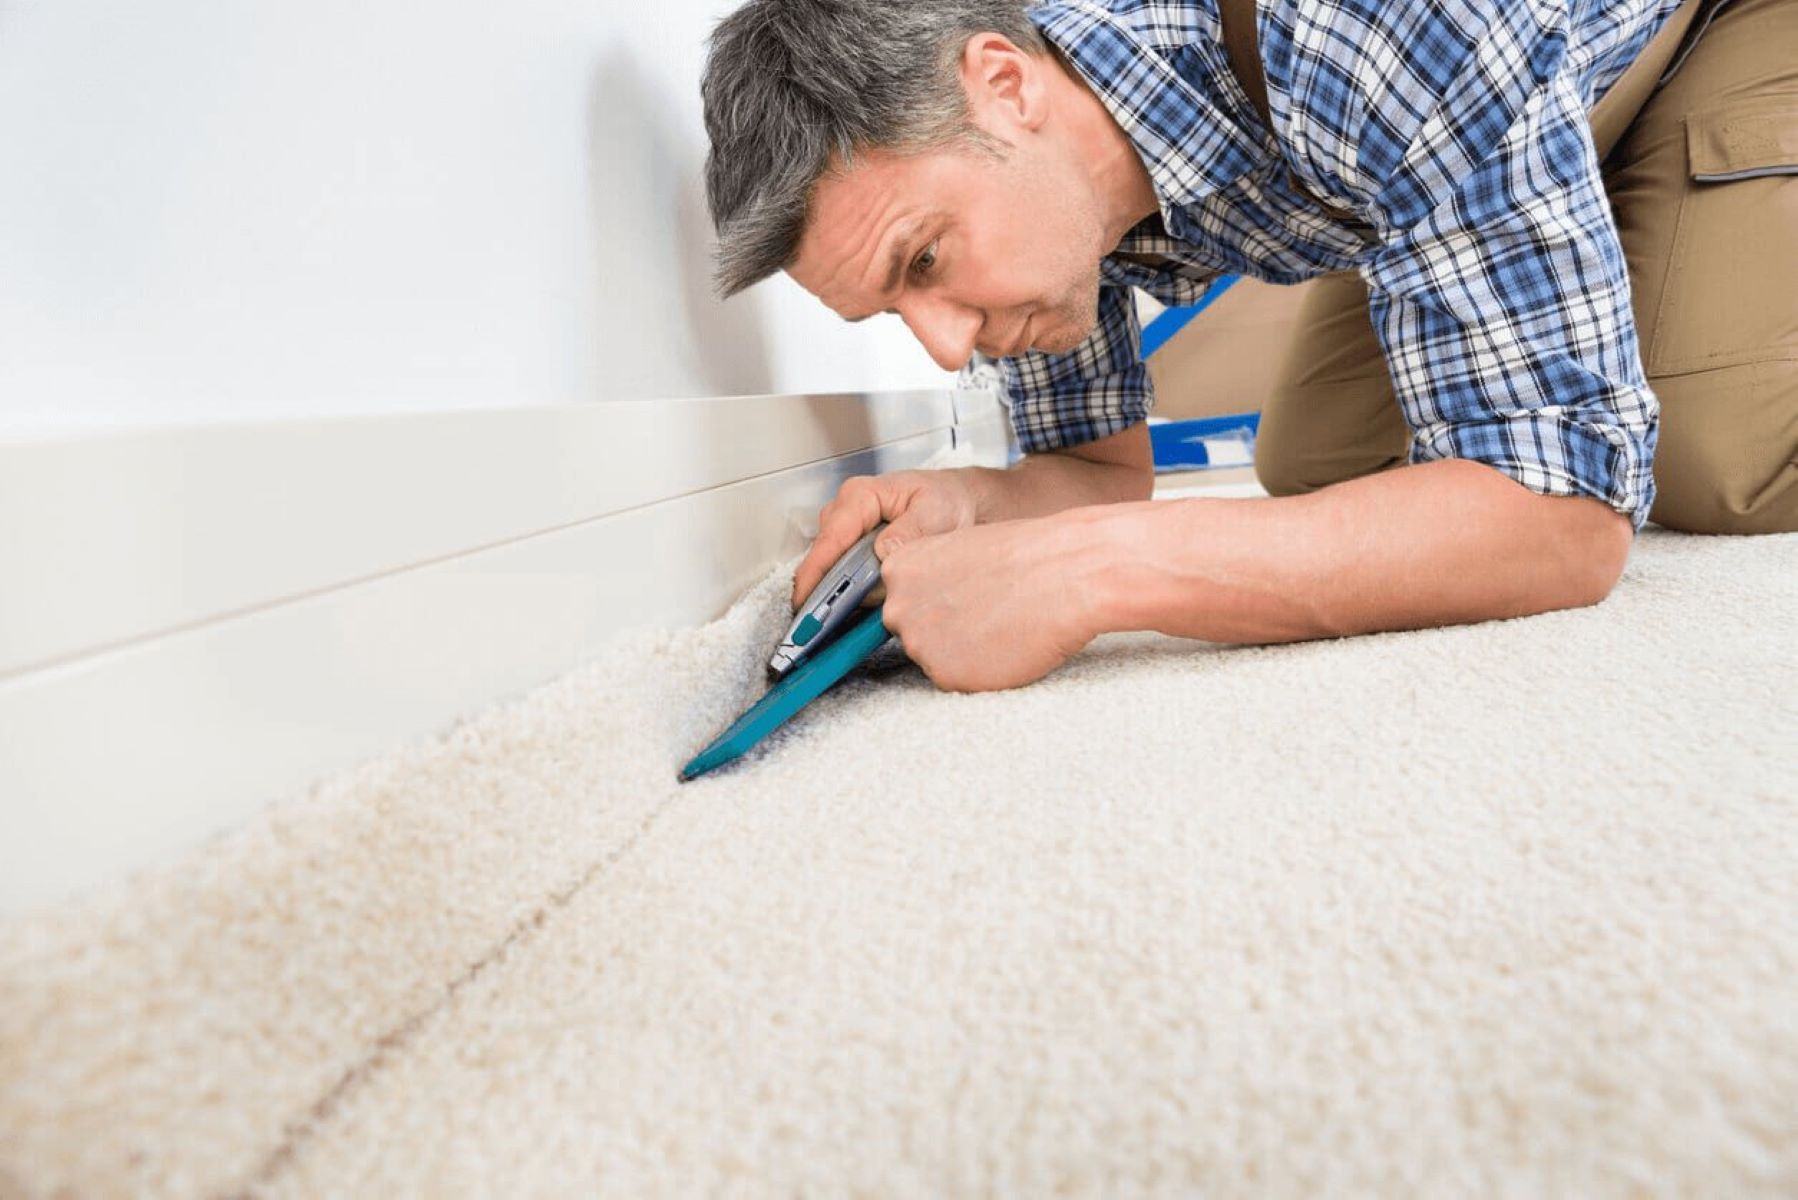
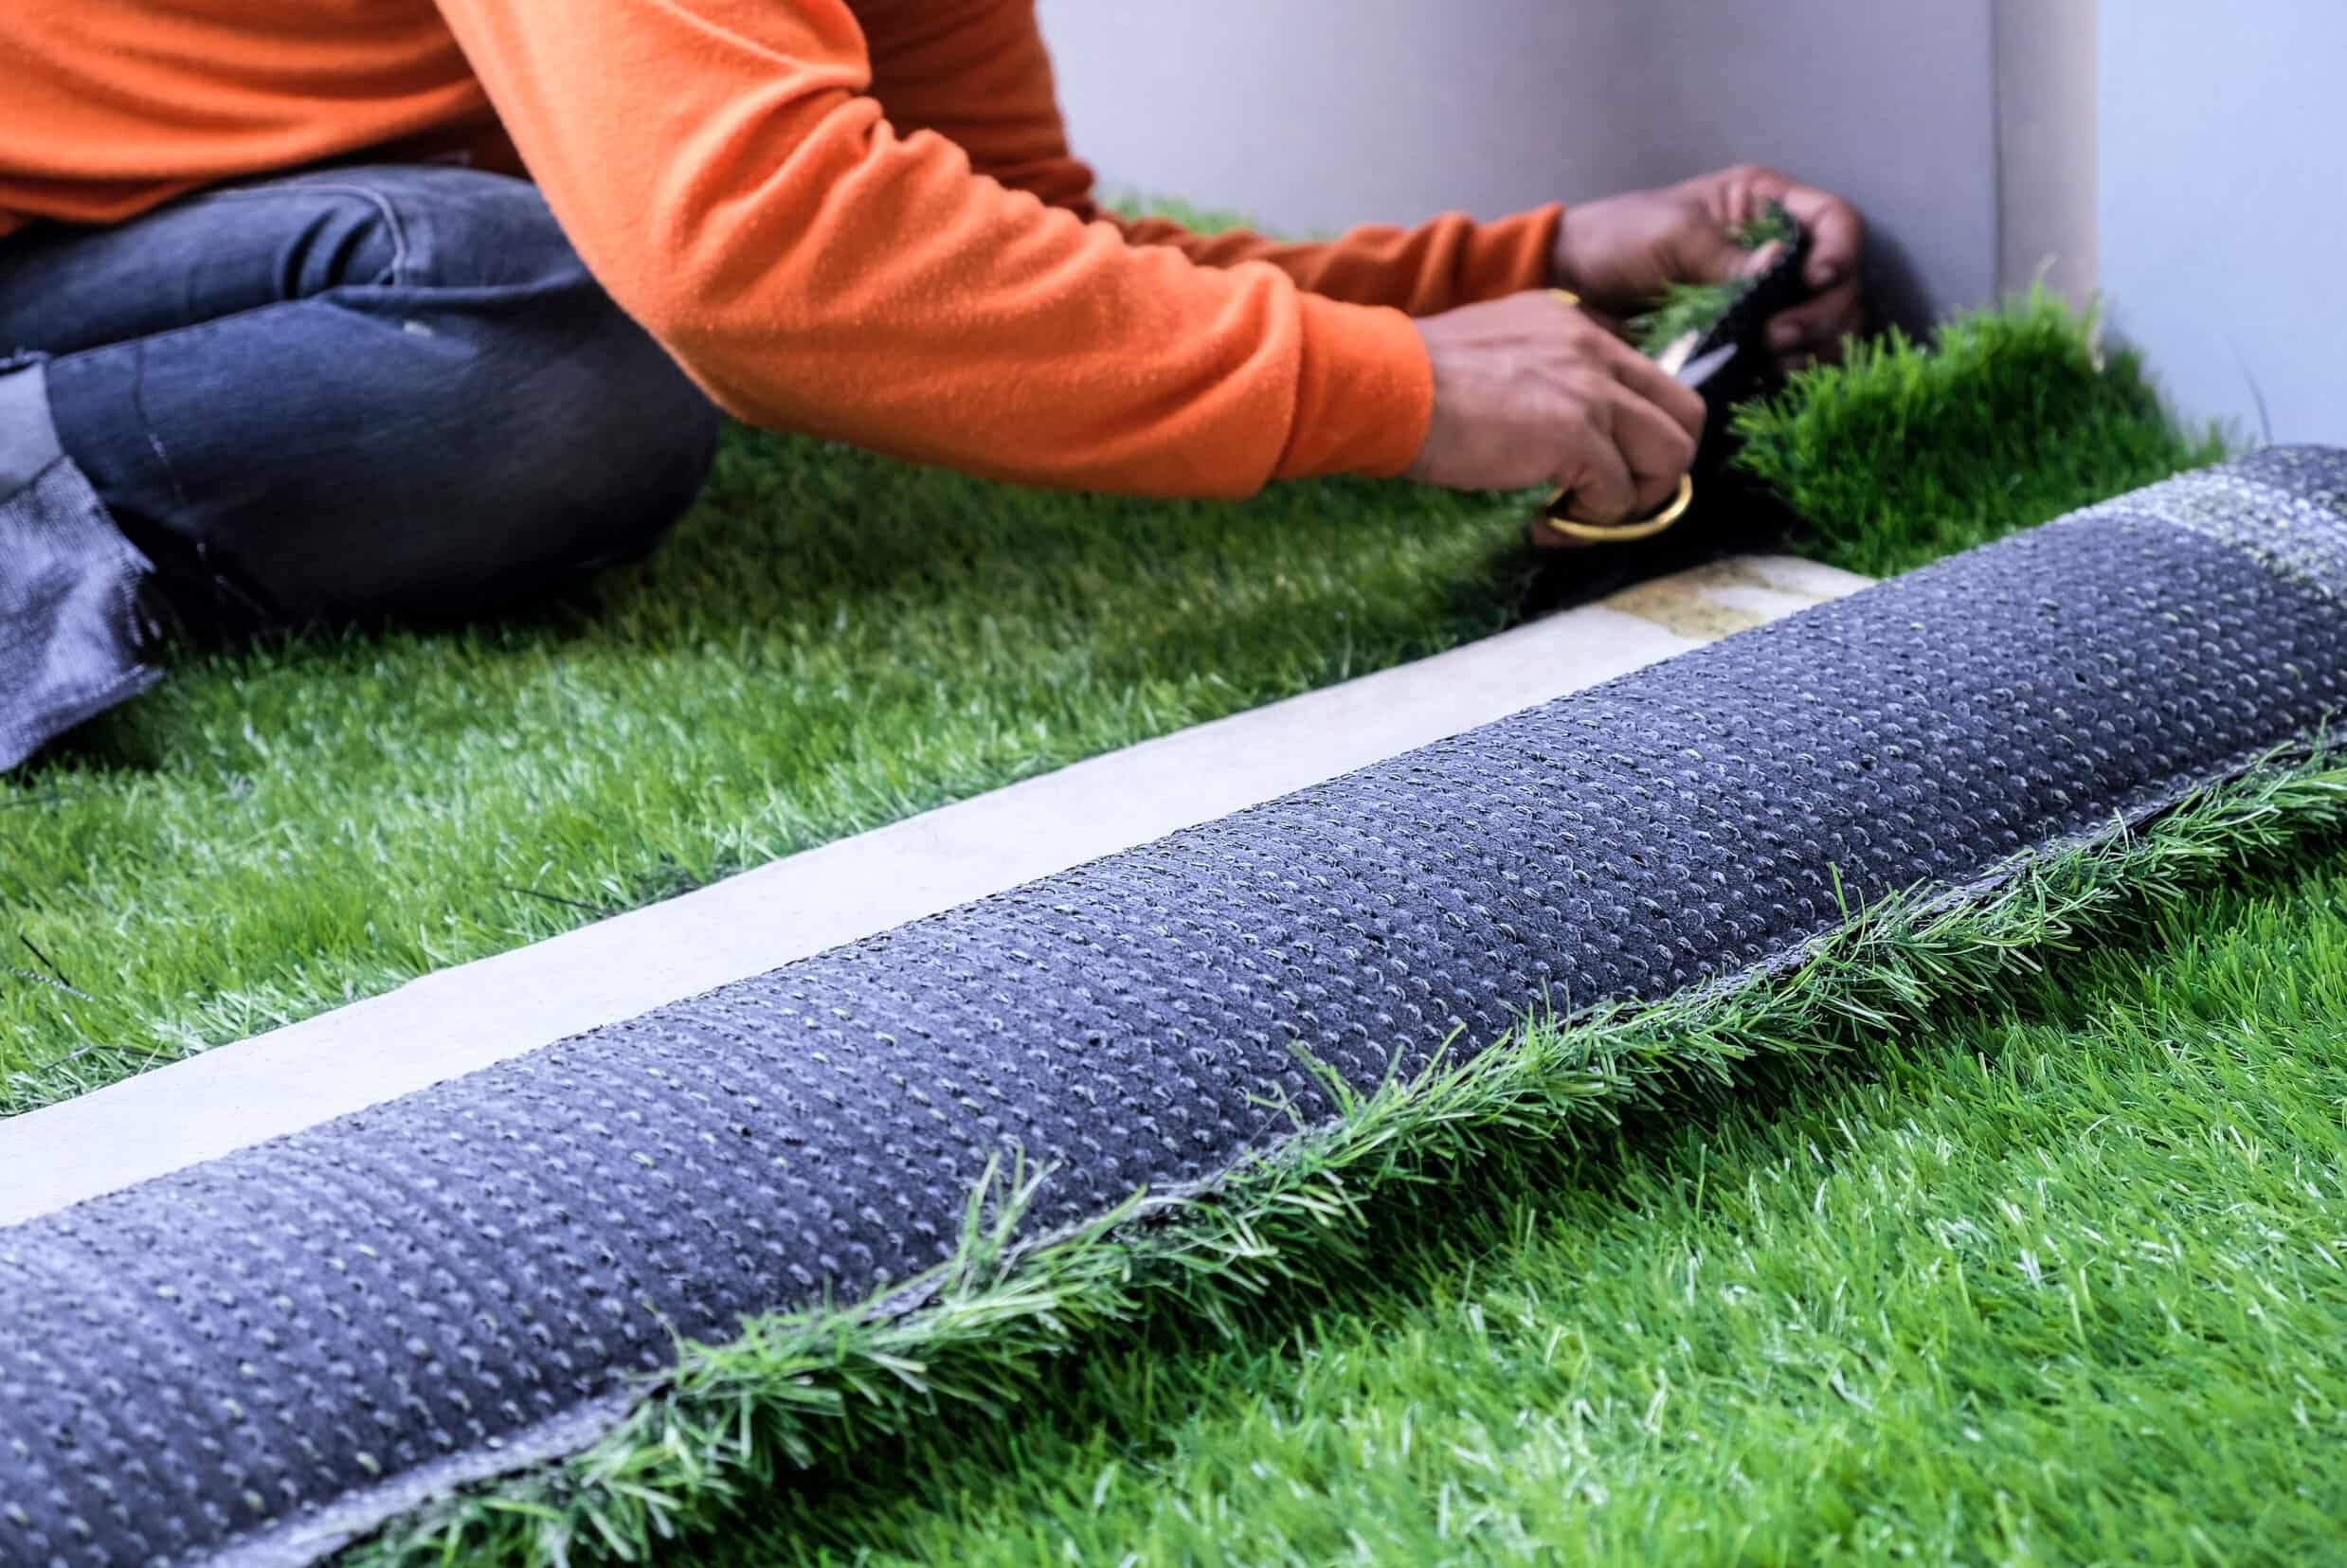
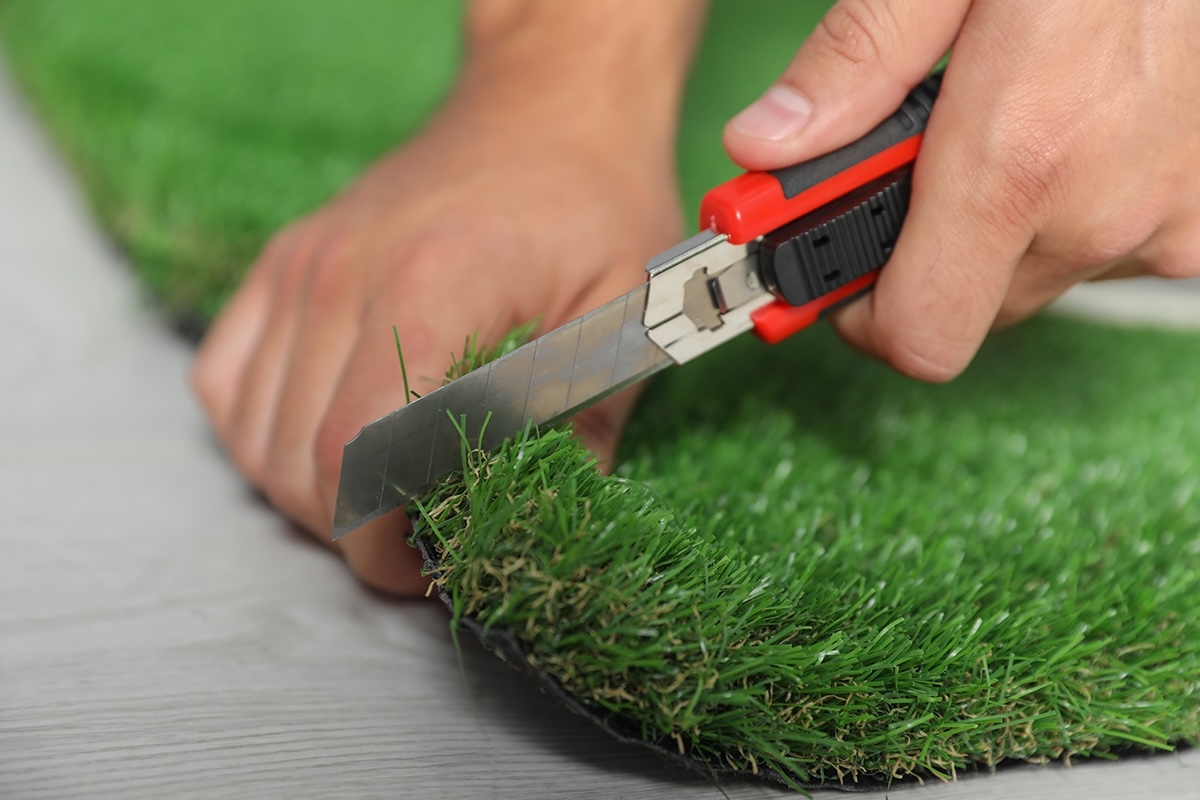
- Cut and Trim the Grass: Once the artificial grass has acclimated, carefully trim and shape it to fit the designated area. Use a sharp utility knife to cut the turf, ensuring precise edges and a snug fit against any borders or obstacles.
- Join Seams and Align the Grass: If your installation area requires multiple pieces of artificial grass, carefully align the seams and ensure a seamless transition between the sections. Use specialized seam tape and adhesive to securely join the pieces, creating an invisible and durable bond.
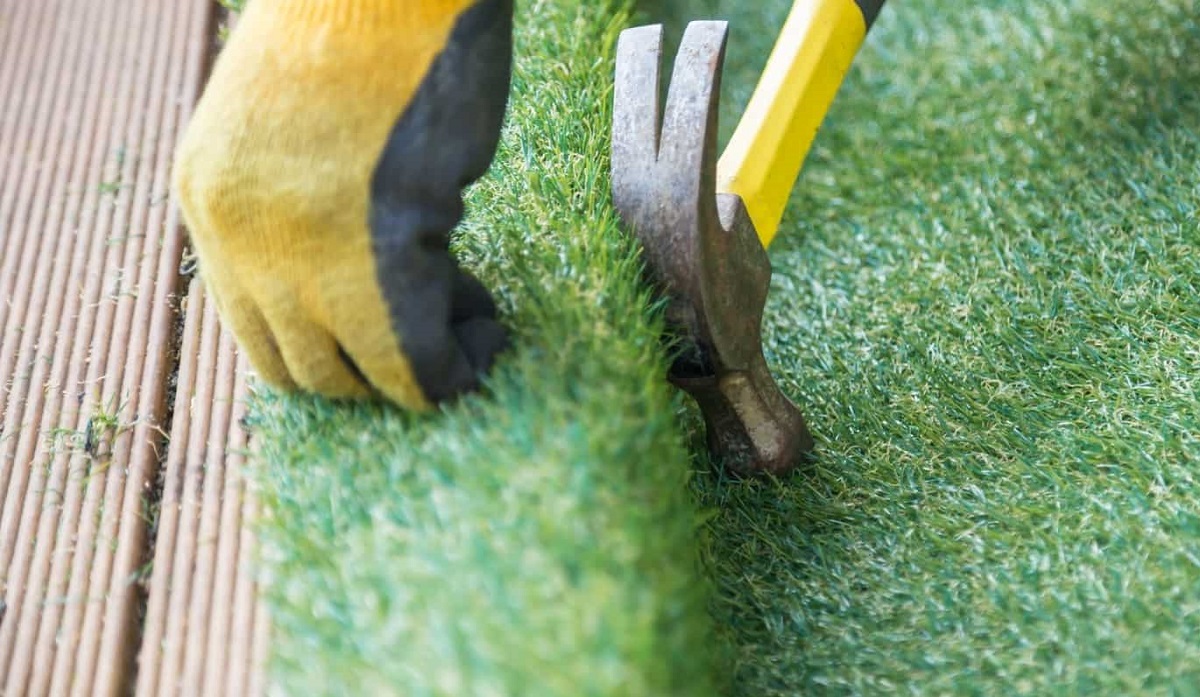
- Secure the Turf: After positioning the artificial grass, secure it in place using galvanized nails or turf staples along the edges and seams. This step prevents shifting and ensures that the turf remains taut and well-anchored to the base.
- Brush and Fluff the Fibers: Once the artificial grass is securely installed, use a stiff-bristled broom or power brush to fluff up the fibers and enhance the turf’s aesthetic appeal. This brushing action helps the grass blades stand upright, resulting in a lush and natural appearance.
By following these steps, you’ll achieve a professional and visually stunning installation of artificial grass. The meticulous attention to detail during the installation process ensures that your synthetic turf not only looks impeccable but also delivers exceptional performance and durability. With the grass in place, it’s time to move on to the next phase of securing the edges to complete the installation.
Before laying fake grass, make sure the area is clean and level. Use a weed barrier to prevent growth underneath. Install a good drainage system to avoid water buildup.
Step 4: Secure the Edges
Securing the edges of the artificial grass is a critical step that ensures the longevity and stability of your installation. Properly anchored edges prevent the turf from shifting and maintain a tidy, professional appearance. Follow these steps to secure the edges of your synthetic turf:
- Trim Excess Material: Begin by carefully trimming any excess artificial grass along the edges, ensuring a clean and precise finish. This step creates a uniform border and facilitates a seamless transition between the turf and surrounding surfaces.
- Install Edging Material: Depending on your preference and the specific requirements of your installation, choose suitable edging material to contain and support the artificial grass. This can include flexible bender board, sturdy plastic or metal landscape edging, or other appropriate options.
- Secure the Edging: Use stakes or anchors to secure the chosen edging material along the perimeter of the artificial grass area. This anchoring ensures that the edging remains in place, providing structural support and a defined border for the turf.
- Apply Adhesive (if needed): In cases where the edging material requires additional reinforcement, apply adhesive along the contact points between the edging and the artificial grass. This step enhances the stability of the edging and prevents any potential movement or separation.
- Inspect and Adjust: Once the edging is in place, carefully inspect the entire perimeter to ensure that the artificial grass is securely contained and the edges are neatly finished. Make any necessary adjustments to achieve a polished and professional result.
By diligently securing the edges of the artificial grass, you’re safeguarding your installation against shifting or displacement, and creating a defined and visually appealing boundary for your synthetic turf. With the edges secured, you’re ready to add the finishing touches that will elevate the overall aesthetic of your artificial grass area.
Read more: How To Lay Fake Grass On Gravel
Step 5: Finishing Touches
As you near the completion of your artificial grass installation, it’s time to add the finishing touches that will enhance the overall appearance and functionality of the synthetic turf. These final steps will ensure that your artificial grass area exudes a polished and inviting ambiance. Here’s how to perfect the finishing touches:
- Brush and Groom the Grass: Use a specialized power brush or stiff-bristled broom to groom the artificial grass fibers, ensuring they stand upright and maintain a lush, natural appearance. This grooming action also helps distribute infill material evenly throughout the turf.
- Apply Infill Material: If your artificial grass installation requires infill material, carefully apply it across the turf and use a stiff broom to work it into the fibers. Infill supports the structure of the synthetic turf, enhances drainage, and provides a cushioning effect for a realistic feel underfoot.
- Inspect and Adjust: Thoroughly inspect the entire installation, checking for any uneven areas, visible seams, or loose edges. Make any necessary adjustments to ensure a seamless and visually appealing result.
- Clean and Maintain: Once the installation is complete, provide guidance on the proper cleaning and maintenance of the artificial grass to ensure its long-term vibrancy and durability. This may include regular brushing, occasional rinsing, and addressing any minor debris or stains that may accumulate over time.
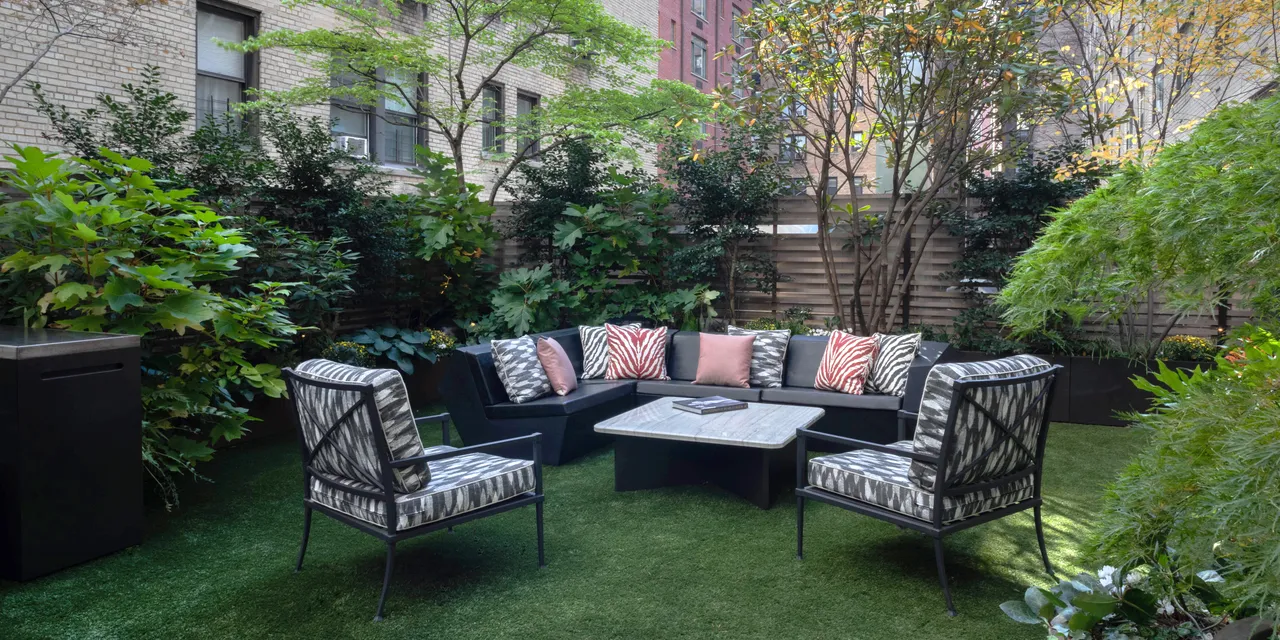
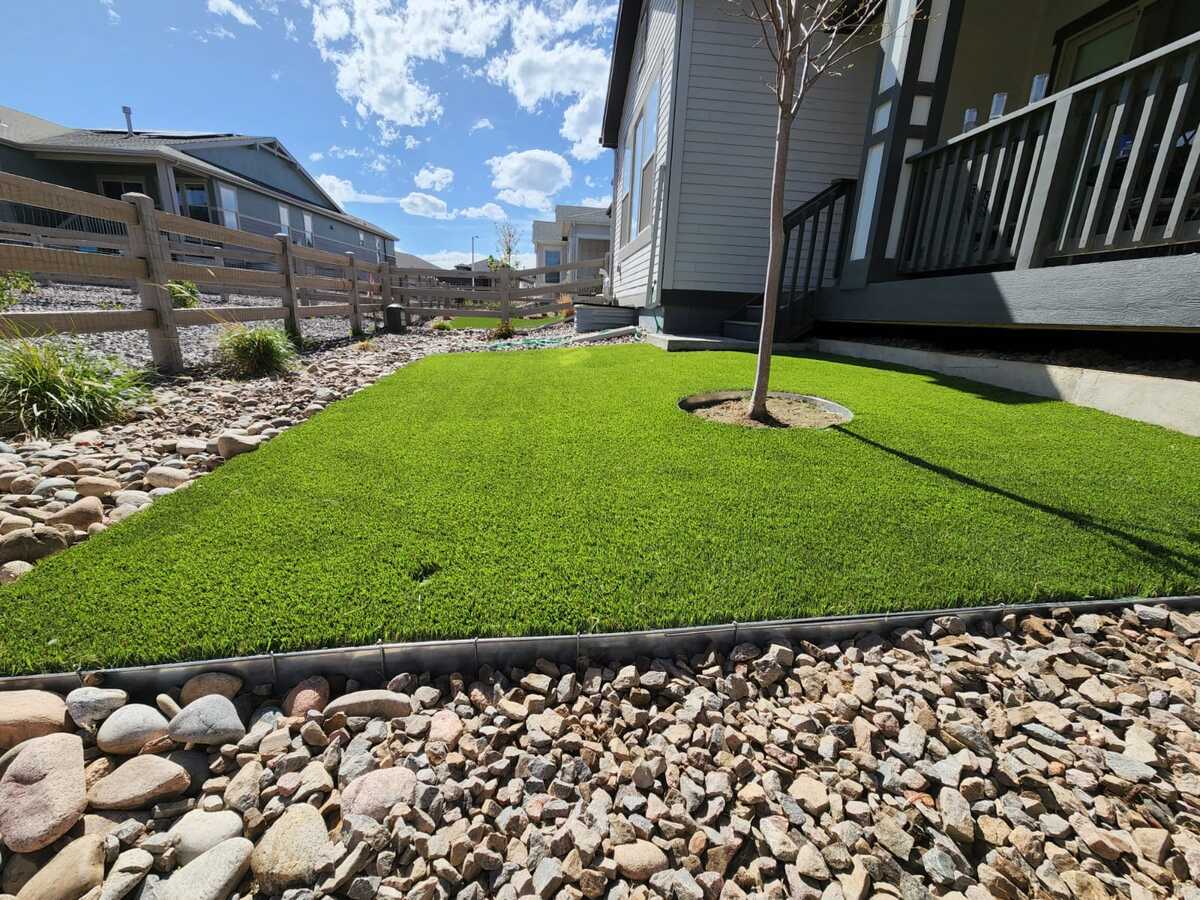
- Enjoy Your New Space: With the finishing touches in place, take a moment to relish the transformation of your outdoor area. Whether it’s a lush backyard, a vibrant rooftop terrace, or a welcoming commercial space, your professionally installed artificial grass is ready to be enjoyed and admired.
By attending to these final details, you’re elevating the visual appeal and functionality of your artificial grass installation, setting the stage for a stunning and low-maintenance outdoor space. With the finishing touches completed, you can now step back and admire the remarkable impact of your artificial grass transformation.
Conclusion
Congratulations! You’ve successfully navigated the process of laying artificial grass, transforming your outdoor space into a vibrant, low-maintenance haven. By following the detailed steps outlined in this guide, you’ve not only achieved a professional-looking installation but also set the stage for long-term enjoyment and relaxation in your revamped outdoor area.
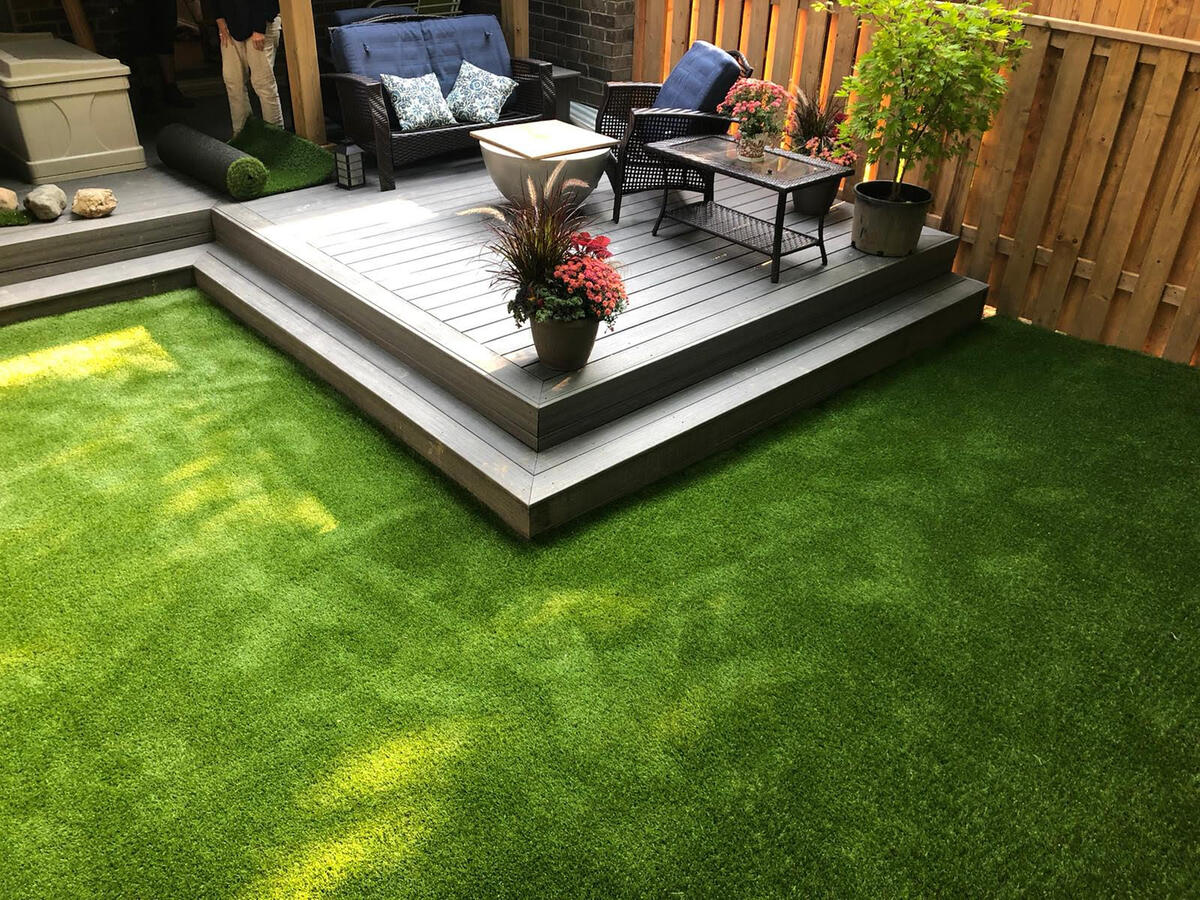
With meticulous preparation, a solid base, precise installation, and thoughtful finishing touches, your artificial grass area now exudes the lush beauty of natural grass without the demanding upkeep. Whether it’s a residential backyard, a commercial landscape, or a recreational space, your new artificial turf offers a welcoming and visually appealing environment for all to enjoy.
As you revel in the beauty and practicality of your artificial grass installation, remember to embrace the simplicity of maintenance that comes with synthetic turf. With minimal upkeep and maximum durability, you can look forward to a consistently vibrant and inviting outdoor space, free from the hassles of mowing, watering, and seasonal upkeep associated with natural grass.
So, take a moment to bask in the satisfaction of a job well done. Your artificial grass installation not only enhances the aesthetic appeal of your outdoor area but also contributes to a sustainable and eco-friendly landscaping solution. With its water-saving benefits and reduced environmental impact, synthetic turf is a smart and stylish choice for modern outdoor living.
As you embark on this exciting journey with artificial grass, may your newly transformed space be a source of joy, relaxation, and endless enjoyment. Whether it’s a serene retreat, a vibrant play area, or an inviting gathering spot, your artificial grass installation is a testament to the beauty of low-maintenance landscaping and the boundless possibilities it brings.
Embrace the beauty, embrace the ease, and embrace the transformative power of artificial grass. Your outdoor oasis awaits!
Frequently Asked Questions about How To Lay Fake Grass Down
Was this page helpful?
At Storables.com, we guarantee accurate and reliable information. Our content, validated by Expert Board Contributors, is crafted following stringent Editorial Policies. We're committed to providing you with well-researched, expert-backed insights for all your informational needs.


0 thoughts on “How To Lay Fake Grass Down”