Home>Garden Essentials>How To Render Landscape Design
Garden Essentials
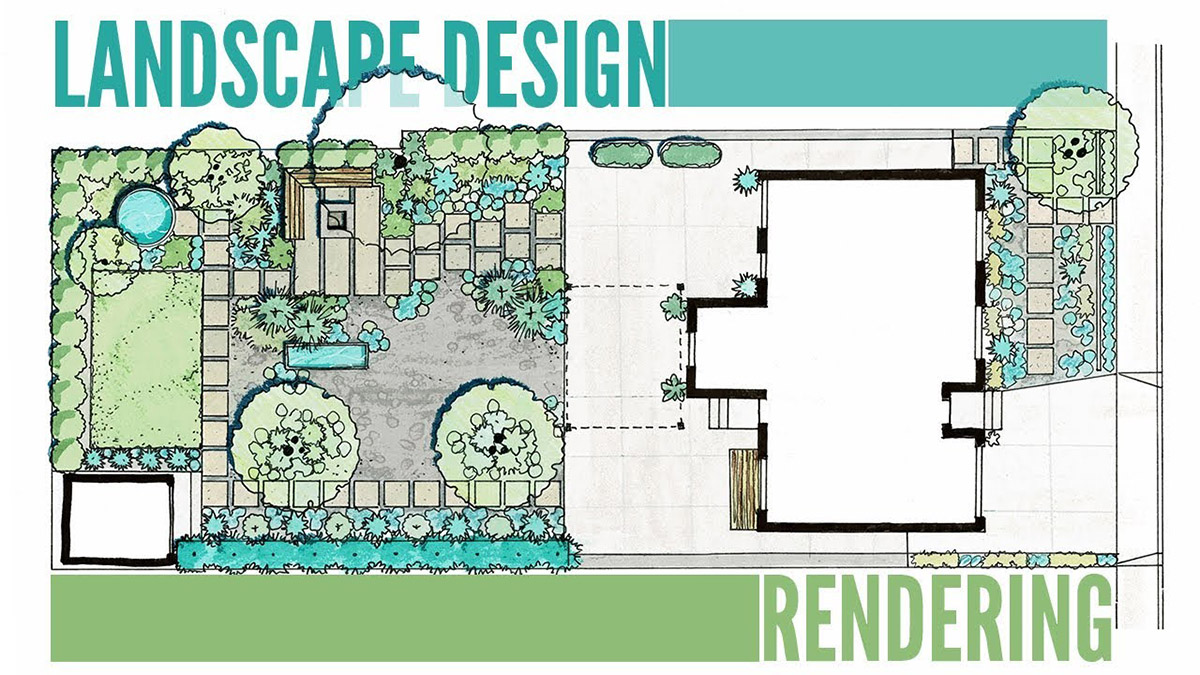
How To Render Landscape Design
Modified: March 15, 2024
Learn how to render stunning garden landscape designs with step-by-step instructions and expert tips. Create the perfect outdoor oasis for your home.
(Many of the links in this article redirect to a specific reviewed product. Your purchase of these products through affiliate links helps to generate commission for Storables.com, at no extra cost. Learn more)
Introduction
Welcome to our comprehensive guide on how to render landscape design. Creating a beautiful and functional garden can be a rewarding and enjoyable experience. Whether you are a beginner or have some gardening knowledge, this article will provide you with step-by-step instructions and valuable tips to help you transform your outdoor space into a stunning sanctuary.
A well-designed landscape not only enhances the aesthetics of your home but also adds value to your property. It creates a peaceful retreat where you can unwind, entertain guests, and connect with nature. However, understanding the fundamentals of landscape design and the proper techniques for rendering is crucial to achieve a cohesive and visually appealing result.
In this guide, we will take you through the process of landscape rendering, covering each step in detail. From preparing your workspace to fine-tuning the final details, you will be equipped with the knowledge and strategies to create a garden that reflects your personal style and meets your specific needs.
Before we jump into the practical aspects, it is essential to note that every successful design begins with a well-thought-out plan. Take some time to envision your ideal outdoor space, considering factors such as your lifestyle, the available area, climate conditions, and any existing features or structures. This preliminary planning phase will serve as a blueprint for your landscape rendering journey.
Now, let’s dive into the exciting world of landscape rendering and discover how to turn your garden dreams into reality!
Key Takeaways:
- Transform your outdoor space into a stunning sanctuary by following the step-by-step guide to landscape rendering. From preparing the workspace to adding flowers, create a visually appealing and functional garden.
- Enhance the aesthetics of your home and connect with nature by incorporating trees, hardscape elements, and groundcover. Fine-tune the details to create a space that reflects your personal style and vision.
Read more: How To Render Pork Fat In A Slow Cooker
Step 1: Preparing Your Workspace
Before you start the landscape rendering process, it is essential to prepare your workspace to ensure efficiency and safety. Follow these steps to set the stage for a successful project:
- Clear the area: Remove any debris, weeds, or existing plants from the designated garden area. If there are any unwanted structures or objects, such as old furniture or rocks, clear them out as well.
- Assess the soil: Test the soil to determine its pH levels and drainage capacity. This will help you understand the soil’s composition and make informed decisions on plant selection and amendments, if necessary.
- Amend the soil: Based on the soil assessment, you may need to amend the soil to improve its nutrient content and structure. Incorporate organic matter like compost, peat moss, or aged manure to enhance soil fertility and drainage.
- Create boundaries: Consider adding edging materials to define the boundaries of your garden beds. This can be done with natural materials like rocks or wood, or you can opt for metal or plastic edging for a more clean and modern look.
- Set up irrigation: Install an irrigation system that suits your garden’s water needs. This can be a sprinkler system, drip irrigation, or a combination of both. Ensure that the irrigation system covers the entire garden area and is properly secured.
- Prepare tools and materials: Gather all the necessary tools and materials you will need for the landscape rendering process. This may include shovels, rakes, wheelbarrows, gloves, pruning shears, and any other equipment required for planting and hardscaping.
- Ensure safety: Before you begin working, ensure that you have the appropriate safety gear, such as gloves, safety glasses, and sturdy footwear. Familiarize yourself with the proper handling and usage of all tools to prevent accidents.
Taking the time to properly prepare your workspace will make the landscape rendering process smoother and more enjoyable. It will also create a solid foundation for your garden, allowing for healthy plant growth and long-term success. Once you have completed these preparatory steps, you are ready to move on to the next stage of the landscape rendering process.
Step 2: Creating a Base Layer
Creating a solid base layer is crucial in landscape rendering, as it provides structure and stability for your garden design. Follow these steps to establish a strong foundation for your outdoor space:
- Level the ground: Use a rake or shovel to remove any unevenness in the ground and create a level surface. This will ensure that water drains properly and prevent pooling in certain areas.
- Install weed barrier: Lay down a weed barrier fabric over the cleared ground. This will help to suppress weed growth and keep your garden beds looking neat and tidy.
- Add gravel or sand: Spread a layer of gravel or sand over the weed barrier fabric. This will provide additional drainage and aid in soil stability.
- Compact the base layer: Use a tamper or compactor to gently compress the gravel or sand layer. This will create a firm and stable base for your garden features.
- Consider pathways or paving: If you plan on incorporating pathways or paved areas in your garden, now is the time to determine their placement and begin the installation. This can be done using materials like stone pavers, bricks, or concrete.
- Mark boundaries: Use string or stakes to mark the boundaries and outlines of your garden beds, pathways, and other design elements. This will serve as a guide as you move forward with the landscape rendering process.
By creating a solid base layer, you are setting the stage for a visually appealing and functional landscape. The leveled and stable ground will ensure proper drainage and prevent any potential issues that may arise in the future. Additionally, the weed barrier fabric will help minimize the maintenance required for weed control.
Once you have completed these steps, you are ready to move on to the next exciting phase of landscape rendering: adding trees and shrubs to bring life and character to your garden.
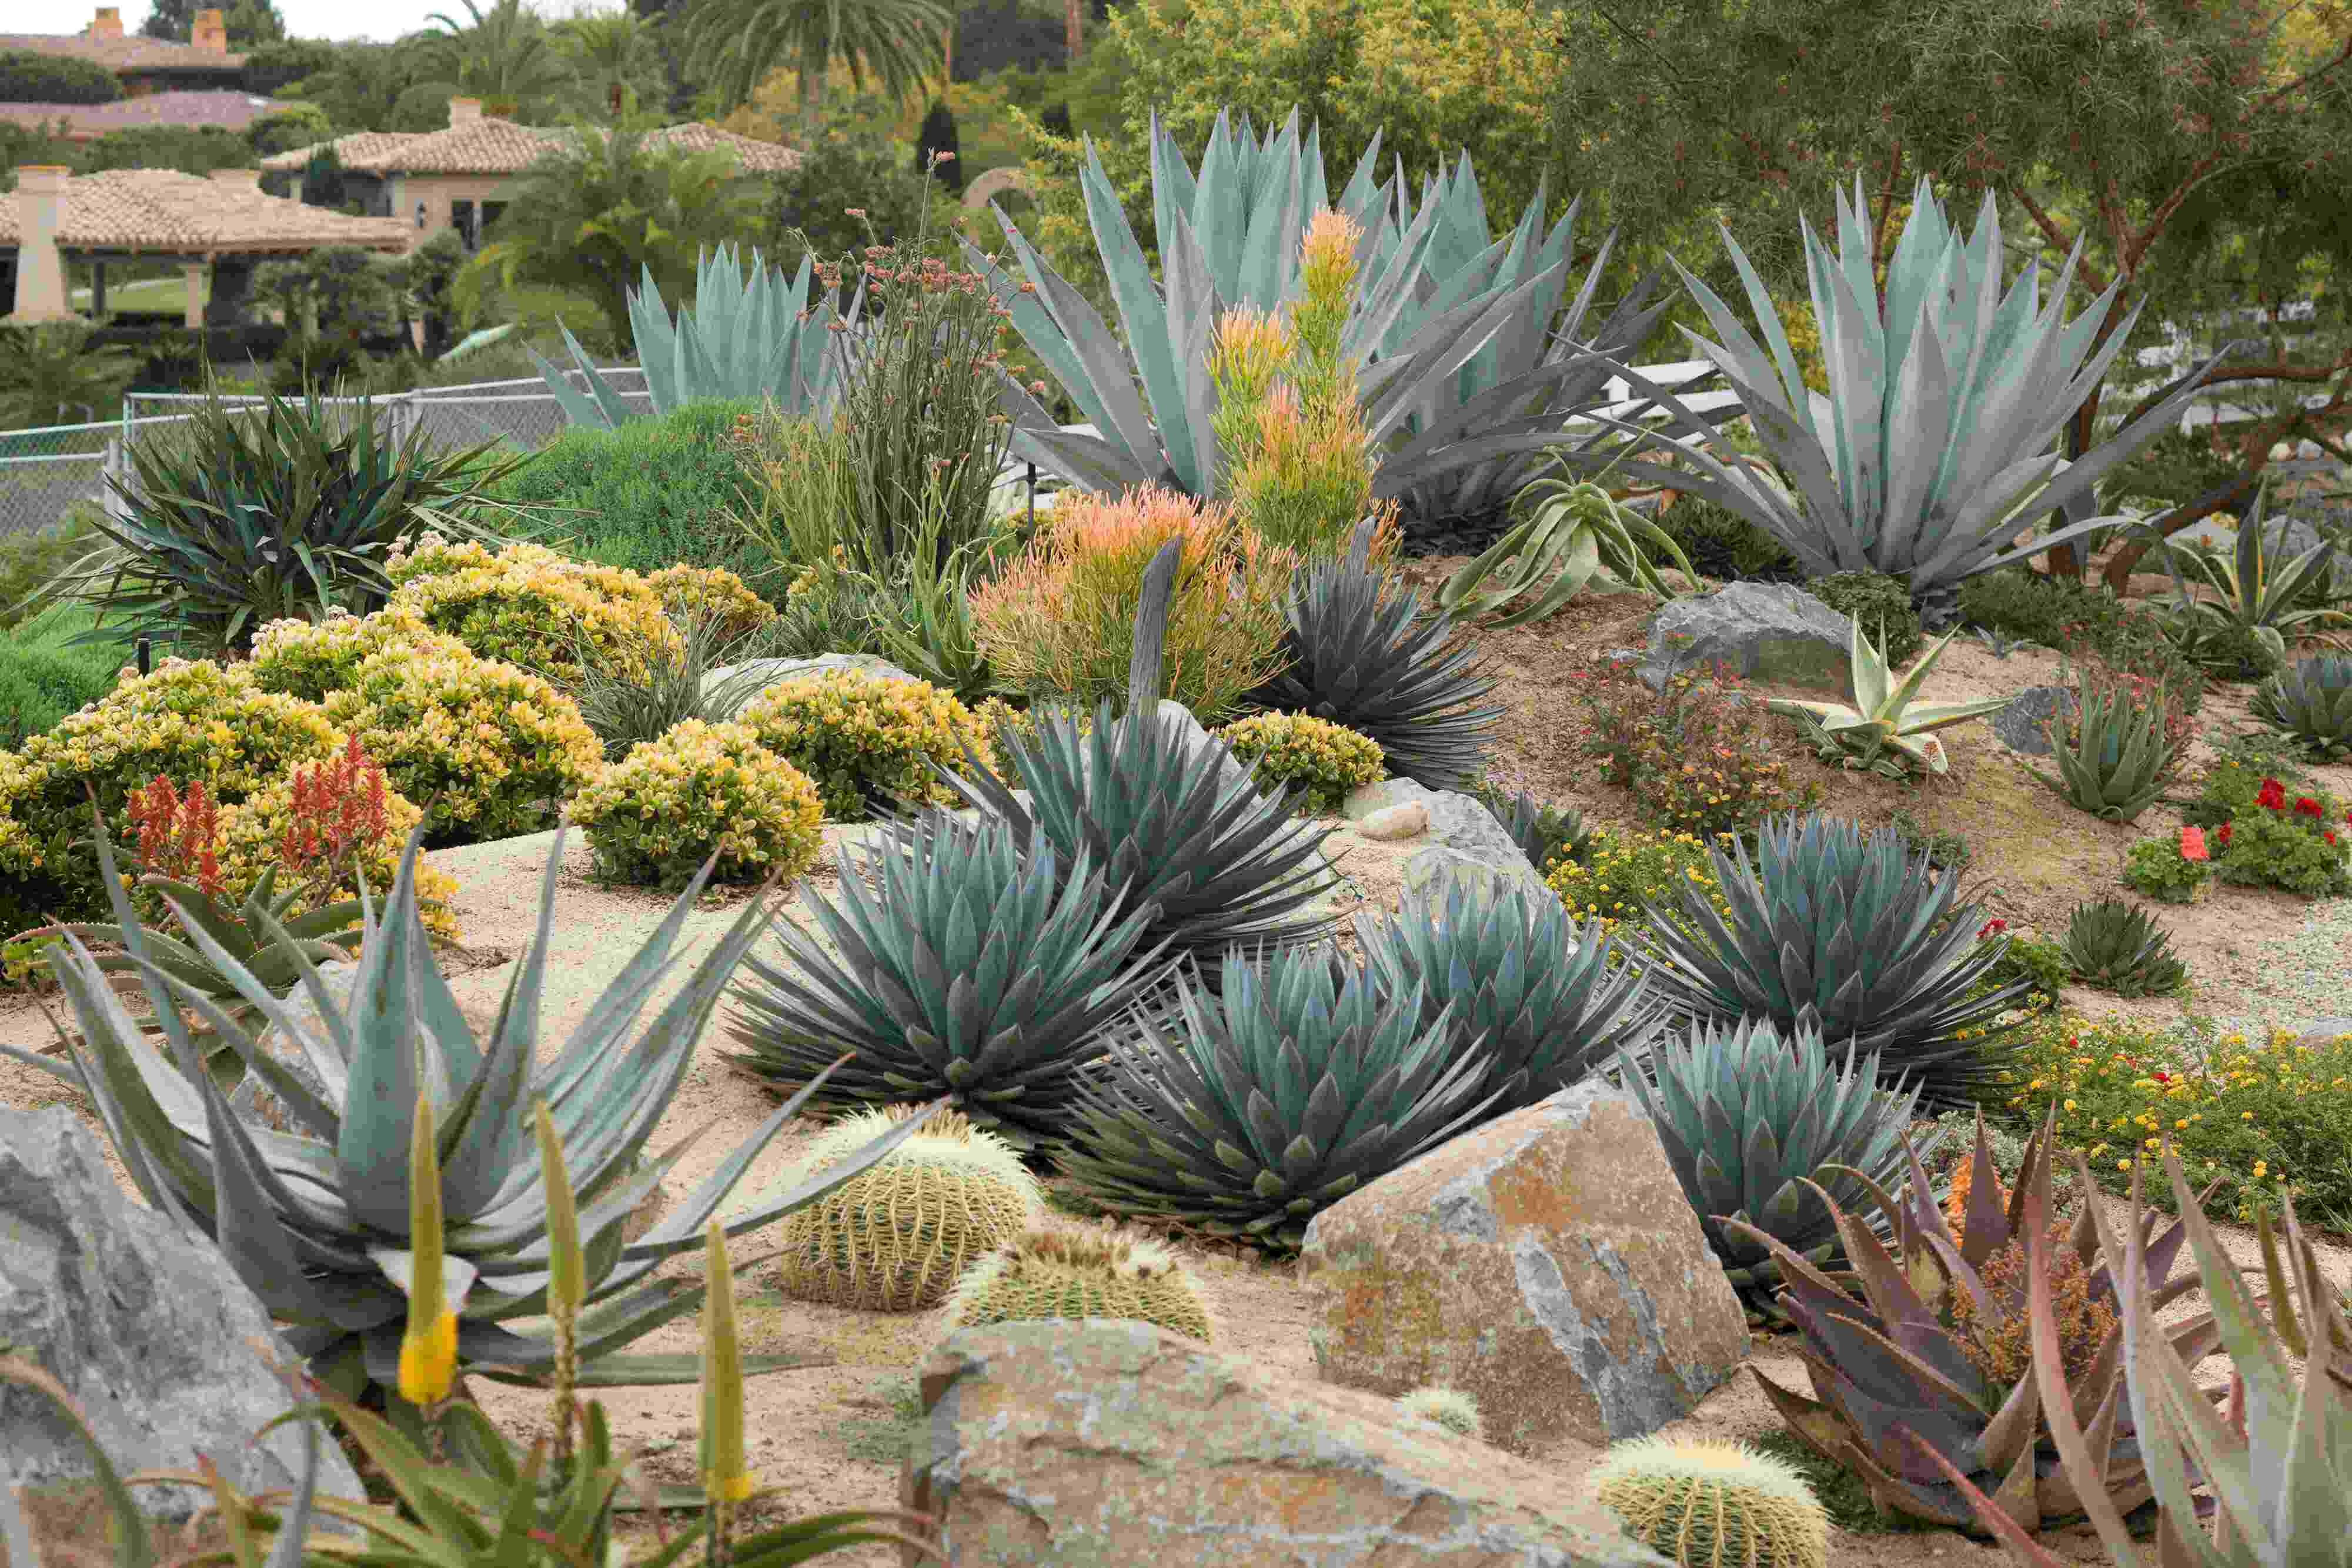
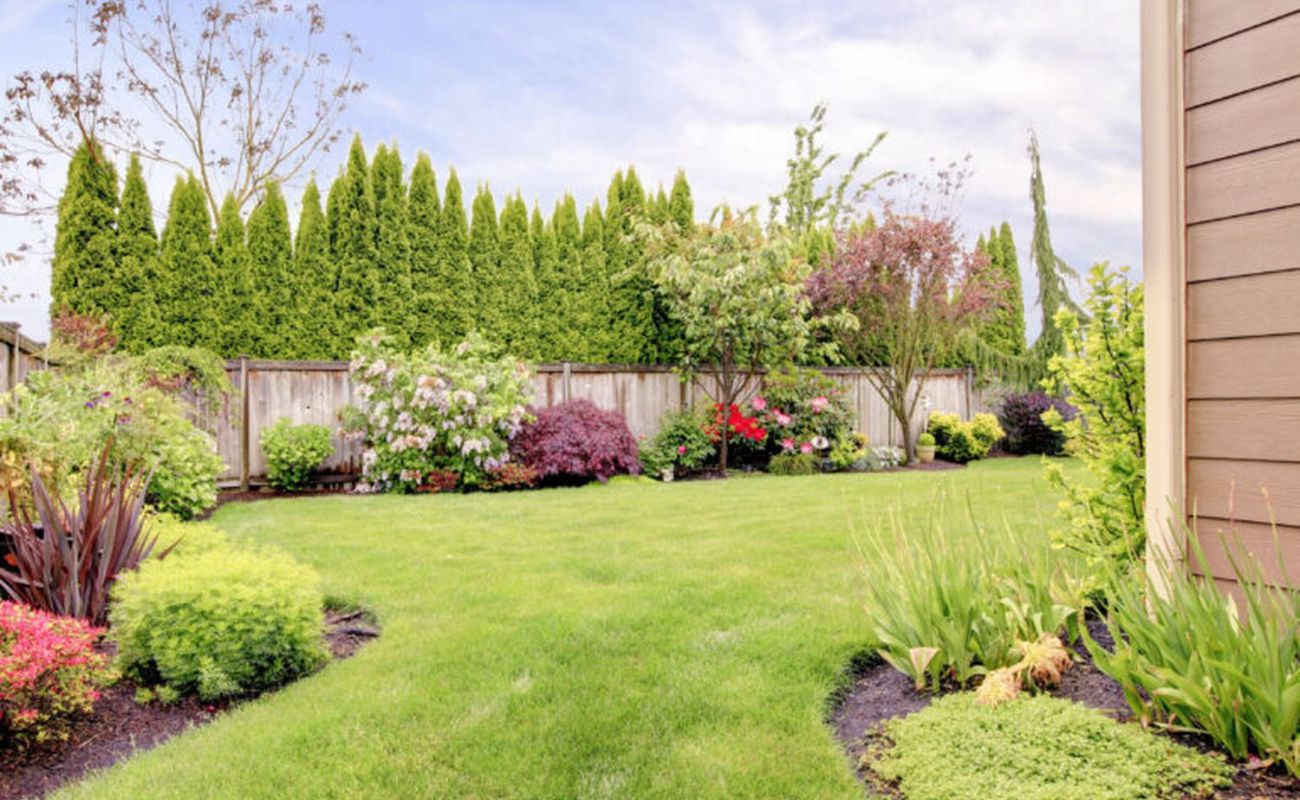
Step 3: Adding Trees and Shrubs
Adding trees and shrubs to your landscape design is a crucial step as they provide structure, texture, and visual interest. They also offer shade, privacy, and habitat for wildlife. Follow these steps to successfully incorporate trees and shrubs into your garden:
- Choose the right plants: Research and select trees and shrubs that are suitable for your climate, soil type, and garden size. Consider factors such as growth rate, mature size, and maintenance requirements.
- Plan the layout: Determine where you want to place the trees and shrubs in your garden. Consider the overall design, focal points, and the needs of each plant in terms of sunlight exposure and spacing.
- Prepare the planting holes: Dig holes that are slightly wider and deeper than the root ball of the trees and shrubs. Ensure that the hole is loosened and amend the soil with compost or organic matter if necessary.
- Plant the trees and shrubs: Gently remove the plant from its container and place it into the prepared hole, ensuring that the top of the root ball is level with the surrounding ground. Backfill the hole with soil, firming it gently around the plant.
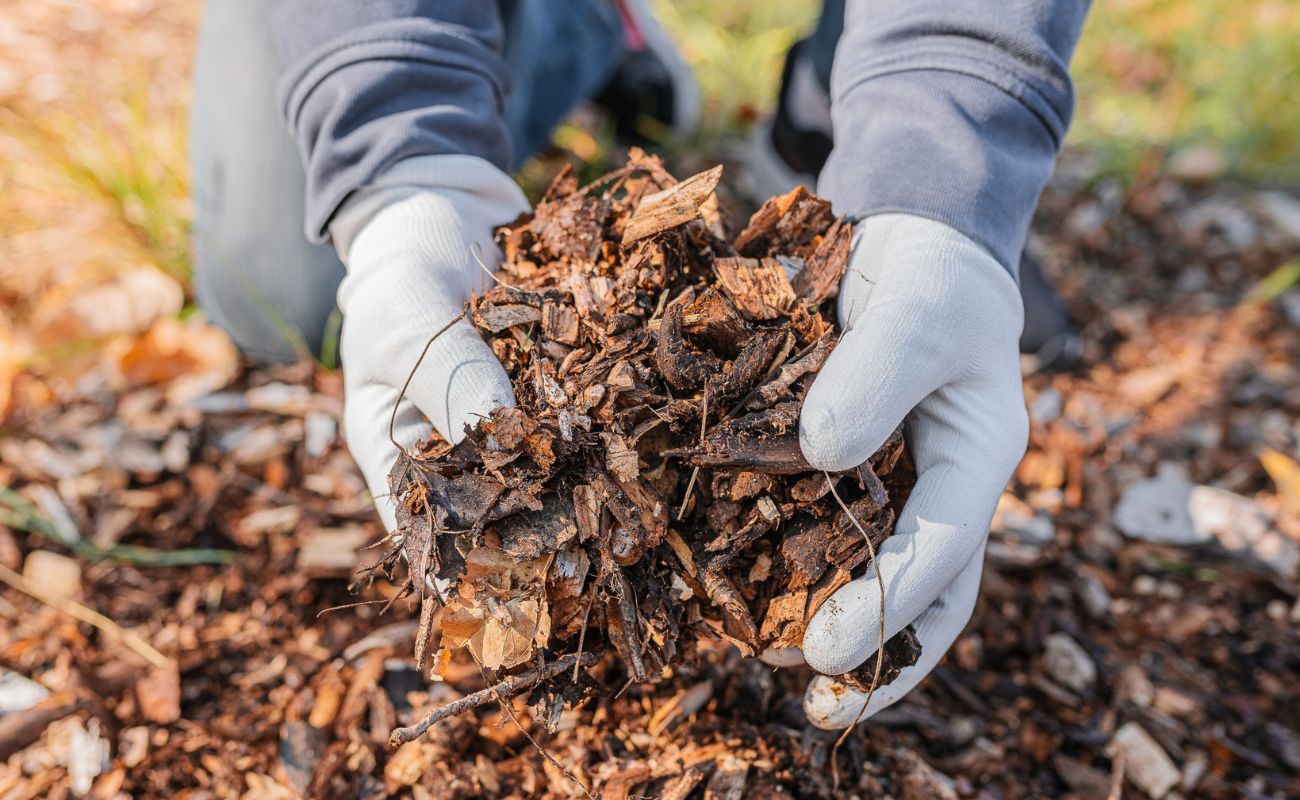
- Water and mulch: After planting, water the trees and shrubs thoroughly to help them establish their root systems. Apply a layer of organic mulch, such as wood chips or bark, around the base of the plants to retain moisture and suppress weeds.
- Prune and shape: As your trees and shrubs grow, regularly prune them to maintain their shape, remove dead or diseased branches, and promote healthy growth. Follow proper pruning techniques to ensure the plants’ longevity and aesthetic appeal.
Remember to consider the mature size of the trees and shrubs when planting to avoid overcrowding and ensure they have enough space to flourish. Additionally, select a variety of plants with different heights, textures, and colors to create a visually dynamic and harmonious garden.
Once you have added trees and shrubs, your garden will start to take shape, providing a backdrop and foundation for the next step: incorporating hardscape elements to enhance the functionality and aesthetics of your outdoor space.
When rendering landscape designs, use a variety of drawing techniques such as hatching, stippling, and shading to create depth and texture in your drawings. This will make your designs more realistic and visually appealing.
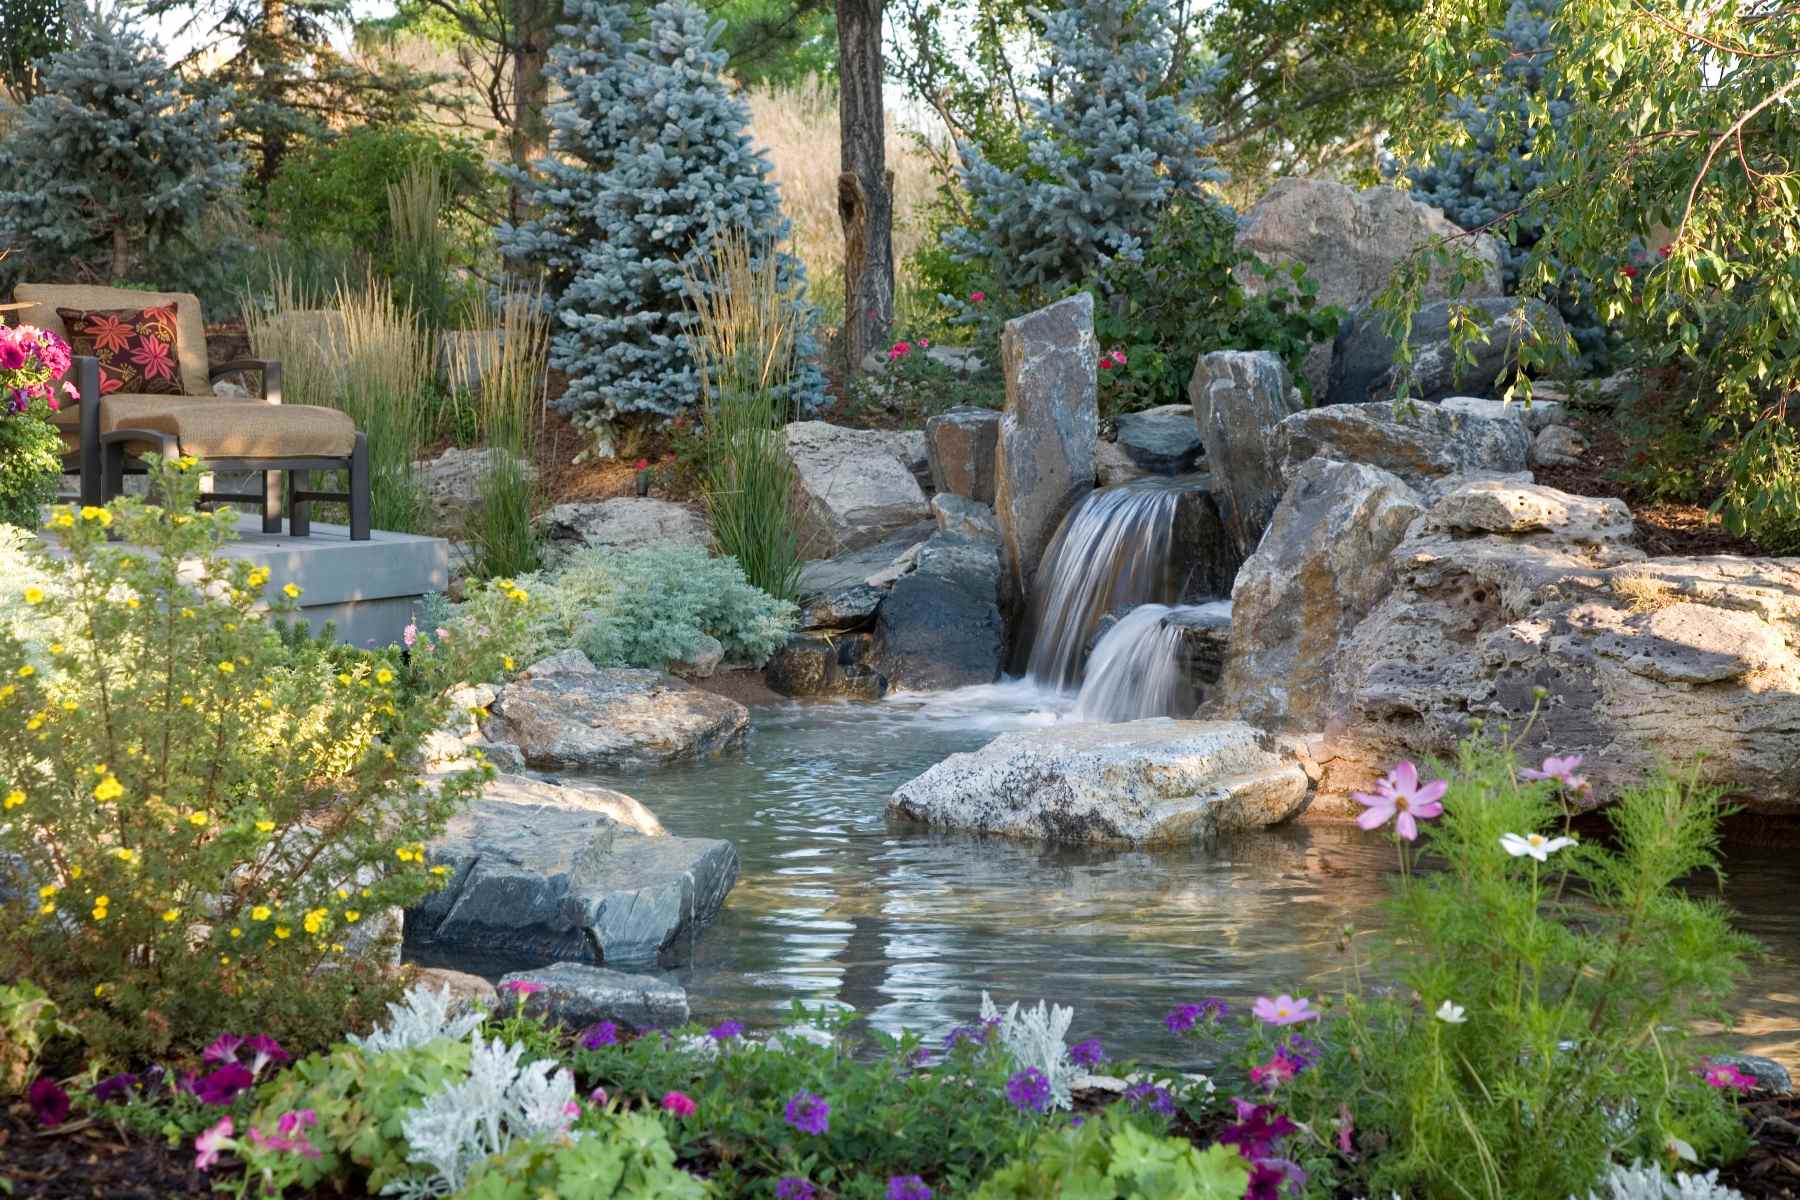
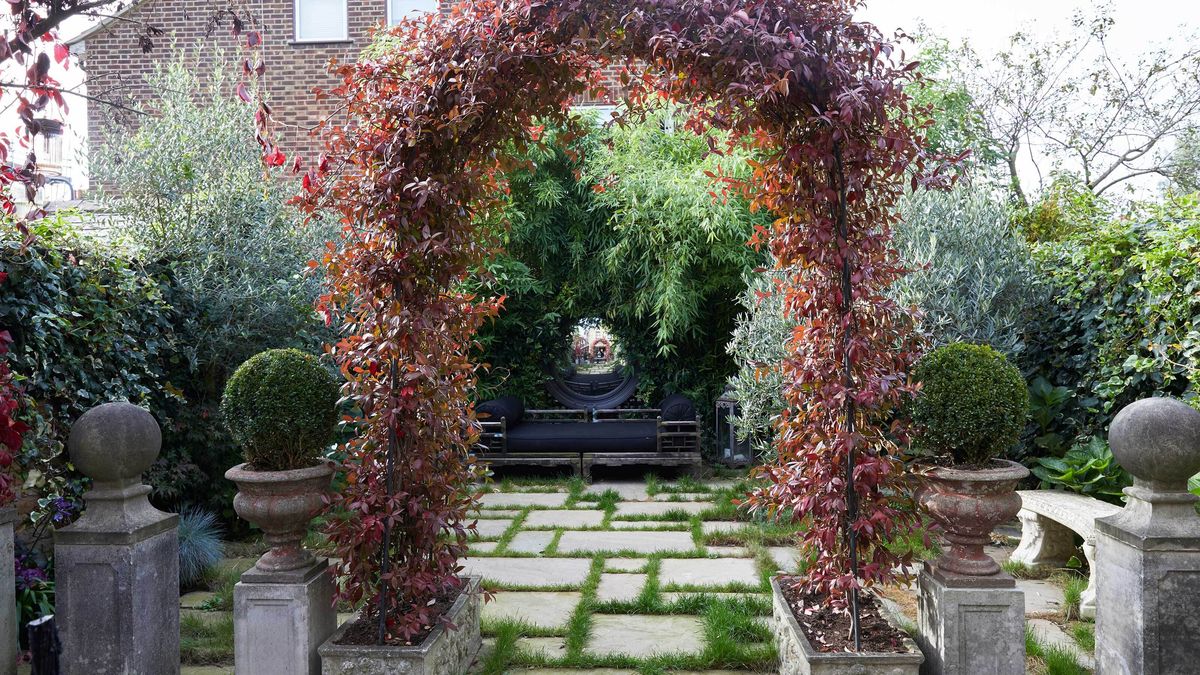
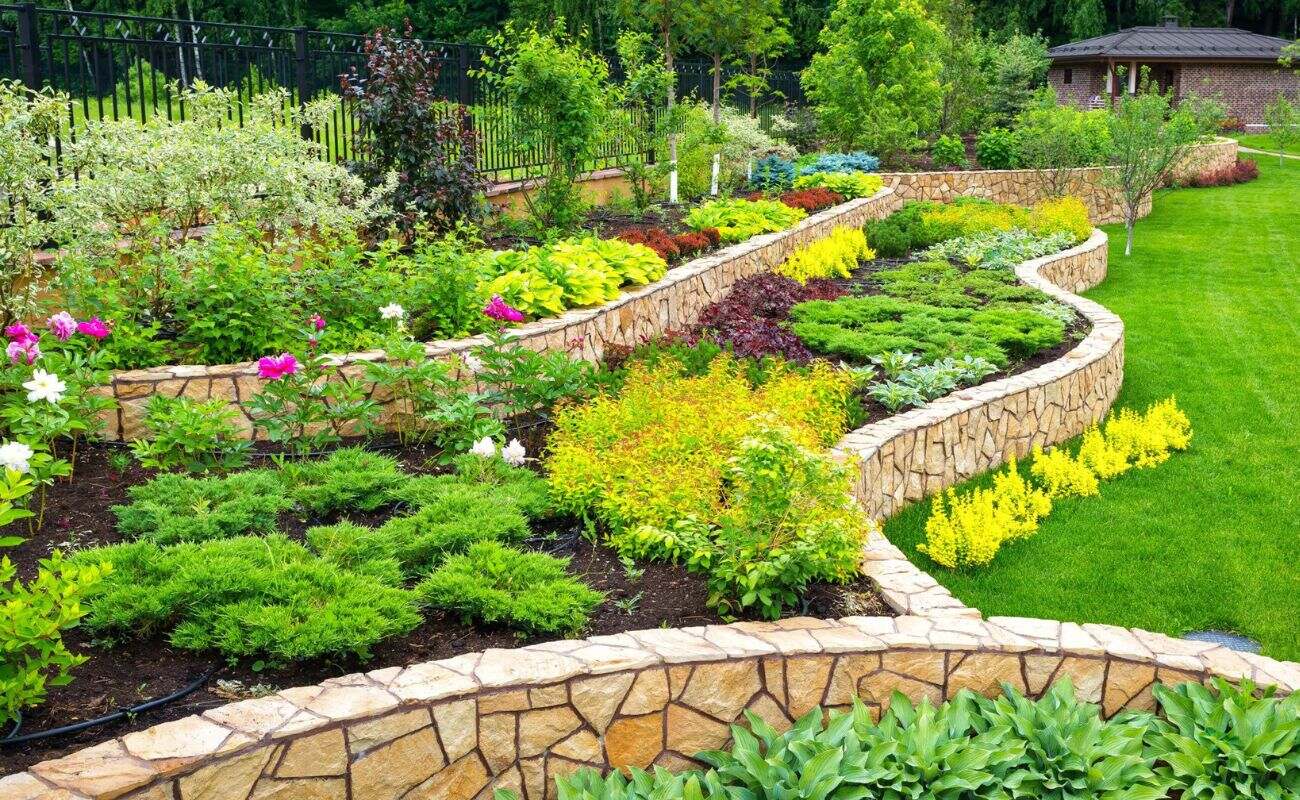
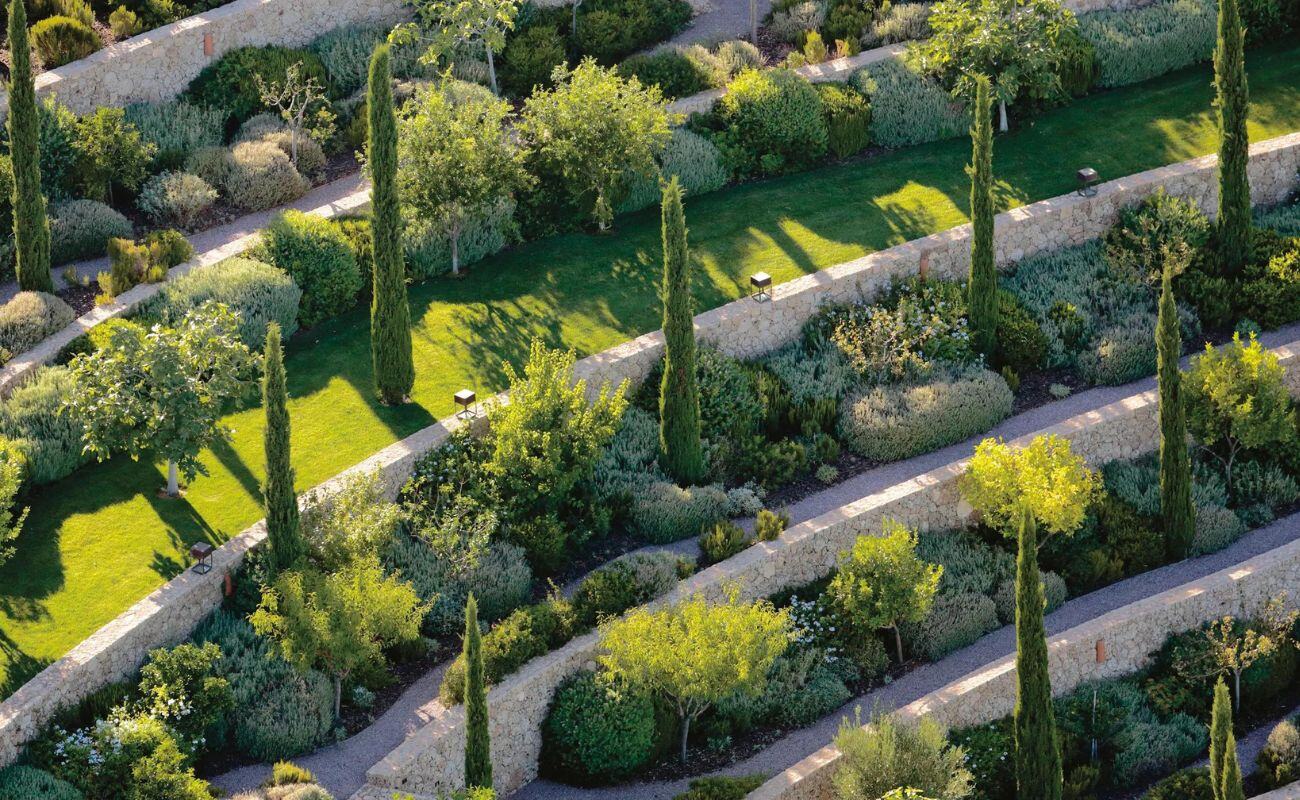
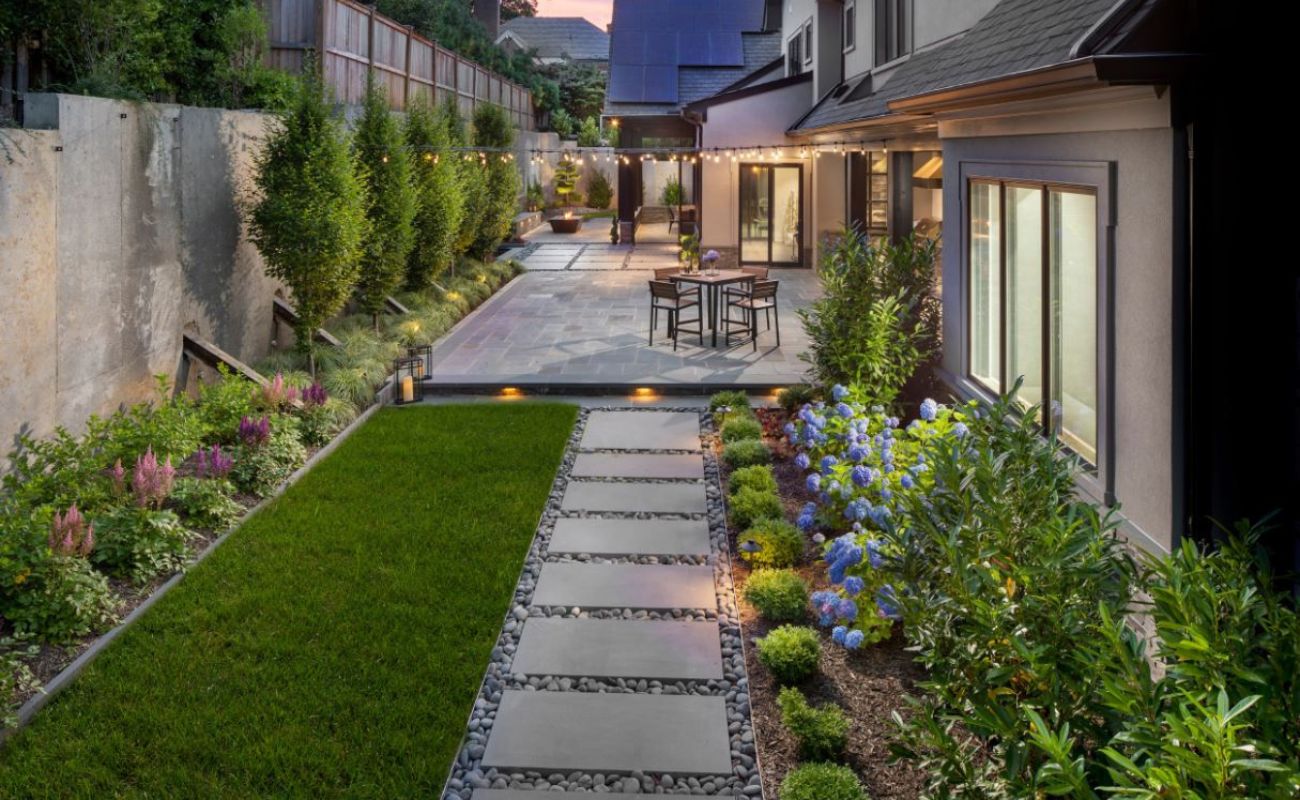
Step 4: Incorporating Hardscape Elements
Incorporating hardscape elements into your landscape design adds structure, functionality, and visual interest to your outdoor space. Hardscape elements can include patios, decks, pathways, walls, fences, and more. Follow these steps to successfully integrate hardscape elements into your garden:
- Plan the layout: Determine the placement and arrangement of hardscape elements in your garden. Consider the overall design, traffic flow, and how each element will complement the existing landscape features.
- Choose materials: Select hardscape materials that are in harmony with your desired style and complement the overall aesthetics of your garden. Some popular materials include natural stone, pavers, wood, concrete, or a combination of different materials.
- Prepare the area: Clear the designated area for your hardscape elements. Remove any vegetation, rocks, or debris, and level the ground if necessary to provide a stable base for installation.
- Install the hardscape elements: Start with the larger elements like patios or decks, followed by pathways, walls, or fences. Ensure that all installations are level, sturdy, and properly aligned according to your design plan.
- Add finishing touches: Incorporate smaller hardscape features such as decorative stones, lighting, or sculptures to enhance the visual appeal of your outdoor space. Pay attention to placement, ensuring that these elements accentuate the overall design without overpowering the natural beauty of your garden.
- Maintain and repair: Regularly inspect and maintain your hardscape elements to keep them in good condition. Clean surfaces, repair any damages, and address any drainage issues promptly to prolong the lifespan of your hardscape features.
When incorporating hardscape elements, it’s important to strike a balance between aesthetics and functionality. Consider the purpose of each element and how it will be used to ensure that it enhances your garden’s practicality and visual appeal.
By integrating hardscape elements into your landscape design, you create designated spaces for relaxation, entertainment, and interaction. These elements also help to define different areas within your garden, adding dimension and structure. Next, we will move on to the exciting step of adding groundcover and flowers to infuse color and vitality into your outdoor space.
Read more: What Is CAD Rendering
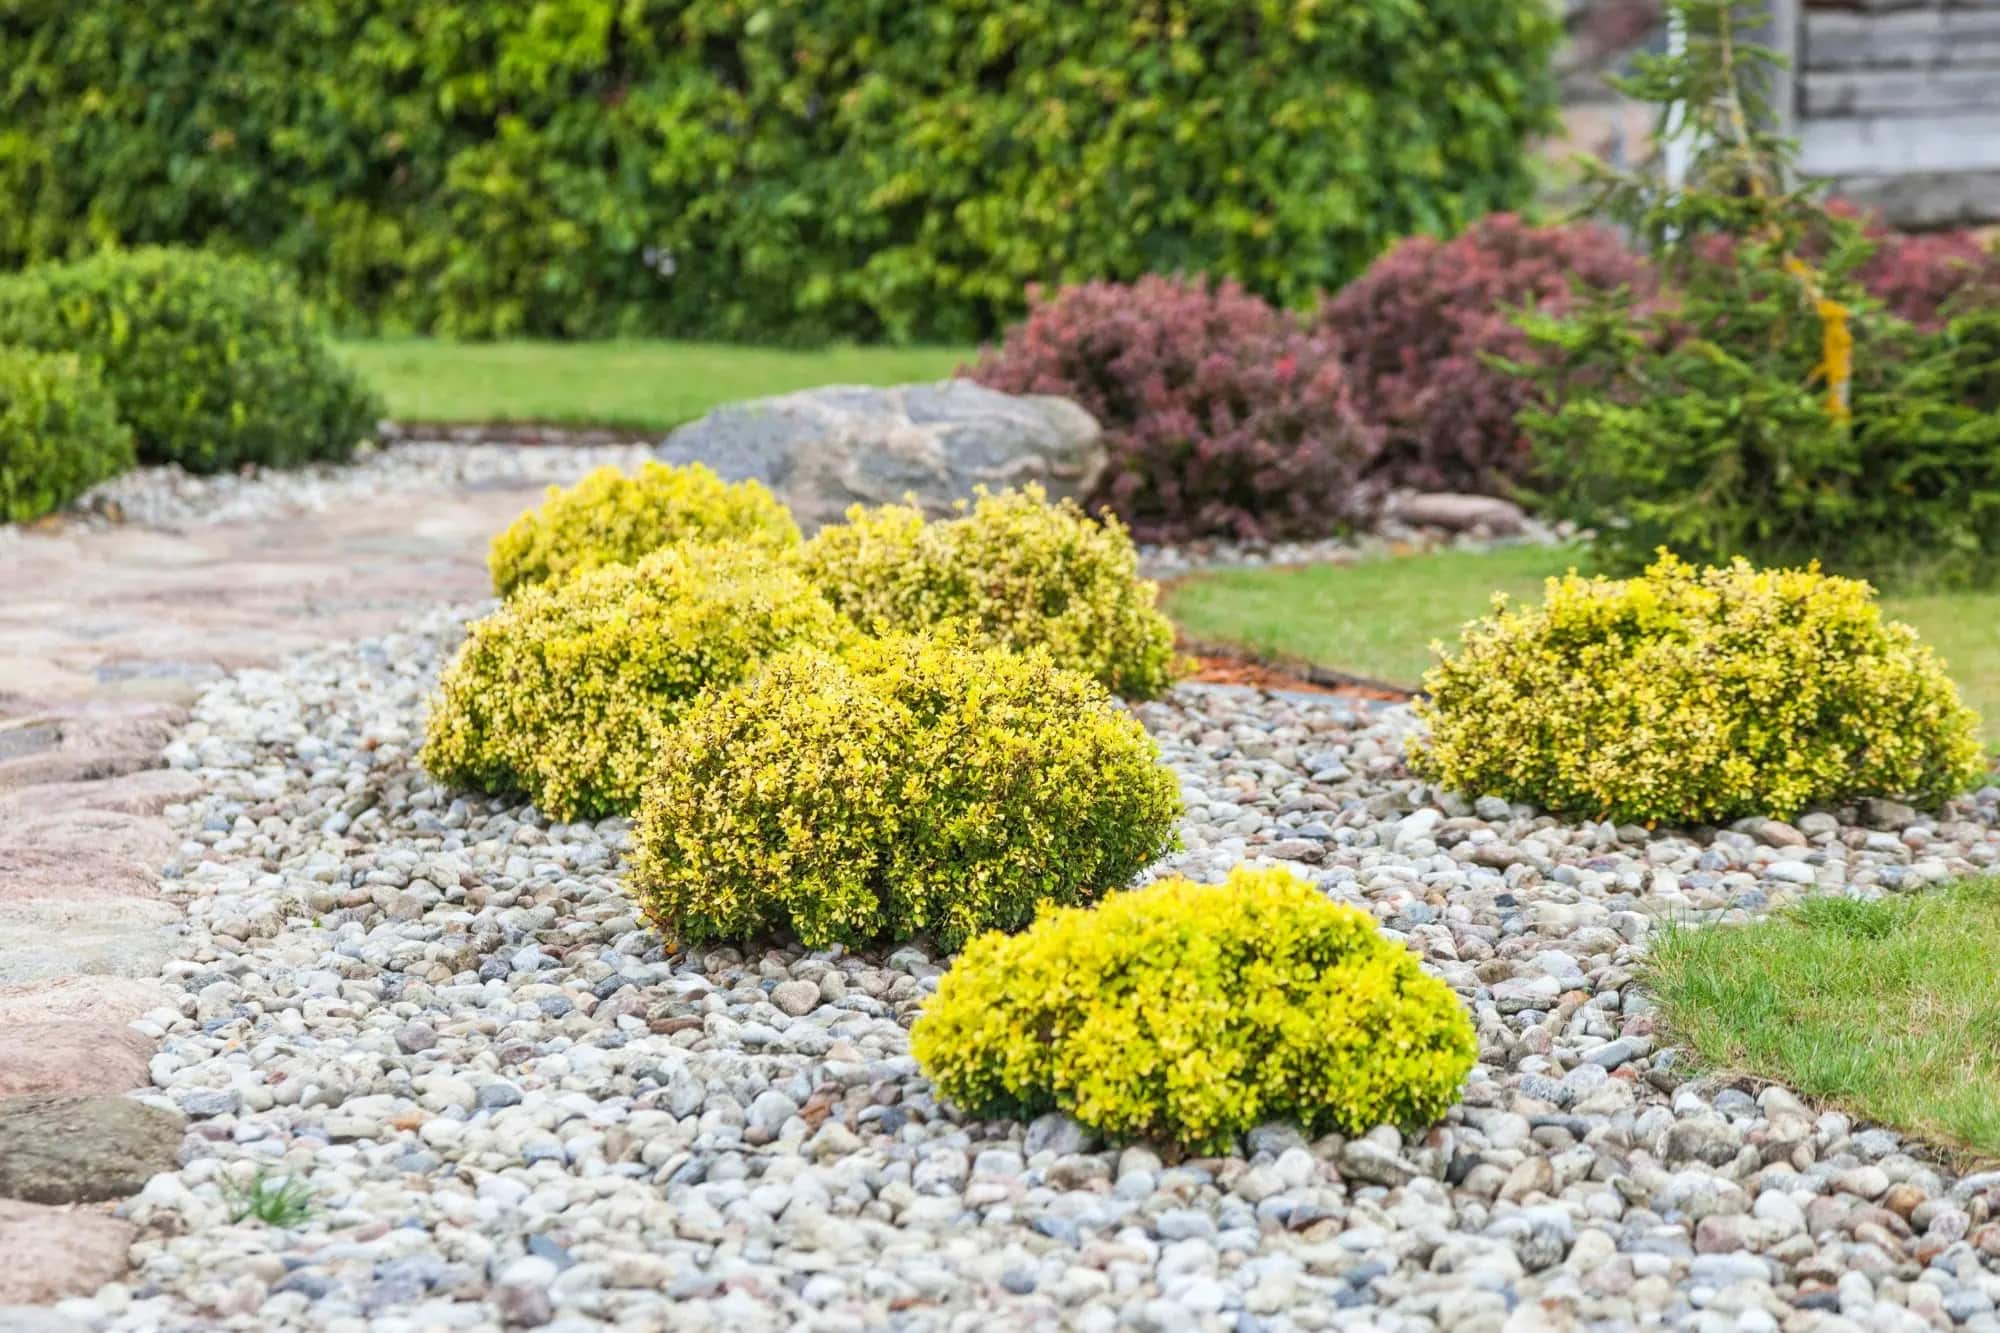
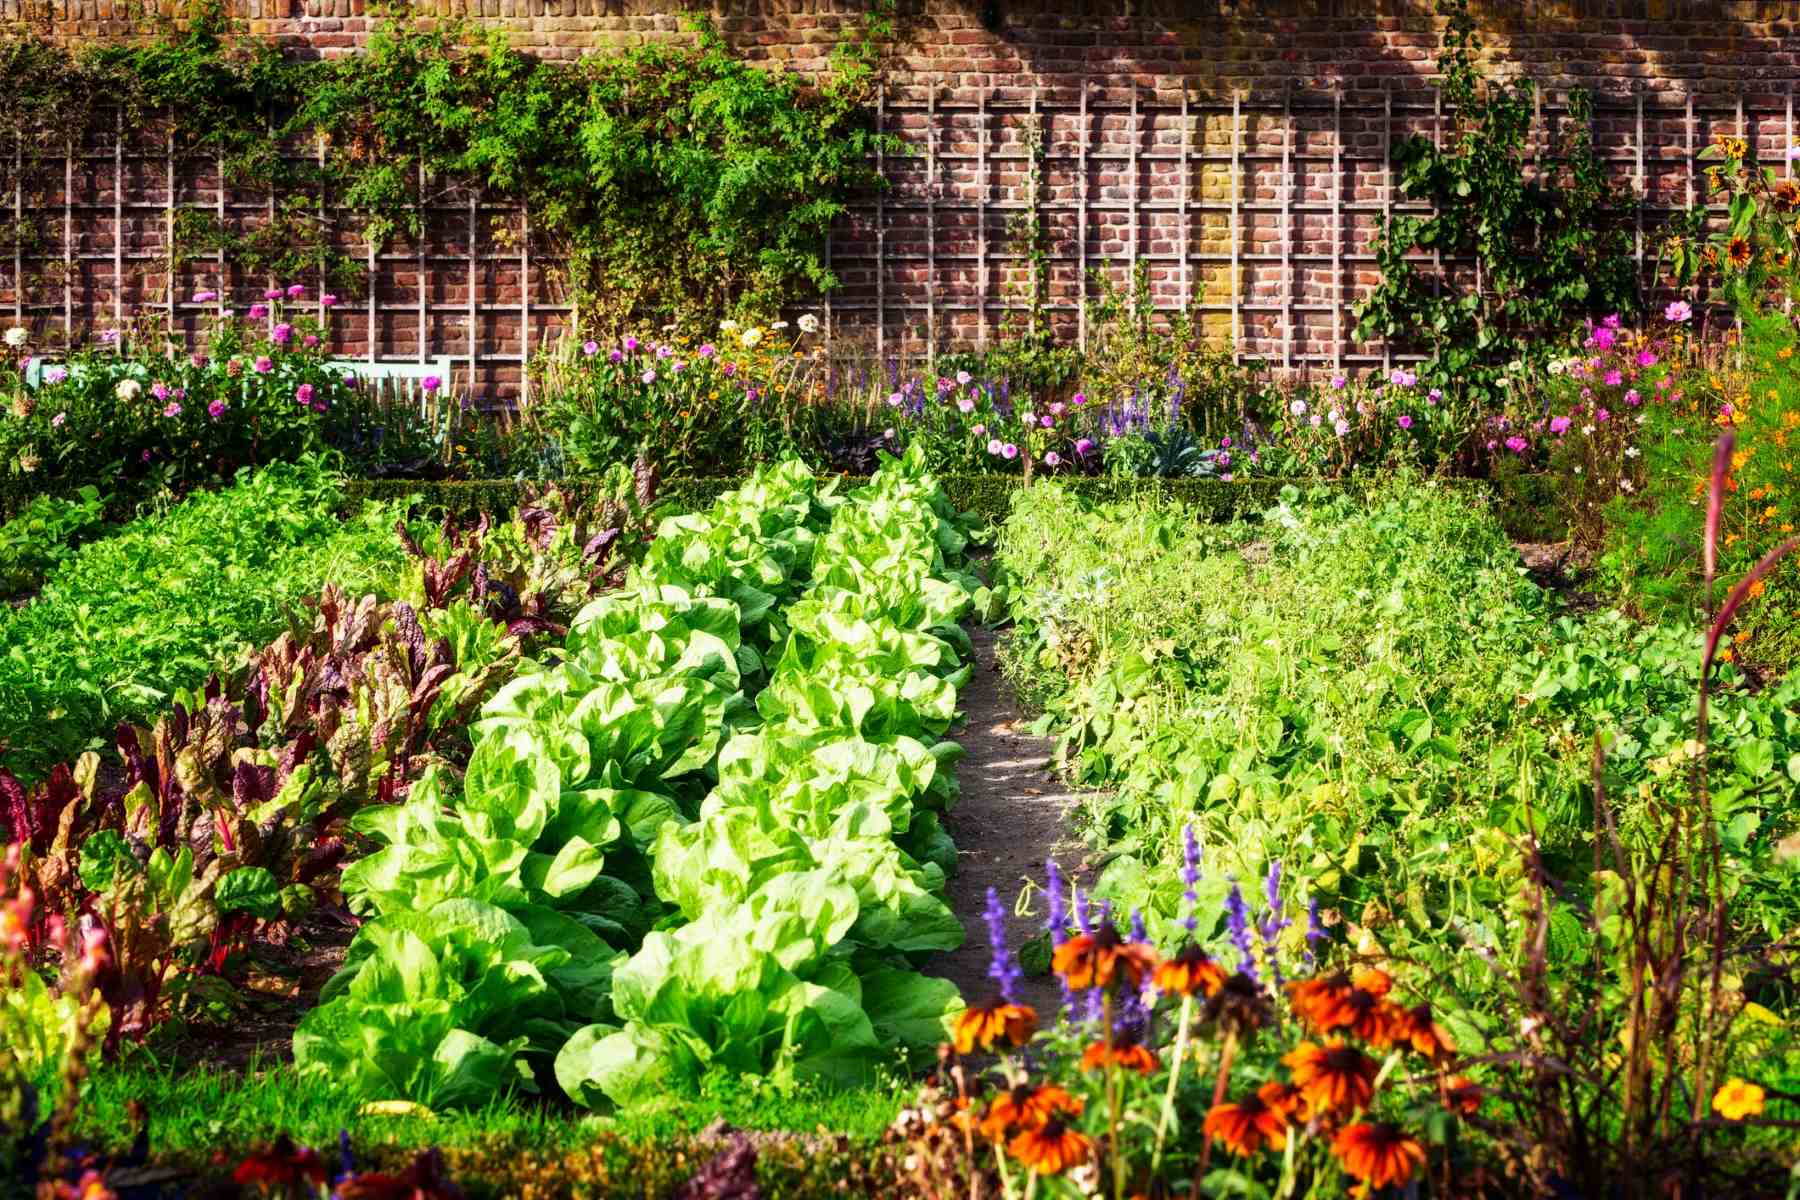
Step 5: Adding Groundcover and Flowers
Adding groundcover and flowers to your garden adds a burst of color, texture, and beauty to your landscape. It creates a vibrant and inviting atmosphere, enhancing the overall visual appeal. Follow these steps to successfully incorporate groundcover and flowers into your outdoor space:
- Choose the right plants: Select groundcover plants and flowers that are suitable for your climate, soil conditions, and the amount of sunlight the area receives. Consider factors such as blooming season, height, spread, and maintenance requirements.
- Plan the layout: Determine the arrangement and layout of your groundcover and flower beds. Consider the colors, heights, and textures of the plants, as well as how they will complement the existing landscape and hardscape features.
- Prepare the soil: Loosen the soil in the designated planting areas and remove any weeds or debris. Amend the soil with organic matter, such as compost, to improve its nutrient content and drainage.
- Plant the groundcover and flowers: Dig holes that are slightly larger than the root balls of the plants. Gently remove the plants from their containers, loosen the roots, and place them into the prepared holes. Backfill with soil, firming it gently around the plants.
- Provide proper care: Water the newly planted groundcover and flowers immediately after planting to help them establish their root systems. Follow the specific watering, fertilizing, and pruning requirements for each plant to ensure optimal growth and blooming.
- Add mulch: Apply a layer of mulch around the base of the plants to help retain moisture, suppress weeds, and maintain a consistent soil temperature. Use organic mulch like wood chips or bark, being careful not to pile it too high against the plants’ stems.
The addition of groundcover and flowers brings life and vibrancy to your garden, creating a captivating and inviting atmosphere. Consider using a variety of plants with different bloom times to ensure year-round color and interest.
As your groundcover and flowers flourish, your garden will transform into a visually stunning and vibrant space. The final step in the landscape rendering process involves fine-tuning and detailing, ensuring that every aspect of your garden is harmonious and cohesive.
Step 6: Fine-tuning and Detailing
The final step in the landscape rendering process is fine-tuning and detailing, where you pay attention to the smaller elements that bring your garden together and add those finishing touches. Follow these steps to ensure that your outdoor space is cohesive and visually pleasing:
- Trim and prune: Regularly trim and prune your plants to maintain their shape, encourage healthy growth, and prevent overcrowding. Remove any dead or damaged branches, and consider selective pruning to improve airflow and sunlight penetration.
- Adjust spacing: Assess the spacing between plants and make any necessary adjustments to ensure proper air circulation and avoid overcrowding. This will not only promote healthier growth but also improve the aesthetic appeal of your garden.
- Address maintenance needs: Keep up with regular maintenance tasks, such as weeding, deadheading flowers, and monitoring for pests or diseases. By addressing these issues promptly, you can maintain the health and vitality of your garden.
- Add decorative elements: Incorporate decorative elements like garden ornaments, bird baths, or seating areas to enhance the overall ambiance of your outdoor space. These elements can add personality and create focal points within your garden.
- Lighting: Install outdoor lighting to extend the enjoyment of your garden into the evening hours. Landscape lighting can highlight specific features, create a cozy atmosphere, and improve safety and security.
- Create seating areas: Consider adding seating areas where you and your guests can relax and enjoy the beauty of your garden. This can be a patio set, a bench, or even a hammock nestled in a quiet corner.
- Ensure proper drainage: Check that your garden has proper drainage to prevent waterlogging and potential damage to your plants. Adjust the grading if needed and add drainage solutions such as rain gardens or French drains if necessary.
Fine-tuning and detailing is all about refining your garden and making it a true reflection of your style and vision. By paying attention to the smaller details, you can create a space that is not only visually stunning but also functional and enjoyable.
With the completion of this step, your landscape rendering journey comes to an end. Step back, admire your hard work, and enjoy the beauty of your transformed outdoor space. Remember to maintain and care for your garden so that it continues to thrive and bring you joy for years to come.
Happy gardening!
Conclusion
Congratulations on completing your landscape rendering journey! By following the step-by-step guide outlined in this article, you have transformed your outdoor space into a visually stunning and functional garden. Throughout the process, you carefully prepared your workspace, created a solid base layer, added trees and shrubs, incorporated hardscape elements, introduced groundcover and flowers, and fine-tuned the details.
Not only does a well-designed landscape enhance the aesthetics of your home, but it also provides a peaceful retreat where you can connect with nature, relax, and entertain. Your garden now reflects your personal style and meets your specific needs, contributing to a greater quality of life.
Remember to continue caring for your garden by providing regular maintenance, watering, and pruning as needed. This will ensure that your plants remain healthy and your landscape continues to flourish.
As time goes on, your garden will evolve and grow, offering new surprises and delights with each passing season. Embrace the joys and challenges of gardening, experiment with different plant varieties, and adapt your design as you see fit.
Share the beauty and knowledge you have gained from this journey with others. Encourage friends and family to explore their own landscape rendering projects and offer your guidance and expertise along the way. Gardening is not only a rewarding personal experience, but it is also a way to connect with and contribute to the larger community of nature enthusiasts.
Lastly, remember to take the time to enjoy the fruits of your labor. Drink a cup of tea on your patio, host a gathering of loved ones in your outdoor haven, or simply sit and admire the beauty that you have created. Your garden is a reflection of your creativity, dedication, and love for nature.
Thank you for joining us on this landscape rendering journey. May your garden bring you endless joy and inspiration for years to come.
Frequently Asked Questions about How To Render Landscape Design
Was this page helpful?
At Storables.com, we guarantee accurate and reliable information. Our content, validated by Expert Board Contributors, is crafted following stringent Editorial Policies. We're committed to providing you with well-researched, expert-backed insights for all your informational needs.


0 thoughts on “How To Render Landscape Design”