Home>Garden Essentials>How To Measure For Landscape Design
Garden Essentials
How To Measure For Landscape Design
Modified: October 22, 2024
Learn how to measure your garden for landscape design. Get expert tips and techniques for creating a beautiful and functional garden space.
(Many of the links in this article redirect to a specific reviewed product. Your purchase of these products through affiliate links helps to generate commission for Storables.com, at no extra cost. Learn more)
Introduction
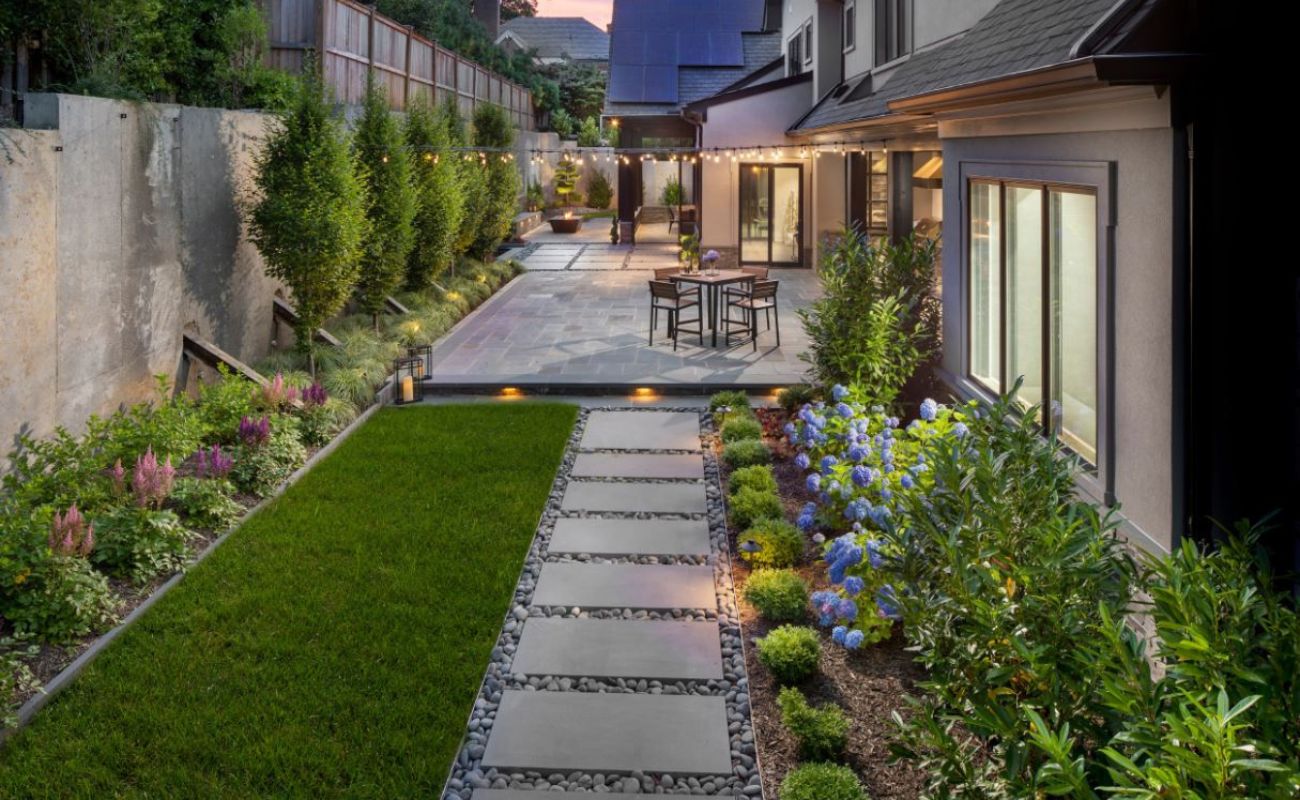
Welcome to the wonderful world of landscape design! Whether you are a seasoned gardener or just starting out, understanding how to measure your landscape is a crucial step in creating a successful and visually appealing outdoor space. By accurately assessing the site, you can make informed decisions about plant placement, hardscape features, and overall design layout. In this article, we will guide you through the process of measuring for landscape design, providing you with the knowledge and tools necessary to bring your garden dreams to life.
Before we dive into the steps, it’s important to recognize the importance of accurate measurements. Precision is key when it comes to planning and executing a landscape project. By taking the time to measure properly, you can avoid costly mistakes, ensure the right amount of materials are ordered, and create a space that flows harmoniously. So, let’s get started!
Note: To ensure accuracy, it’s recommended to use a measuring tape, a laser level, and graph paper for sketching. These tools will help you record precise measurements and create a detailed map of your landscape.
Key Takeaways:
- Measure your landscape accurately to avoid costly mistakes and ensure a harmonious design. Consider sunlight, existing structures, and soil conditions to create a thriving and visually appealing outdoor space.
- Create a base map to visually organize and plan your landscape design. Understand your site, assess sunlight and shade patterns, and note existing utilities for a successful project.
Read more: How To Design A Low-Maintenance Landscape
Step 1: Assessing the Site
Before you begin measuring your landscape, it’s essential to have a clear understanding of the site. Take a moment to familiarize yourself with the overall landscape area and identify any existing features that may impact your design. Here are a few key points to consider:
- Study the layout: Walk around the area and study the layout of your landscape. Take note of any natural contours, slopes, or unique features that can impact your design choices. This will help you visualize how your future design will fit into the existing landscape.
- Identify existing structures: Look for existing structures such as buildings, walls, or fences that you want to work around or incorporate into your design. These elements will serve as a starting point for your measurements and provide a framework for the layout of your project.
- Observe plantings and vegetation: Take note of any existing plants, trees, or shrubs that you want to preserve or remove as part of your design. Consider their size, location, and overall health, as they can impact sun exposure and the overall aesthetics of your landscape.
- Consider views and focal points: Look for scenic views or focal points that you want to highlight in your design. This could be a stunning mountain range, a serene pond, or a favorite tree. Understanding these elements will help you position your plants and features to maximize their impact.
- Note potential challenges: Identify any potential challenges or limitations that may affect your design. This could include areas with poor drainage, heavy shade, or steep slopes. Recognizing these challenges will allow you to plan accordingly and find suitable solutions.
By taking the time to assess your site thoroughly, you will have a solid foundation for your landscape measurements. Understanding the existing features and characteristics of your space will guide your design choices and ensure a seamless integration of your new landscape elements.
Step 2: Taking Accurate Measurements
Once you have assessed the site and have a clear understanding of the existing landscape, it’s time to start taking measurements. Accurate measurements are crucial in order to create a well-planned and balanced design. Here are the key steps to follow:
- Measure the overall area: Begin by measuring the overall area of your landscape. Use a measuring tape or a laser level to determine the length and width of the space. Record these measurements on your sketch or graph paper.
- Measure specific zones or sections: Divide your landscape into smaller zones or sections based on your design plan. This could include areas for a patio, a vegetable garden, or a flower bed. Measure the length and width of each section separately and record the measurements.
- Consider slopes and elevation changes: Take note of any slopes or changes in elevation within your landscape. These variations will affect water drainage, plant selection, and the overall functionality of your design. Use a laser level or a measuring tape to determine the height difference between different areas and record these measurements.
When measuring, it is important to be as accurate as possible. Double-check your measurements and ensure that they are correctly recorded. Remember to include any existing structures, such as walls or fences, in your measurements as they will impact the layout and design of your landscape.
Additionally, it can be helpful to mark your measurements directly on the ground as you go along. Use temporary markers like wooden stakes or spray paint to indicate the boundaries of different sections or features. This will provide a visual reference as you continue with the design process.
By taking accurate measurements, you can create a precise and detailed map of your landscape. This will serve as a valuable tool as you move forward with your design and begin selecting plants and hardscape materials.
Step 3: Determining Sunlight and Shade Patterns
Understanding the sunlight and shade patterns in your landscape is essential for successful plant selection and overall design. Different plants have varying sunlight requirements, and knowing where the sunny and shaded areas are will help you create a balanced and thriving garden. Follow these steps to determine sunlight and shade patterns:
- Observe sunlight throughout the day: Spend a day in your landscape and note the path of the sun at different times. Take note of which areas receive direct sunlight, partial shade, or are in full shade. Understanding these patterns will help you decide where to place sun-loving plants and where to create shaded areas for more delicate ones.
- Assess shade patterns: Identify any existing structures, such as trees or buildings, that cast shadows throughout the day. These shadows will affect the amount and intensity of sunlight that reaches different areas of your landscape. Use this information to plan your plantings accordingly, ensuring that shade-loving plants are placed in areas with less direct sunlight.
It’s important to remember that sunlight patterns can change throughout the year due to seasonal variations. As a result, it’s helpful to observe sunlight and shade patterns over the course of several months to get a comprehensive understanding of how your landscape is impacted.
By determining the sunlight and shade patterns in your landscape, you can strategically select plants that will thrive in different areas. This knowledge will guide your design choices and create a visually appealing and well-balanced garden.
When measuring for landscape design, always start with the longest and straightest edge of the area. Use a measuring tape to get accurate dimensions and consider any existing structures or obstacles.
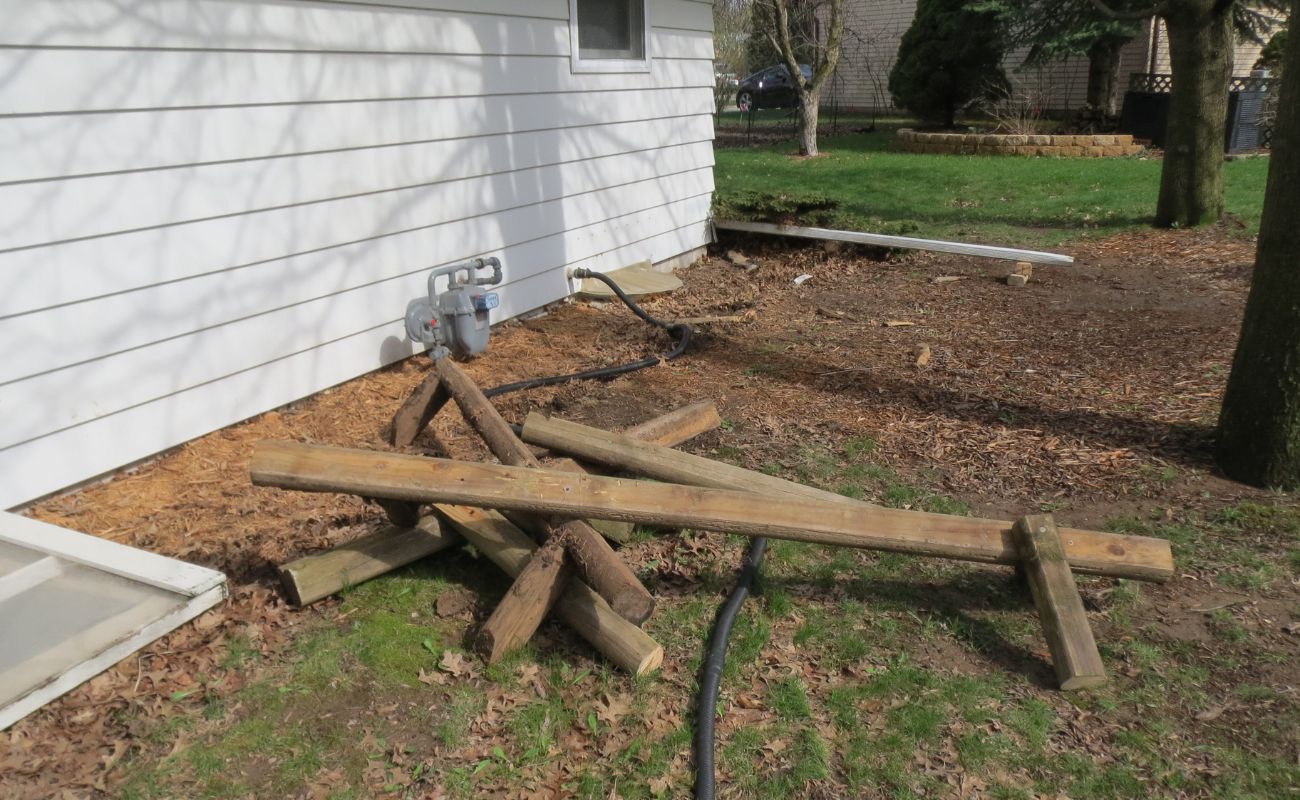
Step 4: Noting Existing Utilities and Structures
Before you delve deeper into your landscape design, it’s important to take note of any existing utilities and structures that may be present in your outdoor space. This step is crucial for both safety reasons and for ensuring that your design can be effectively implemented. Here are the key points to consider:
- Identify underground utilities: Before you start any digging or excavation work, it’s essential to locate and identify any underground utilities. This includes gas lines, water pipes, electrical cables, or irrigation systems. Contact your local utility companies or experts to come and mark the locations of these utilities. This information will guide your design choices and help you avoid any potential hazards during the construction phase.
- Taking note of existing structures: Look for any structures that are already present in your landscape, such as buildings, sheds, or fences. Take note of their location and dimensions, as they will serve as reference points for your design. Consider how these structures will impact the flow and layout of your overall landscape plan. You may want to incorporate them into your design or work around them to create a cohesive and harmonious outdoor space.
By being aware of existing utilities and structures, you can plan your landscape design with safety and efficiency in mind. It will help you avoid any potential accidents or disruptions that could occur during construction. Additionally, incorporating existing structures and features into your design can add character and uniqueness to your landscape, making it truly one-of-a-kind.
As you move forward with your landscape project, always prioritize safety and compliance with local regulations when dealing with utilities and existing structures. This will ensure a smooth and successful implementation of your design.
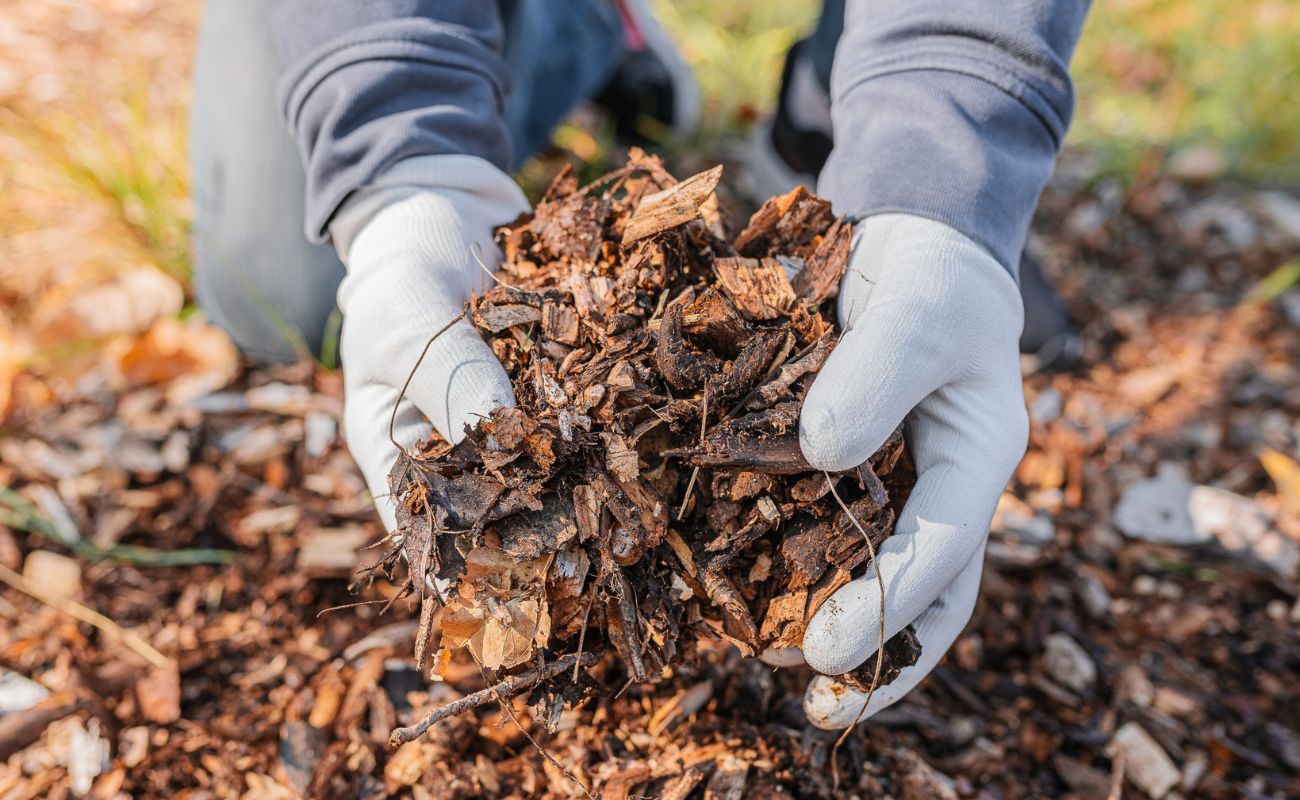
Step 5: Recording Soil Conditions
Understanding the soil conditions in your landscape is critical for creating a thriving and healthy garden. Different plants have specific soil requirements, and being aware of the soil type, composition, and drainage issues will help you make informed decisions during the design process. Follow these steps to record soil conditions:
- Analyze soil type and composition: Take a closer look at your soil to determine its type and composition. Is it sandy, loamy, clayey, or a combination of these? Understanding the soil type will give you insight into its water-holding capacity, nutrient retention, and drainage characteristics. You can perform a simple soil texture test by taking a handful of soil and squeezing it. Sandy soil will crumble easily, loamy soil will hold its shape and feel slightly gritty, and clayey soil will form a solid ball.
- Noting drainage issues: Assess the drainage capabilities of your soil. Is the soil well-drained, or does it tend to retain water? Poor drainage can result in waterlogged soil, which can lead to root rot and other issues for your plants. Take note of any areas in your landscape where water tends to pool or where you observe signs of poor drainage, such as plants exhibiting wilting or yellowing leaves.
By recording the soil conditions, you can make informed decisions on plant selection and placement. For example, plants that thrive in well-drained soil would be suitable for areas with good drainage, whereas plants that prefer moisture-retentive soil would be better placed in areas with poorer drainage.
If you find that your soil has poor drainage, don’t worry! There are strategies you can implement to improve it, such as adding organic matter like compost or creating raised beds. Understanding the soil conditions will guide you in adopting the right amendments and techniques to optimize the health and growth of your plants.
Remember, soil conditions can vary across your landscape, so it’s important to assess different areas individually. By understanding the unique characteristics of your soil, you can ensure a successful landscape design that promotes the overall well-being of your plants.
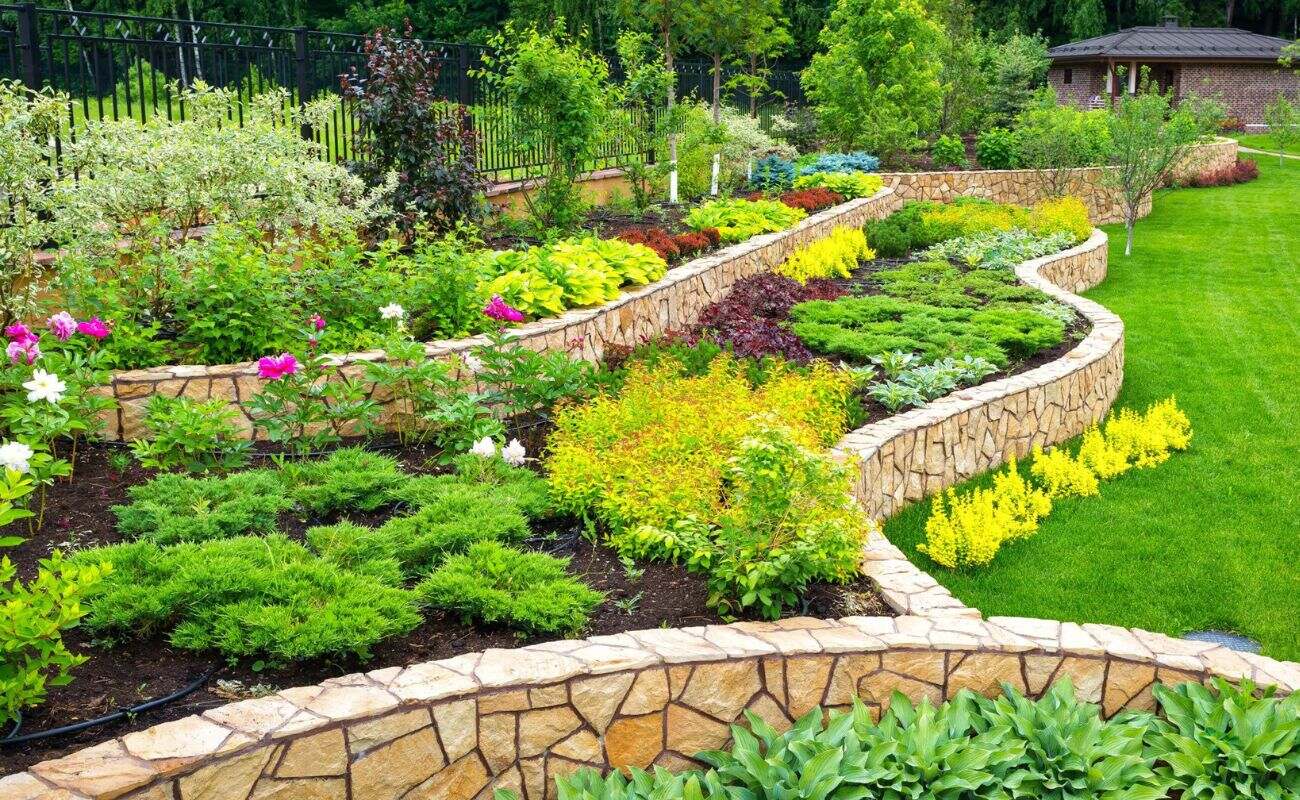
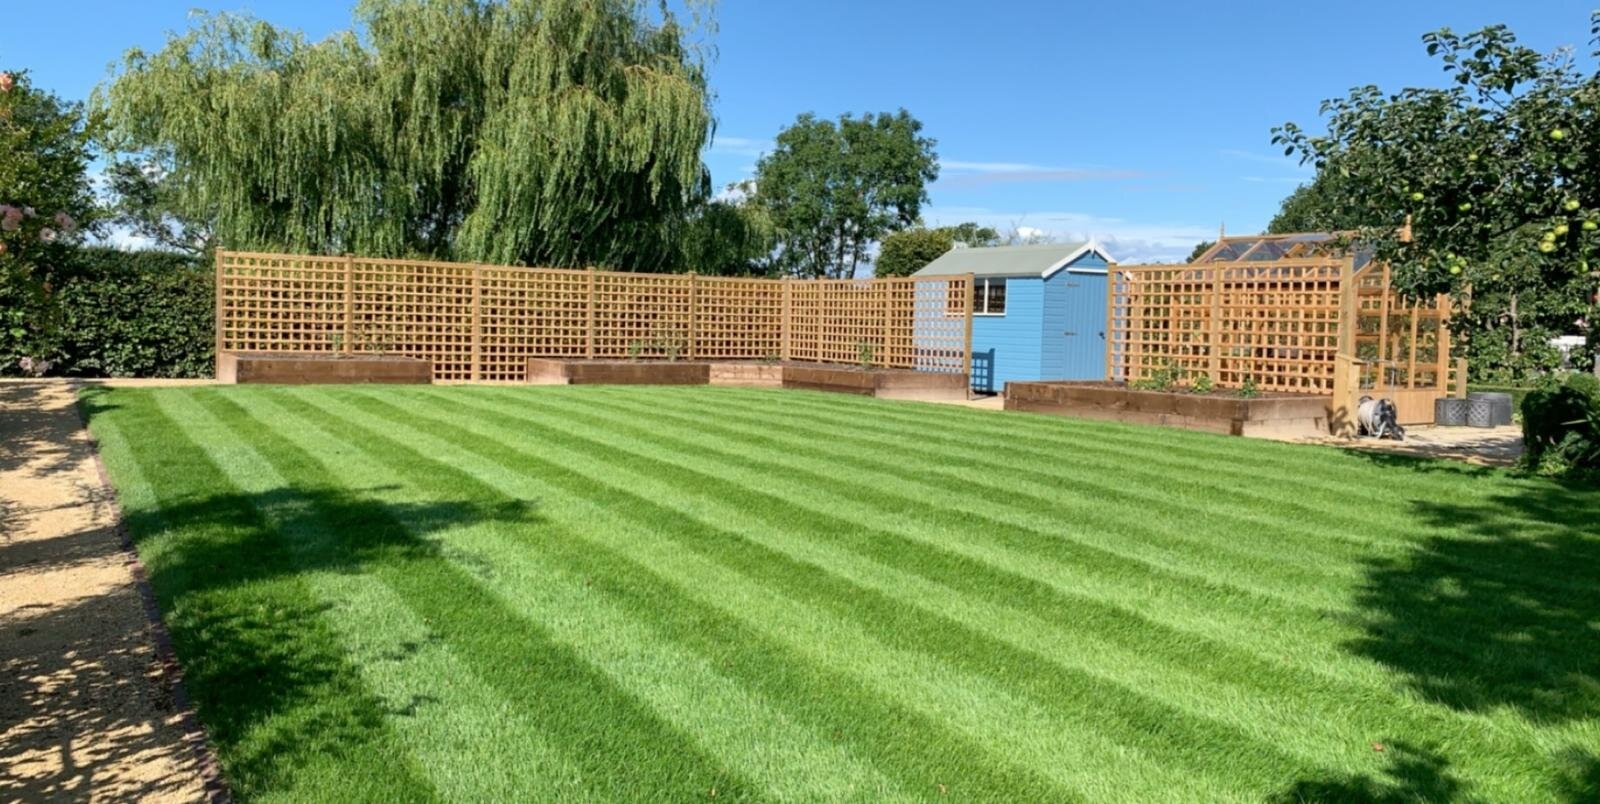
Step 6: Creating a Base Map
Creating a base map of your landscape is an essential step in the design process. This map will serve as a visual representation of your outdoor space and will help you organize and plan your landscape design effectively. Follow these steps to create a base map:
- Sketching a rough outline: Begin by sketching a rough outline of your landscape on a piece of graph paper or using a digital design tool. This outline should include all the boundaries and major features of your outdoor space, such as buildings, fences, or property lines.
- Marking measurements and features on the map: Transfer the measurements and features you recorded earlier onto your base map. Use symbols or labels to mark existing structures, zones with different measurements, or areas with specific soil conditions and drainage issues. Include any underground utilities that you identified as well.
As you create your base map, it’s important to maintain accuracy and scale. Use the measurements you recorded during the previous steps to ensure that your map represents the true dimensions of your landscape. This will help you make accurate design decisions as you move forward.
A base map serves as a guide for the rest of your design process. It allows you to visually assess the layout, identify potential design challenges, and experiment with different ideas before implementing them on-site. It also makes it easier to communicate your design vision with professionals or contractors who may be involved in your project.
Remember, your base map doesn’t have to be a perfect work of art. It’s simply a tool to help you organize and visualize your landscape design. Feel free to make adjustments and revisions as needed while maintaining the overall accuracy and representation of your outdoor space.
By creating a base map, you’ll have a visual blueprint that will guide you throughout the rest of your landscape design. It will serve as a roadmap for implementing your ideas and turning your vision into a reality.
Conclusion
Measuring for landscape design is an essential step in creating a beautiful and functional outdoor space. By accurately assessing the site, determining sunlight and shade patterns, noting existing utilities and structures, recording soil conditions, and creating a base map, you lay the foundation for a successful landscape design project.
Remember, accuracy is key when it comes to measuring. Take the time to double-check your measurements and record them properly to ensure a precise and well-planned design. Incorporate the unique features of your landscape, such as slopes or existing structures, into your design to create a harmonious and cohesive outdoor space.
Additionally, understanding the characteristics of your soil and the sunlight and shade patterns in your landscape will guide your plant selection and placement decisions, ensuring the health and vitality of your garden.
Creating a base map allows you to visually organize and plan your design, making it easier to communicate your ideas and implement them effectively. Use this map as a guide throughout the rest of your landscape design process.
By following these steps and incorporating accurate measurements and assessments into your landscape design, you’ll be well-prepared to create a stunning and functional outdoor space that reflects your style and meets your needs. Enjoy the process of transforming your landscape into a beautiful haven for relaxation and enjoyment. Happy designing!
Frequently Asked Questions about How To Measure For Landscape Design
Was this page helpful?
At Storables.com, we guarantee accurate and reliable information. Our content, validated by Expert Board Contributors, is crafted following stringent Editorial Policies. We're committed to providing you with well-researched, expert-backed insights for all your informational needs.


0 thoughts on “How To Measure For Landscape Design”