Home>Garden Essentials>How To Edge Landscaping
Garden Essentials
How To Edge Landscaping
Modified: March 15, 2024
Learn how to edge your garden landscaping like a pro with our step-by-step guide. Enhance the beauty of your outdoor space with crisp and clean garden edges.
(Many of the links in this article redirect to a specific reviewed product. Your purchase of these products through affiliate links helps to generate commission for Storables.com, at no extra cost. Learn more)
Introduction
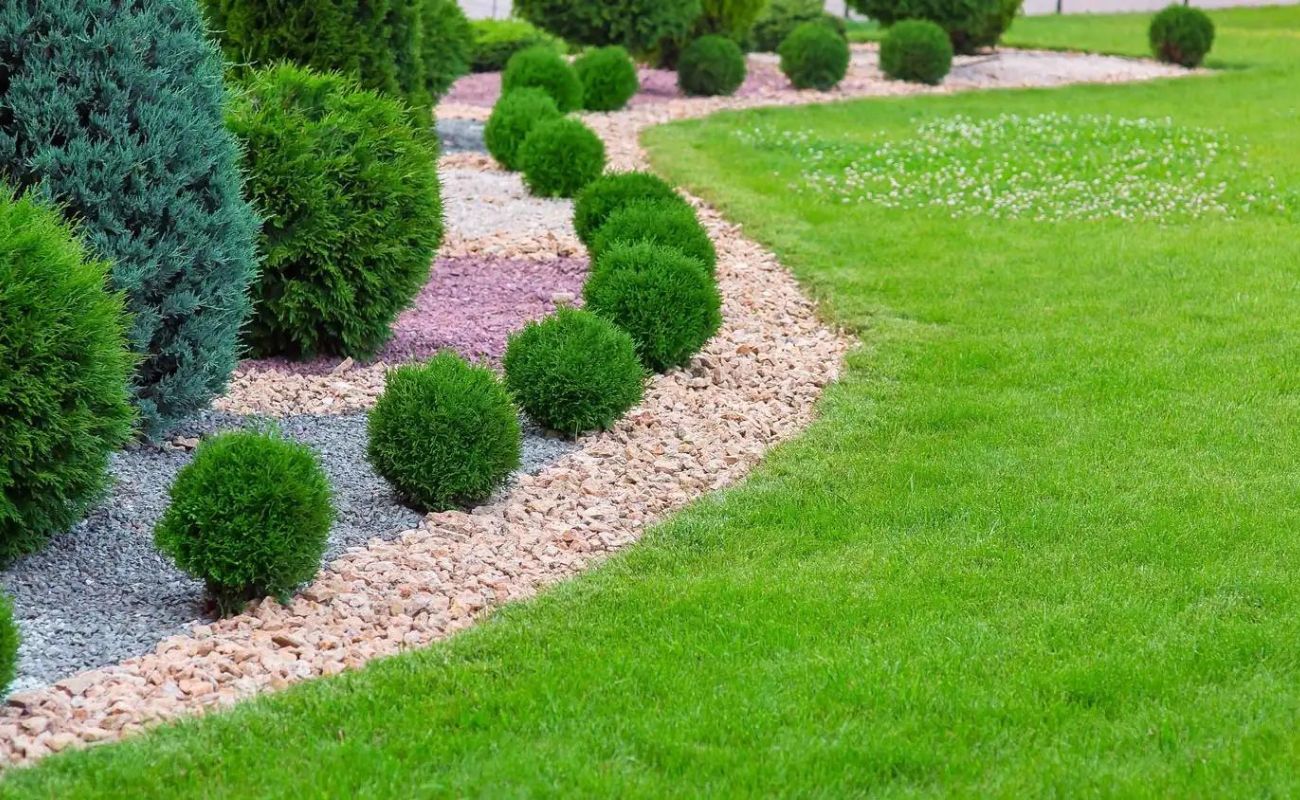
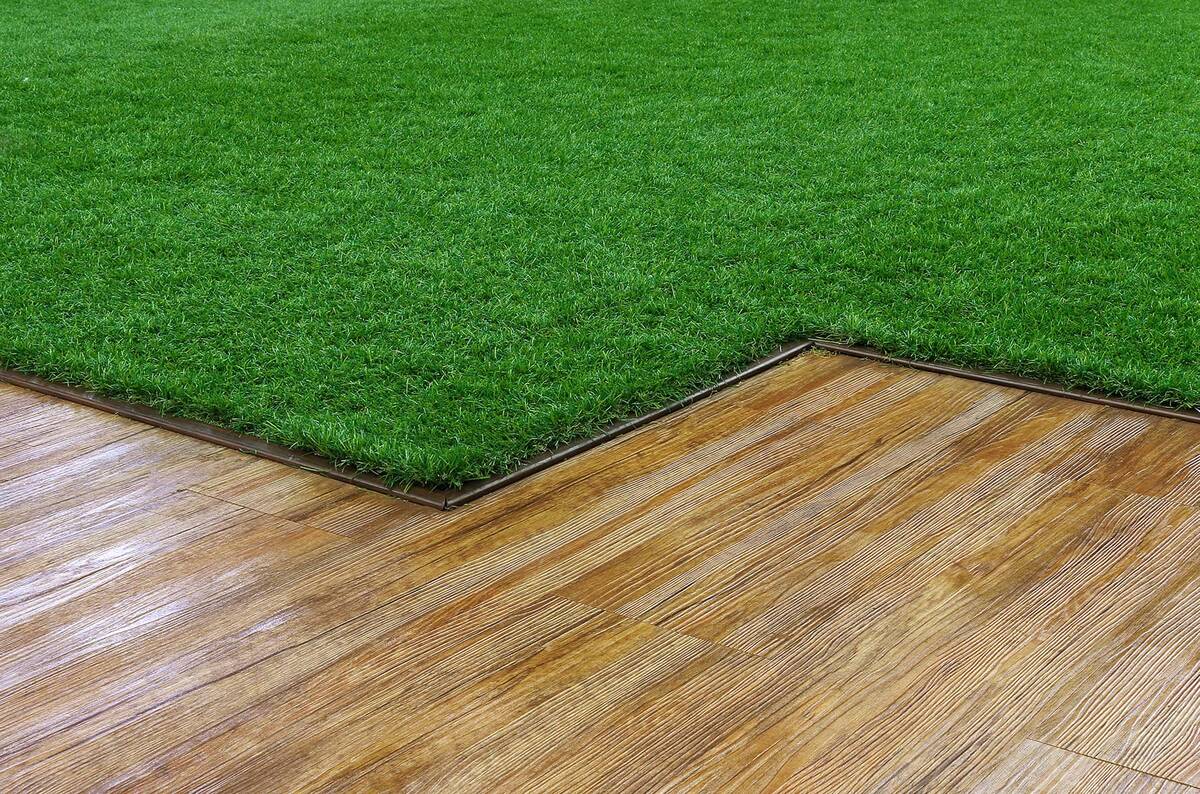
Creating a beautifully landscaped garden requires attention to detail and careful planning. One essential aspect of landscaping that often gets overlooked is edging. Edging serves both functional and aesthetic purposes, helping to define the borders of different areas within your garden while adding a clean and polished look.
In this article, we will guide you through the process of choosing the right edging material and installing it properly to achieve a professional-looking garden. Whether you’re a seasoned gardener looking to refresh your landscape or a beginner seeking to enhance your outdoor space, these steps will help you create defined edges that will make your garden stand out.
Are you ready to transform your garden? Let’s get started!
Key Takeaways:
- Choose the right edging material, like brick or stone, to create a polished garden border that suits your style and needs. Proper preparation and installation are key for a professional finish.
- Secure the edging with stakes and backfill the trench for a neat and long-lasting result. Add mulch or gravel for a finished look and enjoy your beautifully defined garden edges!
Read more: How To Install Landscaping Edging
Step 1: Selecting the Edging Material
The first step in edging your garden is to select the right material for the job. There are various types of edging materials available, each with its own unique characteristics and benefits. Here are some popular options to consider:
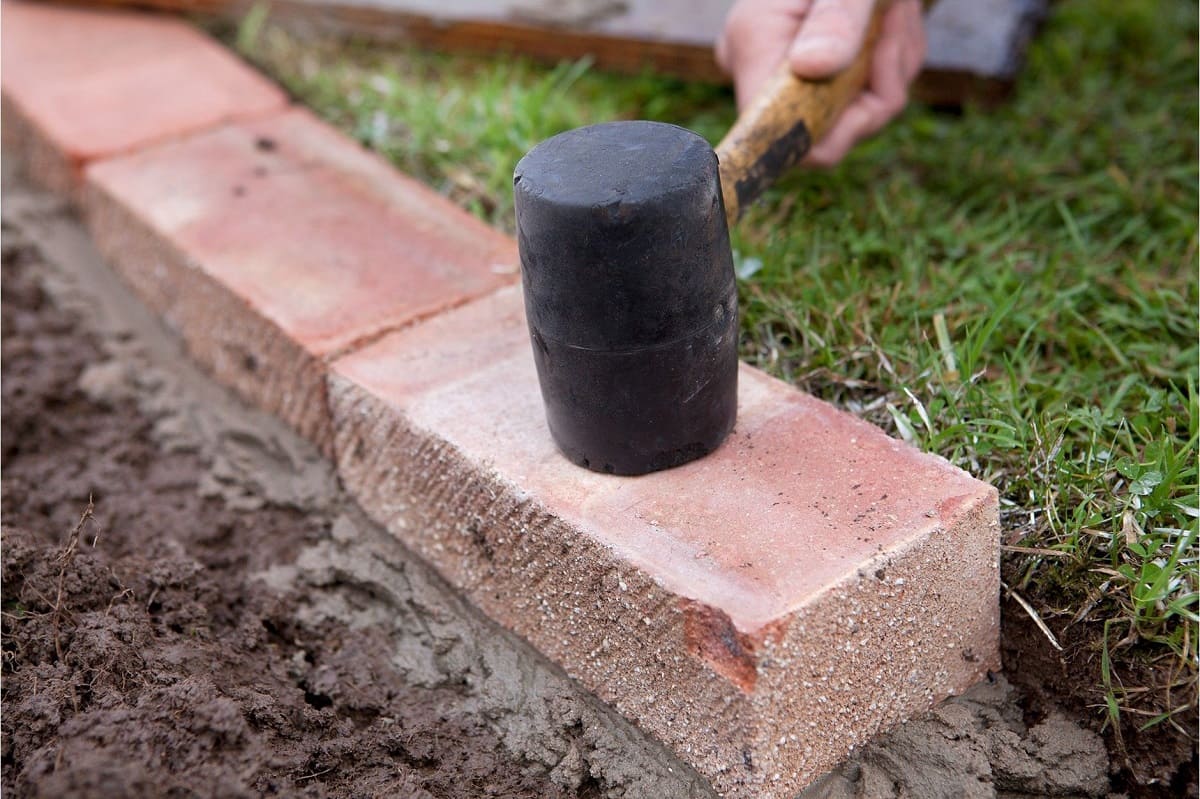
- Brick: Brick is a classic choice for garden edging. It offers durability, a timeless look, and can be laid in a variety of patterns for added visual interest.
- Stone: Natural stone edging provides a rustic and organic look to your garden. It comes in various sizes and shapes, allowing you to create a custom and charming border.
- Plastic or Rubber: If you’re looking for a budget-friendly and easy-to-install option, plastic or rubber edging may be the right choice for you. These materials are flexible, making them ideal for creating curved borders.
- Metal: Metal edging, such as steel or aluminum, offers a sleek and modern look. It is durable, long-lasting, and can be used to create clean and straight lines.
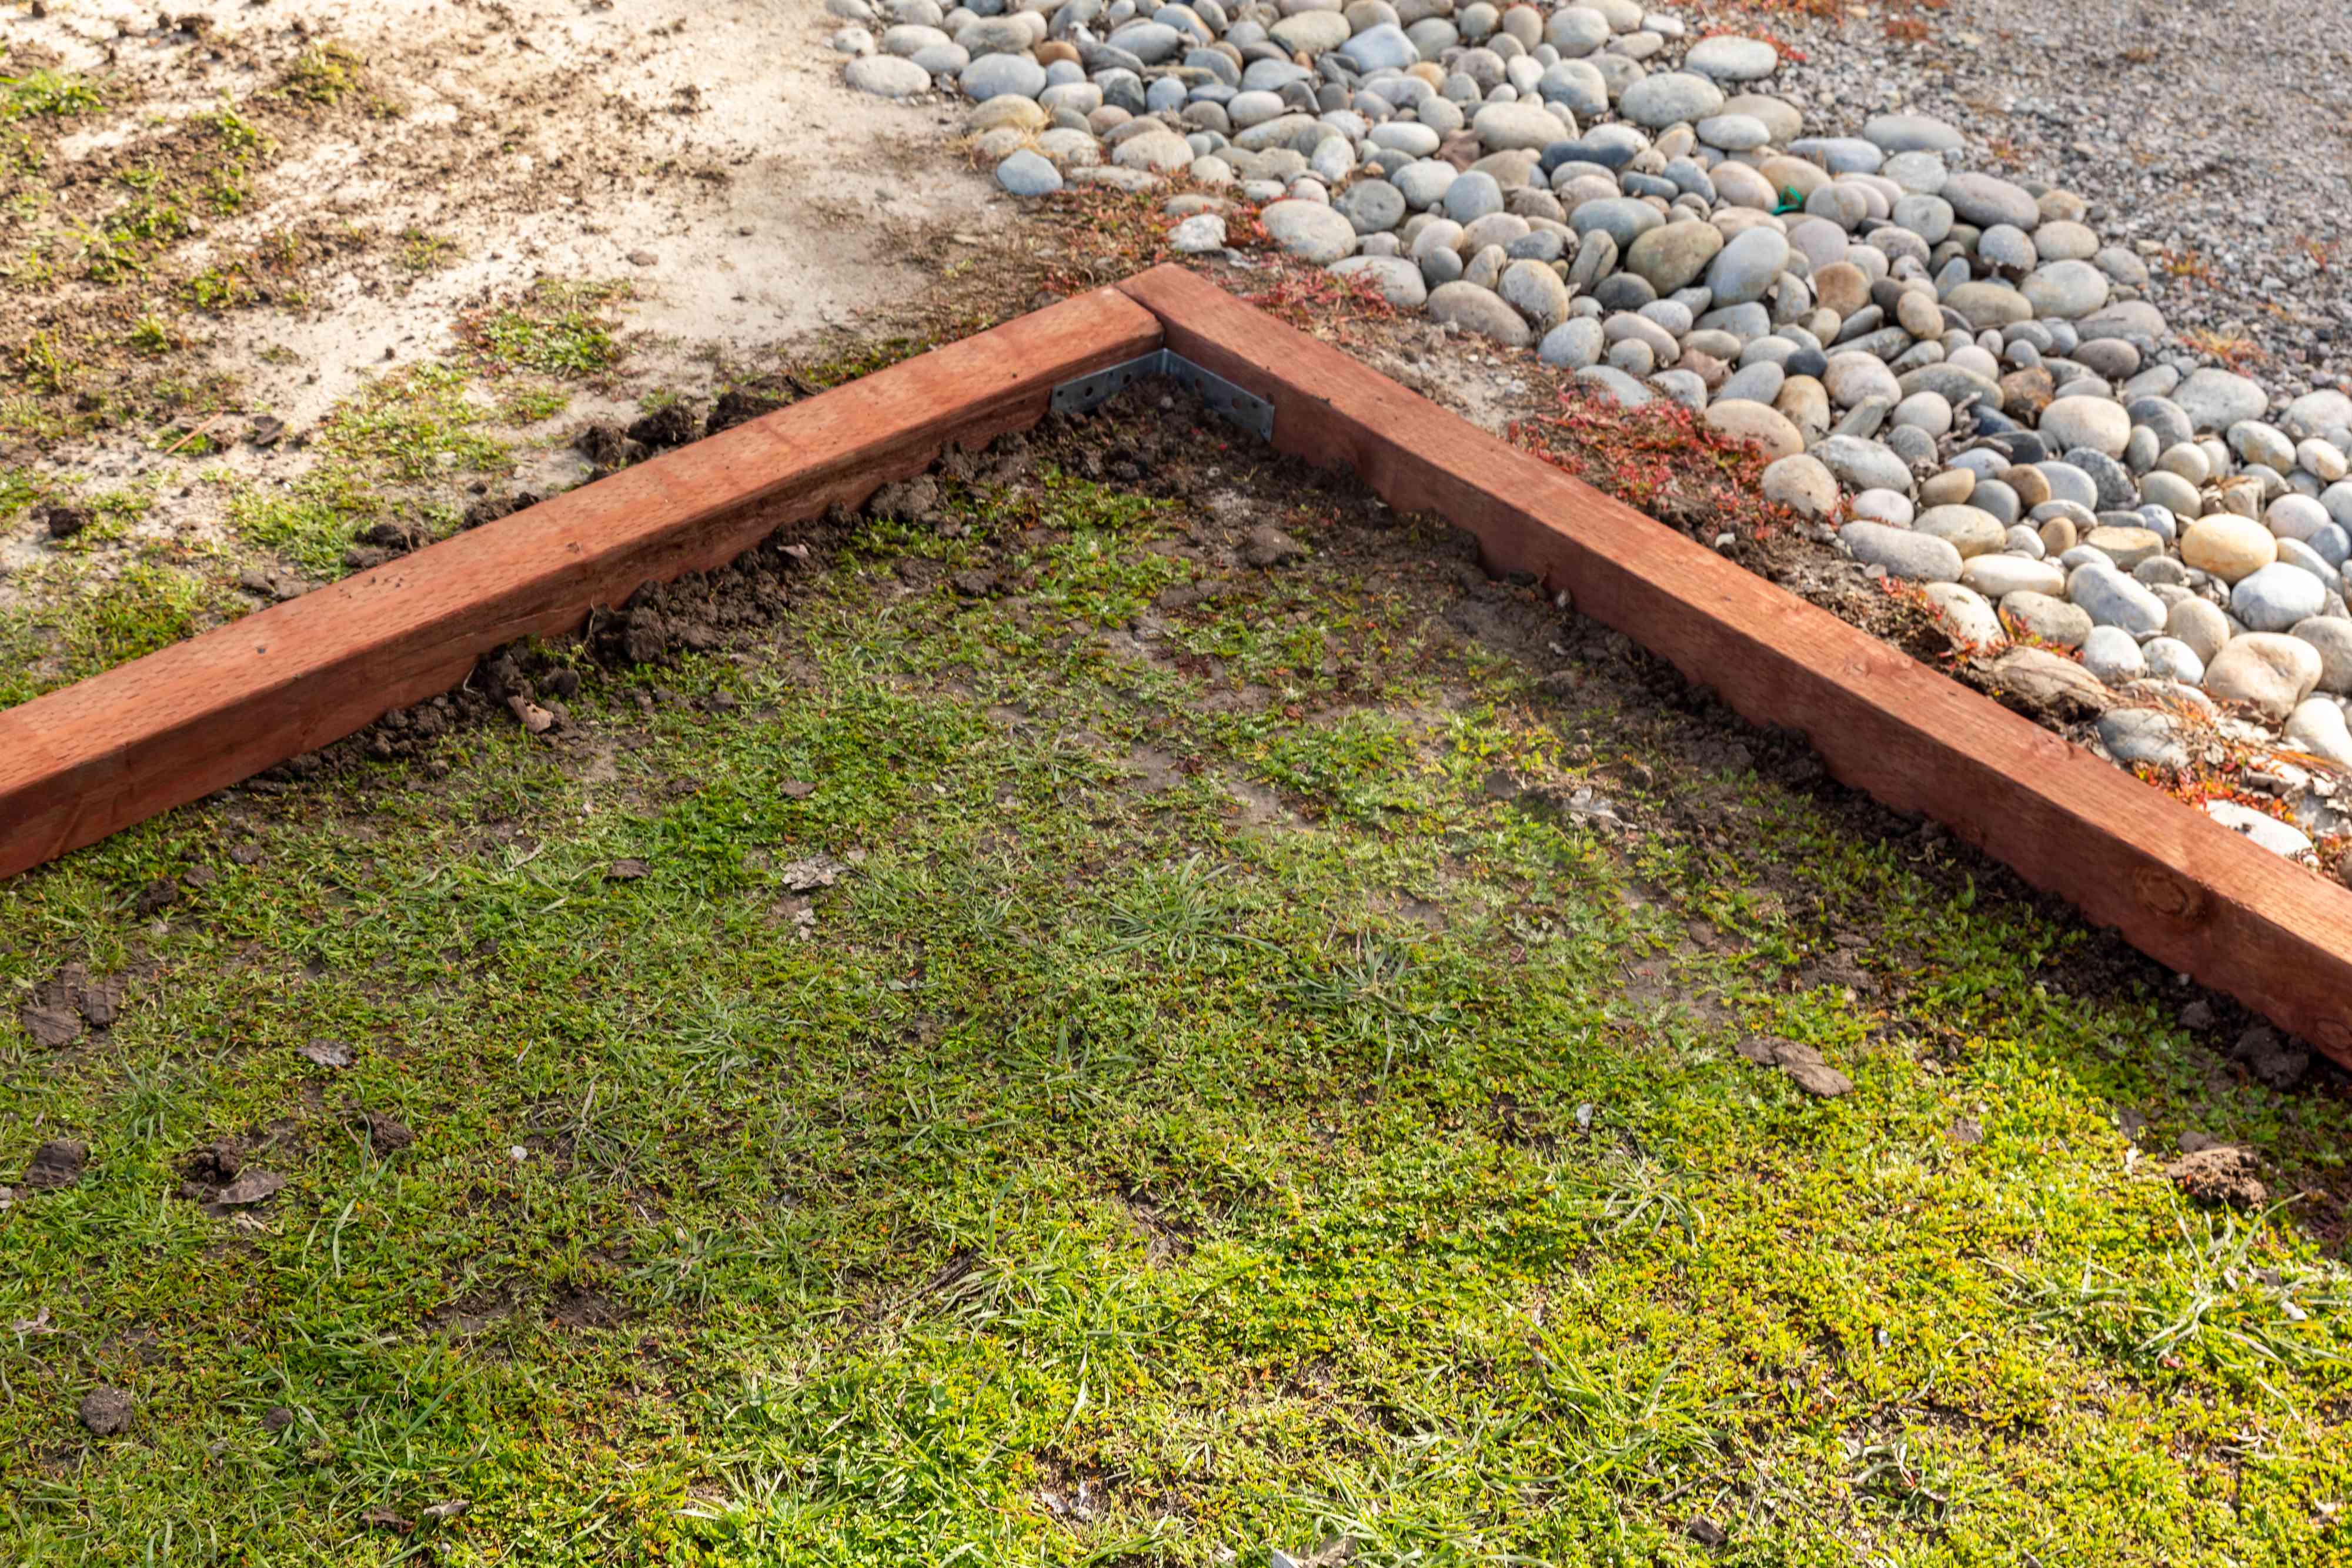
- Wood: Wood edging provides a natural and warm aesthetic to your garden. It can be easily customized and is ideal for creating raised bed borders.
When choosing the edging material, consider factors such as the style of your garden, the amount of maintenance required, and your budget. Additionally, think about the purpose of the edging – do you need it to contain mulch or gravel, or simply to separate different areas of your garden?
Once you’ve selected the material that best suits your needs, it’s time to move on to the next step: marking the edging path.
Step 2: Marking the Edging Path
With your chosen edging material in mind, it’s now time to mark the path where you’ll be installing the edging. This step is crucial to ensure a precise and visually pleasing result. Here’s how to do it:
- Gather your tools: You’ll need a garden hose, stakes, and string or spray paint.
- Plan the path: Visualize the outline of the edging path and consider any curves or angles you want to incorporate. Keep in mind the natural flow of your garden and any existing features you want to highlight or work around.
- Set markers: Place stakes at intervals along the path, ensuring they are level and firmly inserted into the ground.
- Connect the markers: Attach string or use spray paint to connect the markers, creating a clear and visible line that represents the path of the edging.
Take your time during this step to ensure the path is accurately marked. Double-check measurements and make adjustments as needed. Remember, a well-defined edging path sets the foundation for a clean and professional-looking garden.
Once you have successfully marked the edging path, you’re ready to move on to the next step: preparing the area.
Step 3: Preparing the Area
Before installing the edging material, it’s important to properly prepare the area to ensure a sturdy and long-lasting result. Here’s what you need to do:
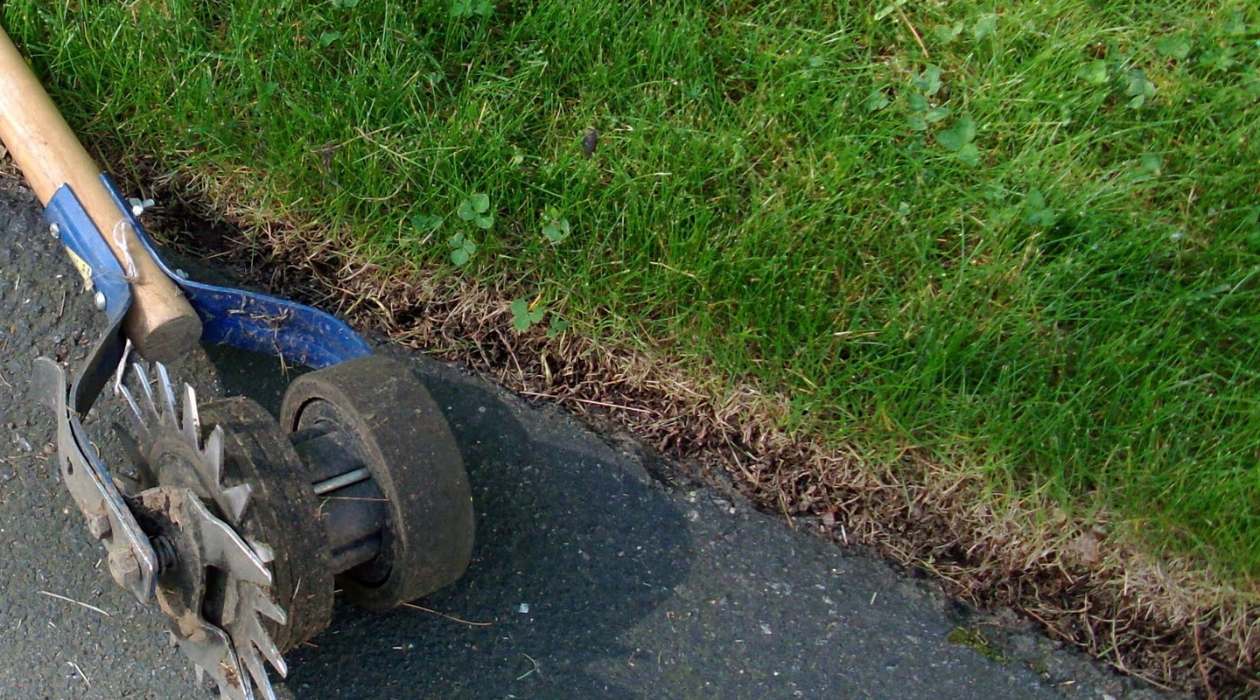
- Clear the area: Remove any existing vegetation, rocks, or debris from the edging path. This will create a clean surface for the edging material to be installed.
- Level the ground: Use a rake or shovel to level the soil along the path. This will help ensure an even installation and prevent any gaps or unevenness in the edging.
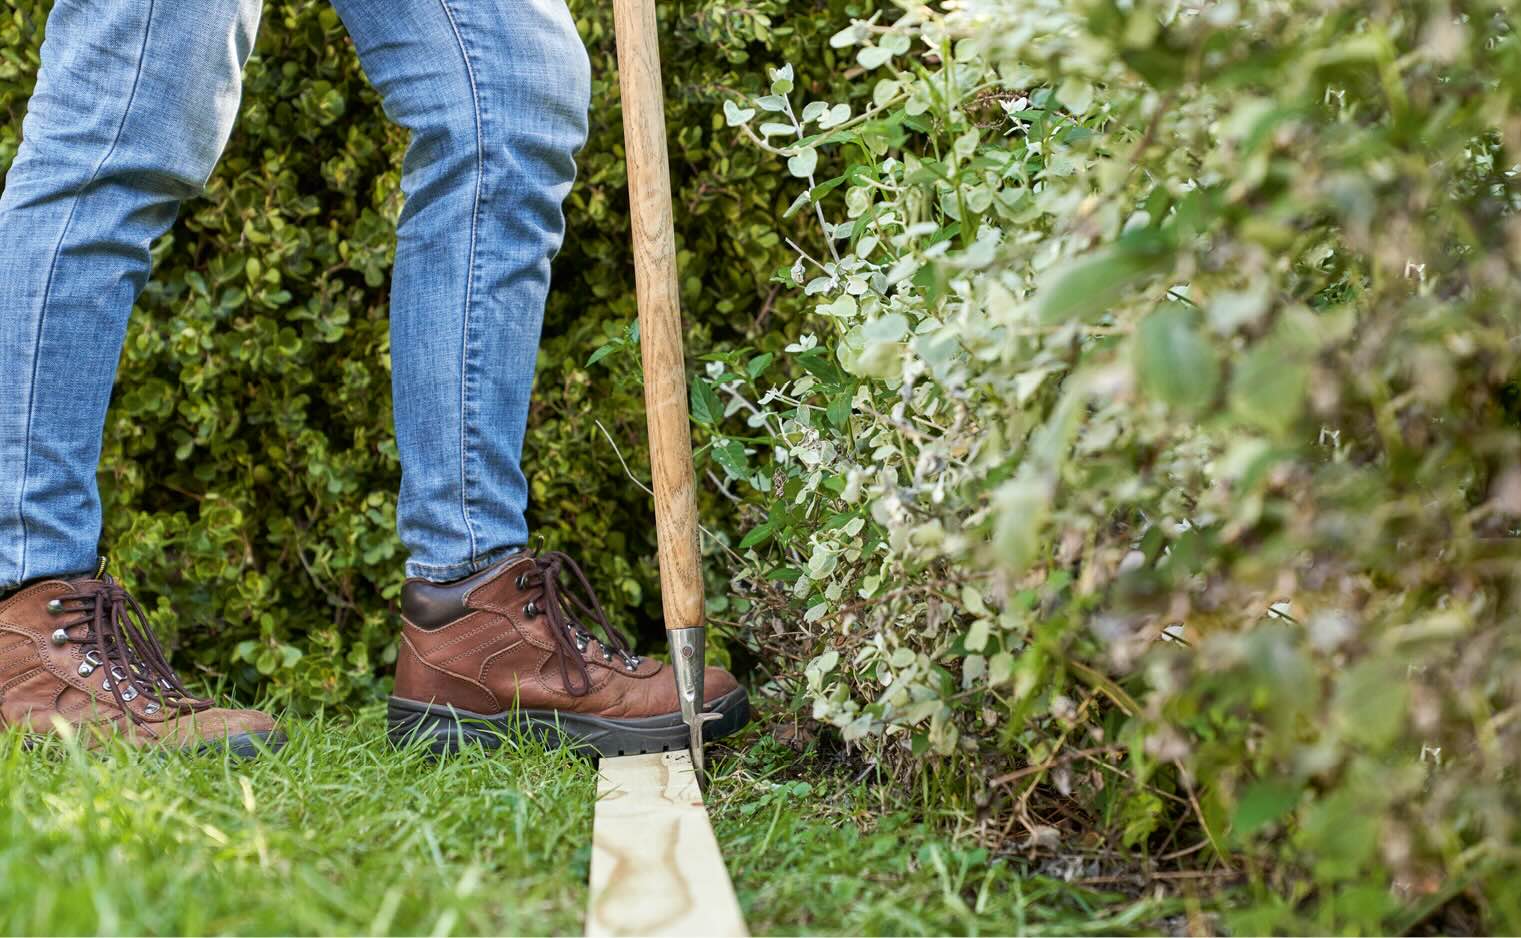
- Create a trench: Dig a trench along the marked path, following the desired depth and width for your chosen edging material. The depth will depend on the material and the look you want to achieve.
- Add a barrier: To prevent grass or weeds from growing into your garden beds, consider adding a barrier, such as landscape fabric, along the trench. This will help maintain the defined edges and reduce maintenance in the long run.
By taking the time to properly prepare the area, you’re setting the stage for a successful edging installation. The cleared and leveled ground will ensure a seamless and professional finish to your garden.
Once the area is prepared, you’re ready to move on to the exciting part – installing the edging material.
When edging landscaping, use a sharp spade to create clean, straight lines. Dig down at least 4 inches to prevent grass and weeds from encroaching on the bed.
Step 4: Installing the Edging Material
Now that you’ve prepared the area, it’s time to install your chosen edging material. This step will bring your garden one step closer to its finished look. Follow these guidelines for a successful installation:
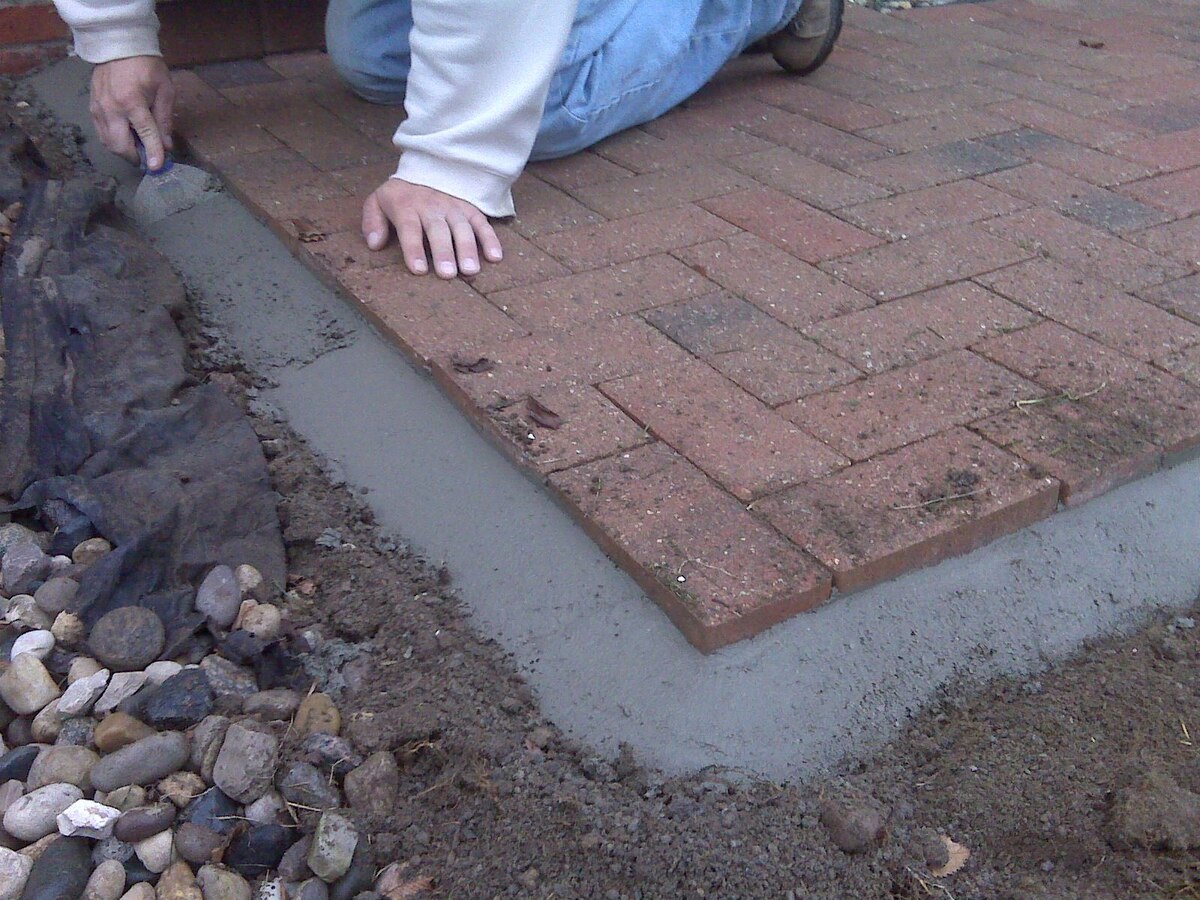
- Start at one end: Begin the installation at one end of the marked path. This will give you a starting point to work from and ensure a consistent and seamless installation.
- Place the edging: Lay the edging material along the trench, making sure it fits tightly and snugly. If you’re using individual pieces, connect them securely to create a continuous line.
- Level the edging: Use a level to check that the edging is even and straight. This will help maintain the visual appeal and ensure a professional finish.
- Make adjustments: If necessary, make any adjustments to the positioning of the edging. This could include trimming pieces to fit properly or adding additional support for stability.
Take your time during the installation process to ensure each section is properly aligned and securely in place. This attention to detail will go a long way in achieving a polished and visually appealing result.
Once you’ve installed the edging material, you’re ready for the next step: securing the edging.
Read more: How To Edge A Driveway
Step 5: Securing the Edging
Securing the edging material is essential to ensure its stability and longevity. Without proper fixation, the edging may shift or come loose over time. Follow these steps to securely fasten the edging:
- Drive stakes: Place stakes along the edging at regular intervals, ensuring they are inserted into the ground at a 45-degree angle. The stakes should be positioned on the side of the edging opposite to the garden bed.
- Attach the edging: Use screws, nails, or clips to attach the edging material to the stakes. This will provide extra support and prevent the edging from moving or shifting.
- Tighten and adjust: Check that all stakes and attachments are secure. If needed, tighten any loose connections or make adjustments to ensure the edging is firmly in place.
Securing the edging material will help maintain its integrity and prevent it from being dislodged by weather conditions, foot traffic, or gardening activities. This step is crucial for achieving a long-lasting and professionally installed garden border.
With the edging securely in place, it’s time to move on to the final step: backfilling and adding those finishing touches.
Step 6: Backfilling and Final Touches
The final step in the edging process is backfilling the trench and adding those final touches that will bring your garden to life. Here’s what you should do:
- Backfill the trench: Carefully fill in the trench around the edging material with soil. Use a garden trowel or your hands to ensure the soil is evenly distributed and firmly packed. Take care not to disturb the position of the edging as you backfill.
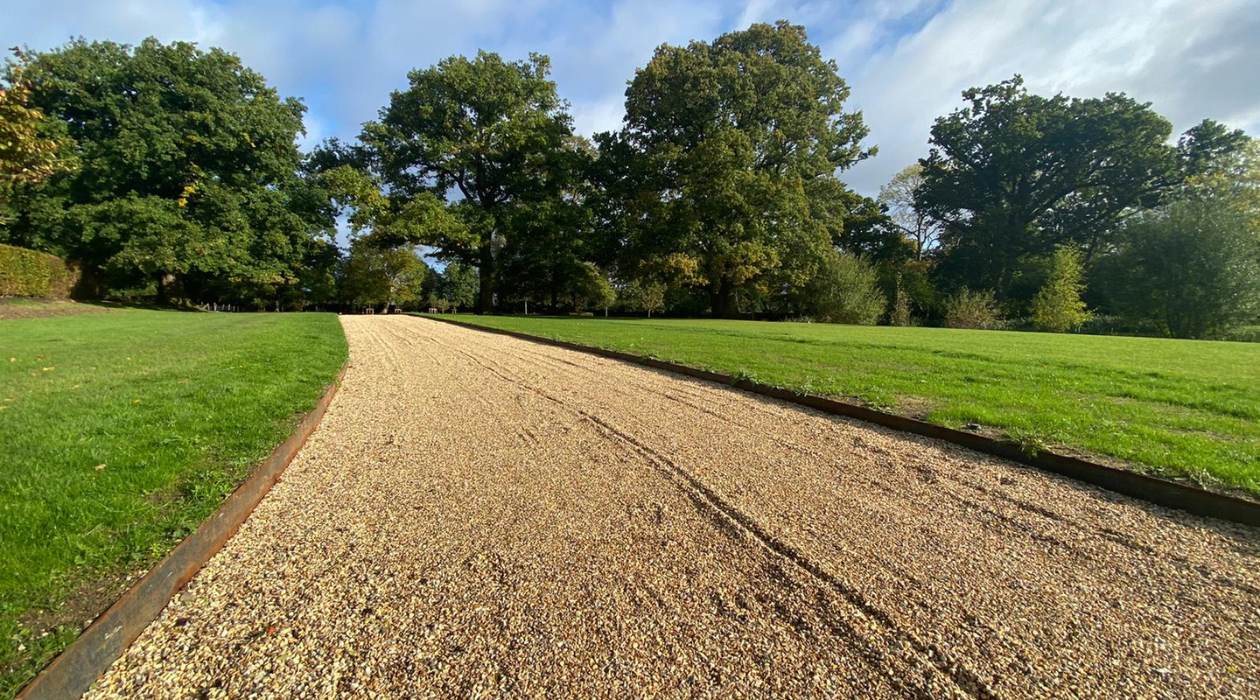
- Add mulch or gravel: If you’re using mulch or gravel in your garden beds, now is the time to spread it around the plants and up to the edging. This will help create a neat and polished appearance, while also providing additional benefits such as moisture retention and weed suppression.
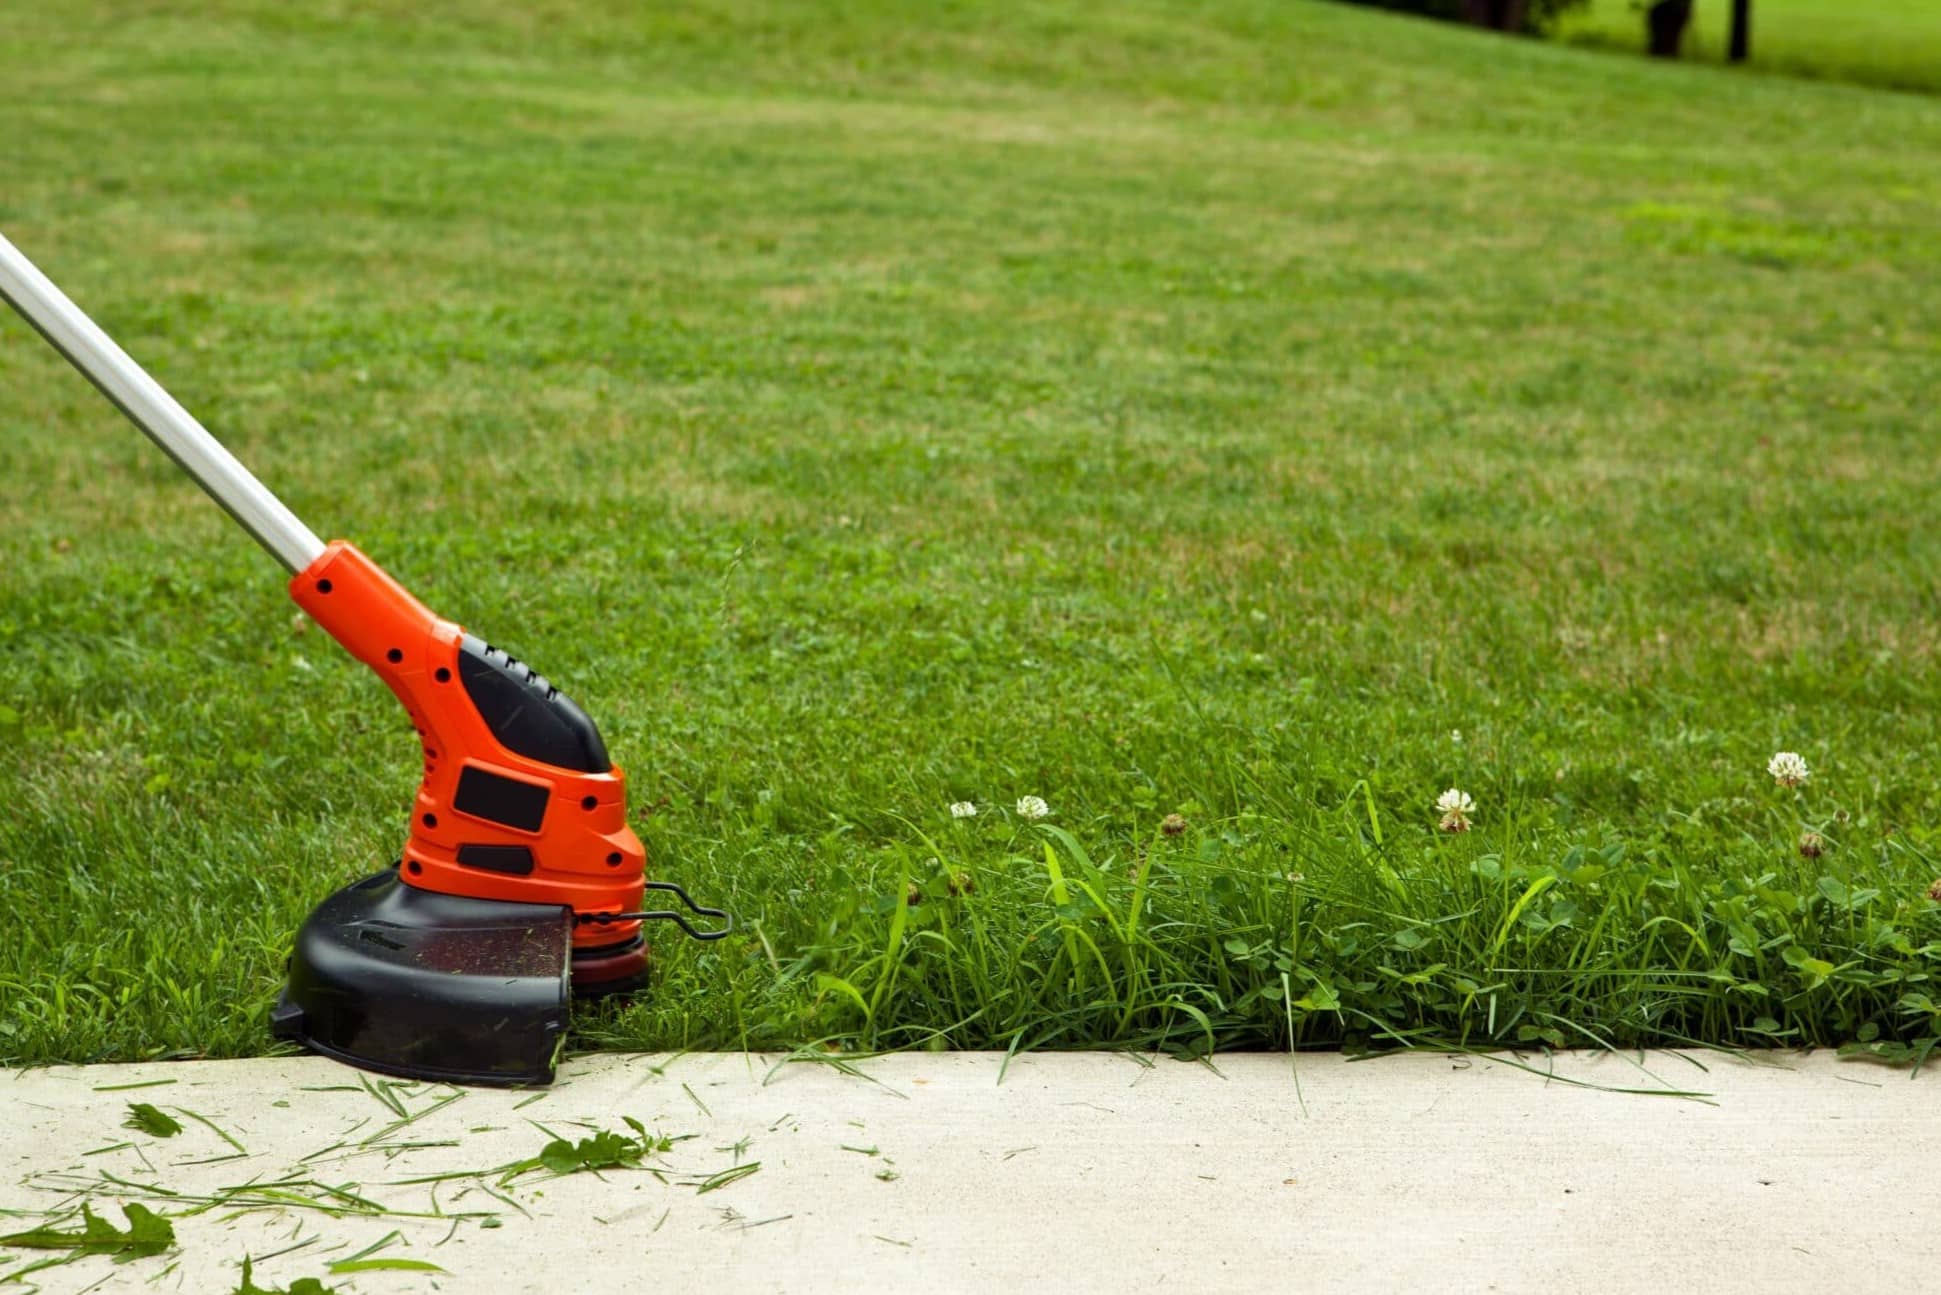
- Trim and clean: Take a moment to trim any excess edging material or overhanging vegetation. This will give your garden a tidy and well-maintained look. Additionally, remove any debris or excess soil from the surrounding area to ensure a clean finish.
- Inspect and make adjustments: Step back and inspect the finished edging. Check for any unevenness or areas that may require adjustments. Make any necessary tweaks to ensure a seamless and visually pleasing result.
By backfilling the trench and adding those final touches, you are completing the edging process and giving your garden a refined and professional appearance. Take pride in your work and admire the stunning transformation you’ve achieved.
With the installation and finishing touches complete, you can now sit back, relax, and enjoy your beautifully landscaped garden with its newly defined edges.
Congratulations! You’ve successfully learned how to edge your landscaping. By following these steps, you’ve taken your garden from ordinary to extraordinary, creating defined borders that enhance the overall beauty and structure of your outdoor space.
Conclusion
Edging is a crucial aspect of landscaping that can greatly enhance the appearance and functionality of your garden. By following the steps outlined in this guide, you have learned how to select the right edging material, mark the edging path, prepare the area, install the edging material, secure it properly, and complete the process with backfilling and final touches.
With well-defined edges, your garden will have a polished and professional look, elevating the overall aesthetic appeal. Edging not only creates a clear boundary between different areas of your garden, but it also helps to prevent grass and weeds from encroaching into garden beds, providing easier maintenance and a cleaner appearance.
Remember to choose an edging material that suits your garden style and requirements. Whether it’s the classic look of brick, the natural charm of stone, or the modern appeal of metal, there is an option to enhance any garden design.
Throughout the process, take your time, pay attention to detail, and make necessary adjustments to ensure a precise and visually appealing result. Properly securing the edging is important to ensure its stability, durability, and resistance to external factors.
Lastly, don’t forget the final touches that add that extra touch of beauty to your garden. Backfilling the trench and adding mulch or gravel will create a finished and cohesive look, while trimming excess material and cleaning the surroundings will give your garden a neat and well-maintained appearance.
With the completion of the edging process, step back and appreciate the transformation you have achieved. Your garden now has defined edges that will add structure and elegance to your outdoor space.
So, go ahead and put these steps into action to create a beautifully landscaped garden that will be the envy of your neighbors and a tranquil oasis for your relaxation and enjoyment.
Frequently Asked Questions about How To Edge Landscaping
Was this page helpful?
At Storables.com, we guarantee accurate and reliable information. Our content, validated by Expert Board Contributors, is crafted following stringent Editorial Policies. We're committed to providing you with well-researched, expert-backed insights for all your informational needs.


0 thoughts on “How To Edge Landscaping”