Home>Garden Essentials>How To Strain Seeds From Raspberries
Garden Essentials
How To Strain Seeds From Raspberries
Modified: March 15, 2024
Learn how to strain seeds from raspberries in your garden and enjoy the delicious fruit without any unwanted seeds.
(Many of the links in this article redirect to a specific reviewed product. Your purchase of these products through affiliate links helps to generate commission for Storables.com, at no extra cost. Learn more)
Introduction
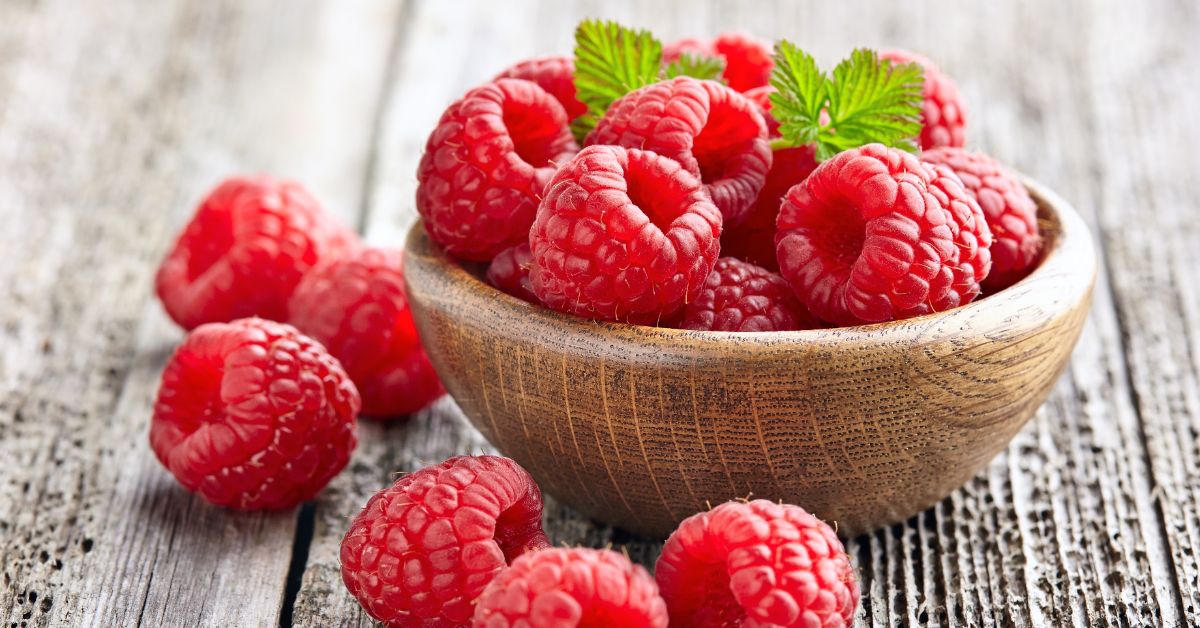
Welcome to the wonderful world of gardening, where nature’s bounty is just waiting to be discovered and cultivated. If you’re an avid gardener or simply have a green thumb, you may have found yourself in possession of a raspberry patch, bursting with juicy and flavorful berries. Raspberries are not only delicious to eat on their own or in various recipes, but they also offer the opportunity to harvest their seeds for future planting. In this article, we’ll guide you through the process of how to strain seeds from raspberries, unlocking the potential for new growth and future harvests.
Harvesting and saving seeds from raspberries allows you to preserve the traits of specific raspberry varieties that you appreciate most. Whether you want to expand your raspberry patch or share seeds with fellow gardeners, knowing how to strain and store raspberry seeds is a valuable skill to possess.
Before diving into the process, let’s take a look at the materials you’ll need to get started.
Key Takeaways:
- Harvesting and saving raspberry seeds allows you to preserve your favorite varieties and share them with other gardeners, expanding your raspberry patch for future bountiful harvests.
- By learning how to strain and store raspberry seeds, you contribute to the preservation and diversity of raspberry varieties, supporting biodiversity and the tradition of seed saving.
Read more: How Long To Grow Raspberries From Seed
Materials Needed
Before you begin the process of straining seeds from raspberries, make sure you have the following materials on hand:
- A basket or container to collect ripe raspberries
- A fine-mesh sieve or strainer
- A bowl to catch the strained raspberry mixture
- A spoon or spatula for crushing the raspberries
- A clean cloth or cheesecloth for straining
- A tray or plate for drying the seeds
- Airtight containers for storing the strained raspberry seeds
Having these materials prepared in advance will ensure a smooth and efficient straining process. Now that you have everything you need, let’s move on to the step-by-step instructions for straining the seeds from raspberries.
Step 1: Harvesting Raspberries
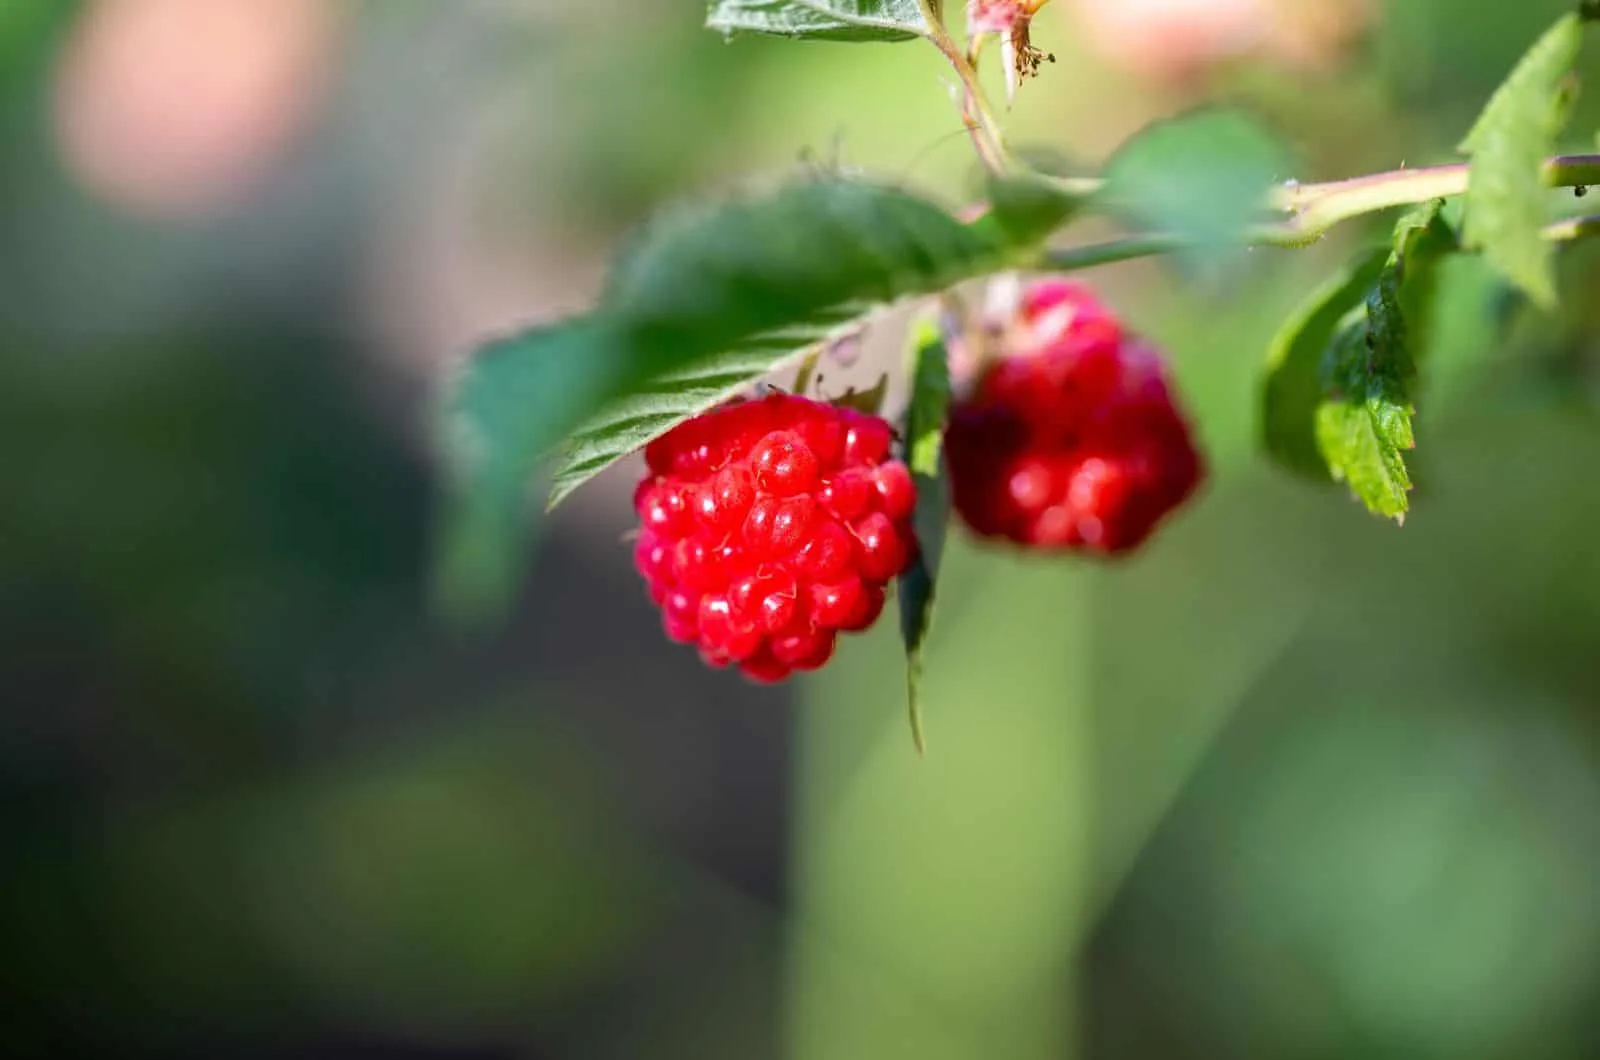
The first step in the process of straining seeds from raspberries is to harvest the ripe berries from your raspberry patch. Raspberries are typically ready for harvest in the summer or early fall, depending on the variety and your region’s climate. Here’s how to do it:
- Choose a dry day to harvest the raspberries. Wet berries can easily mold or become damaged during the straining process.
- Gently pluck the ripe raspberries from the plants, being careful not to crush or bruise them.
- Place the harvested raspberries in a clean basket or container. Avoid overfilling the container, as this can cause the berries to become squished and damaged.
- Continue to harvest raspberries until you have an ample amount for straining. Remember, the more berries you have, the greater the potential for a successful seed harvest.
Once you have harvested enough raspberries, it’s time to move on to the next step: preparing the straining equipment.
Step 2: Preparing the Straining Equipment
Now that you have harvested the ripe raspberries, it’s time to prepare the straining equipment that will help you separate the seeds from the fruit. Here’s what you need to do:
- Start by selecting a fine-mesh sieve or strainer. Make sure the mesh is small enough to prevent the raspberry seeds from passing through.
- Place a bowl or container underneath the sieve to catch the strained raspberry mixture.
- Using a spoon or spatula, crush and mash the raspberries inside the sieve. This will help release the seeds from the fruit pulp.
- Next, prepare a clean cloth or cheesecloth by laying it over a separate bowl or container. This will serve as a second straining layer to catch any remaining seeds.
- Ensure that all the equipment is clean and free from any dirt or debris that could contaminate the seeds.
Once you have prepared the straining equipment, you’re ready to move on to the next step: crushing and mashing the raspberries to extract the seeds.
Step 3: Crushing and Mashing the Raspberries
In this step, you will extract the raspberry seeds by crushing and mashing the raspberries. This process helps separate the seeds from the fruit pulp and prepares them for straining. Follow these steps:
- Take the prepared sieve or strainer with the raspberries inside and begin crushing and mashing the berries using a spoon or spatula. Apply gentle pressure to break down the fruit and release the seeds.
- Continue crushing and mashing until most of the raspberries have been broken down, and the seeds are visibly separate from the pulp.
- As you crush the raspberries, the mixture will become more liquid-like, with seeds floating and the fruit pulp sinking.
Remember to be gentle during this process to prevent the seeds from being crushed or damaged. Once you’ve mashed the raspberries, it’s time to move on to the next step: setting up the straining process.
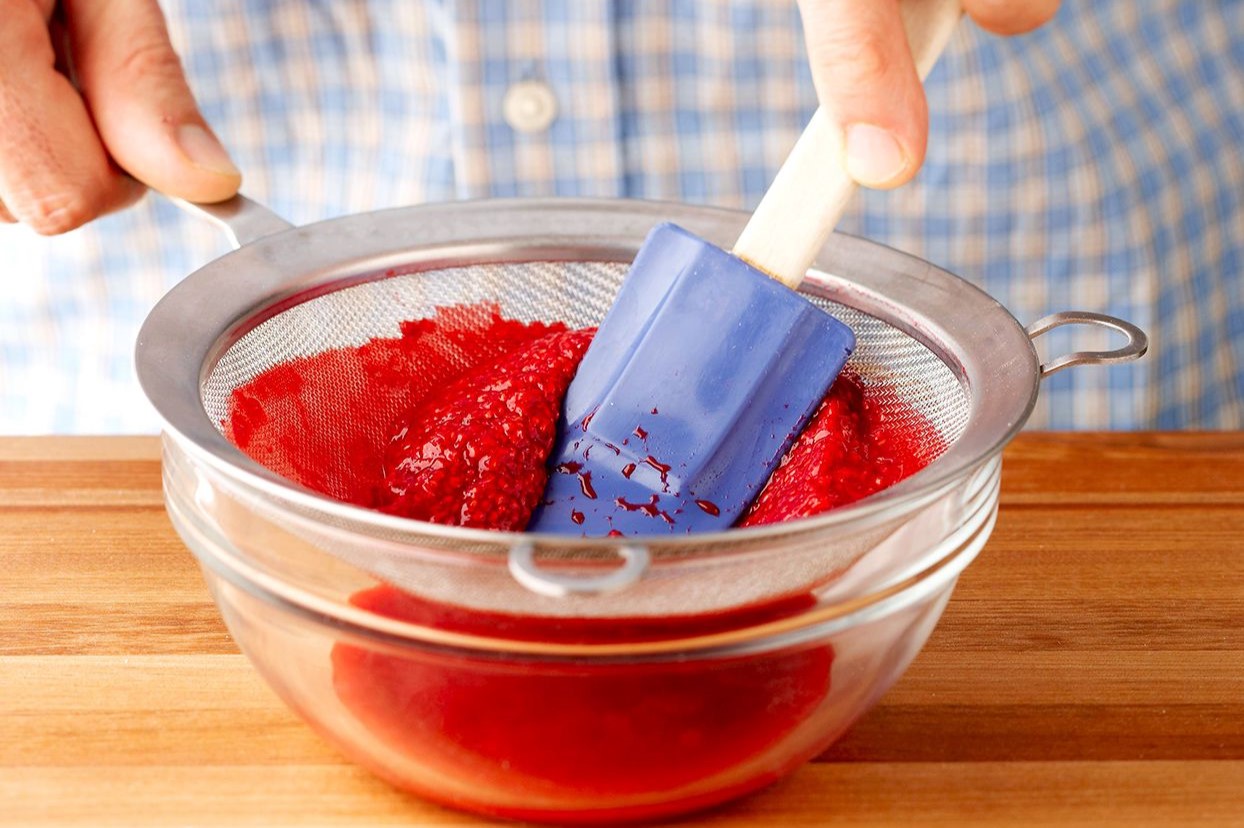
To strain seeds from raspberries, simply press the raspberries through a fine mesh strainer with the back of a spoon. The seeds will be left behind, and the puree can be used for various recipes.
Read more: How To Save Raspberry Seeds
Step 4: Setting up the Straining Process
Now that you have crushed and mashed the raspberries, it’s time to set up the straining process to separate the seeds from the fruit pulp. Follow these steps to proceed:
- Place the prepared sieve or strainer over the bowl or container that will catch the strained raspberry mixture.
- Gently pour the crushed raspberry mixture into the sieve, allowing the liquid to flow through while trapping the seeds.
- Use the back of a spoon or spatula to press down on the mixture, extracting as much liquid as possible. This will help separate the seeds from the remaining pulp.
- Continue pressing and stirring the mixture, ensuring that as much liquid as possible is strained through the sieve.
As you work through this process, you will notice the seeds collecting in the bowl beneath the sieve while the fruit pulp remains trapped on top. Once you have strained the raspberry mixture thoroughly, it’s time to move on to the next step: pouring and pressing the raspberry mixture.
Step 5: Pouring and Pressing the Raspberry Mixture
Now that you have set up the straining process, it’s time to pour and press the raspberry mixture to separate the seeds from the remaining pulp. Follow these steps to proceed:
- Take the bowl containing the strained raspberry mixture and gently pour it onto the prepared clean cloth or cheesecloth. Make sure the cloth is placed over a separate bowl or container to catch the liquid.
- Allow the raspberry mixture to sit on the cloth and continue draining. The liquid will pass through the cloth, leaving the seeds behind.
- Once most of the liquid has drained through, use the back of a spoon or spatula to press down on the mixture. This will help extract any remaining liquid and separate the seeds further.
- Continue pressing and squeezing the mixture until you have extracted as much liquid as possible. This will leave you with a concentrated amount of raspberry seeds on the cloth.
As you press and squeeze the raspberry mixture, you will notice the seeds collecting on the cloth. Be careful not to press too hard, as this can damage or crush the seeds. Once you have pressed out most of the liquid, it’s time to move on to the next step: drying and collecting the raspberry seeds.
Step 6: Drying and Collecting the Raspberry Seeds
After straining the raspberry mixture, it’s time to dry and collect the raspberry seeds. Follow these steps to ensure proper drying and collection:
- Remove the cloth or cheesecloth containing the raspberry seeds from the straining setup and carefully transfer it to a flat tray or plate.
- Spread out the raspberry seeds on the tray in a single layer, ensuring they are evenly distributed and not clumped together.
- Place the tray in a well-ventilated area away from direct sunlight. It’s important to allow the seeds to dry naturally without any added heat or moisture.
- Leave the raspberry seeds to dry for at least 1-2 weeks. During this time, the seeds will gradually shrink, becoming harder and less sticky.
- Once the seeds are completely dry, gently collect them from the tray using your fingers or a small spoon. Be careful not to crush or damage the seeds during this process.
- Transfer the dried raspberry seeds to an airtight container, such as a glass jar or resealable bag. Make sure the container is labeled with the variety and date of harvesting for future reference.
By allowing the raspberry seeds to dry thoroughly and storing them in a proper container, you can ensure their long-term viability and use in future planting endeavors. Now that you have collected the raspberry seeds, let’s move on to the final step: storing the strained raspberry seeds.
Step 7: Storing the Strained Raspberry Seeds
Proper storage of strained raspberry seeds is essential to maintain their viability for future planting. Follow these steps to ensure the longevity of your raspberry seeds:
- Transfer the strained raspberry seeds from the drying tray to a clean, dry container. Airtight glass jars or resealable bags are excellent options for storage.
- Label the container with the raspberry variety and the date of harvesting. This information will come in handy when you decide to plant the seeds or share them with other gardeners.
- Store the sealed container in a cool, dry place away from direct sunlight and extreme temperature fluctuations. A refrigerator or a cool basement are ideal storage locations.
- Check on the seeds periodically to ensure they remain dry and free from any signs of moisture or mold. If you notice any issues, discard the affected seeds to prevent them from contaminating the others.
- With proper storage conditions, raspberry seeds can remain viable for several years, giving you the opportunity to plant them whenever you’re ready to expand your raspberry patch or share them with fellow gardeners.
Remember to keep a record of the raspberry seeds you have stored and refresh your seed collection periodically by harvesting and straining fresh seeds. This will ensure a diverse and vibrant selection of raspberry varieties for your future gardening endeavors.
Congratulations! You have successfully completed the process of straining and storing raspberry seeds. Now you can explore the exciting world of raspberry cultivation and enjoy the fruits of your labor for years to come.
Remember, gardening is a journey filled with experimentation and learning. So don’t hesitate to try different techniques and methods to find what works best for you. Happy gardening!
Read more: How To Strain Blackberry Seeds
Conclusion
Congratulations! You have reached the end of your journey on how to strain seeds from raspberries. By following the step-by-step process outlined in this article, you have gained the knowledge and skills necessary to harvest, strain, and store raspberry seeds successfully.
Harvesting and saving raspberry seeds not only allows you to preserve the traits of your favorite raspberry varieties but also gives you the opportunity to share them with other gardeners, expand your raspberry patch, or simply enjoy the satisfaction of nurturing new raspberry plants from seed.
Remember that each raspberry seed holds the promise of new growth and future harvests. Take the time to prepare your straining equipment, crush and mash the raspberries, and set up the straining process with care. Allow the raspberry seeds to dry thoroughly and store them in proper containers to ensure their viability.
As a gardener, you play a vital role in supporting biodiversity and maintaining the traditions of seed saving. By learning how to strain and store raspberry seeds, you contribute to the preservation and diversity of raspberry varieties for generations to come.
So, take this newfound knowledge and apply it in your own garden. Experiment with different raspberry varieties, try different straining techniques, and discover the joy of growing raspberries from seed. Remember to document your experiences, learn from any challenges you encounter, and share your successes with fellow gardeners.
Gardening is a journey of continuous learning and discovery. Embrace the process, be patient, and above all, have fun! Enjoy the sweet rewards of your labor as you watch your raspberry plants thrive and bear fruit, knowing that you have played a part in the remarkable cycle of nature.
Frequently Asked Questions about How To Strain Seeds From Raspberries
Was this page helpful?
At Storables.com, we guarantee accurate and reliable information. Our content, validated by Expert Board Contributors, is crafted following stringent Editorial Policies. We're committed to providing you with well-researched, expert-backed insights for all your informational needs.

0 thoughts on “How To Strain Seeds From Raspberries”