Home>Garden Essentials>How To Plant From Seeds
Garden Essentials
How To Plant From Seeds
Modified: September 1, 2024
Learn the steps to plant a garden from seeds with our helpful guide. Discover tips and techniques for successful seed planting and enjoy a bountiful garden harvest.
(Many of the links in this article redirect to a specific reviewed product. Your purchase of these products through affiliate links helps to generate commission for Storables.com, at no extra cost. Learn more)
Introduction
Gardening is a rewarding and therapeutic activity that allows us to connect with nature and create vibrant, living spaces. One of the most fulfilling aspects of gardening is planting from seeds. It is a process that starts from the very beginning, where tiny seeds hold the promise of abundant growth and beauty.
Planting from seeds gives you the opportunity to choose from a wide variety of plants and cultivars, ensuring that your garden reflects your unique preferences and style. Whether you want to grow colorful flowers, luscious fruits, or fresh herbs and vegetables, starting from seeds provides a cost-effective and rewarding way to do so.
In this article, we will guide you through the process of planting from seeds, covering everything from choosing the right seeds to caring for the seedlings until they reach maturity. So let’s roll up our sleeves, put on our gardening gloves, and discover the joys of planting from seeds!
Key Takeaways:
- Choose the right seeds based on your preferences and your garden’s conditions to set the stage for successful seed germination and healthy plant growth.
- Provide proper care, including watering, sunlight, and pest protection, to ensure the continued growth and health of your plants, leading to a lush and vibrant garden.
Read more: How To Plant Poppies From Seed
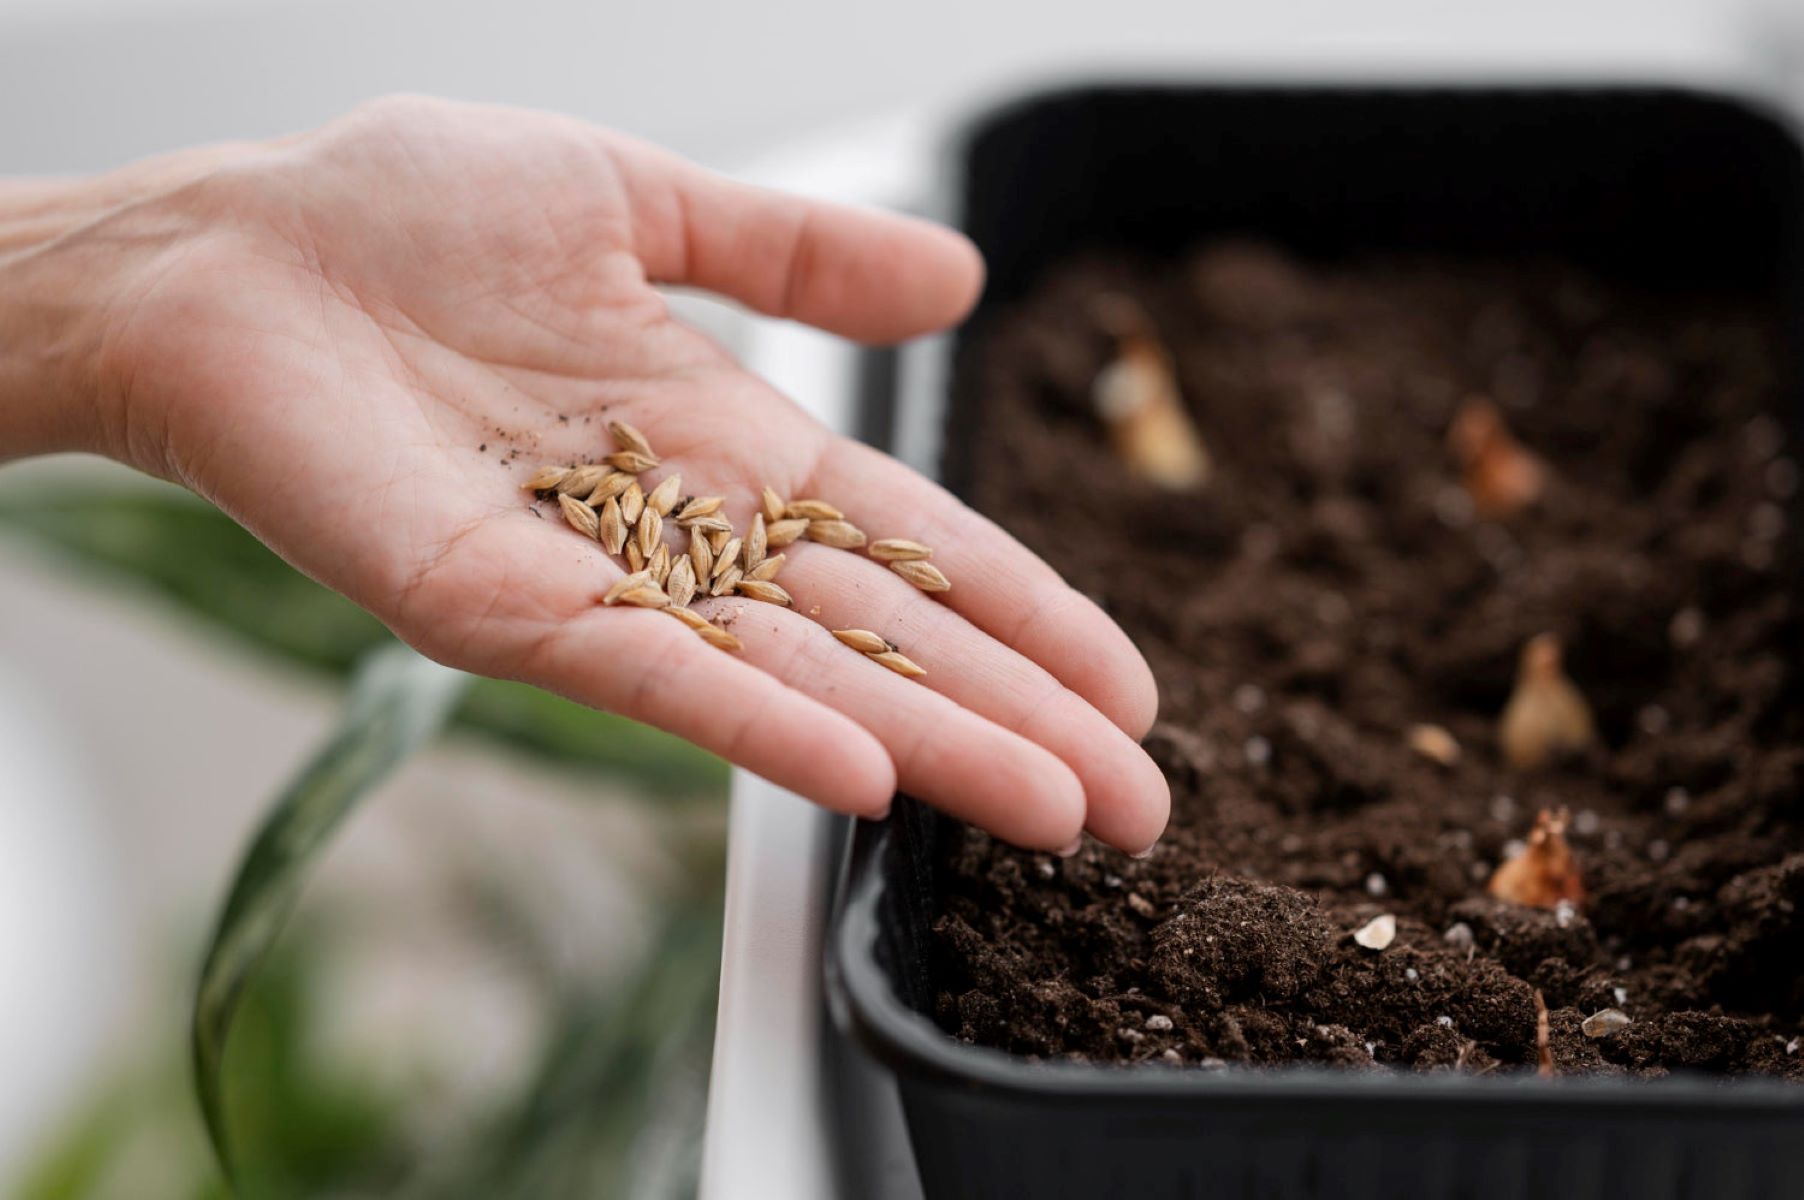
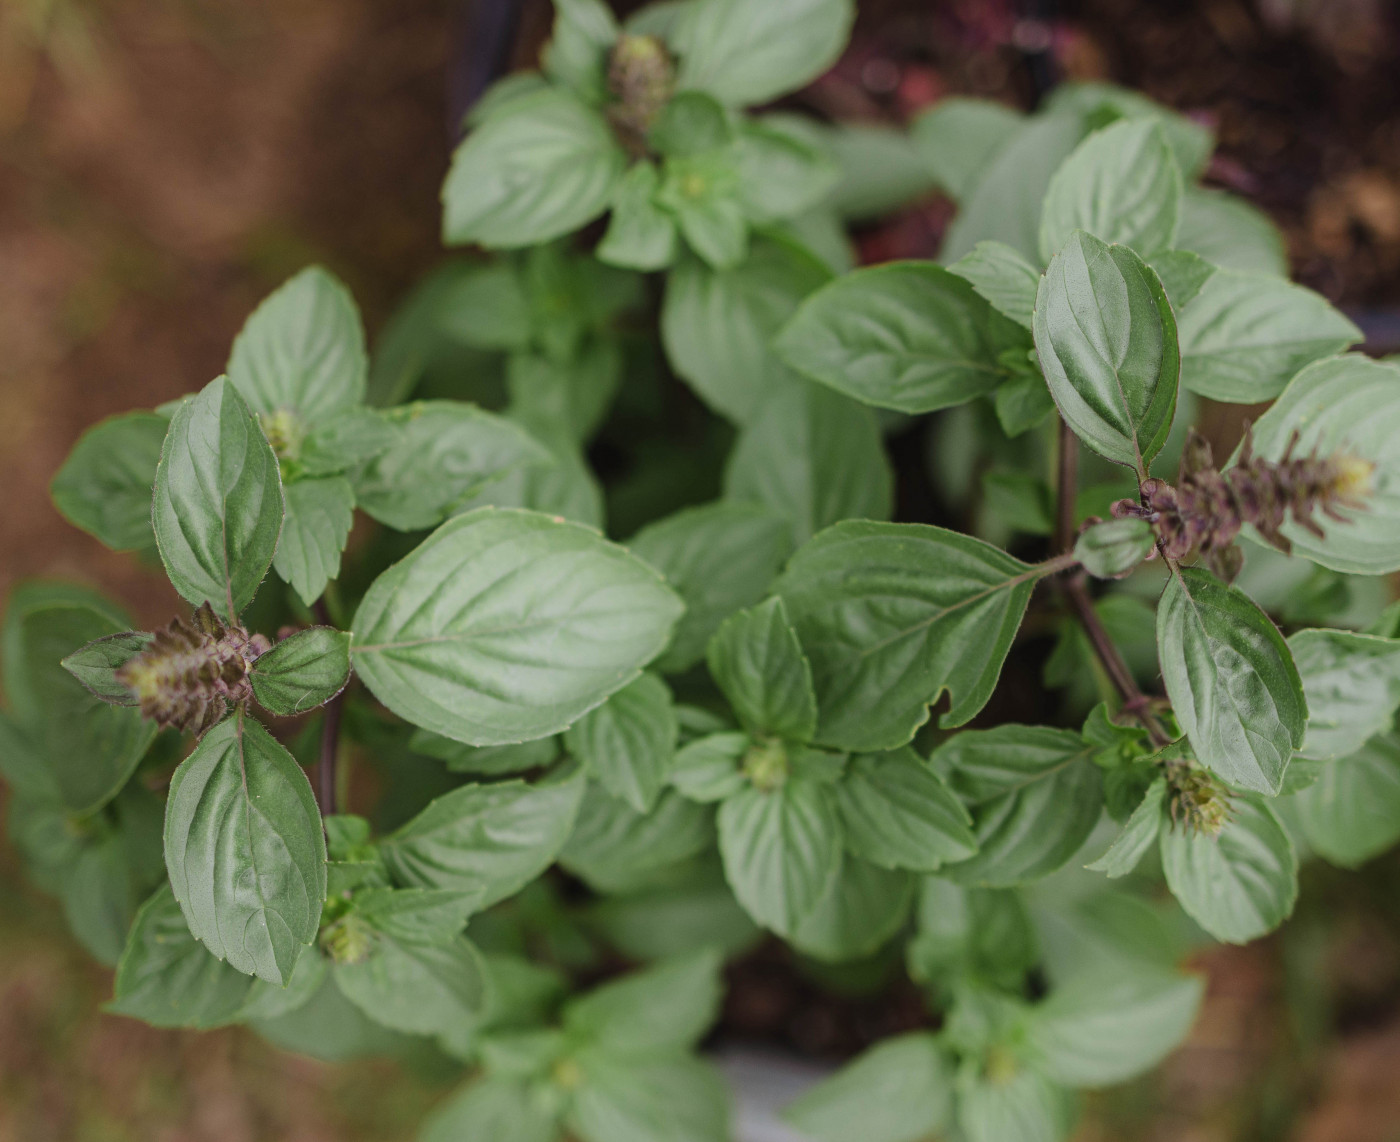
Step 1: Choosing the Right Seeds
When it comes to planting from seeds, selecting the right seeds is crucial for a successful and thriving garden. Here are a couple of key factors to consider:
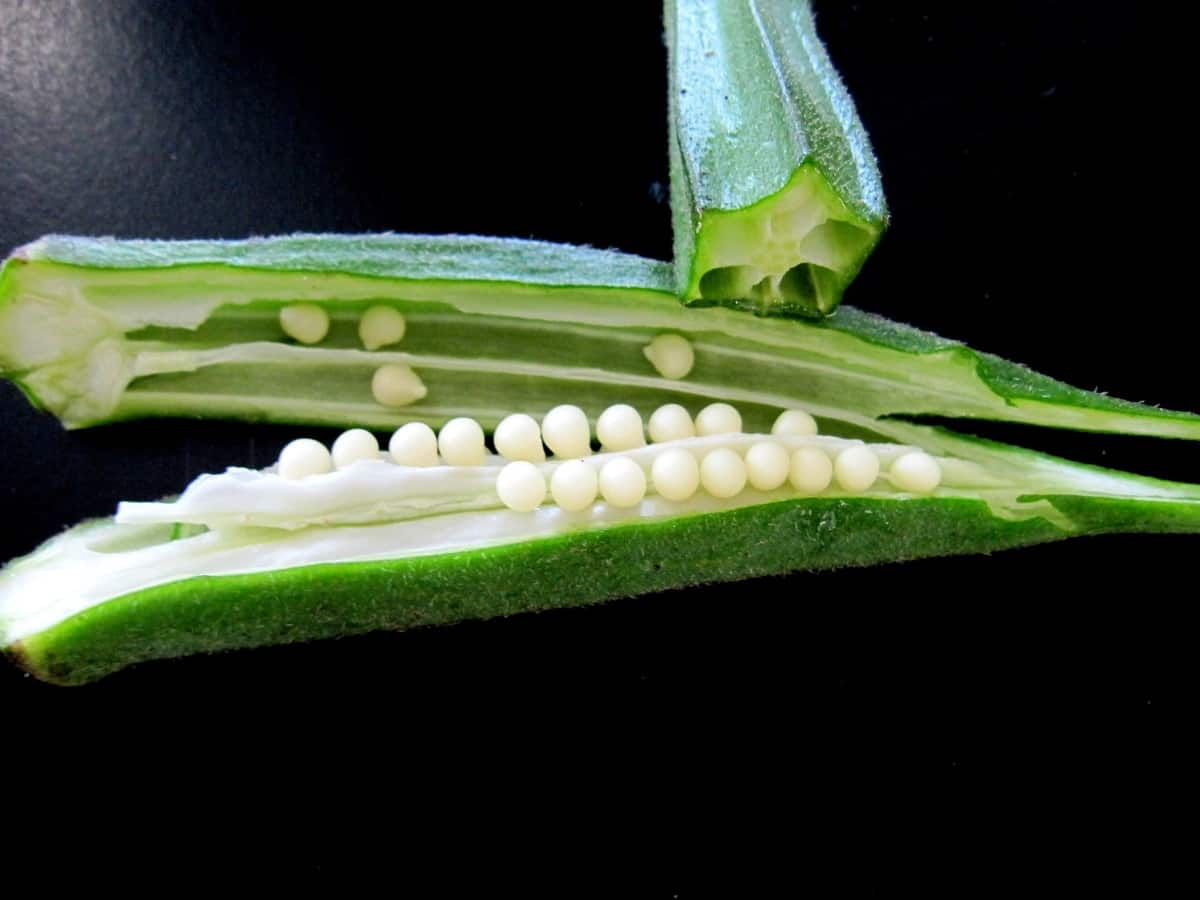
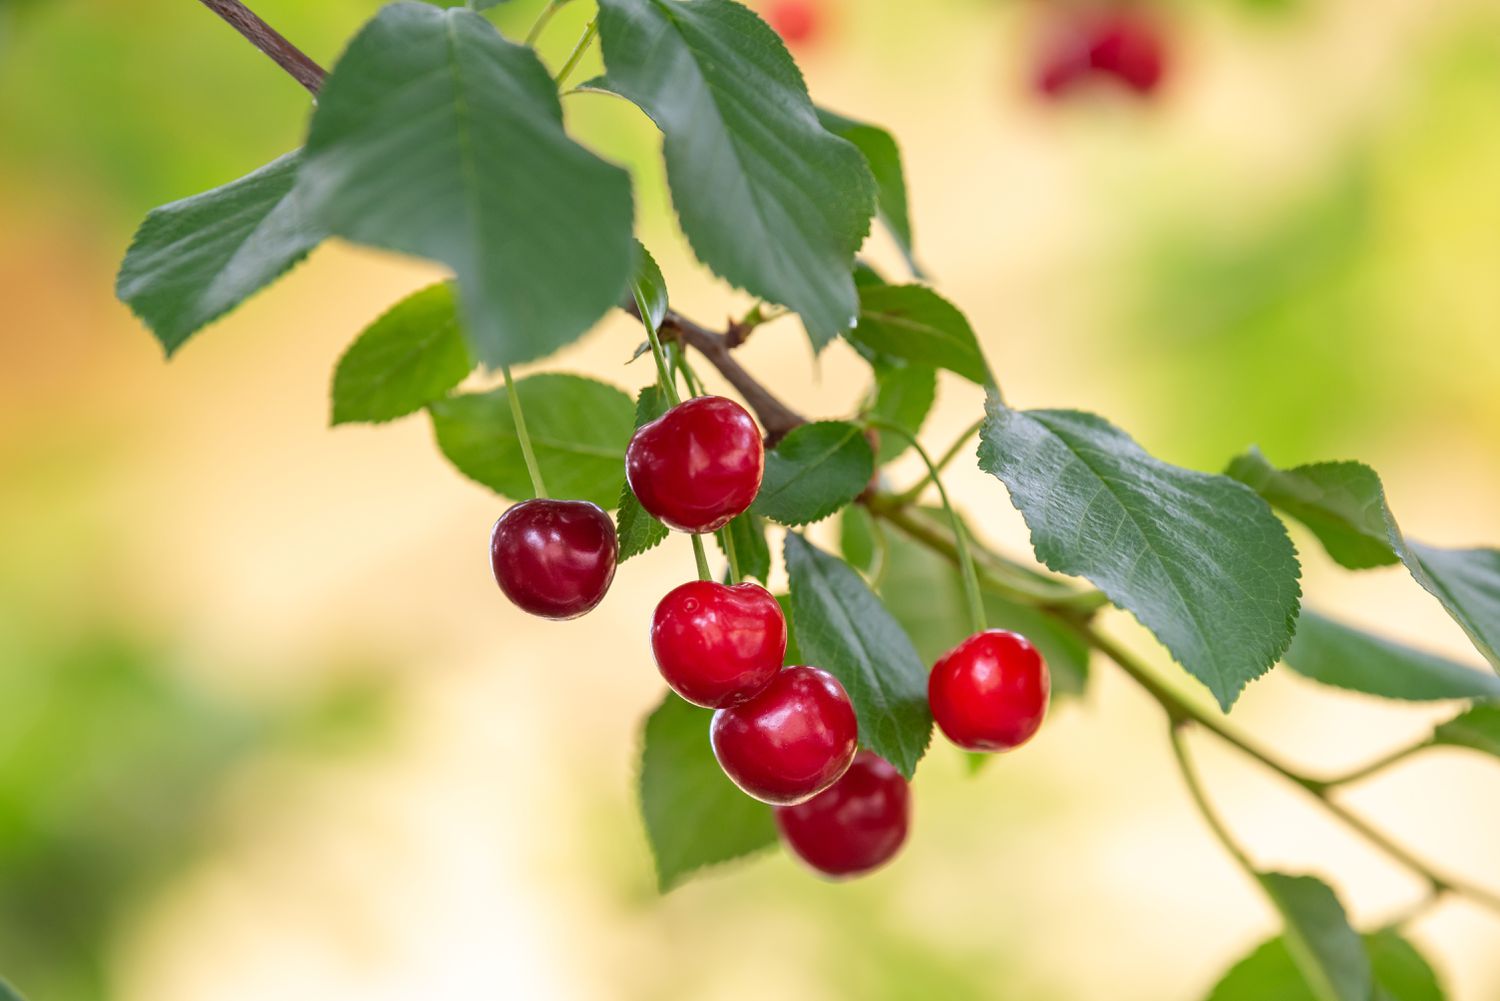
- Selecting the appropriate plant varieties: Before purchasing or collecting seeds, think about the types of plants you want to grow. Are you interested in vibrant flowers, delicious fruits, or nutritious vegetables? Consider your preferences and the purpose of your garden, whether it’s for aesthetics, sustenance, or both. Look for seed packets or catalogs that provide detailed information about each plant variety, including its height, spread, bloom time, fruiting period, and any specific care requirements.
- Considering the growing conditions and climate: Different plants have different requirements when it comes to sunlight, temperature, soil type, and moisture. Assess the growing conditions in your garden, such as the amount of sunlight it receives throughout the day and whether it has well-draining soil. Take note of the hardiness zone in which you reside, as this will help you determine the types of plants that are more likely to thrive in your area. Ensure that the seeds you choose are suitable for your climate and growing conditions to give them the best chance of success.
By carefully selecting the right seeds, you can lay a strong foundation for a flourishing garden. Remember to consider your desired plant varieties and the specific needs of your garden’s growing conditions as you make your seed selections.
Step 2: Preparing the Soil
Preparing the soil is a critical step in ensuring the optimal conditions for seed germination and healthy plant growth. Here are the key steps to follow:
- Clearing the planting area: Begin by removing any debris, weeds, or existing plants from the designated planting area. This will create a clean and open space for your seeds to take root and grow.
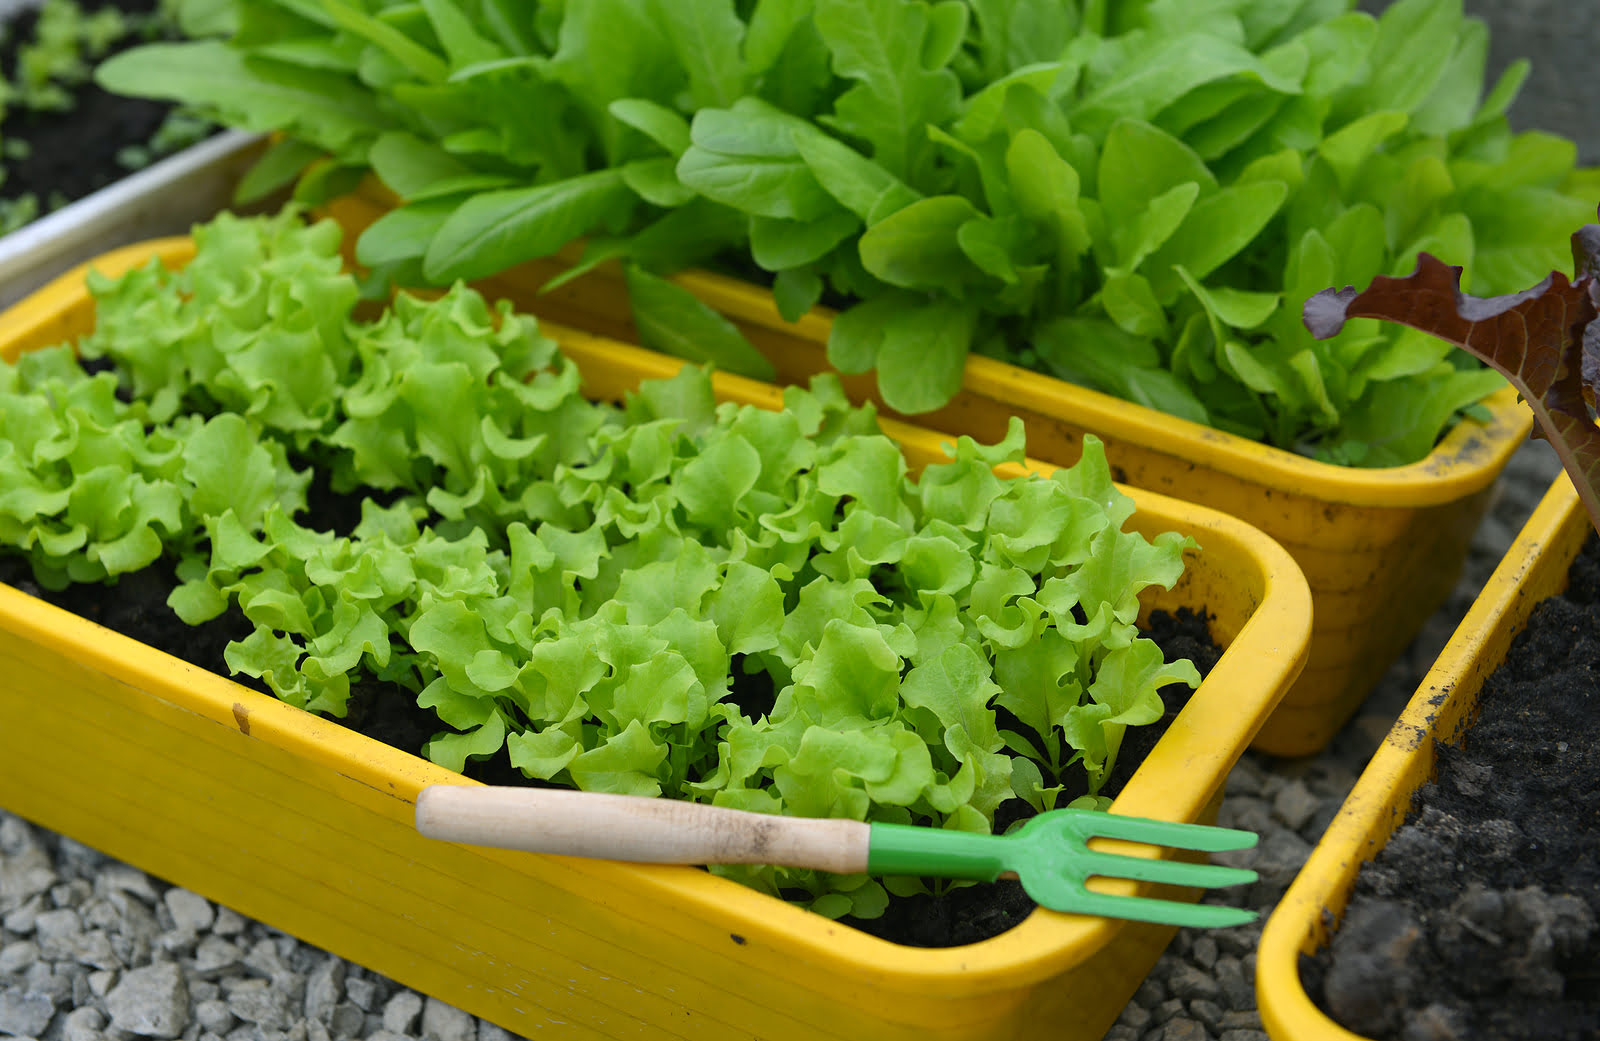
- Loosening the soil: Use a garden fork or tiller to loosen the soil in the planting area. This helps to improve the soil’s texture and structure, allowing roots to penetrate easily and water to drain effectively. Break up any compacted soil and remove large clumps or rocks that may hinder seed growth.
- Adding compost or fertilizers: Enrich the soil by incorporating organic matter such as compost, well-rotted manure, or homemade garden compost. These organic amendments provide essential nutrients, improve soil fertility, and enhance moisture retention. Alternatively, you can use commercial fertilizers formulated for specific plant types. Follow the package instructions for proper application rates.
By clearing the planting area, loosening the soil, and adding organic matter, you create a fertile and favorable environment for the seeds to thrive. Nutrient-rich soil with good texture and drainage is essential for healthy seedling development.
Step 3: Planting the Seeds
Now that you have prepared the soil, it’s time to plant the seeds. Paying attention to proper seed placement and spacing will ensure optimal growth and prevent overcrowding. Here are the key steps to follow:
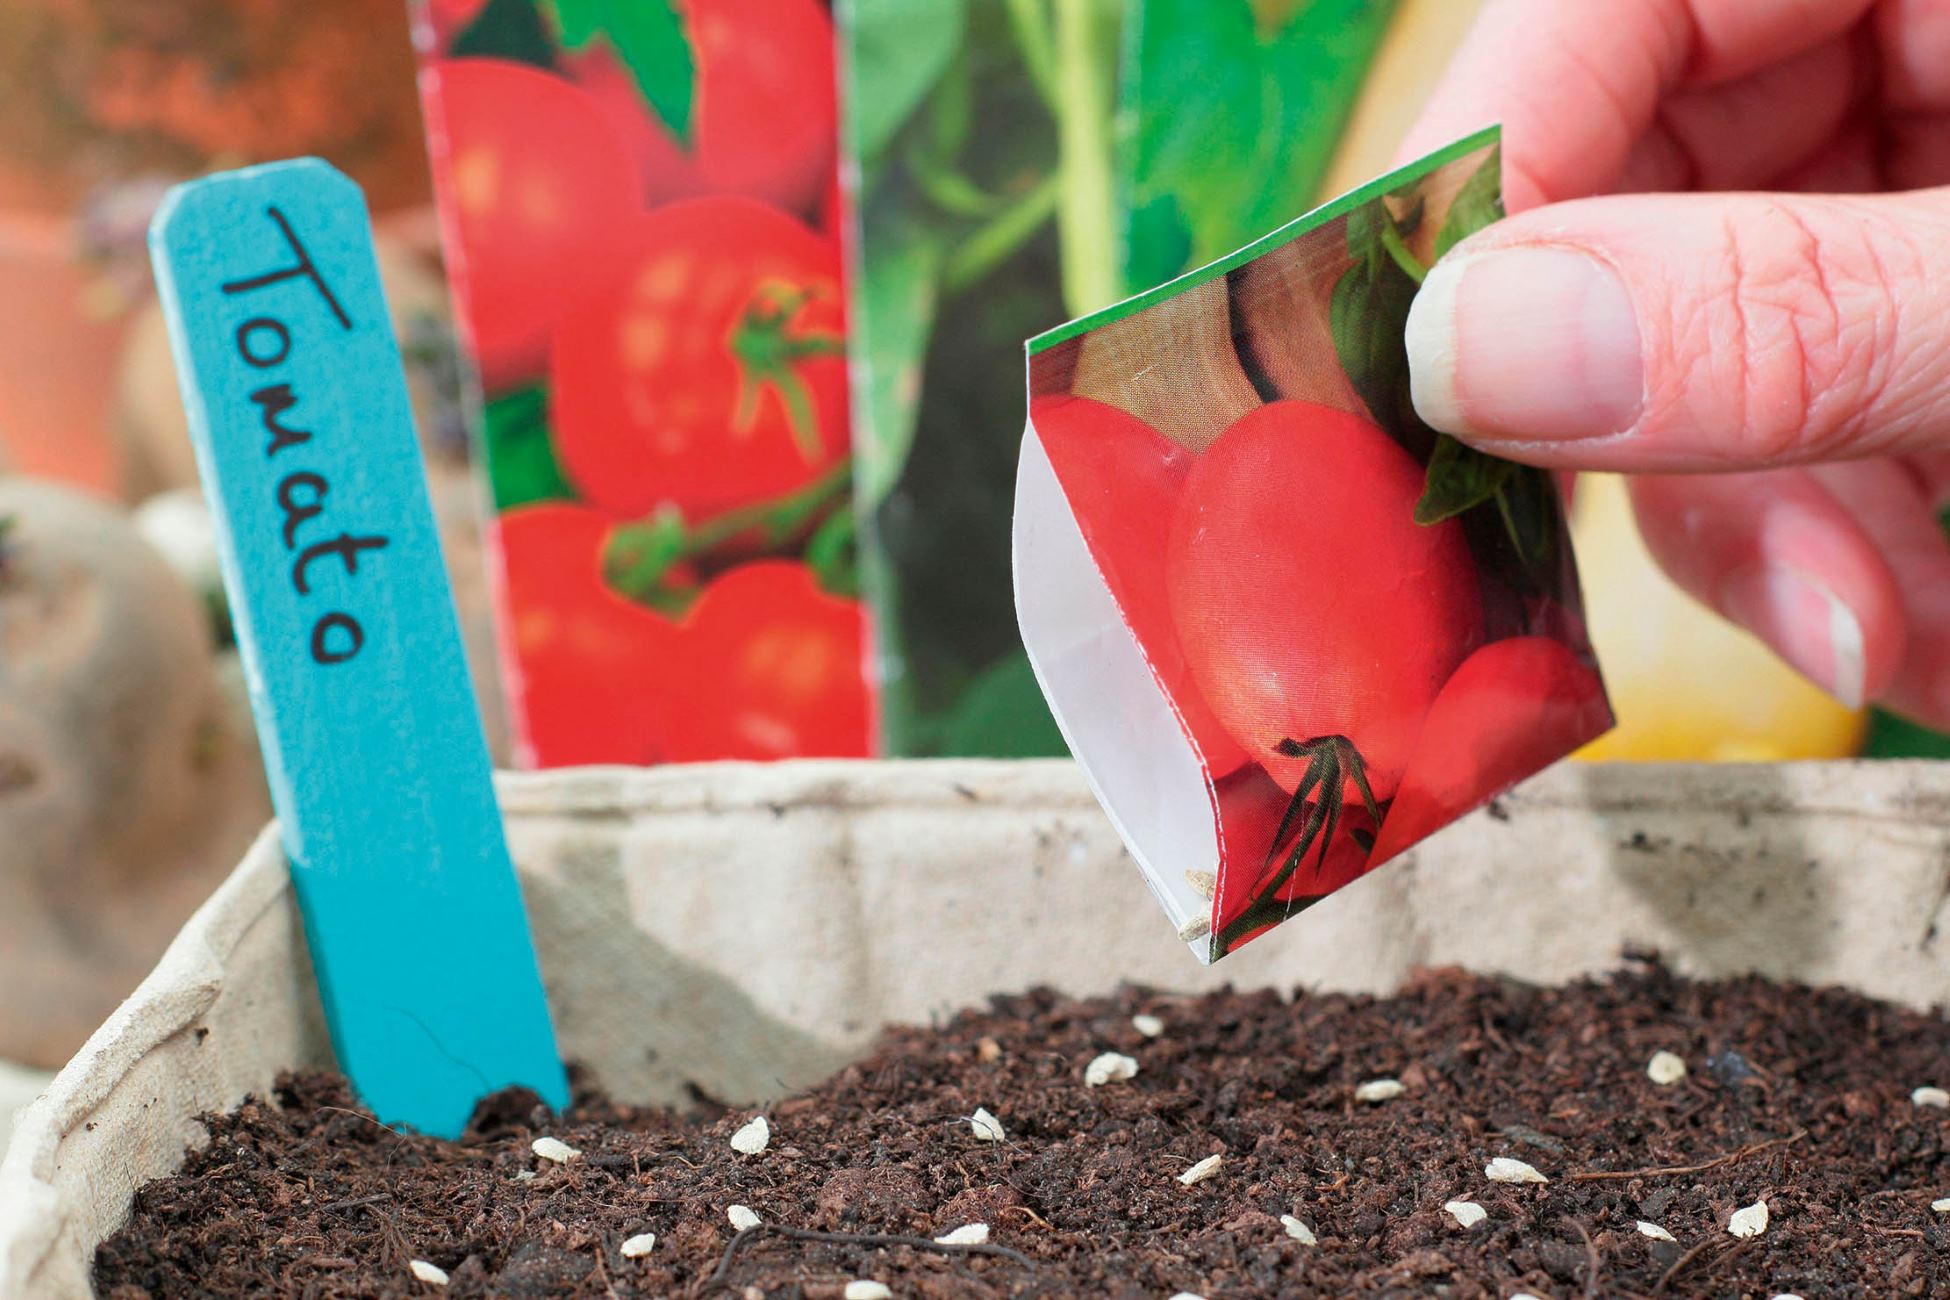
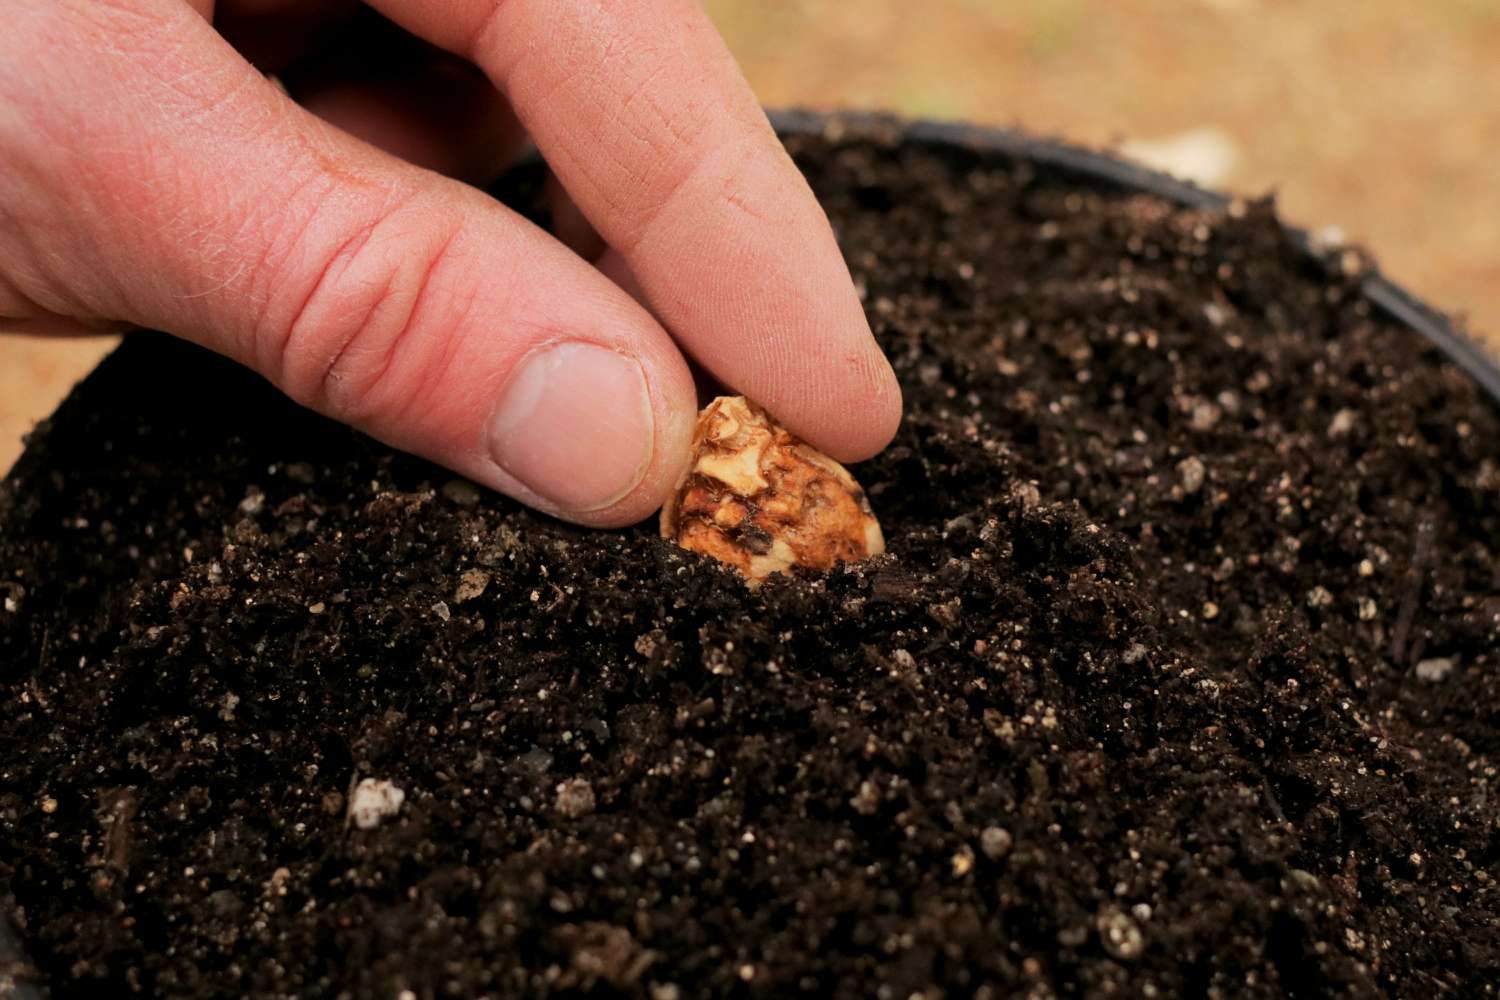
- Sowing seeds at the correct depth: It’s crucial to sow seeds at the appropriate depth to promote successful germination. Generally, seeds should be planted at a depth that is two to three times their size. Small seeds, such as lettuce or petunia, should be sown shallowly, while larger seeds, like beans or squash, can be buried deeper. Refer to the seed packet or product instructions for specific guidelines.
- Spacing the seeds properly: Give each seed enough room to grow by spacing them properly. Overcrowding can lead to competition for nutrients, light, and water, resulting in weak and stunted plants. Follow the recommended spacing guidelines provided on the seed packet. If you are unsure, a general rule of thumb is to allow at least a few inches between each seed.
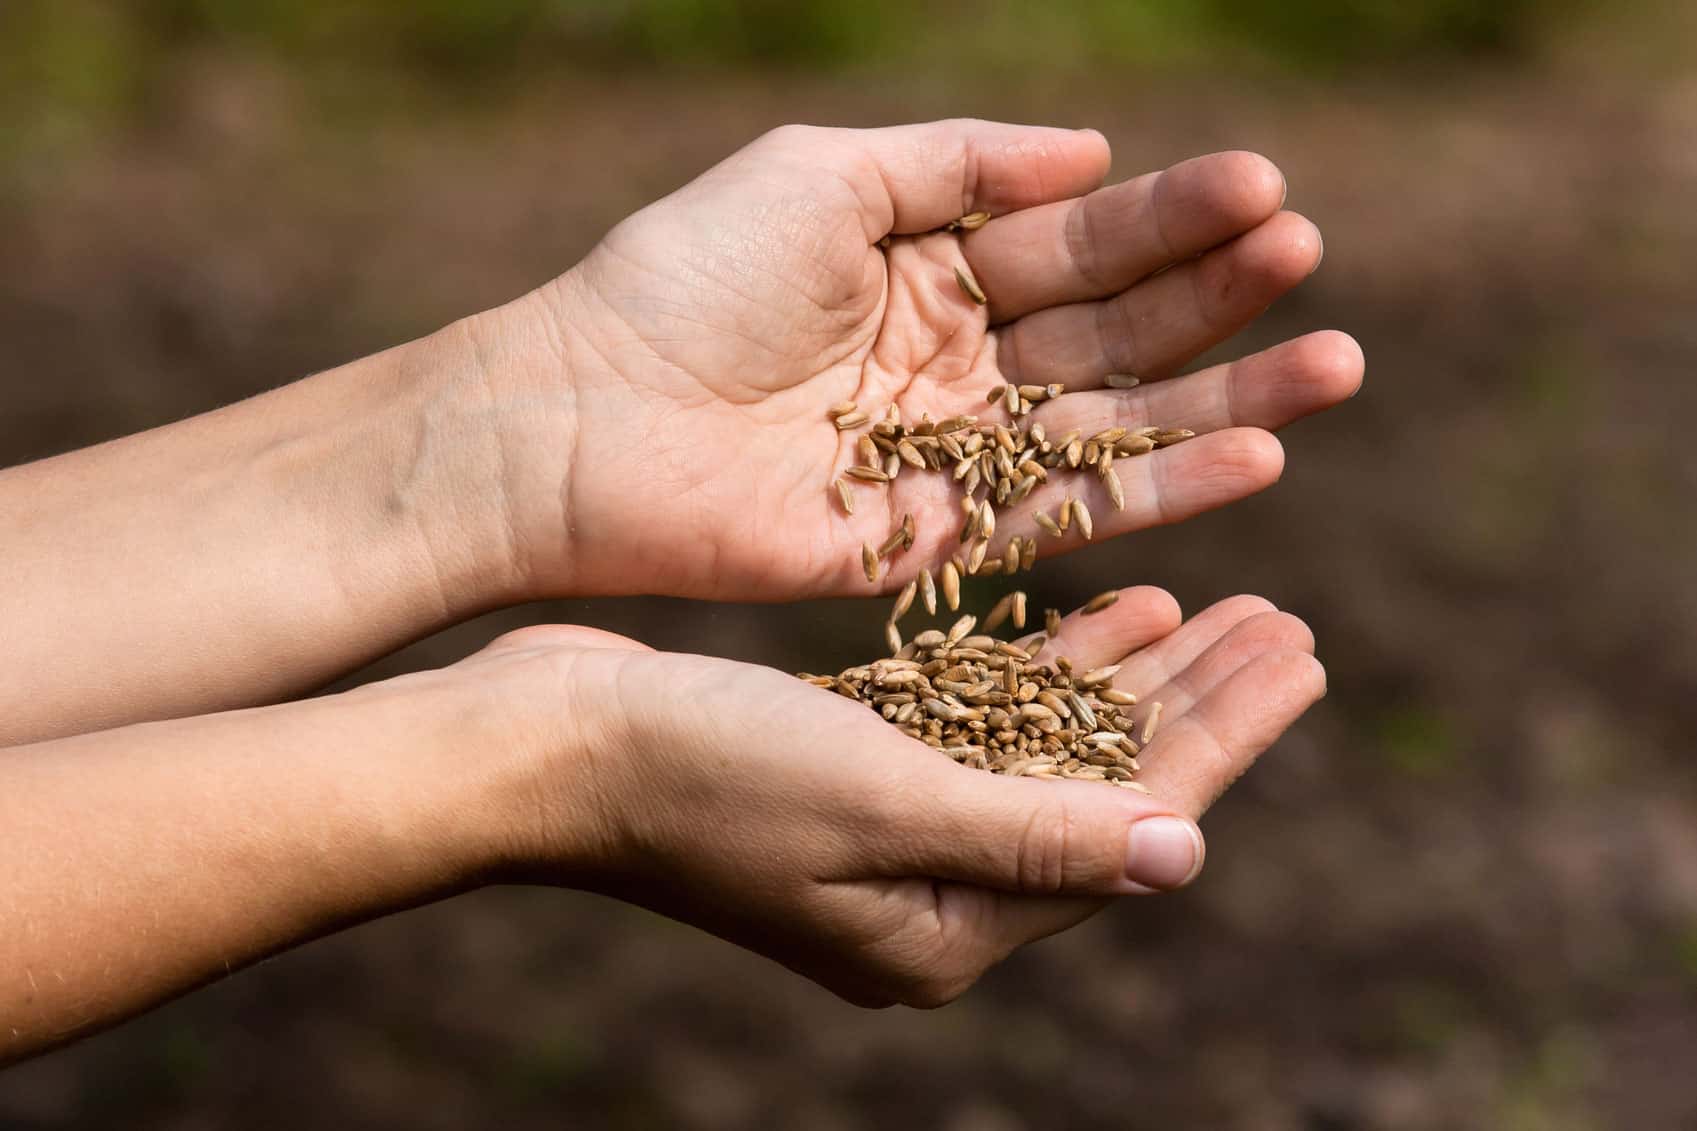
- Watering the seeds immediately after planting: Once you have sown the seeds, gently water the planting area to ensure good soil-to-seed contact and initiate the germination process. Use a fine mist or a watering can with a gentle shower-like setting to avoid displacing the seeds. Keep the soil moist, but not waterlogged, as excessive moisture can lead to rotting and fungal diseases.
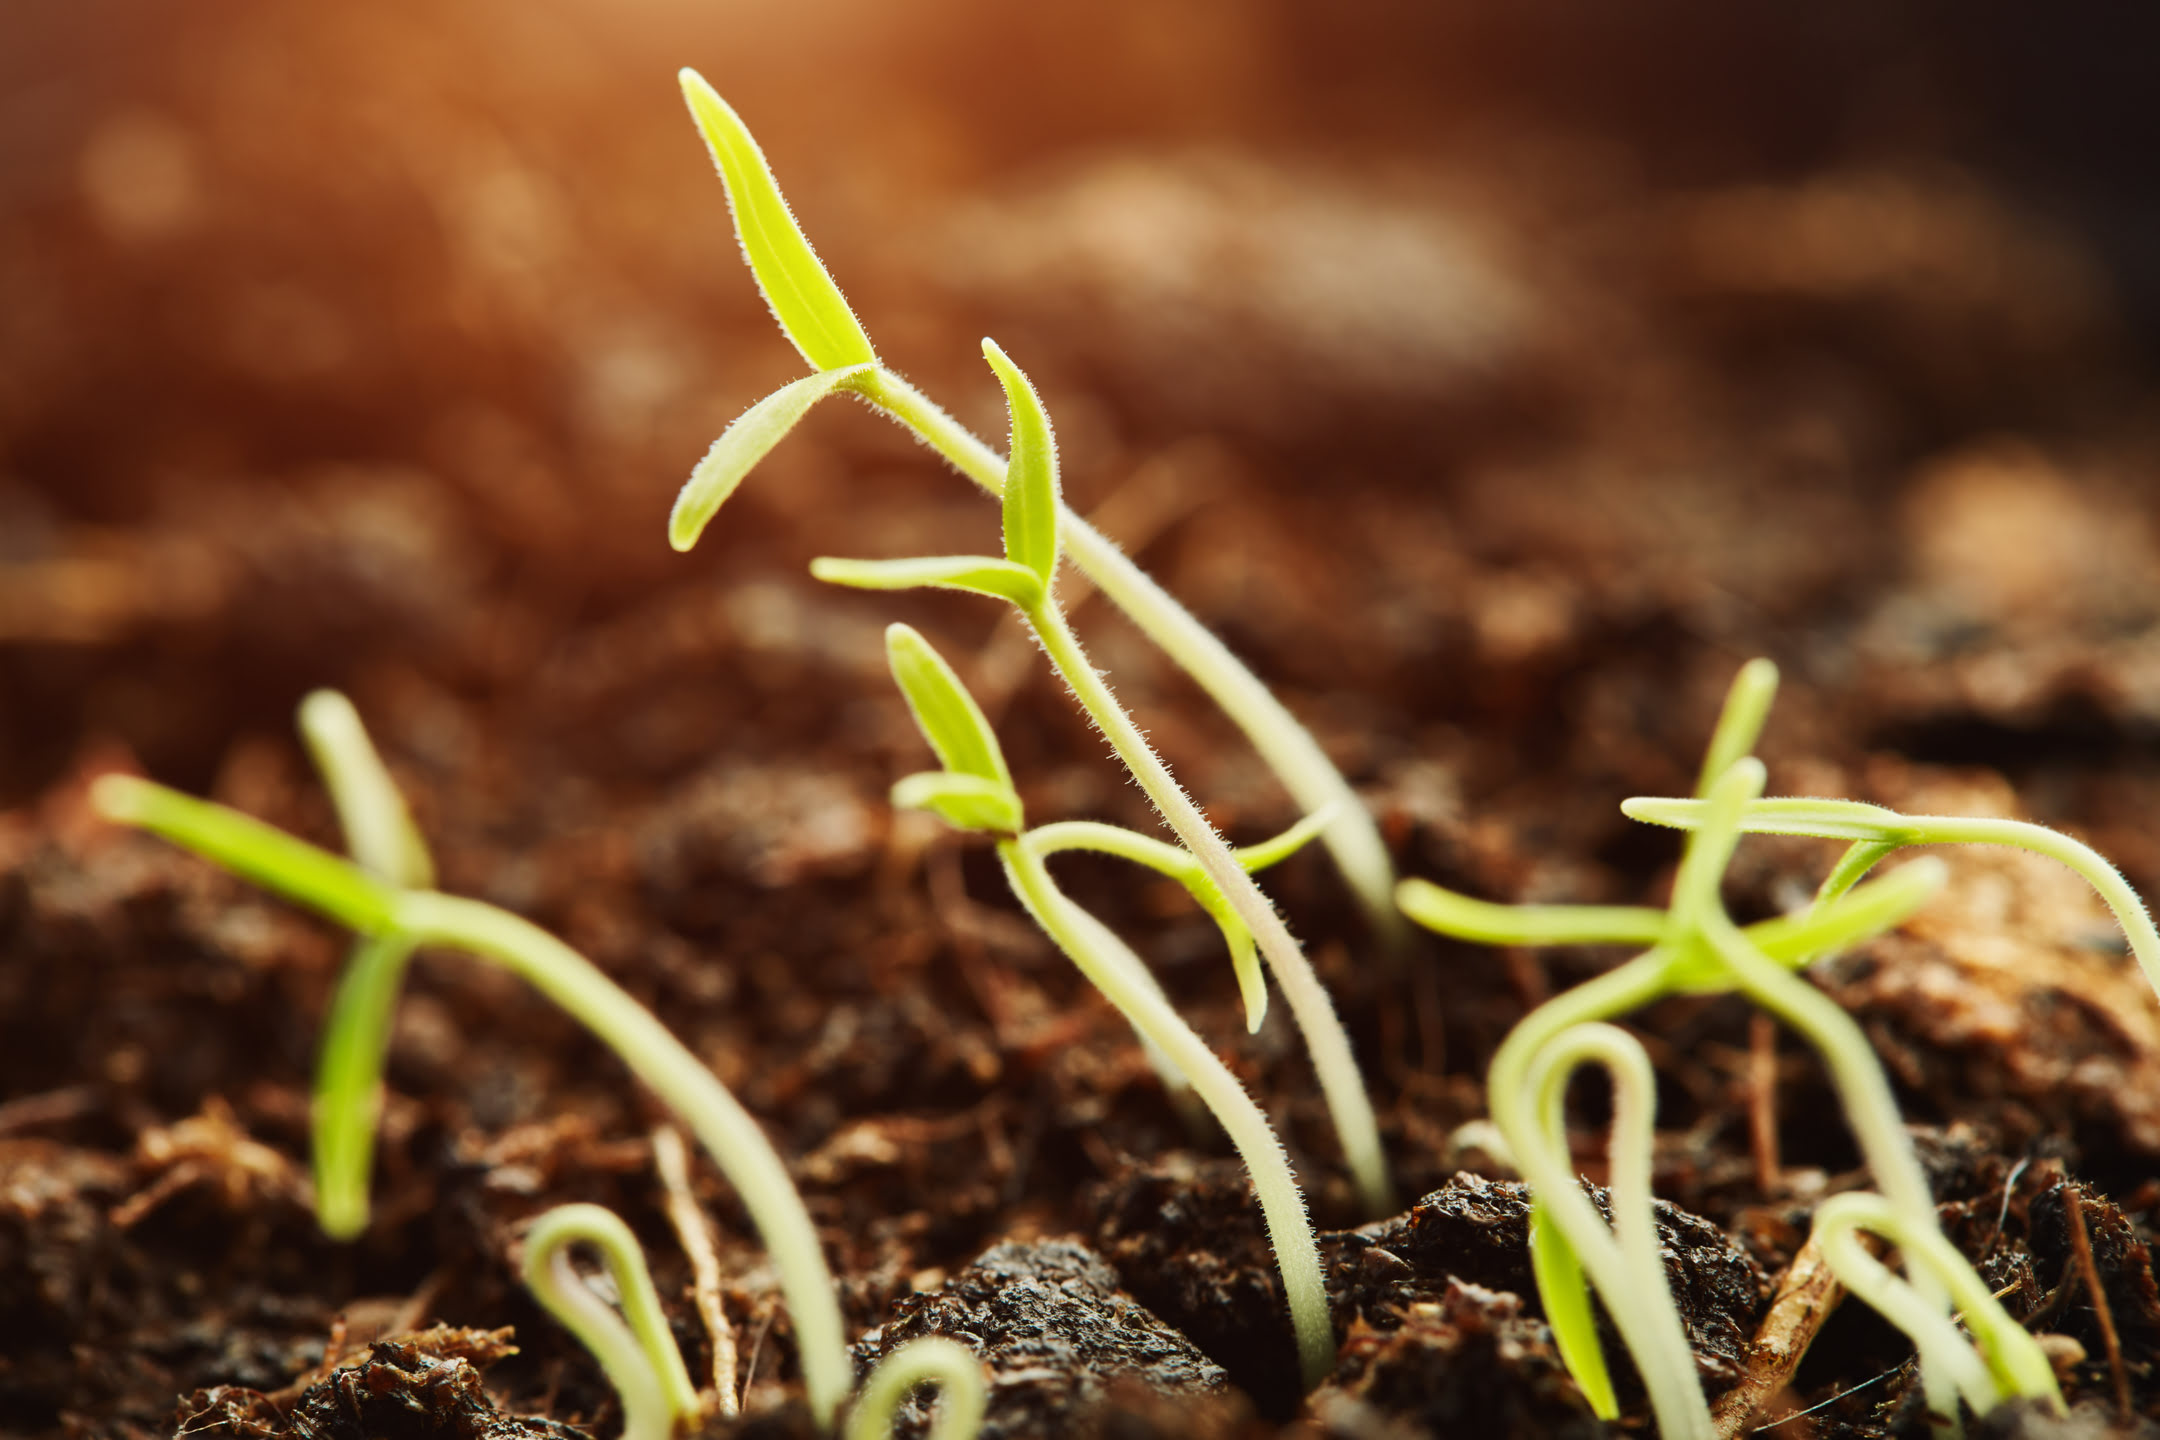
By sowing seeds at the correct depth, spacing them properly, and providing adequate moisture, you set the stage for successful seed germination and healthy seedling development. Remember to follow the specific instructions for each plant variety, as the depth and spacing requirements may vary.
When planting from seeds, make sure to read the seed packet for specific instructions on planting depth and spacing. Keep the soil consistently moist, but not waterlogged, and provide plenty of sunlight for healthy seedling growth.
Step 4: Providing Adequate Care
Once the seeds have been planted, it’s essential to provide proper care to ensure the healthy growth and development of the seedlings. Here are the key considerations:
- Keeping the soil moist, but not waterlogged: Seedlings require consistent moisture to thrive. Water the planted area regularly, keeping the soil evenly moist. Avoid overwatering, as soggy soil can lead to root rot and other fungal diseases. On the other hand, underwatering can cause stress and stunted growth. Monitor the soil moisture regularly and adjust your watering schedule accordingly.
- Providing sufficient sunlight: Most plants require an adequate amount of sunlight for photosynthesis and healthy growth. Ensure that your seedlings receive sufficient sunlight each day. Place them in a location that receives at least six hours of direct sunlight or provide supplementary artificial lighting if growing indoors. Monitor the plants for any signs of sunburn or heat stress, and adjust their placement if necessary.
- Protecting the seedlings from pests and weeds: Pests and weeds can hinder the growth of young seedlings, so it’s crucial to take preventive measures. Regularly inspect the plants for any signs of pest infestations, such as chewed leaves or wilted stems. Use organic pest control methods or eco-friendly insecticides if necessary. Additionally, keep the area around the seedlings free from weeds, as they can compete for nutrients and stifle the growth of the seedlings.
By keeping the soil adequately moist, ensuring sufficient sunlight, and protecting the seedlings from pests and weeds, you provide the care and attention necessary for their healthy growth. Remember to monitor the plants regularly and address any issues promptly to help them thrive.
Read more: How To Plant Strawberries From Seed
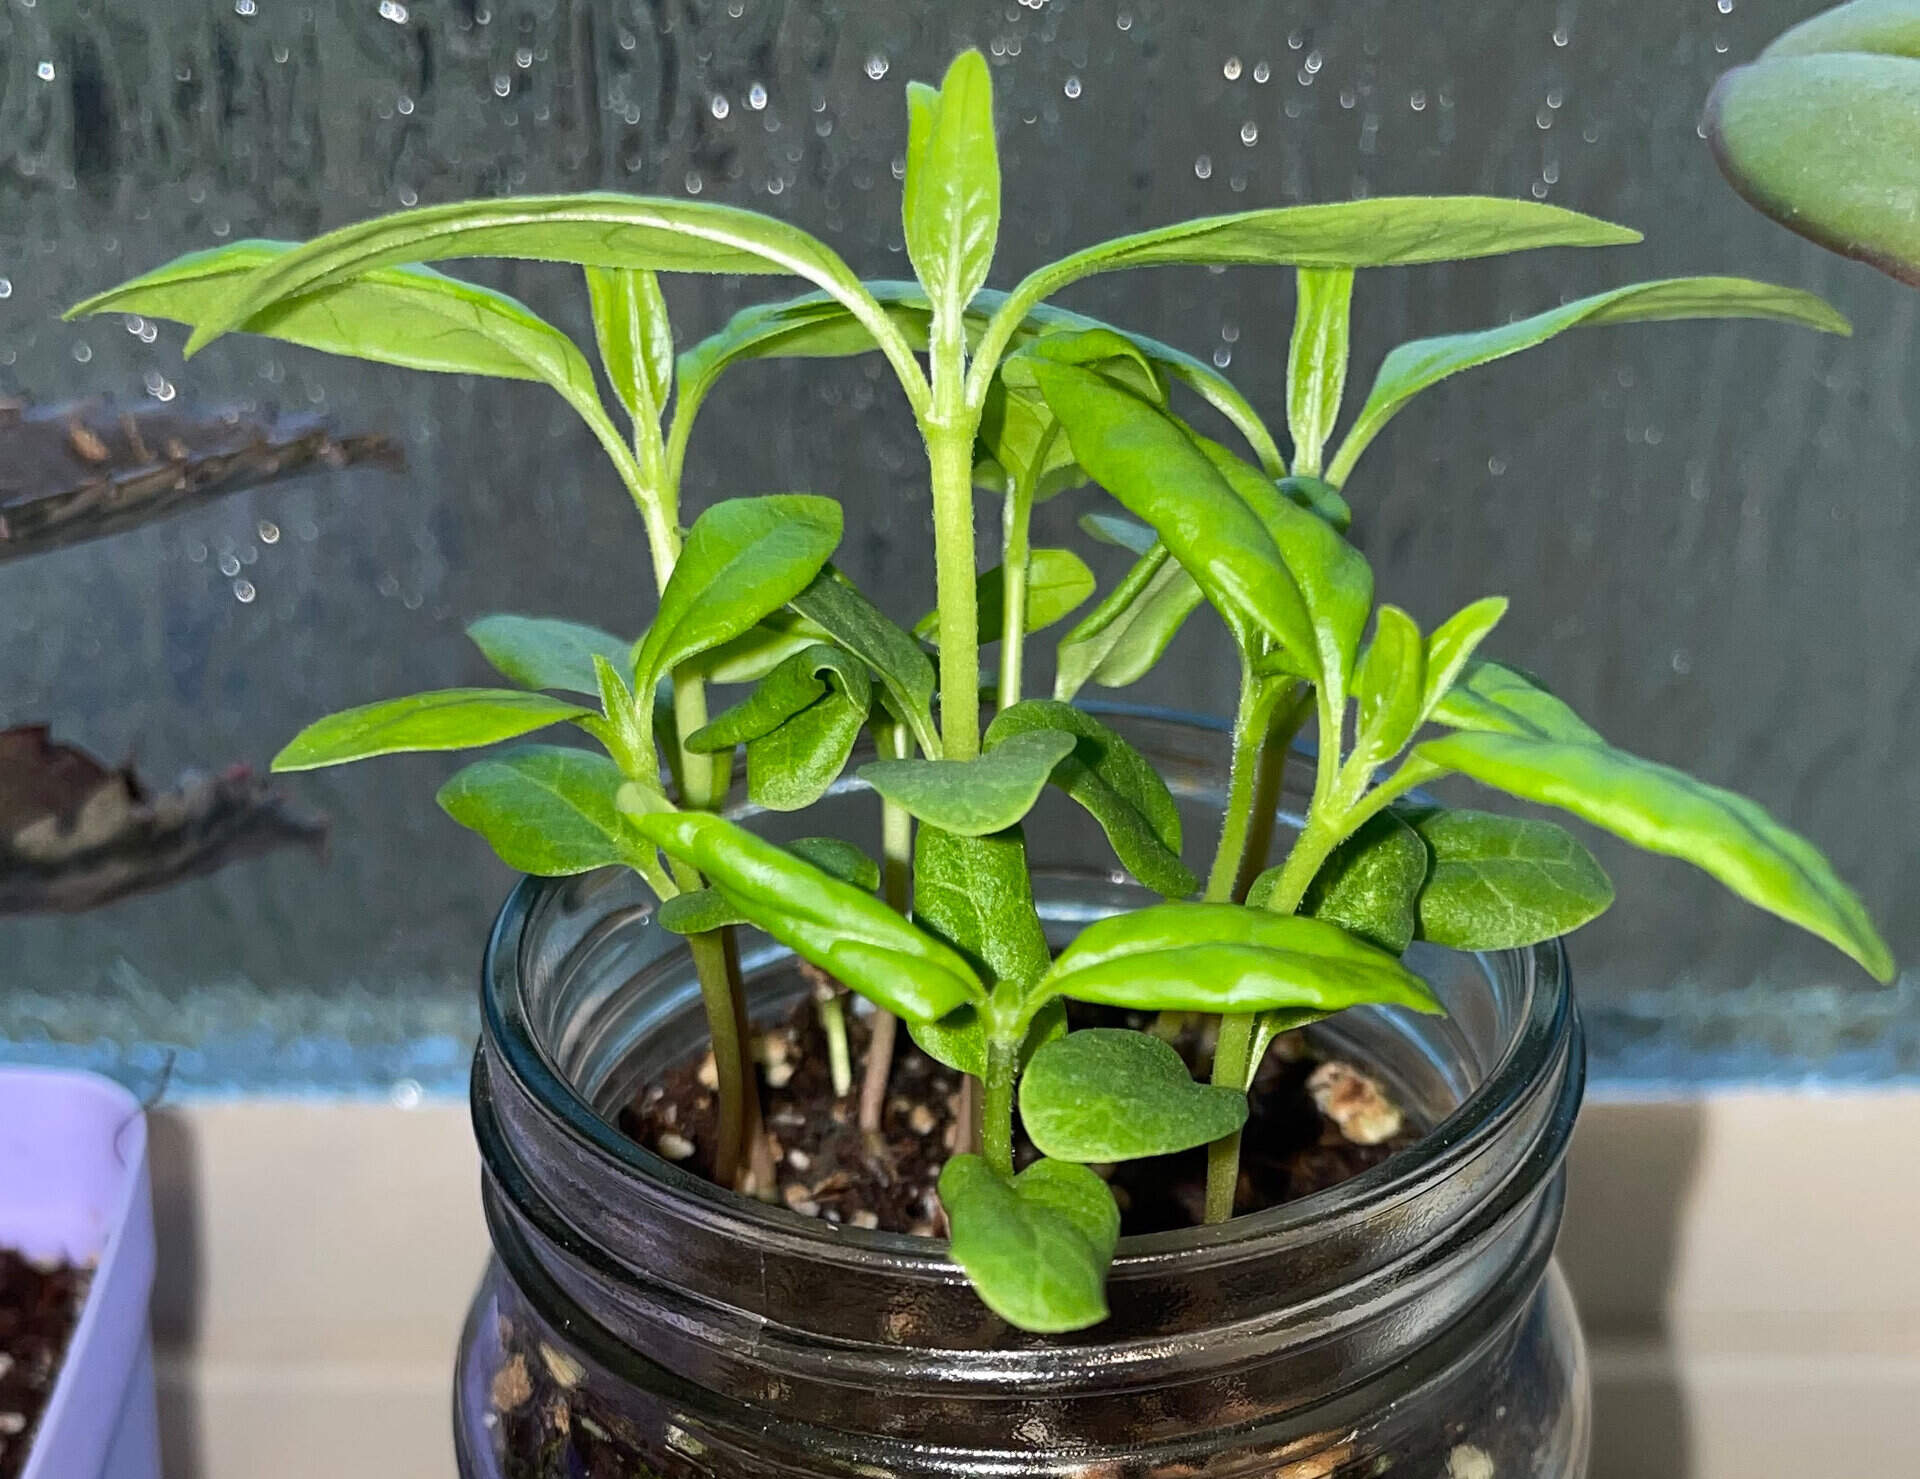
Step 5: Transplanting the Seedlings
As your seedlings grow and develop, they will eventually outgrow their initial planting containers or space. Transplanting them to larger pots or a garden bed is crucial for their continued growth and development. Here are the key steps to follow:
- Preparing a new pot or garden bed: Before transplanting, make sure to prepare the new container or garden bed. If you’re using a new pot, ensure it has drainage holes to prevent waterlogging. If transplanting to a garden bed, clear any weeds and loosen the soil to create a welcoming environment for the seedlings.
- Gradually acclimatizing the seedlings to the new environment: Seedlings are sensitive to sudden changes in environmental conditions. To minimize stress, gradually acclimatize the seedlings to their new surroundings. Begin by placing them in a shaded or protected area for a few hours a day, gradually increasing their exposure to sun and wind over a week or two. This process, known as hardening off, helps the seedlings adjust and prevents transplant shock.
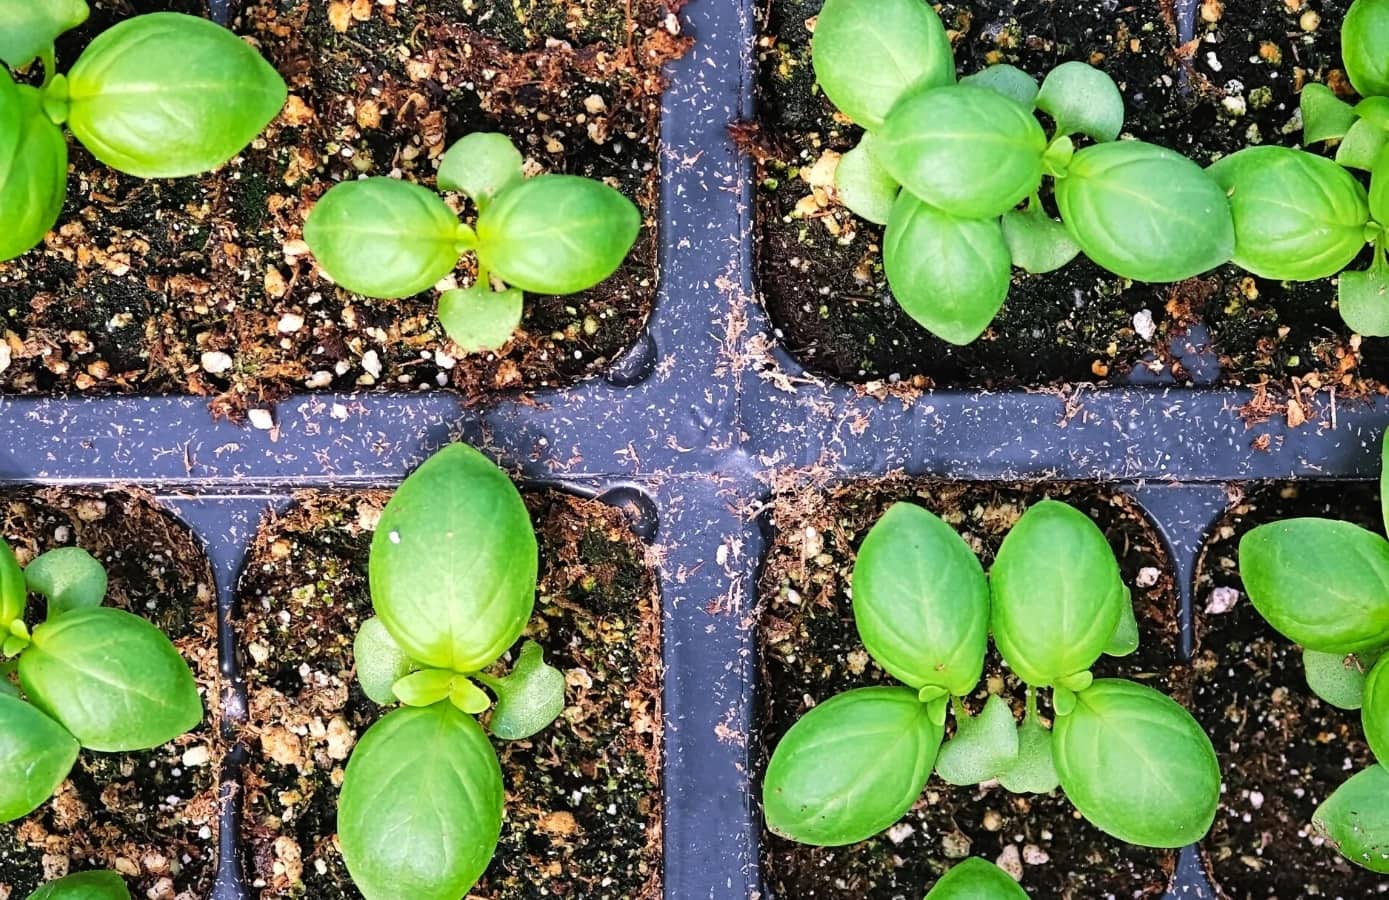
- Transferring the seedlings carefully: When the seedlings are ready for transplantation, gently remove them from their current containers or carefully dig them up from the garden bed. Handle the seedlings by their leaves or root ball to avoid damaging the delicate stems. Place the seedlings in their new pots or garden bed, ensuring they are at the same depth as before. Firmly press the soil around the base of the seedlings to provide stability.
By preparing the new container or garden bed, gradually acclimatizing the seedlings, and transplanting them with care, you give the plants the best chance to thrive in their new environment. Remember to provide proper post-transplantation care, such as regular watering and monitoring for any signs of stress or nutrient deficiencies.
Step 6: Maintenance and Continued Growth
After transplanting the seedlings, it’s important to provide ongoing care to ensure their continued growth and health. Here are some essential maintenance tasks to consider:
- Proper watering and fertilizing schedules: Monitoring soil moisture and providing consistent watering is crucial for the growth of your plants. Water the seedlings when the soil feels dry to the touch, ensuring thorough but not excessive watering. Additionally, follow a regular fertilizing schedule to provide essential nutrients to the growing plants. Use a balanced fertilizer or organic amendments according to the needs of the specific plant varieties you are growing. Avoid over-fertilizing, as this can lead to nutrient burn or other adverse effects.
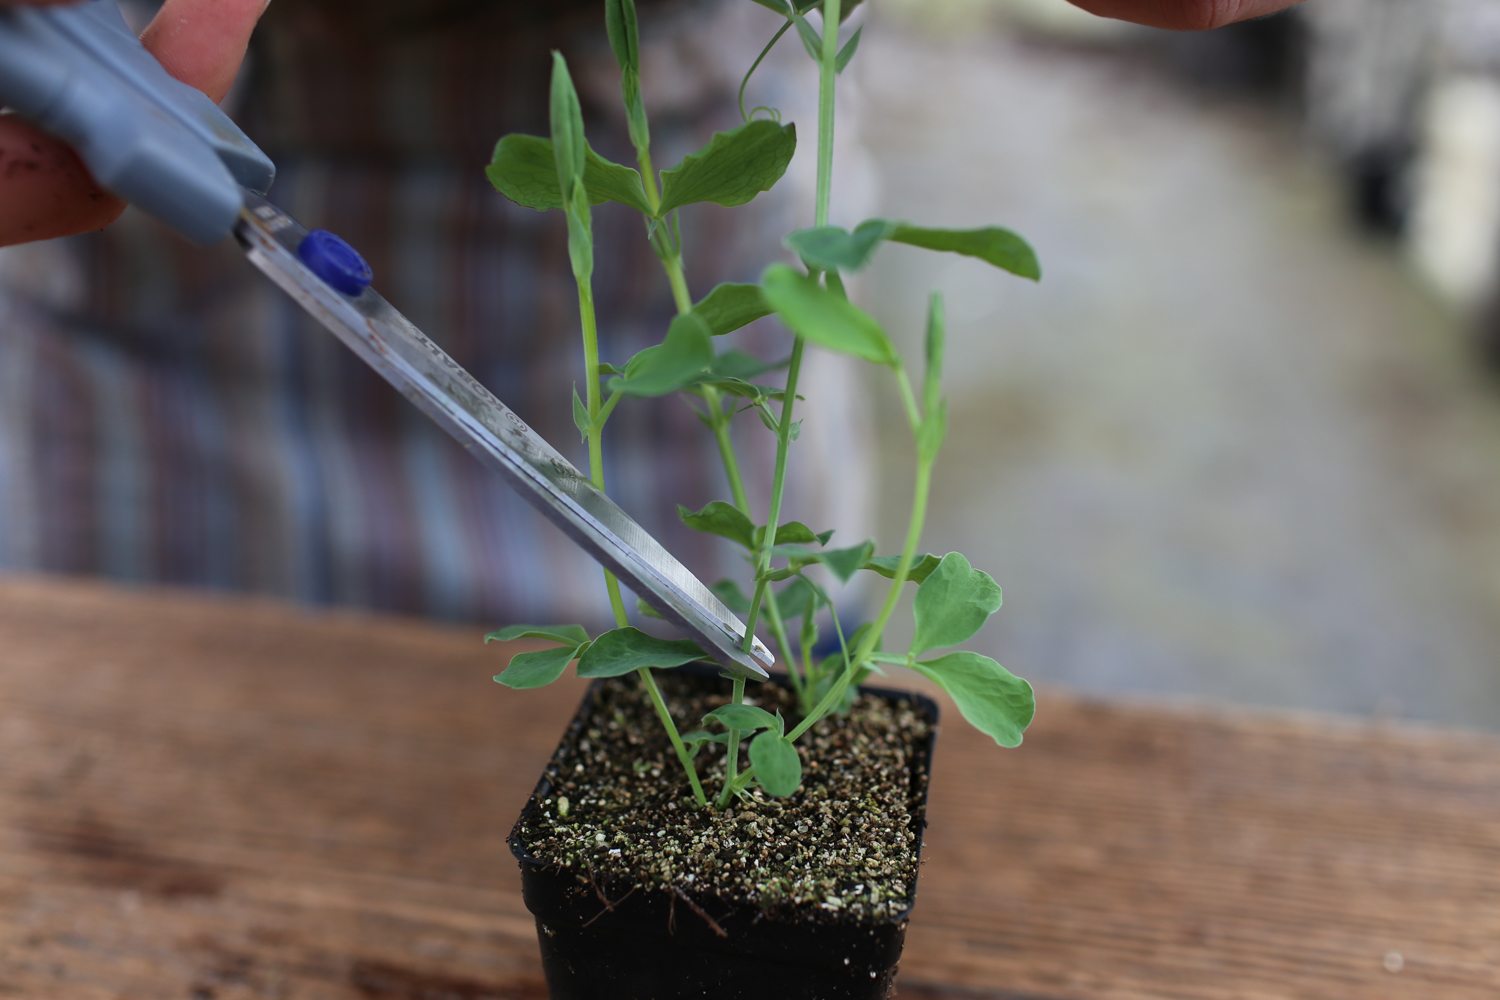
- Pruning or trimming when necessary: As the plants grow, they may develop excessive foliage or unwanted branching. Pruning or trimming can help maintain the desired shape and encourage healthy growth. Remove dead or diseased foliage, as well as any overcrowded or crossing branches. Trim back leggy growth to promote bushier plants. However, be cautious not to prune too much at one time, as it can cause stress to the plants.
- Monitoring for any signs of disease or nutrient deficiencies: Regularly inspect your plants for any signs of pest infestations, diseases, or nutrient deficiencies. Look for abnormal growth patterns, discoloration, wilting, or pest damage on the leaves and stems. If you notice any issues, take immediate action to address the problem. Utilize organic pest control methods or seek advice from local gardening resources to diagnose and treat any plant health issues.
By maintaining proper watering and fertilizing schedules, pruning when necessary, and monitoring for signs of disease or nutrient deficiencies, you can promote the continued growth and well-being of your plants. Stay attentive to their needs and address any issues promptly to ensure a thriving garden.
Conclusion
Planting from seeds is a fulfilling and rewarding journey that allows you to witness the entire life cycle of a plant, from a tiny seed to a flourishing specimen. By following the steps outlined in this article, you can successfully plant seeds and nurture them into healthy seedlings and vibrant plants.
Choosing the right seeds based on your preferences and considering the growing conditions and climate of your garden is the first crucial step. Preparing the soil by clearing the area, loosening the soil, and adding compost or fertilizers sets the stage for optimal seed germination and growth.
When it comes to planting the seeds, sowing them at the correct depth, spacing them properly, and providing immediate watering ensures the best chances of successful germination. Providing adequate care, such as keeping the soil moist, providing sufficient sunlight, and protecting the seedlings from pests and weeds, are essential for their continued development.
As your seedlings grow, transplanting them to larger pots or garden beds becomes necessary. Preparing the new container or bed, gradually acclimatizing the seedlings, and transferring them carefully will help minimize any transplant shock.
To ensure the continued growth and health of your plants, proper maintenance is crucial. This includes adhering to proper watering and fertilizing schedules, pruning or trimming when necessary to maintain shape and encourage healthy growth, and monitoring for any signs of disease or nutrient deficiencies.
With patience, care, and attention, your seedlings will transform into thriving plants that bring beauty and joy to your garden. Embrace the journey of planting from seeds and experience the satisfaction of witnessing the seeds you planted flourish into a lush and vibrant garden.
Frequently Asked Questions about How To Plant From Seeds
Was this page helpful?
At Storables.com, we guarantee accurate and reliable information. Our content, validated by Expert Board Contributors, is crafted following stringent Editorial Policies. We're committed to providing you with well-researched, expert-backed insights for all your informational needs.

0 thoughts on “How To Plant From Seeds”