Home>Garden Essentials>How To Harvest Celosia Seeds
Garden Essentials
How To Harvest Celosia Seeds
Modified: October 20, 2024
Learn how to harvest celosia seeds in your garden. Discover the best techniques and tips for collecting and saving celosia seeds for future planting.
(Many of the links in this article redirect to a specific reviewed product. Your purchase of these products through affiliate links helps to generate commission for Storables.com, at no extra cost. Learn more)
Introduction
Gardening enthusiasts understand the rewarding feeling that comes from growing plants from seeds. Whether it’s the vibrant blooms, tasty vegetables, or unique foliage, there’s something magical about nurturing a plant from its earliest stages. One plant that certainly deserves attention in the realm of seed harvesting is celosia.
Celosia, also known as cockscomb, is a stunning flower that comes in various shapes, sizes, and colors. It is widely cultivated for its vibrant, feathery blooms that resemble a rooster’s comb. Beyond its ornamental value, celosia also produces seeds that can be collected and saved for future planting.
If you’re an avid gardener looking to delve into the world of seed harvesting and propagation, learning how to harvest celosia seeds is a fantastic place to start. Not only will it save you money, but it also allows you to preserve your favorite celosia varieties for years to come. Additionally, sharing these seeds with fellow gardeners can be a delightful way to spread the joy of celosia cultivation.
In this comprehensive guide, we will take you through the step-by-step process of harvesting celosia seeds. From understanding when to harvest to properly storing the seeds, we will cover everything you need to know to ensure successful seed collection. So roll up your sleeves, grab your gardening tools, and let’s dive into the fascinating world of celosia seed harvesting.
Key Takeaways:
- Harvest celosia seeds when the seed pods are fully dry, and the seeds inside have a dark brown or black color with a shiny appearance. Choose healthy plants with vibrant flowers for the best seeds.
- After harvesting, clean and air-dry celosia seeds thoroughly before storing them in airtight containers in a cool, dark place. Label and date the containers for easy organization and regularly check for seed viability.
Read more: When To Plant Celosia Seeds
Understanding Celosia Seeds
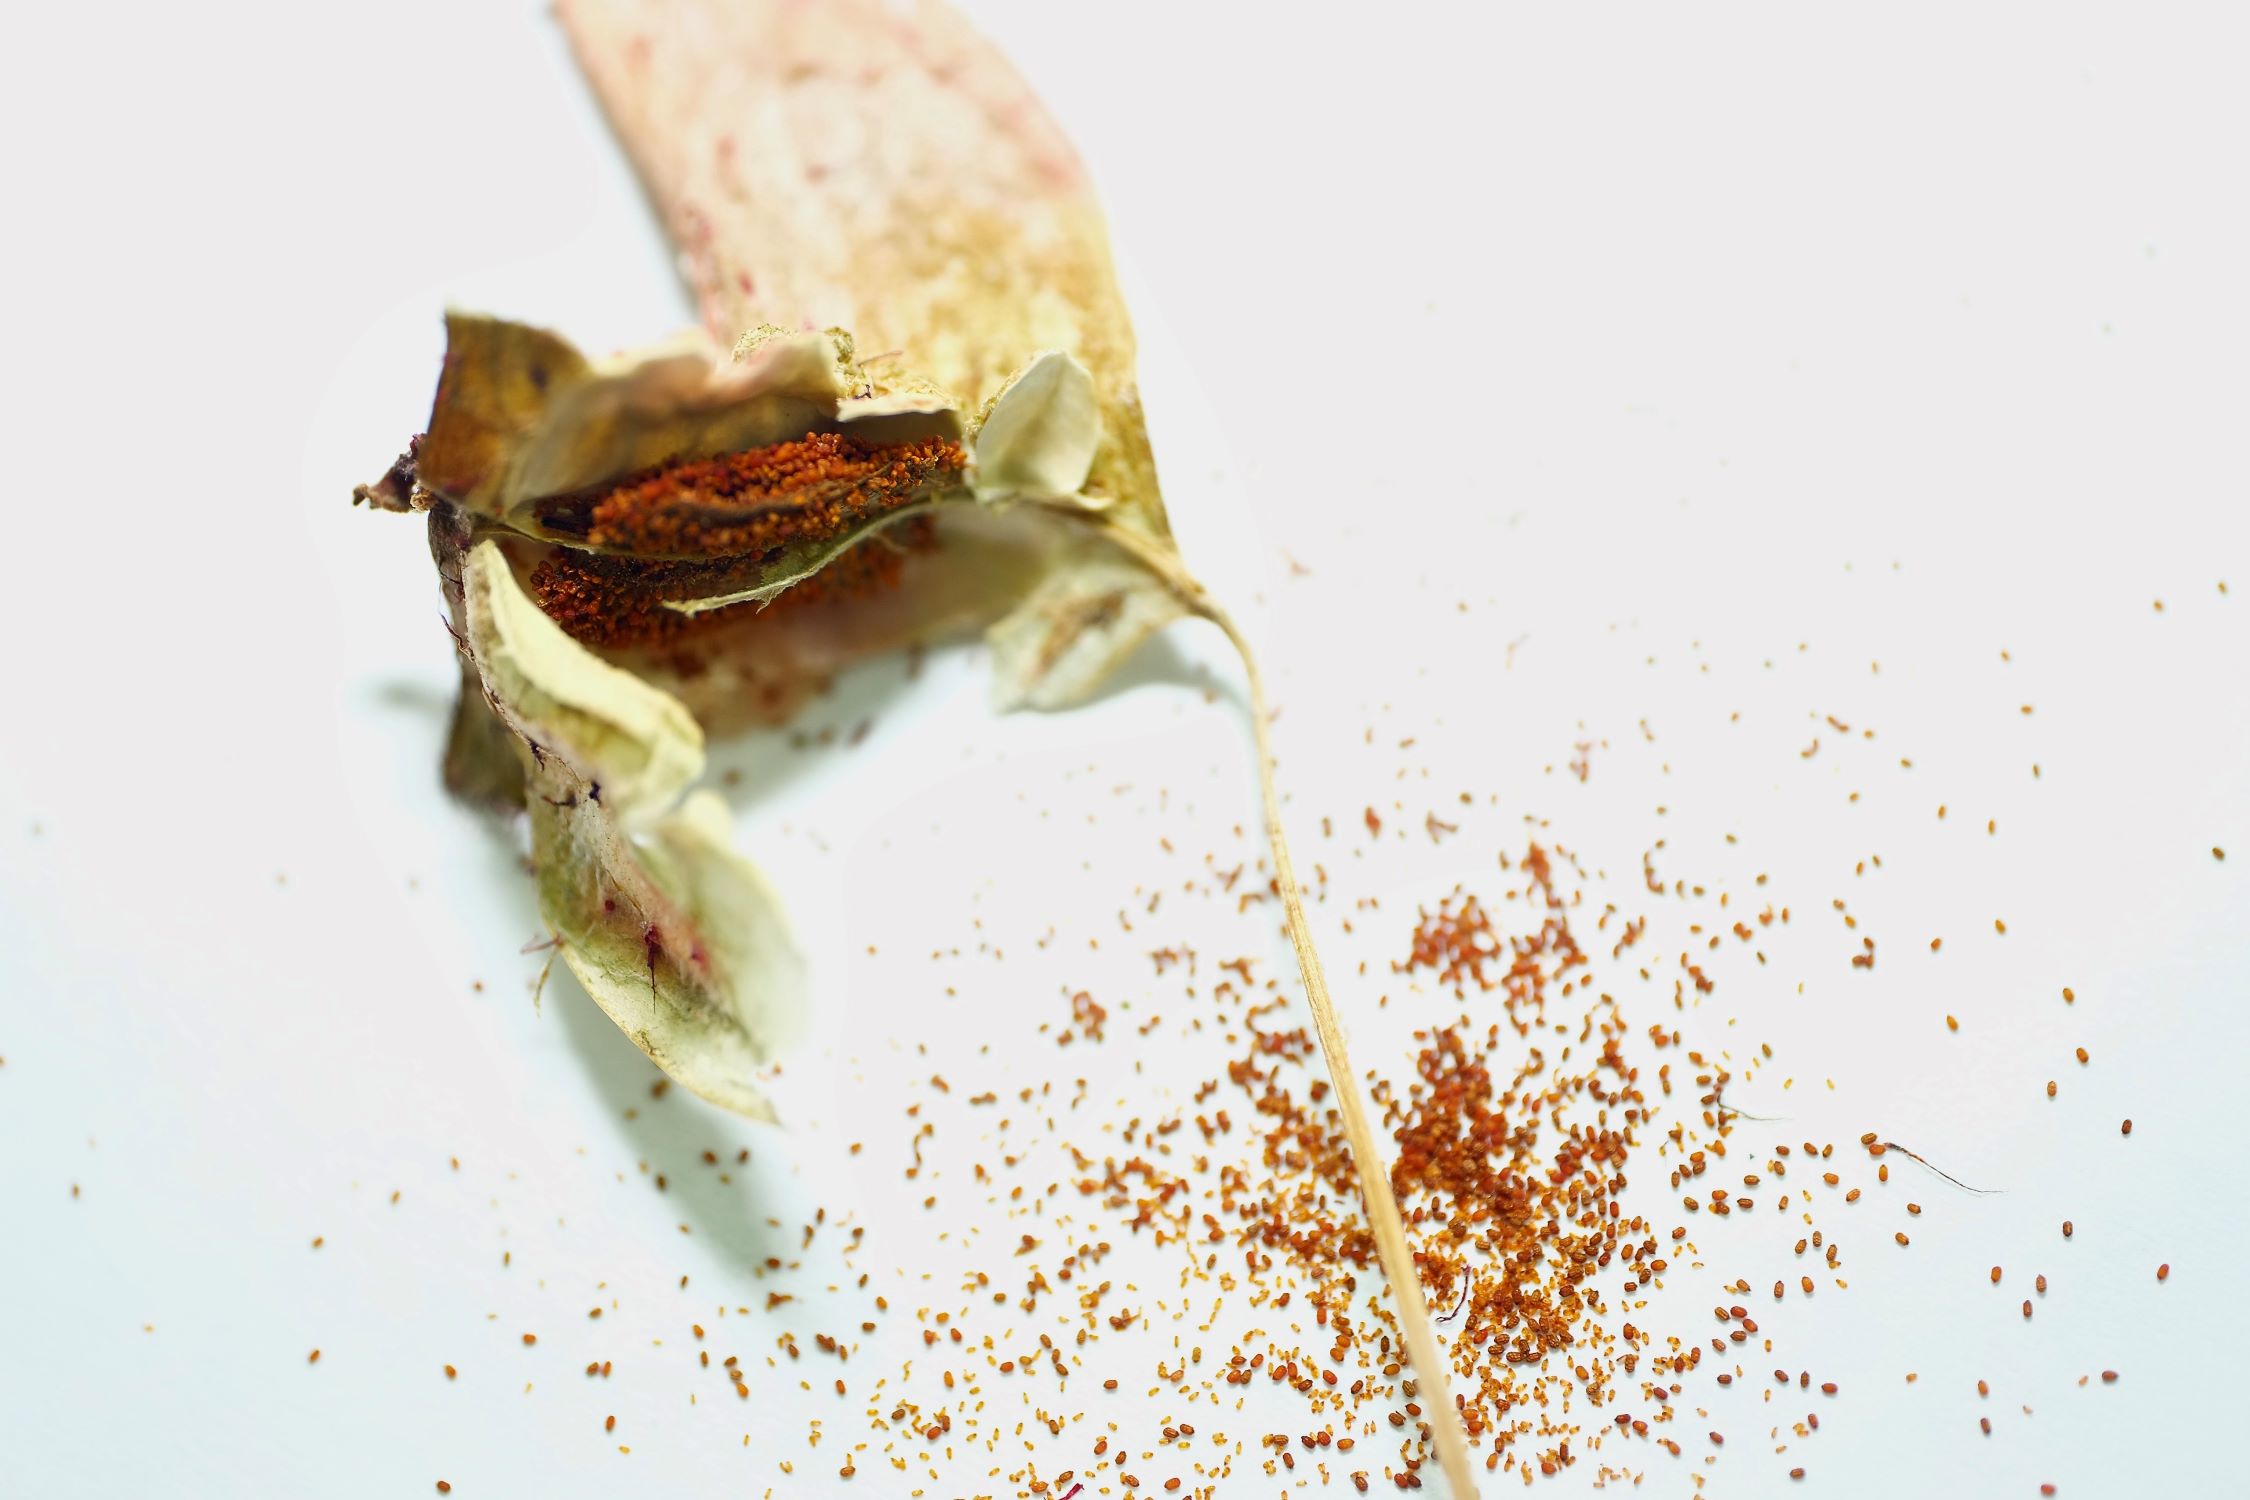
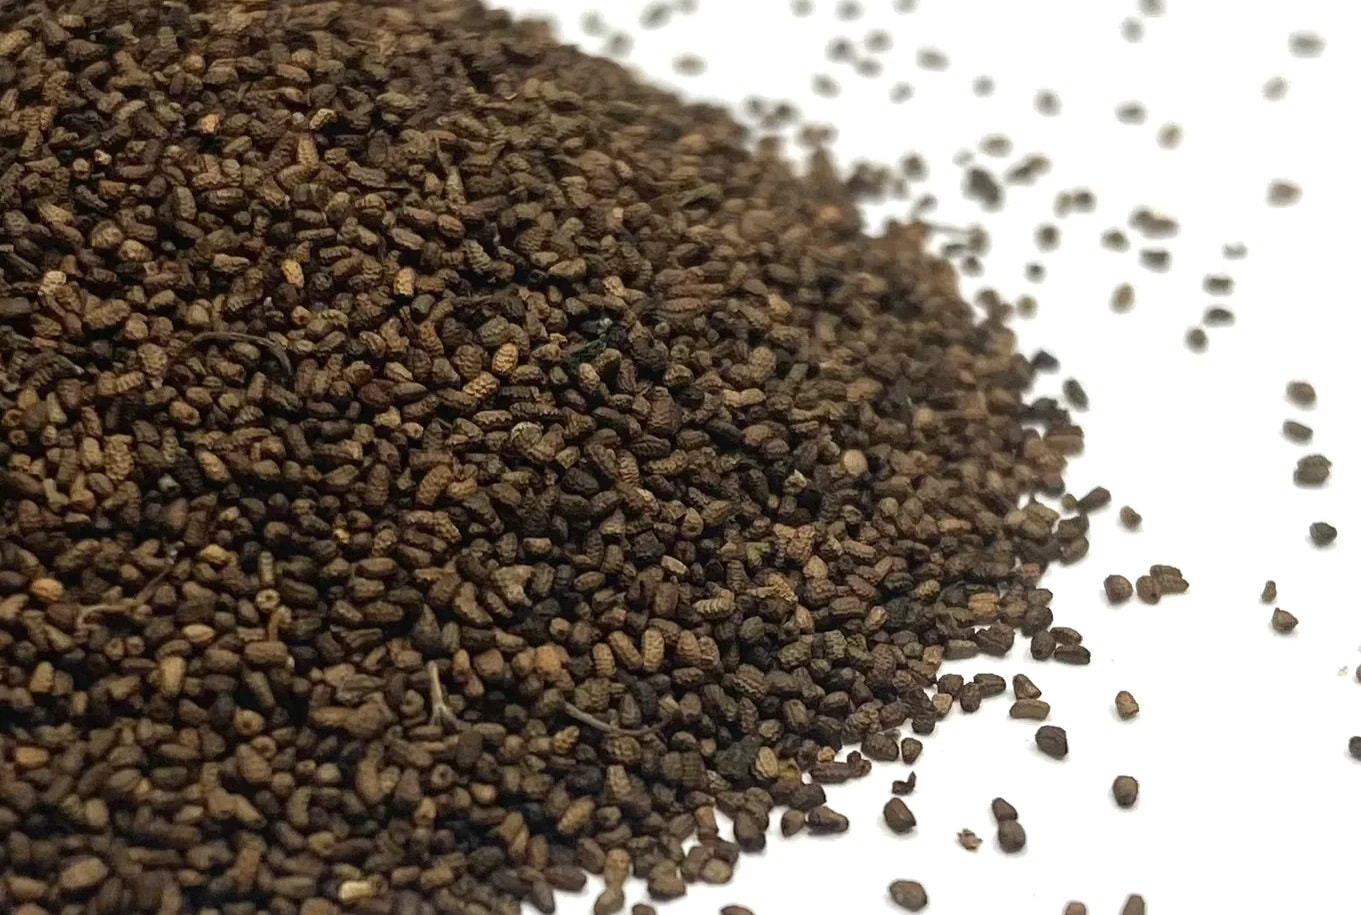
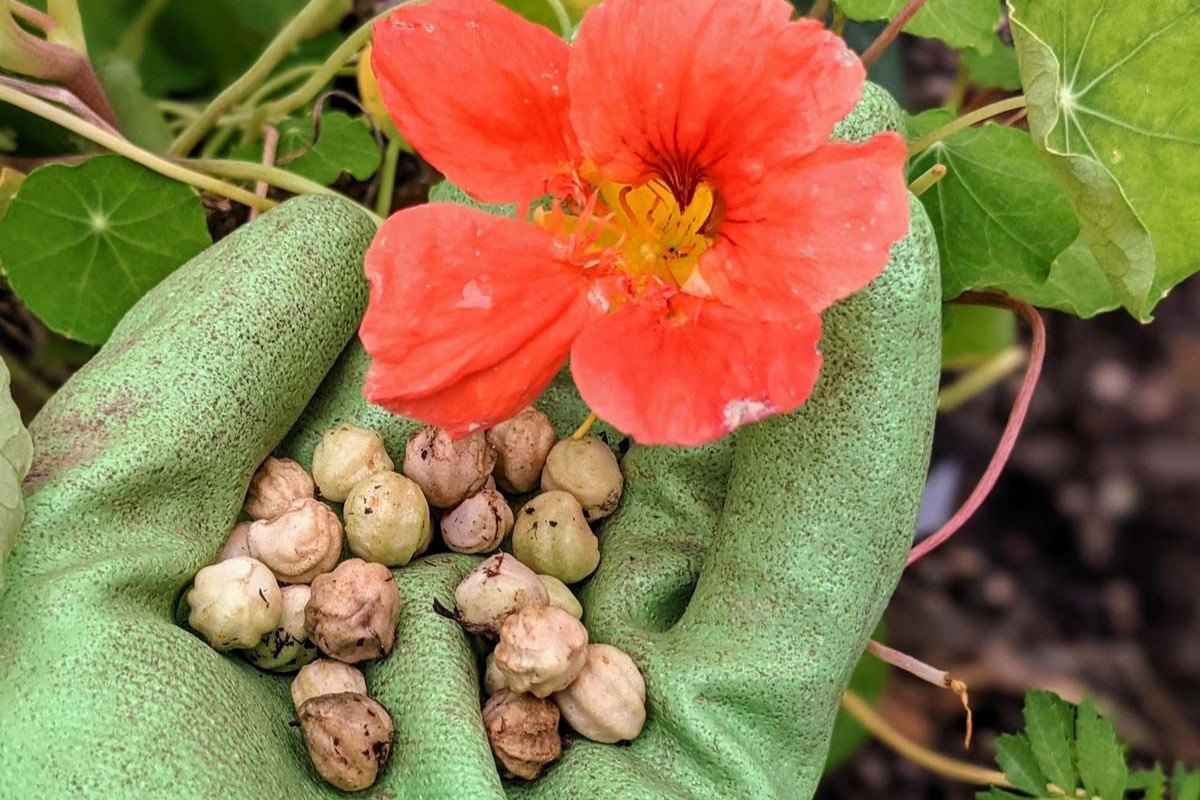
To effectively harvest celosia seeds, it’s important to have a basic understanding of what the seeds look like and how they develop. Celosia seeds are small, black or dark brown in color, and have a shiny appearance. Each seed is encased in a papery covering called the seed coat, which protects the seed embryo inside.
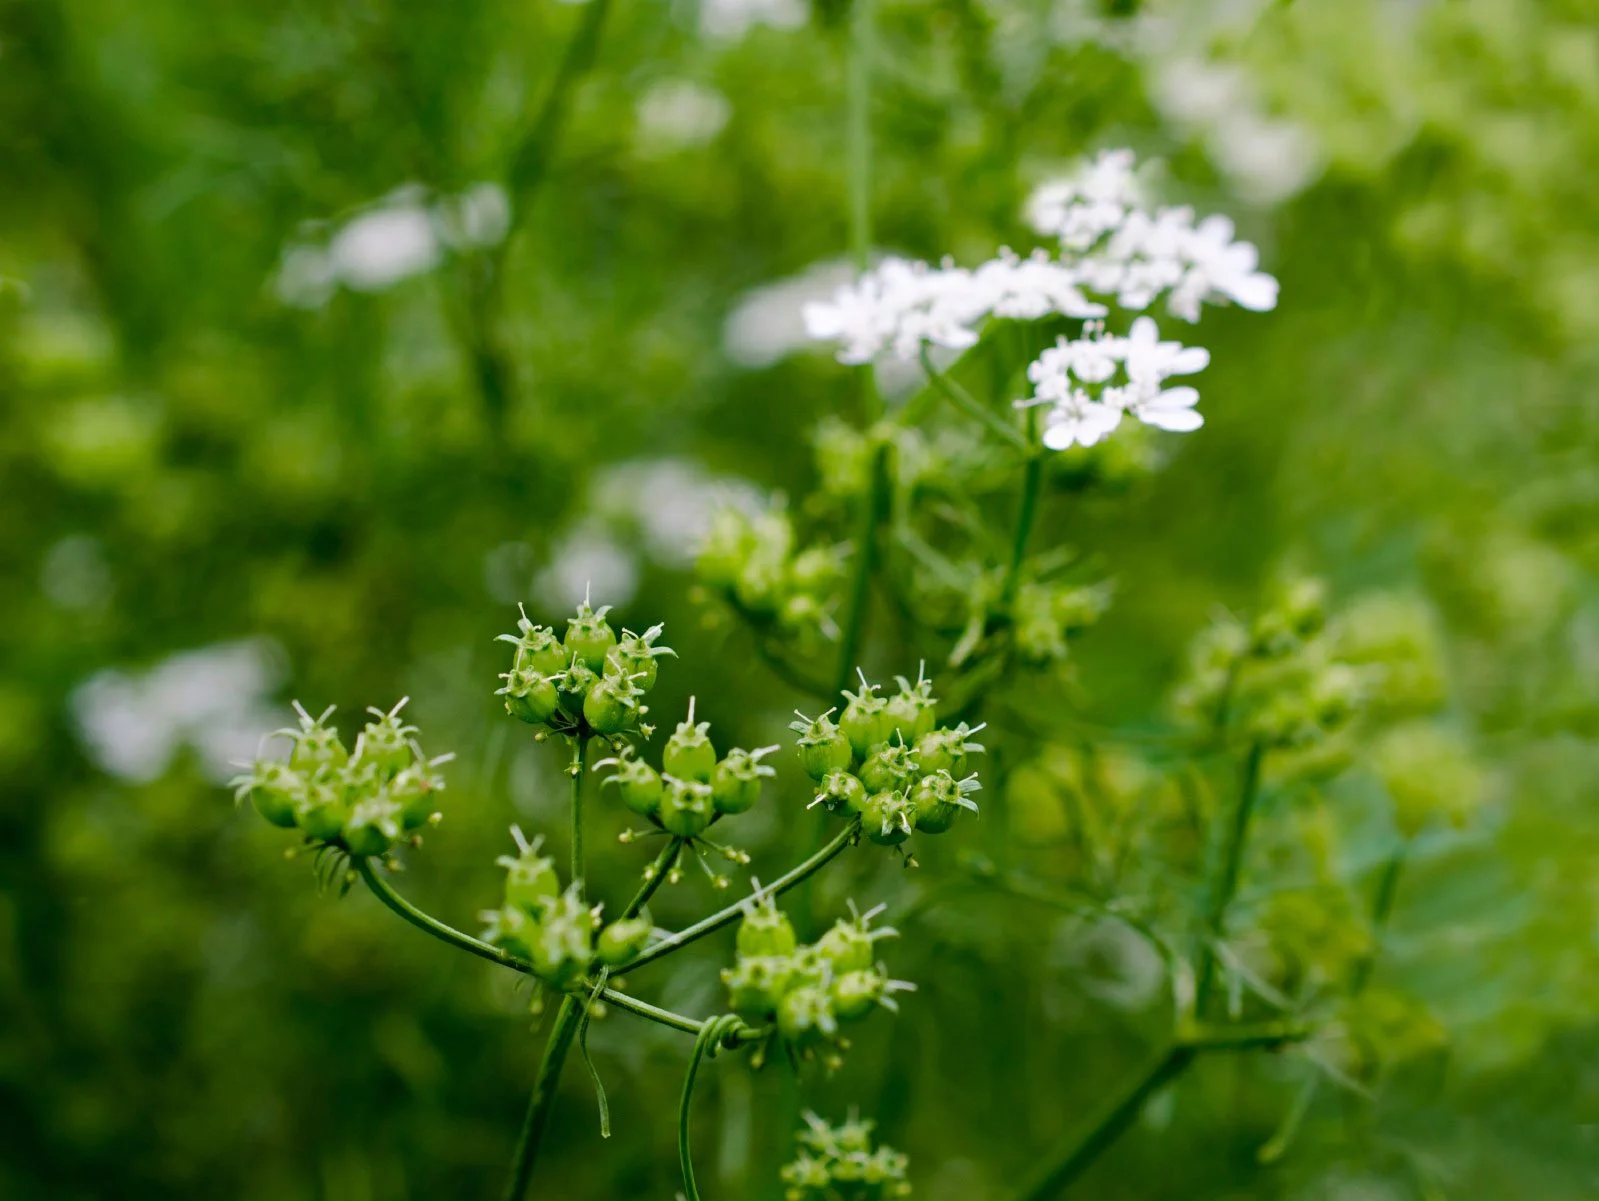
Celosia plants are annuals, meaning they complete their life cycle in a single growing season. They produce both male and female flowers, but it’s the female flowers that develop into the seed pods. These seed pods are small, round, and typically form where the flowers were once located.
As the celosia flowers mature, the seed pods begin to dry out and turn brown. This indicates that the seeds inside are approaching maturity. It’s important to wait until the seed pods are fully dry before attempting to harvest the seeds. This ensures that the seeds have reached their maximum viability and are ready for storage.
One important aspect to note is that celosia seeds are relatively small, which means they can easily be lost or dislodged from the seed pods. Care and attention should be taken during the harvesting process to prevent any loss of seeds.
By having a clear understanding of what celosia seeds look like and how they develop, you’ll be better equipped to identify the ideal time for seed harvesting. Next, we’ll explore how to select the mature celosia plants that will yield the best seeds.
Selecting Mature Celosia Plants
Choosing the right celosia plants to harvest seeds from is crucial for obtaining high-quality and viable seeds. When it comes to selecting mature celosia plants, keep the following tips in mind:
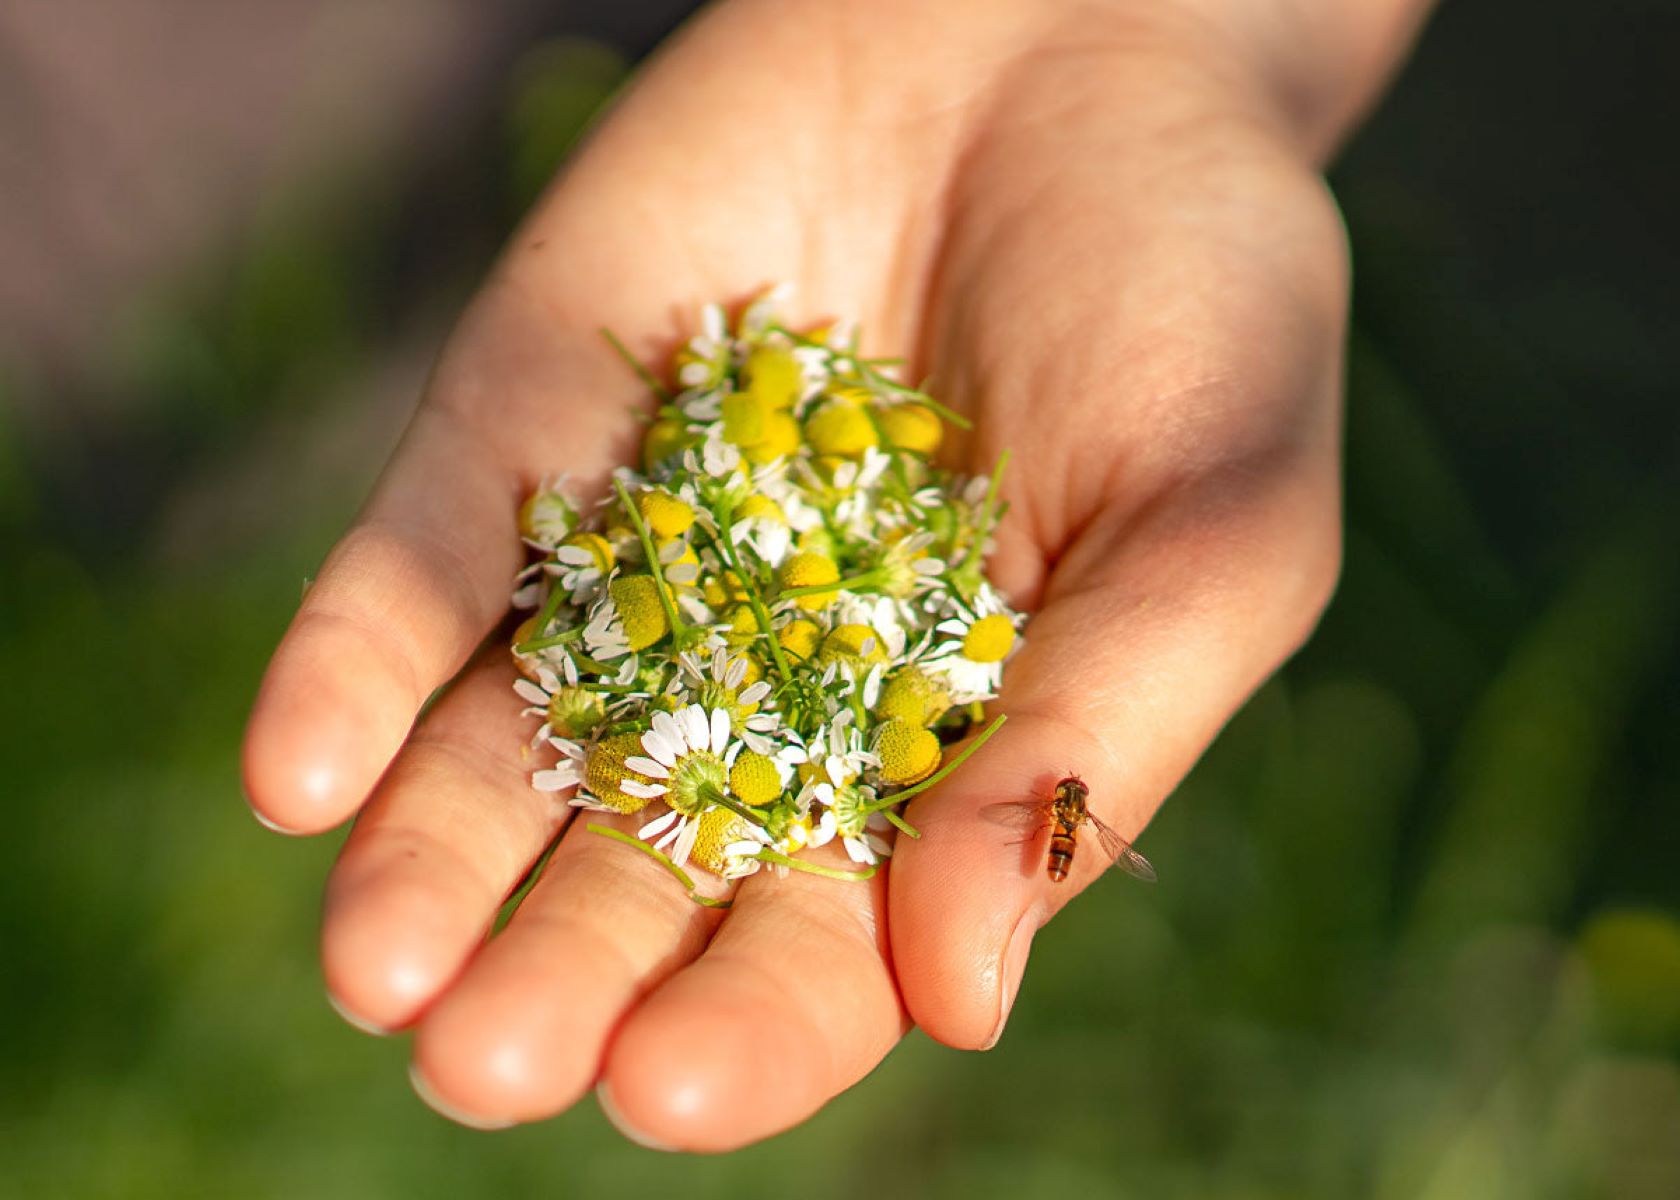
1. Time it Right: The timing of seed harvesting is crucial. Wait until the celosia plants have bloomed and the flowers have started to fade and dry out. This is typically towards the end of the growing season, around late summer or early autumn.
2. Size and Form: Look for celosia plants that have produced large, healthy flower heads. These flower heads should be well-formed and show no signs of disease or pest damage. Avoid selecting plants with small or deformed flowers, as they may not produce robust seeds.
3. Color Considerations: If you have specific color preferences for your celosia flowers, choose plants that have produced the desired colors. Some celosia varieties come in vibrant shades of red, orange, yellow, pink, and purple, so choose plants that match your preferences.
4. Healthy Foliage: Assess the overall health of the celosia plants before selecting them for seed harvesting. Look for plants with lush, green foliage and no signs of wilting, discoloration, or defoliation. Healthy plants are more likely to produce viable seeds.
5. Diversity Matters: Consider selecting plants from different varieties or cultivars to ensure genetic diversity in your seed collection. This helps maintain the overall health and resilience of the celosia population.
By carefully selecting mature celosia plants, you increase the likelihood of obtaining high-quality seeds. Remember to consider factors like timing, size, form, color, and plant health when choosing the plants for seed harvesting. Once you’ve identified the ideal candidates, it’s time to prepare for the actual seed harvesting process.
Preparing for Seed Harvesting
Before you begin the actual seed harvesting process, it’s important to make some preparations to ensure a smooth and successful experience. Here are some steps to follow:
1. Gather Your Tools: Collect all the necessary tools and equipment you’ll need for the seed harvesting process. These may include pruning shears or scissors, a container or bag for collecting the seeds, and gloves to protect your hands.
2. Select a Dry and Sunny Day: Choose a dry and sunny day to harvest celosia seeds. Moisture can impact seed viability and increase the chances of fungal growth, so it’s best to harvest when the weather is dry.
3. Labeling and Documentation: If you have multiple varieties of celosia growing in your garden, it’s important to label each plant or seed pod to ensure you can accurately identify the seeds later on. Make sure to keep a notebook or record of the different varieties and any relevant information about them.
4. Prepare a Clean Work Area: Set up a clean and clutter-free work area where you can comfortably sort and clean the harvested seeds. This will help prevent any mix-ups and ensure proper seed handling.
5. Familiarize Yourself with Celosia Seed Characteristics: Take some time to familiarize yourself with the characteristics of celosia seeds before starting the harvesting process. This will help you better identify when the seeds are ready for harvest.
By making these preparations, you’ll be well-equipped to proceed with the celosia seed harvesting process. Remember to have all your tools ready, choose a suitable day, label and document your plants, and set up a clean work area. In the next section, we’ll discuss how to identify when the celosia seeds are ready for harvest.
Identifying Ready-to-Harvest Seeds
Knowing when the celosia seeds are ready for harvest is crucial to ensure their viability and successful germination. Here are some indicators to help you identify when the seeds are ready to be harvested:
1. Drying Seed Pods: As the celosia flowers fade and dry out, the seed pods will also begin to dry. You’ll notice that the seed pods turn brown and become papery in texture. This is a clear sign that the seeds inside are approaching maturity.
2. Rattling Sound: Gently shake the seed pods. If you hear a rattling sound, it means that the seeds inside have fully developed and are loose within the seed pod.
3. Seed Coat Color: Check the color of the seed coat. Mature celosia seeds usually have a dark brown or black color with a shiny appearance. Avoid harvesting seeds that are still pale or green, as they may not be fully mature and might not germinate successfully.
4. Firm and Dry Seed Pods: When you press on a seed pod, it should feel firm and dry. If the seed pod feels soft or squishy, it’s an indication that the seeds are not fully matured, and you should wait a little longer before harvesting.
5. Easy Seed Removal: When gently squeezing or rubbing the seed pods, the seeds should easily detach and fall out. If they are stubborn and difficult to remove, it’s a sign that they are not yet ready to be harvested.
By closely observing these indicators, you’ll be able to determine when your celosia seeds are at their peak for harvesting. Remember to wait until the seed pods are fully dried and the seeds inside have reached their maximum maturity. In the next section, we’ll dive into the actual celosia seed harvesting process.
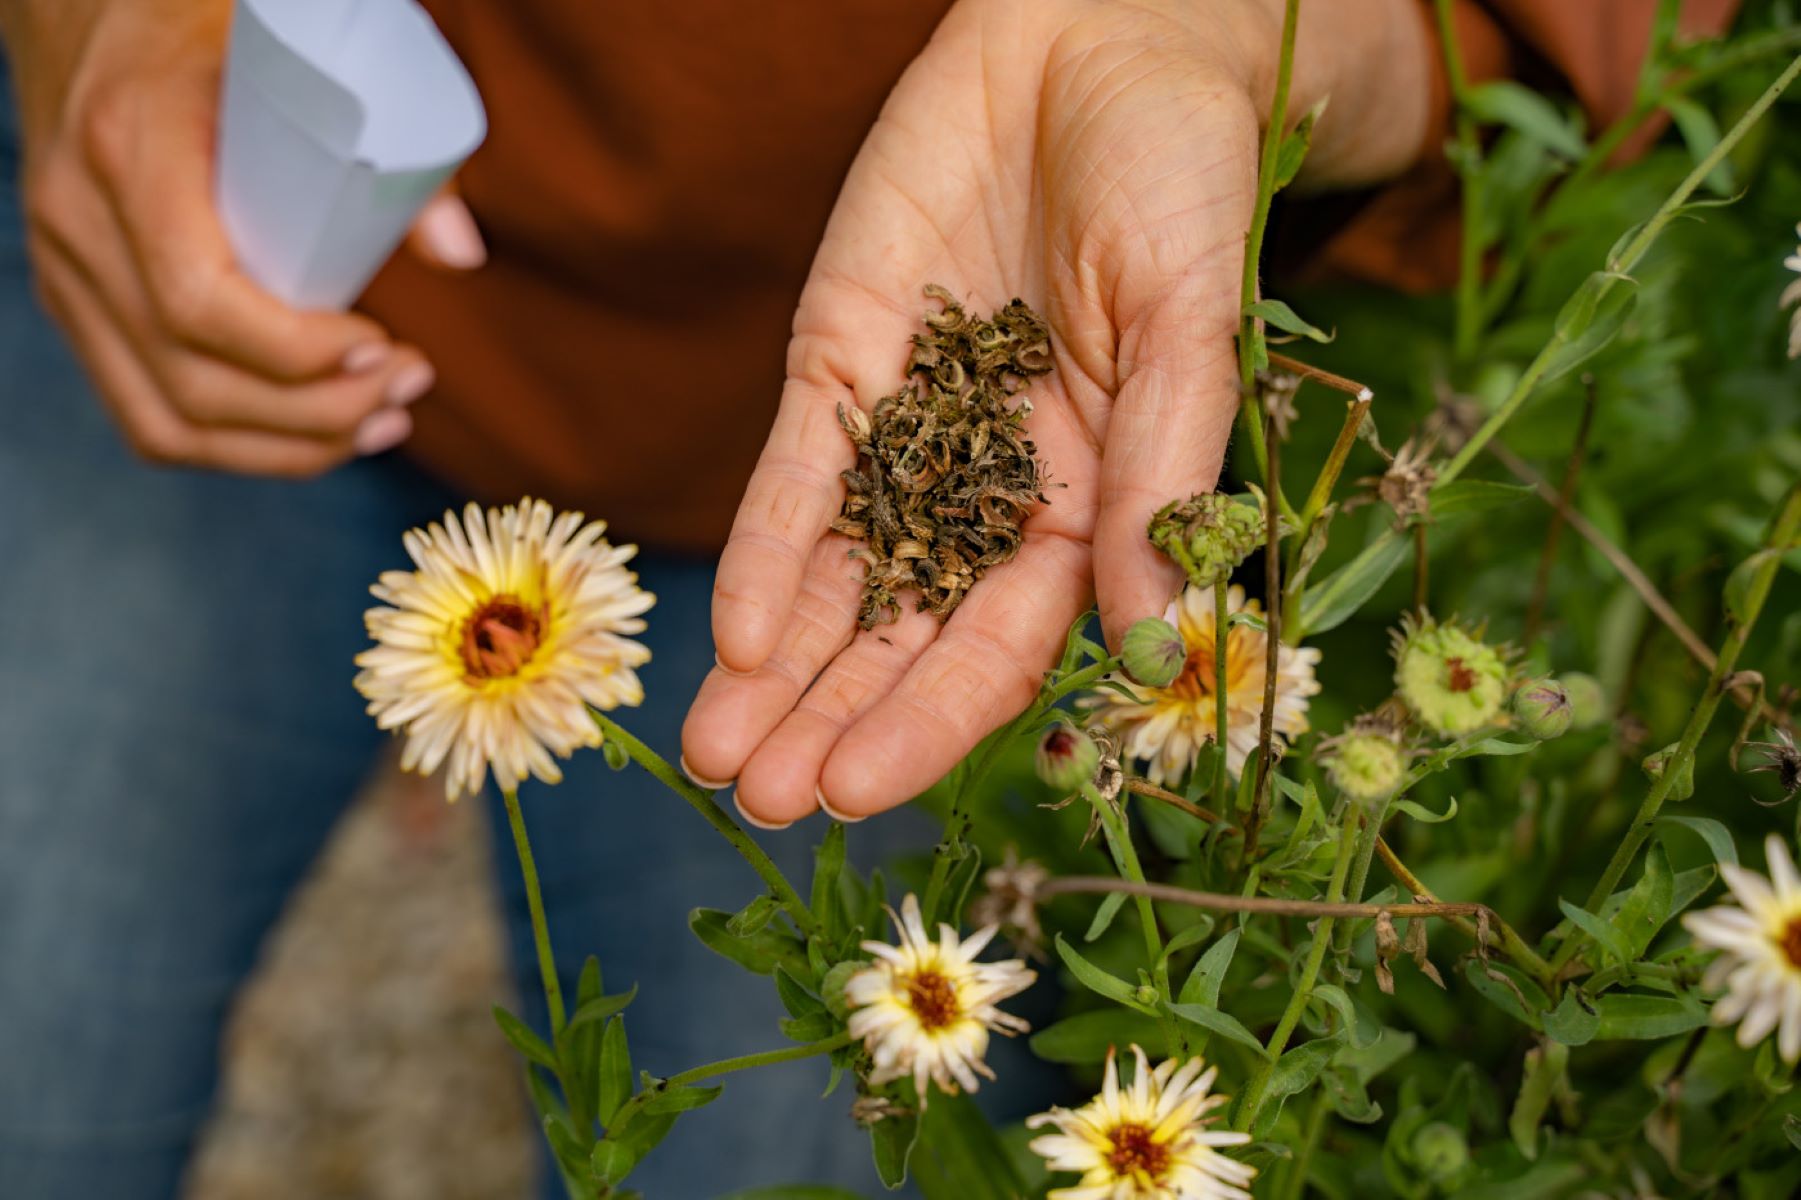
Wait for the celosia flowers to dry out on the plant. Once dry, gently shake the flowers to release the seeds. Collect the seeds and store them in a cool, dry place for future planting.
Read more: How To Harvest Rosemary Seeds
Harvesting Celosia Seeds
Now that you’ve identified that your celosia seeds are ready for harvest, it’s time to gather the seeds. Follow these steps to ensure a successful seed harvesting process:
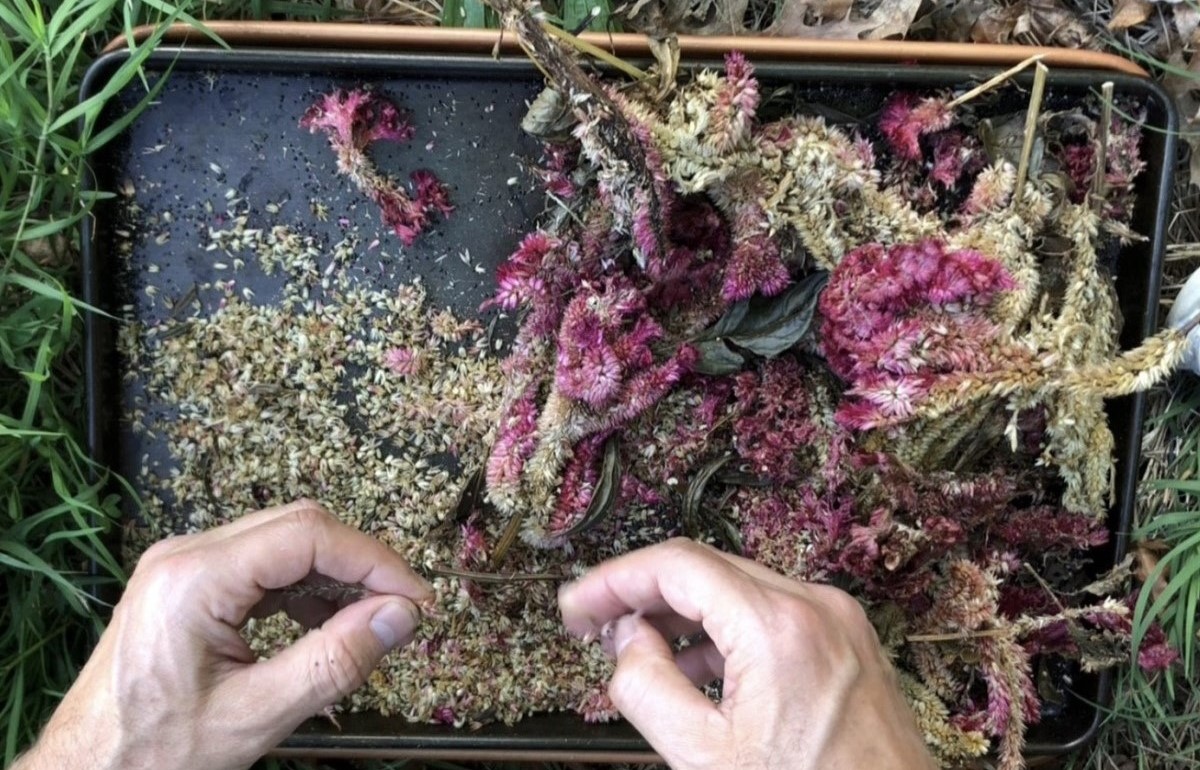
1. Locate Seed Pods: Carefully examine the celosia plants and locate the dried seed pods. These pods are usually found at the base of the faded flowers or where the flowers once were.
2. Use Pruning Shears or Scissors: To avoid damaging the plant and the surrounding seed pods, use clean pruning shears or scissors to cut the seed pods from the plant. Make clean cuts, ensuring that the seed pods are intact and not crushed or damaged.
3. Collect Seed Pods: As you cut the seed pods, place them directly into a clean container or bag. This will help prevent any seed loss during the harvesting process.
4. Remove Debris: Once you’ve collected all the seed pods, gently remove any debris or dried plant material from the container. This will ensure that you have clean, pure seeds for storage.
5. Separate Seeds from Pods: To separate the seeds from the pods, gently rub or crush the dry seed pods. You can do this by rolling the pods between your fingers or using a mortar and pestle. The goal is to break open the seed pods and release the seeds.
6. Screen or Sieve Method: Alternatively, you can use a screen or sieve with small holes to separate the seeds from the pods. Place the seed pods on the screen and gently shake or rub them to dislodge the seeds. The seeds will fall through the holes, while the larger debris remains on top.
7. Check for Insect Infestation: Before storing the harvested seeds, inspect them for any signs of insect infestation or damage. Discard any seeds that appear discolored, shriveled, or have small holes or chew marks.
By following these steps, you’ll be able to successfully harvest your celosia seeds. Remember to handle the seed pods with care, remove any debris, and separate the seeds from the pods using the method that works best for you. Now that you have your seeds, it’s essential to clean and dry them properly before storage.
Cleaning and Drying the Seeds
Properly cleaning and drying celosia seeds is an essential step in preserving their viability and prolonging their shelf life. Here’s how to clean and dry your harvested celosia seeds:
1. Remove Debris: Begin by removing any remaining debris, chaff, or plant material from the harvested seeds. You can do this by gently blowing on the seeds or using a sieve with larger holes to separate the seeds from larger debris.
2. Rinse with Water (Optional): Some gardeners prefer to rinse their seeds with water to further clean them. If you choose to rinse the seeds, place them in a fine-mesh sieve and run them under gently flowing water. Be careful not to use forceful water pressure that could damage the seeds.
3. Air-Dry Seeds: Once the seeds are clean, spread them out in a single layer on a clean, dry surface. Avoid using paper towels or other absorbent materials that may stick to the seeds. Allow the seeds to air-dry naturally in a well-ventilated area away from direct sunlight.
4. Stir and Turn: It’s important to stir and turn the seeds every day while they are drying. This ensures that all sides of the seeds get exposed to the air and helps prevent mold or moisture buildup. Continue this process until the seeds are completely dry, which can take anywhere from a few days to a couple of weeks.
5. Test for Dryness: To check if the seeds are fully dry, simply bite or snap one seed. If it breaks easily, without any moisture or bending, it indicates that the seeds are dry and ready for storage. If the seed bends or feels moist, they need more drying time.
6. Additional Drying Methods: If you live in a humid climate or are experiencing rainy weather, you may need to employ alternative drying methods to ensure the seeds dry completely. These can include using a food dehydrator or setting up a fan to improve air circulation and speed up the drying process.
Remember, the key to successful seed storage is ensuring that the seeds are thoroughly dried before moving on to the next step. Once your celosia seeds are dry, it’s time to properly store them to maintain their viability.
Storing Celosia Seeds
Proper storage is crucial for maintaining the viability and longevity of your celosia seeds. Follow these steps to ensure optimal seed storage:
1. Ensure Dryness: Before storing the celosia seeds, make sure they are completely dry. Any moisture present in the seeds can lead to mold, fungus, or premature germination, reducing their viability.
2. Use Airtight Containers: Choose airtight containers for seed storage to prevent moisture and air from entering. Good options include glass jars, plastic containers, or resealable plastic bags. Ensure that the containers are clean and dry before adding the seeds.
3. Label and Date: Clearly label each container with the variety and the date of seed harvest. This information helps you keep track of seed age and ensures you can easily identify different celosia varieties when you need them.
4. Store in a Cool and Dark Place: Find a cool and dark location to store your celosia seeds. Avoid areas that are subjected to fluctuating temperatures, direct sunlight, or high humidity, as these conditions can negatively impact seed viability.
5. Optimal Temperature: Ideally, store celosia seeds at a temperature between 35°F and 50°F (2°C to 10°C). A cool basement, refrigerator, or a dedicated seed storage container in a cool room would be suitable.
6. Protect from Pests: To protect the stored seeds from pests such as insects or rodents, consider placing a small pouch of silica gel or a cotton ball soaked with a few drops of essential oil (e.g., peppermint or lavender) in the container. This will help deter pests without harming the seeds.
7. Regularly Check for Viability: It’s a good practice to periodically check the stored seeds for viability. To do this, take a small sample of seeds and perform a germination test. If the germination rate drops below an acceptable level, it may be time to refresh your seed supply by collecting new seeds.
By following these guidelines, you can ensure the long-term viability and storage of your celosia seeds. With proper storage, you can continue to enjoy growing vibrant and beautiful celosia plants for years to come.
Conclusion
Harvesting celosia seeds is a rewarding and cost-effective way to ensure a bountiful supply of these beautiful flowers for future growing seasons. By understanding the characteristics of celosia seeds, selecting mature plants, and properly preparing for seed harvesting, you set the foundation for a successful process. Identifying the telltale signs of readiness, such as drying seed pods and mature seed coat color, helps ensure that you collect seeds at their peak viability.
Taking the time to clean and dry the seeds thoroughly is essential for maintaining their longevity. By removing debris and ensuring the seeds are fully dry, you increase their chances of successful germination. Proper storage in airtight containers, labeled and organized by variety and date, along with a cool and dark location, is critical to preserving seed viability.
By following these steps, you can embark on a journey of self-sufficiency and share the joy of gardening with others. Whether you’re saving celosia seeds for personal use or gifting them to fellow gardeners, knowing how to harvest and store these seeds ensures that their beauty and charm will continue to grace gardens for years to come.
So, gather your tools, observe your celosia plants, and enjoy the process of seed harvesting. Embrace the anticipation of future growth and the satisfaction of nurturing a plant from seed to blooming beauty. Happy celosia seed harvesting!
Frequently Asked Questions about How To Harvest Celosia Seeds
Was this page helpful?
At Storables.com, we guarantee accurate and reliable information. Our content, validated by Expert Board Contributors, is crafted following stringent Editorial Policies. We're committed to providing you with well-researched, expert-backed insights for all your informational needs.


0 thoughts on “How To Harvest Celosia Seeds”