Home>Garden Essentials>How To Plant Phlox Seeds
Garden Essentials
How To Plant Phlox Seeds
Modified: March 16, 2024
Learn how to plant phlox seeds and create a beautiful garden with our step-by-step guide. Start growing your own phlox flowers today!
(Many of the links in this article redirect to a specific reviewed product. Your purchase of these products through affiliate links helps to generate commission for Storables.com, at no extra cost. Learn more)
Introduction
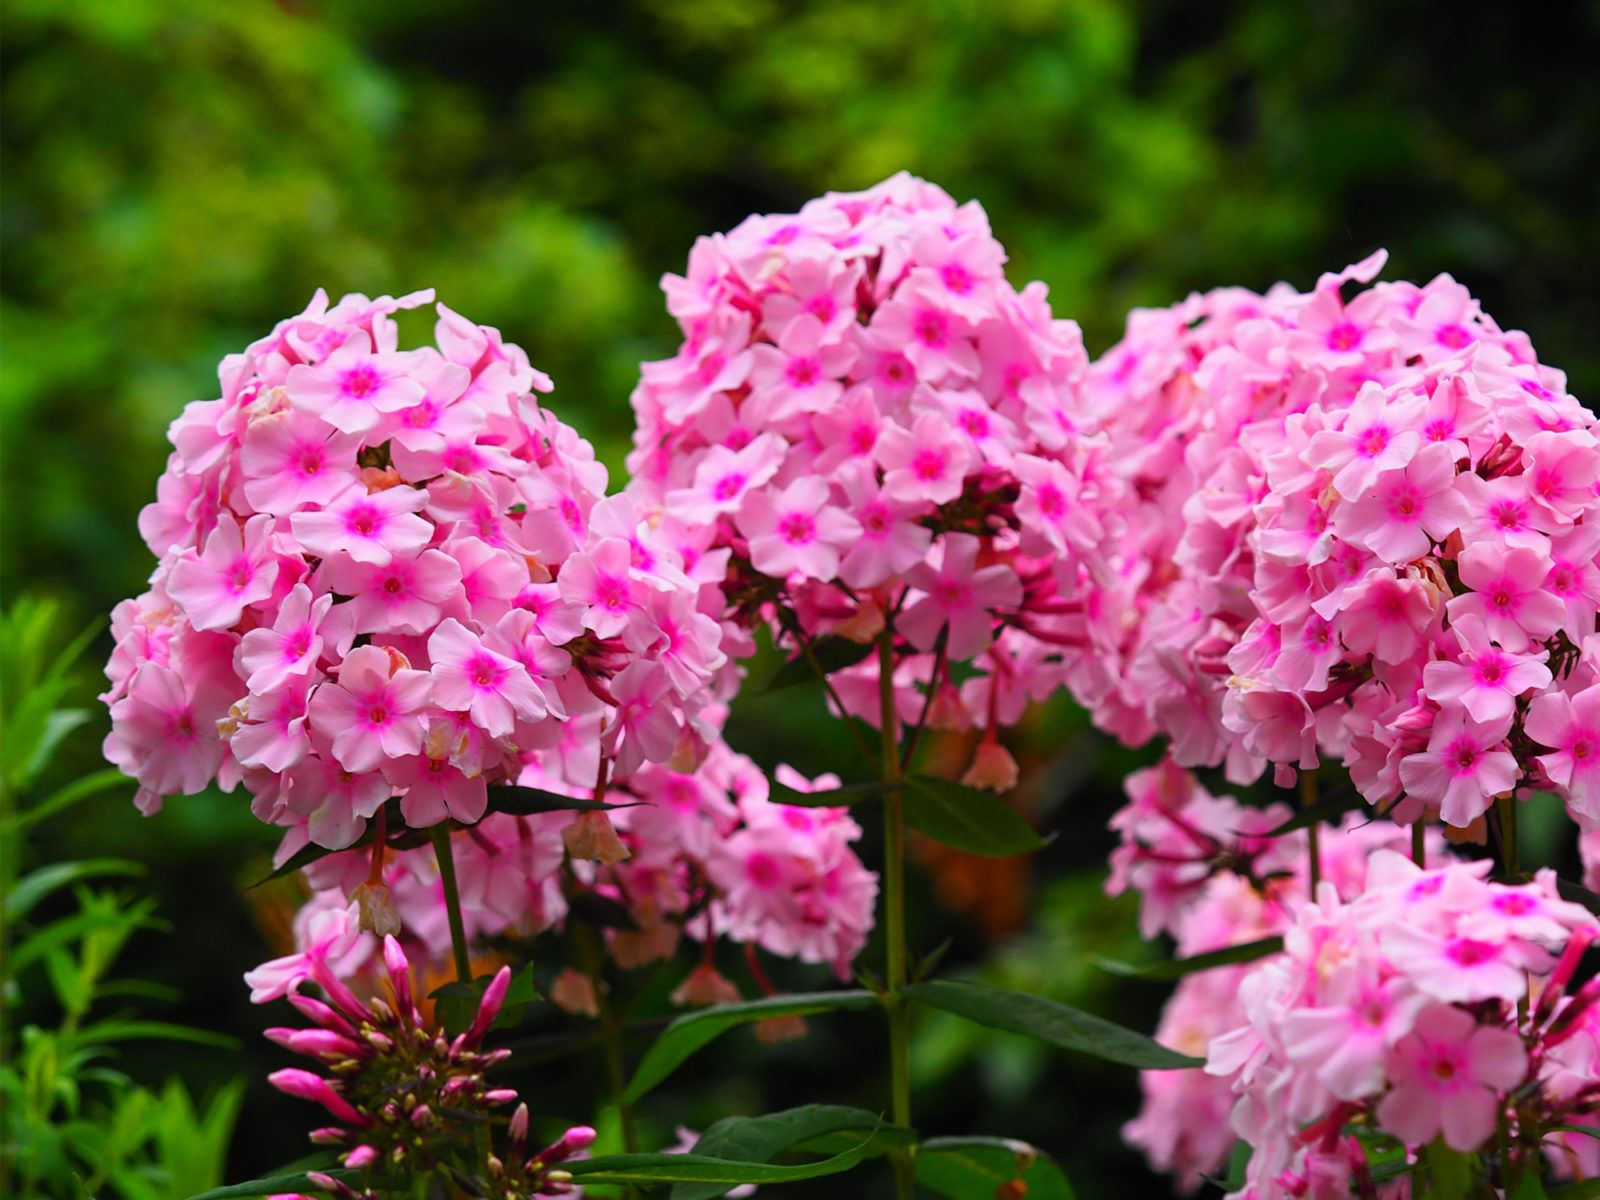
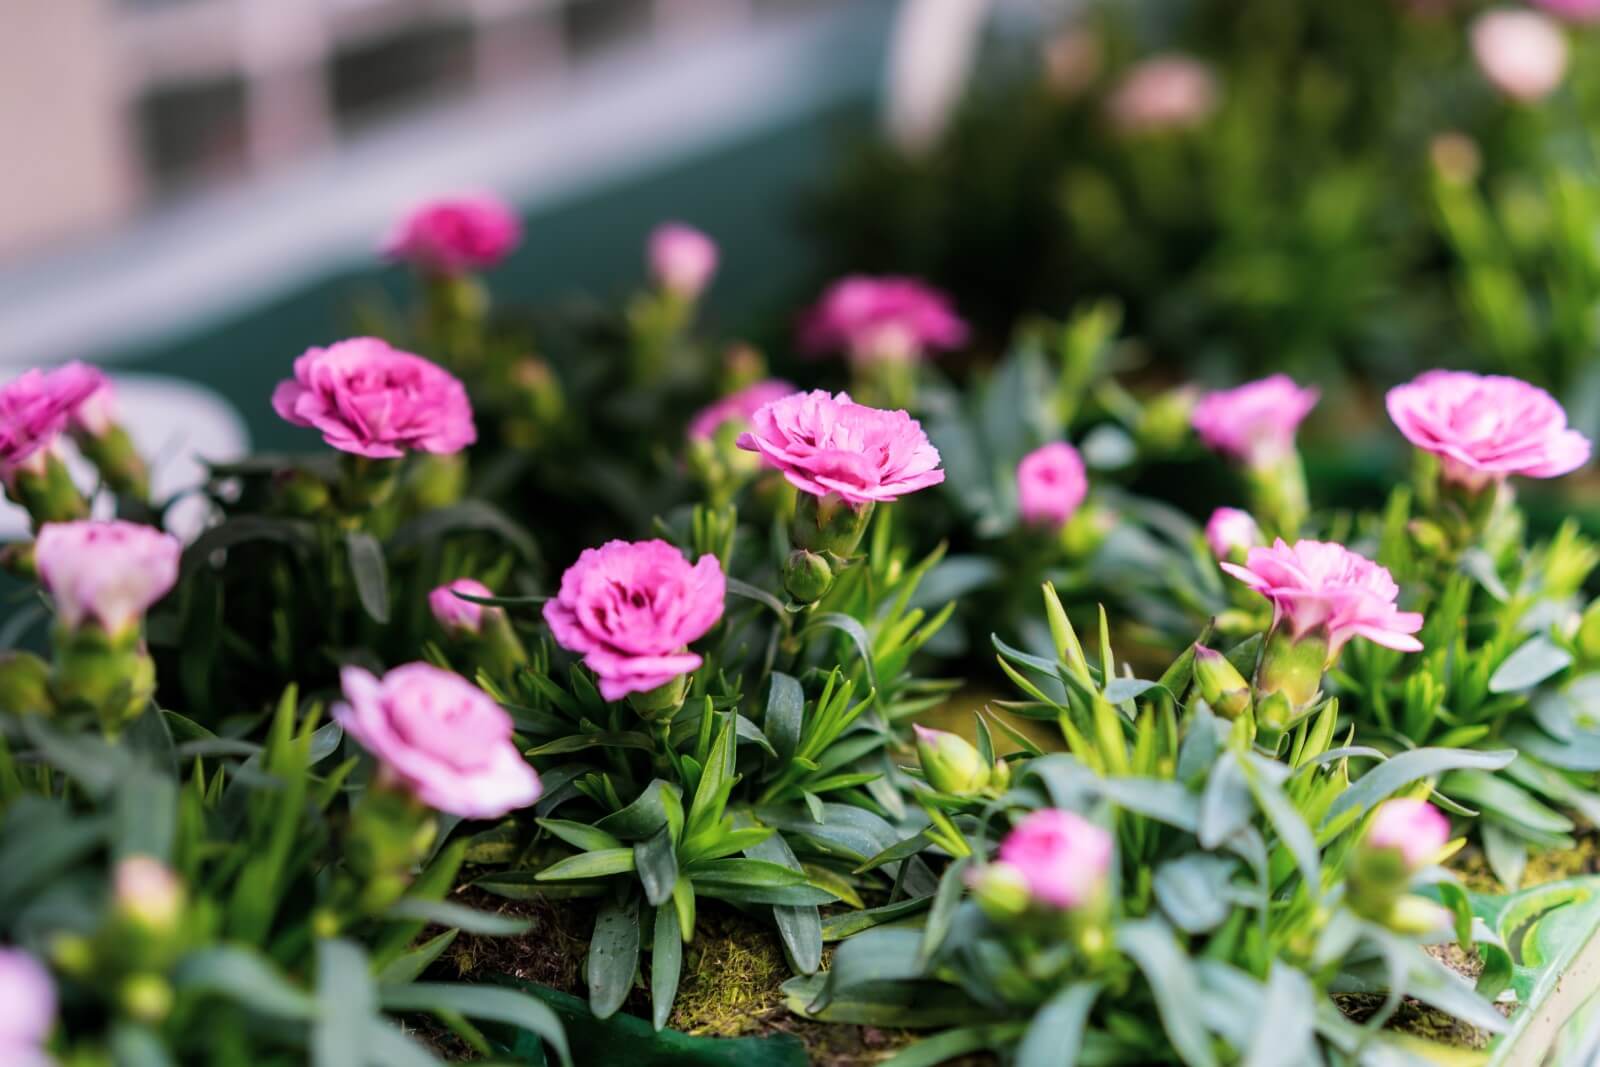
Welcome to the world of gardening! If you’re looking to add a splash of color and beauty to your garden, planting phlox seeds is a great way to do so. Phlox is a popular flowering plant known for its vibrant blooms and sweet fragrance. Whether you’re a seasoned gardener or a beginner, this article will guide you through the process of planting phlox seeds successfully.
Phlox is a versatile plant that comes in many varieties, including annuals and perennials. It is native to North America and is well-loved for its ability to attract butterflies and hummingbirds. With its stunning flowers and easy growth habits, phlox has become a favorite among gardeners.
In this article, we will take you through each step of the process, from choosing the right time and location to harvesting the seeds. By following these steps, you’ll be able to enjoy a beautiful phlox garden that will bring joy and color to your outdoor space.
Before we delve into the details, let’s take a look at some general information about phlox seeds. Phlox seeds are tiny and should be handled with care. They require specific conditions to germinate and grow, but with the right care and attention, you can have a thriving phlox garden in no time.
Now, let’s get started on our journey to planting phlox seeds and creating a stunning garden that will be the envy of all your neighbors!
Key Takeaways:
- Plant phlox seeds in well-draining soil with 6-8 hours of sunlight. Water gently, thin out overcrowded seedlings, and protect from pests for a vibrant, colorful garden.
- Harvest and store phlox seeds for future planting. Follow the steps to ensure successful germination and growth, and enjoy the beauty of phlox flowers for years to come!
Read more: When To Plant Creeping Phlox Seeds
Step 1: Choose the Right Time and Location
Choosing the right time and location for planting phlox seeds is crucial for their successful growth. Phlox seeds prefer to be sown in spring or early summer when the soil temperature is consistently above 50°F (10°C). This will provide them with the ideal conditions for germination and establishment.
When selecting a location, it’s important to consider the amount of sunlight the phlox plants will receive. They thrive in areas with full sun to light shade, so choose a spot in your garden that gets at least 6-8 hours of direct sunlight each day. Avoid planting phlox seeds in areas that are heavily shaded, as this can hinder their growth and flowering.
In terms of soil, phlox plants prefer well-draining soil that is rich in organic matter. Before planting, prepare the soil by removing any weeds, rocks, or debris. Loosen the soil to a depth of about 6-8 inches and incorporate organic matter such as compost or well-rotted manure. This will improve soil fertility and drainage, creating a favorable environment for the phlox seeds to grow.
If you’re unsure about the pH level of your soil, it’s a good idea to test it. Phlox plants prefer slightly acidic to neutral soil with a pH range of 6.0-7.0. Testing your soil will help you determine if any amendments are needed to adjust the pH level.
Once you’ve chosen the right time and location for planting, you’re ready to move on to the next step: preparing the soil.
Step 2: Prepare the Soil
Preparing the soil is an essential step in ensuring the success of your phlox seeds. By creating the right environment for the seeds to germinate and thrive, you’ll set the foundation for a healthy and vibrant phlox garden.
Start by removing any weeds, rocks, or debris from the planting area. These can obstruct the growth of the phlox seeds and compete with them for nutrients and water. Clearing the area will also prevent any potential pests or diseases from affecting your plants.
Once the area is clear, loosen the soil to a depth of about 6-8 inches using a garden fork or a tiller. This will help improve drainage and allow the roots of the phlox plants to penetrate easily into the soil.
Next, incorporate organic matter into the soil to enrich its fertility. Compost, rotted manure, or leaf mold are excellent choices. These additives will improve the soil structure, enhance moisture retention, and provide essential nutrients for the phlox plants.
Spread a layer of organic matter over the planting area and work it into the soil using a garden rake or a garden fork. Aim for a depth of about 2-4 inches to ensure proper integration with the existing soil.
If the soil pH is outside the preferred range of 6.0-7.0, you may need to adjust it. Adding lime to increase the pH or sulfur to lower it can help bring the soil into the desired range. It’s important to follow the instructions on the product packaging and test the pH levels periodically to ensure the best results.
After preparing the soil, give it a final rake to create a smooth and level surface. Now you’re ready to move on to the exciting part: planting the phlox seeds!
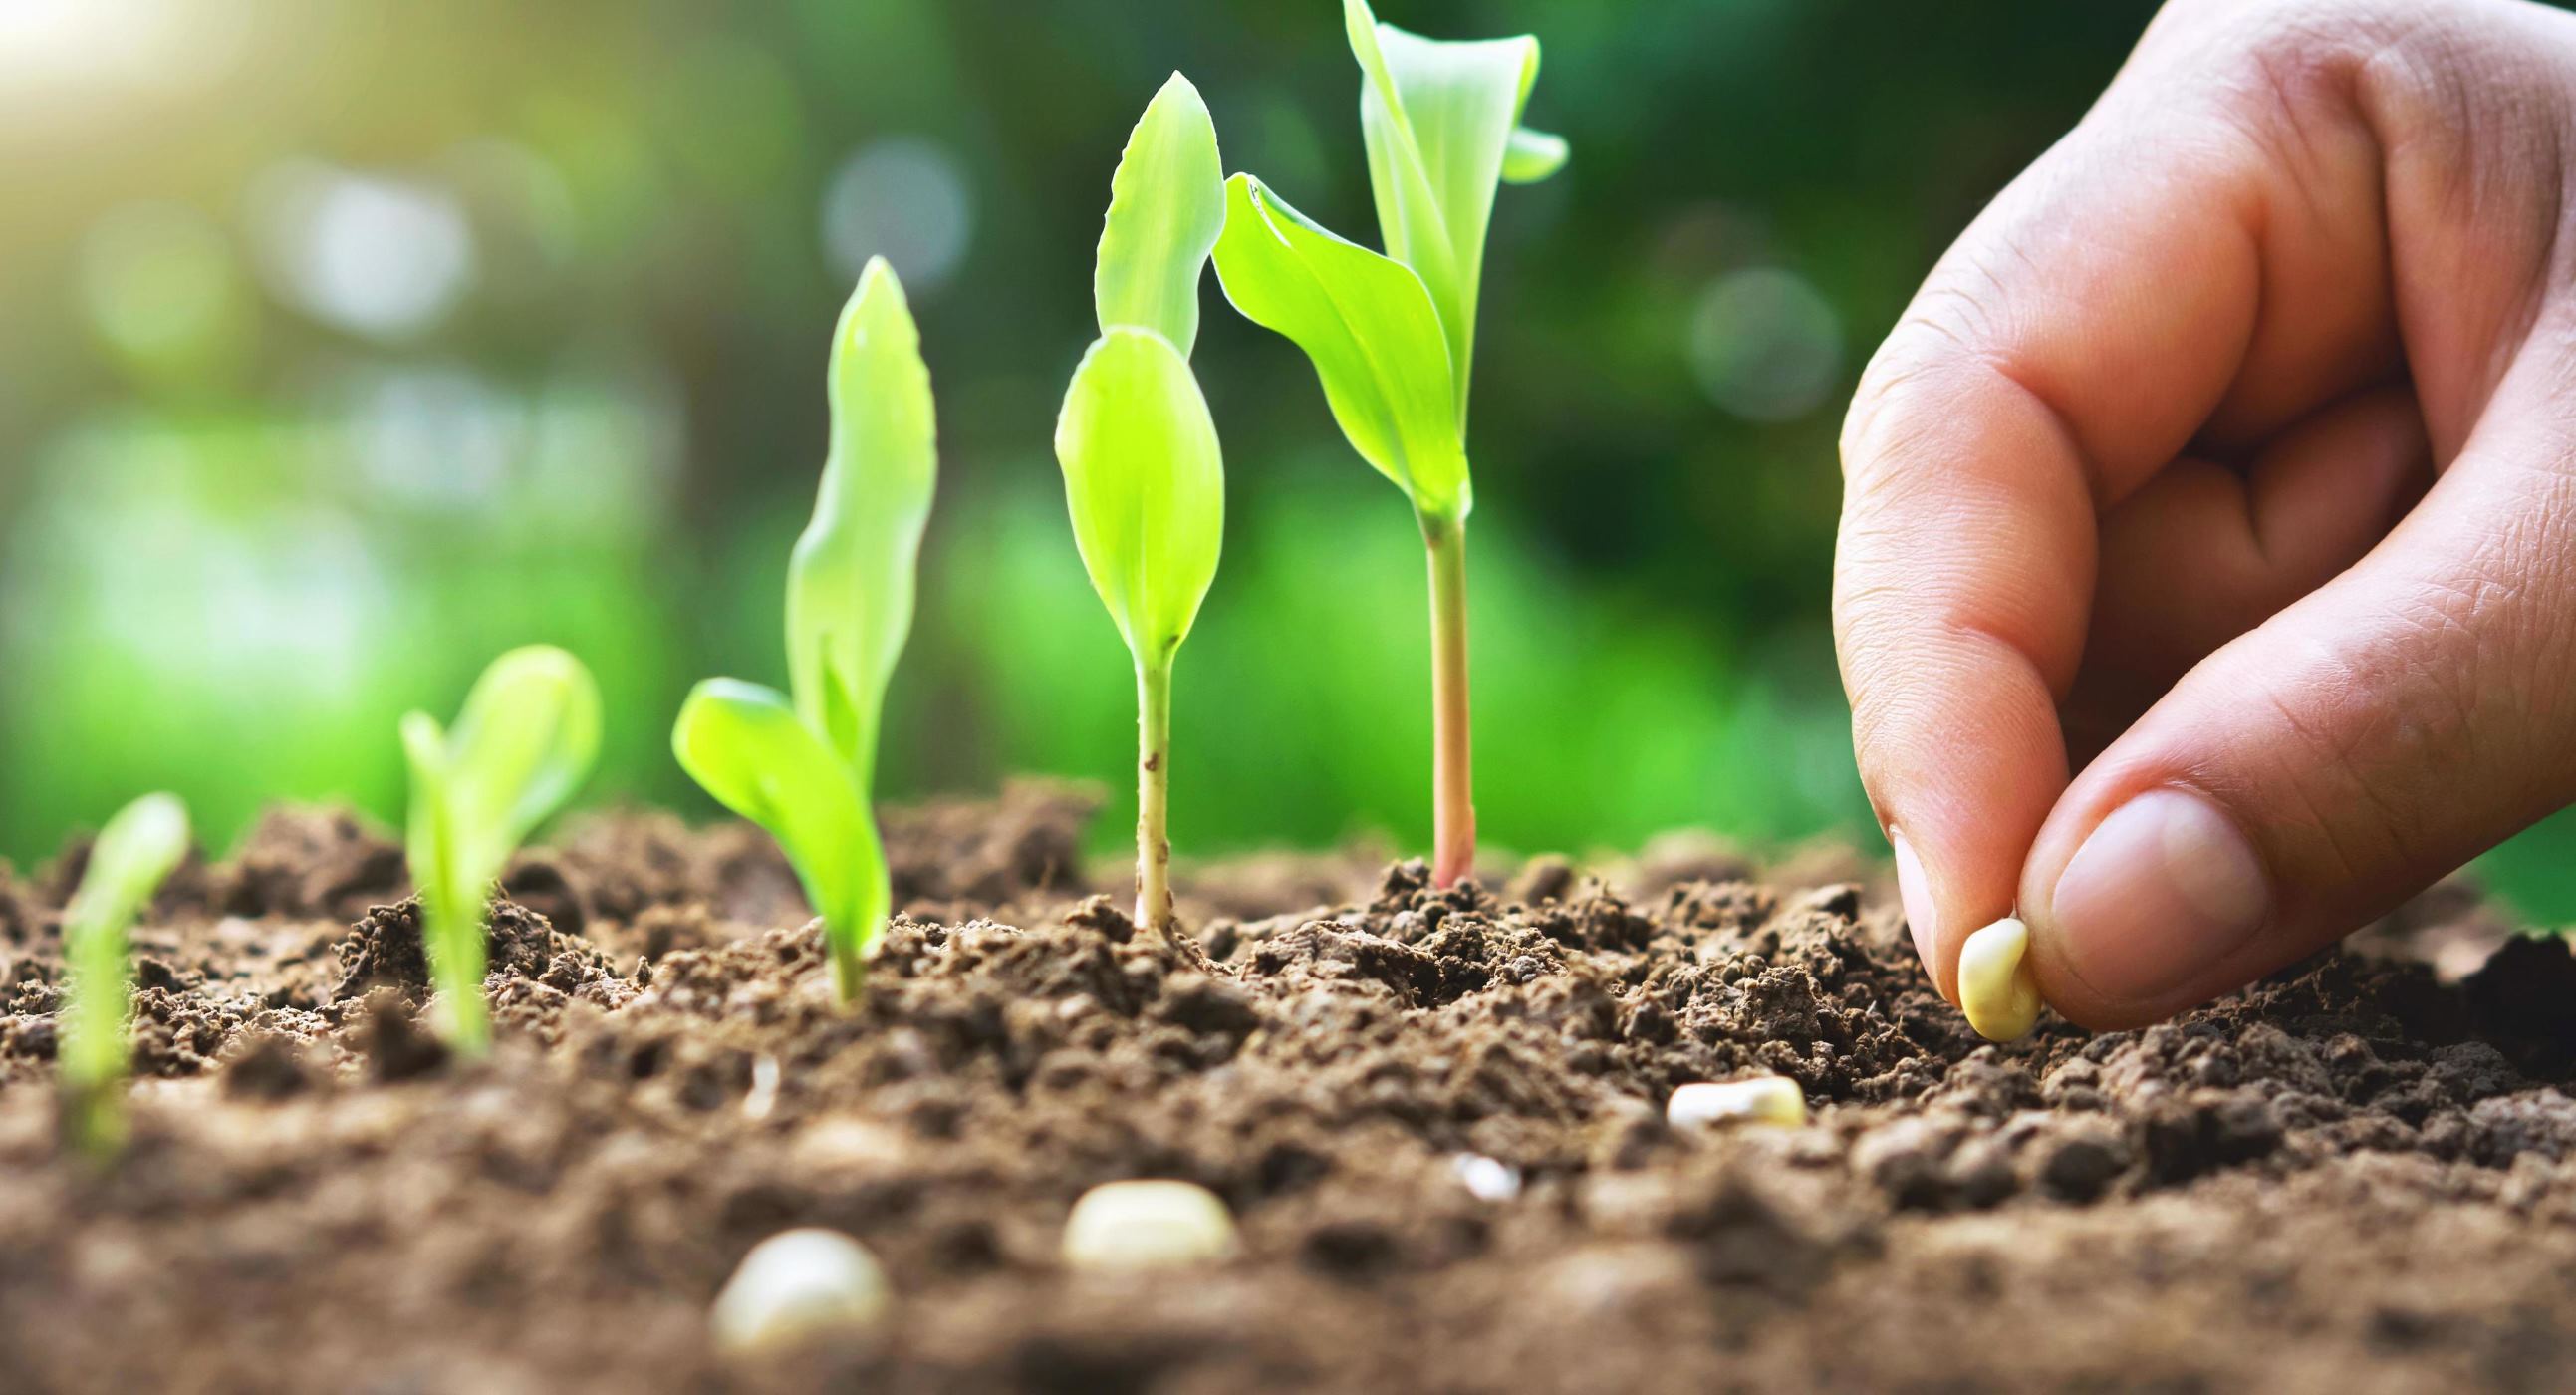
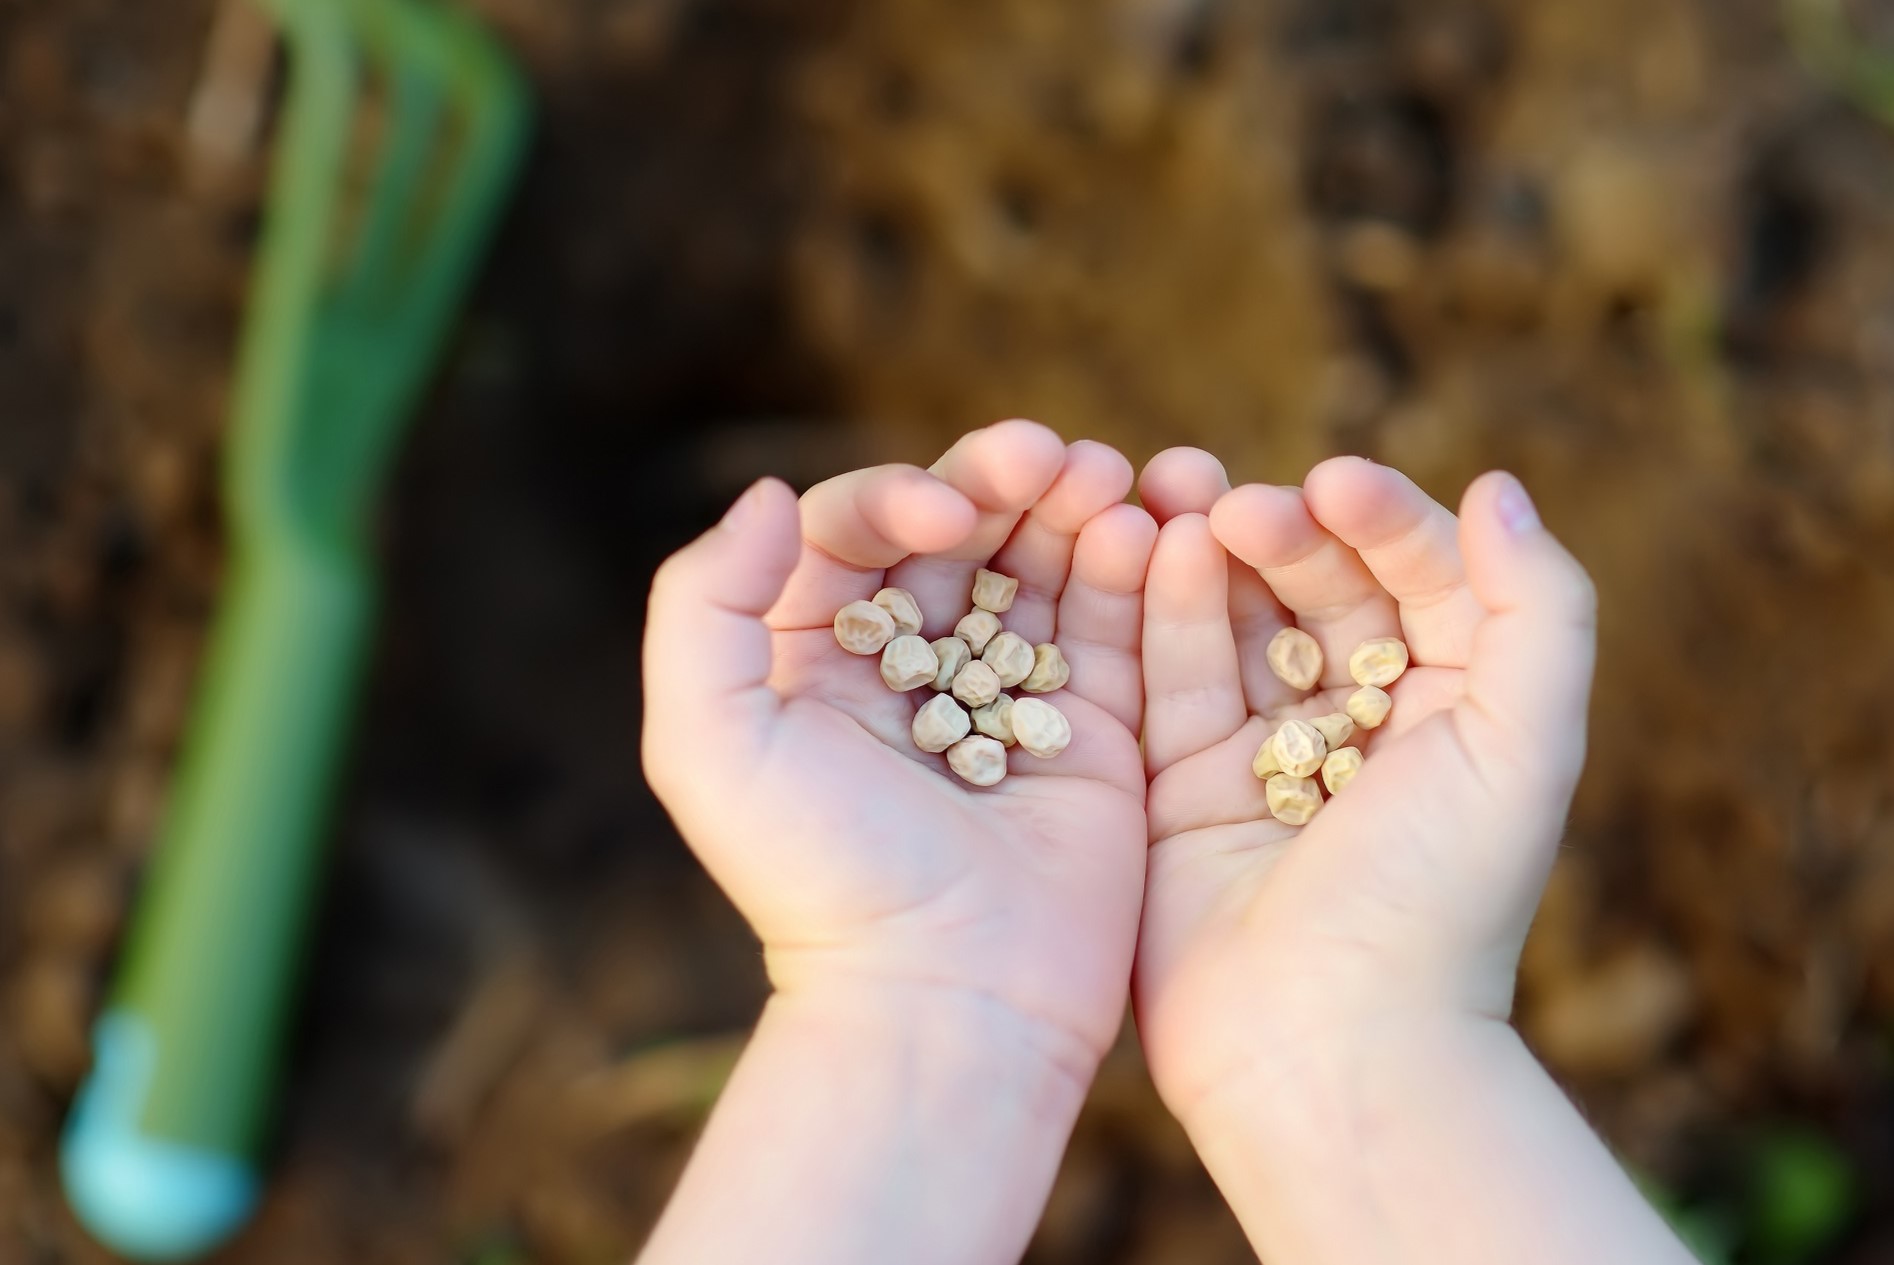
Step 3: Planting the Phlox Seeds
Now that you’ve prepared the soil, it’s time to plant your phlox seeds. Planting phlox seeds can be done either directly in the ground or in containers, depending on your preference and available space.
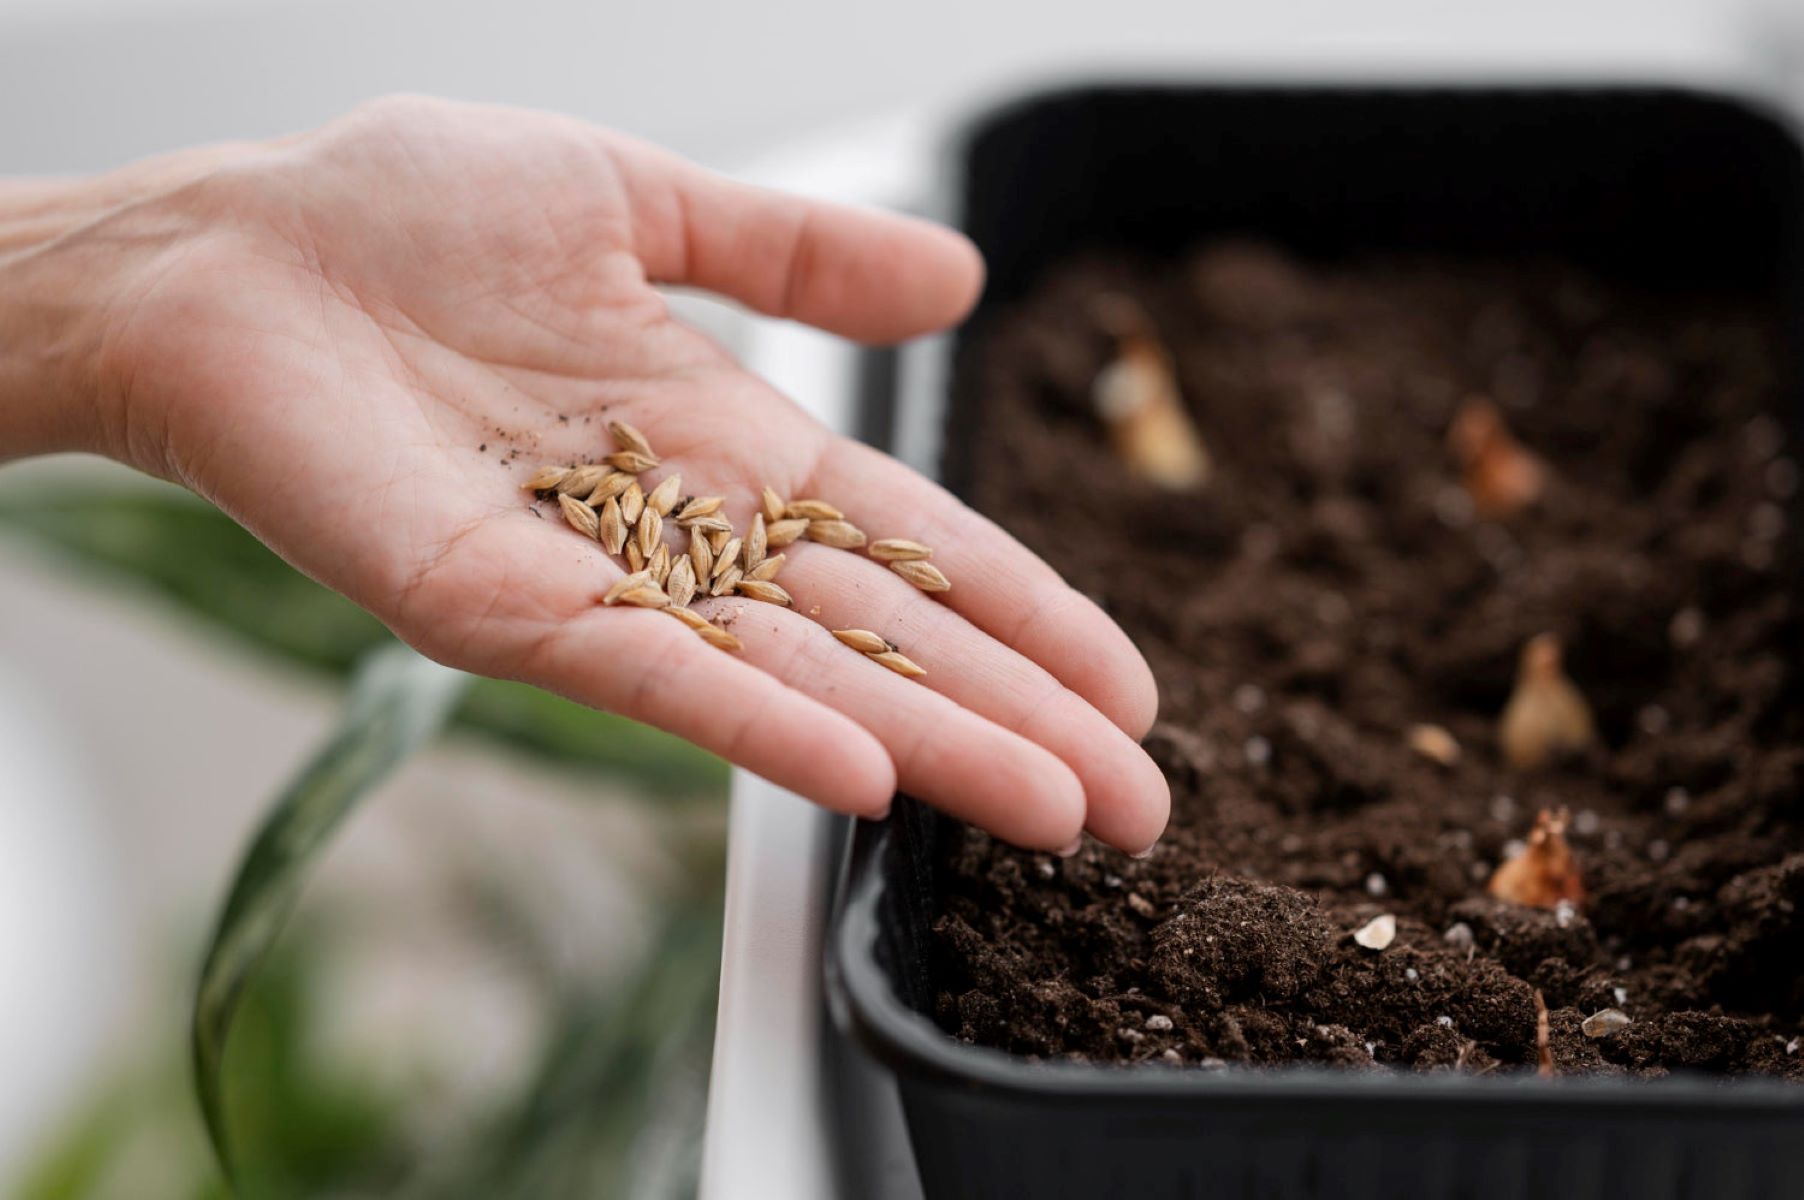
If you choose to plant directly in the ground, make sure the soil is moist but not waterlogged. Use your finger or a small trowel to create shallow furrows in the soil, about 1/4 inch deep.
Place the phlox seeds in the furrows, spacing them about 4-6 inches apart. It’s best to sow multiple seeds in each location to improve the chances of germination and ensure a fuller bloom.
Once the seeds are in place, cover them with a thin layer of soil, about 1/8 inch deep. Gently press the soil down to ensure good seed-to-soil contact.
If you prefer to plant phlox seeds in containers, fill the containers with a well-draining potting mix. Moisten the mix before sowing the seeds to ensure good moisture distribution.
Place the phlox seeds on the surface of the soil, spacing them about 2-3 inches apart. Lightly press them into the soil, but do not cover them with additional soil. Phlox seeds require light to germinate, so this method allows for better light exposure.
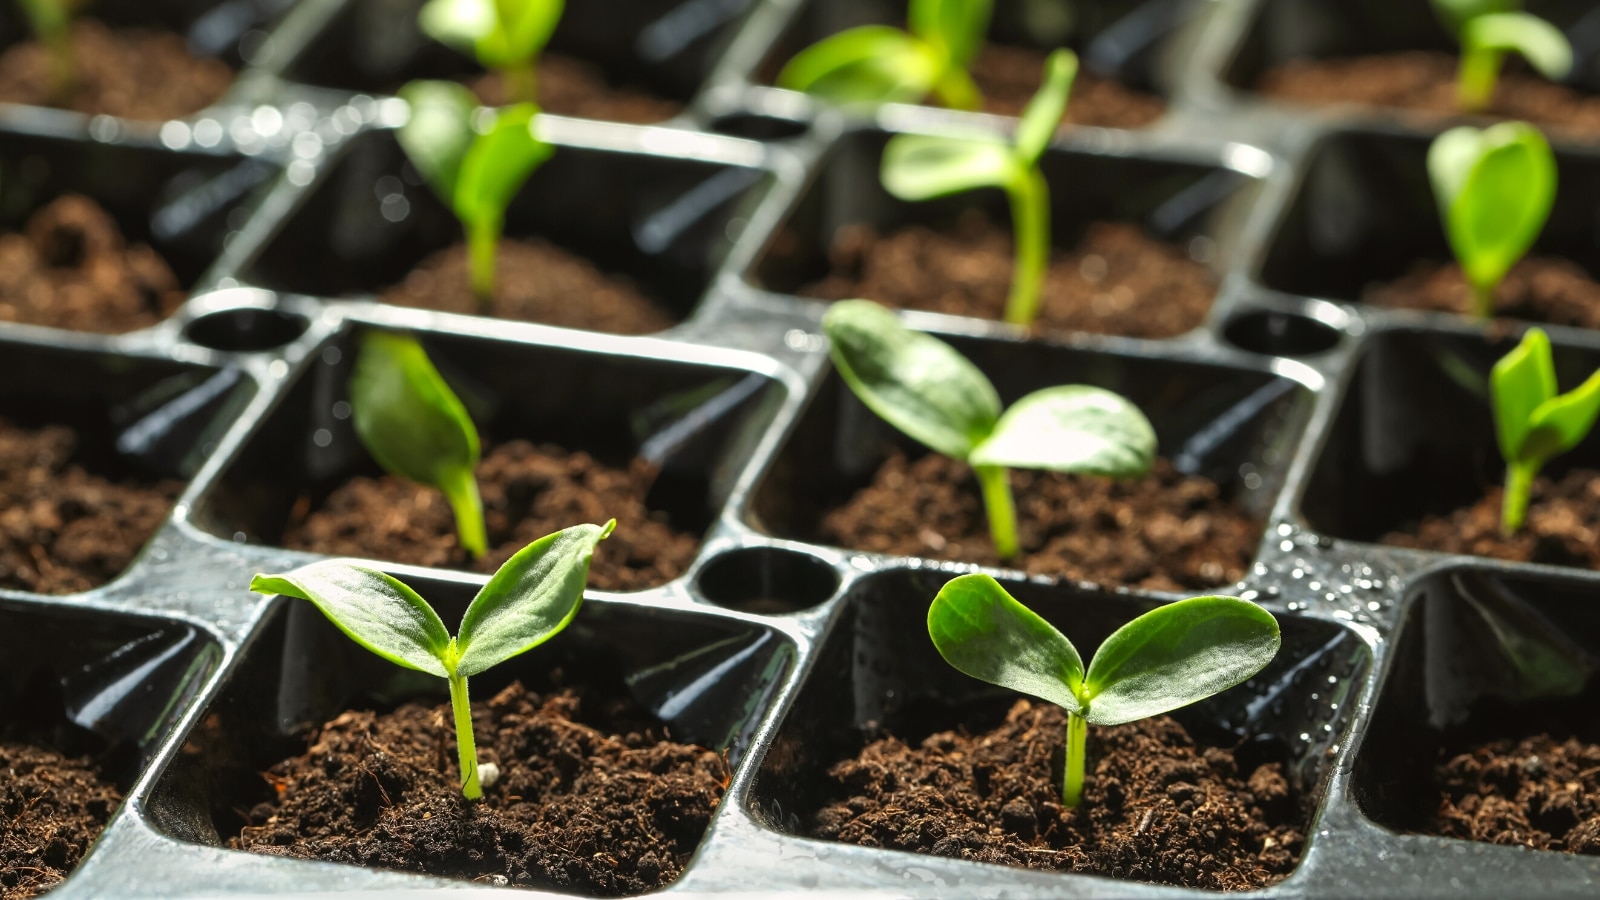
After planting, water the seeds gently to keep the soil moist but not water-soaked. The seeds should germinate within 2-3 weeks, depending on the variety and environmental conditions.
It’s important to monitor the soil moisture during the germination period. Avoid overwatering, as this can lead to fungal diseases and rotting of the seeds.
Once the phlox seedlings have emerged and are a few inches tall, you can thin them out if necessary. Thin out the weaker or overcrowded seedlings, leaving the healthiest and strongest plants to grow.
Now that your phlox seeds are planted, you can look forward to watching them grow and bloom into beautiful flowers. In the next step, we’ll discuss how to care for your phlox plants to ensure their ongoing health and vitality.
Step 4: Watering and Care
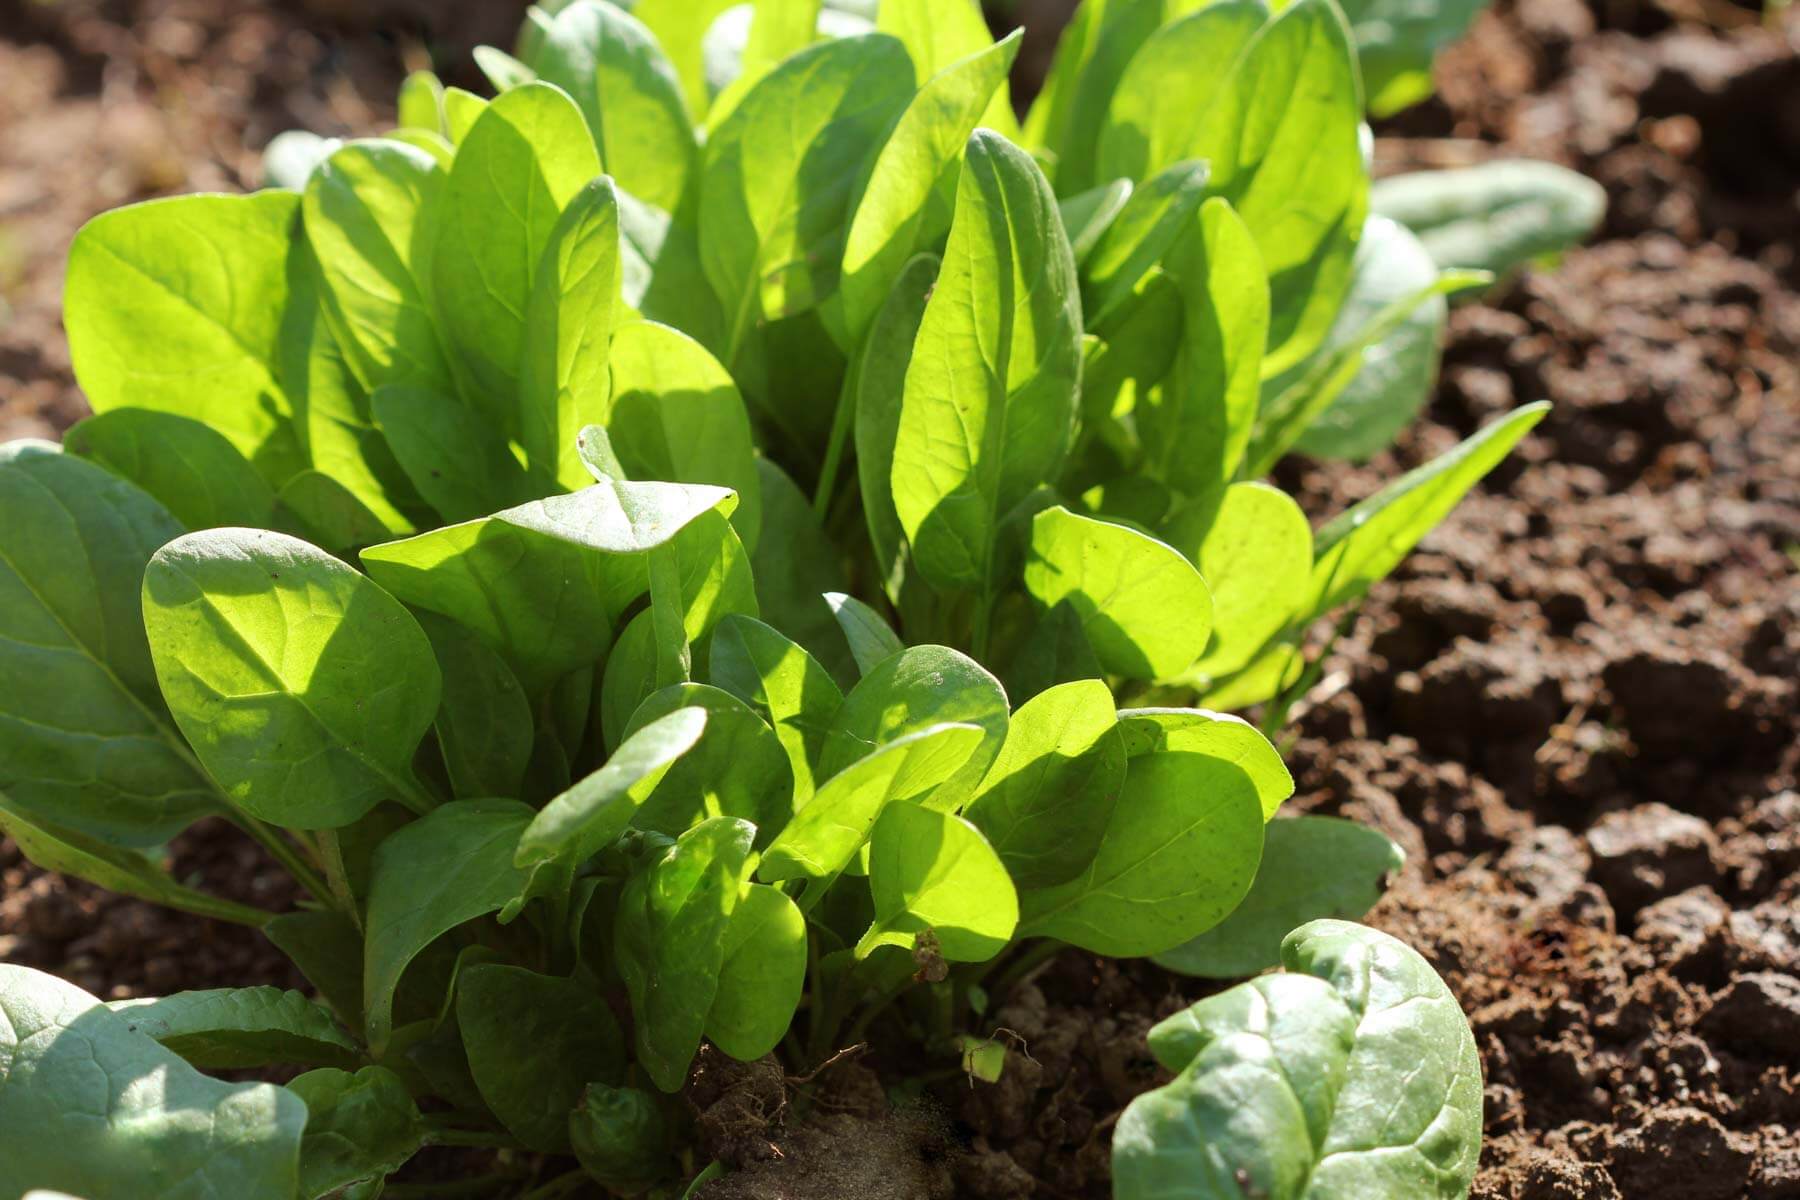
Watering and proper care are vital to the health and growth of your phlox plants. It’s important to provide them with adequate moisture and attention to ensure they thrive and produce beautiful blooms.
During the germination period, it’s crucial to keep the soil consistently moist. Phlox seeds require moisture to sprout and establish their root systems. Water the planting area lightly, ensuring the soil remains damp but not saturated.
Once the phlox seedlings have emerged, adjust the watering schedule accordingly. Water deeply, providing enough moisture to soak the root zone. It’s generally recommended to water phlox plants once or twice a week, depending on the weather and soil conditions.
When watering, make sure to water at the base of the plants rather than from above. This allows the water to reach the roots directly and reduces the risk of fungal diseases that thrive in damp foliage.
Keep an eye on the moisture level of the soil. Phlox plants prefer slightly moist soil but can’t tolerate waterlogged conditions. Avoid overwatering, as this can lead to root rot and other issues. On the other hand, be careful not to let the soil dry out completely, as this can stress the plants and inhibit their growth.
In addition to regular watering, it’s beneficial to apply a layer of organic mulch around the phlox plants. This helps retain soil moisture, suppresses weed growth, and provides insulation to the roots.
Throughout the growing season, it’s important to monitor the health of your phlox plants. Keep an eye out for any signs of pest infestations or diseases. Common pests that may affect phlox include aphids, spider mites, and powdery mildew. If you notice any issues, take appropriate measures such as using organic insecticides or applying fungicides to protect your plants.
Furthermore, it’s a good idea to fertilize your phlox plants during the growing season to provide them with the necessary nutrients. Use a balanced fertilizer or a slow-release granular fertilizer recommended for flowering plants. Follow the instructions on the packaging for proper application rates and timing.
By providing your phlox plants with proper watering, care, and attention, you’ll ensure their health and vigor, leading to stunning blooms that will enhance your garden’s beauty.
Plant phlox seeds in well-draining soil in a sunny spot. Sow the seeds thinly and cover lightly with soil. Keep the soil moist and the seeds should germinate in 10-20 days.
Read more: When Do You Plant Phlox Ground Cover
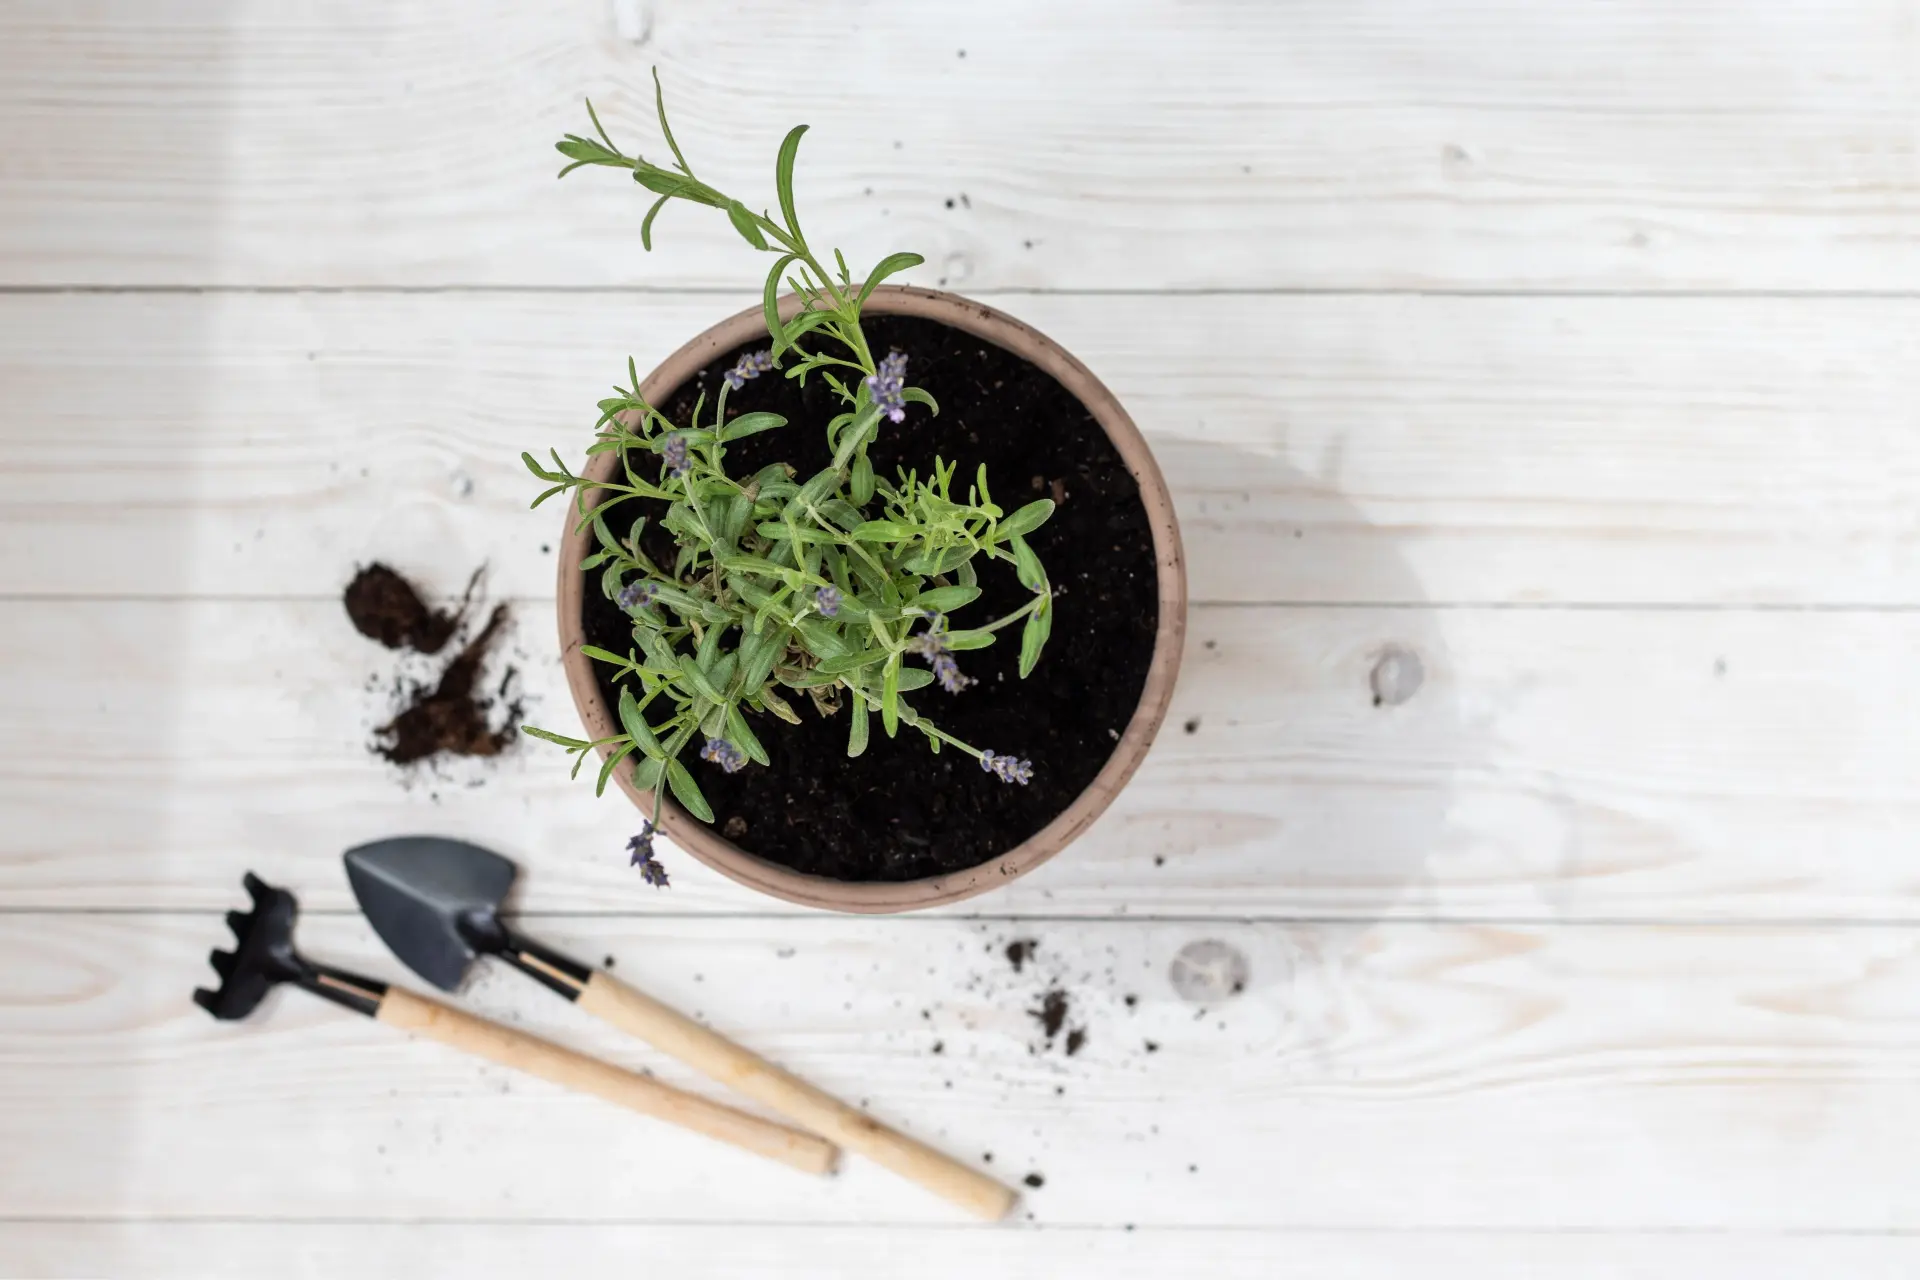
Step 5: Transplanting or Thin Out
As your phlox plants grow, you may need to transplant them or thin them out to ensure adequate spacing and optimal growth. This step is especially important for perennial phlox varieties that can become crowded over time.
If you notice overcrowding or if the plants start to compete for space and resources, it’s time to thin them out. The ideal spacing between phlox plants should be around 12-18 inches, depending on the variety.
To thin out the plants, carefully dig up the excess seedlings or mature plants with a garden trowel, taking care not to damage the roots of the remaining plants. Gently separate the roots of the plants and replant them in their new locations at the recommended spacing.
Transplanting mature phlox plants is also an option if you want to rearrange your garden or if you need to relocate them to a better-suited area. The best time to transplant phlox is in early spring or fall, when the weather is cooler and there is less stress on the plants.
When transplanting, dig a hole in the new planting location that is slightly larger than the root ball of the phlox plant. Carefully remove the plant from its current location, keeping as much of the root system intact as possible. Place the plant in the prepared hole and backfill with soil, firming it gently around the roots.
After transplanting or thinning out the phlox plants, water them thoroughly to help with their establishment. Continue to provide them with regular moisture and care as they adjust to their new surroundings.
It’s important to note that transplant shock may occur after moving or thinning out phlox plants. They may temporarily wilt or show signs of stress. However, with proper care and watering, they should recover and thrive in their new locations.
Transplanting or thinning out your phlox plants will not only ensure their proper growth and health but also give them enough space to spread and showcase their beautiful blooms.
Step 6: Protecting from Pests and Diseases
Just like any other plants, phlox can be susceptible to various pests and diseases. Protecting your phlox plants from these potential threats is essential to ensure their long-term health and vitality. By being proactive and taking preventive measures, you can minimize the risk of damage and keep your plants thriving.
Here are some common pests and diseases that can affect phlox plants and how to protect them:
1. Aphids: Aphids are tiny, sap-sucking insects that can cause stunted growth, distorted leaves, and the development of sticky honeydew on the foliage. To control aphids, you can spray your phlox plants with a strong stream of water to physically remove them. Alternatively, you can use insecticidal soap or neem oil, following the instructions on the product label.
2. Spider Mites: Spider mites are tiny arachnids that feed on the sap of phlox plants, causing yellowing leaves and fine webbing. Regularly spraying the foliage with water can help control spider mites. You can also introduce natural predators like lady beetles or use insecticidal soap or miticide if the infestation is severe.
3. Powdery Mildew: Powdery mildew is a fungal disease that causes a white, powdery coating on the leaves, stems, and flowers of phlox plants. To prevent powdery mildew, ensure adequate air circulation between plants by spacing them properly. Water at the base of the plants and avoid overhead watering. If powdery mildew appears, remove affected plant parts promptly and use fungicidal sprays labeled for powdery mildew control.
4. Slugs and Snails: Slugs and snails can chew on the leaves of phlox plants, leaving behind large holes and slimy trails. To protect your plants from these pests, you can handpick them and dispose of them. Alternatively, you can set up beer traps or use organic slug and snail baits around the plants.
5. Deer and Rabbits: Deer and rabbits can be a nuisance in gardens, especially in rural or wooded areas. To protect your phlox plants from these animals, use fencing or repellents specifically designed for deer and rabbits. You can also plant companion plants that are less appealing to them, serving as a distraction.
Regularly inspect your phlox plants for any signs of pests or diseases, and take action as soon as you notice any problems. By being proactive and implementing preventive measures, you can preserve the health and beauty of your phlox garden.
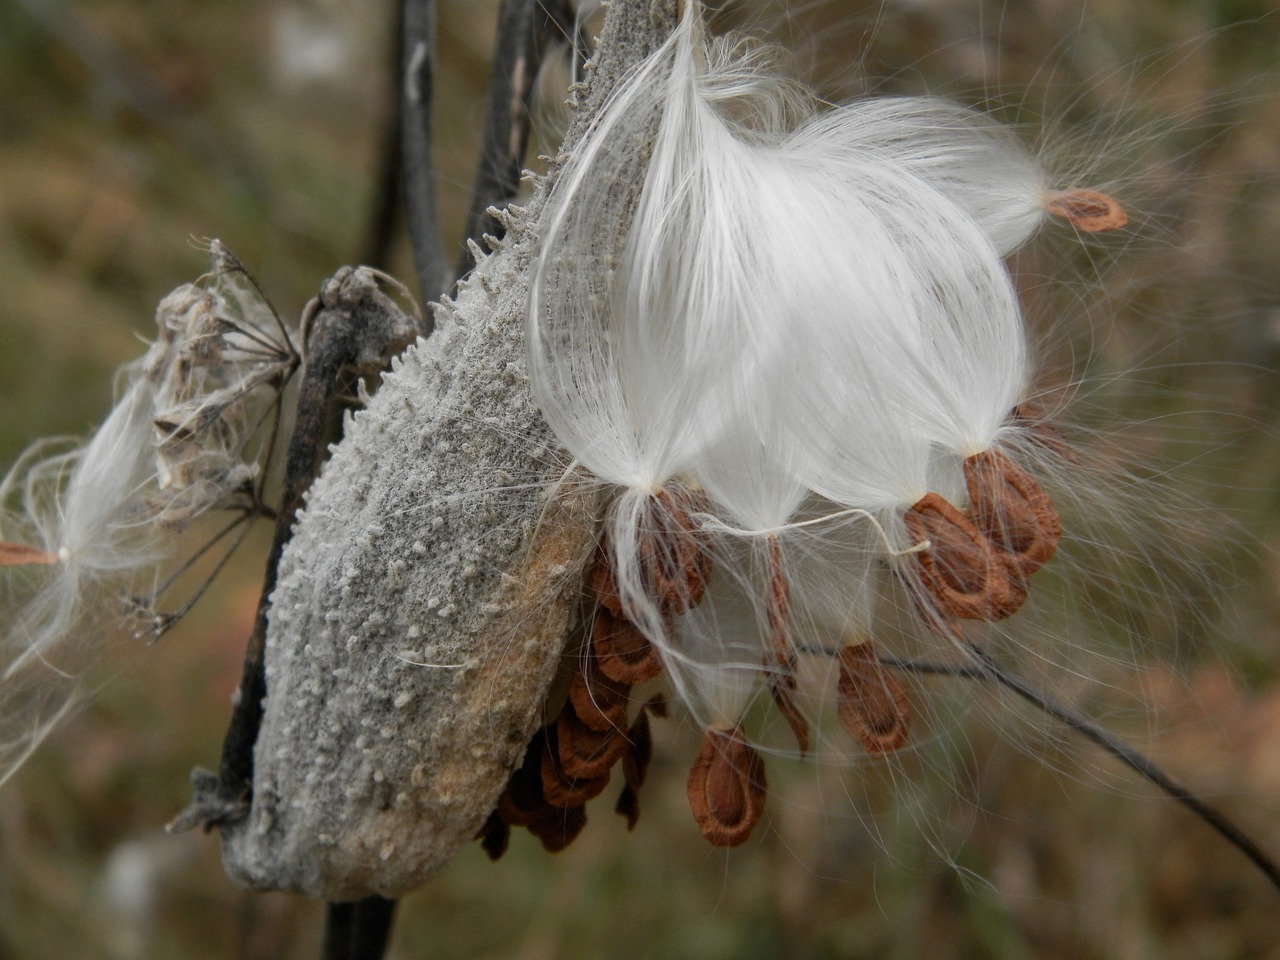
Step 7: Harvesting Seeds
Harvesting phlox seeds allows you to save and propagate your favorite varieties, ensuring a continuous supply of these beautiful flowers for future gardening seasons. The process of harvesting seeds from phlox plants is relatively simple and can be quite rewarding.
To begin, wait until the phlox plant has finished flowering and the seed heads have formed. The seed heads will appear as small pods or capsules, typically located at the base of the spent flowers. They will start to turn brown and dry out as the seeds mature.
Once the seed heads have reached this stage, carefully cut them from the plant using sharp pruners or scissors. Place the seed heads in a paper bag or a clean, dry container to capture any seeds that may fall during the harvesting process.
Next, gently crush the seed heads to release the seeds from the capsules. Be careful not to crush the seeds themselves. You can use your fingers or a small pestle to break them open.
After the seed heads have been crushed, separate the seeds from any remaining plant material or chaff. You can do this by sifting the seeds through a fine mesh sieve or by using your fingers to remove any debris.
Once the seeds have been separated, store them in a dry, airtight container, such as a small envelope or a glass jar. Be sure to label the container with the phlox variety and the date of harvesting.
Store the seed container in a cool, dry place, away from direct sunlight. This will help to maintain the viability of the seeds for future use. Make sure to check the seeds periodically for any signs of moisture or mold, and discard any seeds that appear to be damaged or unhealthy.
When you’re ready to plant the harvested phlox seeds, follow the same planting instructions outlined in Step 3. Whether you choose to sow them directly in the ground or in containers, provide them with proper care and attention to ensure successful germination and growth.
By harvesting and saving phlox seeds, you can preserve the characteristics of your favorite varieties and continue to enjoy their beauty in your garden for years to come.
Conclusion
Congratulations, you’ve successfully learned how to plant phlox seeds and nurture them into beautiful blooming plants! By following the seven steps outlined in this article, you now have the knowledge and tools to create a stunning phlox garden that will bring joy and color to your outdoor space.
From choosing the right time and location to harvesting seeds, you’ve gained insights into the various stages of phlox seed cultivation. Remember to consider factors such as sunlight, soil preparation, watering, thinning, and pest control to ensure the health and vitality of your plants.
Phlox plants are known for their vibrant blooms, sweet fragrance, and their ability to attract butterflies and hummingbirds. With the right care and attention, your phlox garden will not only be a visual delight but also a haven for pollinators.
As you embark on your journey as a phlox gardener, don’t forget to infuse your personal touch and creativity. Experiment with different phlox varieties, mix and match colors, and create unique combinations to showcase your artistic flair.
Remember, gardening is a continuous learning process. Pay attention to your plants, adapt to their needs, and enjoy the rewards of your efforts. Over time, you’ll gain a deeper understanding of phlox and develop your own techniques and strategies to cultivate a thriving garden.
So go ahead, get your hands dirty, and let your phlox garden flourish. Take pleasure in the beauty and serenity it brings, and share your knowledge and experiences with others who are on their own gardening journeys.
Happy planting, and may your phlox garden bloom with abundance!
Frequently Asked Questions about How To Plant Phlox Seeds
Was this page helpful?
At Storables.com, we guarantee accurate and reliable information. Our content, validated by Expert Board Contributors, is crafted following stringent Editorial Policies. We're committed to providing you with well-researched, expert-backed insights for all your informational needs.


0 thoughts on “How To Plant Phlox Seeds”