Home>Garden Essentials>How Deep To Plant Dill Seeds
Garden Essentials
How Deep To Plant Dill Seeds
Modified: August 17, 2024
Learn the right depth for planting dill seeds in your garden and ensure a successful harvest. Discover expert tips for optimal growth and flavor.
(Many of the links in this article redirect to a specific reviewed product. Your purchase of these products through affiliate links helps to generate commission for Storables.com, at no extra cost. Learn more)
Introduction
Welcome to the world of gardening, where the joy of nurturing plants and witnessing their growth is immensely gratifying. If you’re a gardening enthusiast, or maybe even a beginner, you might be wondering how deep to plant your dill seeds for optimal results. Well, you’ve come to the right place!
Dill, a popular herb known for its delicate and aromatic leaves, is a versatile addition to any garden. Whether you want to use it in your culinary endeavors or add it as a decorative touch to your outdoor space, knowing the correct planting depth is crucial for the successful growth of your dill seeds.
In this article, we’ll explore the factors to consider when deciding how deep to plant dill seeds and provide insights into the ideal planting depth. Additionally, we’ll share some valuable planting tips to ensure your dill seeds thrive and produce a bountiful harvest.
So, let’s dig in and discover the secrets to planting dill seeds at the perfect depth!
Key Takeaways:
- Plant dill seeds ¼ to ½ inch deep, considering soil type. Keep soil moist for 7-14 days for germination. Enjoy fresh dill in your culinary creations!
- Consider soil drainage, climate, and light for successful dill growth. Pre-soak seeds, thin out seedlings, and enjoy a bountiful harvest. Happy planting!
Read more: How Deep To Plant Coneflower Seeds
Factors to Consider
Before diving into the ideal planting depth for dill seeds, it’s important to consider a few factors that can impact the growth and development of your plants. By taking these factors into account, you’ll be able to make informed decisions about how deep to plant your dill seeds.
- Soil Drainage: Dill plants prefer well-draining soil to avoid excess moisture, which can lead to root rot. Consider the drainage capabilities of your soil and take necessary steps to improve it if needed.
- Climate: Dill is an annual herb that thrives in cool weather. Consider the climate of your region and the timing of your planting. Dill seeds should be planted when the danger of frost has passed and the soil temperature is consistently above 60°F (15.5°C).
- Light Requirements: Dill plants require full sun or at least 6-8 hours of direct sunlight per day. Ensure that your planting location provides adequate sunlight for the growth and development of your dill plants.
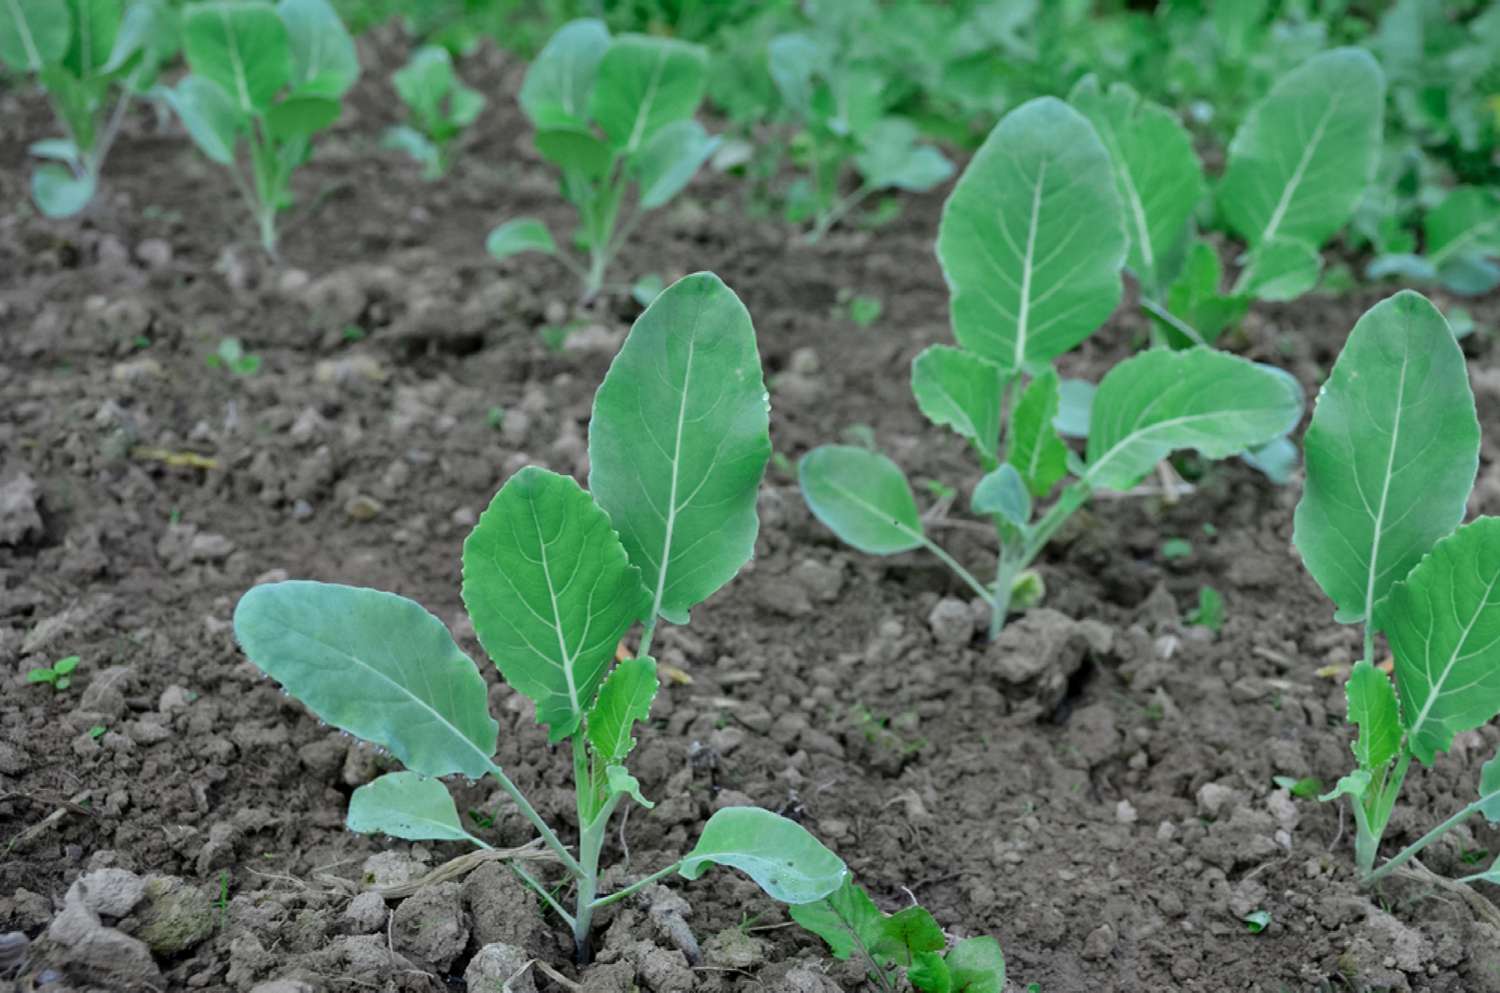
- Companion Plants: Dill is a great companion plant for many vegetables, including cabbage, carrots, and onions. Consider planting dill alongside compatible vegetables to maximize the benefits of companion planting.
- Space Availability: Take into consideration the available space in your garden or container. Dill plants can grow up to 3 feet in height, so ensure there is enough space for them to thrive without overcrowding.
By considering these factors, you’ll be able to provide the optimal growing conditions for your dill plants, setting them up for success from the very beginning.
Ideal Planting Depth for Dill Seeds
Now that you’ve considered the various factors that can influence the growth of your dill plants, let’s delve into the ideal planting depth for dill seeds. Planting dill seeds at the correct depth is essential for their germination and successful establishment.
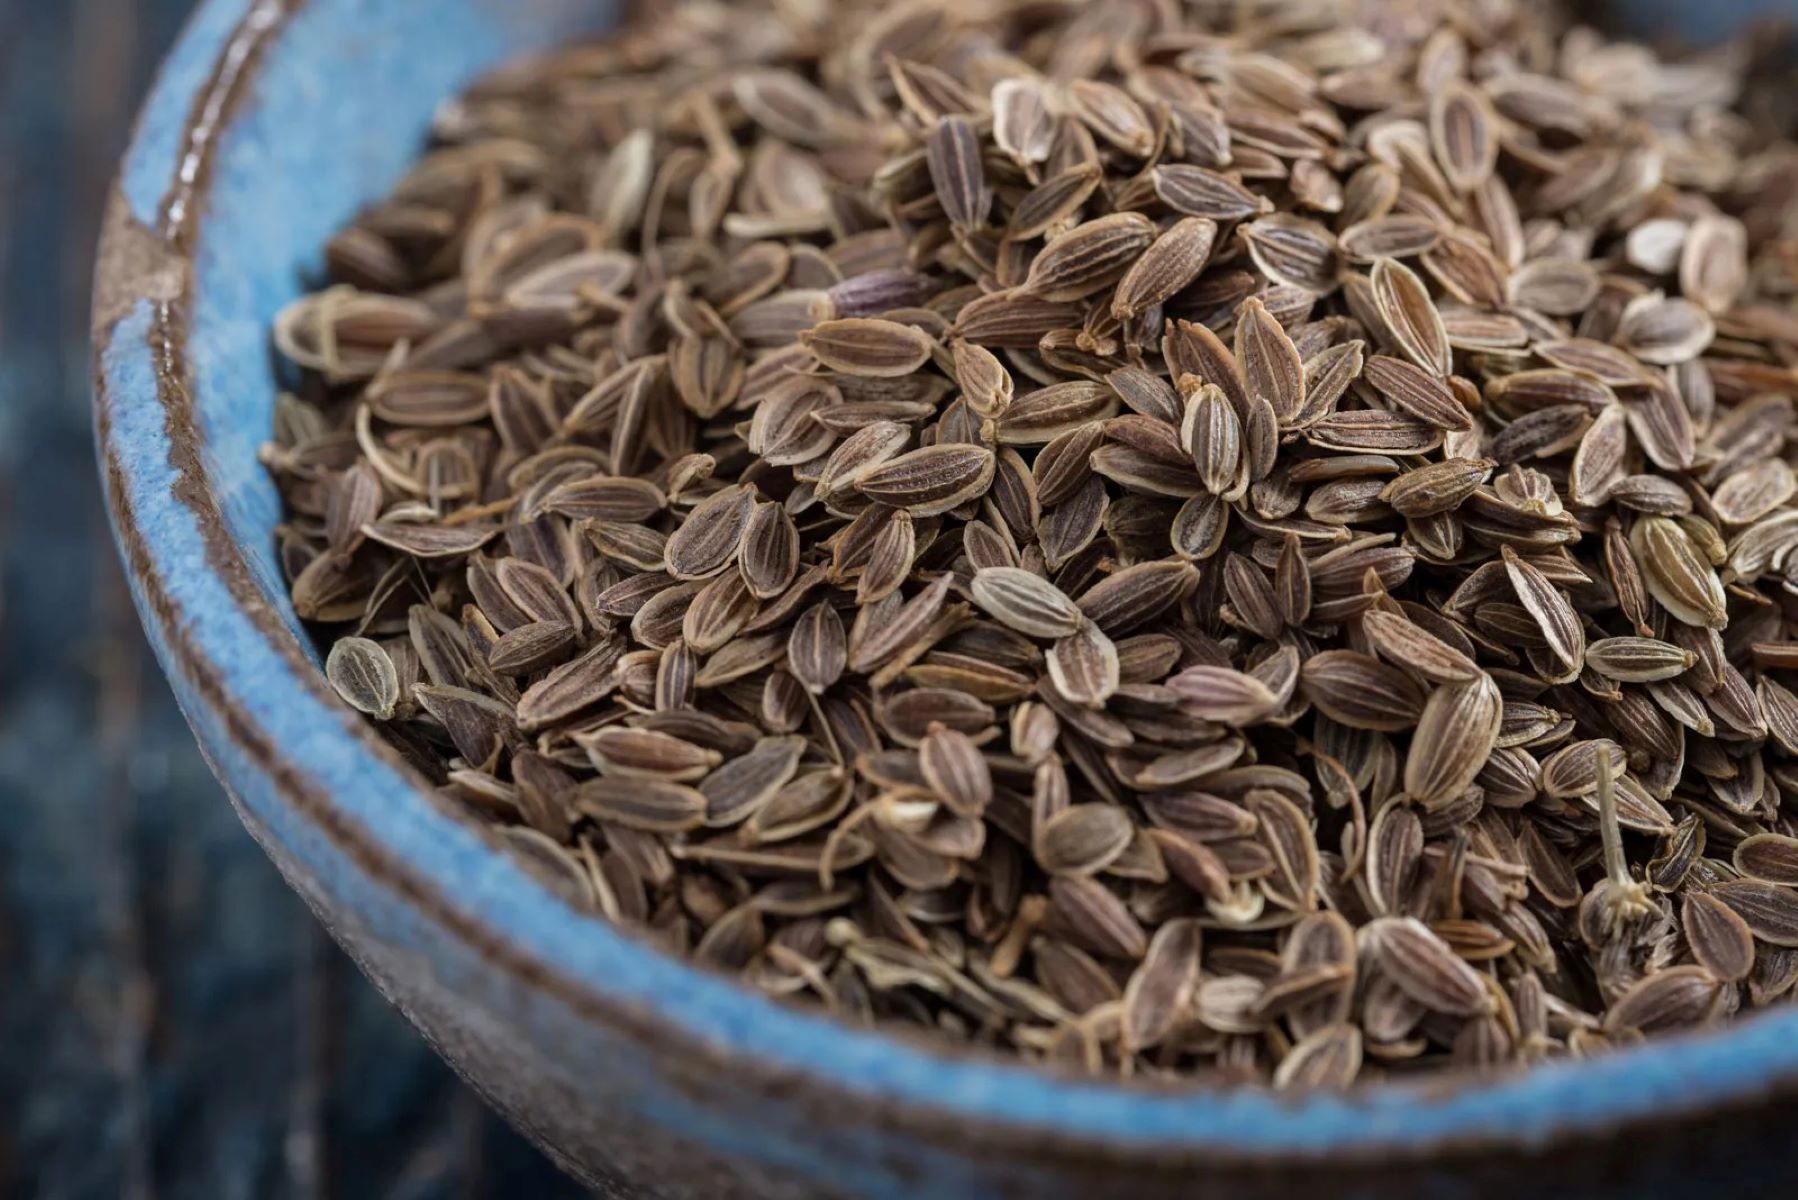
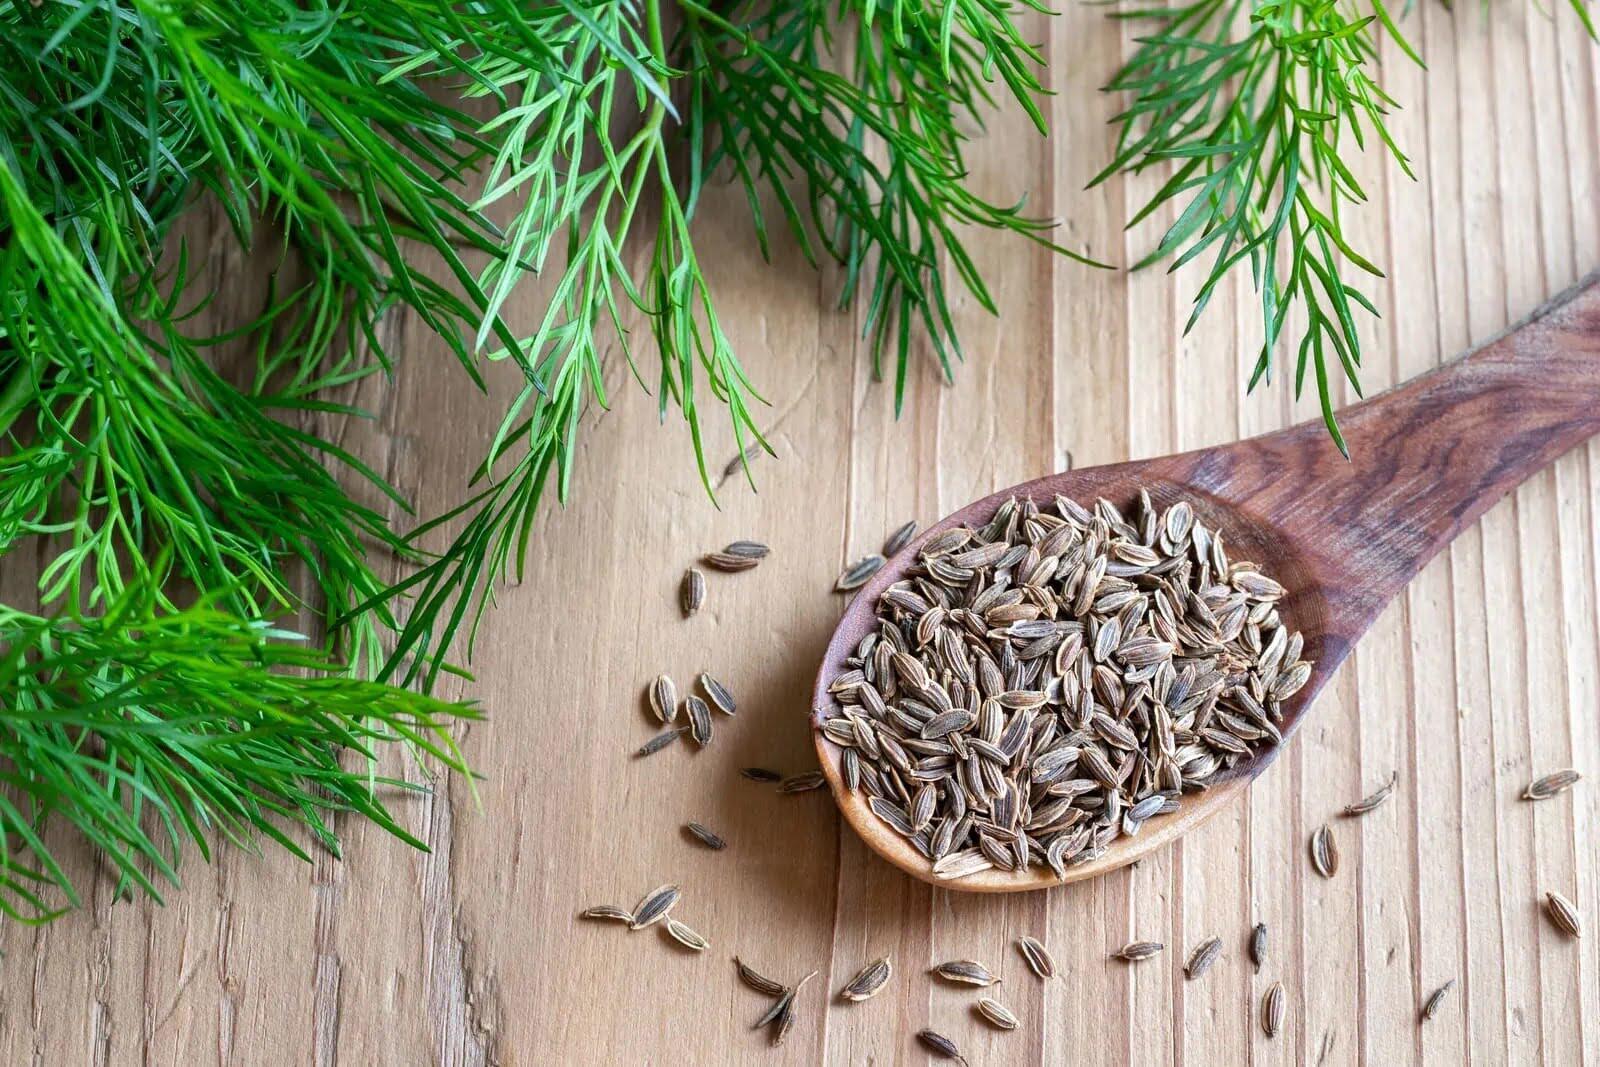
The general rule of thumb for planting dill seeds is to sow them at a depth of ¼ to ½ inch (0.6 to 1.3 cm) in the soil. Dill seeds are relatively small, so planting them too deeply can hinder their ability to sprout and reach the surface.
However, it’s important to note that the ideal planting depth can vary slightly depending on the soil and climate conditions in your specific location. In heavier or clay-rich soils, it’s recommended to plant dill seeds slightly shallower, at around ¼ inch (0.6 cm) deep. This will help prevent the seeds from rotting in overly moist soil.
On the other hand, if you’re planting dill seeds in sandy or loamy soil, you can opt for a slightly deeper planting depth of up to ½ inch (1.3 cm). The looser texture of these soil types allows for better water drainage and reduces the risk of seed rot.
Whatever the soil type, it’s crucial to ensure good seed-to-soil contact. After planting the dill seeds at the appropriate depth, gently tamp down the soil to eliminate any air pockets around the seeds. This helps establish proper contact and enhances germination rates.
Additionally, consider spacing the dill seeds 12 to 18 inches (30 to 45 cm) apart if you’re planting in rows or in a garden bed. This spacing allows each plant to have sufficient room to grow and spread without competing for resources.
Remember to maintain consistent soil moisture during the germination period, which typically takes 7 to 14 days. This will help the dill seeds sprout and establish healthy root systems.
By planting your dill seeds at the ideal depth and providing optimal growing conditions, you’ll greatly increase the chances of successful germination and robust growth.
Plant dill seeds 1/4 inch deep in well-drained soil. Water gently and keep the soil moist until the seeds germinate. Thin the seedlings to 12 inches apart once they have grown a few inches tall.
Planting Tips
Planting dill seeds doesn’t have to be a daunting task. With these helpful tips, you’ll be able to ensure a smooth and successful planting process, setting your dill plants up for thriving growth.
- Pre-soak the Seeds: If you want to speed up the germination process, you can pre-soak your dill seeds in water for 24 hours before planting. This helps soften the seed coat and encourages quicker sprouting.
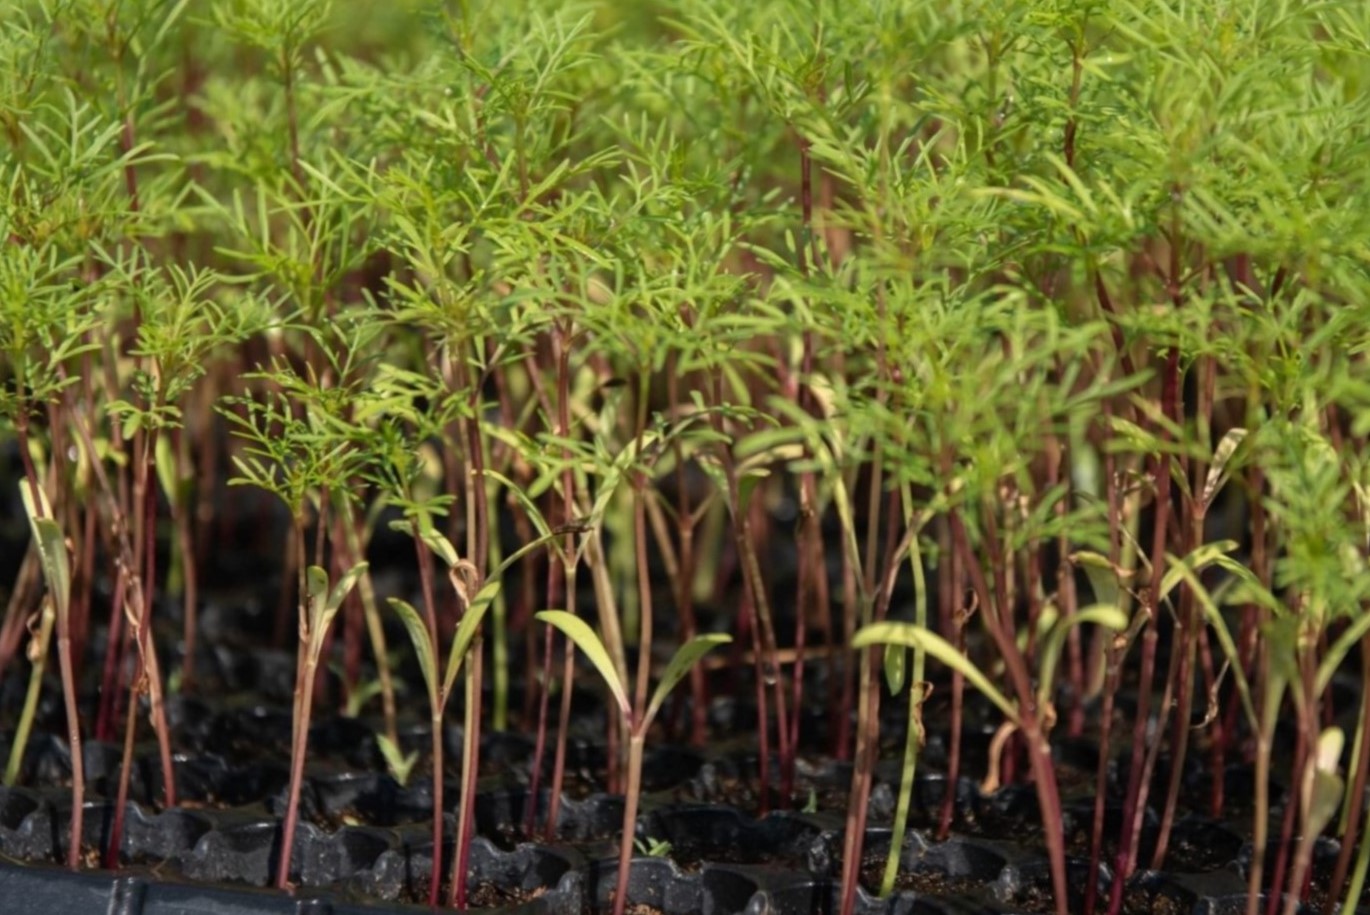
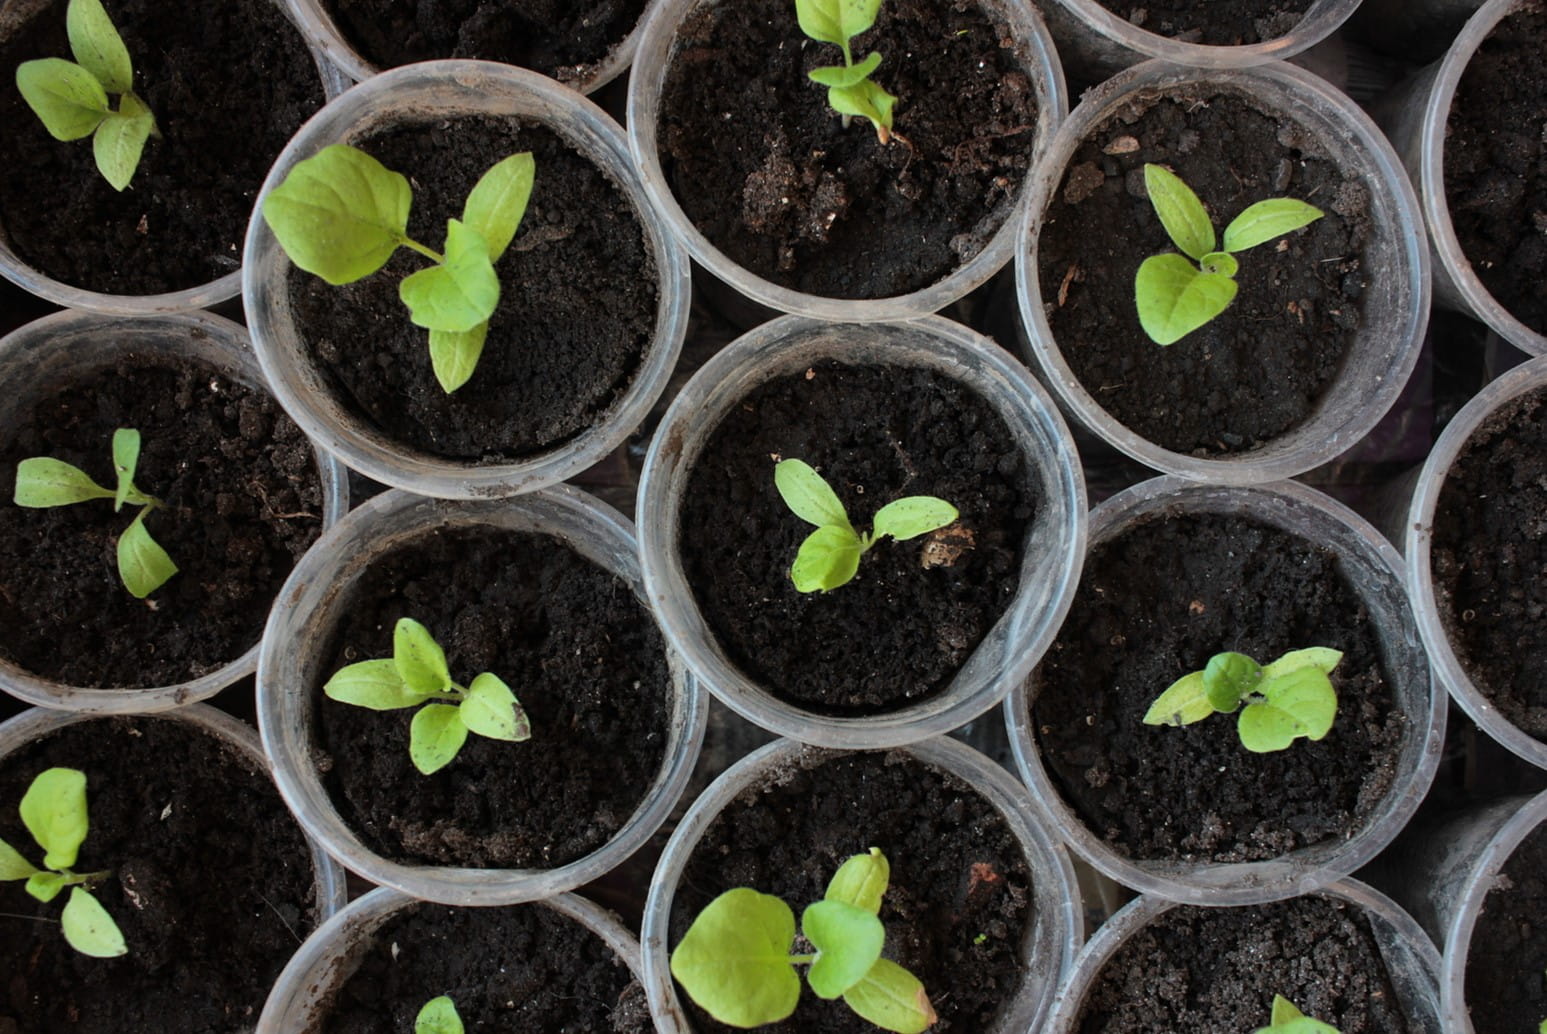
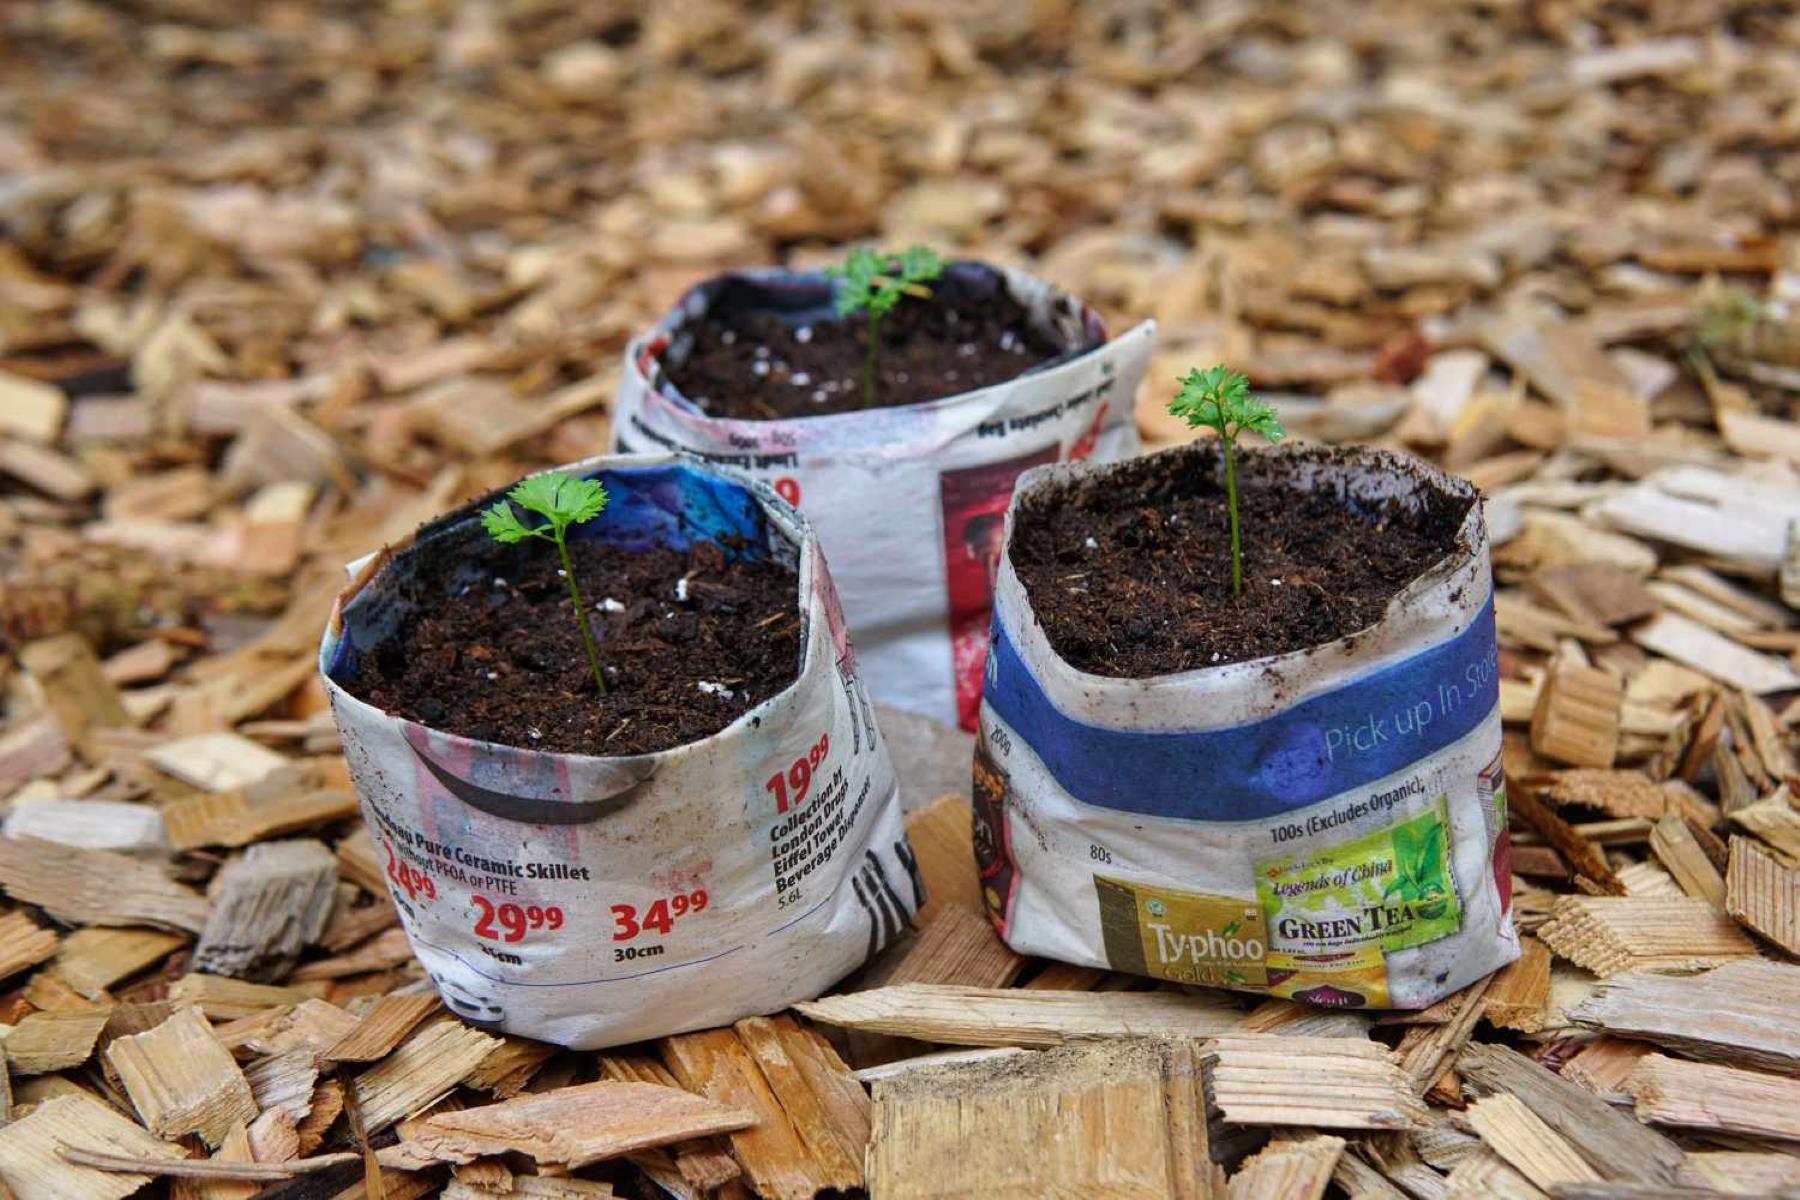
- Start Indoors: If you live in an area with a shorter growing season, consider starting your dill seeds indoors in pots or seed trays. This allows you to get a head start on the growing season before transplanting the seedlings into your garden.
- Direct Sowing: If you prefer to sow your dill seeds directly in the garden, ensure that the soil temperature is consistently above 60°F (15.5°C) and the danger of frost has passed. Sow the seeds at the appropriate depth, as mentioned earlier.
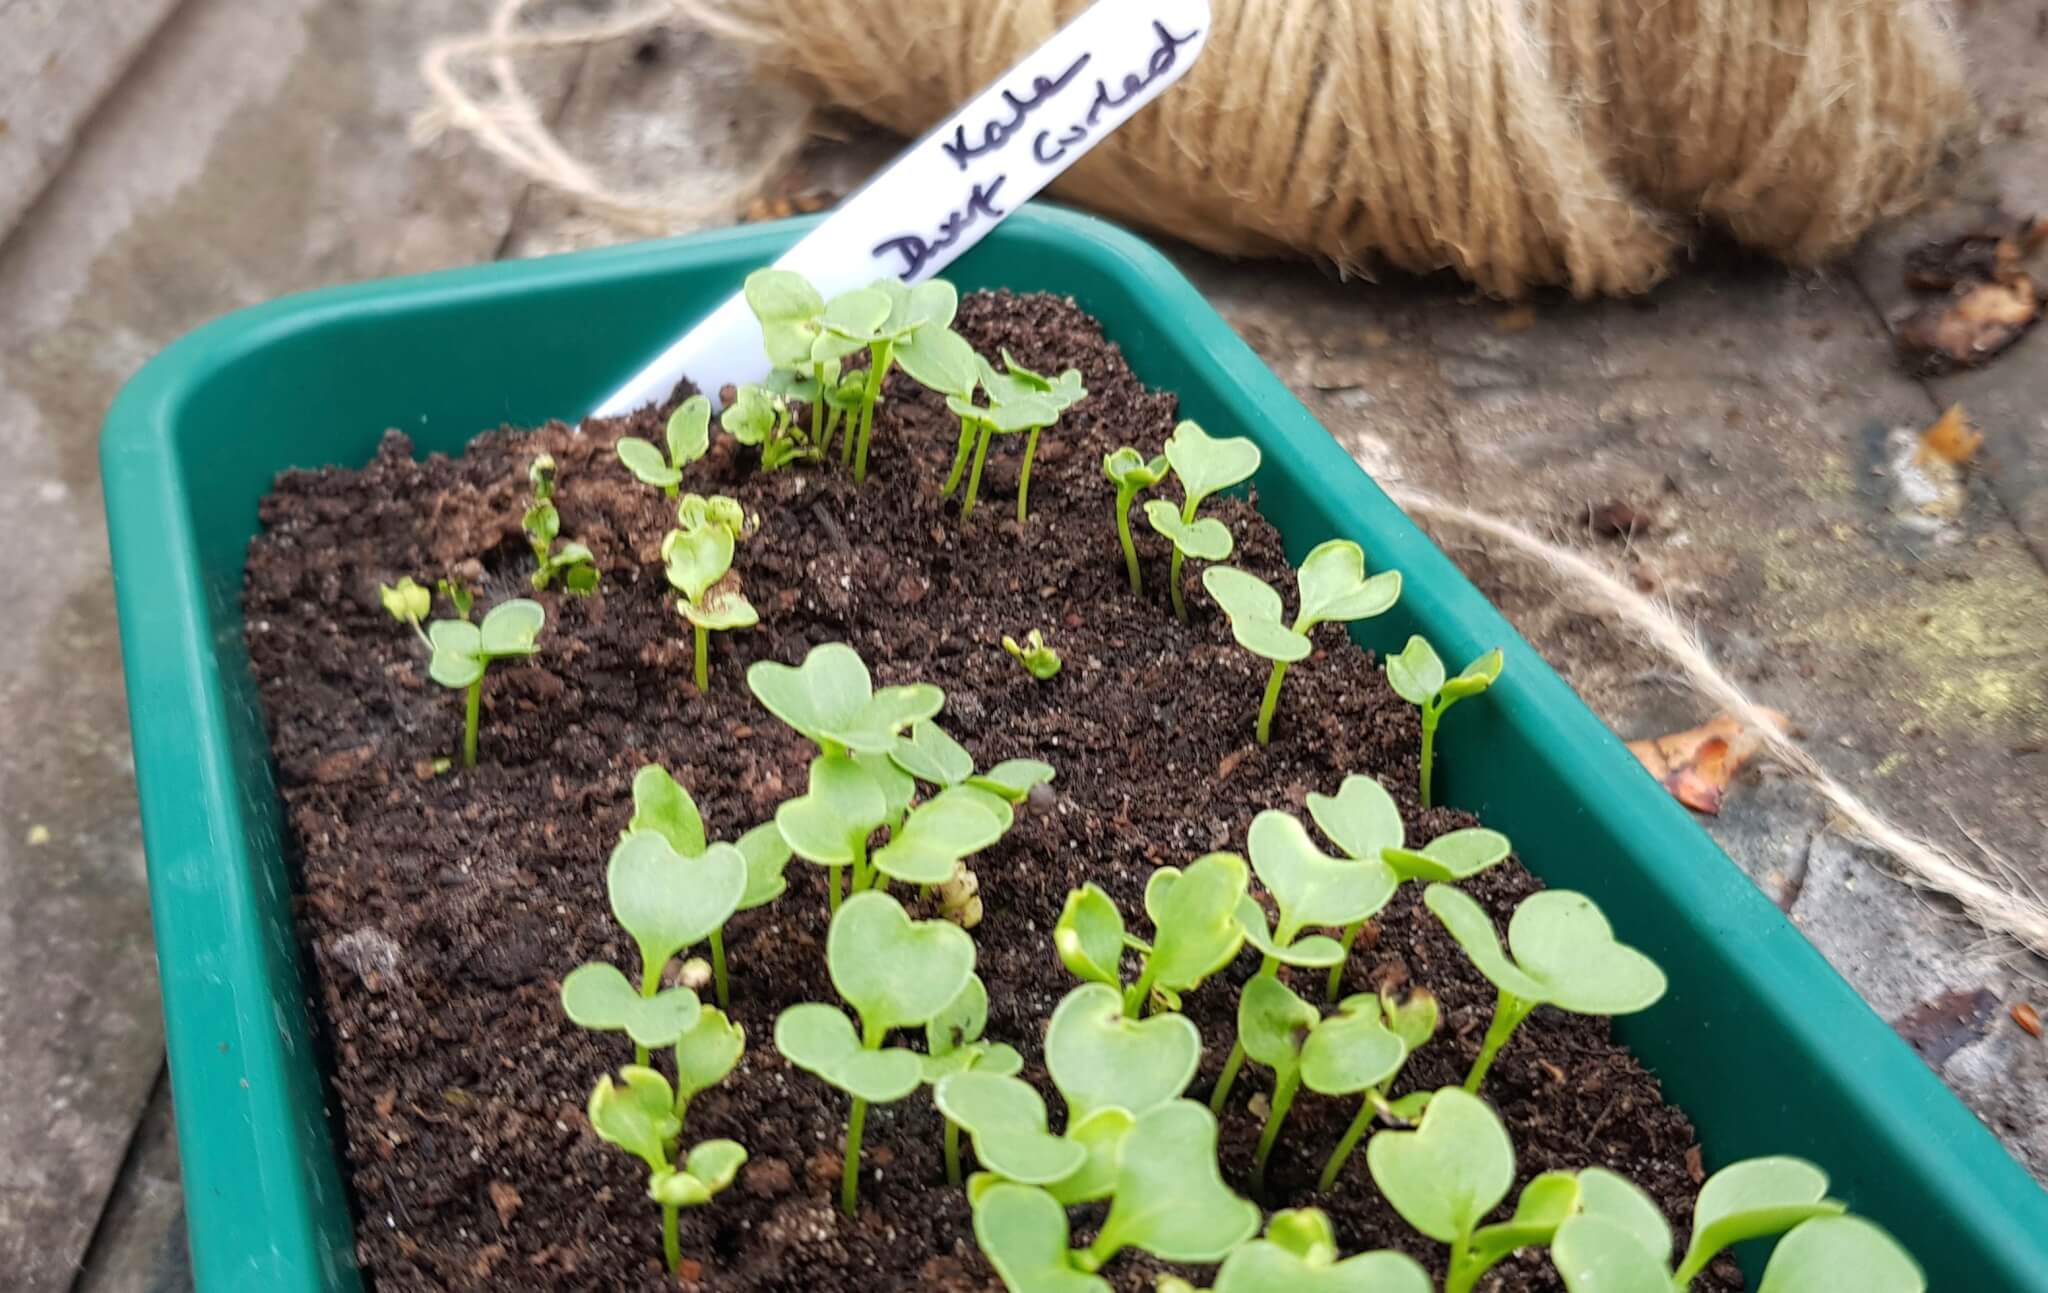
- Thin Out Seedlings: Once the dill seedlings have emerged, thin them out if they are overcrowded. Providing adequate spacing between plants allows for better air circulation and reduces the risk of disease.
- Watering: Dill plants prefer moderate moisture levels. Water the plants deeply, allowing the soil to dry out slightly between watering sessions. Avoid overwatering, as it can lead to root rot and other issues.
- Fertilization: Dill is a relatively low-maintenance plant and doesn’t require heavy fertilization. However, adding a balanced organic fertilizer or compost to the soil before planting can provide necessary nutrients for healthy growth.
- Harvesting: As your dill plants mature, you can start harvesting the leaves and seeds. Harvest the leaves by snipping off the stems near the base of the plant. Allow the seeds to fully develop before cutting the seed heads and collecting the seeds for culinary or planting purposes.
- Succession Planting: To ensure a continuous supply of dill throughout the growing season, consider succession planting. Sow new batches of seeds every few weeks to stagger the growth and extend the harvest period.
By following these planting tips, you’ll be well-equipped to cultivate vibrant and flourishing dill plants in your garden. Enjoy the process and savor the rewards of growing your own fresh and aromatic dill!
Conclusion
Congratulations, you’re now equipped with the knowledge and insights you need to plant your dill seeds at the perfect depth! By considering the factors that can influence your dill plants’ growth, understanding the ideal planting depth, and implementing the planting tips we’ve shared, you’re well on your way to a successful dill-growing experience.
Remember to take into account factors such as soil drainage, climate, light requirements, companion plants, and space availability when planning your dill garden. By optimizing these conditions, you’ll create an ideal environment for your dill seeds to thrive.
When it comes to planting dill seeds, aim for a planting depth of ¼ to ½ inch, depending on your soil type. Be sure to establish good seed-to-soil contact and maintain consistent soil moisture during germination.
Implementing the various planting tips, such as pre-soaking the seeds, thinning out seedlings, proper watering and fertilization, and succession planting, will contribute to the overall health and productivity of your dill plants.
As your dill plants mature, don’t forget to enjoy the harvest. Whether you’re using the leaves for culinary purposes or collecting the seeds for future plantings, dill is a versatile herb that adds a delightful flavor and fragrance to a variety of dishes.
Gardening is a rewarding journey, and growing your own dill can bring immense satisfaction and joy. So go ahead, plant your dill seeds with confidence and watch as they transform into vibrant, aromatic plants that will enhance your garden and culinary adventures.
Happy planting and may your dill garden flourish!
Frequently Asked Questions about How Deep To Plant Dill Seeds
Was this page helpful?
At Storables.com, we guarantee accurate and reliable information. Our content, validated by Expert Board Contributors, is crafted following stringent Editorial Policies. We're committed to providing you with well-researched, expert-backed insights for all your informational needs.
0 thoughts on “How Deep To Plant Dill Seeds”