Home>Garden Essentials>How To Harvest Calendula Seeds
Garden Essentials
How To Harvest Calendula Seeds
Modified: March 16, 2024
Learn the essential steps and techniques of harvesting calendula seeds in your garden. Enhance your gardening skills and enjoy the bountiful results!
(Many of the links in this article redirect to a specific reviewed product. Your purchase of these products through affiliate links helps to generate commission for Storables.com, at no extra cost. Learn more)
Introduction
Gardening is a fulfilling and rewarding hobby that allows us to connect with nature and enjoy the beauty of colorful flowers and rich harvests. Calendula, also known as pot marigold, is a popular flowering plant that not only adds vibrancy to your garden but also offers numerous health benefits. Besides their beautiful blooms, calendula plants produce seeds that can be harvested and saved for future use.
In this article, we will guide you through the process of harvesting calendula seeds, ensuring that you can continue to enjoy the benefits of this versatile plant for years to come.
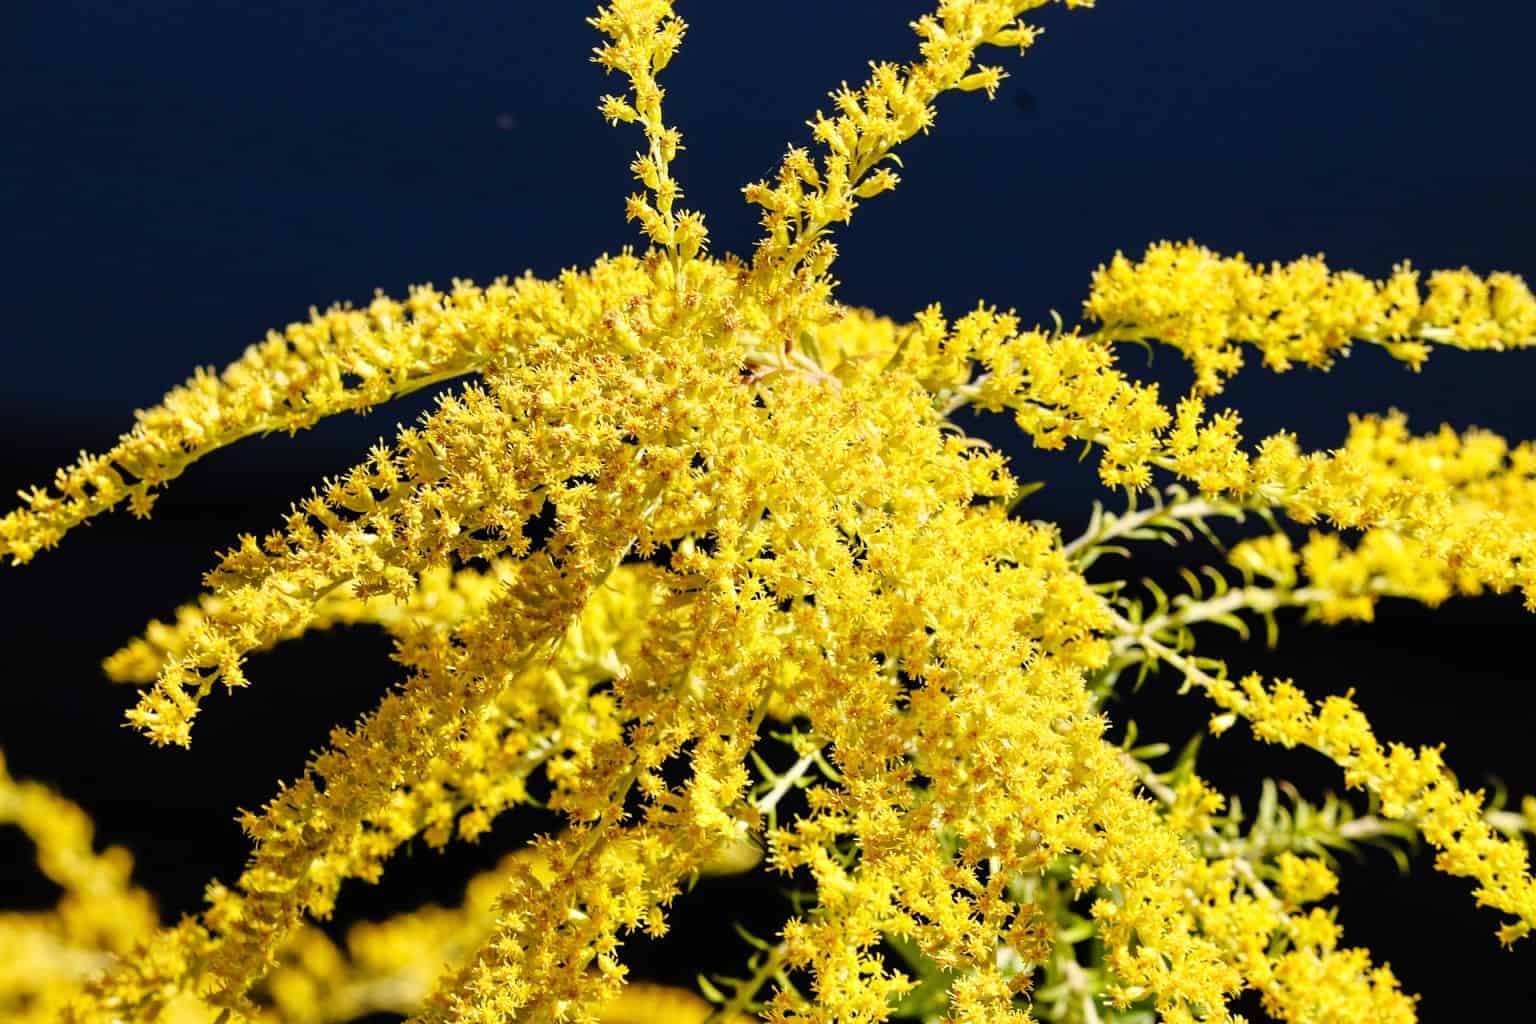
Before we delve into the steps of harvesting calendula seeds, it’s important to understand the plant itself. Calendula is a member of the daisy family and is known for its bright, yellow or orange flowers. The plant has a long history of medicinal use and is valued for its anti-inflammatory, antibacterial, and antiseptic properties. Additionally, the edible petals of the flower can be used to add color and flavor to various culinary creations. Calendula is also a popular ingredient in many skincare products due to its soothing and healing properties.
Now that we have an overview of calendula and its benefits, let’s move on to the step-by-step process of harvesting its seeds.
Key Takeaways:
- Preserve the beauty and benefits of calendula by harvesting, drying, and storing its seeds. Enjoy a continuous cycle of growth and beauty in your garden with this rewarding process.
- Select healthy plants, allow flowers to mature, harvest and dry seeds, then store them properly to ensure a continuous supply for future planting or sharing with fellow gardeners. Happy gardening!
Read more: When To Plant Calendula Seeds
Step 1: Selecting the Calendula Plant
The first step in harvesting calendula seeds is to choose a healthy and mature plant. Look for calendula plants that are at least two to three months old and have a strong and sturdy stem. The plant should have vibrant, fully-developed flowers with petals that are just starting to fade. This indicates that the plant is in the right stage for seed harvesting.
When selecting a plant, also consider its overall health. Avoid plants that show signs of disease or stress, such as yellowing leaves or wilting flowers. A healthy calendula plant will have lush green foliage and vigorous growth.
If you already have calendula plants in your garden, you can easily identify them by their distinctive leaves and vibrant flowers. However, if you don’t have any calendula plants yet, you can purchase young seedlings from local nurseries or start them from seeds indoors.
Remember to choose a variety of calendula that produces viable seeds. Some ornamental varieties are bred for their flowers and may not produce seeds that can be harvested reliably. Look for varieties such as “Pacific Beauty” or “Resina” that are known for their seed production.
Once you’ve selected your calendula plant, it’s time to move on to the next step of the process: allowing the flowers to mature.
Step 2: Allowing the Flowers to Mature
After selecting a healthy calendula plant, the next step in harvesting calendula seeds is to allow the flowers to mature fully. This is important because the seeds need time to develop and ripen inside the flower heads.
As the calendula flowers start to fade and petals begin to wilt, you’ll notice the formation of seed heads at the center of each flower. These seed heads will eventually turn into dried capsules that contain the seeds. It’s crucial to wait until the seed heads are dry and the seeds inside have fully matured before harvesting them.
To ensure the best results, leave the flowers on the plant until the seed heads become brown and crispy. You may notice that the petals fall off naturally, leaving behind the seed heads. This can take anywhere from two to three weeks, depending on the weather and growing conditions.
During this period, it’s important to regularly monitor the seed heads. If the weather turns wet or humid, the seed heads might become moldy and the seeds may not develop properly. If you notice any signs of mold or decay, it’s best to remove the affected seed heads to prevent the spread of disease to healthy ones.
Once the seed heads are dry and the seeds are fully matured, it’s time to move on to the next step: harvesting the calendula seeds.
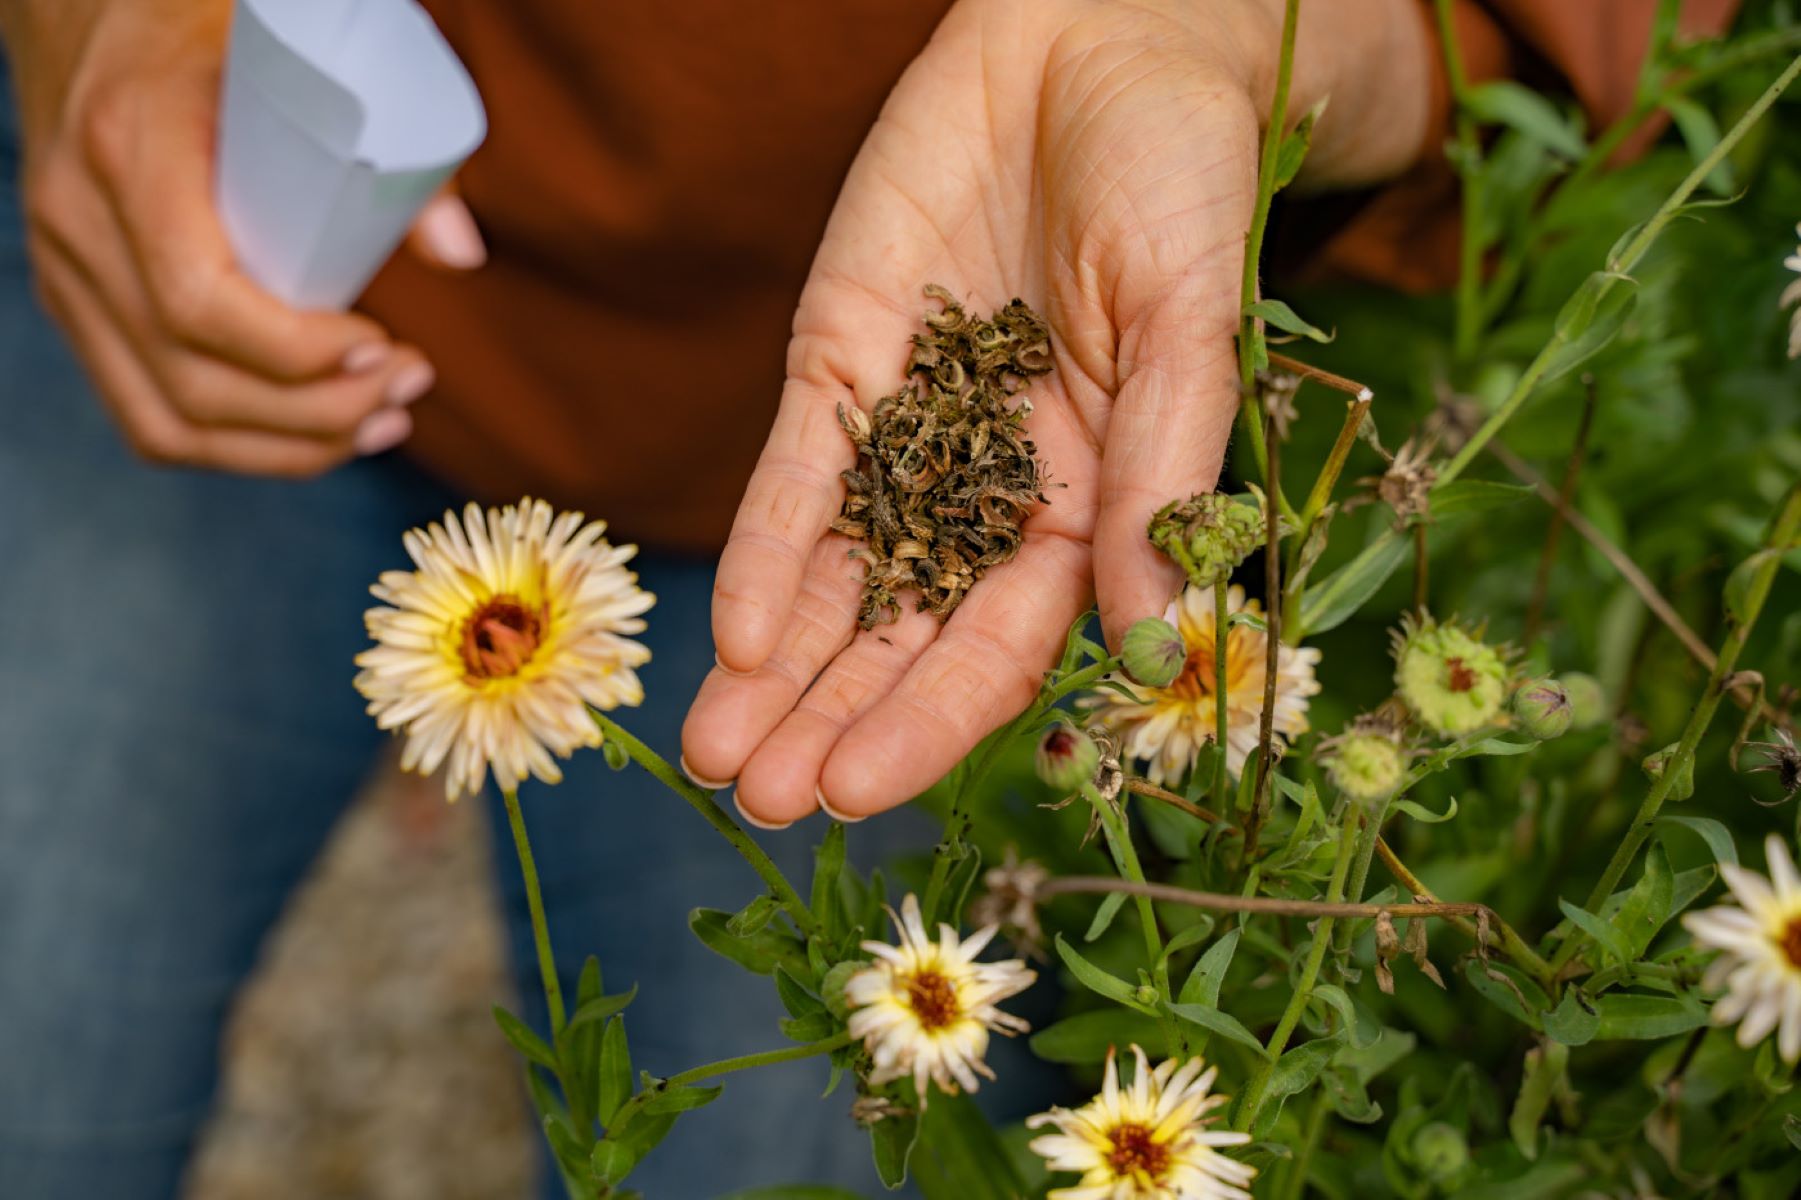
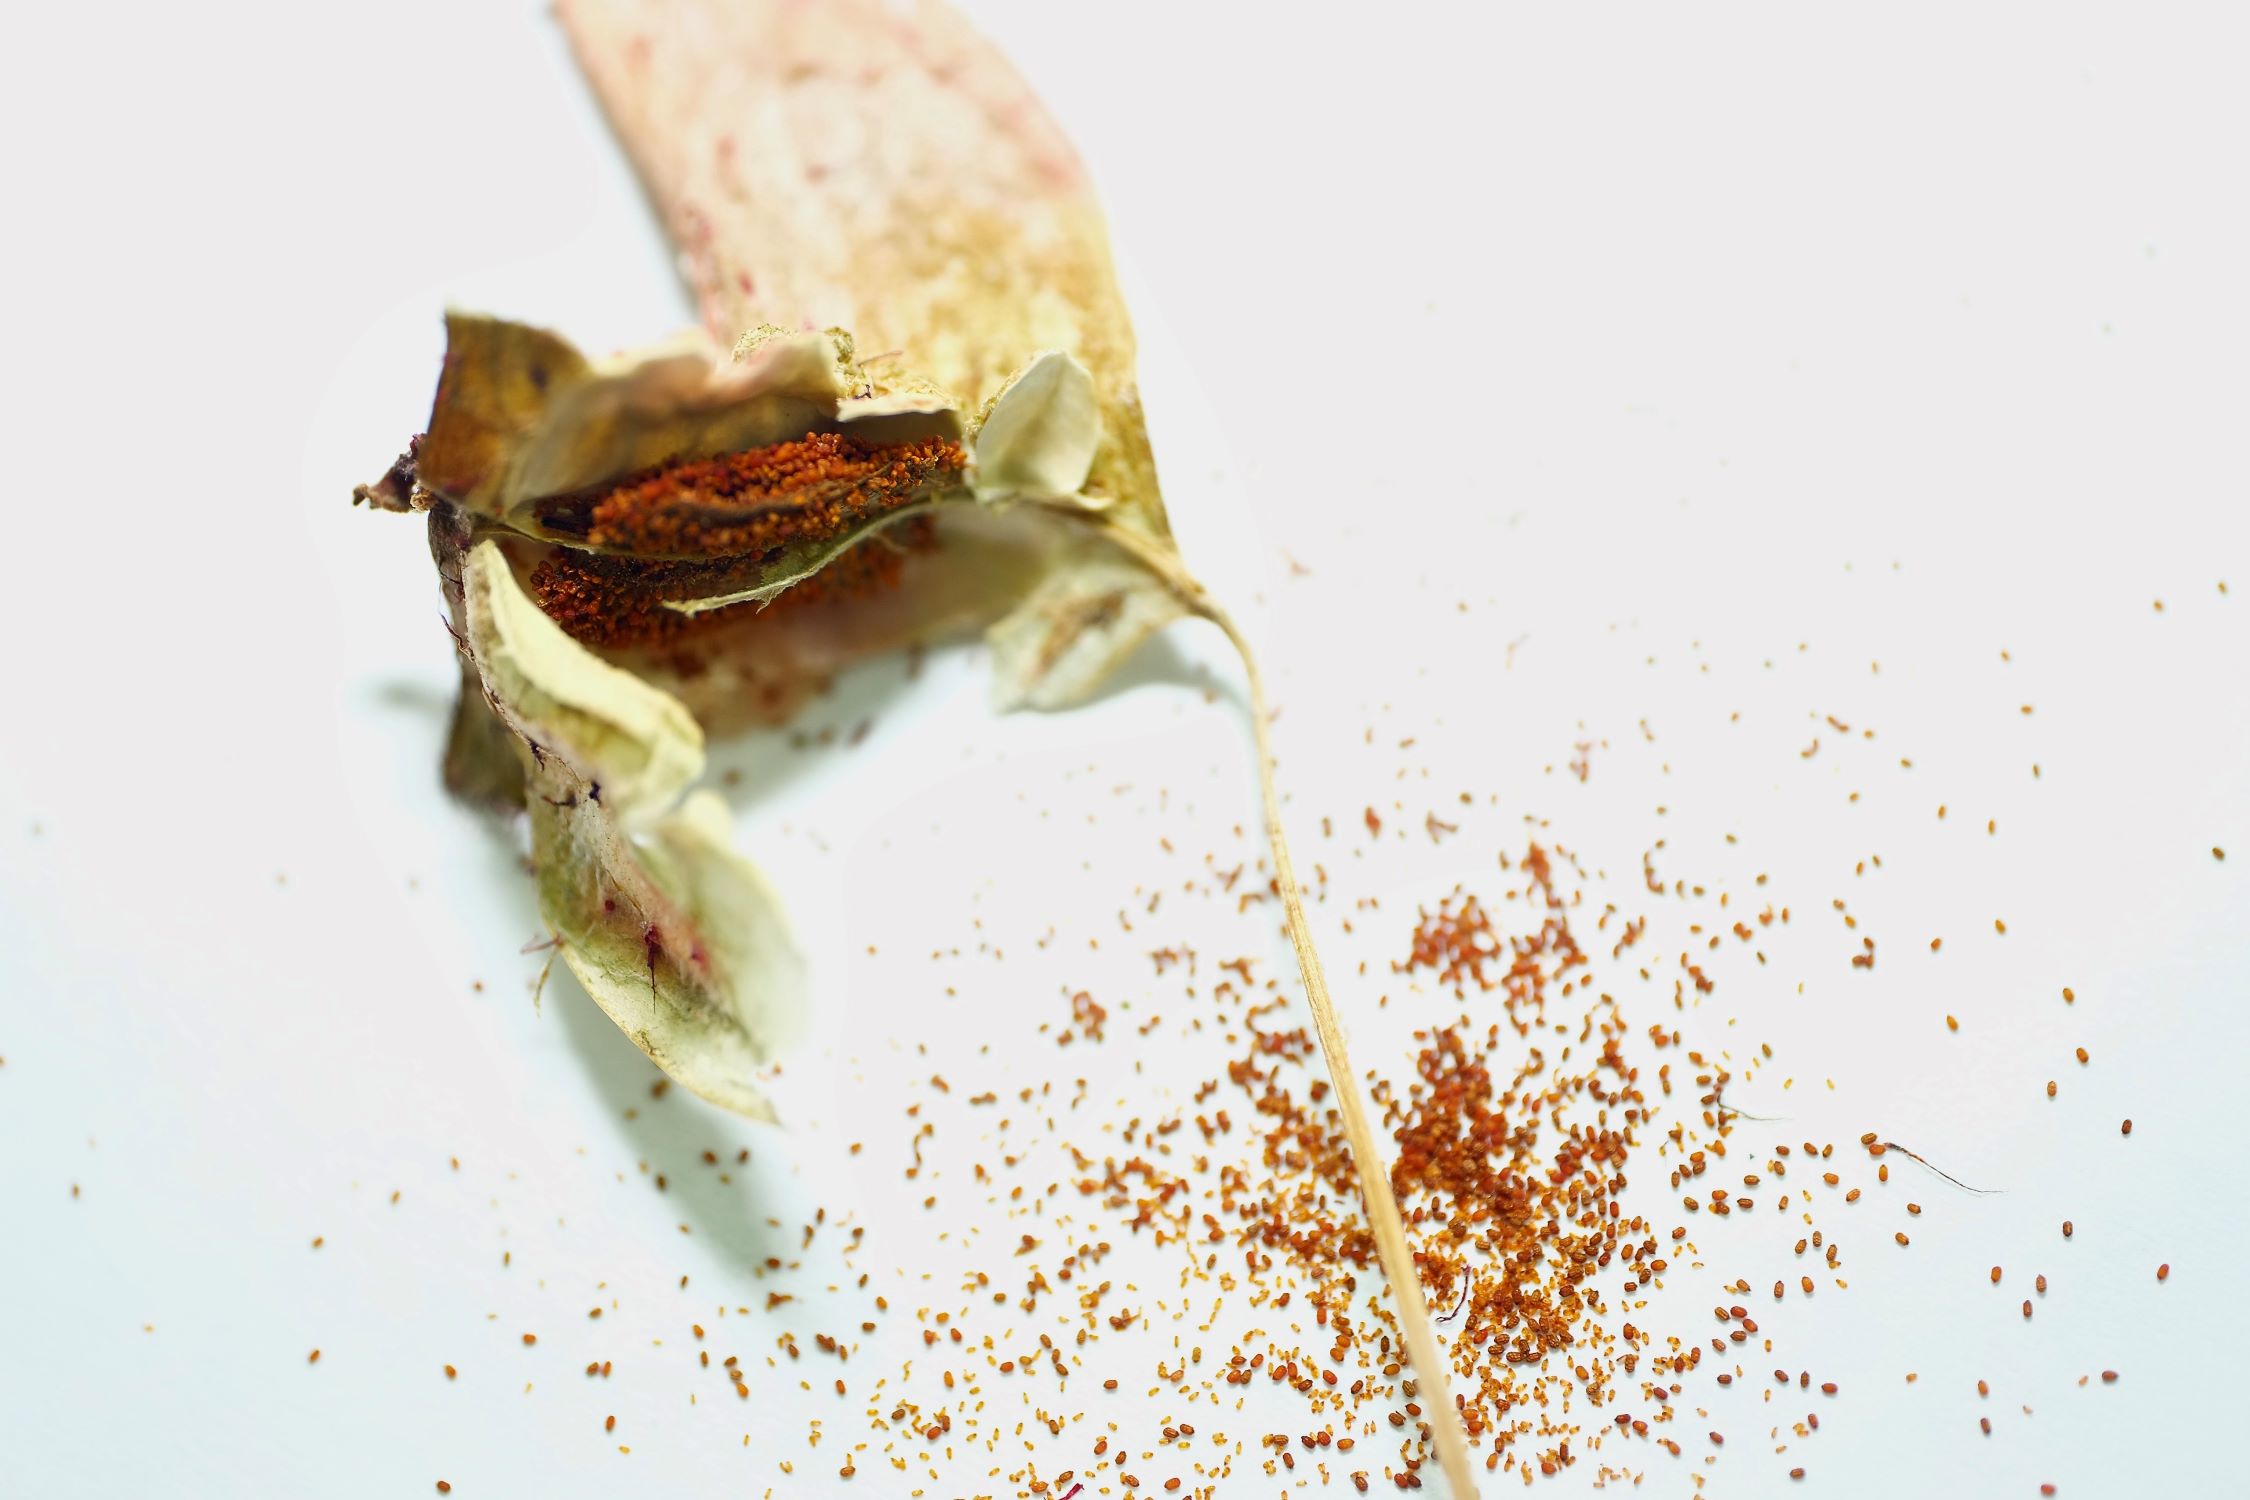
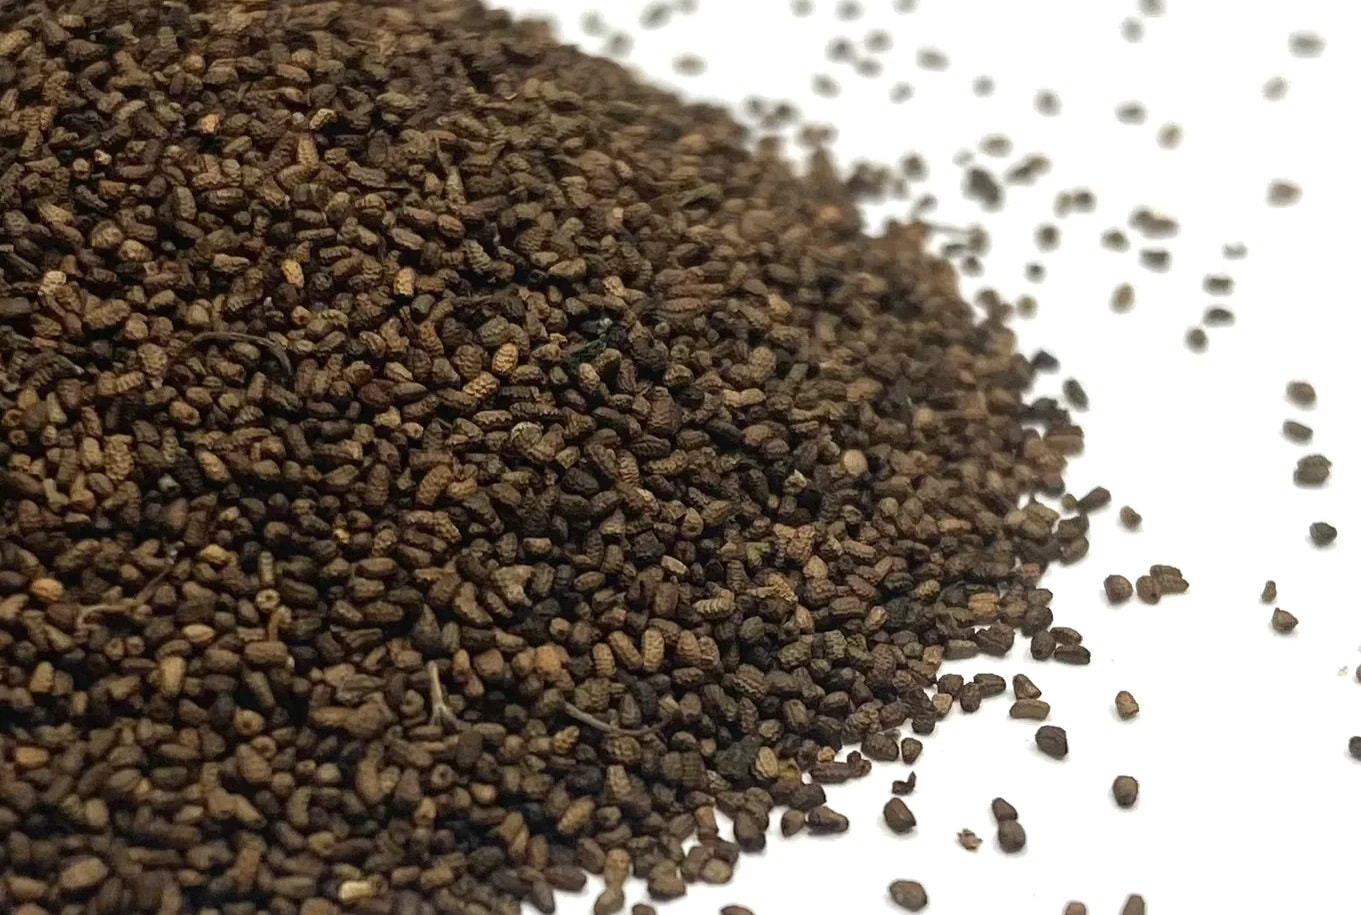
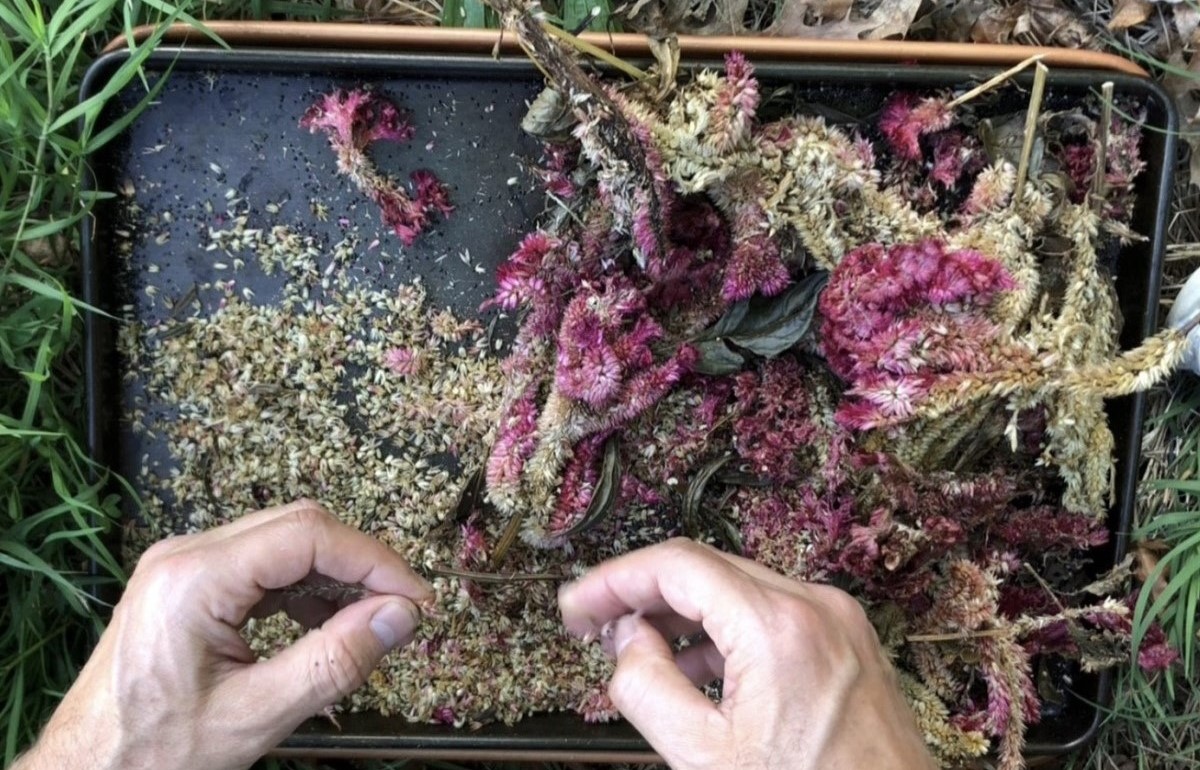
Step 3: Harvesting the Calendula Seeds
Now that the calendula seed heads are dry and the seeds have fully matured, it’s time to proceed with harvesting the calendula seeds. Follow these steps to ensure a successful harvest:
- Start by selecting a dry and sunny day to harvest the seeds. This will help prevent any moisture from affecting the quality of the seeds.
- Prepare a clean container or a paper bag to collect the seed heads. Make sure the container is dry and free from any moisture.
- Gently hold the seed head between your thumb and forefinger and twist it in a clockwise motion. This will help detach the seed head from the stem. Continue this process for each seed head on the plant.
- Carefully place each seed head in the container or paper bag, making sure not to crush or damage them. Be gentle to avoid scattering any loose seeds.
- Once you have harvested all the seed heads, take them indoors and place them on a clean, dry surface. This will allow any remaining moisture to evaporate.
- Take a small paper bag or envelope and label it with the variety and date of harvest. This will help you keep track of the seeds and their freshness.
- Open each seed head and gently tap it into the paper bag, allowing the seeds to fall inside. You can also use your fingers to remove the seeds from the seed heads if needed. Make sure to discard any debris or chaff that may have fallen into the bag.
It’s important to note that calendula seeds are relatively small and can be challenging to handle. Take your time when harvesting to ensure that you don’t lose any seeds in the process. Additionally, make sure to harvest seeds only from open-pollinated varieties and avoid seeds from hybrid plants, as they may not produce offspring with the same desirable traits.
With the calendula seeds harvested, the next step is to dry them properly before storing them for future use.
After the flowers have dried on the plant, gently pinch the seed heads to release the seeds. Store the seeds in a cool, dry place for future planting.
Step 4: Drying the Seeds
Once the calendula seeds have been harvested, it’s important to dry them thoroughly before storing them. Proper drying will help prevent mold and ensure the longevity of the seeds. Follow these steps to dry the calendula seeds:
- Spread the harvested seeds in a single layer on a clean and dry surface such as a tray or a paper towel.
- Place the seeds in a well-ventilated area away from direct sunlight. This will prevent the seeds from getting overheated and losing their viability.
- Let the seeds air dry for about one to two weeks. During this time, gently stir or shake the seeds daily to ensure even drying and to prevent them from clumping together.
- Check the seeds regularly for any signs of moisture or mold. If you notice any, remove the affected seeds to prevent the spread of moisture or fungus.
- After the seeds are completely dry, they should feel hard and brittle to the touch. This indicates that they are ready for storage.
It’s crucial to ensure that the seeds are thoroughly dry before moving on to the next step. Any remaining moisture can lead to mold or rot, jeopardizing the viability of the seeds.
With the calendula seeds now properly dried, we can move on to the final step: storing them for future use.
Step 5: Storing the Calendula Seeds
Proper storage is essential to maintain the viability of calendula seeds. Follow these steps to ensure the longevity of your harvested seeds:
- Transfer the completely dried calendula seeds to a clean and dry glass jar or an airtight container. Glass jars with tight-fitting lids are ideal for seed storage as they prevent moisture and pests from getting in.
- If desired, you can add a desiccant packet or a small amount of powdered milk to the jar to absorb any residual moisture and maintain a dry environment.
- Label the container with the variety and date of harvest, as well as any other important details you want to remember.
- Store the jar in a cool, dark, and dry location such as a basement or a cupboard. The temperature should be consistent and preferably below 50°F (10°C).
- Periodically check the jar for any signs of moisture or mold. If you notice any, remove the affected seeds immediately to prevent the spread.
- It’s a good practice to store backups of your seeds in separate containers and in different locations. This helps safeguard against any unforeseen events or accidents that may damage or destroy your seed collection.
With proper storage and care, calendula seeds can remain viable for up to three years. However, it’s recommended to use the seeds within the first year for optimal germination rates.
Now that you know how to harvest and store calendula seeds, you can continue to grow these beautiful flowers and enjoy their benefits year after year. Whether you want to use the seeds for reseeding your garden or for gifting to fellow gardeners, the process of harvesting and storing calendula seeds will ensure a successful outcome.
By following these steps, you can harvest and preserve the essence of your garden, allowing you to create a continuous cycle of growth and beauty.
Happy gardening!
Conclusion
Harvesting calendula seeds is a rewarding process that allows you to preserve the beauty and benefits of this versatile plant. By following the steps outlined in this guide, you can successfully harvest, dry, and store calendula seeds for future use.
The process begins with selecting a healthy calendula plant that is in the right stage of maturity. Allowing the flowers to fully mature and the seed heads to dry is crucial for successful seed harvesting. Once the seed heads are dry, gently detach them from the plant and collect them in a container or paper bag.
After harvesting the seed heads, it’s important to properly dry the seeds to prevent mold or decay. Spread the seeds in a single layer and let them air dry in a well-ventilated area for about one to two weeks. Stir or shake the seeds daily to ensure even drying.
Once the seeds are completely dry and brittle, transfer them to a clean, dry glass jar or airtight container. Label the container with important details and store it in a cool, dark, and dry location. Regularly check for any signs of moisture or mold and remove any affected seeds to maintain the quality of the collection.
By taking these steps, you can ensure the longevity of your calendula seeds and have a continuous supply for future planting or sharing with fellow gardeners. Remember to use the seeds within the first year for optimal germination rates.
Harvesting and storing calendula seeds allows you to connect with nature, preserve the essence of your garden, and continue to enjoy the beauty and benefits of this remarkable plant. Incorporate calendula into your garden and take delight in the colorful blooms and the abundance of seeds that they produce.
Happy gardening and may your harvests be plentiful!
Frequently Asked Questions about How To Harvest Calendula Seeds
Was this page helpful?
At Storables.com, we guarantee accurate and reliable information. Our content, validated by Expert Board Contributors, is crafted following stringent Editorial Policies. We're committed to providing you with well-researched, expert-backed insights for all your informational needs.

0 thoughts on “How To Harvest Calendula Seeds”