Home>Garden Essentials>When To Plant A Germinated Seed
Garden Essentials
When To Plant A Germinated Seed
Modified: March 15, 2024
Discover when to plant a germinated seed in your garden. Follow these essential tips to ensure successful germination and healthy plant growth.
(Many of the links in this article redirect to a specific reviewed product. Your purchase of these products through affiliate links helps to generate commission for Storables.com, at no extra cost. Learn more)
Introduction
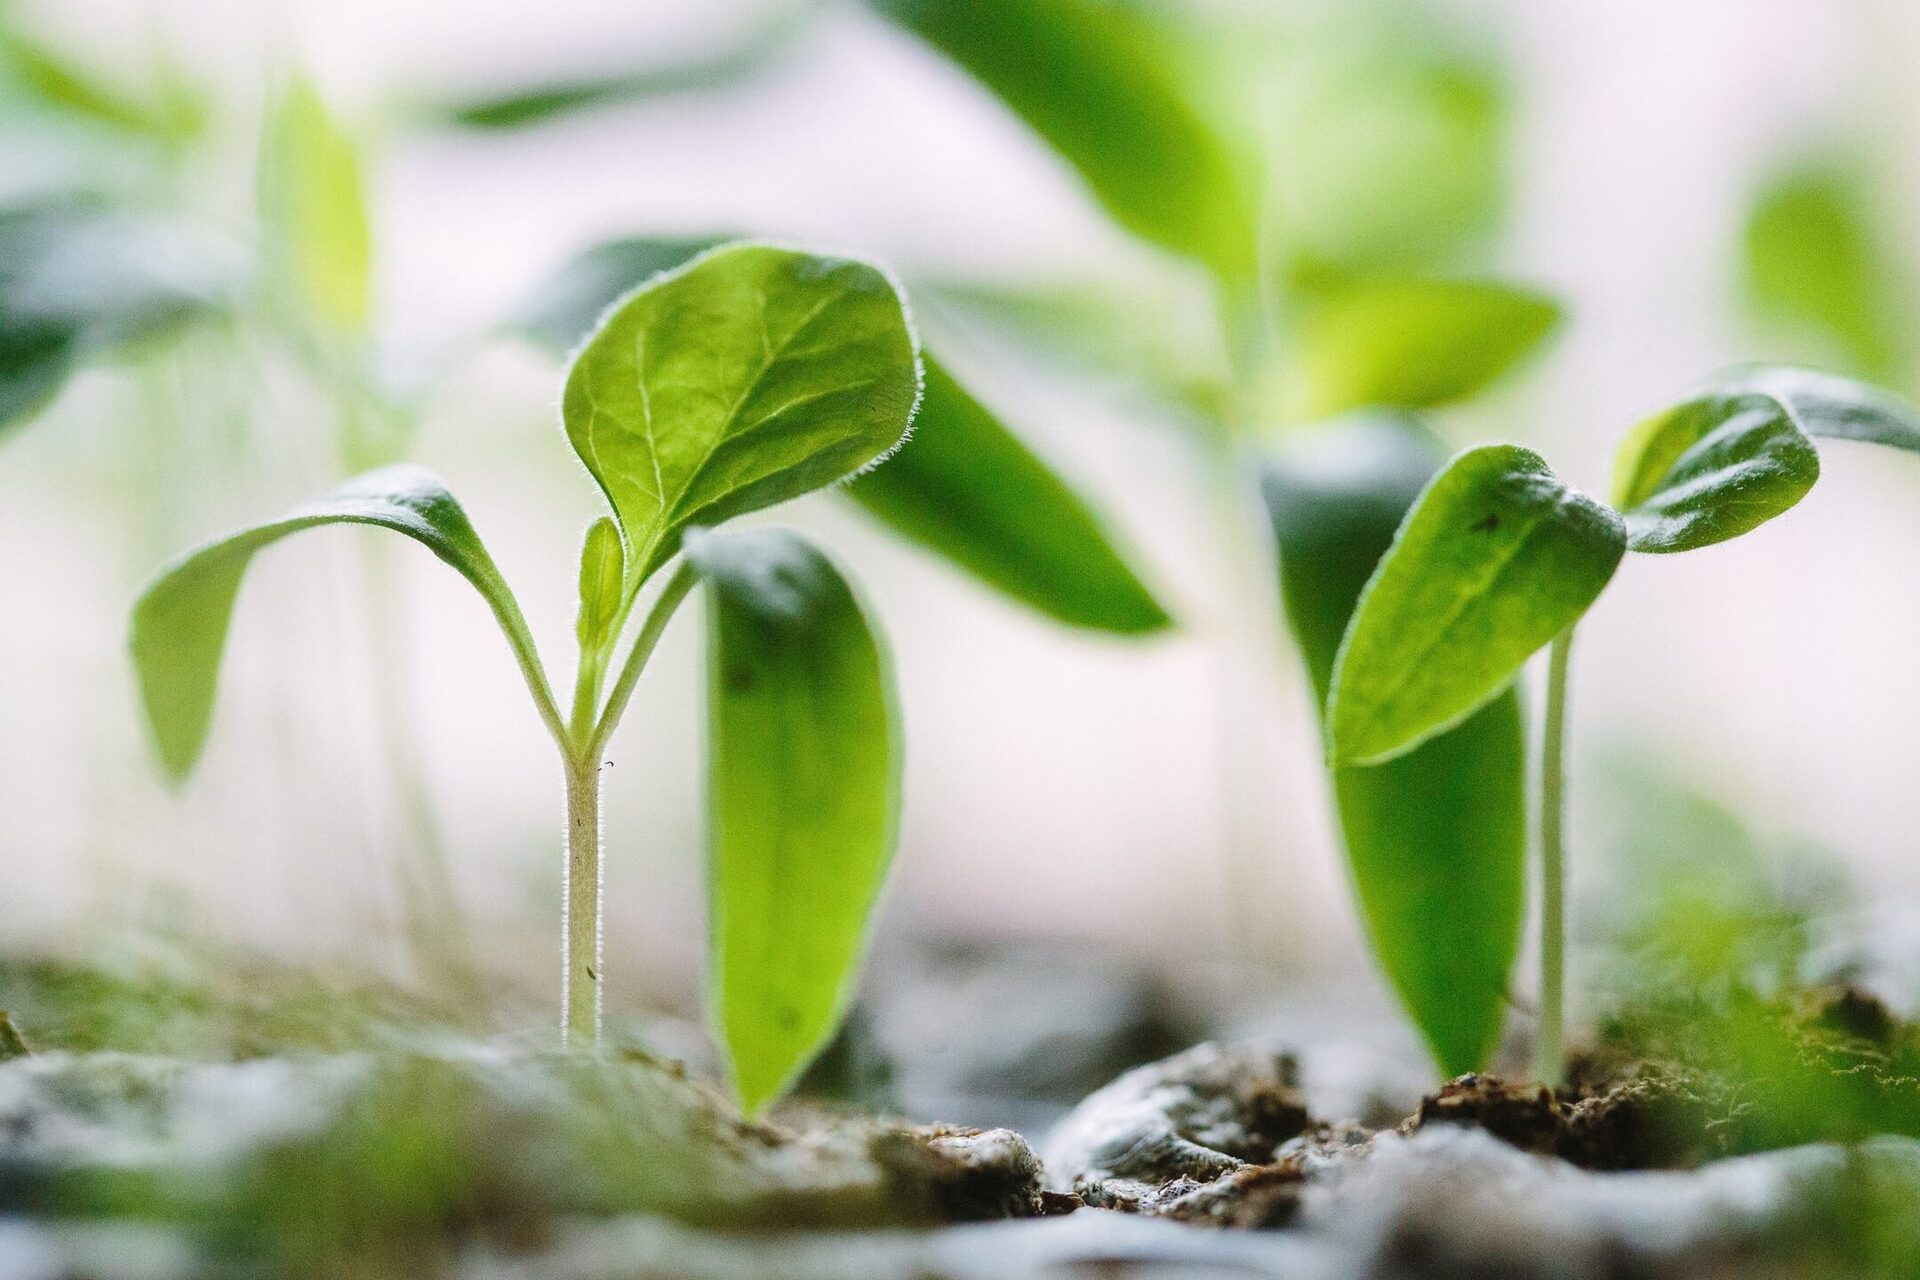
Growing plants from seeds can be a rewarding experience for garden enthusiasts. Whether you are starting a vegetable garden or adding vibrant flowers to your landscape, one important aspect of seed planting is knowing when to plant germinated seeds. This crucial step determines the success of your plants’ growth and ensures a healthy start.
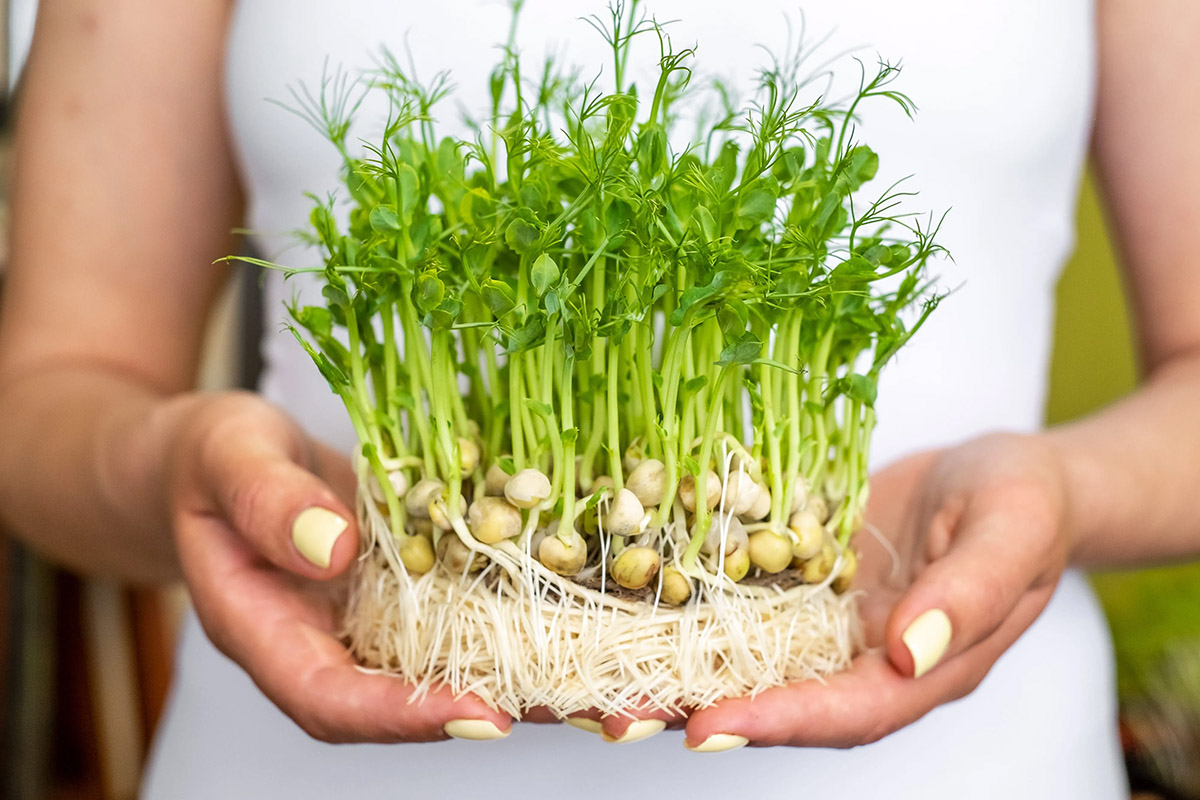
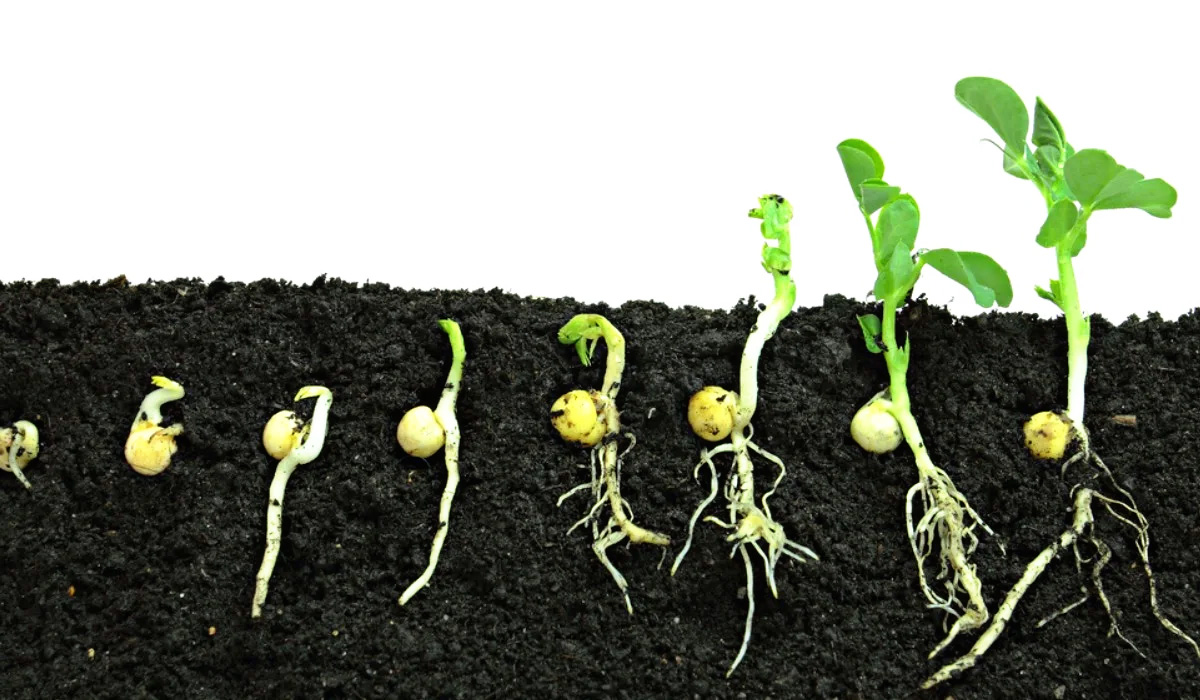
Germination is the process by which a seed sprouts and begins to grow into a new plant. It involves the activation of the seed’s internal mechanisms, triggered by factors such as moisture, temperature, and light. Once the seed has germinated, it is ready to be planted in soil and nurtured into a full-fledged plant.
In this article, we will delve into the various factors to consider before planting germinated seeds, the ideal time for planting, how to prepare the soil, steps for planting, and how to care for germinated seeds after planting. We will also highlight common mistakes to avoid to ensure the best possible outcomes for your garden.
By understanding the optimal conditions and techniques for planting germinated seeds, you can greatly increase your chances of success and enjoy a flourishing garden filled with beautiful and productive plants.
Key Takeaways:
- Planting germinated seeds at the right time and in well-prepared soil sets the stage for healthy growth and a successful garden.
- Avoid common mistakes like overwatering and poor soil preparation to give your germinated seeds the best chance to thrive and reach their full potential.
Read more: When To Plant Germinated Seeds
Factors to Consider Before Planting a Germinated Seed
Before you rush to put your germinated seeds into the soil, it’s important to consider a few key factors that will impact their growth and survival. Taking the time to evaluate these factors will help ensure the best possible conditions for your plants.
1. Weather and Climate: Different plant species have different temperature and climate requirements. Some prefer cooler temperatures, while others thrive in warmer conditions. Before planting your germinated seeds, research the specific weather and climate preferences of the plant to determine if the current season is suitable for planting. Consider factors such as frost dates, temperature variations, and the length of the growing season.
2. Soil Quality: The quality of the soil plays a vital role in the growth and development of your plants. Conduct a soil test to assess its pH level, nutrient content, and drainage ability. Germinated seeds require well-drained soil with optimal nutrient levels to establish strong root systems. Consider amending your soil with compost or organic matter to improve its fertility and structure.
3. Sunlight Requirements: Sunlight is a crucial factor in plant growth. Determine the sunlight requirements of your specific plant species to ensure they receive the right amount of light. Some plants thrive in full sun, while others prefer partial or even full shade. Take note of the sun exposure in your garden area and choose a planting location that meets the sunlight needs of your germinated seeds.
4. Watering Needs: Proper watering is essential for the survival and growth of your germinated seeds. Different plant species have different water requirements, so it’s important to understand the specific needs of your plants. Avoid overwatering, as it can lead to root rot and other issues. Conversely, underwatering can cause stress and hinder growth. Consistent and appropriate watering is crucial, so monitor the moisture levels in the soil regularly.
5. Pest and Disease Management: Pests and diseases can wreak havoc on your garden, so it’s important to be proactive in managing them. Research common issues that affect your specific plant species and take preventive measures to protect your germinated seeds. This may include using organic pest control methods, practicing good garden hygiene, and regularly inspecting plants for signs of damage or disease.
By considering these factors and tailoring your planting approach accordingly, you can provide the best possible environment for your germinated seeds to thrive and grow into healthy plants.
Ideal Time to Plant Germinated Seeds
The ideal time to plant germinated seeds depends on various factors such as the plant species, local climate, and growing season. Understanding the timing requirements for your specific plants will help optimize their growth and development.
1. Spring Planting: Spring is a popular time for planting germinated seeds, as it marks the beginning of the growing season for many plants. Most vegetable plants, such as tomatoes, peppers, and cucumbers, thrive when planted after the last frost date. Spring planting provides ample time for the plants to establish strong roots and develop before the intense heat of summer.
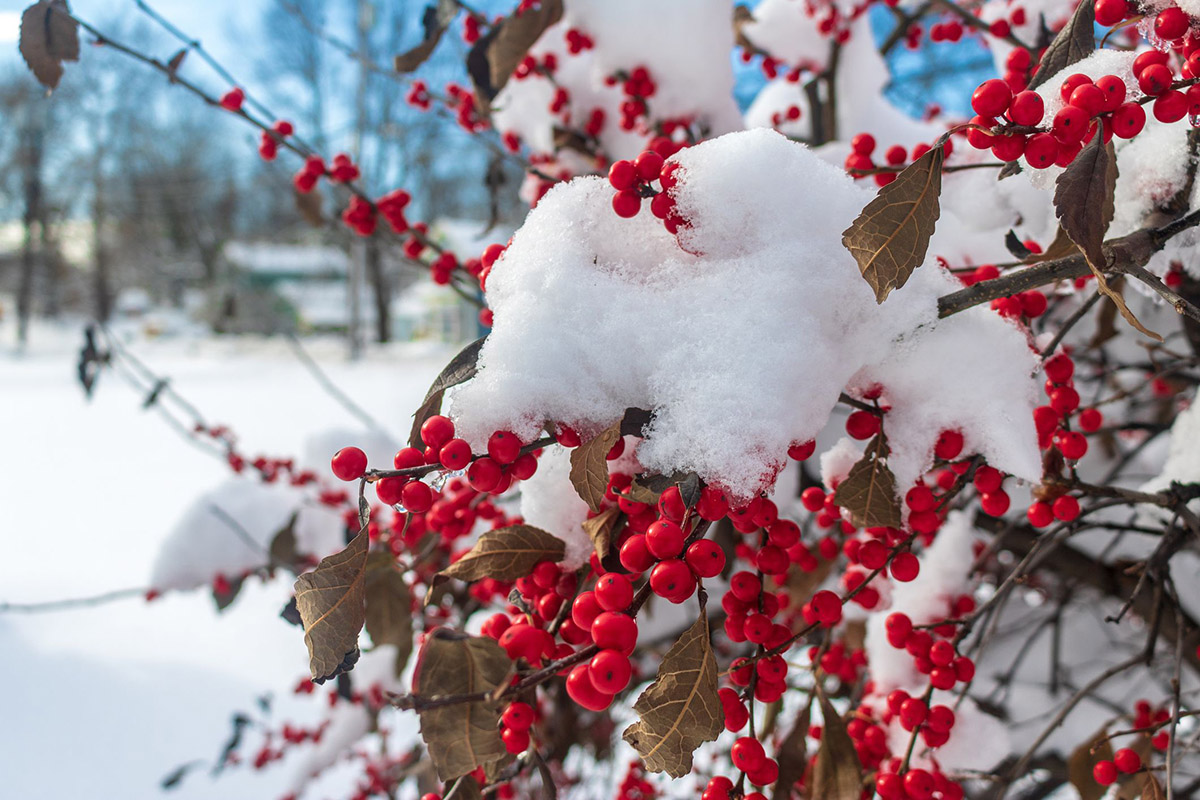
2. Fall Planting: Some plant varieties, particularly cool-season vegetables like lettuce, spinach, and carrots, prefer cooler temperatures. Fall planting allows these plants to take advantage of the milder weather and avoid the scorching heat of summer. Additionally, planting in fall allows for an extended growing season, as these plants can be harvested well into winter in some climates.
3. Planting by Zone: The USDA Plant Hardiness Zone Map is a useful tool for determining the ideal time to plant in specific regions. The map divides the United States into different zones based on average minimum winter temperatures. By knowing your zone, you can determine the recommended planting time for your area and ensure that your germinated seeds are introduced to the soil at the appropriate time.
4. Planting Window: Consider the length of the growing season in your area when determining the best time to plant germinated seeds. Some plants require a longer growing season to reach maturity and produce a harvest. Research the recommended planting windows for different vegetables, flowers, or herbs to ensure that your germinated seeds have sufficient time to grow and thrive.
5. Microclimates: Microclimates refer to localized areas within a larger climate zone that have distinct environmental conditions. These microclimates can be influenced by factors such as proximity to bodies of water, natural slopes, and man-made structures. Observing your garden for microclimatic conditions, such as warmer pockets or areas with increased shade, can help determine the optimal planting time for your germinated seeds.
It’s important to note that while the general recommendations mentioned above can serve as a starting point, specific plant varieties may have unique timing requirements. Always refer to the seed packet or consult reliable gardening resources for accurate information related to the ideal planting time for your germinated seeds.
By planting your germinated seeds at the ideal time, you give them the best chance to establish roots, grow vigorously, and produce bountiful harvests or stunning blooms.
How to Prepare the Soil for Planting Germinated Seeds
Preparing the soil properly is essential for creating a fertile and nurturing environment for germinated seeds to grow. By following these steps, you can ensure that your plants have the best chance of success.
1. Clear the Area: Start by clearing the planting area of any debris, weeds, or rocks. Remove any existing vegetation that may compete with your germinated seeds for nutrients, water, and sunlight.
2. Loosen the Soil: Use a garden fork or a tiller to loosen the soil to a depth of about 6-8 inches. This step helps improve aeration and drainage, making it easier for the roots of your germinated seeds to penetrate the soil.
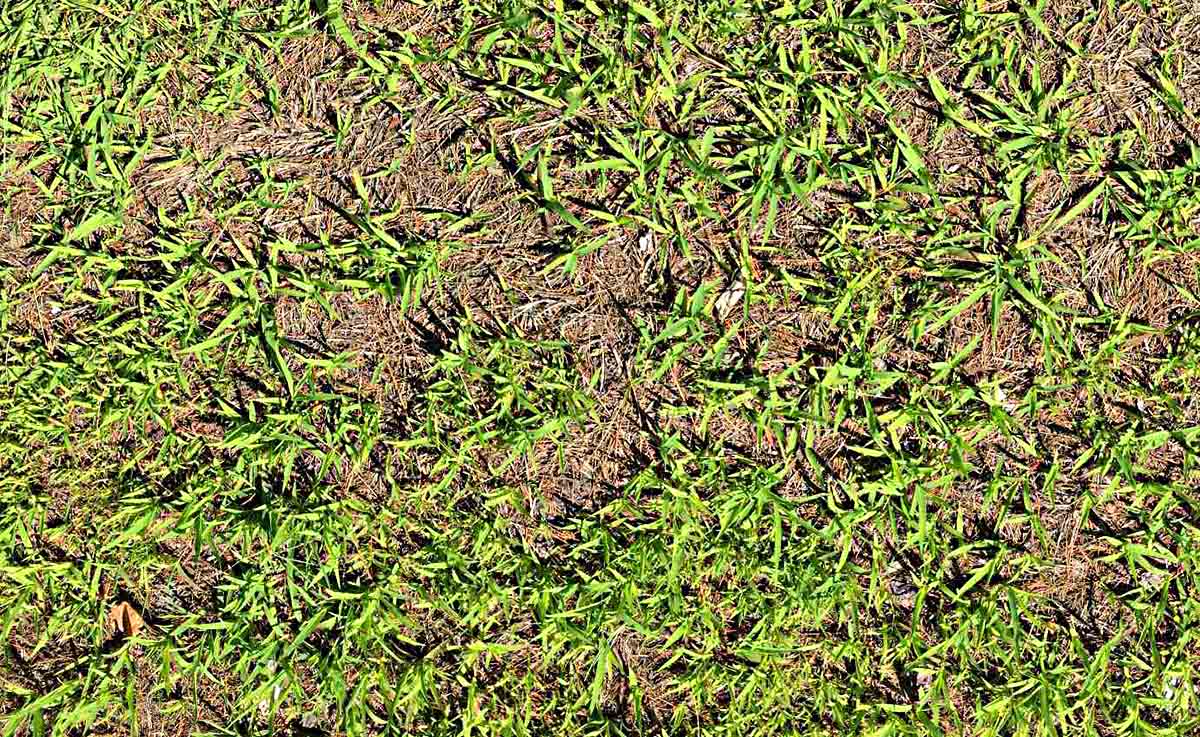
3. Remove Weeds: Carefully remove any remaining weeds or grass roots from the soil. These can compete with your growing plants for resources, so thorough removal is crucial.
4. Amend the Soil: Assess the quality of your soil and make any necessary amendments to optimize its fertility. This may include adding compost, well-rotted manure, or organic matter to improve nutrient levels and soil structure. Mix these amendments into the soil thoroughly.
5. Test the Soil pH: Use a soil testing kit to determine the pH level of your soil. Most plants prefer a slightly acidic to neutral pH range. If the soil pH is too high or too low, you may need to adjust it by adding either lime or sulfur, respectively.
6. Add Additional Nutrients: Based on the nutrient requirements of your specific plants, consider adding slow-release organic fertilizers or specific nutrients like nitrogen, phosphorus, and potassium to provide a balanced diet for your germinated seeds.
7. Rake and Level the Soil: Use a garden rake to level the soil surface, removing any large clumps or bumps. Ideally, the soil should be evenly leveled to ensure uniform planting depth for your germinated seeds.
8. Water the Soil: Before planting your germinated seeds, water the soil thoroughly to ensure moisture reaches the root zone. This will provide a moist and welcoming environment for your seeds to establish themselves.
Remember, soil preparation is crucial as it sets the foundation for your plants’ health and growth. Putting in the effort to prepare the soil properly will contribute to the long-term success of your garden.
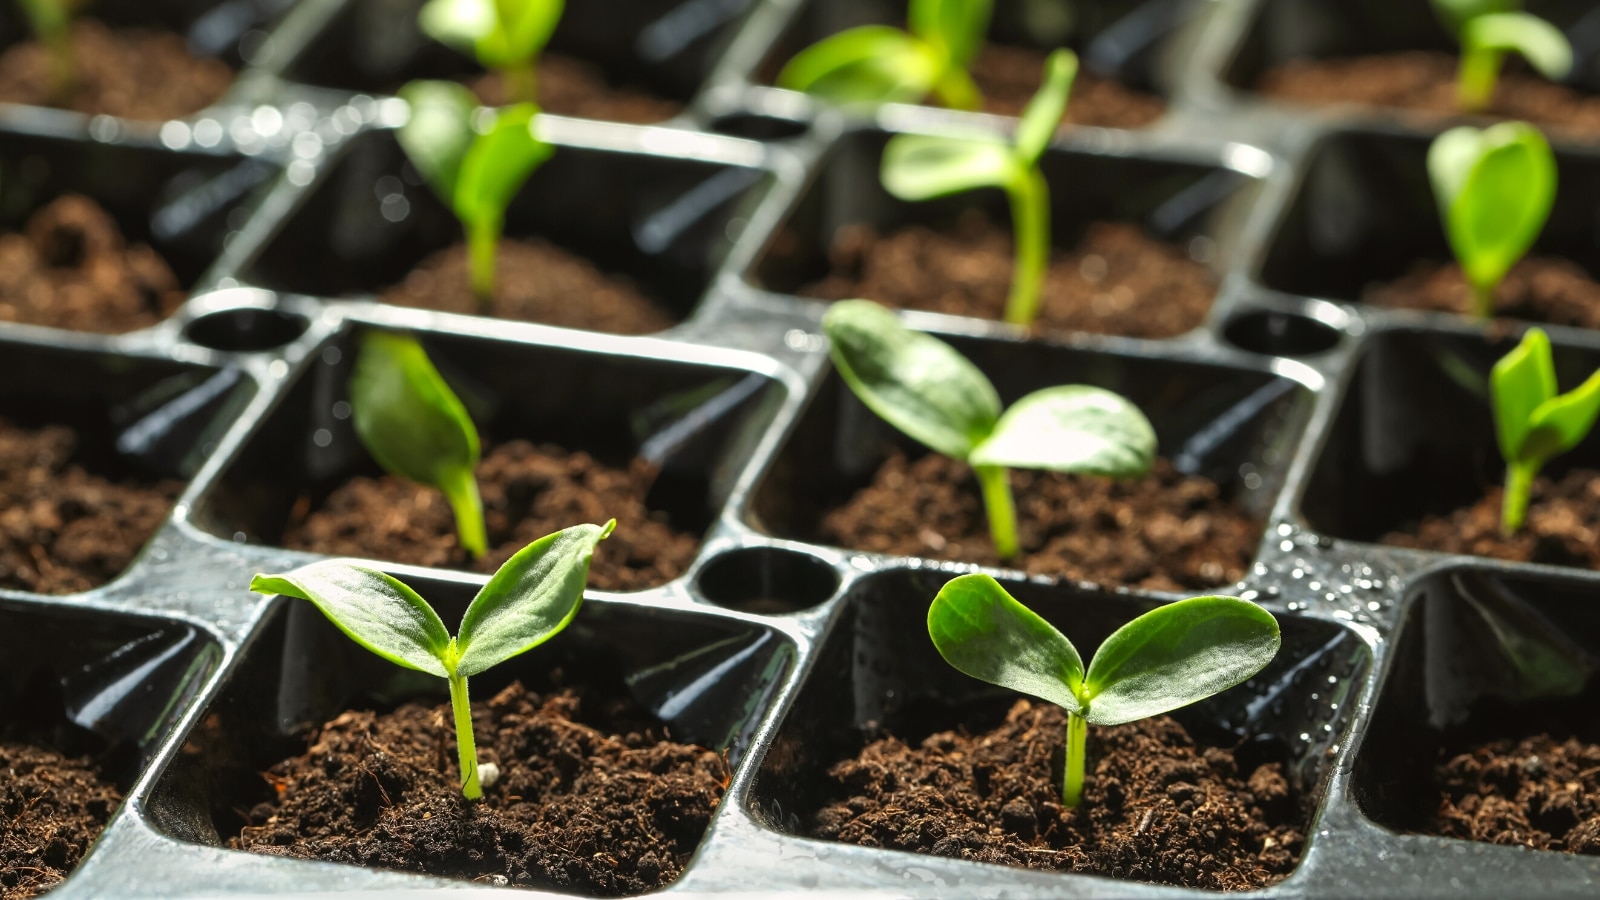
Plant germinated seeds in the spring after the last frost date for your area. This will give the seedlings the best chance for healthy growth.
Steps for Planting Germinated Seeds
Now that you have prepared the soil, it is time to plant your germinated seeds. Following these steps will help ensure that your seeds are planted correctly and have the best chance of thriving.
1. Dig Planting Holes: Use a small trowel or your fingers to dig individual planting holes in the prepared soil. The depth and spacing will depend on the specific plant variety, so refer to the seed packet or planting instructions for guidance.
2. Handle Seeds with Care: Gently handle your germinated seeds to avoid damaging the delicate roots. Hold the seedling by the leaves, not the stem, as the stem is fragile and can easily break.
3. Place Seeds in the Holes: Carefully place each germinated seed into the individual planting holes, ensuring that the roots are positioned downwards. Be mindful not to bury the seed too deep, as this can impede seedling growth.
4. Fill the Holes and Firm the Soil: Gradually backfill each planting hole with soil, gently pressing the soil around the base of the seedling to ensure good soil-to-root contact. Avoid compressing the soil too tightly, as it can restrict root growth.
5. Water Thoroughly: After planting, water the soil around each germinated seed thoroughly. This will help settle the soil, eliminate air pockets, and provide the moisture necessary for seedling establishment. Ensure that the soil remains evenly moist in the following days, as drying out can inhibit growth.
6. Label Your Plantings: It is essential to label your plantings to keep track of different plant varieties and their planting dates. This will help you monitor their progress and make any necessary adjustments in care and maintenance.
7. Provide Adequate Support: If your plants require support, such as stakes or trellises, install them at the time of planting. This will prevent any damage to the growing seedlings and ensure proper support as they mature.
8. Adjust the Environment: Depending on the plant variety, you may need to adjust the environment to provide optimal growing conditions. This could include providing shade or using row covers to protect against excessive sun or frost.
By following these steps, you can plant your germinated seeds with confidence, setting them up for strong growth and a successful journey towards becoming mature, thriving plants.
Read more: When Do Most Plants Germinate
Caring for Germinated Seeds After Planting
After planting your germinated seeds, it is important to provide them with proper care to ensure healthy growth and development. Consistent maintenance and attention to their needs will support their journey from seedling to mature plant. Here are some essential care steps to follow:
1. Watering: Adequate watering is crucial for seedling survival and establishment. Monitor the moisture levels in the soil and water when the top inch of soil feels dry. Avoid overwatering, as it can lead to root rot, but also make sure not to let the soil dry out completely. Water gently at the base of the plants, avoiding wetting the leaves to prevent disease issues.
2. Mulching: Apply a layer of organic mulch, such as straw or wood chips, around your germinated seedlings. Mulching helps conserve moisture in the soil, suppresses weed growth, and regulates soil temperature. Be careful not to place the mulch too close to the stems to prevent rotting.
3. Feeding: Provide your germinated seedlings with the necessary nutrients to support their growth. Depending on the plant variety, you may need to apply a balanced organic fertilizer or compost tea every few weeks. Follow the specific feeding recommendations for your plants to avoid overfertilization, which can damage the delicate seedlings.
4. Sunlight: Ensure your germinated seedlings receive adequate sunlight according to their specific requirements. Most plants need at least 6 hours of direct sunlight each day. If you have limited sunlight in your garden, consider using reflective materials or grow lights to supplement the natural light.
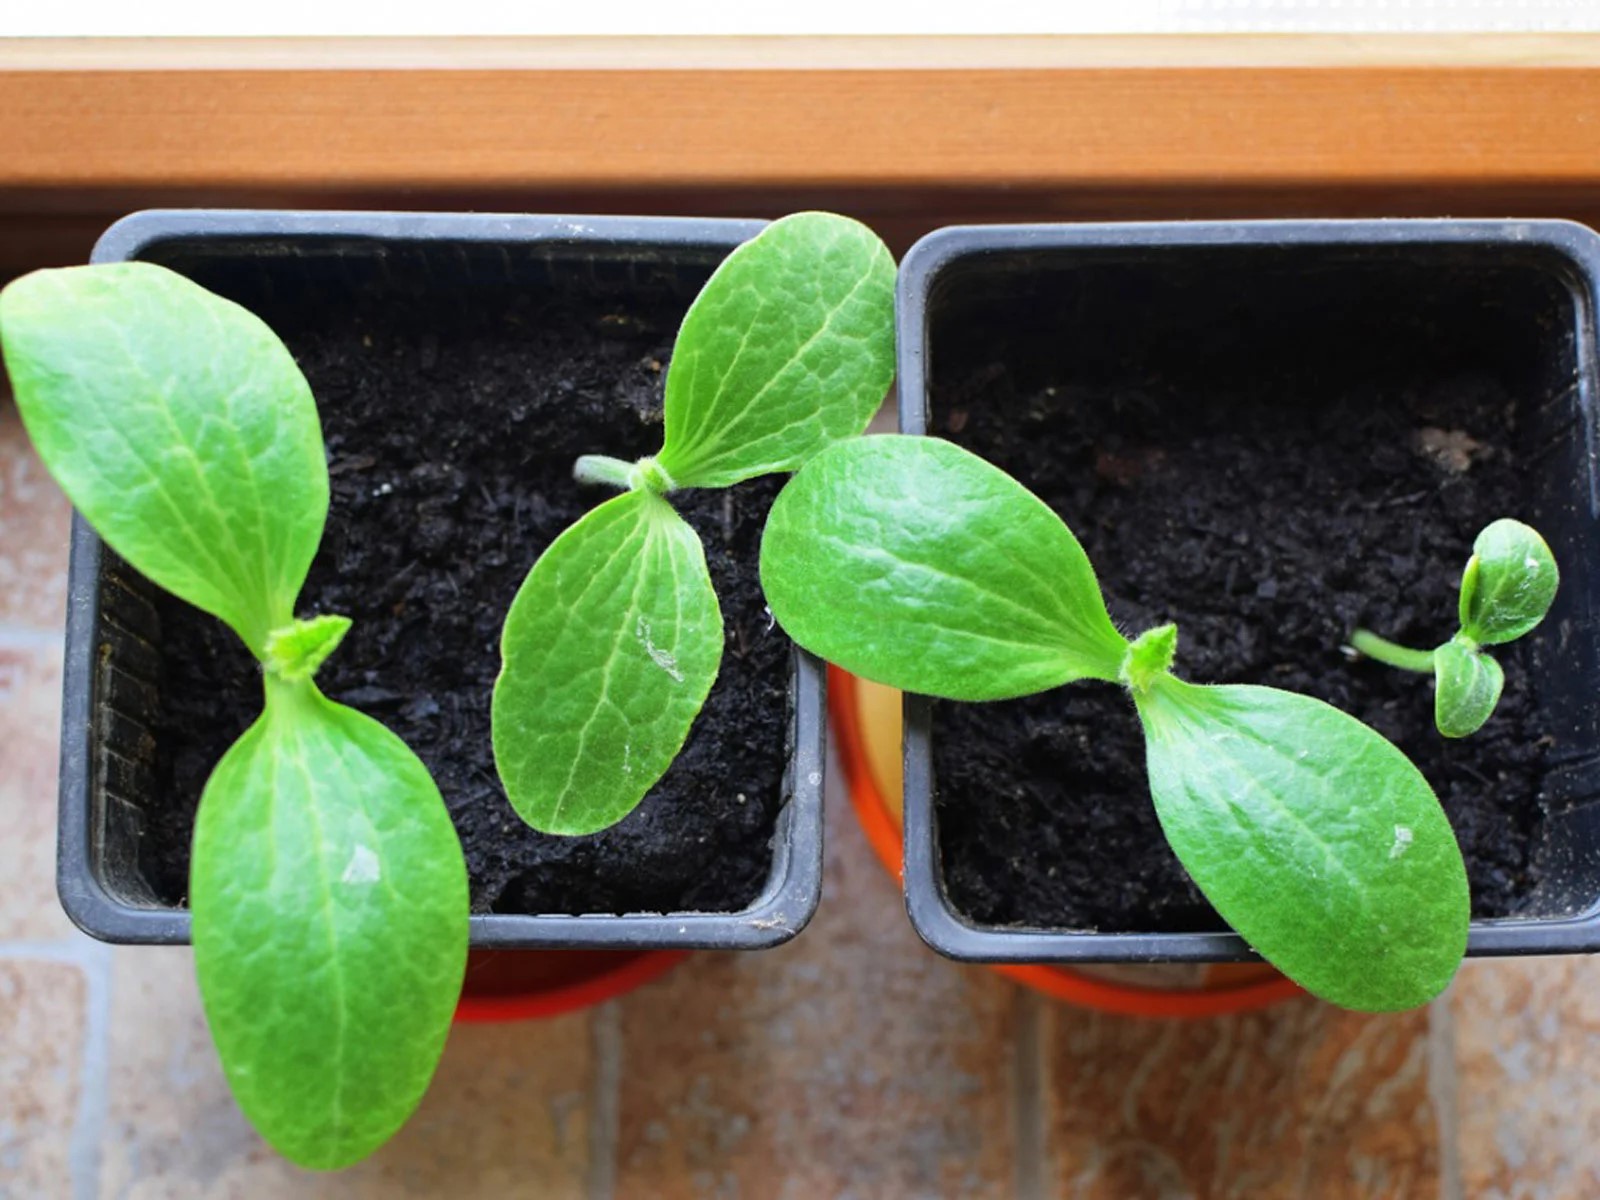
5. Thin and Transplant: If multiple seedlings germinate in the same spot, thin them out to maintain proper spacing. This will prevent overcrowding, competition for resources, and the spread of diseases. If needed, transplant excess seedlings to other areas of your garden or share them with fellow gardeners.
6. Pest and Disease Control: Keep a watchful eye for any signs of pests or diseases on your germinated seedlings. Remove any affected leaves or plants promptly to prevent further infestation or spread. Utilize natural pest control methods, such as handpicking pests, applying insecticidal soaps or oils, or using biological controls like beneficial insects.
7. Support: As your germinated seedlings grow, provide any necessary support to prevent bending or breaking. Use stakes, cages, or trellises to support plants that have a tendency to sprawl or those that bear heavy fruits.
8. Regular Observation: Take time to observe and inspect your germinated seedlings regularly. Look for signs of growth, development, or any issues that may arise. Monitoring the health of your plants will allow you to address any problems early on and make adjustments to your care routine as needed.
By providing proper care and attention, your germinated seedlings will flourish and thrive, setting the stage for a bountiful harvest or a vibrant garden filled with beautiful blooms.
Common Mistakes to Avoid When Planting Germinated Seeds
Planting germinated seeds can be an exciting time in your gardening journey. However, there are some common mistakes that gardeners often make when planting these delicate seedlings. By being aware of these pitfalls, you can avoid them and set your seeds up for success. Here are some mistakes to avoid when planting germinated seeds:
1. Planting Too Deep: One of the most common mistakes is planting the germinated seeds too deep in the soil. It’s important to follow the recommended planting depth provided on the seed packet or in the planting instructions. Planting too deep can hamper the seedling’s ability to emerge and receive sufficient sunlight.
2. Overwatering: While adequate watering is important, overwatering can be detrimental to germinated seeds. Excessive moisture can lead to root rot and prevent proper nutrient uptake. Avoid watering too frequently or allowing the soil to become waterlogged. Instead, monitor the soil moisture and water only when the top inch of soil feels dry.
3. Underwatering: On the flip side, underwatering can also be harmful to germinated seeds. Insufficient water can cause stress, stunted growth, and even seedling death. It’s essential to maintain consistent soil moisture by providing enough water to keep the root zone hydrated.
4. Poor Soil Preparation: Neglecting to properly prepare the soil before planting can hinder the growth of germinated seeds. It’s crucial to remove weeds, loosen the soil, amend it with organic matter, and ensure optimal drainage. Failure to do so can result in poor root development and limited access to essential nutrients.
5. Ignoring Planting Instructions: Each plant variety has specific planting requirements. It’s important to follow the instructions provided on the seed packet or in reputable gardening resources. Pay attention to factors such as spacing, sunlight requirements, and any specific care instructions to maximize the growth potential of germinated seeds.
6. Skipping Hardening off: Hardening off is the process of gradually acclimating seedlings to outdoor conditions before transplanting them into the garden. Skipping this step can shock the plants and result in poor growth or even death. Gradually expose your germinated seedlings to outdoor conditions, starting with a few hours of sunlight and increasing the time over several days.
7. Neglecting Pest and Disease Prevention: Failing to implement pest and disease prevention measures can leave germinated seeds vulnerable to damage. Regularly inspect your plants for any signs of pests or diseases and take appropriate action. Applying organic pest controls and practicing good garden hygiene can help protect your seedlings from various threats.
8. Overcrowding: It’s important to give your germinated seedlings adequate space to grow. Overcrowding can lead to competition for resources, increased risk of disease, and poor airflow. Be mindful of the recommended spacing for each plant variety and thin out any excess seedlings when necessary.
By avoiding these common mistakes and implementing best practices, you can give your germinated seeds the best possible start, setting the stage for healthy growth and a successful gardening season.
Final Thoughts
Planting germinated seeds is a significant step in the journey of growing plants. By considering the factors that influence planting timing, preparing the soil properly, following correct planting procedures, and providing adequate care, you can set your seeds up for success. Avoiding common mistakes and being attentive to the needs of your seedlings will help them thrive and reach their full potential.
Remember that each plant variety has its own specific requirements, so it’s important to do your research and tailor your approach accordingly. Whether you’re starting a vegetable garden, cultivating beautiful flowers, or growing herbs, understanding the specific needs of your plants is essential for success.
Furthermore, gardening is a learning process, and not every seed will flourish into a mature plant. Don’t be discouraged by setbacks or failures, but rather take them as opportunities to learn and improve your techniques. Gardening is a journey of patience, observation, and adaptation.
Finally, enjoy the process of nurturing and watching your germinated seeds grow into thriving plants. Gardening allows you to connect with nature, experience the beauty of life cycles, and reap the rewards of your efforts through a bountiful harvest or a stunning display of flowers.
So, put on your gardening gloves, grab your tools, and get ready to plant those germinated seeds. With knowledge, care, and a little bit of luck, you’ll create a flourishing garden that brings joy and fulfillment to your gardening endeavors.
Frequently Asked Questions about When To Plant A Germinated Seed
Was this page helpful?
At Storables.com, we guarantee accurate and reliable information. Our content, validated by Expert Board Contributors, is crafted following stringent Editorial Policies. We're committed to providing you with well-researched, expert-backed insights for all your informational needs.


0 thoughts on “When To Plant A Germinated Seed”