Home>Garden Essentials>How To Plant Germinated Seeds In Soil

Garden Essentials
How To Plant Germinated Seeds In Soil
Modified: October 20, 2024
Learn how to plant germinated seeds in soil and create a beautiful garden. Get expert tips and tricks for successful gardening.
(Many of the links in this article redirect to a specific reviewed product. Your purchase of these products through affiliate links helps to generate commission for Storables.com, at no extra cost. Learn more)
Introduction
Welcome to the world of gardening! Planting germinated seeds in soil is an exciting step in growing your own plants. Whether you’re a beginner or an experienced gardener, this article will guide you through the process and give you valuable tips to ensure success.
Germinating seeds is the initial stage of a plant’s life when it sprouts and develops roots. Once the seeds have germinated, it’s time to transfer them into soil, where they will continue to grow and flourish. This process requires proper soil preparation, careful handling of the delicate seedlings, and providing the right conditions for their growth.
By following the steps outlined in this article, you’ll be on your way to cultivating a beautiful garden filled with healthy, thriving plants. So, let’s dive into the world of planting germinated seeds and learn how to give them the best start in soil.
Key Takeaways:
- Planting germinated seeds in well-drained, nutrient-rich soil is crucial for their growth. Choose soil with good moisture retention and organic matter to create a healthy environment for your seedlings.
- After transferring germinated seeds into the soil, provide regular watering, proper sunlight, and attentive care to support their growth. Monitor for pests, thin overcrowded seedlings, and gradually expose them to outdoor conditions for healthy development.
Read more: How To Transfer Germinated Seeds To Soil
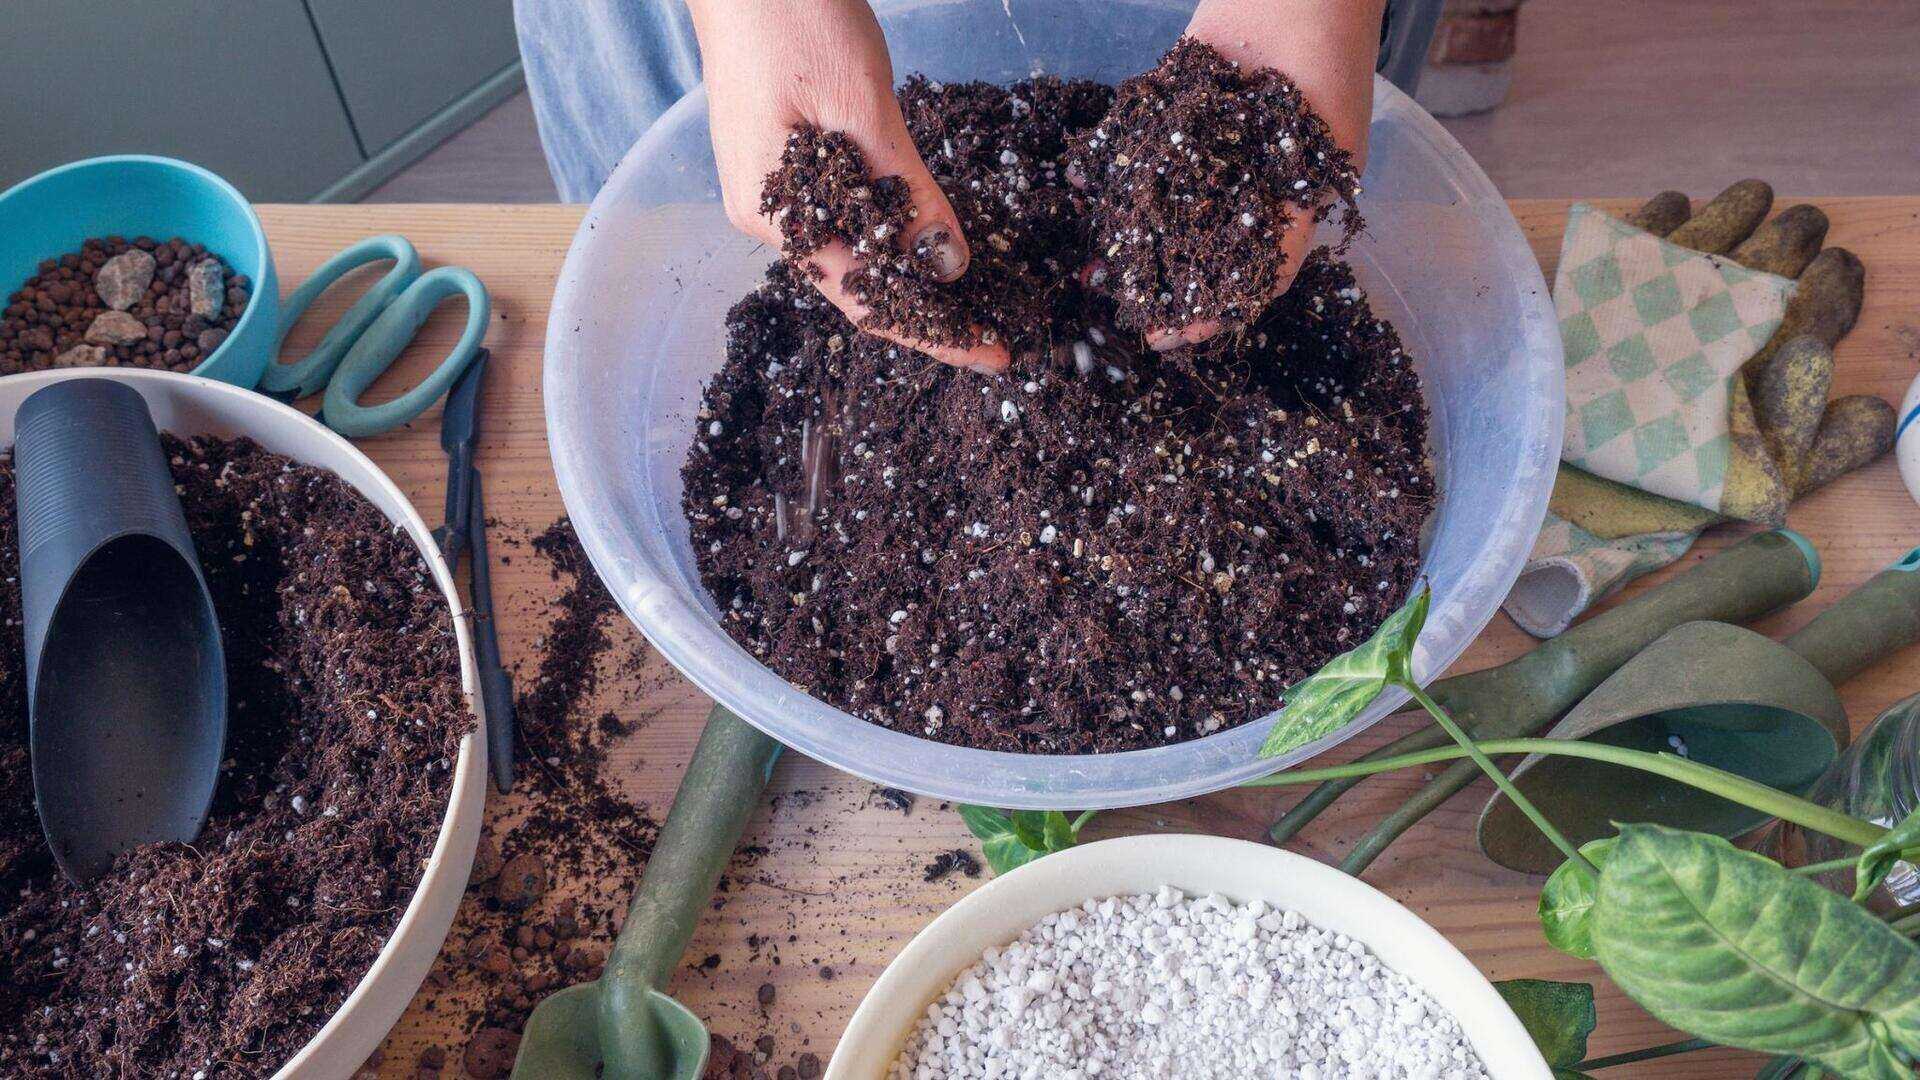
Choosing the Right Soil
Choosing the right soil for your germinated seeds is essential for their growth and development. The soil should have the right texture, drainage capabilities, and nutrient levels to provide a conducive environment for the young plants.
Firstly, it’s important to select soil that is well-drained. Excess water can lead to root rot and inhibit the growth of the seedlings. Look for soil that is loose and crumbly, allowing water to pass through easily. Avoid heavy clay soils, as they tend to retain water and become compacted.
In addition to drainage, the soil should also have good moisture-retention capabilities. It should be able to hold enough water to keep the young plants hydrated without becoming waterlogged. Sandy soils tend to drain too quickly, while clay soils retain too much moisture. A loamy soil, which is a mixture of sand, silt, and clay, is ideal as it strikes a balance between drainage and moisture retention.
The soil should also be rich in organic matter. Organic matter provides essential nutrients to the plants and improves the soil’s overall structure. Look for soil that has been enriched with compost or well-rotted manure. Alternatively, you can amend your soil with organic matter by adding compost or aged manure before planting.
Lastly, it’s important to consider the pH level of the soil. Most plants prefer a slightly acidic to neutral pH. Testing the pH of your soil will help determine its acidity or alkalinity. You can adjust the pH if necessary by adding lime to increase alkalinity or sulfur to increase acidity.
Remember, selecting the right soil is crucial for the success of your seedlings. Take the time to assess the texture, drainage capabilities, nutrient levels, and pH of the soil to ensure a healthy growing environment for your germinated seeds.
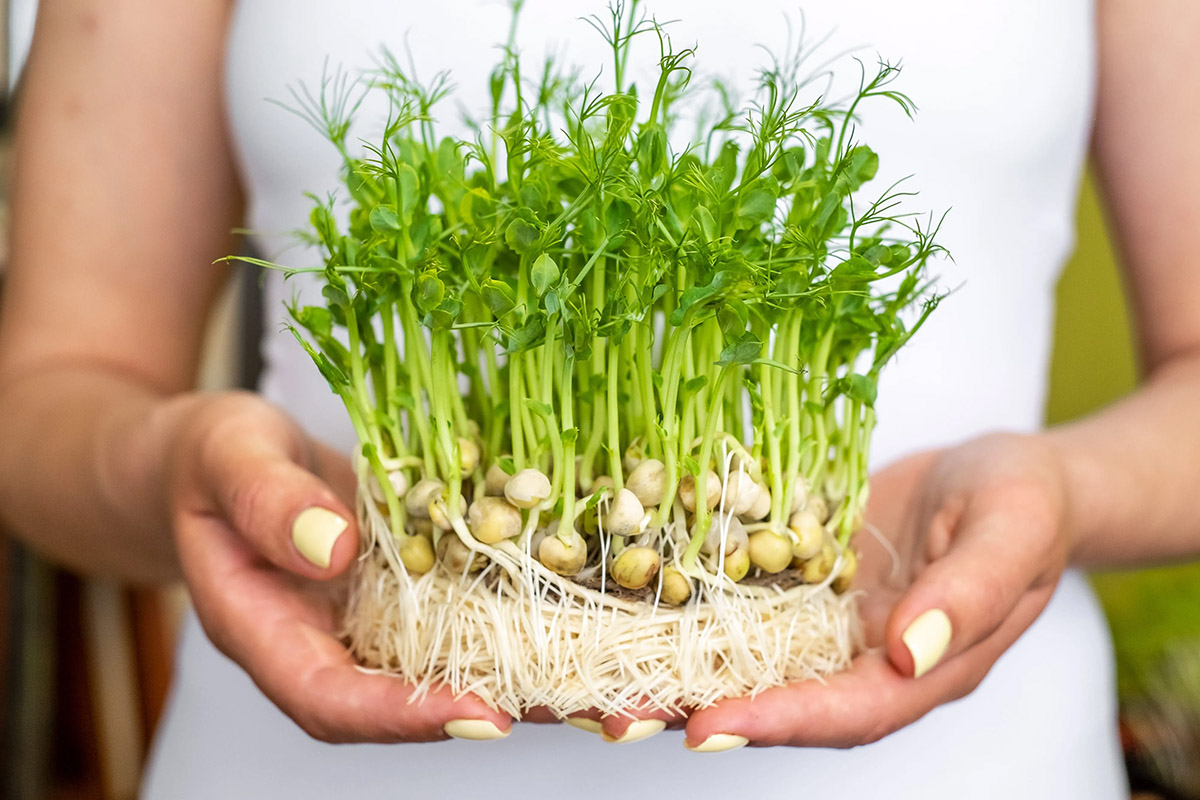
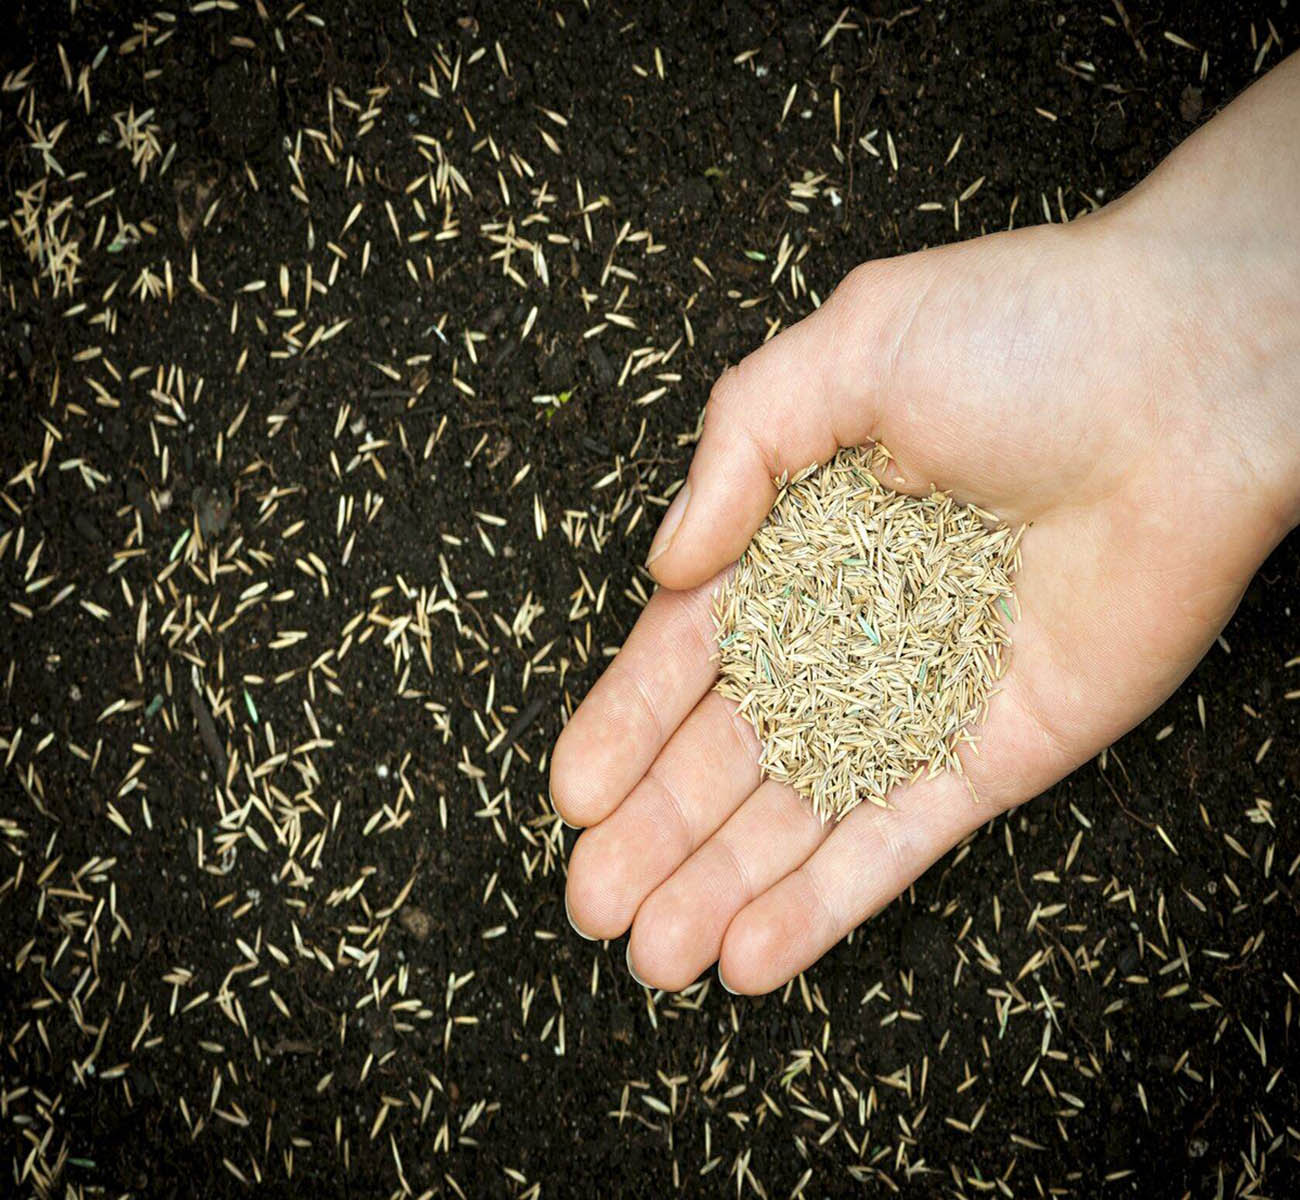
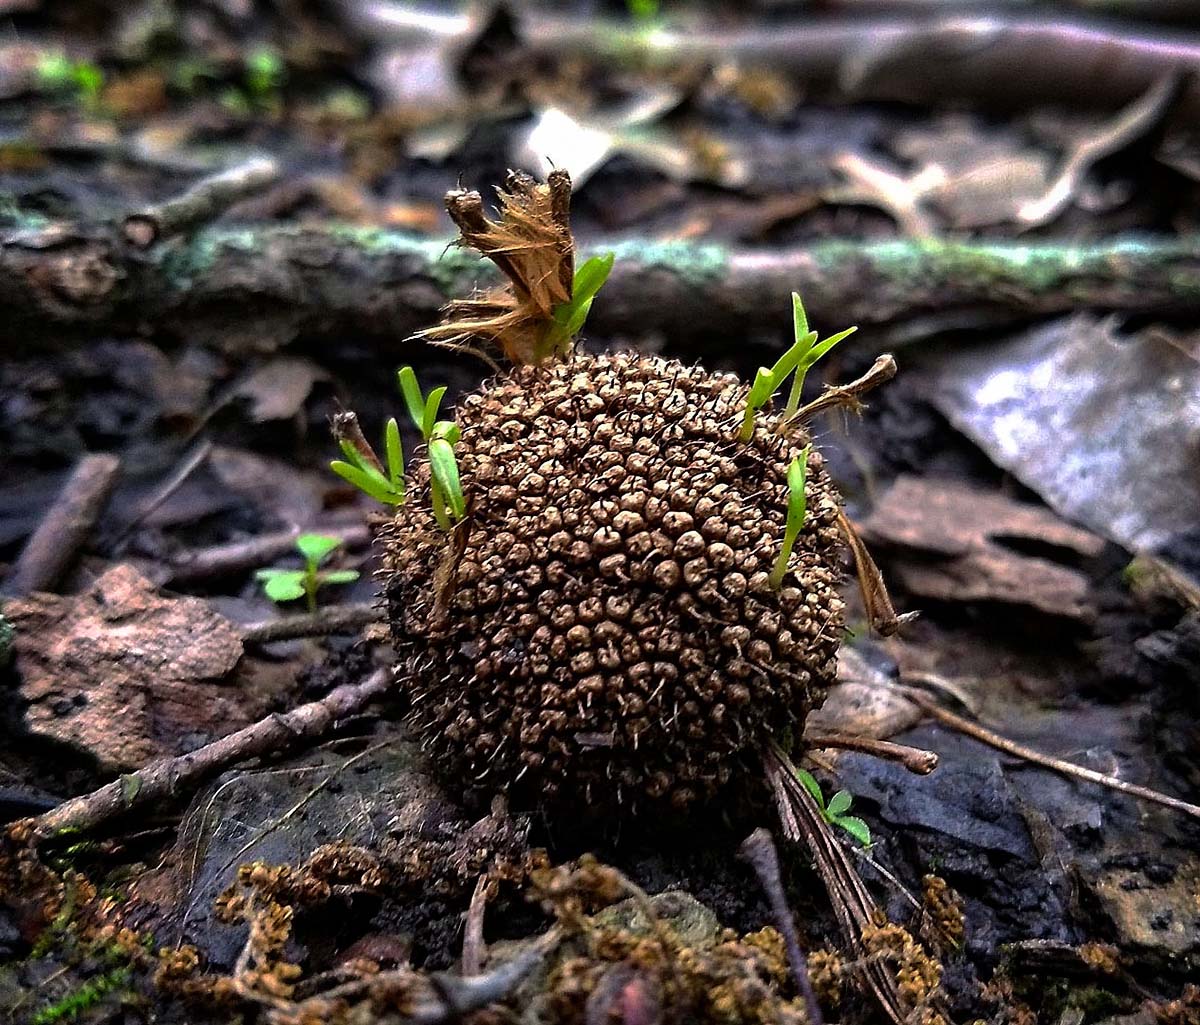
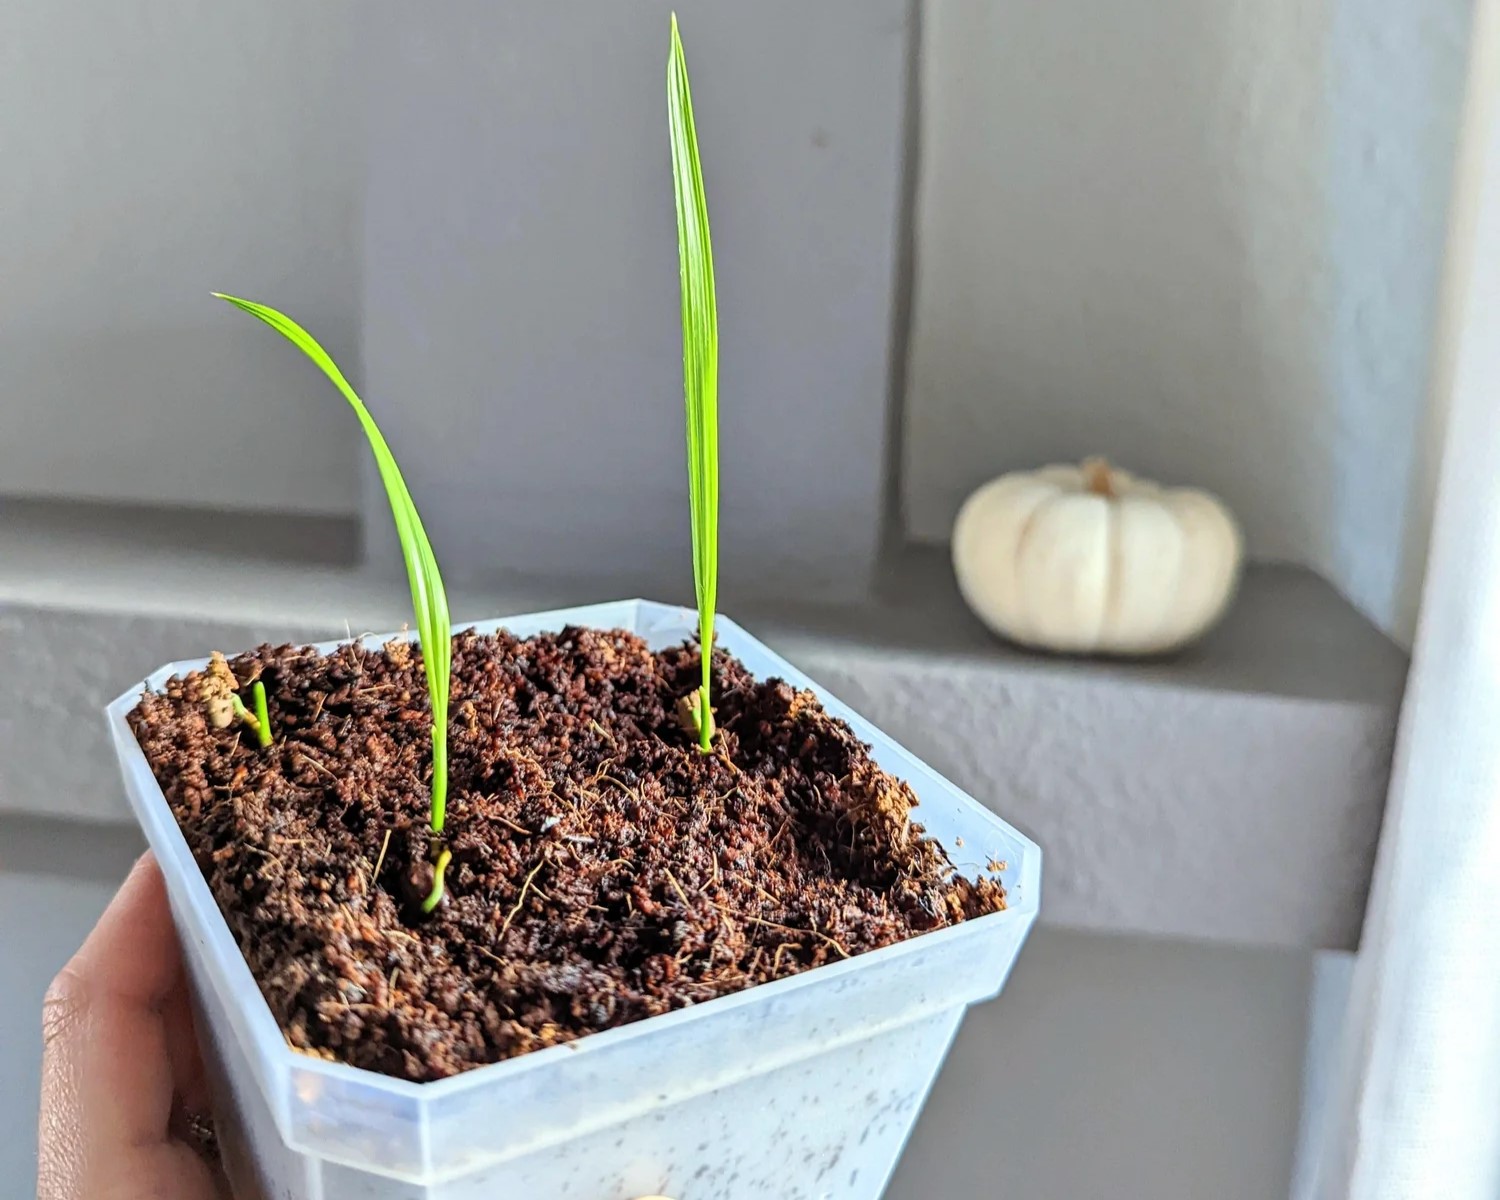
Germinating the Seeds
Before you can plant germinated seeds in soil, you need to ensure that the seeds have successfully germinated. Germination is the process by which a seed sprouts and develops into a new plant. Here’s how you can germinate your seeds:
- Prepare a germination medium: You can use various substrates to germinate your seeds, such as paper towels, peat pellets, or seedling trays filled with a seed-starting mix. Ensure that the medium is moist but not waterlogged.
- Place the seeds: Carefully place the germinated seeds onto the germination medium, spacing them apart to provide enough room for growth.
- Maintain ideal conditions: It’s important to provide the optimal conditions for germination. This includes ensuring adequate moisture, warmth, and darkness. Cover the seeds with a plastic dome or place them in a plastic bag to maintain a humid environment.
- Monitor the germination: Check on the seeds regularly to monitor their progress. You should start to see tiny sprouts emerging from the seeds within a few days to a week, depending on the plant species.
- Remove the covering: Once the seeds have sprouted, carefully remove the plastic covering and expose them to light. This will trigger the growth of the seedlings.
- Provide indirect light: Place the germinated seeds in a location with indirect sunlight. Avoid placing them in direct sunlight, as it can be too intense and may burn the delicate seedlings.
- Continue care: Keep the germinated seeds well-watered and monitor their growth. As they develop their first set of true leaves, they will be ready for transplanting into soil.
Remember to follow the specific germination requirements for the seeds you are planting, as different plants may have different preferences for temperature or light conditions. With patience and care, you’ll soon have healthy, germinated seeds ready for planting in soil.
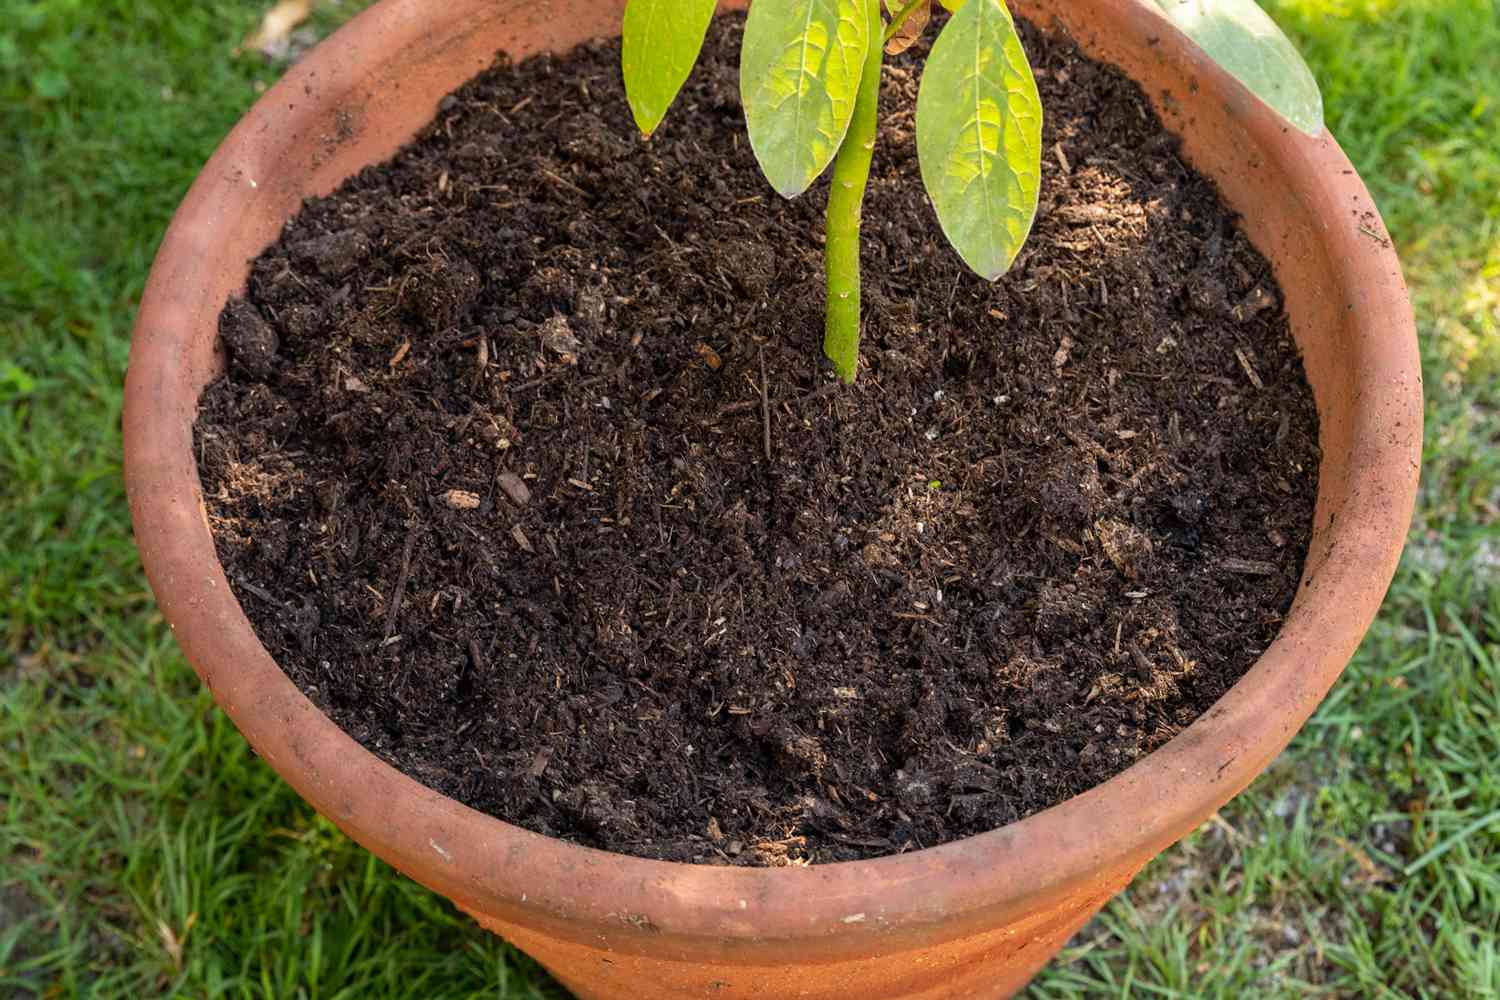
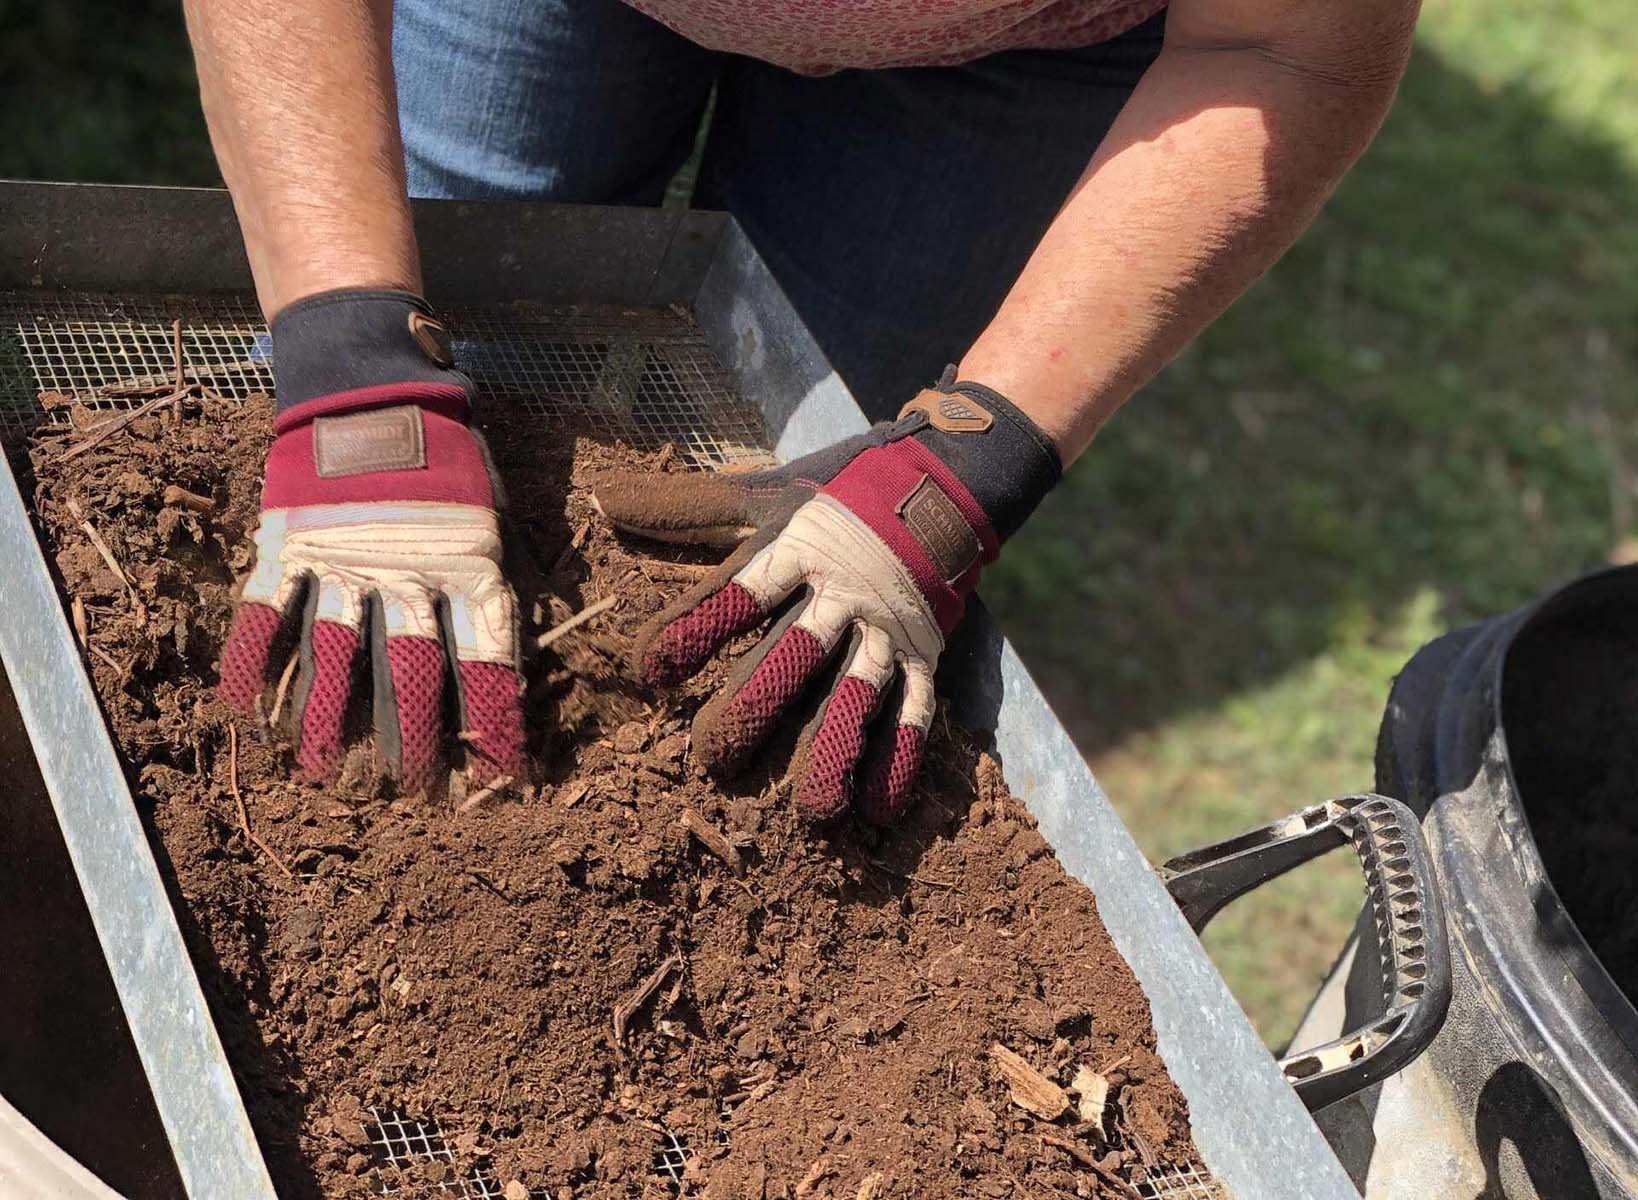
Preparing the Soil
Preparing the soil properly is crucial to provide an optimal growing environment for your germinated seeds. Here are the steps to prepare the soil:
- Clear the area: Start by clearing the area where you plan to plant the seedlings. Remove any weeds, rocks, or debris that may interfere with the growth of your plants.
- Loosen the soil: Use a garden fork or a tiller to loosen the soil to a depth of at least 6 inches. This will help improve drainage and allow the roots to penetrate easily.
- Remove large clumps and stones: Break up any large clumps of soil and remove stones or debris that could hinder the growth of the seedlings.
- Amend the soil: Test the soil to determine its nutrient content and pH level. Based on the results, amend the soil by adding organic matter, such as compost or well-rotted manure, to improve its fertility and structure.
- Mix in organic fertilizers: If the soil lacks essential nutrients, you can incorporate organic fertilizers, such as bone meal or fish meal, before planting. Follow the recommended application rates for the specific fertilizer you are using.
- Level the soil: Use a rake to level the soil surface, ensuring a smooth and even area for planting.
- Water the soil: Before planting, thoroughly water the soil to ensure that it is moist throughout. This will provide a good start for the seedlings by giving them access to water.
By properly preparing the soil, you create a favourable growing environment for your germinated seeds. The improved drainage, soil structure, and nutrient content will support the healthy growth and establishment of your plants.
Digging Holes
Once the soil is prepared, it’s time to dig the holes for planting your germinated seedlings. Proper hole digging ensures that the roots have enough space to spread out and establish themselves. Here are the steps for digging holes:
- Measure spacing: Determine the recommended spacing between plants based on the specific requirements of the plant species you are growing. This will help you determine how far apart to dig the holes.
- Choose the right depth: The depth of the hole should be based on the size of the seedling’s root system. Generally, the hole should be deep enough so that the roots are fully covered, but the stem of the seedling remains above the soil level.
- Use a hand tool or shovel: Use a hand trowel or shovel to dig the holes. The size of the tool should accommodate the root ball of the seedling.
- Space the holes: Dig the holes at the appropriate spacing, leaving enough room for the plants to grow and spread out. The depth and spacing may vary depending on the specific plant requirements, so refer to the planting instructions for guidance.
- Loosen the soil: Loosen the soil at the bottom of the hole to ensure that the roots can easily penetrate and establish themselves in the surrounding soil.
- Remove excess soil: Remove any excess soil from the hole, breaking up any large clumps to create a loose and friable planting environment.
- Repeat for all plants: Repeat the hole-digging process for each germinated seedling, ensuring that they are evenly spaced and properly aligned.
Proper hole digging is essential for the successful transplanting of germinated seedlings. Adequate depth and spacing promote healthy root development and prevent overcrowding. Remember to handle the seedlings with care and gently place the roots into the holes, taking care not to damage them.
When planting germinated seeds in soil, make sure to dig a hole that is twice as deep as the seed is long. Gently place the seed in the hole and cover it with soil, then water it thoroughly. Keep the soil consistently moist but not waterlogged to help the seedling grow.
Read more: How To Germinate A Plant
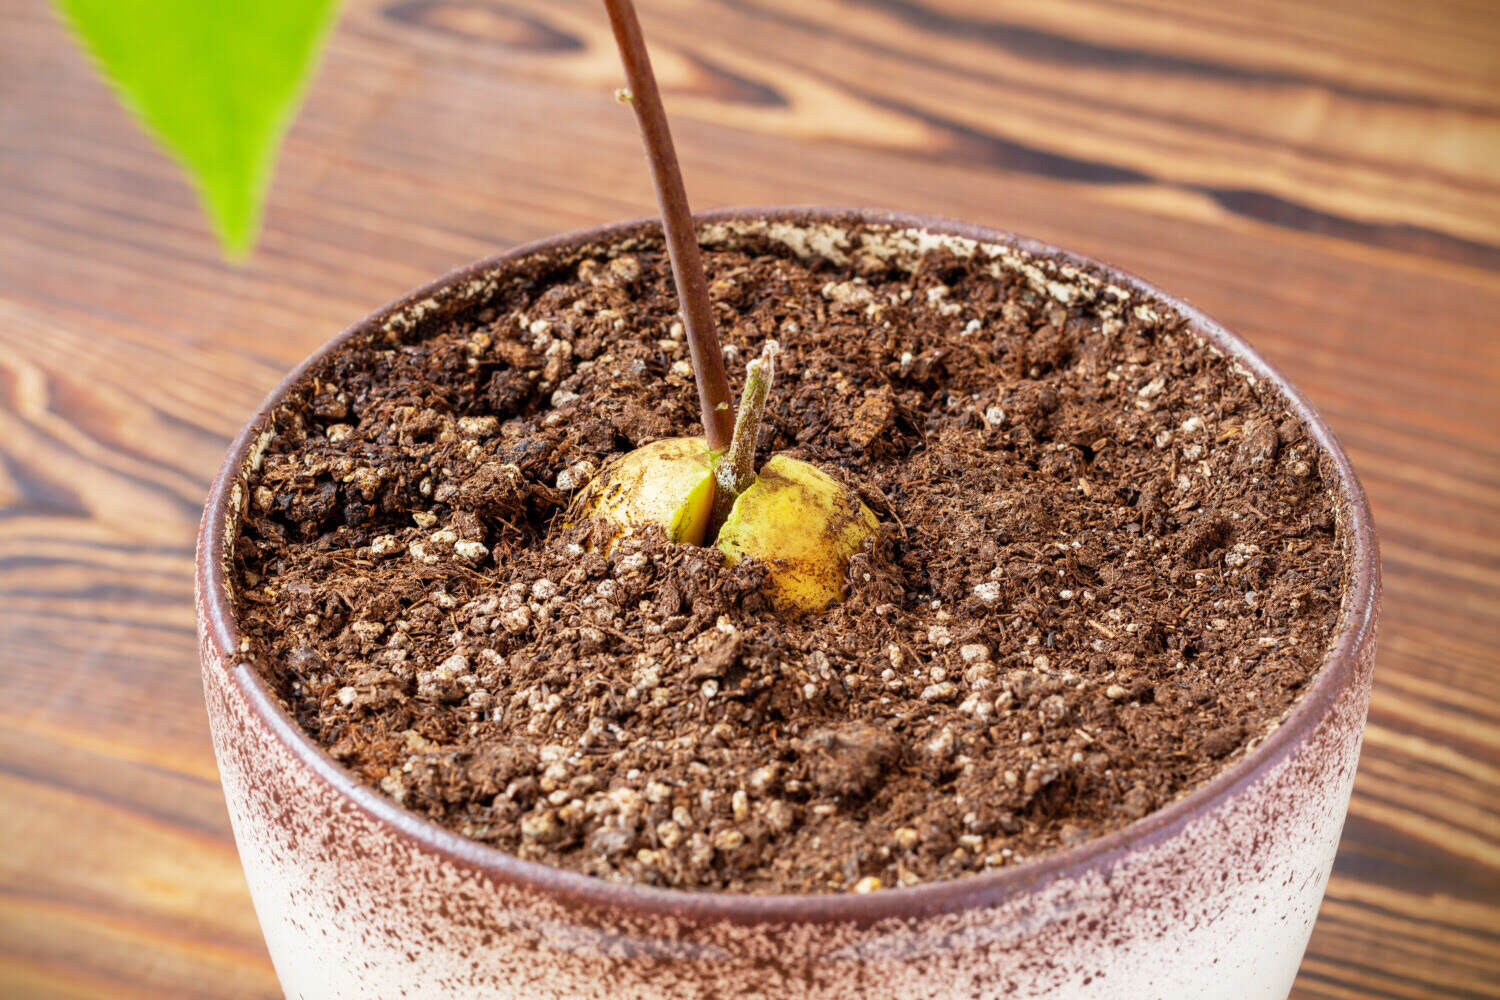
Transferring the Germinated Seeds
With the holes prepared, it’s time to transfer your germinated seeds into the soil. This step requires careful handling of the delicate seedlings to ensure their successful transplanting. Here’s how to transfer the germinated seeds:
- Water the seedlings: Before transferring the seedlings, give them a gentle watering. This will help moisten the soil and make it easier to remove the seedlings from their containers or germination medium.
- Gently remove the seedlings: Carefully remove the germinated seeds from their containers or germination medium. Be gentle to avoid damaging the delicate roots.
- Hold the seedling carefully: Hold the seedling gently by the leaves or the base of the stem. Avoid touching or squeezing the fragile roots.
- Lower the seedling into the hole: Lower the seedling into the prepared hole, ensuring that the roots are fully covered, but the stem remains above the soil level. Use your fingers to spread out the roots around the hole.
- Fill the hole with soil: Gently backfill the hole with soil, taking care not to bury the stem of the seedling. Press the soil lightly to anchor the seedling in place.
- Repeat for all seedlings: Repeat the process for each germinated seedling, transferring them one by one into the prepared holes.
Transferring germinated seeds can be a delicate process, as the seedlings are in a vulnerable state. Take your time and handle them with care to avoid damaging the roots or disrupting their growth. Once transferred, the seedlings will start to establish themselves in their new environment and continue their growth in the soil.
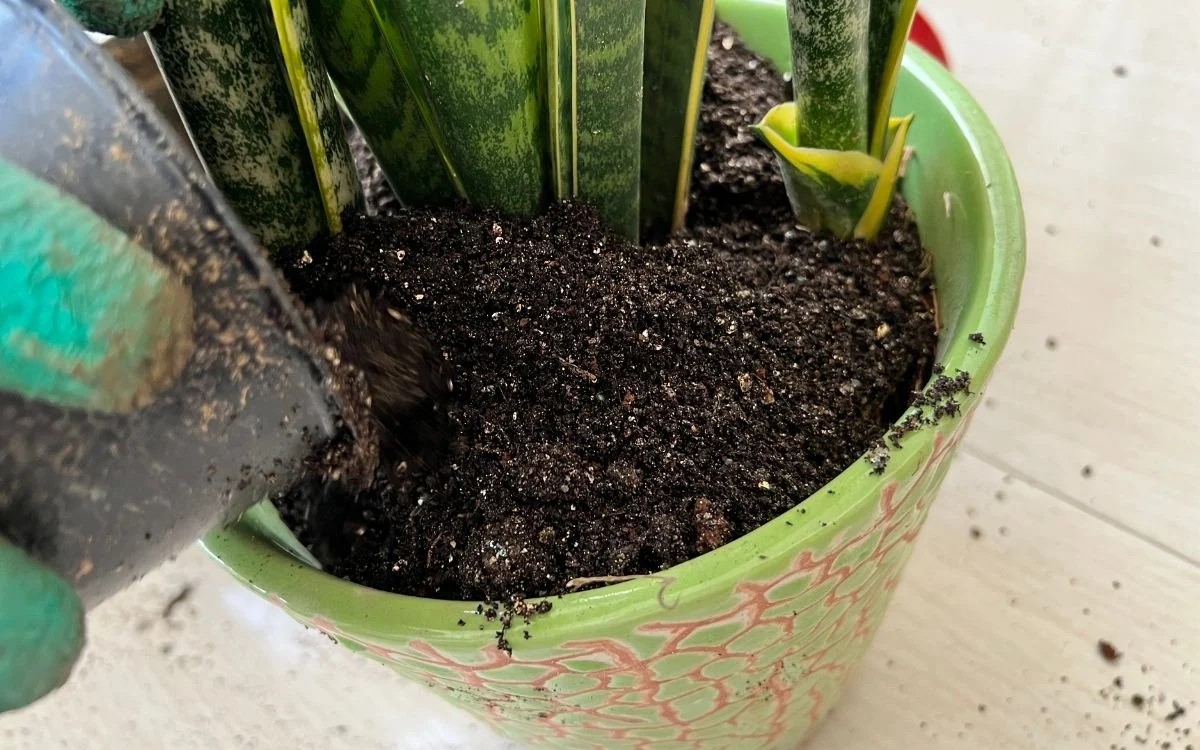
Covering the Seeds with Soil
After transferring the germinated seeds into the holes, it’s important to cover them with soil. This step provides protection and stability to the seedlings, allowing them to receive the necessary nutrients and water for growth. Here’s how to cover the seeds with soil:
- Add soil to the holes: Take a handful or scoop of soil and gently sprinkle it over the seedlings in the holes. Ensure that the soil covers the roots and reaches the base of the seedlings. Avoid burying the seedlings too deeply, as this can hinder their growth.
- Level the soil: Use your fingers or the back of a garden rake to level the soil surface gently. This helps create an even and stable environment for the seedlings.
- Leave the top of the stem exposed: Be mindful not to cover the top part of the seedling stem. It should remain above the soil level to prevent rot and promote healthy growth.
- Press lightly: With your hands or the back of a gardening tool, press the soil lightly around the base of the seedlings. This helps to secure them in place and prevents air pockets around the roots.
- Water the soil: After covering the seeds with soil, give the area a thorough watering. This helps to settle the soil and ensures good soil-to-root contact.
Covering the seeds with soil provides protection against environmental factors and promotes successful germination and growth. By following these steps, you create a favorable environment for the seedlings to establish themselves in the soil.
Watering the Seeds
Watering is a critical aspect of caring for your newly planted seeds. Proper watering ensures that the soil remains moist, allowing the seeds to absorb the necessary nutrients and stay hydrated for healthy growth. By following these guidelines, you can effectively water your seeds:
- Water immediately after planting: After covering the seeds with soil, give the area a generous watering. This helps the soil settle around the roots and provides an initial boost of moisture.
- Monitor moisture levels: Check the soil regularly to assess its moisture level. Stick your finger about an inch into the soil to gauge if it’s dry or still moist. Avoid overwatering, as it can lead to fungal diseases or root rot.
- Water deeply: When watering, make sure to thoroughly soak the soil to encourage deep root growth. Shallow, frequent watering can promote shallow root growth and a weaker plant.
- Water in the morning: It’s best to water your seeds in the morning, as this allows the plants to take up the moisture before the heat of the day. Watering in the evening can increase the risk of fungal diseases due to prolonged periods of dampness.
- Use a gentle stream: When watering, use a gentle stream or a watering can with a fine rose attachment to avoid disturbing the soil or damaging the delicate seedlings.
- Avoid foliage wetting: Water the soil directly at the base of the plants, avoiding wetting the foliage as this can promote the spread of diseases and hinder the plant’s ability to absorb sunlight.
- Adjust watering frequency: The frequency of watering may vary depending on environmental conditions, such as temperature and rainfall. During hot and dry periods, you may need to water more frequently to prevent the soil from drying out.
Consistent and proper watering is essential to support the growth and development of your seeds. By following these watering guidelines, you can provide the necessary moisture for your seeds to thrive and begin their journey toward becoming mature plants.
Providing Adequate Sunlight
Sunlight is a vital component for the growth and development of your plants. It provides the energy needed for photosynthesis, a process in which plants convert sunlight into food. Here’s how you can ensure that your seeds receive adequate sunlight:
- Understand the sunlight requirements: Different plant species have different sunlight requirements. Some plants thrive in full sun, while others prefer partial shade. It’s important to research the specific sunlight needs of the seeds you are growing.
- Observe your garden: Take note of the areas in your garden that receive direct sunlight throughout the day and those that are shaded by trees, structures, or other plants.
- Place your seeds strategically: Consider the sunlight requirements of your seeds when deciding where to plant them in your garden. Choose a location that receives the appropriate amount of sunlight based on the needs of the specific plants.
- Position for proper exposure: Ensure that the area you choose allows the plants to receive the right amount of sunlight. For plants that require full sun, they should receive at least 6-8 hours of direct sunlight each day. For plants that prefer partial shade, they should receive a few hours of direct sunlight and some filtered or dappled shade during the rest of the day.
- Watch for shade during the day: Monitor your garden throughout the day to observe any changes in light conditions. Note if certain areas become shaded due to the movement of the sun or the presence of nearby structures.
- Consider using shade cloth: If your garden lacks areas with the desired amount of sunlight, you can use shade cloth to create shade for plants that prefer partial shade. This can help protect them from the strong afternoon sun.
- Rotate your plants: If some parts of your garden receive more sunlight than others, consider rotating your plants throughout the growing season to ensure they all have a chance to receive adequate sunlight.
Providing adequate sunlight is crucial for healthy plant growth and development. By understanding the sunlight requirements of your seeds and strategically placing them in your garden, you can ensure that they receive the optimal amount of light to thrive.
Read more: How Do Plants Germinate
Caring for the Seedlings
Once your germinated seeds are planted in the soil, it’s important to provide proper care to promote their growth and help them thrive. Here are some essential tips for caring for your seedlings:
- Water regularly: Seedlings have delicate root systems that require consistent moisture. Water them regularly, keeping the soil evenly moist but not waterlogged. Avoid letting the soil dry out completely between waterings, as this can stress the seedlings.
- Fertilize appropriately: Most seedlings do not require additional fertilizer in the early stages of growth. However, if your soil lacks nutrients, you can apply a diluted, balanced liquid fertilizer to provide a gentle boost. Follow the manufacturer’s instructions for proper application.
- Protect from extreme weather: Shield your seedlings from extreme weather conditions, such as strong winds or heavy rainfall. Use stakes or supports to prevent them from being damaged or uprooted.
- Monitor for pests and diseases: Keep an eye out for common garden pests, such as aphids or slugs, which can damage or destroy young seedlings. Inspect the plants regularly and take appropriate measures, such as using organic pest control methods, to protect them. Also, watch for signs of diseases, such as wilting or discoloration, and take prompt action to prevent the spread.
- Thin overcrowded seedlings: If your seedlings are growing too close together, thin them out to provide adequate space for each plant to grow. Carefully remove the weaker or excess seedlings, leaving the strongest ones to develop properly.
- Provide support if necessary: Some plants, such as tomatoes or peas, may require support as they grow taller. Install stakes or trellises to offer support and prevent the plants from bending or breaking under their own weight.
- Mulch the soil: Apply a layer of organic mulch around the seedlings to help conserve moisture, control weeds, and regulate soil temperature. Leave a small space around the base of the plants to prevent stem rot.
- Monitor and adjust: Continuously monitor the growth and condition of your seedlings. Make adjustments as necessary, such as increasing or decreasing watering frequency, providing additional support, or adjusting the placement based on their response to the environment.
- Gradually expose to outdoor conditions: If you started your seedlings indoors or in a controlled environment, gradually expose them to outdoor conditions. This process, known as hardening off, helps acclimate the plants to outdoor elements slowly.
Caring for your seedlings requires consistent attention and observation. By providing the right amount of water, protecting them from harsh weather, monitoring for pests and diseases, and making necessary adjustments, you can help ensure their healthy development into mature plants.
Now that you've mastered planting germinated seeds, why not spruce up your garden's appeal? Our guide on creative garden fence ideas offers inspiration to turn any ordinary space into a charming retreat. Learn how to complement your greenery with designs that not only add privacy but also enhance your garden's aesthetic. Whether you're looking for something simple or eye-catching, you'll find plenty of options to suit your taste and gardening goals.
Frequently Asked Questions about How To Plant Germinated Seeds In Soil
Was this page helpful?
At Storables.com, we guarantee accurate and reliable information. Our content, validated by Expert Board Contributors, is crafted following stringent Editorial Policies. We're committed to providing you with well-researched, expert-backed insights for all your informational needs.


0 thoughts on “How To Plant Germinated Seeds In Soil”