Home>Garden Essentials>How To Plant Germinated Seed
Garden Essentials
How To Plant Germinated Seed
Modified: March 24, 2024
Learn how to plant germinated seeds in your garden for successful growth. Follow our step-by-step guide to ensure healthy and thriving plants.
(Many of the links in this article redirect to a specific reviewed product. Your purchase of these products through affiliate links helps to generate commission for Storables.com, at no extra cost. Learn more)
Introduction
Planting germinated seeds is an exciting and rewarding process that allows you to bring life to your garden. Whether you’re starting a new vegetable patch, adding colorful flowers to your landscape, or cultivating aromatic herbs, knowing how to properly plant germinated seeds is essential for their successful growth. Germinated seeds have already started to sprout, giving them a head start and increasing their chances of survival. With a few simple steps, you can ensure that your germinated seeds have the best possible start in their journey to becoming healthy and vibrant plants.
In this article, we will guide you through the process of planting germinated seeds, from preparation to care and maintenance. We will explore key factors such as selecting the right planting location, preparing the planting area, and providing proper watering and care. By following these steps, you can help your germinated seeds thrive and develop into beautiful and productive plants.
Key Takeaways:
- Planting germinated seeds is a fun and rewarding process that involves preparing the seeds, choosing the right location, and providing proper care. It’s like giving your seeds a head start for a healthy and vibrant garden!
- After planting, it’s important to water, monitor, and maintain your plants. Harvesting the seeds for future use allows you to continue growing your favorite plants. Gardening is a journey of patience, learning, and joy!
Read more: How To Germinate A Plant
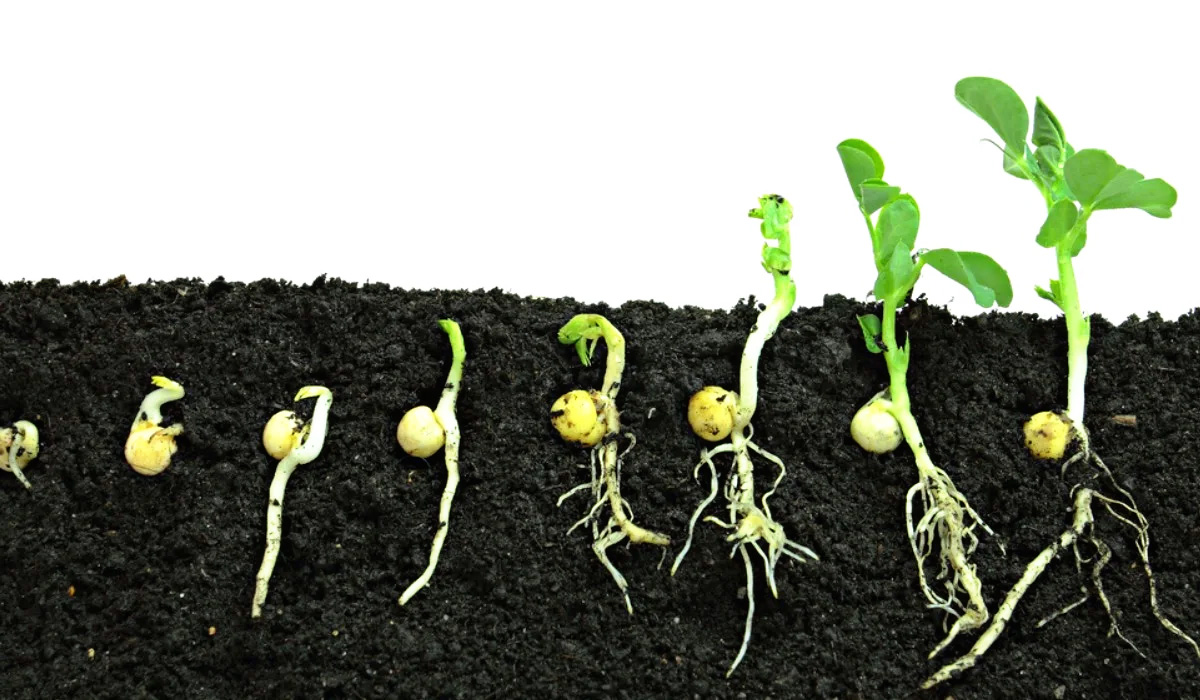
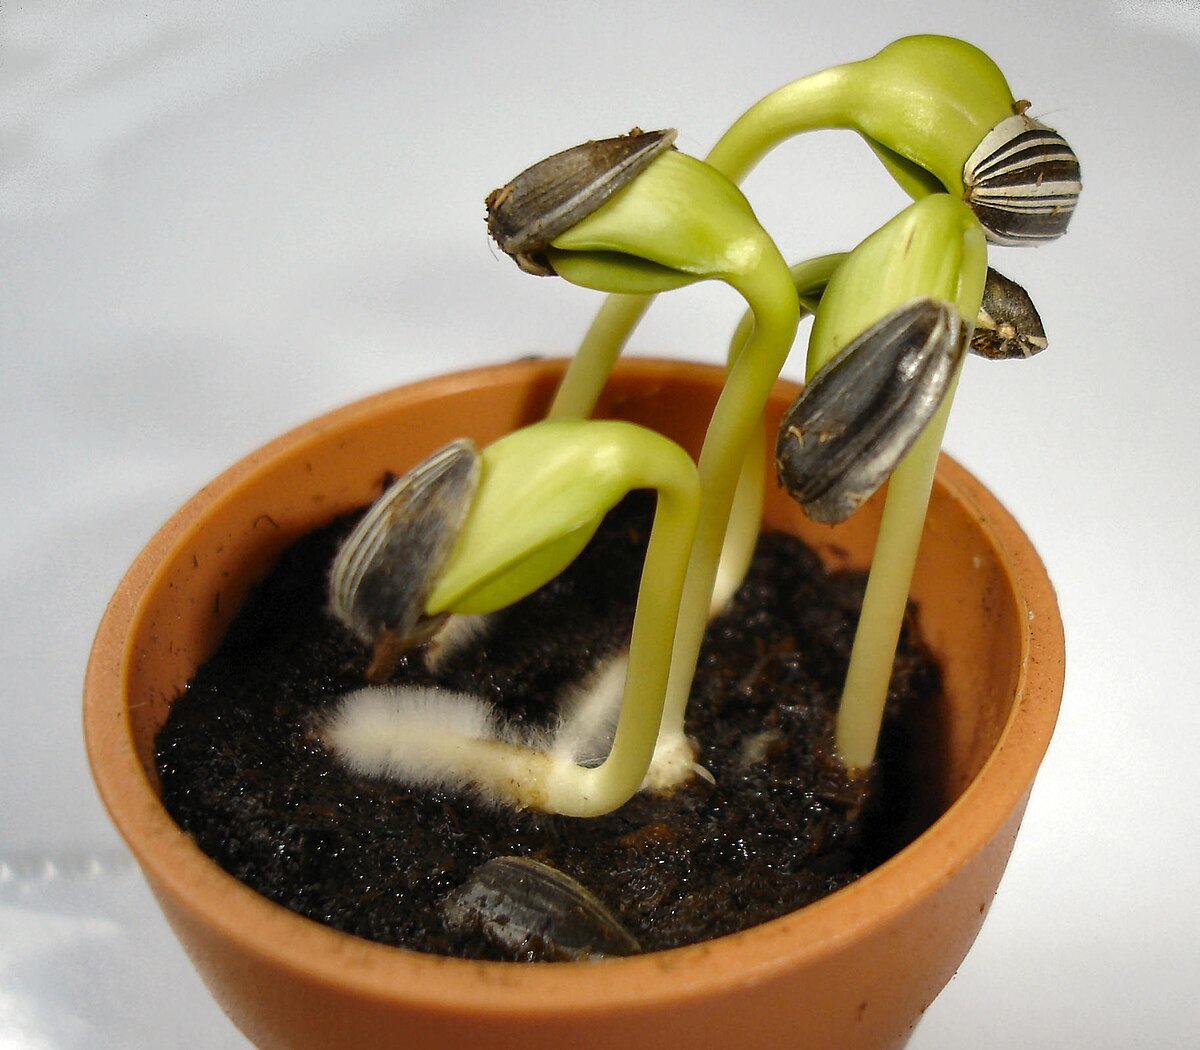
Step 1: Prepare the Germinated Seeds
Before you start planting your germinated seeds, it’s important to make sure they are properly prepared. Here’s what you need to do:
- Inspect the germinated seeds: Carefully examine each seedling to ensure they are healthy and free from any pests or diseases. Remove any weak or damaged seedlings, as they may not survive the planting process.
- Separate the seedlings: If you have multiple seedlings growing in one container, gently separate them to give each plant enough space to grow and develop its roots properly. Be careful not to damage the delicate roots during this process.
- Harden off the seedlings: If your germinated seeds have been growing indoors or in a sheltered environment, they may need to be gradually acclimated to outdoor conditions. This process, known as hardening off, involves exposing the seedlings to outdoor temperatures and sunlight for progressively longer periods of time. Start by placing them outdoors in a shaded area for a few hours a day, then gradually increase their exposure to direct sunlight over the course of a week.
- Pre-soak the seedlings: It can be beneficial to give your germinated seeds a gentle soak before planting. Fill a container with lukewarm water and place the seedlings in it for about 10-15 minutes. This will help rehydrate the roots and reduce transplant shock.
- Prepare a container or planting trays: If you’re not planning to plant your germinated seeds directly in the ground, you’ll need to prepare containers or planting trays. Make sure they are clean, sterilized, and have drainage holes to prevent waterlogging.
By carefully preparing your germinated seeds, you can ensure that they are healthy, separated, acclimated to outdoor conditions, and ready for successful planting. This initial step sets the stage for the growth and development of your plants.
Step 2: Choose the Right Planting Location
Choosing the right planting location for your germinated seeds is crucial for their long-term success. Here are some important factors to consider:
- Sunlight: Most plants require adequate sunlight to thrive. Take note of the sunlight requirements for the specific plant you are growing and choose a location that receives the appropriate amount of direct sunlight each day. Some plants prefer full sun, while others thrive in partial shade.
- Soil quality: The quality of the soil plays a vital role in the growth of your plants. Ensure that the soil is well-draining, fertile, and rich in organic matter. Conduct a soil test to determine its pH level and make any necessary amendments to create an optimal growing environment for your germinated seeds.
- Water source: Consider the proximity of a water source when selecting the planting location. It’s important to have easy access to water for regular watering. If your chosen location is far from a water source, ensure you have a convenient way to transport water to your plants.
- Protection from extreme conditions: Avoid planting in areas prone to strong winds, as they can damage young seedlings. Similarly, protect your plants from extreme temperature fluctuations or frost, depending on the climate of your region.
- Companion plants: Consider the concept of companion planting and select a location that allows you to strategically position your germinated seeds alongside compatible plants. Certain plants benefit from being grown together, as they can offer pest control, enhance pollination, or improve soil health.
By carefully considering these factors, you can choose a planting location that provides the optimal conditions for your germinated seeds to grow and thrive. Keep in mind the specific needs of the plants you are growing, as well as your local climate and environmental conditions, to ensure successful and abundant growth.
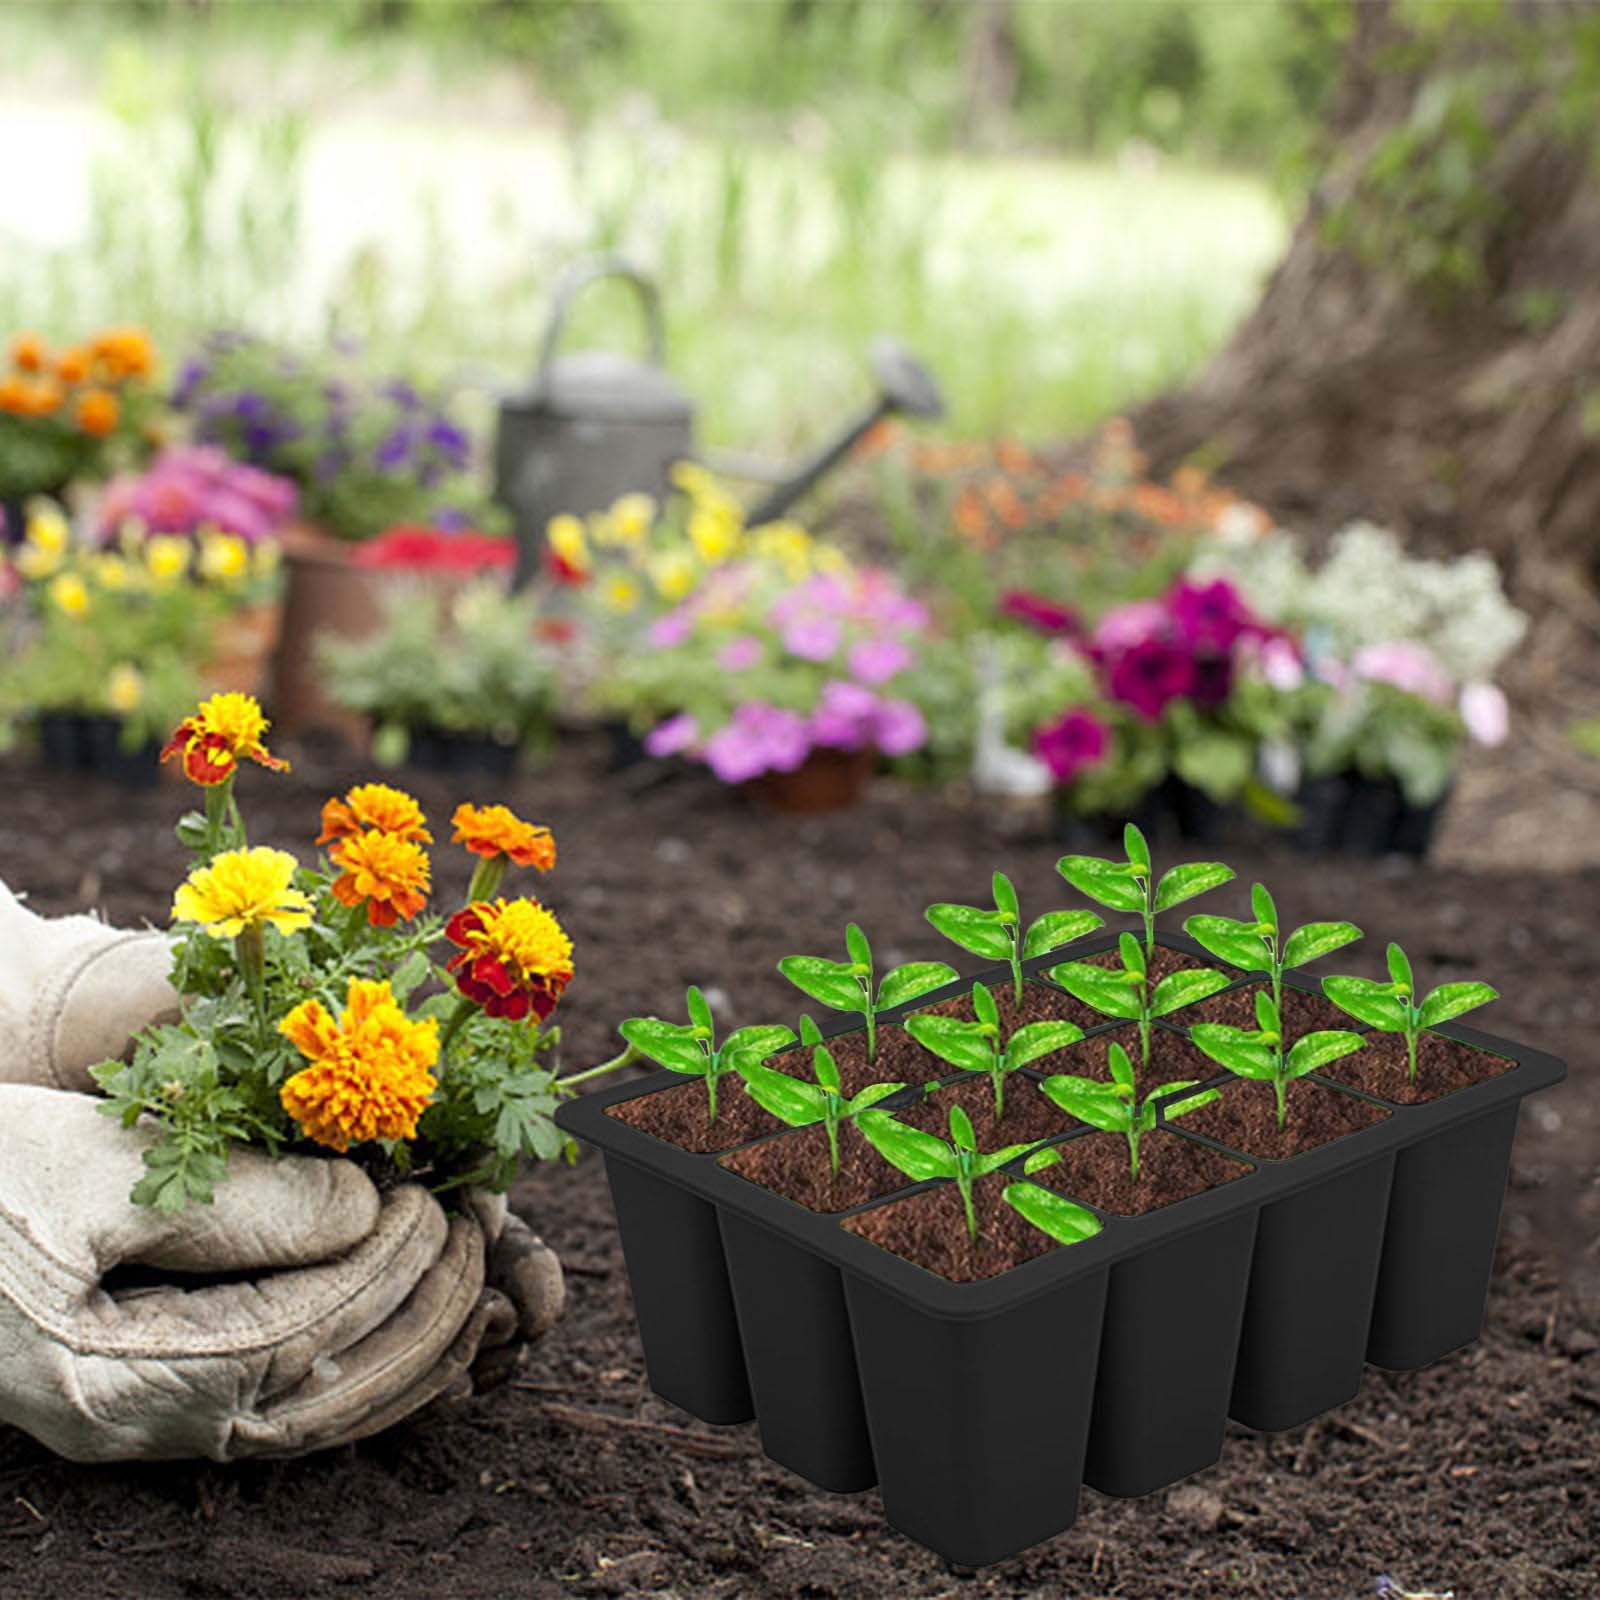
Step 3: Prepare the Planting Area
Preparing the planting area is an important step in ensuring that your germinated seeds have a conducive environment for growth. Follow these steps to get your planting area ready:
- Clear the area: Remove any weeds, rocks, or debris from the planting area to create a clean and clear space for your germinated seeds. Weeds compete with your plants for nutrients, water, and sunlight, so it’s essential to eliminate them.
- Loosen the soil: Use a garden fork or a tiller to loosen the soil in the planting area. This helps improve drainage and allows the roots to penetrate the soil easily. Avoid overly compacted soil as it can hinder root growth.
- Amend the soil: Assess the quality of your soil and make necessary amendments to create a nutrient-rich growing medium. Add compost, well-rotted manure, or organic matter to improve the soil structure and provide essential nutrients for your plants.
- Create raised beds or mounds: If your soil is heavy clay or has poor drainage, consider creating raised beds or mounds. This helps improve drainage and prevents waterlogging, which can lead to root rot.
- Mark planting spots: Determine the spacing requirements for the specific plants you are growing and mark the planting spots accordingly. Leave adequate space between each plant to allow for proper air circulation and growth.
By properly preparing the planting area, you create an optimal environment for your germinated seeds to thrive. Clearing the area, improving soil quality, and providing adequate spacing are essential steps to ensure healthy growth and avoid potential issues down the line.
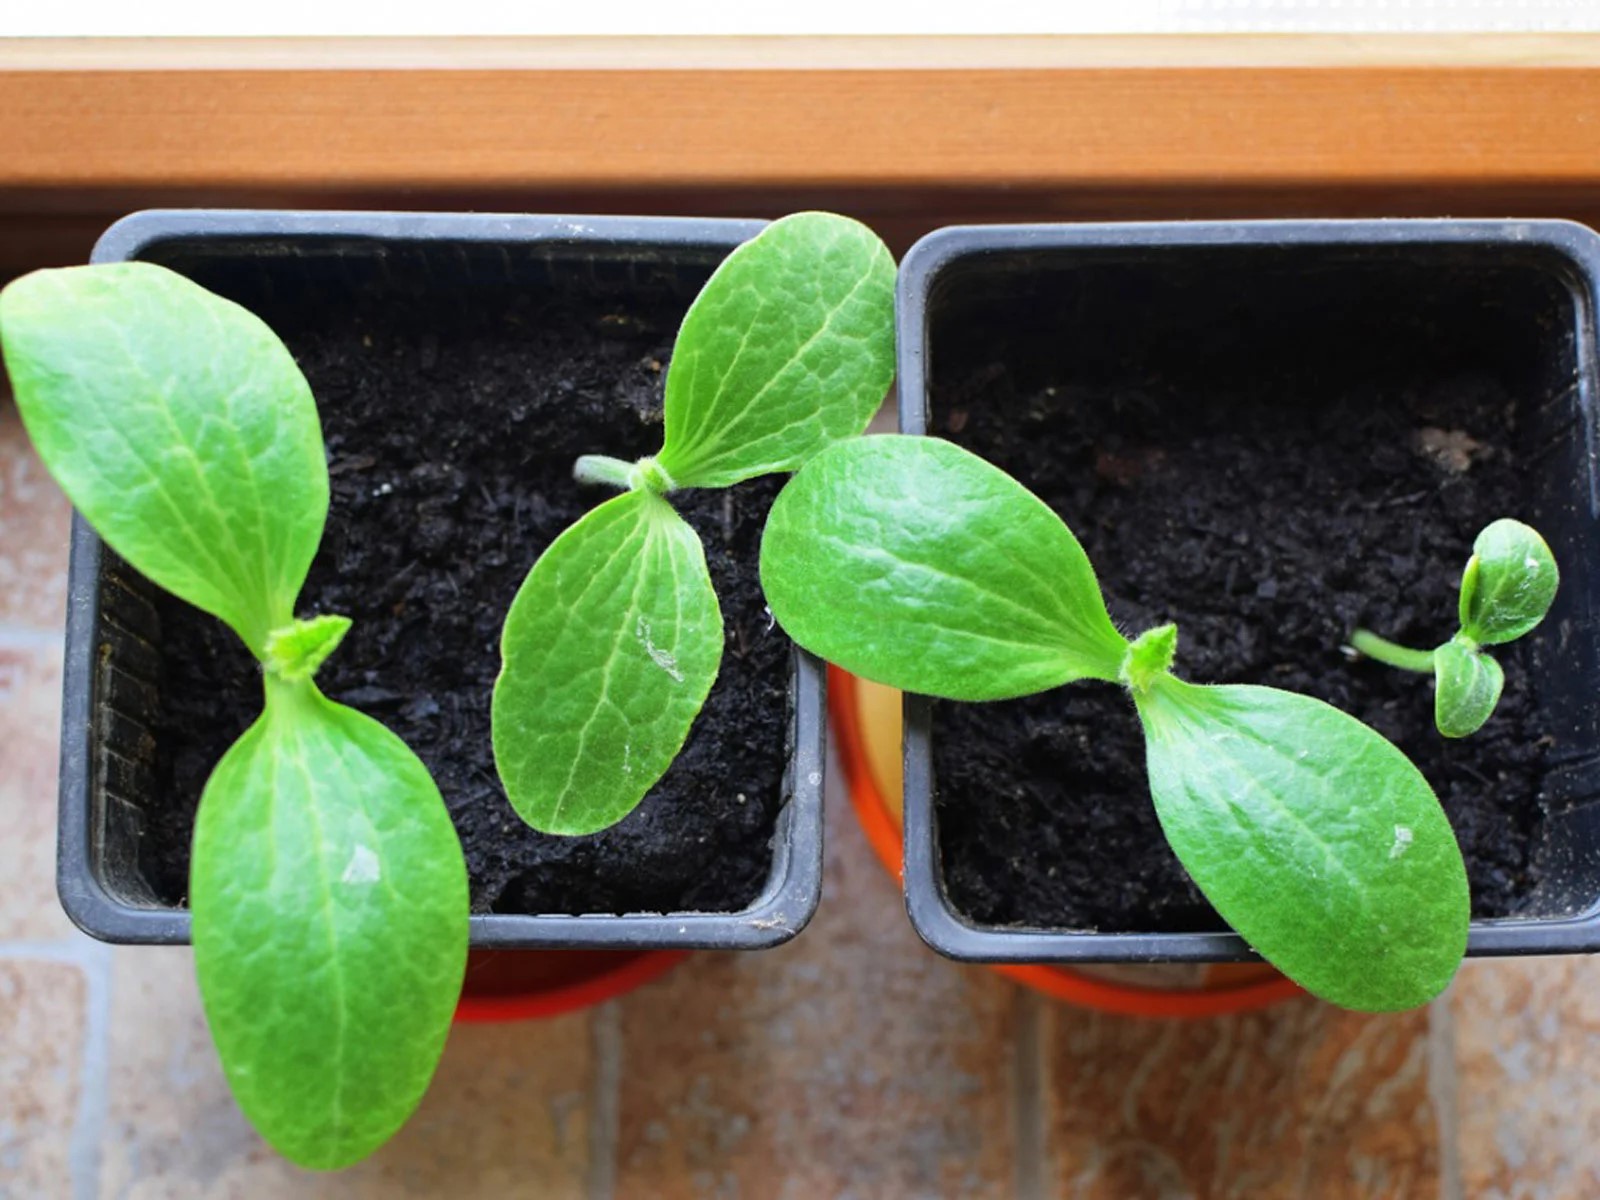
Step 4: Planting the Germinated Seeds
Now that you have prepared the planting area, it’s time to plant your germinated seeds. Follow these steps for successful planting:
- Dig planting holes: Using a small garden trowel or your hands, dig holes in the prepared planting area. The depth and spacing will depend on the specific plant you are growing, so refer to the planting instructions or seed packet for guidance.
- Place the seedlings: Gently place each germinated seedling into a planting hole, making sure the root system is fully covered with soil. Be careful not to damage the delicate roots during this process.
- Backfill with soil: Carefully backfill the holes with soil, gently pressing the soil around the base of the seedlings to ensure they are firmly in place. Avoid compacting the soil too much as this can restrict root growth.
- Water immediately: After planting, water the newly planted seedlings thoroughly to settle the soil around the roots and provide hydration. This helps reduce transplant shock and promotes healthy root establishment.
- Mulch the area: Apply a layer of mulch around the base of the seedlings to help retain moisture, suppress weed growth, and regulate soil temperature. Use organic materials such as straw, wood chips, or compost.
While planting the germinated seeds, remember to be gentle and handle them with care to avoid damaging the delicate roots. Watering immediately after planting ensures they receive the moisture they need to establish themselves. The addition of mulch helps create a favorable growing environment for your seedlings.
Once the germinated seeds are planted, it’s time to move on to the next step: watering and caring for your newly planted seedlings.
After germinating a seed, plant it in a small pot with well-draining soil. Make a small hole in the soil, place the germinated seed inside, and cover it with a thin layer of soil. Water the soil gently and place the pot in a warm, sunny spot to encourage growth.
Read more: How To Plant Germinated Seeds
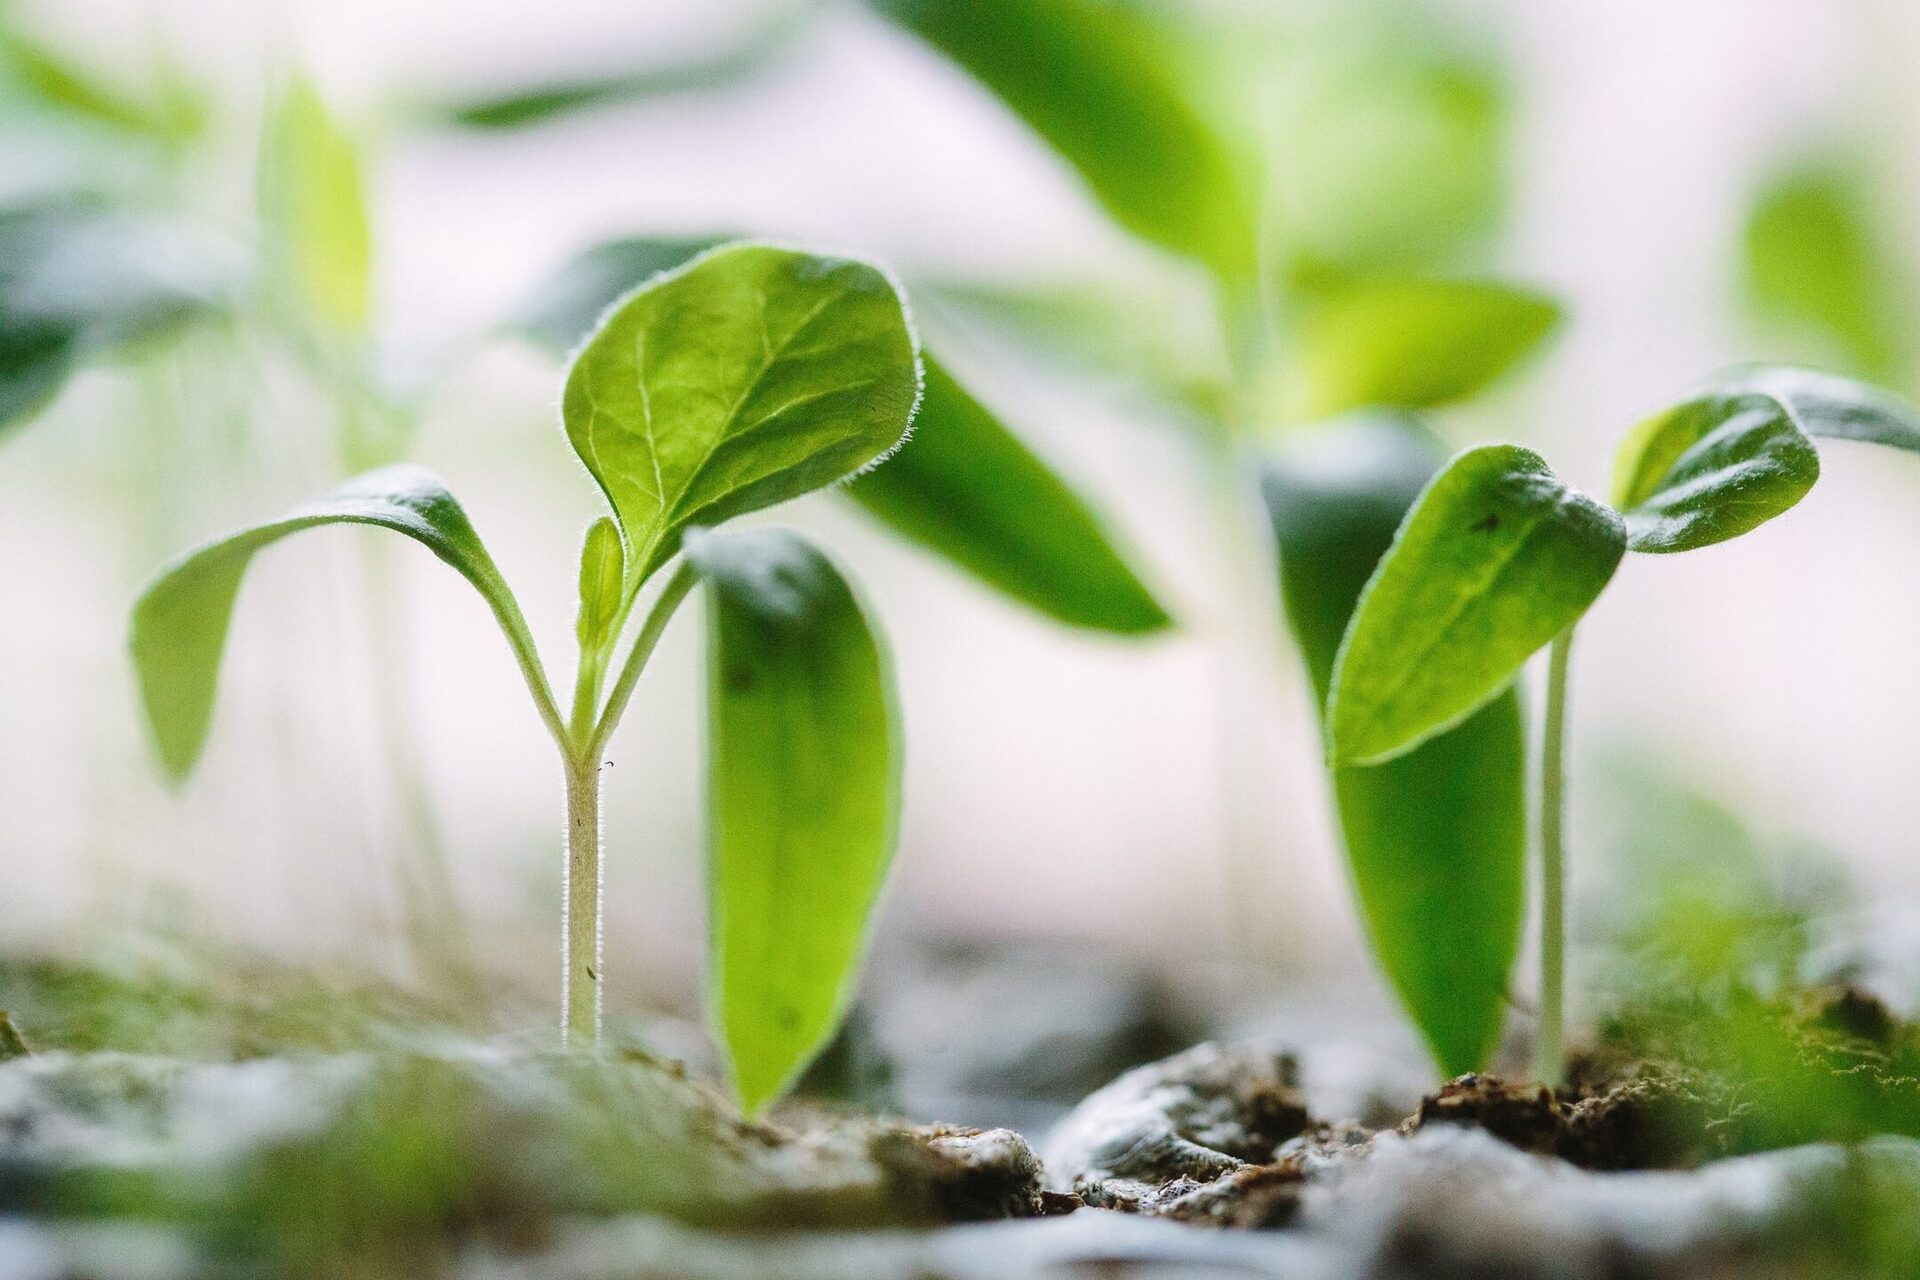
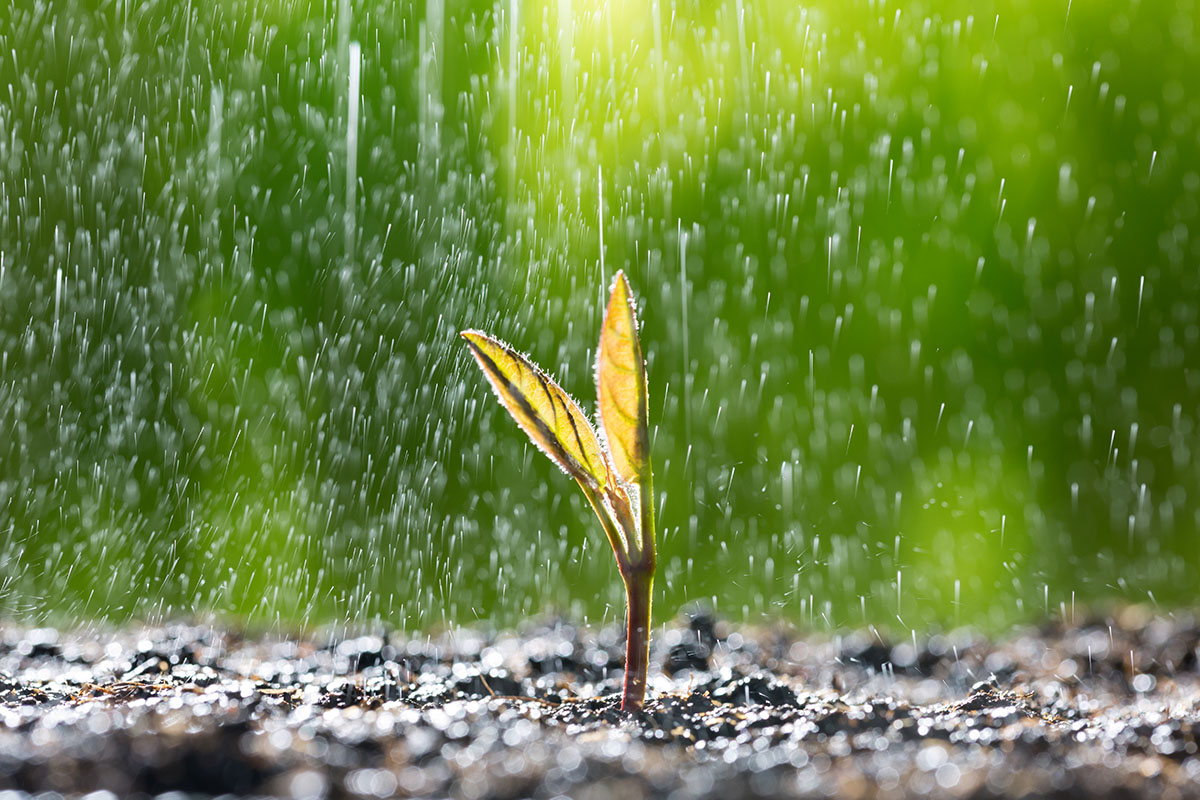
Step 5: Watering and Care
Proper watering and care are essential for the health and growth of your germinated seeds. Follow these guidelines to ensure your plants receive the right amount of water and care:
- Watering frequency: Check the moisture level of the soil regularly and water your plants when the top layer of soil feels dry. Avoid overwatering, as it can lead to root rot, and underwatering, as it can cause stress and hinder growth. Finding the right balance is key.
- Watering technique: When watering, aim to thoroughly soak the soil around the plant roots. Watering at the base of the plants rather than overhead helps prevent foliage diseases and ensures the water reaches the roots where it is needed most.
- Monitoring for pests and diseases: Keep a close eye on your plants, checking for any signs of pests or diseases. Early detection allows for prompt treatment, minimizing the potential damage to your plants. Remove any affected leaves or use organic pest control methods to protect your plants.
- Fertilization: Depending on the specific plant and soil conditions, you may need to fertilize your plants. Follow the recommended feeding schedule and choose a fertilizer that is suitable for your plants. Apply the fertilizer as directed, taking care not to over-fertilize, as this can burn the roots.
- Pruning and trimming: Regularly inspect your plants and prune any dead or damaged leaves or branches. This helps improve airflow, prevents the spread of diseases, and encourages healthy growth.
By providing proper watering and care, you can ensure that your germinated seeds receive the necessary nutrients and attention to thrive. Regular monitoring, addressing pests and diseases, and implementing appropriate pruning and fertilization practices contribute to the overall health and vitality of your plants.
Next, let’s move on to step 6, where we discuss the importance of monitoring and maintaining your germinated seeds.
Step 6: Monitor and Maintain
Monitoring and maintaining your germinated seeds is crucial for their ongoing health and success. Here are important steps to follow:
- Regular observation: Take the time to regularly observe your plants, noting any changes in growth, color, or overall appearance. This allows you to catch any issues early on and take appropriate action.
- Regular watering: Continue to monitor the moisture level of the soil and adjust your watering schedule as needed. Be mindful of weather conditions, as hot and dry periods may require more frequent watering.
- Stake or support: If your plants are tall or have weak stems, it may be necessary to use stakes or supports to prevent them from bending or breaking under their own weight. This is particularly important for plants like tomatoes, peppers, or climbing vines.
- Weed control: Regularly remove any weeds that compete with your plants for nutrients, water, and sunlight. This helps minimize competition and allows your germinated seeds to thrive without interference.
- Protection from pests: Implement pest prevention measures such as using physical barriers, natural repellents, or organic insecticides to protect your plants from common garden pests. Regularly inspect leaves and stems for signs of pest infestation.
- Supportive care: As your plants grow, they may require additional care such as pruning, pinching, or thinning to promote healthy growth and maximize productivity. Follow proper techniques and guidelines specific to the plant varieties you are cultivating.
By actively monitoring and maintaining your germinated seeds, you can address any potential issues promptly and provide the necessary support for optimal growth and development. Regular observation, watering, weed control, pest prevention, and supportive care ensure that your plants continue to thrive throughout their life cycle.
Finally, let’s move on to step 7, where we discuss how to harvest your germinated seeds for future use.
Step 7: Harvesting Germinated Seeds
After all the hard work of planting, caring for, and nurturing your germinated seeds, the final step is harvesting the seeds for future use. Here’s what you need to know:
- Maturity and readiness: It’s important to wait until your plants have reached full maturity before harvesting the seeds. Each plant has its own timeline, so refer to gardening resources or seed packets for guidance on when to harvest.
- Seed collection: When harvesting seeds, allow the seed pods or fruits to fully ripen on the plant. Once ready, carefully collect the seeds. In some cases, the seeds may be contained within the fruit or pod, while in others, they may be found inside the flower head or seed pods. Use appropriate tools, such as scissors or your hands, to gather the seeds.
- Drying the seeds: Proper drying is vital to ensure the longevity and viability of the seeds. Spread the harvested seeds in a single layer on a clean, dry surface. Allow them to air dry in a cool, well-ventilated area for a couple of weeks. Avoid direct sunlight or excessive heat, as this can damage the seeds.
- Storing the seeds: Once properly dried, transfer the seeds to airtight containers such as glass jars or seed envelopes. Label each container with the plant name and the date of harvest. Store the containers in a cool, dry, and dark place to maintain seed viability until the next planting season.
- Seed viability: It’s important to note that the viability of seeds can vary depending on the plant species. Some seeds can be stored and used for several years, while others have a shorter shelf life. To ensure the best chance of successful germination, it’s recommended to use the seeds within a year or two.
Harvesting your germinated seeds allows you to preserve your favorite plant varieties and continue growing them in the future. By following the proper harvesting and seed-saving techniques, you can enjoy a sustainable garden that is rich in diversity and has a continuous supply of high-quality seeds.
Congratulations! You have now completed all the essential steps for planting germinated seeds and successfully nurturing them into mature plants. Enjoy the fruits of your labor and the beauty that your garden brings.
Essential Garden is a participant in the Amazon Services LLC Associates Program, an affiliate advertising program designed to provide a means for sites to earn advertising fees by advertising and linking to amazon.com.
Conclusion
Planting germinated seeds is a gratifying and fulfilling journey that allows you to witness the magic of nature unfold right in your own garden. By following the steps outlined in this guide, you have learned how to prepare germinated seeds, choose the right planting location, prepare the planting area, plant the seeds, provide proper watering and care, monitor and maintain the plants, and finally harvest the seeds for future use.
Throughout this process, it’s important to remember that gardening is an art that requires patience, observation, and a willingness to learn from both successes and challenges. Take the time to appreciate the beauty of the growing plants, the buzzing of pollinators, and the satisfaction of knowing that you have played a vital role in nurturing life.
As with any form of gardening, there may be times when things don’t go as planned. Don’t be discouraged by setbacks or failures. See them as opportunities to learn and adapt, and remember that even experienced gardeners encounter challenges along the way. Embrace the process and use it to deepen your understanding of the natural world and your connection to it.
By planting germinated seeds, you are not only creating a beautiful and vibrant garden, but you are also contributing to a more sustainable and self-sufficient lifestyle. Growing your own plants from seed allows you to have a direct connection to the food you eat, reduce your carbon footprint, and foster a deeper appreciation for the environment.
So, whether you’re starting a vegetable garden, cultivating a flower bed, or growing herbs for culinary delights, remember the joy and fulfillment that gardening brings. With the knowledge and skills you have acquired, you are well-equipped to embark on your journey as a successful gardener.
Now, grab your gardening tools, gather your germinated seeds, and get ready to witness the beauty and abundance that awaits in your garden. Happy gardening!
Frequently Asked Questions about How To Plant Germinated Seed
Was this page helpful?
At Storables.com, we guarantee accurate and reliable information. Our content, validated by Expert Board Contributors, is crafted following stringent Editorial Policies. We're committed to providing you with well-researched, expert-backed insights for all your informational needs.


0 thoughts on “How To Plant Germinated Seed”