Home>Garden Essentials>When To Plant Melon Seeds
Garden Essentials
When To Plant Melon Seeds
Modified: March 16, 2024
Learn when to plant melon seeds in your garden and ensure a bountiful harvest. Discover the best time for optimal growth and delicious melons.
(Many of the links in this article redirect to a specific reviewed product. Your purchase of these products through affiliate links helps to generate commission for Storables.com, at no extra cost. Learn more)
Introduction
Welcome to the exciting world of gardening! If you’re a fan of fresh and juicy melons, then you’ve come to the right place. Growing your own melons can be a rewarding experience, and it all starts with planting the seeds. But when is the best time to plant melon seeds? In this article, we’ll explore the factors to consider and the steps to follow to ensure successful melon cultivation.
Growing melons requires careful planning and consideration of various factors such as the weather, soil conditions, and seed selection. By understanding the planting season, preparing the soil, choosing the right seeds, and following proper care techniques, you can increase your chances of a bountiful melon harvest.
Whether you have a sprawling garden or a small balcony space, melons can be grown in different environments, making them a versatile and enjoyable addition to any gardener’s repertoire. So let’s dive in and learn when and how to plant melon seeds!
Key Takeaways:
- Plant melon seeds in late spring when the soil temperature is around 70°F for a bountiful harvest. Consider factors like climate, soil preparation, and seed selection for successful melon cultivation.
- Care for melon seedlings by providing consistent moisture, regular fertilization, and pest management. Harvest ripe melons by observing color, aroma, and using the tap test. Enjoy the sweet rewards of homegrown melons!
Read more: How To Plant Bitter Melon Seeds
Factors to Consider Before Planting Melon Seeds
Before you start planting melon seeds, there are a few key factors to consider that can greatly impact the success of your melon crop:
- Climate: Melons thrive in warm climates, with temperatures between 70°F and 90°F (21°C to 32°C). Ensure that your area experiences a long enough growing season with consistent warmth to support melon growth.
- Frost-free period: Melons are sensitive to frost, so it’s important to plant seeds after the last frost date in your region. Check with your local agriculture extension office or consult a gardening guide to determine the frost dates for your area.
- Soil temperature: Melon seeds germinate best when the soil temperature is around 70°F to 85°F (21°C to 29°C). Use a soil thermometer to monitor the temperature before sowing the seeds.
- Sunlight: Melons need full sun exposure, which means at least 6 to 8 hours of direct sunlight each day. Choose a planting location that receives ample sunlight to promote healthy plant growth.
- Wind protection: Melon plants have shallow roots, so they need protection from strong winds. Consider planting them near a wall, fence, or other windbreak to shield them from gusts.
By evaluating these factors specific to your region and growing conditions, you can ensure that you plant your melon seeds at the optimal time and in the right environment for success.
Now that you’re aware of the factors to consider, let’s move on to understanding the planting season for melons and how to prepare your soil for optimal growth.
Understanding the Melon Planting Season
The melon planting season plays a crucial role in determining the success of your crop. Melons are warm-season plants that thrive in temperatures ranging from 70°F to 90°F (21°C to 32°C). It’s important to plant them when the soil is warm enough for optimal germination and growth.
The timing of the planting season varies depending on your location and climate. In general, melon seeds are sown outdoors after the danger of frost has passed and the soil temperature has warmed up. This typically occurs in late spring or early summer.
To determine the ideal planting time, observe the weather patterns in your area and keep track of the average date of the last frost. For most regions, planting melon seeds in late spring when the soil has warmed up to around 70°F (21°C) is a safe bet.
If you live in a colder climate or have a shorter growing season, you can start the seeds indoors a few weeks before the last frost date. This allows the seedlings to develop and gain strength before transplanting them outdoors.
It’s important to note that melons require a long growing season, typically ranging from 70 to 100 days, depending on the variety. Therefore, ensure that you have enough time before the first expected frost to allow for the melons to mature and ripen.
By understanding the melon planting season in your area, you can make informed decisions about when to sow the seeds and plan your gardening activities accordingly.
Now that you have a good grasp of the planting season, let’s move on to preparing the soil for melon cultivation.
Soil Preparation for Melon Planting
Proper soil preparation is essential for creating an ideal growing environment for melons. Here are the steps to follow:
- Clear the area: Start by clearing the planting area of any weeds, rocks, or debris. This will help ensure that the melon plants have ample space to grow and access to nutrients.
- Test the soil: Conduct a soil test to determine its pH level and nutrient content. Melons prefer a slightly acidic to neutral soil pH between 6.0 and 7.0. Based on the test results, you can amend the soil to optimize its fertility and pH levels.
- Improve drainage: Melon plants thrive in well-draining soil. If your soil tends to retain excess moisture, consider adding organic matter such as compost or well-rotted manure to improve drainage. This helps prevent waterlogged soil, which can lead to root rot and other plant diseases.
- Add organic matter: Incorporating organic matter into the soil improves its structure and fertility. Mix in compost or aged manure before planting to enhance the soil’s nutrient content and moisture-holding capacity. This provides a healthy environment for melon roots to establish and grow.
- Loosen the soil: Melons require loose, friable soil for their roots to penetrate easily. Use a garden fork or tiller to loosen the soil to a depth of at least 12 inches (30 cm). This promotes root growth and allows for better nutrient absorption.
Once you have prepared the soil, it’s time to select the right melon seeds for your garden. Let’s dive into the next section to learn more about choosing the perfect melon seeds.
Choosing the Right Melon Seeds
Choosing the right melon seeds is crucial for a successful harvest. With so many varieties available, it can be overwhelming to make a selection. Consider the following factors when choosing your melon seeds:
- Climate suitability: Different melon varieties have specific preferences for temperature and growing conditions. Select seeds that are suitable for your climate and growing season length. Some melons thrive in hot and dry conditions, while others are more suited for cooler climates.
- Space availability: Consider the space you have available for melon plants. Some melon varieties, such as watermelons, require ample space to spread and vine. If you have limited space, choose compact or bush-type melon varieties that are more suitable for container gardening or smaller gardens.
- Flavor and maturity: Determine the taste and maturity level you desire in a melon. Some varieties are known for their exceptional sweetness, while others have a more subtle flavor. Additionally, consider how long it takes for the melons to mature. If you have a shorter growing season, opt for quicker-maturing varieties.
- Resistance to diseases: Check the seed package or catalog for information on disease resistance. Look for melon varieties that are resistant to common diseases in your area. This can help prevent potential crop losses and reduce the need for chemical interventions.
- Growing requirements: Review the growing requirements of the melon variety you are considering. Some melons may have specific soil, water, or sunlight requirements. Ensure that these requirements align with your gardening capabilities and resources.
Consider your personal preferences, gardening goals, and available resources when selecting melon seeds. Remember, diversity can add excitement to your garden, so don’t be afraid to try different varieties each growing season!
Now that you’ve chosen the perfect melon seeds, it’s time to move on to the next step – sowing the seeds. Find out how to sow melon seeds in the following section.
Read more: How To Grow Melon Seeds
Sowing Melon Seeds
Sowing melon seeds is an important step in the growing process. Here’s a guide on how to sow melon seeds:
- Determine the planting method: Melon seeds can be sown directly in the ground or started indoors and transplanted later. Choose the method that aligns with your gardening preferences and the specific melon variety you are growing.
- Prepare the planting site: Clear any debris and weeds from the planting area. Loosen the soil and remove any large clumps or rocks to create a fine and smooth seedbed.
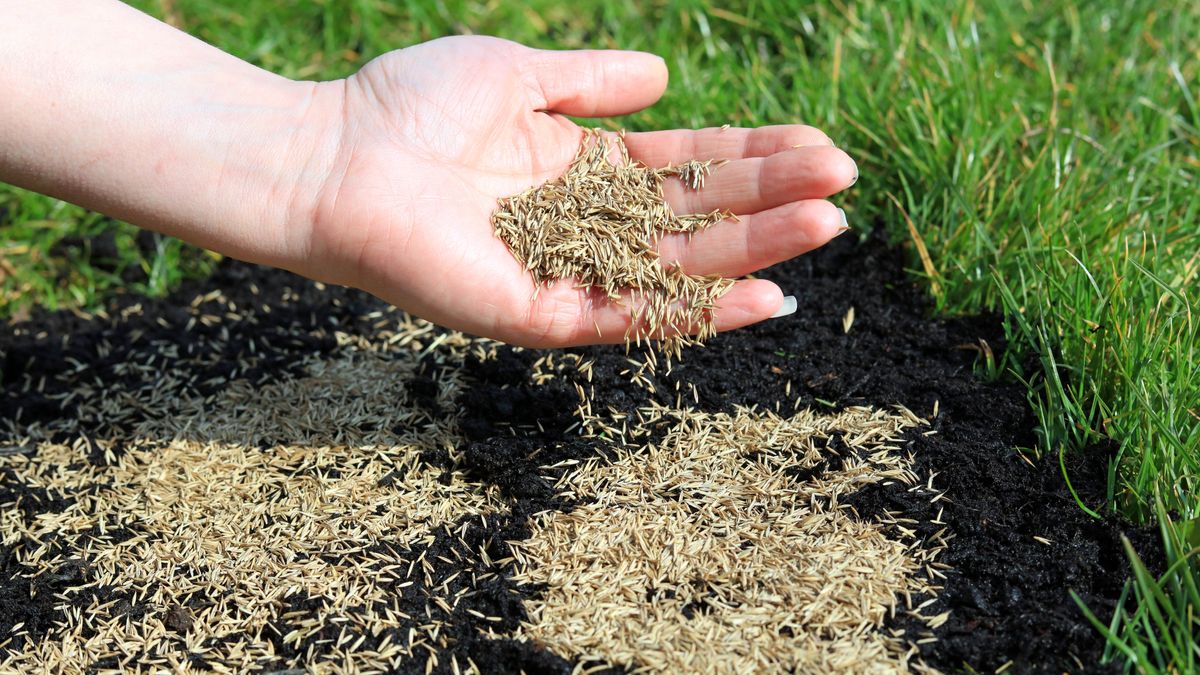
- Sow the seeds: Create shallow furrows in the soil, approximately 1 inch (2.5 cm) deep. Sow the melon seeds, spacing them according to the recommendations on the seed packet or around 2 to 3 feet apart for vining varieties. Cover the seeds with soil, gently patting it down.
- Water thoroughly: After sowing the seeds, water the planting area gently but thoroughly. Ensure that the soil is evenly moist, but not waterlogged, to promote germination.
- Provide adequate sunlight: Place the planting site in an area that receives full sun exposure. Melons require at least 6 to 8 hours of direct sunlight each day for optimal growth and fruit production.
- Maintain moisture: Once the seeds have germinated, continue to monitor soil moisture and provide regular irrigation. Melon plants need consistent moisture, so water deeply whenever the top inch of soil feels dry.
Keep in mind that germination times may vary depending on the melon variety and environmental conditions. Be patient and provide the necessary care to support seedling development.
As the melon seedlings grow, thin them out if necessary to maintain proper spacing. This allows the remaining plants to have enough room to grow and develop. Once the seedlings have reached a suitable size and the danger of frost has passed, they can be transplanted outdoors if necessary.
Now that your melon seeds have sprouted and are growing, it’s time to learn about caring for the seedlings. Read on to the next section to find out more.
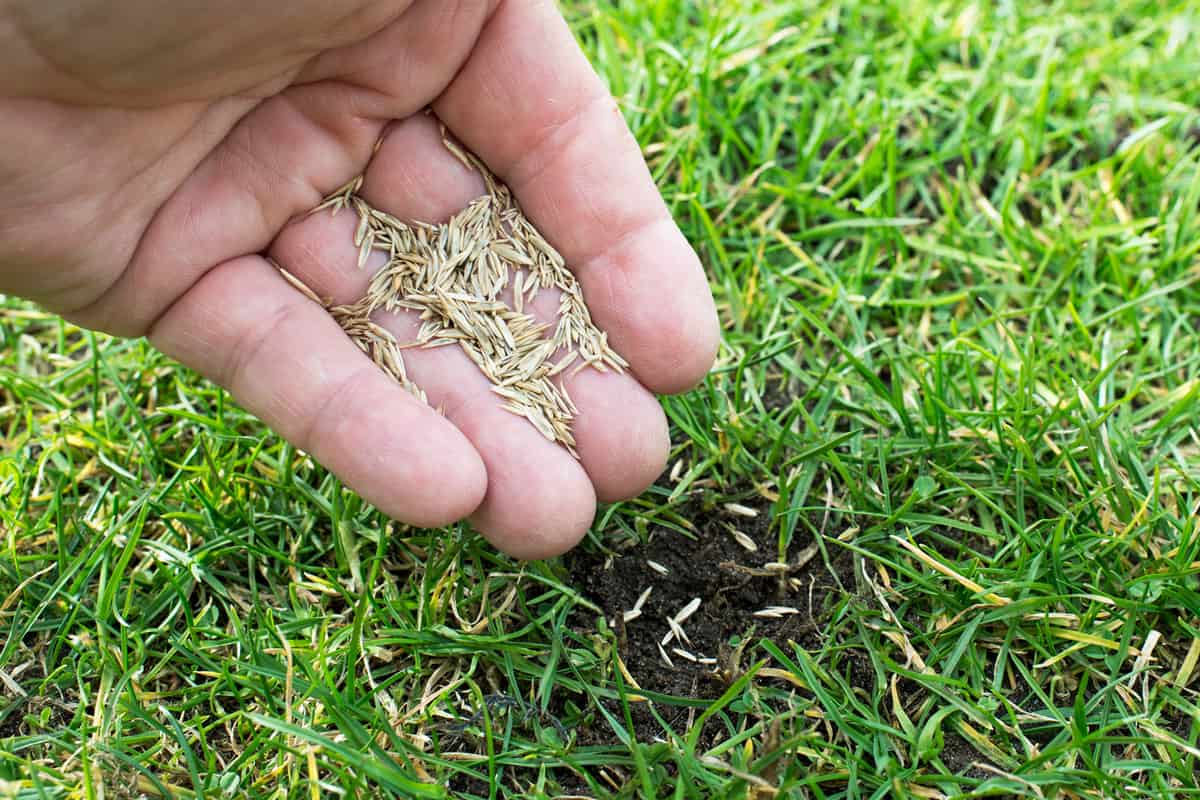
Plant melon seeds in the spring after the last frost date for your area. Melons need warm soil to germinate and grow, so wait until the soil temperature is at least 70°F (21°C).
Caring for Melon Seedlings
Caring for melon seedlings is crucial to ensure healthy growth and development. Here are some essential care tips to follow:
- Watering: As the seedlings grow, it is important to maintain consistent moisture levels in the soil. Water the seedlings deeply, ensuring that the soil is evenly moist but not overly saturated. Avoid overhead watering as it can lead to diseases. Instead, water at the base of the plants.
- Thinning: If you have sown multiple seeds in one area, thin out the weaker seedlings to create adequate spacing. This allows the remaining seedlings to have ample room to grow and receive sufficient nutrients and sunlight.
- Weed control: Regularly remove weeds around the melon seedlings. Weeds compete for resources such as sunlight, water, and nutrients, which can hinder the growth of your melon plants. Mulching the base of the seedlings can help suppress weed growth and conserve soil moisture.
- Fertilizing: Melons are heavy feeders and benefit from regular fertilization. Apply a balanced organic fertilizer or compost around the base of the seedlings once they have established. Follow the package instructions or consult a gardening expert for the appropriate dosage and timing of fertilization.
- Support for vining varieties: If you are growing vining melon varieties such as cantaloupe or watermelon, provide adequate support to prevent the fruits from touching the ground. Use trellises, stakes, or cages to elevate and support the vines, allowing better air circulation and reducing the risk of rot or damage.
- Pest and disease management: Keep a watchful eye for pests such as aphids, cucumber beetles, and powdery mildew. Implement proactive measures such as practicing crop rotation, applying natural pest deterrents, and maintaining good airflow to minimize the risk of pests and diseases.
By providing proper care to your melon seedlings, you can help them grow strong and healthy. With each passing day, your melon plants will develop further, bringing you closer to the exciting harvest season.
Now that you have learned about caring for melon seedlings, it’s time to understand the process of transplanting them to their final growing location. Read on for more information on transplanting melon seedlings.
Transplanting Melon Seedlings
Transplanting melon seedlings is an important step in their growth journey. When the seedlings have reached a suitable size and the danger of frost has passed, you can transplant them to their final growing location. Here’s how:
- Choose the right time: Transplant melon seedlings when they have developed 2 to 3 true leaves and the soil has warmed up to around 60°F (15°C) or higher. This usually occurs 2 to 3 weeks after germination.
- Prepare the transplant site: Select a sunny location with well-drained soil for transplanting. Clear the area of any weeds, rocks, or debris. Incorporate compost or organic matter into the soil to improve its fertility.
- Dig holes: Dig holes in the prepared soil that are slightly larger than the root ball of the seedlings. Space the holes around 2 to 3 feet apart for vining varieties and slightly closer for bush varieties.
- Gently remove seedlings: Carefully remove the melon seedlings from their containers or seed trays, ensuring that the roots remain intact. Handle the seedlings by their leaves, avoiding any damage to the delicate stems or roots.
- Plant seedlings: Place each seedling into a prepared hole, ensuring that it is planted at the same depth as it was growing in the container. Backfill the hole with soil, gently firming it around the roots to eliminate any air pockets.
- Water thoroughly: After transplanting, water the seedlings thoroughly to help settle the soil and ensure good root-to-soil contact. This aids in the establishment of the seedlings in their new location.
- Provide support if necessary: For vining melon varieties, consider providing support such as trellises, stakes, or cages to guide the vines as they grow. This will help prevent the fruits from touching the ground.
- Monitor and care for the transplants: In the days following transplanting, monitor the melon seedlings closely. Keep the soil consistently moist, but not waterlogged, and provide protection from extreme weather conditions.
Transplant shock may occur initially, but with proper care, the melon seedlings will recover and continue growing. Soon, you’ll be rewarded with healthy vines and, eventually, delicious melons.
Now that your melon seedlings are in their new home, it’s important to maintain their growth and well-being. In the next section, we will explore how to properly care for your melon plants throughout the growing season.
Maintaining the Melon Plants
Proper maintenance is crucial for the healthy growth and development of melon plants. Here are some important steps to follow to ensure your melon plants thrive:
- Watering: Melon plants require consistent moisture, especially during dry periods. Water deeply, ensuring that the soil is evenly moist but not waterlogged. Avoid wetting the leaves to minimize the risk of diseases.
- Mulching: Mulching around the base of the melon plants can help retain soil moisture, suppress weed growth, and regulate soil temperature. Use organic mulch such as straw or wood chips, applying it evenly around the plants, but keeping it away from the stems.
- Support vining varieties: Vining melon varieties like watermelons or cantaloupes may need support as they grow. Use trellises, stakes, or cages to elevate and support the vines, preventing the fruits from touching the ground and reducing the risk of rot or damage.
- Feeding: Melons are heavy feeders and benefit from regular fertilization throughout the growing season. Apply a balanced fertilizer or side-dress with compost every few weeks to provide the plants with essential nutrients for healthy growth and fruit production.
- Pest and disease management: Monitor your melon plants regularly for any signs of pests or diseases. Common pests that may affect melons include aphids, cucumber beetles, and squash bugs. Use organic pest control methods or consult with a gardening expert to address any issues that arise.
- Pruning: Pruning melon plants can help promote better airflow and reduce the risk of diseases. Remove any dead or diseased leaves, as well as excessive foliage that may be blocking sunlight or crowding the plant. Pruning can also direct energy towards fruit production and improve fruit quality.
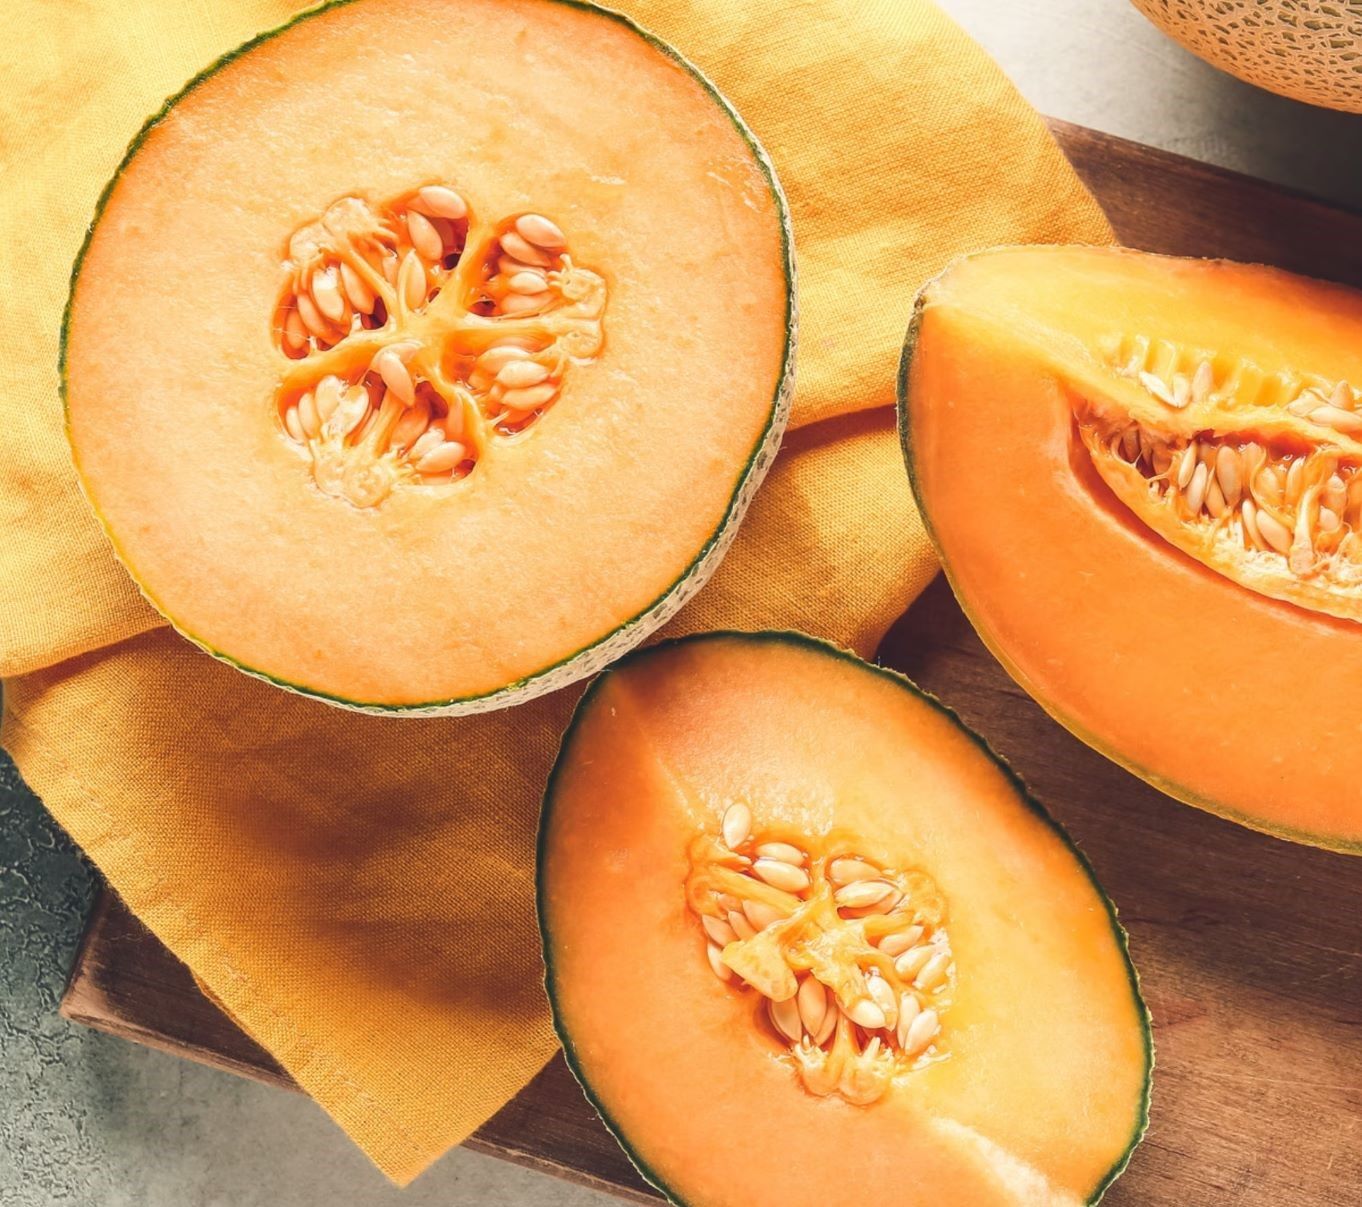
- Monitor for ripeness: Keep a close eye on your melons as they grow. As they approach maturity, the skin color will change, and the fruit will give off a sweet aroma. Gently tap the melon – a ripe one will produce a hollow sound. Harvest your melons at their peak ripeness for the best flavor and quality.
By following these maintenance practices, you can support the growth of your melon plants and increase your chances of a successful harvest. Enjoy the process and the anticipation of delicious, homegrown melons!
Now that you’ve learned how to maintain your melon plants, it’s time to discover the exciting moment of harvesting ripe and juicy melons. Read on to the next section to learn about proper harvesting techniques.
Read more: How To Save Bitter Melon Seeds
Harvesting Melons
Harvesting melons at the right time is essential to enjoy their sweet and juicy goodness. Here are some tips to help you know when and how to properly harvest your melons:
- Observe the ripeness indicators: Check the appearance and feel of the melons to determine if they are ripe. Each melon variety will have its own ripeness indicators, but generally, ripe melons will have a vibrant color, a sweet aroma, and a slightly soft feel. Additionally, the skin of some melon varieties will develop a dull or matte appearance when fully ripe.
- Tap test: Use the tap test to assess the ripeness of melons. Gently tap the melon with your knuckles or palm. A ripe melon will produce a hollow sound, indicating that the fruit is filled with juicy goodness. If the sound is dull or thud-like, the melon may still need more time to ripen.
- Check the stem: Examine the stem end of the melon. If it easily separates from the fruit with little resistance, it is a sign that the melon is ripe and ready for harvest. Avoid forcefully twisting or pulling the melon off the vine, as this can damage the plant or the fruit.
- Harvest with care: When harvesting melons, use a clean pair of gardening shears or a sharp knife to carefully cut the stem about an inch above the fruit. This helps prevent any damage to the melon and minimizes the risk of introducing pathogens that could lead to spoilage.
- Handle with care: Melons can be sensitive and easily damaged. Handle them with care, supporting the fruit with both hands to avoid bruising or squishing. Rough handling can lead to premature spoilage and affect the overall quality of the melon.
- Storing melons: After harvesting, store melons in a cool, dry place such as a basement or a refrigerator, if needed. Most melons will continue to ripen slightly off the vine. However, if fully ripe, they can be eaten right away or stored in the refrigerator for a few days to prolong their freshness.
Remember that melons taste best when fully ripe. Harvesting at the ideal time ensures that you enjoy the maximum flavor and sweetness from your homegrown melons.
Congratulations! You have successfully learned how to cultivate and harvest melons. The satisfaction of enjoying your own homegrown melons is a testament to your dedication and green thumb. Happy harvesting!
Now that you’re equipped with the knowledge of melon planting, care, and harvesting, it’s time to get your hands dirty and start growing your very own melon garden. The taste of freshly picked melons will be well worth the effort and patience. Happy gardening!
Conclusion
Growing melons from seeds can be a rewarding and enjoyable experience. By considering the factors such as climate, soil preparation, seed selection, and proper care techniques, you can increase your chances of a successful melon harvest. Whether you have a sprawling garden or a small balcony space, melons can be grown in different environments, adding a touch of freshness and sweetness to your home.
Before planting melon seeds, assess your climate to ensure it provides a warm and frost-free period. Prepare the soil by clearing the area, testing its pH level, improving drainage, and adding organic matter. Choose the right melon seeds based on climate suitability, space availability, flavor, maturity, disease resistance, and other growing requirements.
When it’s time to sow the melon seeds, create shallow furrows in the soil and cover the seeds, ensuring adequate watering and sunlight. As the seedlings emerge and grow, provide care by watering consistently, thinning if necessary, applying organic fertilizers, and addressing pest and disease issues. For vining varieties, provide support to the plants, and consider pruning for improved airflow and fruit production.
When the melon plants have matured, it’s time to harvest the fruits. Look for ripeness indicators such as color, aroma, and tap test. Gently harvest the melons with clean shears, taking care not to damage the fruit. Store the harvested melons in a cool and dry place for further ripening or enjoy them right away for maximum freshness and flavor.
As you embark on your melon gardening journey, don’t forget to enjoy the process and learn from your experiences. Gardening is a continuous learning process, and each season brings new opportunities and challenges. With proper care and patience, you’ll be rewarded with delicious, homegrown melons that will tantalize your taste buds.
Now that you have the knowledge and guidance to start growing your own melons, it’s time to roll up your sleeves and get started. Embrace the joy of nurturing plants, watching them flourish, and relishing the sweet rewards of your labor. Happy melon gardening!
Frequently Asked Questions about When To Plant Melon Seeds
Was this page helpful?
At Storables.com, we guarantee accurate and reliable information. Our content, validated by Expert Board Contributors, is crafted following stringent Editorial Policies. We're committed to providing you with well-researched, expert-backed insights for all your informational needs.


0 thoughts on “When To Plant Melon Seeds”