Home>Garden Essentials>When To Start Seeds For Spring Planting

Garden Essentials
When To Start Seeds For Spring Planting
Modified: March 15, 2024
Learn when to start seeds for spring planting in your garden and ensure a successful growing season. Get expert tips and advice for optimal planting times.
(Many of the links in this article redirect to a specific reviewed product. Your purchase of these products through affiliate links helps to generate commission for Storables.com, at no extra cost. Learn more)
Introduction
Spring is a glorious time for gardeners, filled with visions of lush greenery, vibrant blooms, and a bountiful harvest. But before you can enjoy the fruits of your labor, there is one crucial step you should undertake – starting seeds. Starting seeds allows you to take control of your garden and ensure a successful growing season. However, timing is everything when it comes to seed starting.
In this article, we will delve into the factors to consider when determining when to start seeds for spring planting. We will explore the importance of climate and frost dates, provide a planting calendar as a handy reference, and discuss both indoor and outdoor seed starting techniques. By the end, you’ll feel confident in making informed decisions about when to begin your garden’s journey from seed to flourishing plants.
Key Takeaways:
- Timing is crucial when starting seeds for spring planting. Consider climate, frost dates, and planting calendars to maximize your garden’s potential.
- Indoor and outdoor seed starting methods offer control and convenience. Transition seedlings through the hardening off process for successful transplanting.
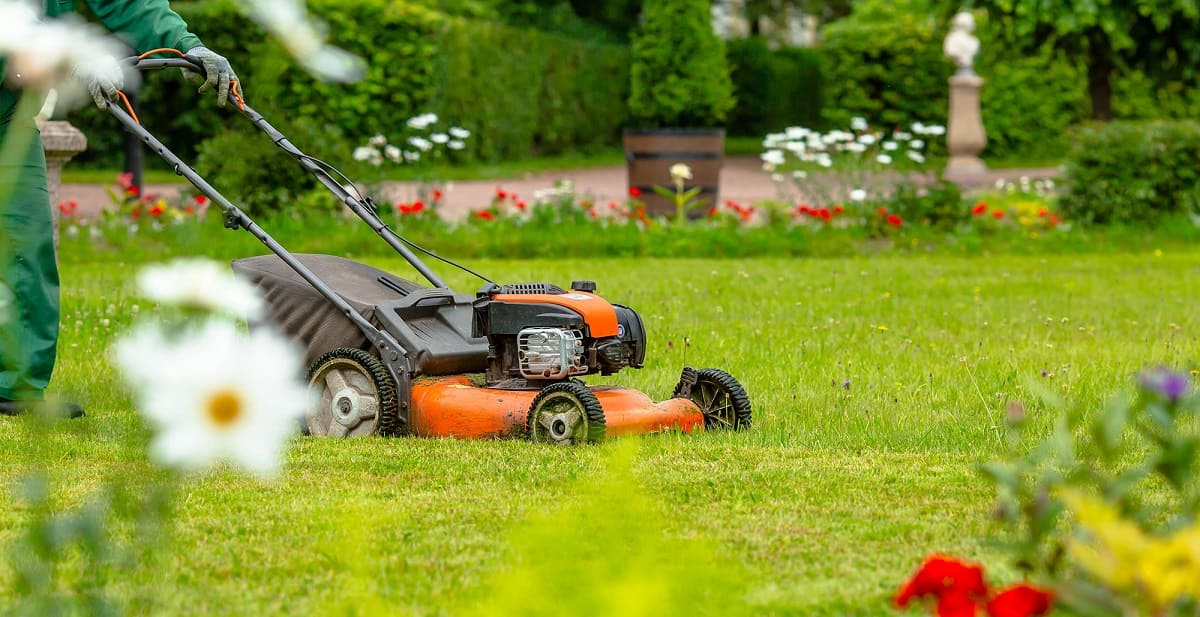
Read more: When To Plant Grass Seed In The Spring
Factors to Consider
When deciding when to start seeds for spring planting, there are several key factors that gardeners should take into consideration:
1. Climate: The climate of your region is a crucial factor to consider when determining the best time to start seeds. Different plants have varying temperature requirements for germination and growth. Understanding your local climate will help you identify the optimal seed starting window.
2. Frost Dates: Frost can be detrimental to young seedlings. Understanding the average last frost date in your area is essential in preventing frost damage. Similarly, knowing the first fall frost date will help you plan when to start seeds for late-season crops.
3. Planting Calendar: A planting calendar is an invaluable tool for gardeners. It provides a guideline for when to start seeds and transplant seedlings based on the average frost dates in your region. Consult a local agricultural extension office or online resources to access a planting calendar specific to your area.
4. Planting Conditions: Consider the specific requirements of the plants you wish to grow. Some plants thrive in cooler temperatures, while others require warmer soil to germinate. Understanding the ideal planting conditions for each plant will help you determine the best time to start seeds.
5. Time Frame: Consider how much time you have available for tending to your seedlings. Starting seeds indoors requires regular care, including monitoring moisture levels, providing adequate light, and ensuring proper ventilation. If you have a busy schedule, it may be more convenient to start seeds outdoors when weather conditions allow.
6. Succession Planting: Succession planting involves staggering the planting of crops to extend the harvest season. If you’re planning to succession plant, factor in the time required for each crop to mature and plan your seed starting accordingly.
By taking these factors into consideration, you can make informed decisions about when to start seeds for spring planting, maximizing the chances of success for your garden.
Climate and Frost Dates
Understanding the climate of your region and the average frost dates is essential when determining the optimal time to start seeds for spring planting.
Climate: The climate of your area can be broadly categorized into cool-season, warm-season, or a combination of both. Cool-season climates have cold winters and mild summers, while warm-season climates have warm to hot summers and mild winters.
Certain plants thrive in cool-season climates, while others prefer warm-season conditions. It’s important to choose seeds that are suitable for your climate to ensure successful germination and growth. Some plants, known as “hardy” plants, can withstand colder temperatures and are suitable for early spring planting in cool-season climates.
Frost Dates: Frost dates refer to the average dates of the first and last frost in your area. The last frost date in spring is particularly important for determining when to start seeds. If young seedlings are exposed to frost, they can suffer damage or even die.
Find out the average last frost date in your region by checking with your local agricultural extension office or referring to online resources. This date will help you determine when it is safe to transplant seedlings outdoors without the risk of frost damage.
Similarly, knowing the first fall frost date in your area is crucial, especially if you plan to grow late-season crops. Starting seeds too late in the season may result in immature plants that are unable to withstand the first frost.
Keep in mind that frost dates can vary slightly from year to year, so it’s always wise to monitor local weather conditions and adjust your planting schedule accordingly.
By understanding the climate and frost dates of your region, you can make informed decisions about when to start seeds for spring planting. This knowledge will help you avoid frost damage and create the optimal growing conditions for your plants.
Planting Calendar
A planting calendar is a valuable tool for gardeners, providing a reference guide for when to start seeds and transplant seedlings based on the average frost dates in your region. It helps you plan your garden and ensures that your seeds have ample time to germinate and grow before being transplanted outdoors.
There are several ways to create a planting calendar. You can consult your local agricultural extension office, which often provides region-specific planting calendars. Online resources and gardening apps are also available to generate customized planting calendars based on your location.
A planting calendar typically includes the following information:
1. Frost Dates: The calendar will indicate the average last frost date in spring and the first fall frost date for your region. This is crucial information for determining when to start seeds indoors and when it’s safe to transplant seedlings outdoors.
2. Seed Starting Dates: The calendar will provide recommended seed starting dates for a variety of vegetables, herbs, and flowers. This allows you to plan ahead and start seeds at the appropriate time to ensure healthy and vigorous seedlings.
3. Transplant Dates: The calendar will suggest transplant dates for seedlings that have been started indoors. It indicates when the seedlings should be transplanted into the garden based on the average last frost date.
4. Harvest Dates: Some planting calendars also include estimated harvest dates for specific crops. This information helps you plan when to expect a bountiful harvest, allowing you to make appropriate preparations for preserving or enjoying the produce.
It’s important to note that planting calendars are meant to provide general guidelines. They should be used as a starting point and adjusted based on your specific microclimate and weather conditions.
By using a planting calendar, you can stay organized and ensure that you start your seeds and transplant seedlings at the optimal times. This maximizes your chances of success and promotes a productive and flourishing garden.
Start seeds for spring planting 6-8 weeks before the last frost date in your area. Check your local frost dates and count backwards to determine when to start seeds indoors. Keep in mind the specific germination and growth requirements of each plant.
Indoor Seed Starting
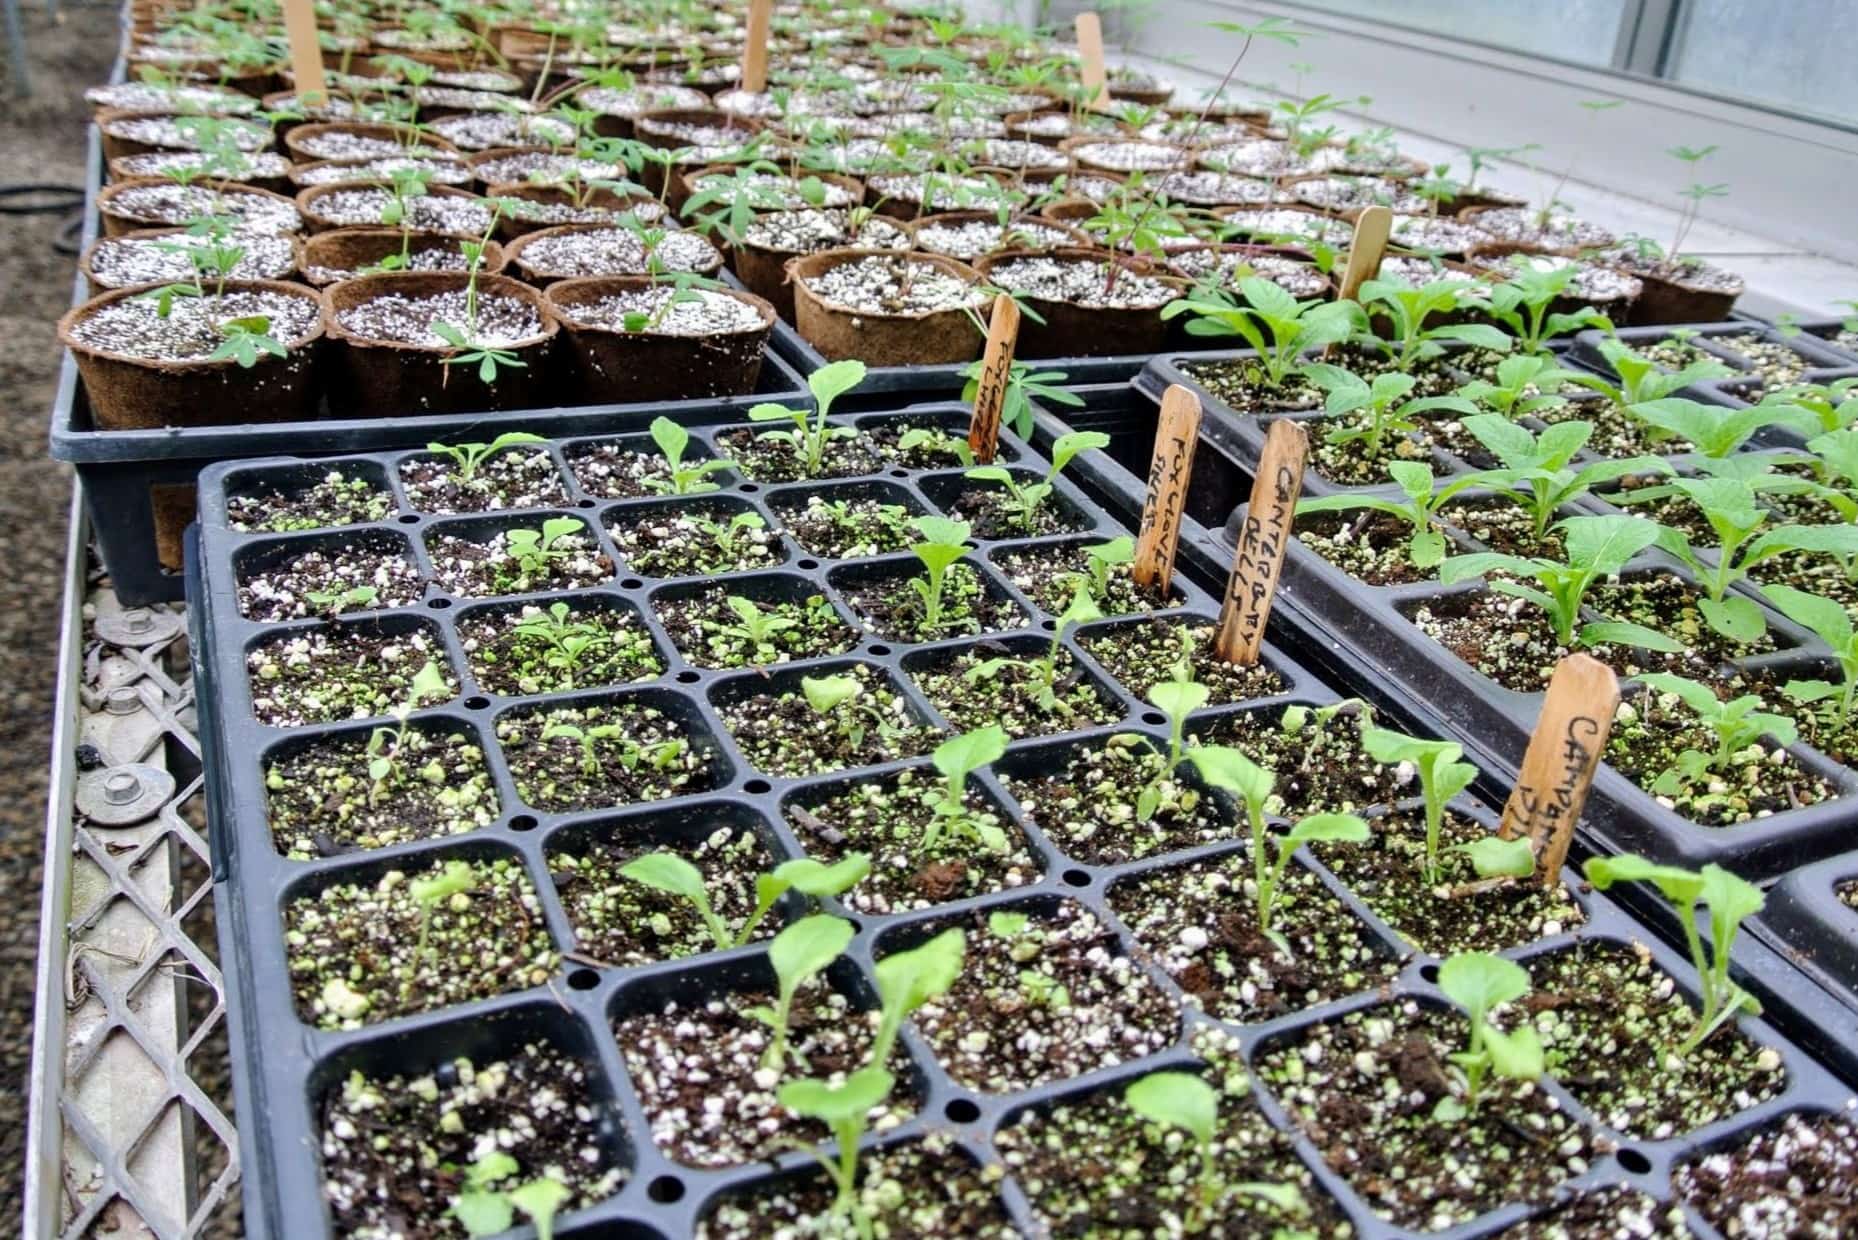
Indoor seed starting is a popular method among gardeners to give their plants a head start before transplanting them outdoors. It allows for better control over germination conditions, protection from harsh weather, and an extended growing season. Here’s a step-by-step guide to indoor seed starting:
1. Choose the Right Containers: Select containers that are clean, have drainage holes, and are suitable for seed starting. You can use biodegradable pots, peat pellets, or trays filled with seed starting mix.
2. Prepare the Seed Starting Mix: Use a high-quality seed starting mix that is sterile, light, and well-draining. Avoid using garden soil as it may contain diseases or pests that can harm young seedlings.
3. Sow the Seeds: Follow the instructions on the seed packet for the correct sowing depth and spacing. Gently press the seeds into the soil and cover them with a thin layer of the seed starting mix.
4. Provide Adequate Moisture: Keep the soil consistently moist but not waterlogged. Mist the soil gently or use a spray bottle for watering to prevent disturbing the seeds and young seedlings.
5. Ensure Proper Temperature and Light: Most seeds germinate best at temperatures between 70-80°F (21-27°C). Use a seed heating mat or place the containers in a warm location to promote germination. Once the seedlings emerge, provide them with 12-16 hours of bright, indirect light using grow lights or by placing them near a sunny window.
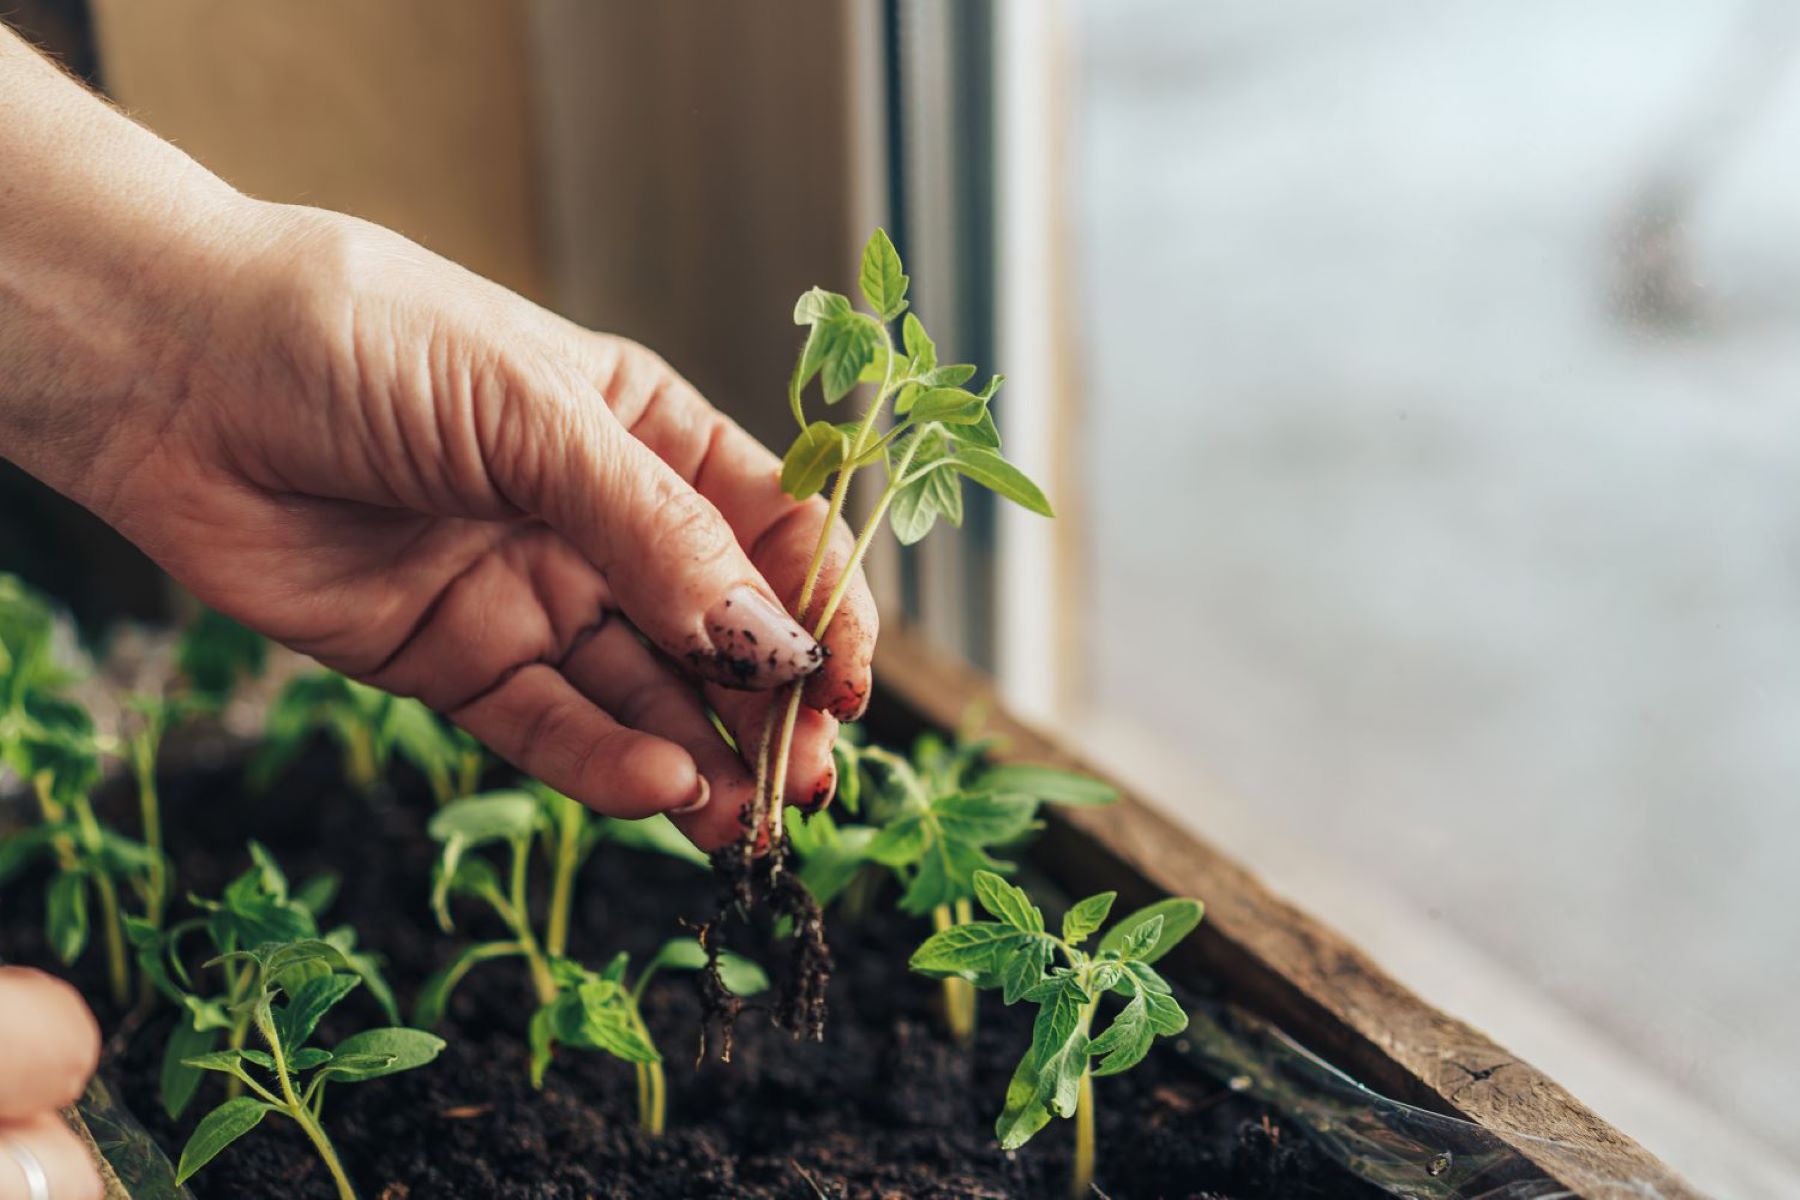
6. Thin and Transplant: Once the seedlings have their first true leaves, thin them out if they are overcrowded. Gently remove the weakest seedlings to give the remaining ones more space to grow. When the seedlings are large enough and the risk of frost has passed, transplant them into larger pots or hardened off before planting them outdoors.
7. Care for Seedlings: Provide proper moisture, light, and ventilation to ensure the healthy growth of seedlings. Fertilize them with a diluted liquid fertilizer once they have established their second set of true leaves.
Indoor seed starting allows you to control and monitor the growing conditions of your seedlings, giving them a stronger start and increasing your chances of a successful garden.
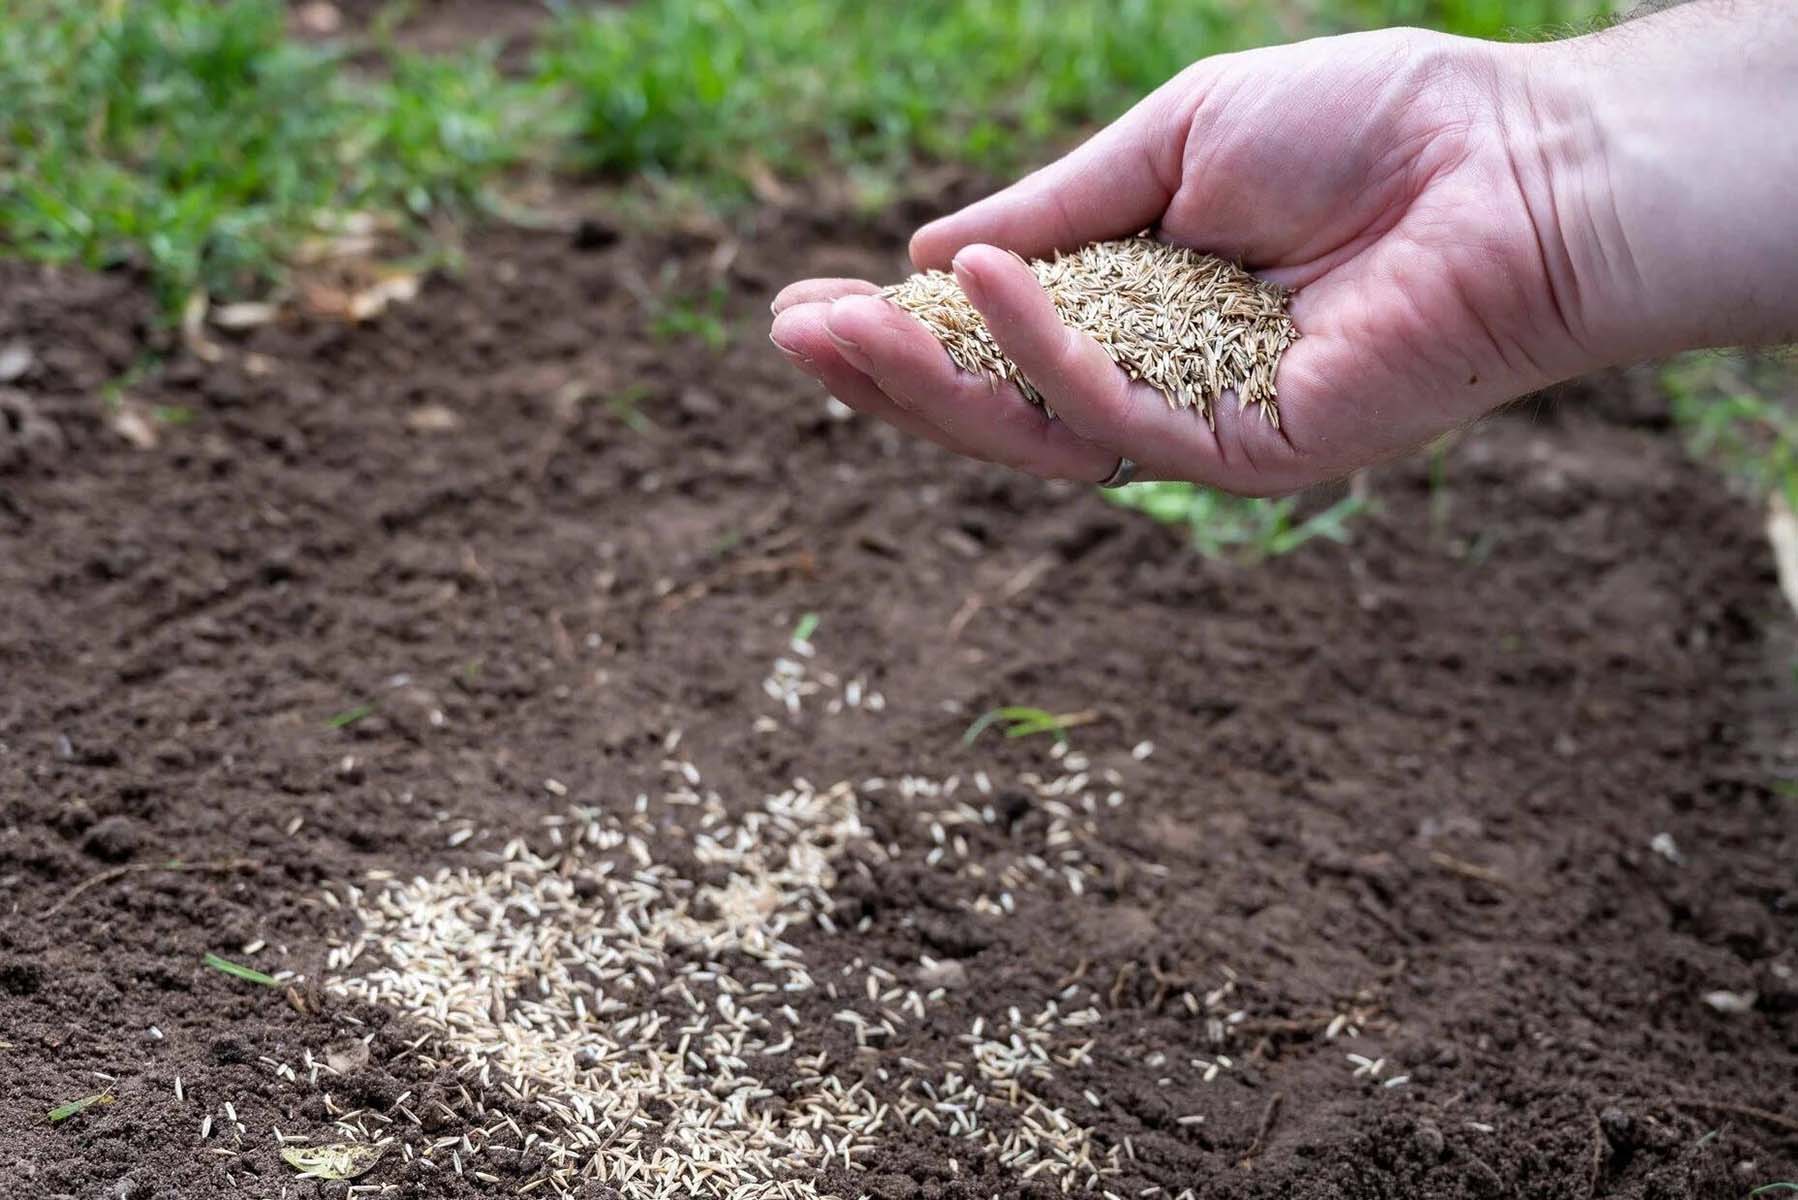
Outdoor Seed Starting
Outdoor seed starting is a method that gardeners employ when the weather conditions are favorable and there is no risk of frost. It is often preferred for plants that are hardy or can tolerate cooler temperatures. Follow these steps to successfully start seeds outdoors:
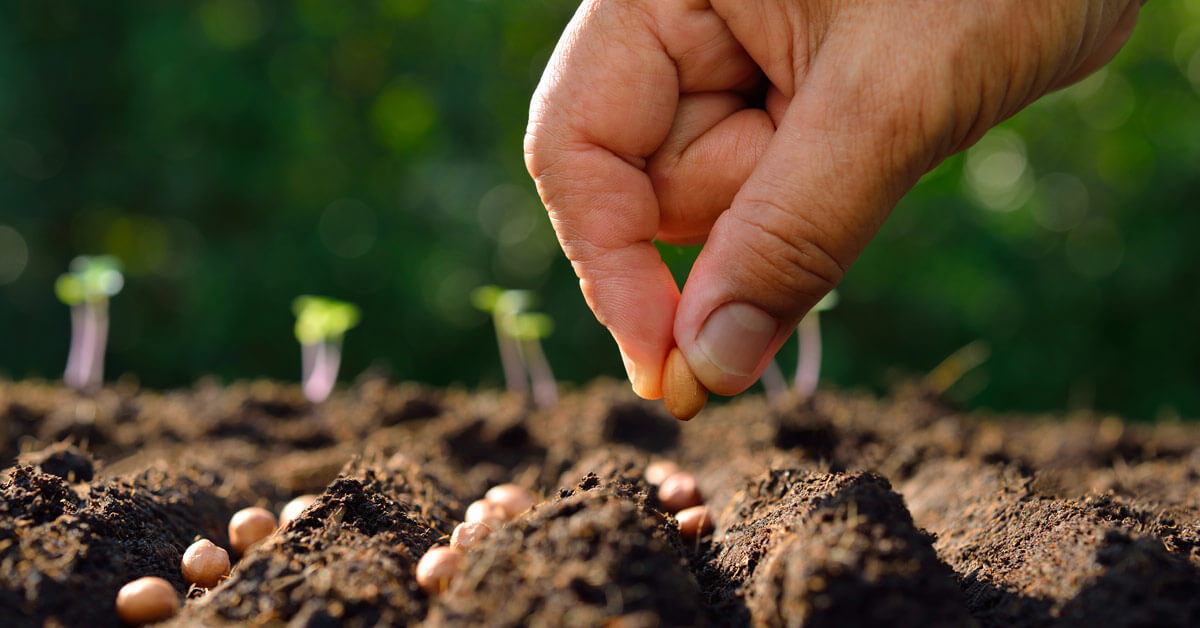
1. Prepare the Soil: Choose a sunny location in your garden with well-draining soil. Remove any weeds or debris and loosen the soil using a garden fork or tiller.
2. Determine the Sowing Time: Refer to the planting calendar or seed packet instructions to determine the recommended sowing time for each type of seed. It’s important to sow the seeds when the soil has warmed sufficiently for germination.
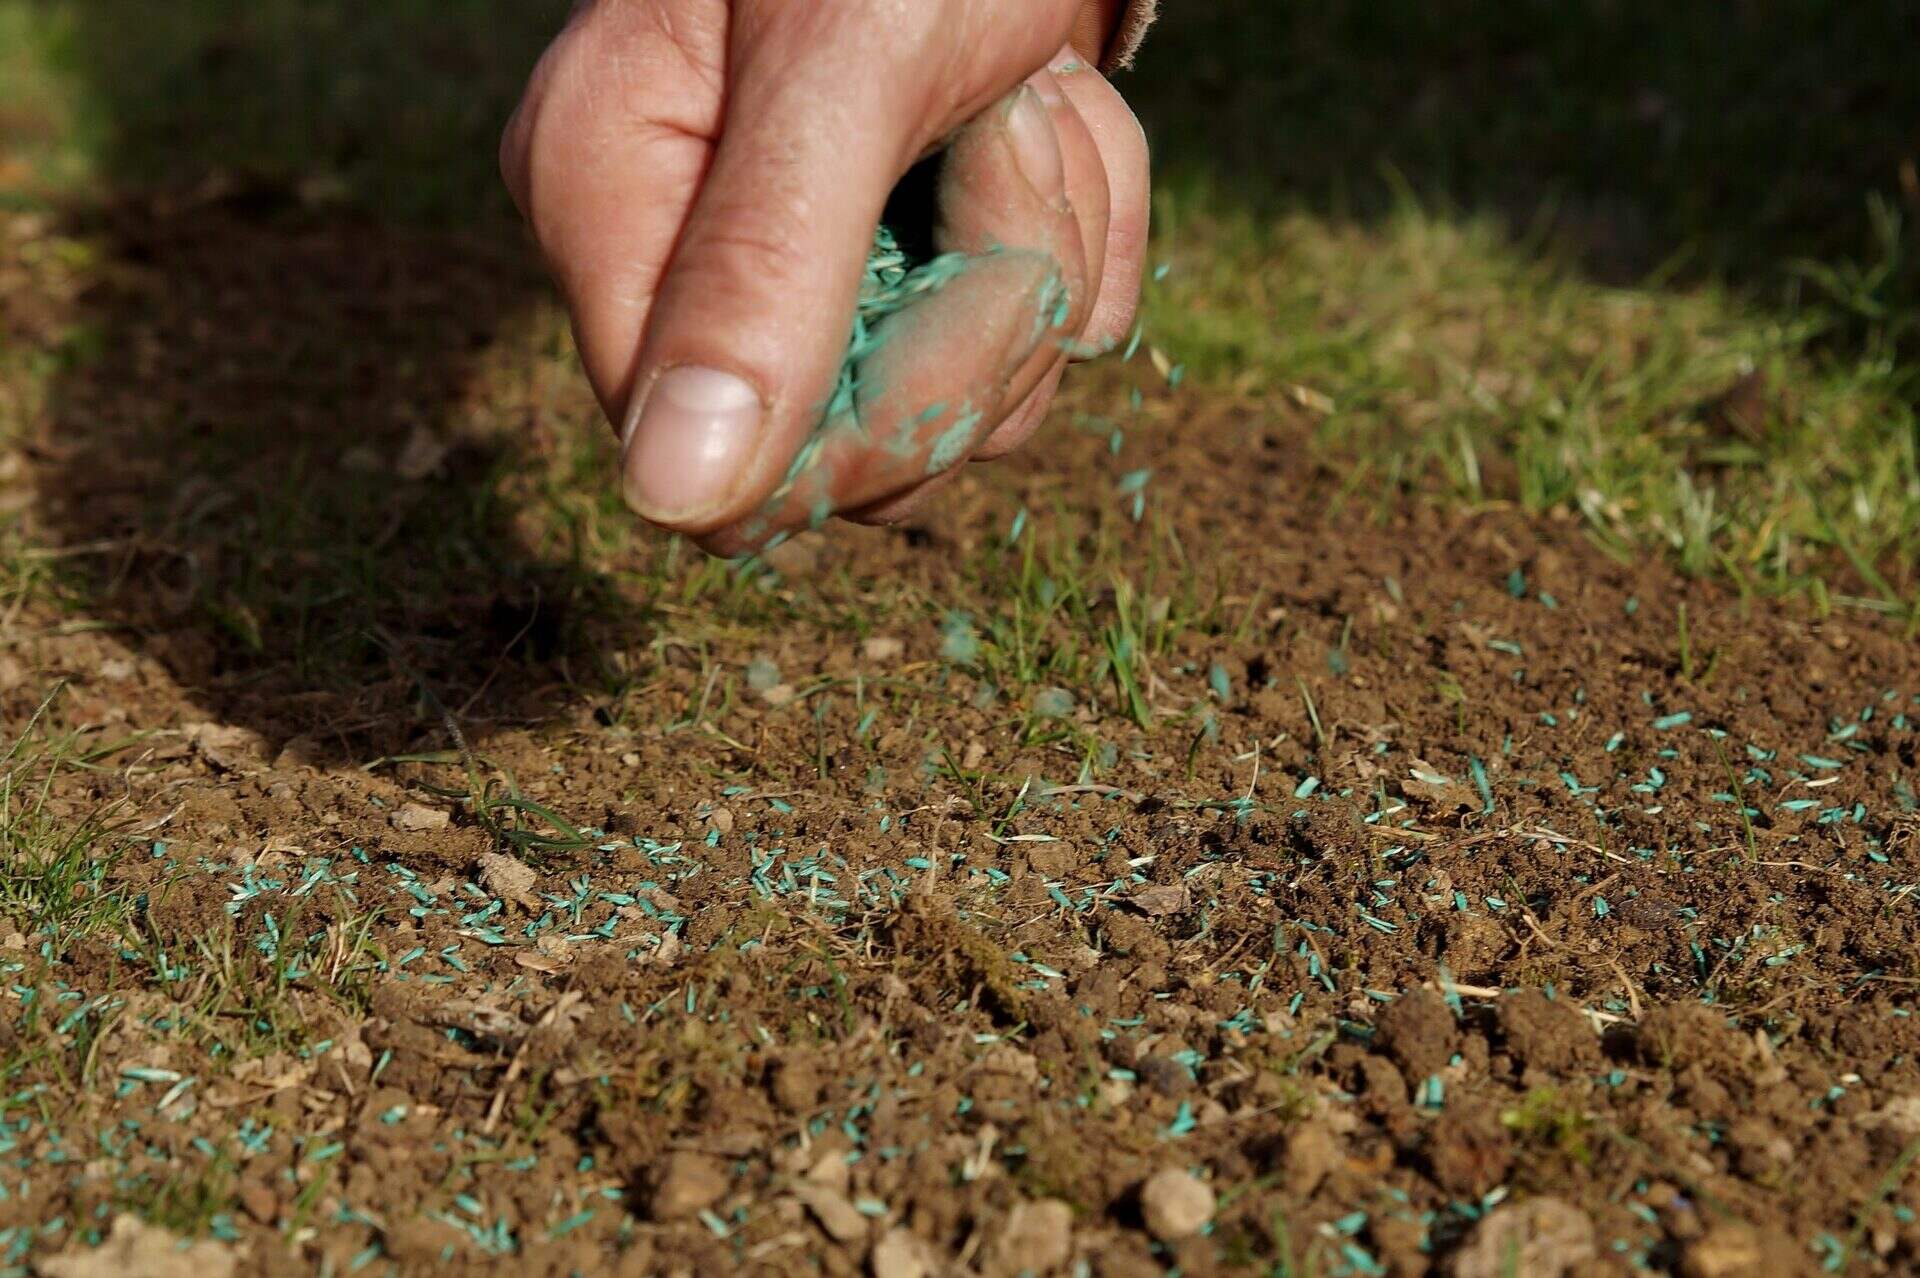
3. Sow the Seeds: Dig small furrows in the prepared soil at the recommended depth for each seed. Place the seeds in the furrows, following the recommended spacing. Cover the seeds with soil and gently press down to ensure good seed-to-soil contact.
4. Provide Adequate Moisture: Water the freshly sown seeds gently but thoroughly. Keep the soil consistently moist but not waterlogged. Use a watering can or a gentle spray attachment on a hose to avoid displacing the seeds.
5. Protect from Pests and Harsh Weather: Depending on your region and the type of plants you are growing, you may need to protect the seeds from pests such as birds, insects, or rodents. Covering the sown area with a floating row cover or using other protective measures can help safeguard the seeds.
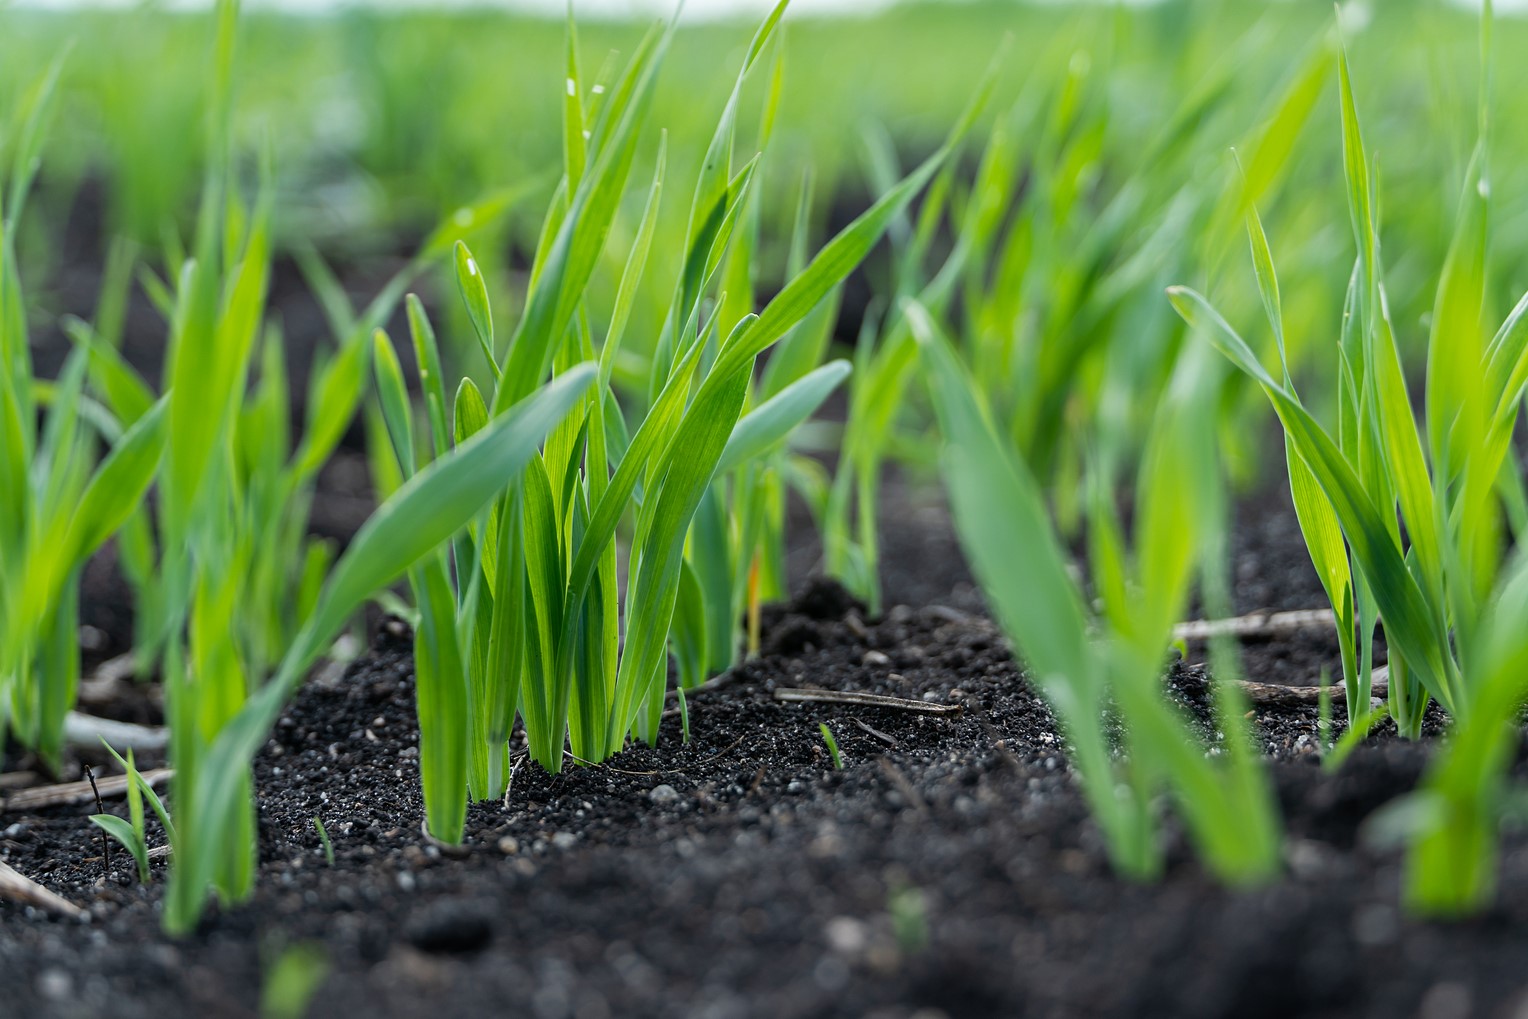
6. Monitor and Maintain: Regularly check the moisture level of the soil and water as needed. Keep an eye out for any signs of pests or diseases and take appropriate action. Thin out the seedlings if they become overcrowded, giving each seedling enough space to grow and thrive.
7. Harden Off: Before transplanting the seedlings to their final growing location, it’s essential to expose them gradually to outdoor conditions. This process, known as hardening off, involves gradually increasing the time the seedlings spend outdoors over a period of 7-10 days. Start by placing them outside for a few hours in a sheltered spot, gradually increasing exposure to sunlight and wind.
Outdoor seed starting allows you to directly sow seeds into the garden, saving time and effort involved in indoor seed starting. It is particularly suitable for hardier plants and those that prefer cooler growing conditions.
Hardening Off
Hardening off is an essential process before transplanting seedlings that have been started indoors or in protected environments. It helps acclimate the young plants to the outdoor conditions gradually, preparing them for the harsher realities of the garden. Follow these steps to successfully harden off your seedlings:
1. Timing: Start the hardening off process when the risk of frost has passed and the weather conditions are favorable for transplanting.
2. Gradual Exposure: Begin by placing your seedlings outdoors in a sheltered location, such as a covered porch or under a tree, for a few hours each day. Choose a time of day when the sun is not intense, such as early morning or late afternoon.
3. Increase Exposure Time: Over the course of 7-10 days, gradually increase the amount of time the seedlings spend outside. Each day, extend the exposure by an additional hour or two, taking care to monitor the weather and protect the seedlings from extreme conditions like strong winds or heavy rain.
4. Gradual Exposure to Sunlight: During the hardening off period, gradually expose the seedlings to direct sunlight. Start with a few hours of indirect sunlight and increase the duration of direct sunlight exposure over time. This helps the plants adjust to the intensity of sunlight without getting sunburned.
5. Monitor Watering: Outdoor conditions may differ in terms of moisture levels compared to indoor environments. Monitor the soil moisture and adjust your watering frequency accordingly. Outdoor conditions may require more frequent watering due to exposure to wind and sunlight.
6. Protect from Inclement Weather: If there is a sudden change in weather conditions, such as a cold snap or heavy rain, bring the seedlings indoors or provide them with temporary protection using cloches or row covers.
7. Ready for Transplant: Once your seedlings have successfully gone through the hardening off process, and they have acclimated to the outdoor conditions, they are ready for transplanting into their permanent garden location.
The hardening off process is crucial for the long-term success of your seedlings. By gradually introducing them to the outdoor environment, you minimize transplant shock and give them the best chance of thriving in their new home.
Conclusion
Starting seeds for spring planting is an exciting and crucial step in the journey of every gardener. By considering factors such as climate, frost dates, and planting calendars, you can make informed decisions about when to start seeds and maximize your garden’s potential.
Indoor seed starting provides you with the opportunity to control the germination conditions and nurture your plants before transplanting them outdoors. It requires careful attention to moisture, temperature, and light to ensure healthy seedlings.
On the other hand, outdoor seed starting allows for direct sowing in the garden, saving time and effort. It is particularly suitable for hardy plants and those that prefer cooler temperatures.
Regardless of the method you choose, transitioning your seedlings through the hardening off process is essential. This gradual acclimation to outdoor conditions helps them adjust to the elements and reduces the risk of transplant shock.
A planting calendar is a tool that guides you in determining the ideal sowing and transplanting times based on average frost dates in your region. It serves as a valuable resource for planning and ensuring successful growth throughout the seasons.
Remember to keep monitoring and caring for your seedlings as they grow. Maintain proper moisture levels, protect them from pests and harsh weather conditions, and provide adequate nutrients for healthy development.
By combining your knowledge of when to start seeds, understanding the needs of your plants, and implementing proper care techniques, you’ll be well on your way to a flourishing garden and a bountiful harvest.
So, put on your gardening gloves, grab your seeds, and get ready to embark on a rewarding journey as you start your seeds for spring planting!
Frequently Asked Questions about When To Start Seeds For Spring Planting
Was this page helpful?
At Storables.com, we guarantee accurate and reliable information. Our content, validated by Expert Board Contributors, is crafted following stringent Editorial Policies. We're committed to providing you with well-researched, expert-backed insights for all your informational needs.
0 thoughts on “When To Start Seeds For Spring Planting”