Home>Garden Essentials>When Should I Start Seeds Indoors
Garden Essentials
When Should I Start Seeds Indoors
Modified: August 28, 2024
Learn when to start your garden seeds indoors for a bountiful harvest! Find out the best time and tips for successful seed starting in this helpful guide.
(Many of the links in this article redirect to a specific reviewed product. Your purchase of these products through affiliate links helps to generate commission for Storables.com, at no extra cost. Learn more)
Introduction
Gardening is a rewarding and fulfilling hobby, allowing us to connect with nature and nurture beautiful plants. While many gardeners directly sow their seeds outdoors, starting seeds indoors has become increasingly popular. It offers several benefits and allows us to extend the growing season.
In this article, we will explore the advantages of starting seeds indoors and provide guidance on when and how to do it. Whether you are a seasoned gardener or a beginner, understanding the benefits and techniques of seed starting indoors will empower you to take your gardening to the next level.
Starting seeds indoors gives us more control over the growing conditions, especially in regions with shorter growing seasons or unpredictable weather patterns. By starting seeds indoors, we can provide the optimal environment for seeds to germinate and plants to thrive.
Key Takeaways:
- Starting seeds indoors extends the growing season, saves money, and offers greater plant variety. Consider factors like space, lighting, and timing for successful seed starting.
- Transferring seedlings outdoors requires proper timing and techniques. Prepare the soil, water the seedlings, and provide post-transplant care for thriving outdoor growth.
Read more: When Do I Start Planting Seeds Indoors
Benefits of Starting Seeds Indoors
There are numerous benefits to starting seeds indoors. Let’s explore some of the key advantages:
- Extended Growing Season: By starting seeds indoors, you can begin the growing process earlier than if you were to wait for the weather to warm up for outdoor planting. This allows you to lengthen the growing season and enjoy a bountiful harvest.
- Greater Variety: Starting seeds indoors opens up a world of possibilities when it comes to plant selection. You are not limited to the plants available at local nurseries or garden centers. Instead, you can choose from a wider variety of plant species, cultivars, and heirloom varieties.
- Cost Savings: Purchasing young plants from nurseries can be expensive. By starting seeds indoors, you can save money by growing your own plants from seeds. It’s an economical way to fill your garden with a range of plants without breaking the bank.
- Quality Control: When you start seeds indoors, you have complete control over the quality of the plants. You can choose high-quality seeds, provide optimal growing conditions, and monitor the plants closely. This ensures that you are growing healthy, robust seedlings that are less susceptible to diseases and pests.
- Customization: Starting seeds indoors allows you to customize your garden based on your preferences and needs. You can choose specific varieties, colors, and sizes of plants to suit your garden design and culinary preferences. It’s a great way to grow unique and personalized plants that reflect your gardening style.
By taking advantage of these benefits, you can elevate your gardening experience to new heights and achieve greater success in growing a wide range of plants.
Factors to Consider Before Starting Seeds Indoors
While starting seeds indoors offers many advantages, there are certain factors to consider before diving into the process. Understanding these factors will help you make informed decisions and set yourself up for success. Here are some key factors to keep in mind:
- Space: Assess the space you have available for seed starting. Make sure you have enough room for seed trays or pots, as well as adequate lighting and ventilation. Consider using shelves, tables, or dedicated seed-starting stations to optimize your space.
- Lighting: Adequate lighting is essential for healthy seedling growth. If your indoor space doesn’t receive enough natural light, you’ll need to invest in grow lights. Position the lights at the correct distance from the seedlings to ensure optimal light absorption.
- Temperature: Different plant species have different temperature requirements for seed germination. Ensure that your indoor space maintains the appropriate temperature for the seeds you’re planning to start. Consider using heating mats or thermostats to regulate temperature if necessary.
- Timing: Timing is crucial when starting seeds indoors. Research the recommended starting dates for the plants you want to grow. Consider the average last frost date in your region and count backward to determine the ideal starting time. Starting too early or too late can impact the growth and development of your plants.
- Watering: Proper watering is vital for seedlings. Overwatering can lead to fungal diseases, while underwatering can stunt growth. Establish a watering routine and monitor the moisture levels in the seed trays. Use a spray bottle or a gentle watering can to ensure even hydration.
- Hardening Off: Before transplanting seedlings outdoors, they need to be gradually acclimated to outdoor conditions. This process, known as hardening off, involves exposing the seedlings to increasing amounts of sunlight, wind, and temperature fluctuations. Plan for a period of about one to two weeks for this transition.
Considering these factors will help you create an ideal environment for seed starting and give your seedlings the best chance of success. By addressing these considerations, you can overcome potential challenges and set yourself up for a thriving indoor gardening experience.
Recommended Timing for Starting Seeds Indoors
Timing is crucial when it comes to starting seeds indoors. The goal is to start the seeds early enough that they can develop into healthy seedlings ready for transplanting when the outdoor conditions are favorable. Here are some general guidelines for timing your seed starting:
- Know your climate: Understand the climate and growing season in your region. Find out the average last frost date in spring to determine when it’s safe to transplant seedlings outdoors. This information is essential for calculating the right timing for starting your seeds indoors.
- Refer to seed packets or plant catalogs: The packaging or accompanying information found on seed packets often provides guidance on when to start the seeds indoors. Plant catalogs are also excellent resources, as they often specify the optimal indoor start dates for various plant varieties.
- Consider the growth rate: Different plant species have varying growth rates. Some plants take longer to reach maturity, while others germinate and grow rapidly. Take this into account when planning your seed starting timeline. Plants that require a longer growing season, such as tomatoes and peppers, should be started earlier than quick-growing plants like lettuce or radishes.
- Factor in transplanting time: Consider the time it takes for seedlings to develop into sturdy plants ready for transplanting. This duration varies depending on the plant species. It’s important to give the seedlings enough time to establish strong roots and foliage before moving them outdoors.
- Plan for succession planting: To ensure a continuous harvest throughout the growing season, consider starting seeds in multiple batches. This practice, known as succession planting, involves staggering the seed starting dates for the same crop. This way, you can have a continuous supply of fresh produce without overwhelming yourself with a single large harvest.
It’s important to note that recommended timing for starting seeds indoors can vary depending on your specific location and microclimate. Make sure to adjust the timing based on any unique factors that may affect your growing conditions.
By following these guidelines and customizing them to fit your specific situation, you can ensure that your seedlings are ready to thrive when it’s time to transfer them to the garden.
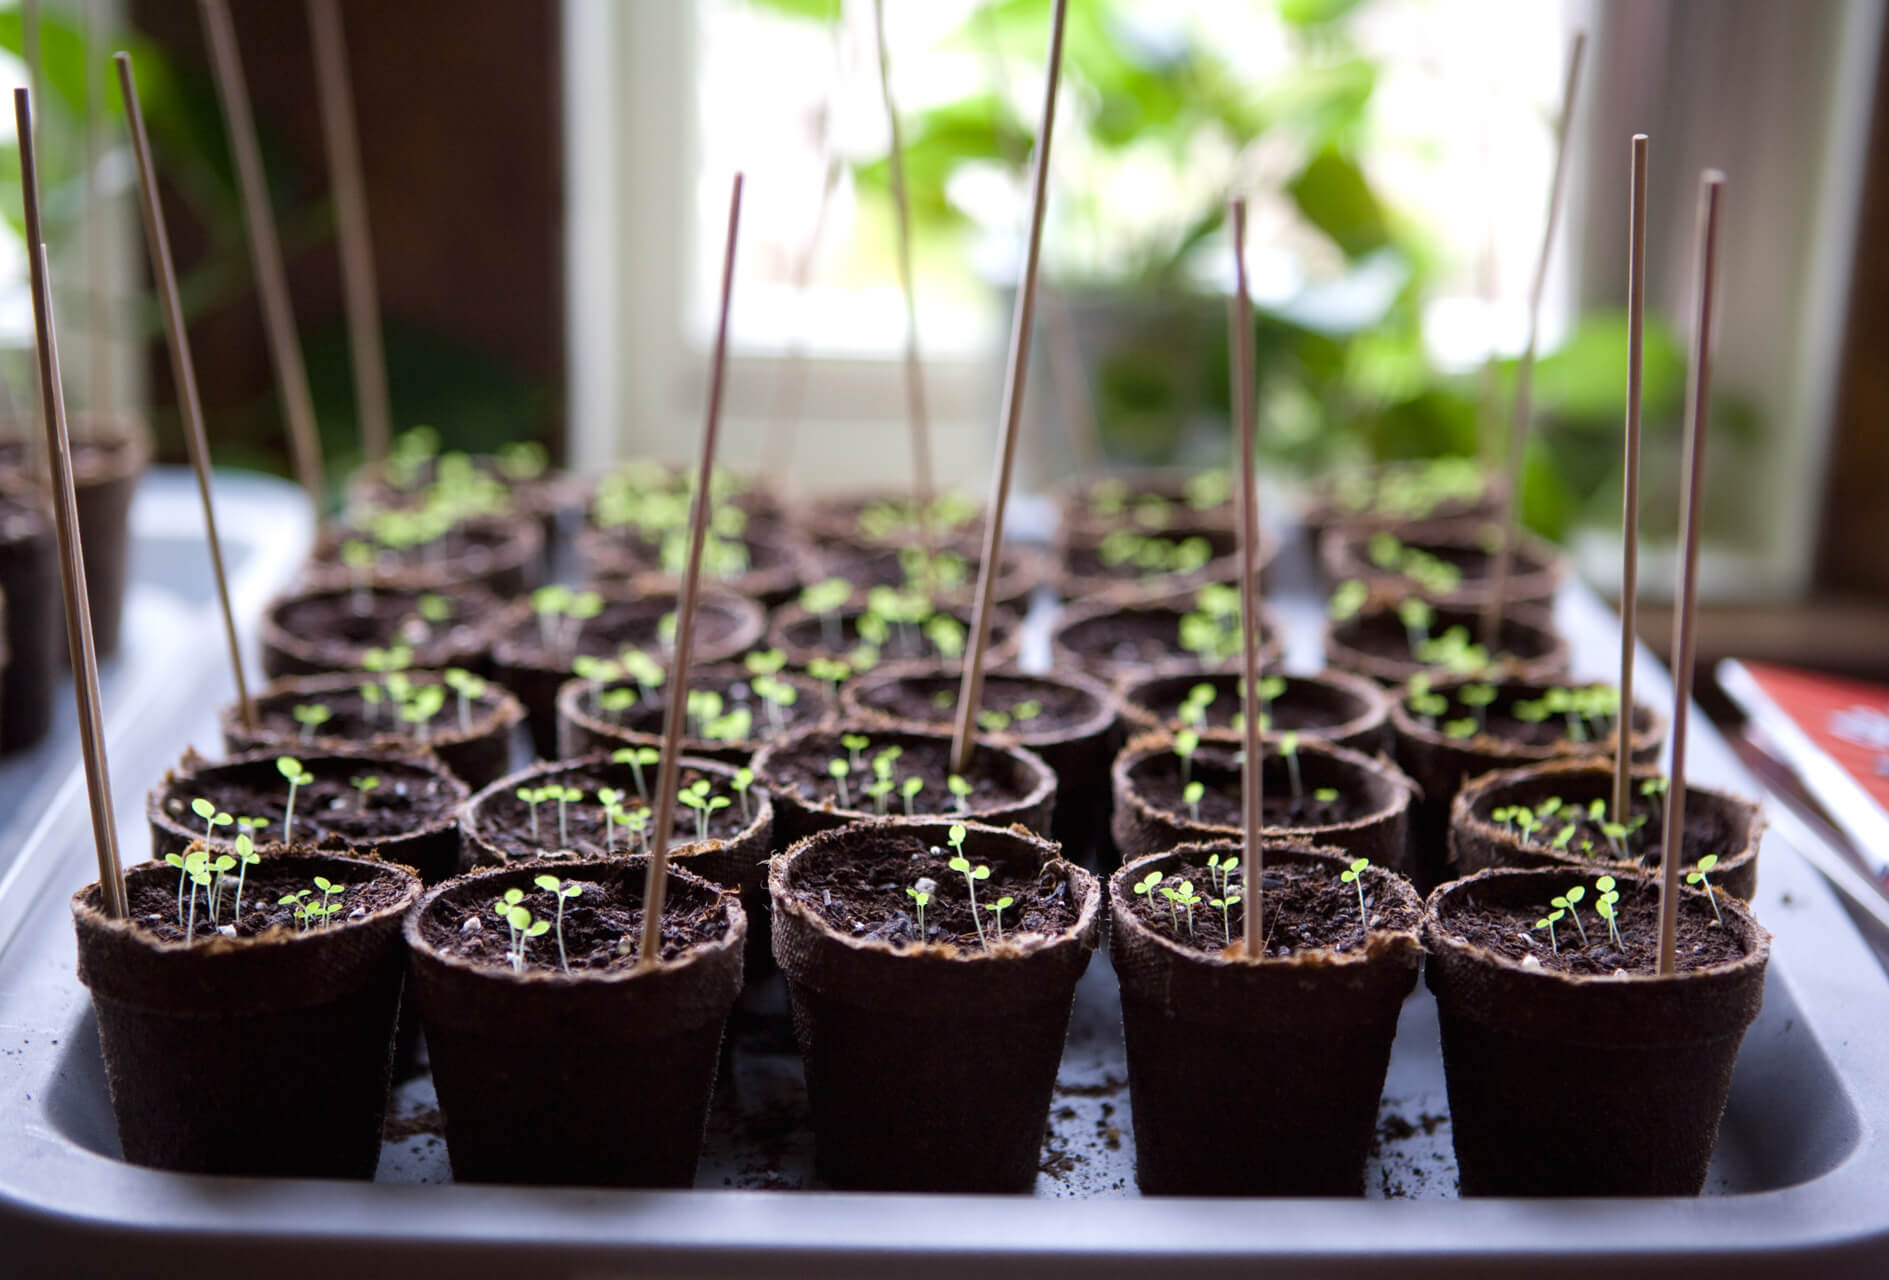
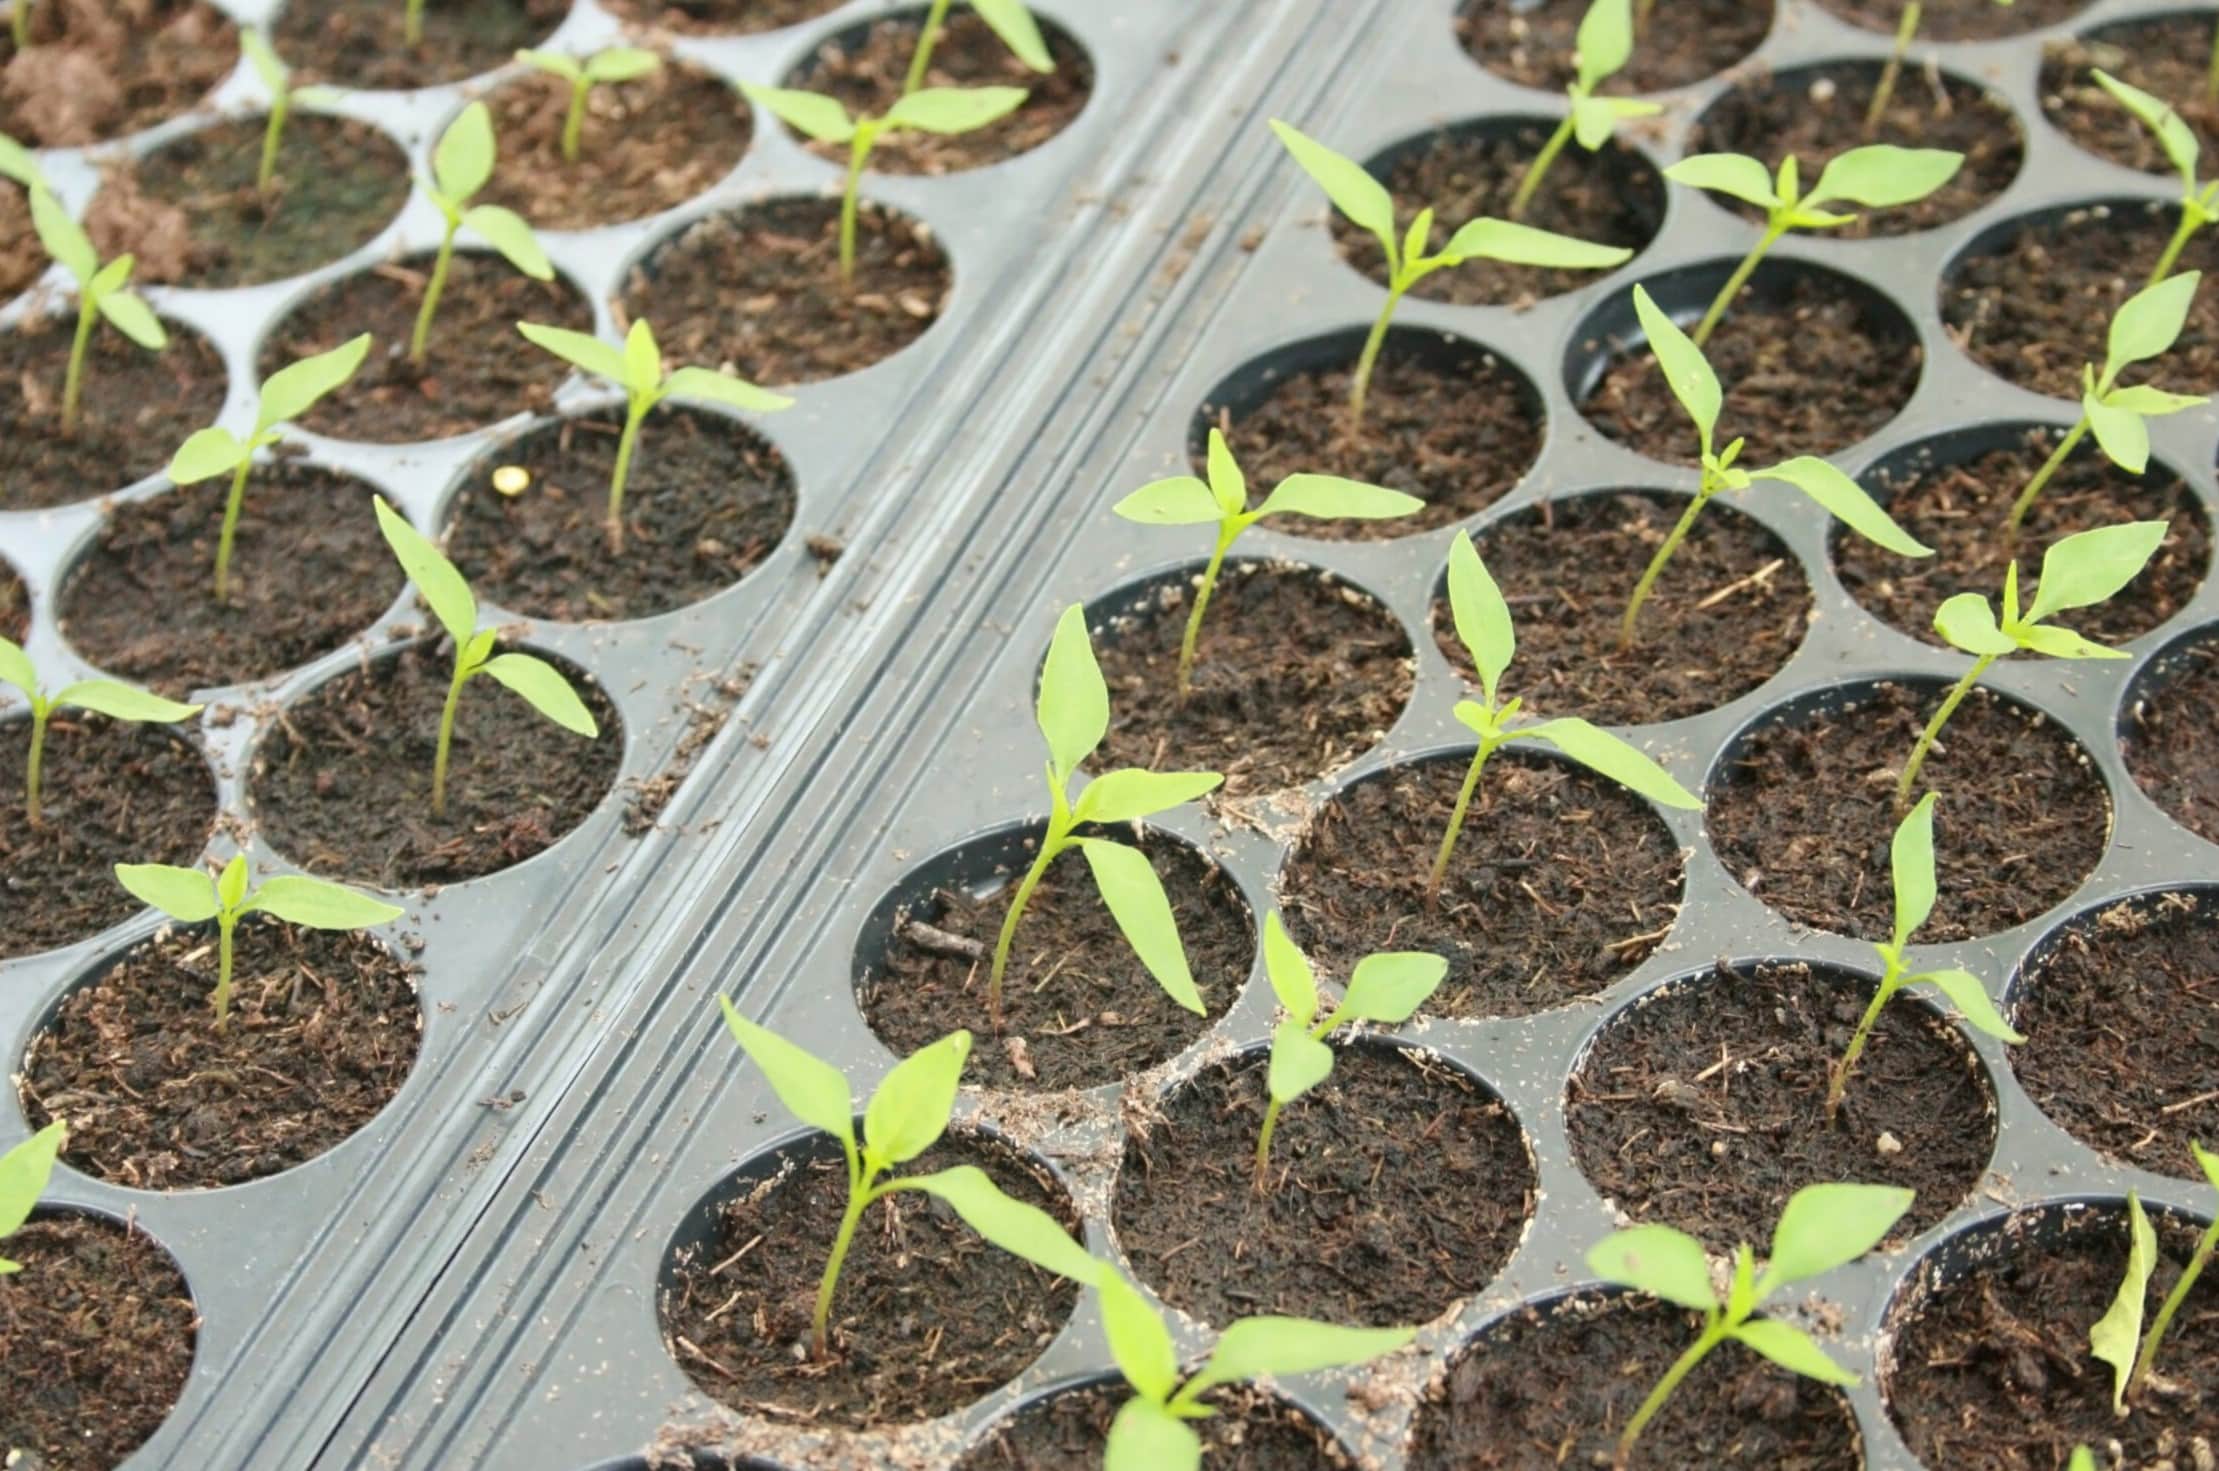
Step-by-Step Guide for Starting Seeds Indoors
Starting seeds indoors is an exciting process that requires some planning and preparation. Follow this step-by-step guide to successfully start your seeds indoors:
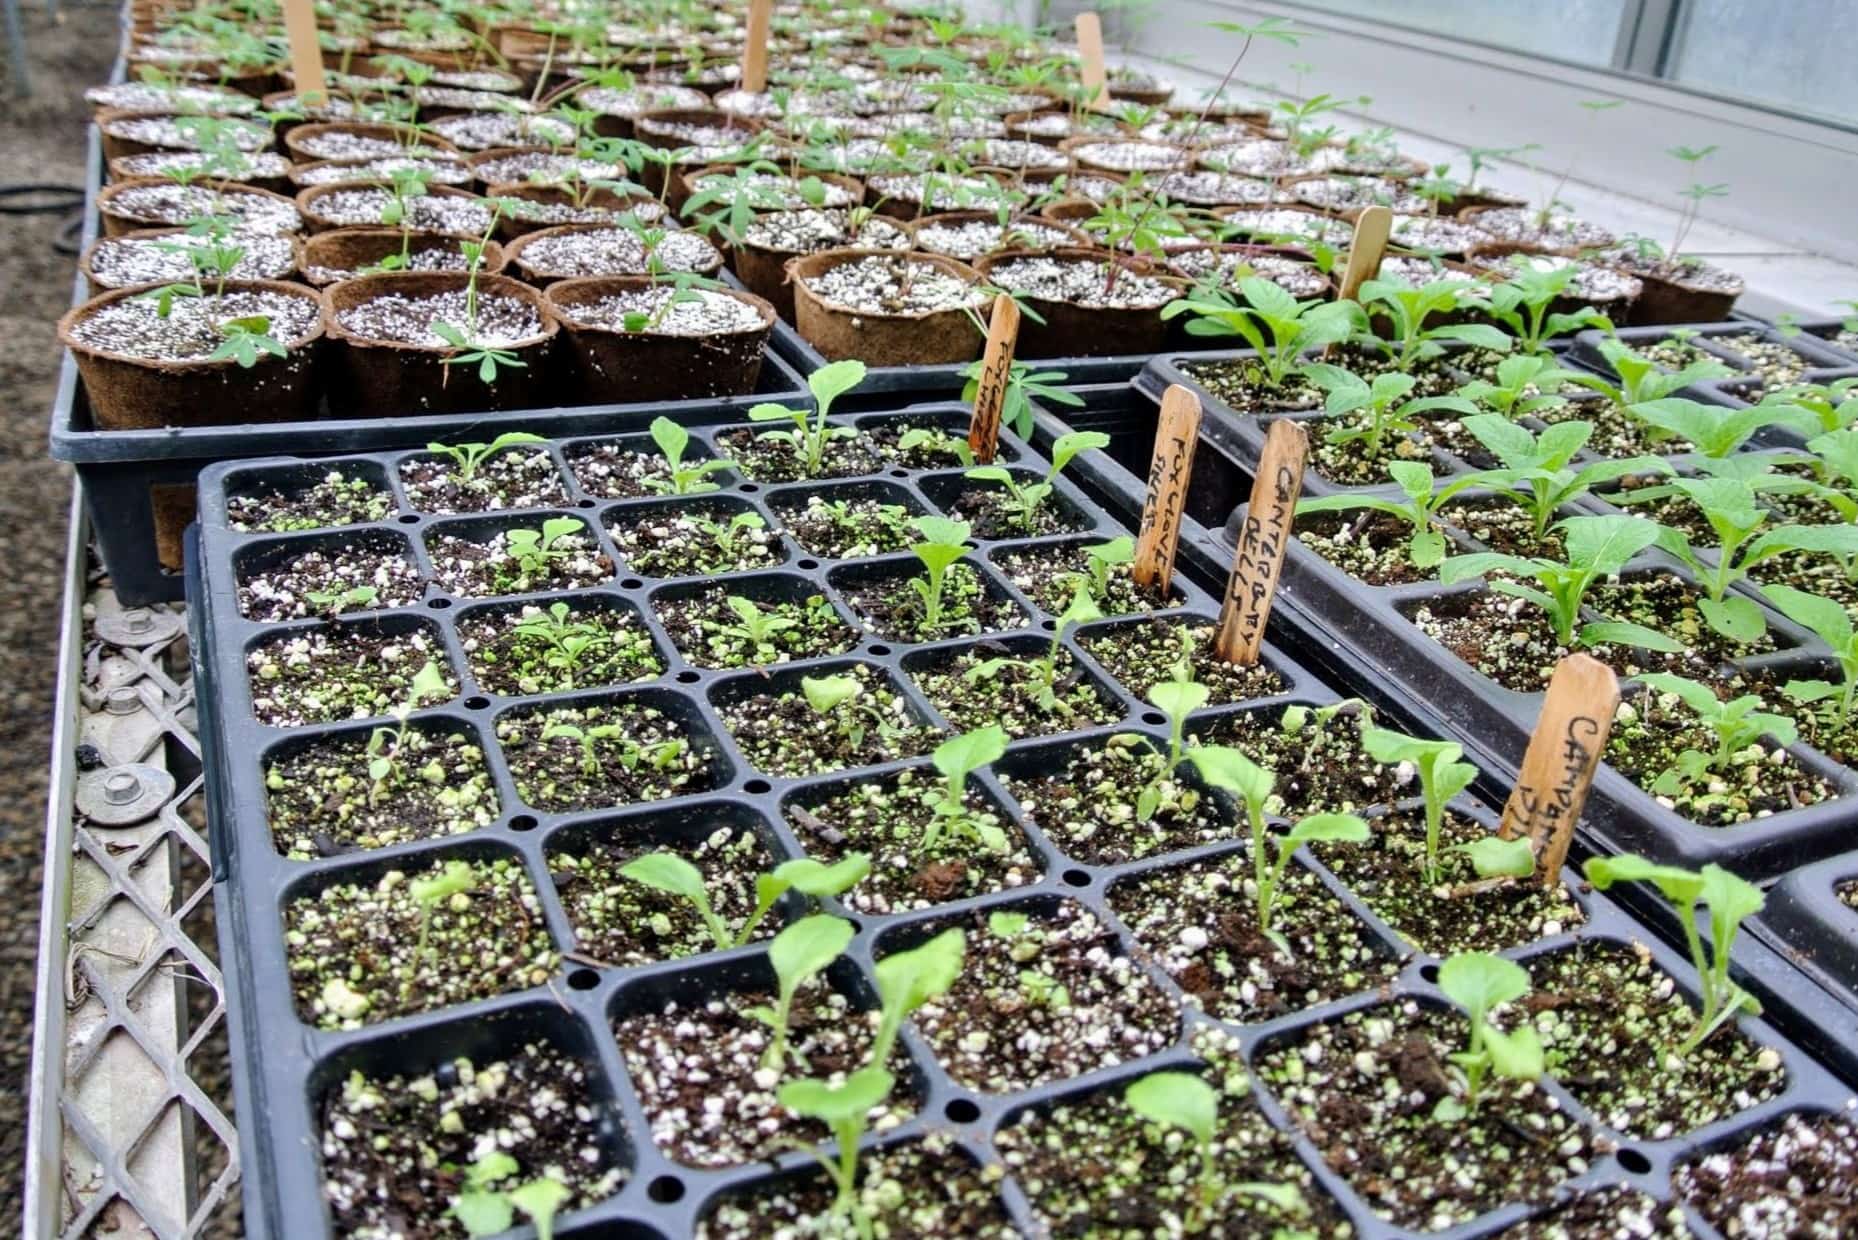
- Gather your supplies: Collect all the necessary supplies, including seed trays or pots, seed starting mix, seeds, labels, and water. Clean and sanitize the containers to prevent any potential diseases from affecting the seedlings.
- Prepare the seed starting mix: Use a high-quality seed starting mix that provides good drainage and aeration. Moisten the mix with water according to the manufacturer’s instructions until it reaches a damp but not soggy consistency.
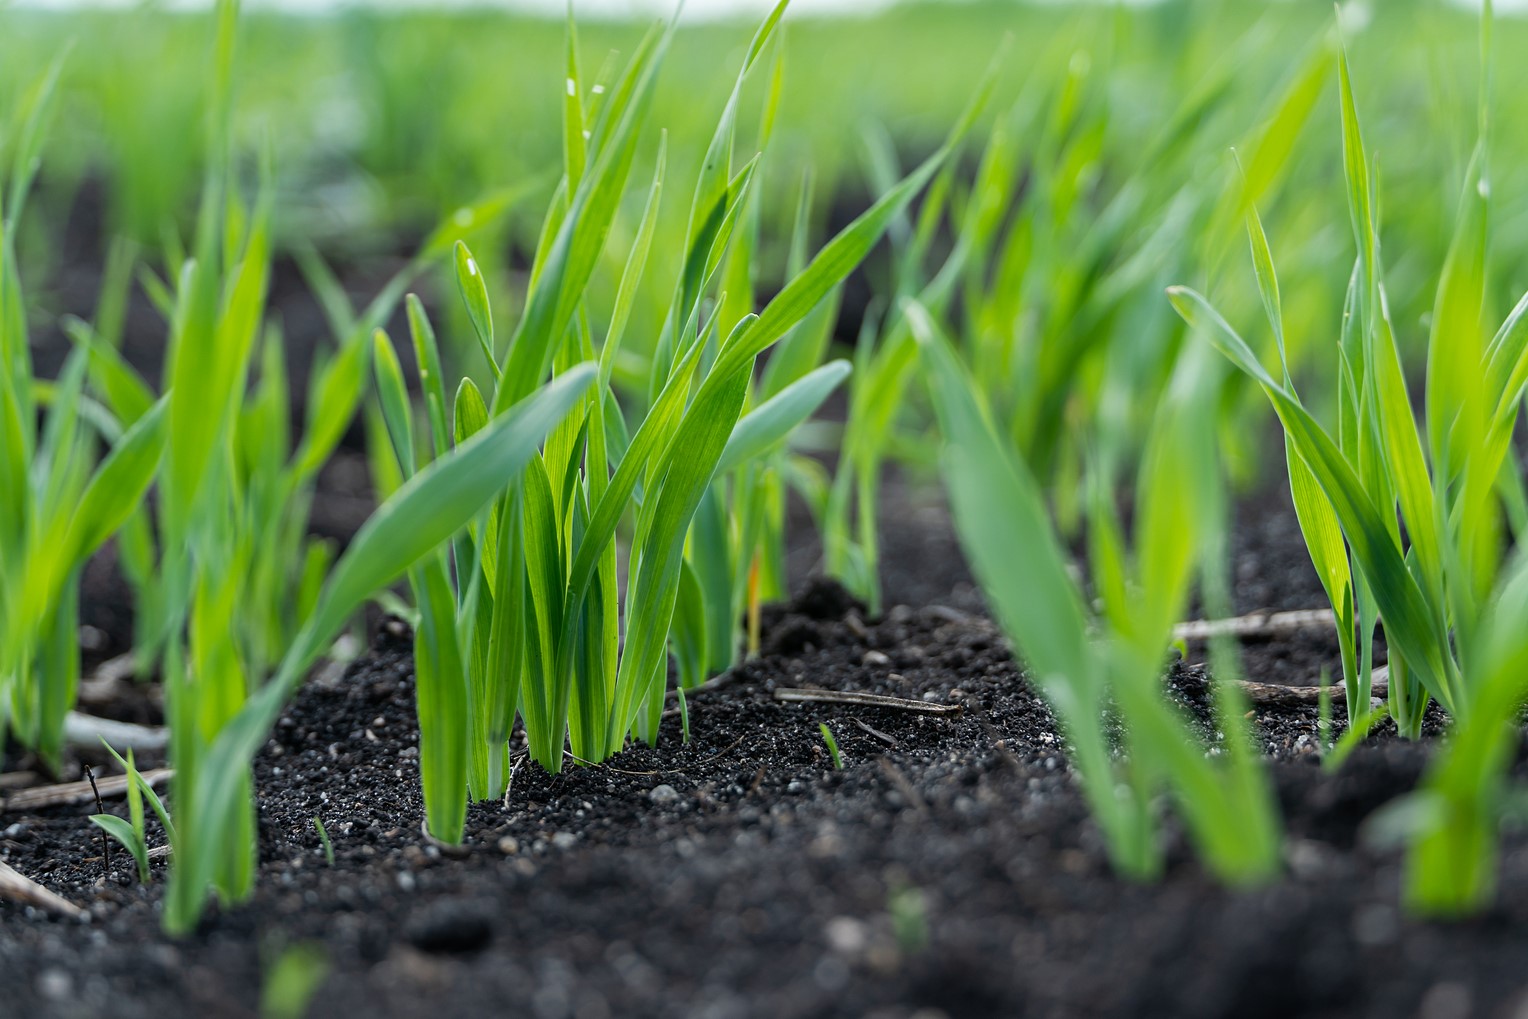
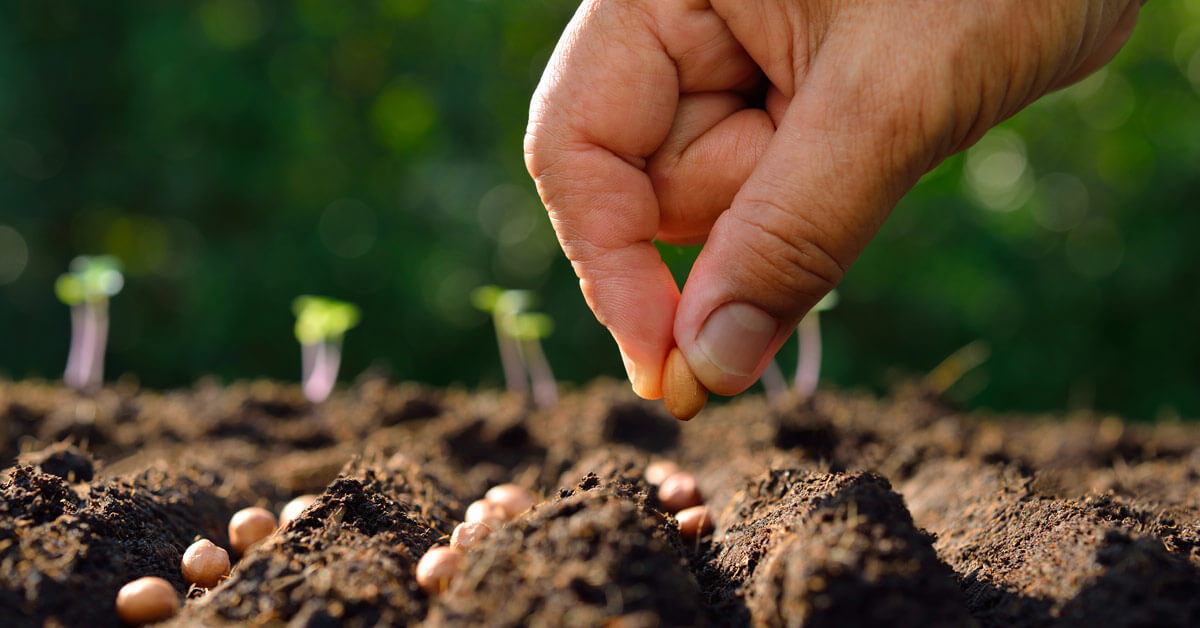
- Sow the seeds: Follow the instructions on the seed packet for seed depth and spacing. Make small holes in the seed starting mix using your finger or a dibber, place the seeds in the holes, and lightly cover them with the mix.
- Label the trays: It’s essential to label each tray or pot with the name of the plant species and the sowing date. This will help you keep track of the different seeds and their progress.
- Provide optimal conditions: Place the trays or pots in a warm location with sufficient light or under grow lights. Maintain a consistent temperature and humidity level to promote germination. If needed, use a plastic dome or cover to create a mini greenhouse effect.
- Water regularly: Keep the seed starting mix consistently moist but not waterlogged. Water from the bottom by placing the trays in a shallow tray filled with water, allowing the mix to absorb moisture through the drainage holes.
- Monitor and adjust: As the seeds germinate, remove the plastic cover and adjust the lighting to keep it at the proper distance from the seedlings. Rotate the trays regularly to ensure even light distribution and prevent leggy growth.
- Harden off the seedlings: Before transplanting the seedlings outdoors, gradually expose them to outdoor conditions in a process known as hardening off. Start with short periods of time outdoors and gradually increase duration over a week or two.
- Transplant outdoors: Once the seedlings have acclimated to outdoor conditions, it’s time to transplant them into your garden or larger pots. Follow the recommended spacing and planting depth for each plant species.
- Maintain care: Provide regular water, sunlight, and appropriate care to ensure the continued growth and health of your seedlings. Monitor for pests or diseases and take prompt action if any issues arise.
By following these steps and adjusting them based on your specific situation, you’ll be well on your way to successfully starting seeds indoors and enjoying a thriving garden.
Start seeds indoors 6-8 weeks before the last frost date in your area. Use a seed starting mix, provide adequate light and warmth, and keep the soil moist but not waterlogged. Transplant seedlings outdoors after the danger of frost has passed.
Read more: When To Start Foxglove Seeds Indoors
Common Mistakes to Avoid When Starting Seeds Indoors
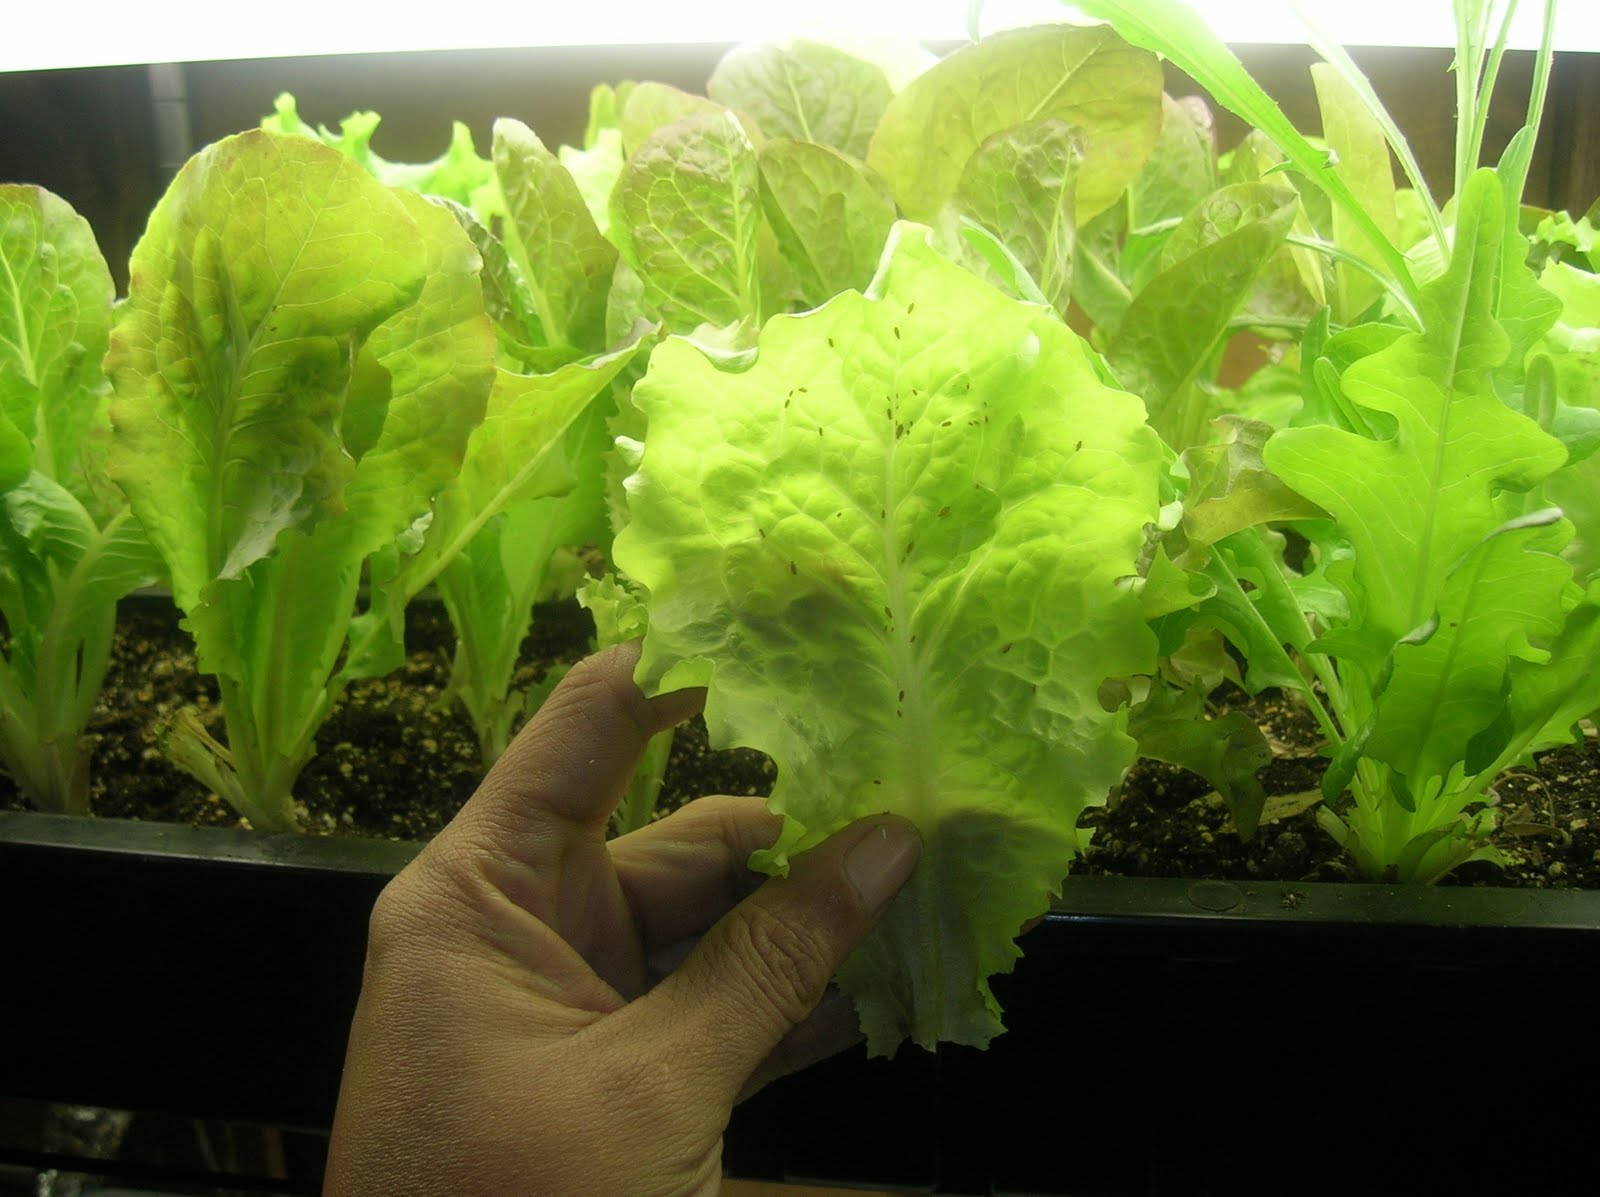
Starting seeds indoors can be a rewarding experience, but there are common mistakes that many gardeners make. By being aware of these pitfalls, you can avoid them and increase your chances of success. Here are some common mistakes to avoid when starting seeds indoors:
- Overwatering: One of the most common mistakes is overwatering the seedlings. Excess moisture can lead to dampening off, a fungal disease that causes seedlings to wilt and die. Follow proper watering practices by allowing the soil to dry slightly between waterings and ensuring adequate drainage.
- Insufficient light: Seedlings need ample light to grow strong and healthy. Insufficient light can result in weak and leggy plants. If natural light is limited, provide supplemental grow lights and position them at the appropriate distance from the seedlings.
- Starting seeds too early: It’s easy to get excited about gardening and start seeds too early. Starting seeds prematurely can result in overgrown seedlings that are difficult to transplant and may struggle to thrive outdoors. Research the recommended indoor start dates for each plant variety to avoid this mistake.
- Using the wrong potting mix: Choosing the wrong potting mix can lead to poor drainage and nutrient deficiencies. Use a high-quality seed starting mix that is specifically formulated for seed germination. Avoid using regular garden soil or heavy potting mixes that can become compacted and hinder root development.
- Planting seeds too deep or too shallow: Planting seeds at the wrong depth can result in uneven germination or difficulties for the emerging seedlings. Follow the instructions on the seed packet for the appropriate planting depth. As a general rule, plant seeds at a depth that is two to three times their size.
- Skipping the hardening off process: Neglecting to harden off seedlings before transplanting them outdoors can cause shock and hinder their growth. Gradually expose the seedlings to outdoor conditions by starting with short periods of time outside and gradually increasing exposure over the course of a week or two.
- Not providing proper ventilation: Poor air circulation can create a humid environment that encourages the growth of fungal diseases. Ensure proper ventilation by using fans or opening windows periodically to exchange stale air with fresh air.
- Overcrowding seed trays: Planting too many seeds close together in a seed tray can lead to competition for resources and stunted growth. Follow the recommended spacing for each plant variety to allow adequate room for the seedlings to develop.
- Forgetting to label trays: Failing to label seed trays can lead to confusion and difficulty in identifying the different plant species as they grow. Label each tray or pot with the plant name and sowing date to keep track of your seedlings.
By avoiding these common mistakes and implementing best practices, you’ll increase your chances of successfully starting seeds indoors and nurturing healthy plants for your garden.
Tips for Successful Seed Starting Indoors
Starting seeds indoors can be a rewarding and effective way to jumpstart your garden. To maximize your success, here are some valuable tips to keep in mind:
- Select high-quality seeds: Choose seeds from reputable sources to ensure their viability and germination rates. Look for varieties that are well-suited to your climate and growing conditions.
- Use fresh seed starting mix: Use a fresh, sterile seed starting mix to provide the best growing environment for your seeds. Avoid using garden soil, as it can contain weed seeds or pathogens that may harm your seedlings.
- Moisten the seed starting mix: Before sowing the seeds, ensure that the seed starting mix is adequately moistened. It should feel damp to the touch but not saturated. Excess moisture can lead to fungal diseases and rot.
- Follow proper sowing depth and spacing: Read the instructions on the seed packets and adhere to the recommended sowing depth and spacing for each plant variety. Planting seeds too deep or too close together can affect germination and seedling development.
- Provide adequate light: Seedlings need sufficient light to grow healthy and strong. Place seed trays near a south-facing window to maximize natural light. If natural light is insufficient, supplement with grow lights positioned at the appropriate distance from the seedlings.
- Maintain optimal temperature and humidity: Most seeds require warm temperatures for germination. Ensure that your indoor environment provides the ideal temperature range, typically between 65-75°F (18-24°C). Use a humidity dome or cover to create a humid microclimate for optimal germination.
- Water carefully: Water the seedlings gently and evenly, ensuring that the soil remains consistently moist. Avoid overwatering, as it can lead to fungal diseases, and underwatering, which can stunt growth. Use a spray bottle or watering can with a fine spout to control the water flow.
- Provide proper ventilation: Good air circulation is crucial for preventing fungal diseases. Set up a small fan in the room or open windows periodically to help exchange stale air with fresh air. Be mindful of drafts that may cause temperature fluctuations.
- Thin out seedlings: When the seedlings develop their first set of true leaves, thin them out to provide adequate space for healthy growth. Remove weaker seedlings, leaving space for the strongest ones to thrive.
- Fertilize wisely: Avoid over-fertilizing seedlings, as it can lead to fertilizer burn or leggy growth. Start fertilizing with a diluted, balanced fertilizer once the seedlings have established a few sets of true leaves. Follow the manufacturer’s instructions for proper application.
- Keep a garden journal: Keep track of your seed starting progress, including sowing dates, germination rates, and any observations about the seedlings. This information will be invaluable for future reference and learning from your experiences.
By implementing these tips, you’ll create an ideal environment for your seedlings, setting them up for success as they grow into strong, healthy plants ready for transplanting into your garden.
Transferring Seedlings Outdoors: When and How
Transferring seedlings from their indoor containers to the great outdoors is an important step in the gardening process. To ensure a successful transition, it’s important to consider the timing and follow proper techniques. Here’s a guide on when and how to transfer your seedlings outdoors:
Timing:
The timing of when to transplant your seedlings outdoors depends on various factors, including the plant species, local climate, and weather conditions. Here are some general guidelines:
- Frost danger: Wait until the risk of frost has passed in your area. Consult your local agricultural extension office or refer to the average last frost date for your region.
- Seedling development: Ensure that your seedlings have developed sturdy stems and a healthy root system before transplanting. This usually takes about 4-6 weeks from the time of germination, but it may vary for different plant varieties.
- Outdoor conditions: Take note of the current weather conditions and temperatures. Wait for a period of mild weather with stable temperatures and minimal wind to minimize stress on the seedlings.
Transplanting Technique:
- Prepare the soil: Choose a well-draining location in your garden and prepare the soil by removing any weeds, rocks, or other debris. Loosen the soil and improve its fertility by incorporating compost or organic matter.
- Water the seedlings: Before transplanting, water the seedlings thoroughly to ensure the root ball stays intact during the process.
- Dig the planting holes: Dig holes in the garden soil slightly larger than the root balls of the seedlings. Space the holes according to the recommended spacing for each plant variety.
- Transplant the seedlings: Gently remove the seedlings from their containers, being careful not to damage the roots. Place each seedling in a planting hole, ensuring that the top of the root ball is level with or slightly above the soil surface.
- Backfill and firm the soil: Fill the planting hole with soil, pressing it gently to eliminate air pockets. Avoid compacting the soil too firmly around the seedling, as it may hinder root growth. Water the soil around the seedling to settle it in place.
- Provide post-transplant care: After transplanting, water the seedlings thoroughly to help them establish in the new environment. Monitor soil moisture levels and provide regular water as needed. Consider using mulch to conserve moisture and suppress weed growth around the seedlings.
- Protect the seedlings: Protect the newly transplanted seedlings from extreme weather conditions, such as hot sun or wind, for the first few days. Use garden fabric, shade cloth, or temporary structures to shield the seedlings until they adapt to the outdoor conditions.
- Maintain care: Continue to care for your transplanted seedlings by providing adequate water, light, and protection from pests. Gradually adjust watering and fertilizing routines as the plants grow and their needs change.
By considering the timing and following these transplanting techniques, you’ll give your seedlings the best chance of thriving in their new outdoor environment. With proper care and attention, your seedlings will grow into flourishing plants, rewarding you with a beautiful and productive garden.
Conclusion
Starting seeds indoors is a fantastic way to kickstart your garden and enjoy an extended growing season. By providing optimal conditions and following the recommended guidelines, you can nurture healthy seedlings that will thrive when transplanted outdoors. Understanding the benefits and factors to consider before starting seeds indoors is crucial for success.
By starting seeds indoors, you gain greater control over the growing environment, can choose from a wider variety of plants, and save money by growing your own seedlings. However, it’s important to consider factors such as space, lighting, temperature, and timing to create the ideal conditions for your seedlings to flourish.
Following a step-by-step guide for starting seeds indoors will help you navigate the process with ease. Avoiding common mistakes such as overwatering, insufficient lighting, and poor ventilation will ensure the health and vitality of your seedlings.
With proper care and attention, your seedlings will be ready to be transferred outdoors. Understanding the timing, preparing the soil, and utilizing proper transplanting techniques will facilitate a successful transition from indoor to outdoor growing. Providing post-transplant care and protecting your seedlings from harsh weather conditions will give them the best chance of thriving in their new surroundings.
Remember to constantly monitor your plants, adjust watering and fertilizing routines as needed, and provide the necessary care to ensure their continued growth and development. By implementing these tips and techniques, you’ll be well on your way to a productive and beautiful garden.
So go ahead, start your seeds indoors, and enjoy the satisfaction of watching your plants grow from tiny seeds to lush gardens bursting with life.
Frequently Asked Questions about When Should I Start Seeds Indoors
Was this page helpful?
At Storables.com, we guarantee accurate and reliable information. Our content, validated by Expert Board Contributors, is crafted following stringent Editorial Policies. We're committed to providing you with well-researched, expert-backed insights for all your informational needs.

0 thoughts on “When Should I Start Seeds Indoors”