Home>Garden Essentials>When To Start Foxglove Seeds Indoors
Garden Essentials
When To Start Foxglove Seeds Indoors
Modified: October 20, 2024
Learn when to start foxglove seeds indoors and ensure a successful garden with our expert tips.
(Many of the links in this article redirect to a specific reviewed product. Your purchase of these products through affiliate links helps to generate commission for Storables.com, at no extra cost. Learn more)
Introduction
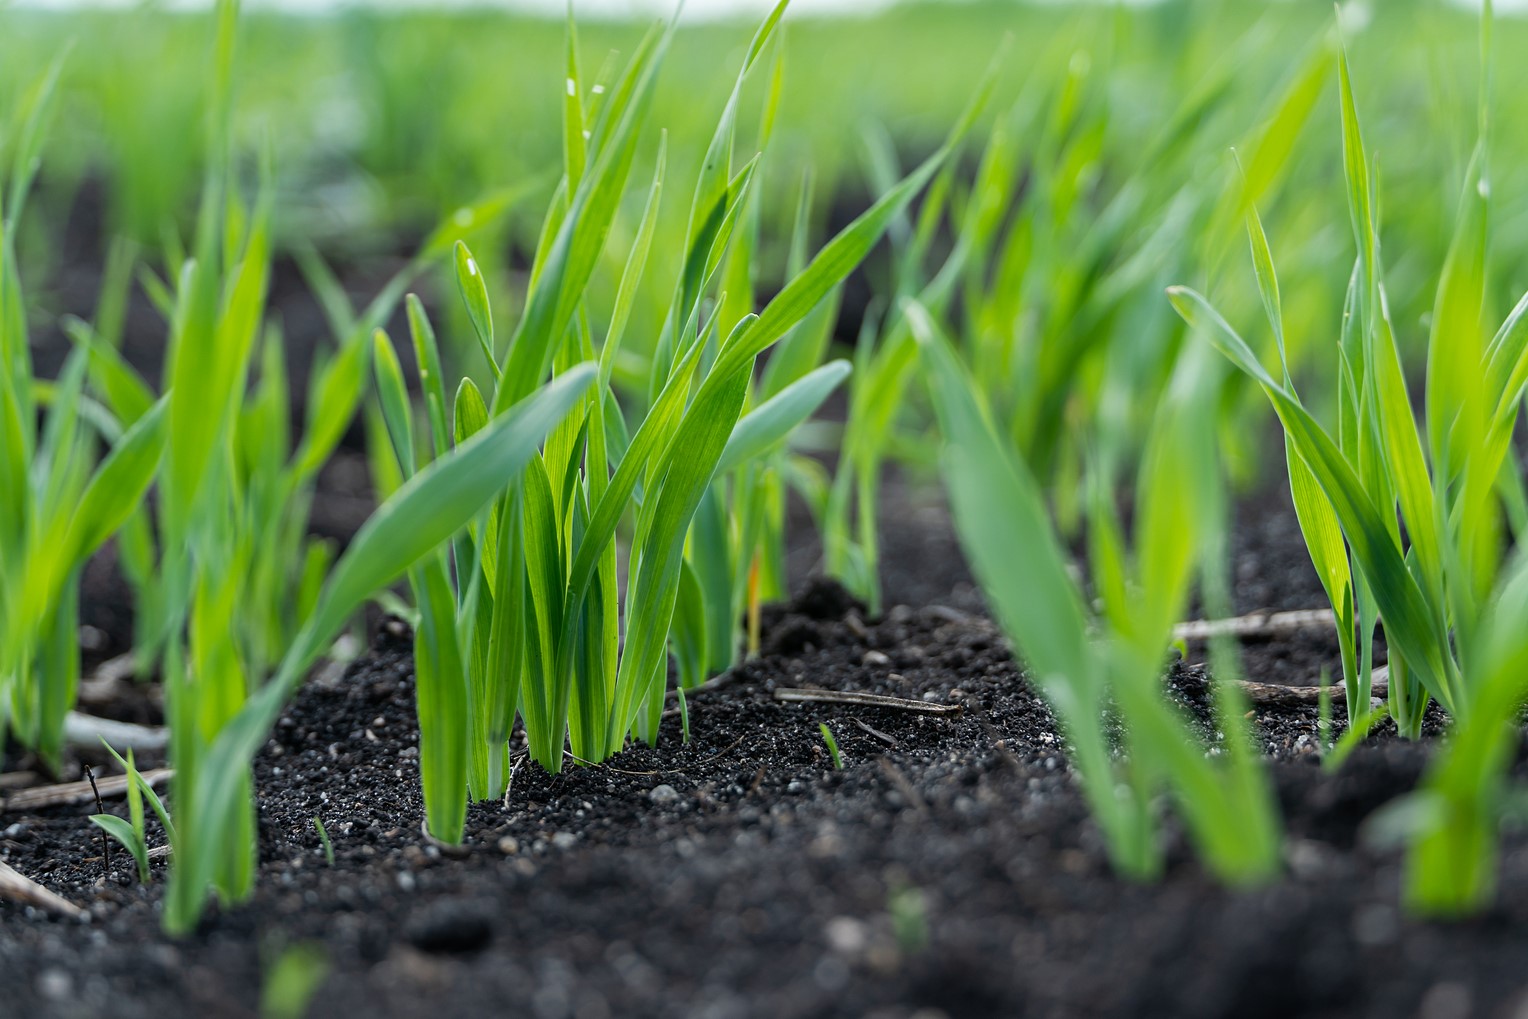
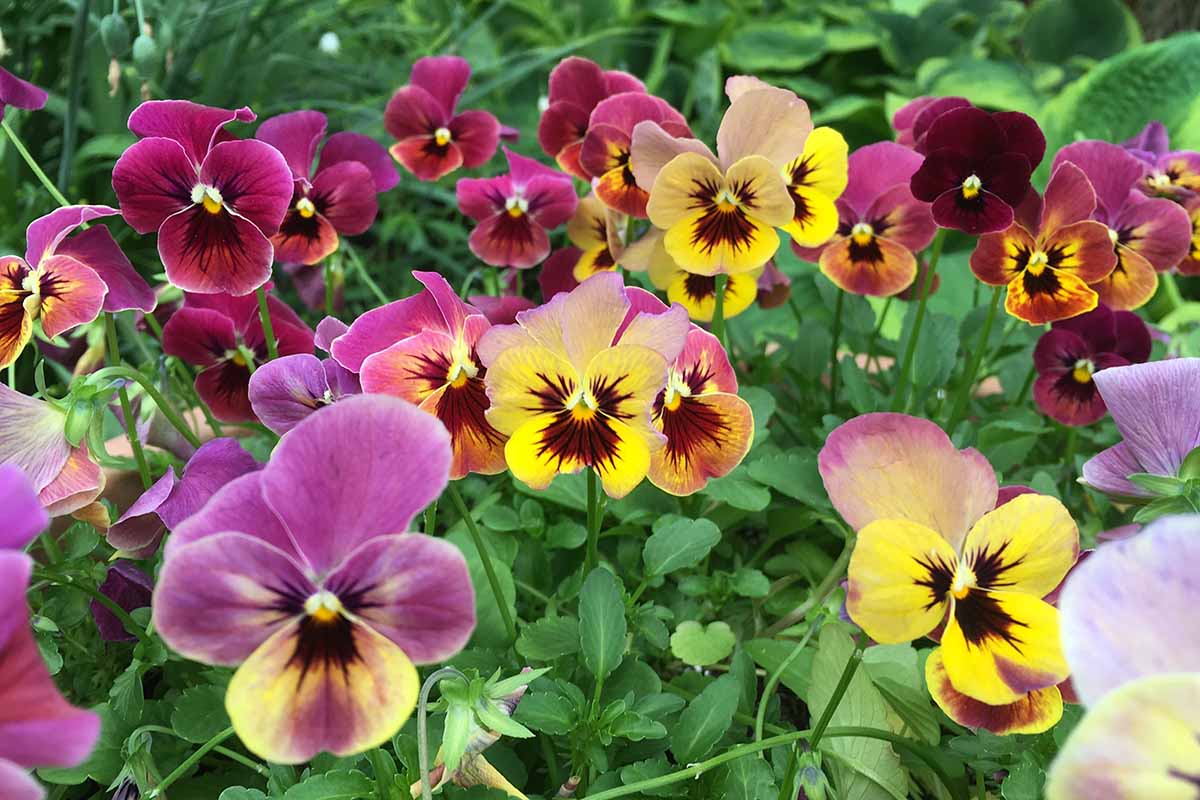
Gardening enthusiasts who want to add a touch of elegance and natural beauty to their outdoor space often turn to the enchanting foxglove plant. With its tall stalks adorned with bell-shaped flowers in various vibrant colors, foxgloves are a popular choice for gardens and landscapes. While you can purchase ready-to-plant foxglove seedlings from nurseries, starting foxglove seeds indoors is a rewarding and cost-effective way to beautify your garden.
Starting foxglove seeds indoors not only gives you control over the entire growing process but also allows you to extend the growing season. By getting a head start and nurturing your foxglove seedlings indoors, you can ensure they are well-established and ready to thrive when you transplant them outside.
But when is the right time to start foxglove seeds indoors? What supplies do you need, and how should you proceed with planting and caring for the seedlings? In this article, we will explore these questions and provide you with a comprehensive guide on starting foxglove seeds indoors.
So, if you’re ready to embark on a rewarding gardening journey and bring the beauty of foxgloves into your space, let’s dive in and learn how to start foxglove seeds indoors!
Key Takeaways:
- Starting foxglove seeds indoors extends the growing season, saves money, and offers a wide variety of options. Careful timing, proper supplies, and ideal conditions lead to successful seedling development.
- Avoid common mistakes when starting foxglove seeds indoors, such as overwatering, insufficient light, and neglecting hardening off. Patience, attention, and care result in beautiful, flourishing foxglove plants.
Read more: When To Plant Foxglove Seeds
Benefits of Starting Foxglove Seeds Indoors
Starting foxglove seeds indoors offers numerous benefits for gardeners. Here are some of the advantages of beginning your foxglove journey indoors:
- Extended growing season: By starting foxglove seeds indoors, you can get a head start on the growing season. Foxglove seeds typically take a few weeks to germinate and require a long growing period before they can be transplanted outdoors. By starting them indoors, you can give them the extra time they need to develop into healthy seedlings.
- Better control over growing conditions: When you start foxglove seeds indoors, you have full control over the environmental conditions, including light, temperature, and humidity. This allows you to create ideal conditions for germination and growth, increasing the chances of successful seedling development.
- Cost-effective: Purchasing ready-to-plant foxglove seedlings from nurseries can be expensive. Starting seeds indoors is a cost-effective alternative, as you can buy a packet of foxglove seeds for a fraction of the cost and have the potential to grow numerous plants from a single packet.
- Choice of varieties: Starting foxglove seeds indoors opens up a world of possibilities in terms of variety. Nurseries might have limited options, but when you start from seed, you have access to a wide range of foxglove varieties and can choose the ones that best suit your preferences and garden design.
- Personal satisfaction: There is a special joy in nurturing plants from seeds and watching them grow into thriving seedlings. Starting foxglove seeds indoors allows you to experience the full journey of plant growth, from seed to flowering plant, and gives you a sense of accomplishment as you witness the fruits of your labor.
With these enticing benefits, it’s clear why starting foxglove seeds indoors is a popular choice among gardeners who are passionate about creating a beautiful and flourishing garden.
Choosing the Right Time to Start Foxglove Seeds Indoors
Timing is crucial when it comes to starting foxglove seeds indoors. The goal is to provide the seeds with optimal conditions for germination and growth, so they are ready to be transplanted outdoors at the right time. Here are some guidelines to help you determine the appropriate time to start your foxglove seeds indoors:
- Know your last frost date: Determine the average date of the last frost in your region. This information is essential because foxglove seedlings are sensitive to frost and should not be transplanted outside until the danger of frost has passed.
- Count backward: Start by counting backward from your last frost date. Foxglove seeds typically require 10 to 12 weeks of growth before they can be transplanted. Subtracting 10 to 12 weeks from your last frost date will give you a rough estimate of when to start your foxglove seeds indoors.
- Consider your climate: Factors such as your local climate and the specific foxglove variety you’re growing can also influence the ideal timing. Some regions have shorter growing seasons, while others have longer ones. Take these factors into account when determining the starting time for your foxglove seeds.
- Adjust based on growth rate: Keep in mind that different foxglove varieties have different growth rates. Some may develop faster than others. If you are unsure about the specific growth rate of your chosen variety, consult the seed packet or conduct some research to get a better understanding of the timing.
It is generally recommended to start foxglove seeds indoors around 10 to 12 weeks before the last frost date. However, it’s important to note that foxglove plants are biennials, meaning they have a two-year lifecycle. The first year involves seed germination, growth, and the development of leaves. The second year is when the plants flower and produce seeds.
If you want to enjoy the stunning blooms of foxgloves in the first year, it is advisable to start the seeds well in advance to allow sufficient growth. However, if you are more interested in the long-term beauty of the plant and don’t mind waiting, you can start the seeds a bit later and let the seedlings develop their foliage in the first year, with blooms appearing the following year.
By carefully considering your last frost date, local climate, and growth rate of your chosen variety, you can determine the perfect time to start your foxglove seeds indoors and ensure successful seedling development.
Supplies Needed for Starting Foxglove Seeds Indoors
Before you begin the process of starting foxglove seeds indoors, it is essential to gather the necessary supplies. Having the right tools and materials will ensure that your seedlings have a strong start. Here are the supplies you will need:
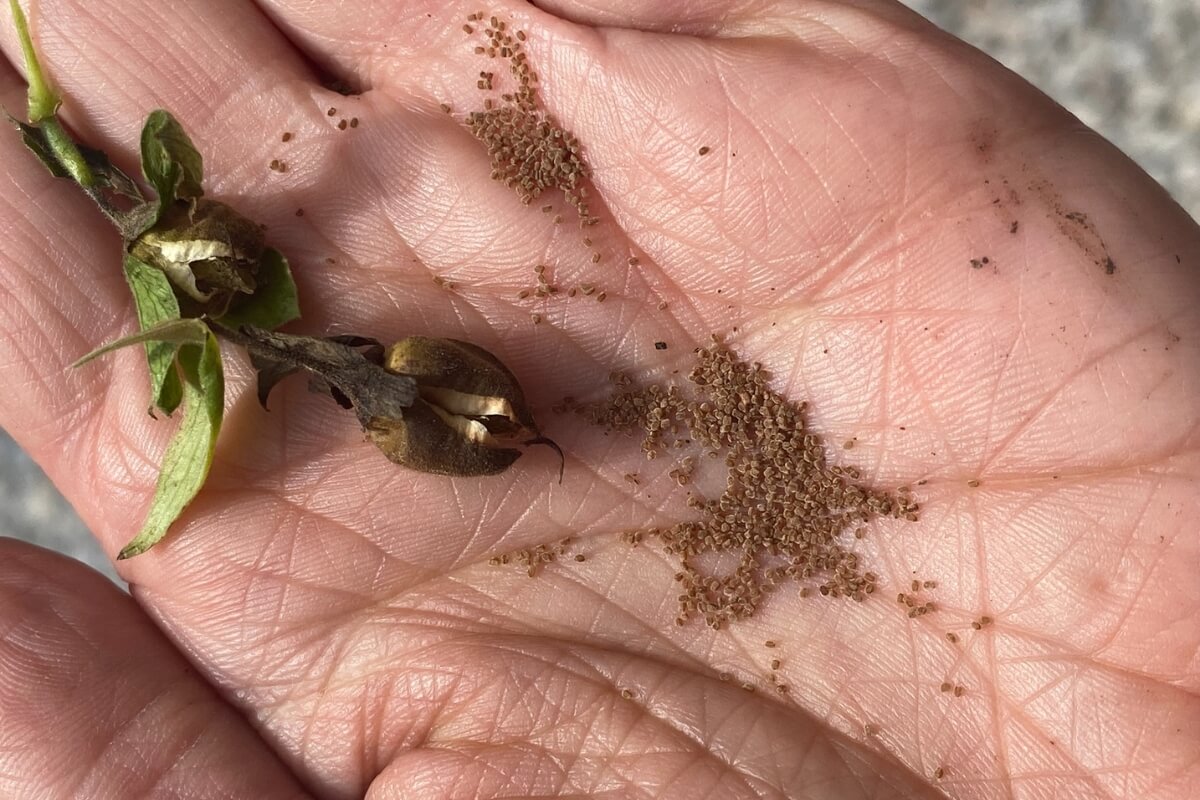
- Foxglove seeds: Purchase high-quality foxglove seeds from a reputable source. Choose the varieties that best suit your preferences and garden design.
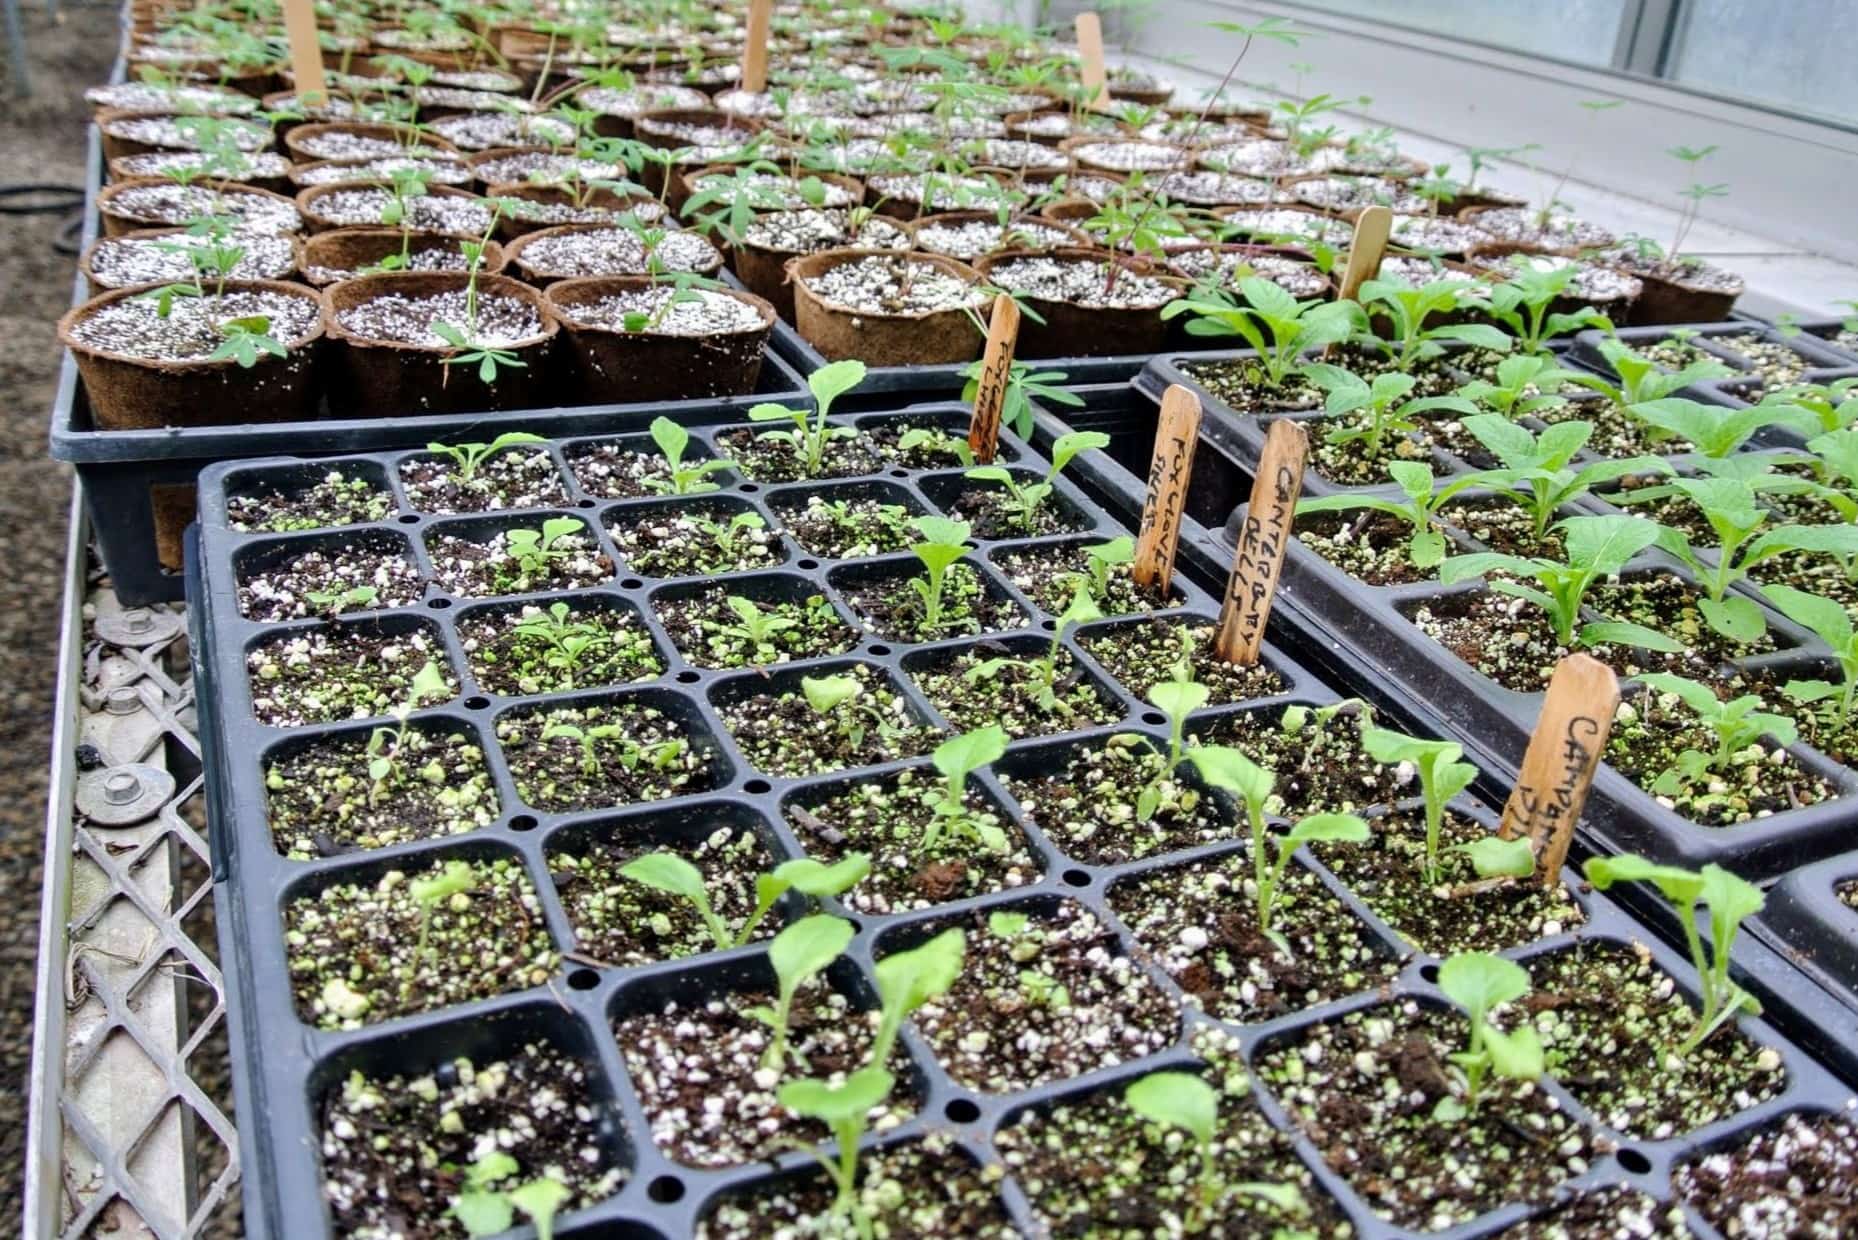
- Seed starting containers: Use seed trays, peat pots, or cell packs to sow the foxglove seeds. These containers provide the ideal environment for seed germination and early growth.
- Seed starting soil mix: Opt for a well-draining seed starting mix that is lightweight and sterile. Avoid using garden soil, as it may contain diseases or pests that can harm your seedlings.
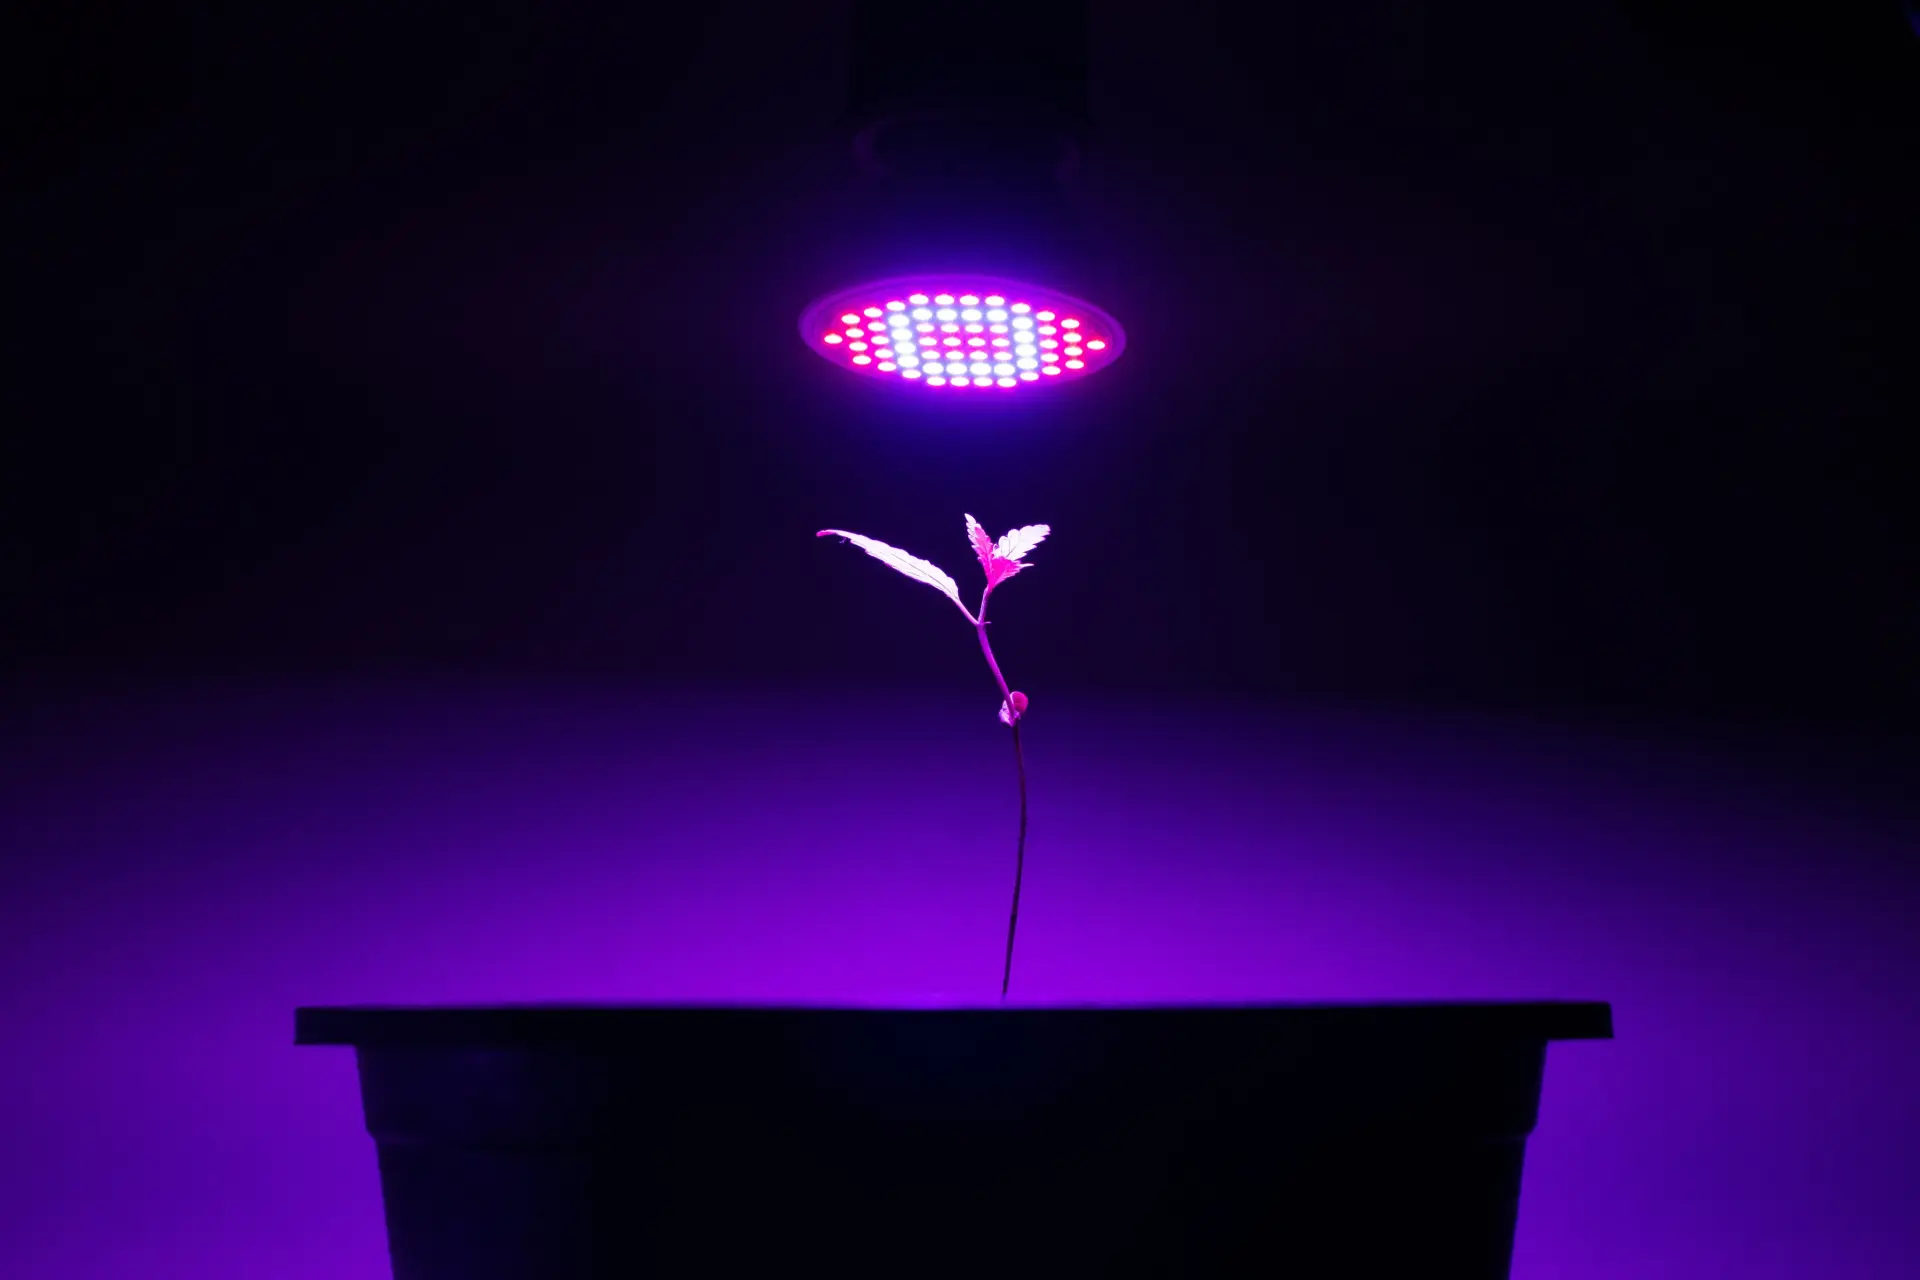
- Grow lights or a sunny window: Foxglove seeds need sufficient light to germinate and grow. If you don’t have a sunny south-facing window, invest in fluorescent or LED grow lights to provide the necessary light levels.
- Heat source: Foxglove seeds germinate best when the soil temperature is around 70°F (21°C). If your home is cooler, consider using a bottom heat source like a heating mat to maintain the optimal temperature.
- Watering can or spray bottle: Use a watering can with a fine spout or a spray bottle to water the seeds. This helps avoid dislodging and damaging the delicate seedlings.
- Plastic wrap or humidity dome: Covering the seed trays or pots with plastic wrap or a humidity dome helps create a moist and humid environment ideal for seed germination.
- Plant labels: Use plant labels or popsicle sticks to identify different foxglove varieties or planting dates. This helps you keep track of your seedlings as they grow.
- Misting bottle: A misting bottle comes in handy for providing a gentle water mist to keep the seedlings hydrated without causing damage.
- Fertilizer: As the seedlings grow, they will need some nutrition. Choose a balanced liquid fertilizer specifically formulated for young plants.
By gathering these supplies ahead of time, you will be well-prepared to start your foxglove seeds indoors and give them the best possible start on their journey to becoming beautiful flowering plants.
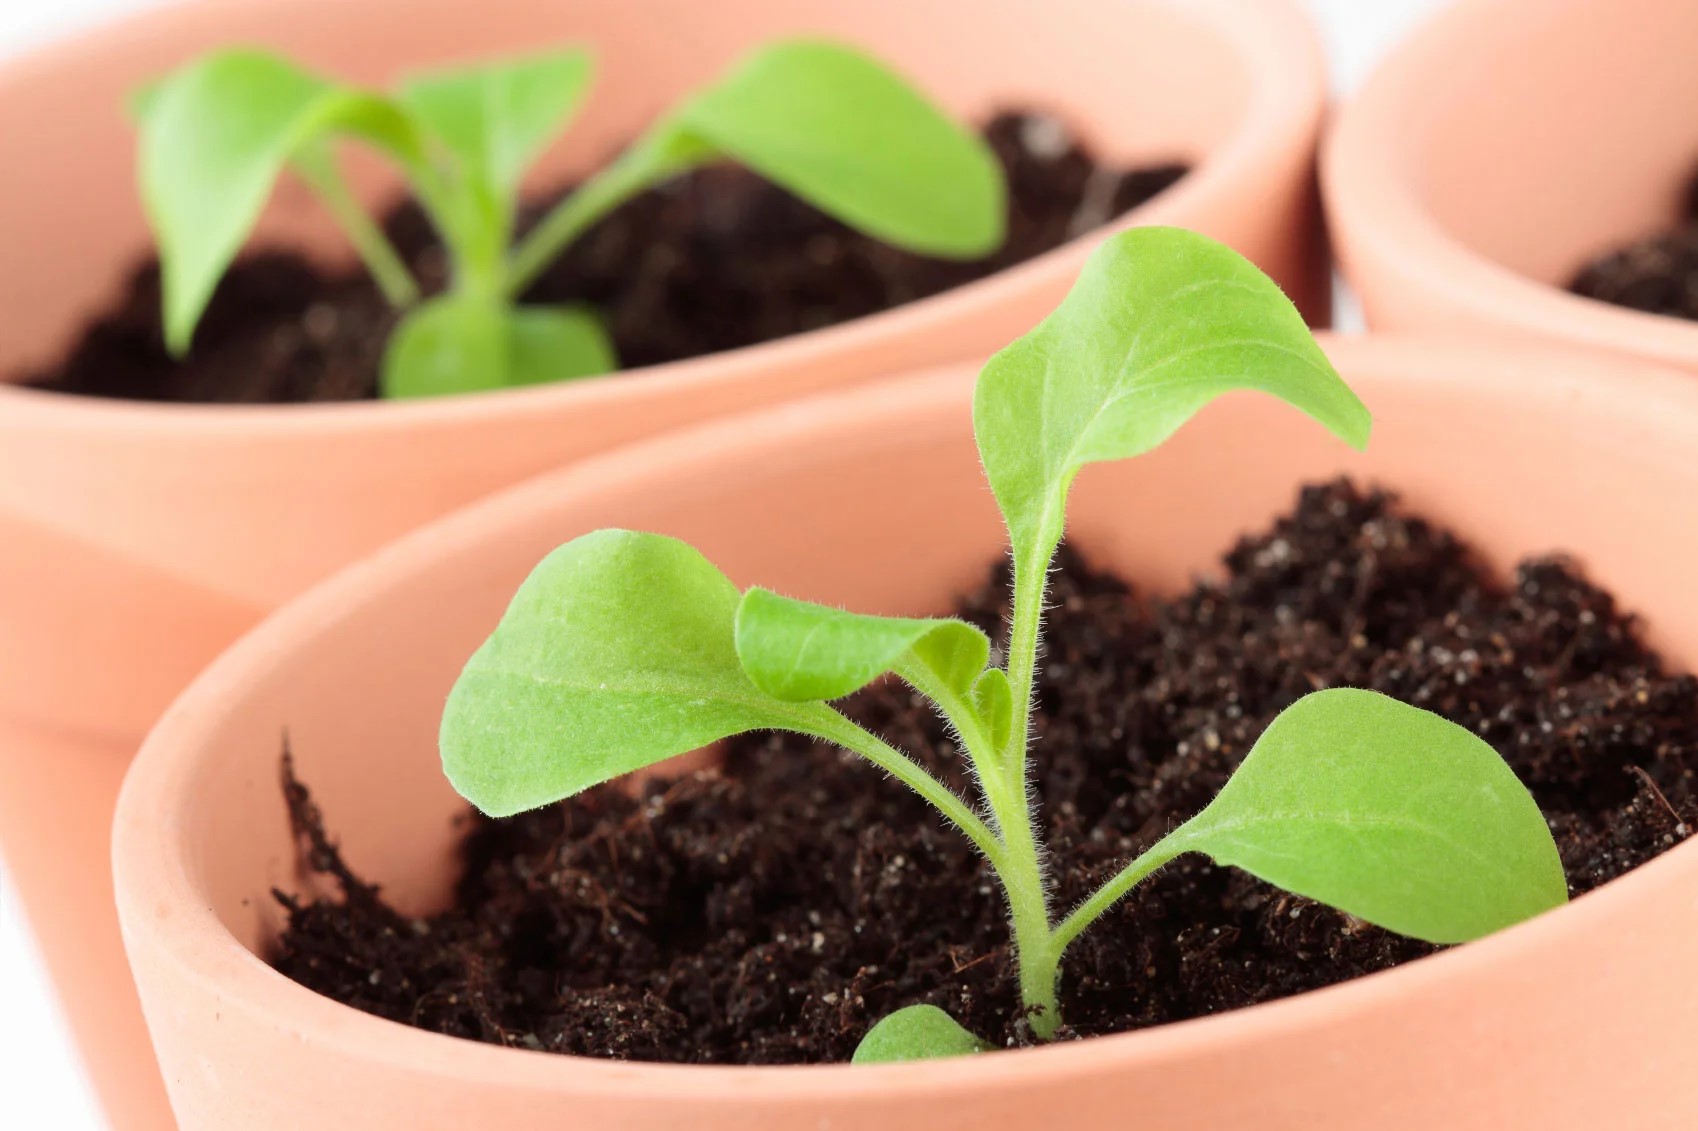
Preparing the Seed Starting Containers
Proper preparation of the seed starting containers is essential to provide an optimal environment for foxglove seeds to germinate and grow. Follow these steps to prepare your seed starting containers:
- Clean the containers: Before using the seed trays or pots, make sure they are clean and free from any debris or residue. Wash them with warm, soapy water and rinse thoroughly to remove any potential contaminants.
- Add drainage holes: Ensure proper drainage by creating small drainage holes in the bottom of each container. This prevents waterlogged soil, which can lead to root rot. Use a small drill or a hot nail to make the holes.
- Fill with seed starting mix: Fill the containers with a well-draining seed starting mix up to about half an inch below the rim. Gently press the soil to ensure it is evenly distributed and lightly compacted.
- Moisten the soil: Before sowing the foxglove seeds, moisten the seed starting mix using a spray bottle or a fine misting nozzle on a watering can. The soil should be consistently damp but not saturated.
- Create furrows: Use a pencil or your finger to create shallow furrows in the soil. The furrows should be about ¼ inch deep and spaced about an inch apart. This provides the perfect depth for sowing the foxglove seeds.
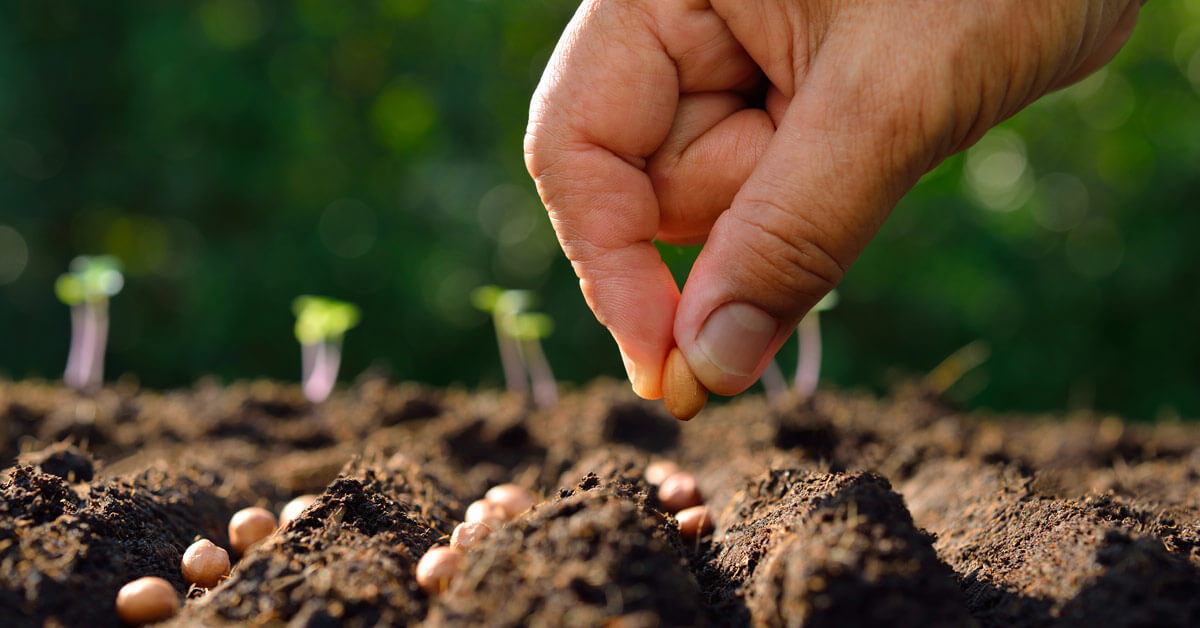
- Sow the seeds: Place the foxglove seeds in the furrows, spacing them out evenly. It’s best to sow multiple seeds in each furrow to ensure germination success. Later, you can thin the seedlings to leave the strongest ones.
- Cover the seeds: Gently cover the seeds with a thin layer of seed starting mix. The layer should be about ¼ inch thick. Lightly press down on the soil to ensure good seed-to-soil contact.
- Mist the soil: Use a misting bottle to give the soil a light misting. This helps settle the seeds and provides the necessary moisture for germination.
- Label the containers: Use plant labels or popsicle sticks to mark each container with the foxglove variety and the planting date. This will help you keep track of your seedlings as they grow.
- Cover the containers: Cover the seed trays or pots with plastic wrap or a humidity dome to create a warm and humid environment. This promotes seed germination and helps retain moisture.
Once you have prepared the seed starting containers, place them in a warm location with adequate light. Check the soil moisture regularly and mist as needed to keep it damp but not soggy. With proper preparation, you are now ready to embark on your foxglove growing journey!
Start foxglove seeds indoors 8-10 weeks before the last frost date in your area. Use a seed starting mix, keep the soil moist, and provide plenty of light. Transplant outdoors after the danger of frost has passed.
Read more: When Should I Start Seeds Indoors
Planting Foxglove Seeds Indoors
Planting foxglove seeds indoors requires attention to detail and following specific steps to ensure successful germination. Here is a step-by-step guide to planting foxglove seeds:
- Prepare the seed starting containers: Refer to the previous section on preparing the seed starting containers to ensure they are clean, have proper drainage, and filled with a moistened seed starting mix.
- Sow the seeds: Make shallow furrows in the soil, about ¼ inch deep and spaced about an inch apart. Place the foxglove seeds in the furrows, spacing them evenly. It’s recommended to sow multiple seeds per furrow to increase the chances of germination.
- Cover the seeds: Gently cover the seeds with a thin layer of the seed starting mix, about ¼ inch thick. Lightly press down on the soil to ensure good seed-to-soil contact.
- Mist the soil: Use a misting bottle to give the soil a light misting, ensuring that it is evenly moist. Avoid saturating the soil, as excessive moisture can lead to fungal diseases.
- Label the containers: Use plant labels or popsicle sticks to label each container with the foxglove variety and the planting date. This will help you keep track of your seedlings as they grow.
- Cover the containers: Cover the seed trays or pots with plastic wrap or a humidity dome to create a warm and humid environment for germination. This helps retain moisture and provides the ideal conditions for seedling development.
- Place in a warm location with light: Find a warm location with temperatures around 70°F (21°C) for optimal germination. If natural light is not sufficient, consider using fluorescent or LED grow lights to provide adequate light to the seedlings.
- Monitor moisture levels: Check the moisture level of the soil regularly. It should be consistently damp but not overly wet or dry. Mist the soil as needed to maintain moisture levels.
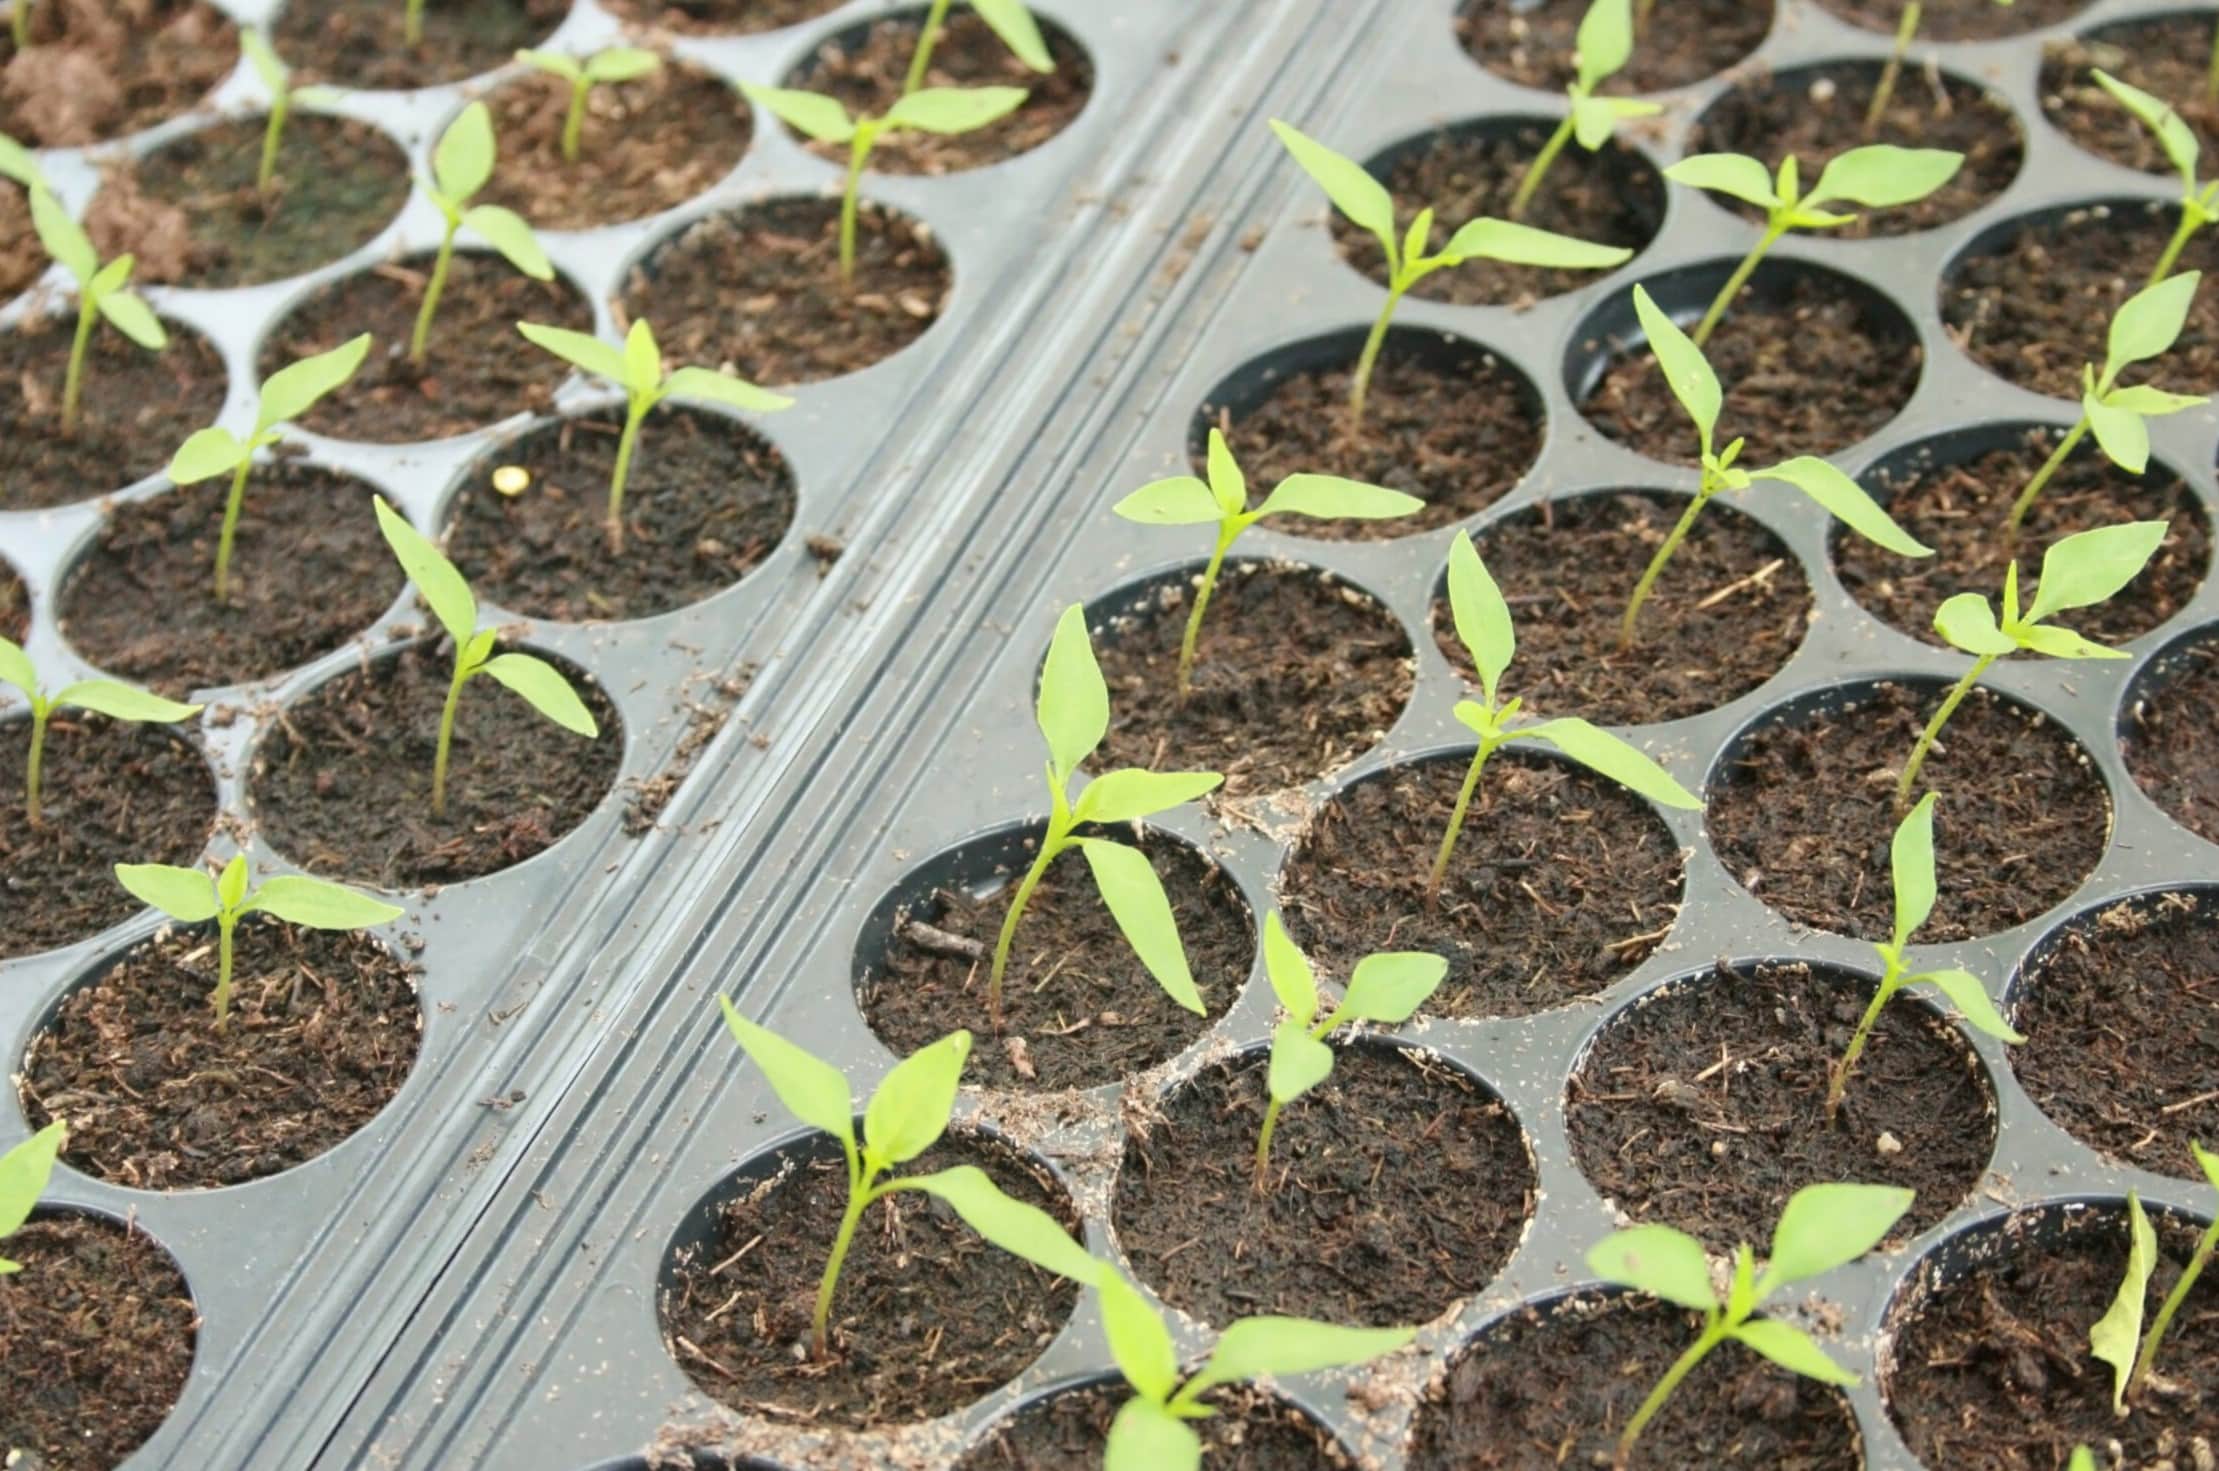
- Germination period: Foxglove seeds typically take around 2 to 3 weeks to germinate, although it can vary based on the variety and conditions. Be patient and monitor the trays or pots closely for signs of germination.
- Provide airflow: Once the seeds have germinated and the seedlings start to emerge, remove the plastic wrap or humidity dome to allow for airflow. This helps prevent damping-off disease and encourages sturdy growth.
As the seedlings grow, continue to provide them with sufficient light, moisture, and proper airflow. Thin out the weaker seedlings, leaving only the strongest ones to grow. As the seedlings develop their true leaves, you can start fertilizing them with a diluted liquid fertilizer to provide additional nutrients.
By following these steps and giving your foxglove seeds the care they need, you’ll soon have a tray full of healthy seedlings ready to be transplanted outdoors and continue their stunning growth.
Providing the Right Growing Conditions for Foxglove Seeds
Creating the right growing conditions for foxglove seeds is crucial for their successful germination and healthy growth. Here are some key factors to consider when providing the ideal environment for your foxglove seeds:
- Light: Foxglove seeds require ample light to germinate and grow. Place your seed trays or pots in a sunny south-facing window or provide supplemental lighting with fluorescent or LED grow lights. Aim for 12-16 hours of light per day to ensure proper growth.
- Temperature: Foxglove seeds germinate best when the soil temperature is around 70°F (21°C). Keep the seed trays or pots in a warm location to maintain the optimal temperature. If necessary, use a heating mat to provide bottom heat for consistent warmth.
- Moisture: It is important to keep the soil consistently moist during the germination and early growth stages. Use a misting bottle or a fine misting nozzle on a watering can to provide a light misting of water to avoid dislodging the seeds or drowning the seedlings.
- Covering: Initially, cover the seed trays or pots with plastic wrap or a humidity dome to help create a humid environment ideal for seed germination. Once the seeds have sprouted, remove the cover to allow for proper airflow and prevent damping-off disease.
- Airflow: Good airflow around the seedlings is essential for their healthy growth. Once the seeds have germinated, remove the plastic cover to allow for proper air circulation. This helps prevent fungal diseases and promotes sturdy growth.
- Thinning: As the seedlings grow, thin them out by removing the weaker and overcrowded ones. This allows the remaining seedlings to have adequate space, sunlight, and nutrients to thrive.
- Fertilization: Once the seedlings develop their true leaves, you can start fertilizing them with a diluted balanced liquid fertilizer. Follow the package instructions and apply the fertilizer every two weeks to provide the necessary nutrients for healthy growth.
By providing the right balance of light, temperature, moisture, and airflow, you can create an optimum growing environment for your foxglove seedlings. Monitoring these conditions regularly and making adjustments as needed will help ensure the successful development of your plants.
Remember to keep a close eye on the seedlings, checking for any signs of stress or fungal diseases. Promptly address any issues to ensure the health and vitality of your foxglove seedlings as they continue to grow into beautiful flowering plants.
Transplanting Foxglove Seedlings Outdoors
Transplanting foxglove seedlings from indoor containers to their final outdoor growing location is an exciting step in the journey of these beautiful plants. Here’s a guide to help you successfully transplant your foxglove seedlings:
- Timing: Transplant your foxglove seedlings outdoors when the danger of frost has passed and the soil has warmed up. This is typically in late spring to early summer, depending on your region.
- Choose the right location: Foxgloves thrive in partial shade to full sun, so select a spot in your garden that receives 4-6 hours of direct sunlight per day. The soil should be well-draining and rich in organic matter.
- Prepare the soil: Before transplanting, prepare the planting area by removing any weeds or debris. Amend the soil with compost to improve its fertility and drainage.
- Transplanting process:
- Water the seedlings thoroughly a few hours before transplanting to ensure they are well-hydrated.
- Dig a hole in the prepared soil that is slightly larger than the root ball of the seedling.
- Gently remove the seedlings from their containers, taking care not to damage the delicate roots.
- Place each seedling in the hole, ensuring that the crown of the plant (where the stem meets the roots) is level with the soil surface.
- Backfill the hole with soil, gently firming the soil around the roots to remove any air pockets.
- Water the transplanted seedlings thoroughly to settle the soil and provide moisture for the roots.
- Apply a layer of mulch around the plants to help conserve moisture and suppress weeds.
- Post-transplant care:
- Continue to water the transplanted seedlings regularly, especially during dry periods. Keep the soil consistently moist but not waterlogged.
- Monitor the plants for any signs of pests or diseases, and take appropriate measures to address any issues.
- Provide support for the tall foxglove stalks as they grow by staking them or using plant supports. This helps prevent them from bending or breaking in strong winds.
- Encourage reseeding: Foxgloves are biennial plants, meaning they bloom in their second year. However, by allowing some flowers to go to seed, you can encourage self-seeding for future years of beautiful blooms.
Transplant shock is normal for seedlings, so it’s important to monitor them closely and provide the necessary care and attention. With proper transplanting and ongoing care, your foxglove seedlings will establish themselves in their new outdoor home and reward you with their stunning display of flowers in the following year.
Enjoy the process of watching your foxgloves grow and flourish in your garden, adding a touch of natural beauty and charm to your outdoor space.
Common Mistakes to Avoid When Starting Foxglove Seeds Indoors
Starting foxglove seeds indoors can be a rewarding experience, but it’s important to avoid some common mistakes that can hinder the success of your seedlings. Here are some pitfalls to watch out for:
- Starting too late: Foxglove seeds require time to germinate and grow before they can be transplanted outdoors. Starting them too late in the season may result in stunted growth or lack of flowering before the end of the growing season.
- Overwatering: While it’s important to keep the soil moist, overwatering can lead to damping-off disease, root rot, and the death of seedlings. Avoid saturating the soil and ensure proper drainage to prevent waterlogged conditions.
- Insufficient light: Foxglove seeds require adequate light to germinate and grow into healthy seedlings. Insufficient light can result in weak and spindly seedlings. If natural light is limited, provide supplemental lighting using fluorescent or LED grow lights.
- Poor temperature control: Consistent temperatures are crucial for successful germination. Avoid placing the seeds in locations with extreme temperature fluctuations or drafts. Monitor the temperature regularly and use a heating mat if needed to maintain the ideal temperature range.
- Overcrowding: It may be tempting to sow many seeds in one container, but overcrowding can lead to competition for nutrients and space, resulting in weak and unhealthy seedlings. Thin out the weaker seedlings to allow the stronger ones to grow with ample space.
- Neglecting proper hardening off: Hardening off is the process of gradually acclimating seedlings to outdoor conditions before transplanting. Neglecting this step can shock the seedlings and lead to transplant stress. Gradually expose the seedlings to outdoor conditions over a period of one to two weeks before transplanting.
- Skipping fertilization: Seedlings require nutrients for healthy growth. Skipping fertilization can result in nutrient deficiencies and stunted development. Start fertilizing the seedlings with a diluted balanced liquid fertilizer once they have developed their true leaves.
- Not protecting from pests: Foxglove seedlings are susceptible to pests such as slugs, snails, and aphids. Take preventive measures to protect your seedlings, such as using organic pest control methods or creating physical barriers.
By avoiding these common mistakes, you can increase the chances of success when starting foxglove seeds indoors. Pay attention to the needs of your seedlings, provide them with optimal growing conditions, and address any issues promptly to ensure their healthy development.
Remember, gardening is a learning process, and it’s okay to make mistakes along the way. Learn from your experiences, adapt your techniques, and enjoy the journey of growing your beautiful foxglove plants.
Read more: When Do I Start Planting Seeds Indoors
Conclusion
Starting foxglove seeds indoors is a gratifying way to nurture these captivating plants from the early stages of growth. By providing the right growing conditions, you can witness the transformation from tiny seeds to beautiful flowering plants. Throughout this journey, it is important to avoid common mistakes and take proper care of the seedlings.
By starting foxglove seeds indoors, you have the opportunity to extend the growing season, exercise greater control over the growing conditions, and save money on purchasing seedlings from nurseries. Additionally, starting from seeds opens up a world of variety options, allowing you to select foxglove types that match your preferences and garden design.
Remember to choose the appropriate time to start your seeds, considering your last frost date and local climate. Gather the necessary supplies, including seed starting containers, well-draining soil mix, and adequate light sources. Properly prepare the seed starting containers and sow the seeds with care, ensuring they have the right moisture levels and a covered environment to promote germination.
As the seedlings grow, provide them with the ideal growing conditions, including sufficient light, proper temperature, and consistent moisture. Avoid common mistakes such as overwatering, insufficient lighting, and overcrowding the seedlings. Take the time to gradually harden off the seedlings before transplanting them outdoors to minimize transplant shock.
Once the seedlings are ready, transplant them into a suitable outdoor location with well-draining soil and partial shade to full sun. Continue to care for the plants by watering them regularly, providing support as needed, and protecting them from pests.
By being attentive, patient, and taking the necessary precautions, you can enjoy the beauty of foxgloves in your garden or landscape. These enchanting plants will grace your outdoor space with their tall stalks and bell-shaped flowers in vibrant colors.
So, whether you want foxgloves to add a touch of elegance to your flower beds, attract pollinators, or create a focal point in your garden, starting foxglove seeds indoors is a rewarding and fulfilling process. Embrace the joys of gardening, and let the magic of foxgloves enchant you as they bloom and flourish in your green haven.
Frequently Asked Questions about When To Start Foxglove Seeds Indoors
Was this page helpful?
At Storables.com, we guarantee accurate and reliable information. Our content, validated by Expert Board Contributors, is crafted following stringent Editorial Policies. We're committed to providing you with well-researched, expert-backed insights for all your informational needs.

0 thoughts on “When To Start Foxglove Seeds Indoors”