Home>Gardening & Outdoor>Landscaping Ideas>How To Cut Synthetic Grass
Landscaping Ideas
How To Cut Synthetic Grass
Modified: August 17, 2024
Learn the best techniques for cutting synthetic grass in your landscaping projects. Get expert tips and ideas for your landscaping needs.
(Many of the links in this article redirect to a specific reviewed product. Your purchase of these products through affiliate links helps to generate commission for Storables.com, at no extra cost. Learn more)
Introduction
Welcome to the world of synthetic grass, where lush green lawns can be enjoyed without the hassle of mowing, watering, or fertilizing. Whether you’re embarking on a DIY landscaping project or simply need to trim your existing synthetic turf to fit a specific area, knowing how to cut synthetic grass is essential for achieving a professional-looking result.
Synthetic grass, also known as artificial turf, offers numerous benefits, including minimal maintenance, durability, and year-round vibrancy. However, to ensure a precise and aesthetically pleasing fit, it’s crucial to approach the cutting process with care and precision. In this guide, we’ll walk you through the step-by-step process of cutting synthetic grass, from preparing the area to securing the edges, equipping you with the knowledge and confidence to tackle this task with ease.
So, grab your tools and let’s dive into the art of cutting synthetic grass to create a seamless and visually stunning outdoor space.
Key Takeaways:
- Cutting synthetic grass requires careful preparation, precise measurement, and the right tools. By following the step-by-step guide, you can create a visually stunning and low-maintenance outdoor space with lush synthetic turf.
- Securing the edges of the synthetic grass is crucial for a stable and long-lasting installation. With attention to detail and careful inspection, you can ensure that the synthetic turf remains steadfast and visually captivating for years to come.
Read more: How To Measure For Synthetic Grass
Tools and Materials Needed
Before you begin cutting your synthetic grass, it’s essential to gather the necessary tools and materials to ensure a smooth and efficient process. Here’s what you’ll need:
- Measuring Tape: A reliable measuring tape will help you accurately determine the dimensions of the area where the synthetic grass will be installed.
- Utility Knife: A sharp utility knife equipped with a sturdy blade is crucial for making precise cuts in the synthetic grass.
- Stiff Bristle Broom: This will be used to brush and fluff up the synthetic grass fibers after cutting, ensuring a natural and uniform appearance.
- Adhesive and Joining Tape: If you’re installing the synthetic grass in a permanent location, adhesive and joining tape will be necessary to secure the edges and seams.
- Protective Gloves: To safeguard your hands during the cutting and installation process, a pair of protective gloves is highly recommended.
- Eye Protection: Safety goggles or glasses will shield your eyes from any debris or particles that may arise while cutting the synthetic grass.
- Stakes or Nails: These will be used to anchor the edges of the synthetic grass, particularly in outdoor installations.
Additionally, it’s important to have a clean and well-organized work area, free from any obstructions that could hinder the cutting process. By ensuring that you have all the necessary tools and materials at your disposal, you’ll be ready to proceed with confidence and precision as you embark on the next steps of cutting and installing your synthetic grass.
Step 1: Prepare the Area
Before diving into the cutting process, it’s crucial to prepare the area where the synthetic grass will be installed. This step sets the foundation for a seamless and visually appealing result. Here’s how to prepare the area:
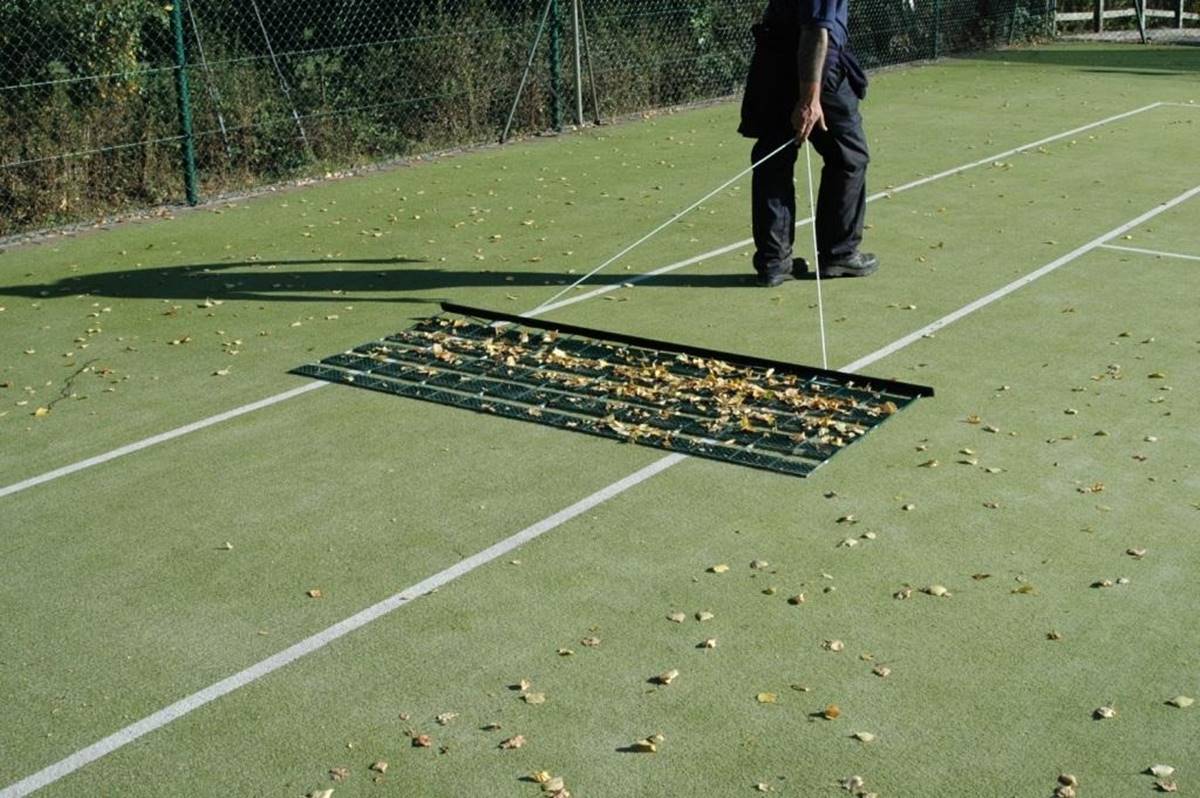
Clear the Space: Remove any existing grass, debris, or vegetation from the area where the synthetic grass will be laid. Ensuring a clean and level surface is essential for the successful installation of synthetic turf.
Inspect and Compact the Soil: Once the area is cleared, inspect the soil to ensure it’s firm and free of any soft spots or irregularities. Use a hand tamper or roller to compact the soil, creating a stable base for the synthetic grass.
Install a Weed Barrier: To prevent weed growth and ensure long-term maintenance of your synthetic grass, consider installing a weed barrier fabric over the compacted soil. This additional layer of protection will help maintain the pristine appearance of your synthetic lawn.
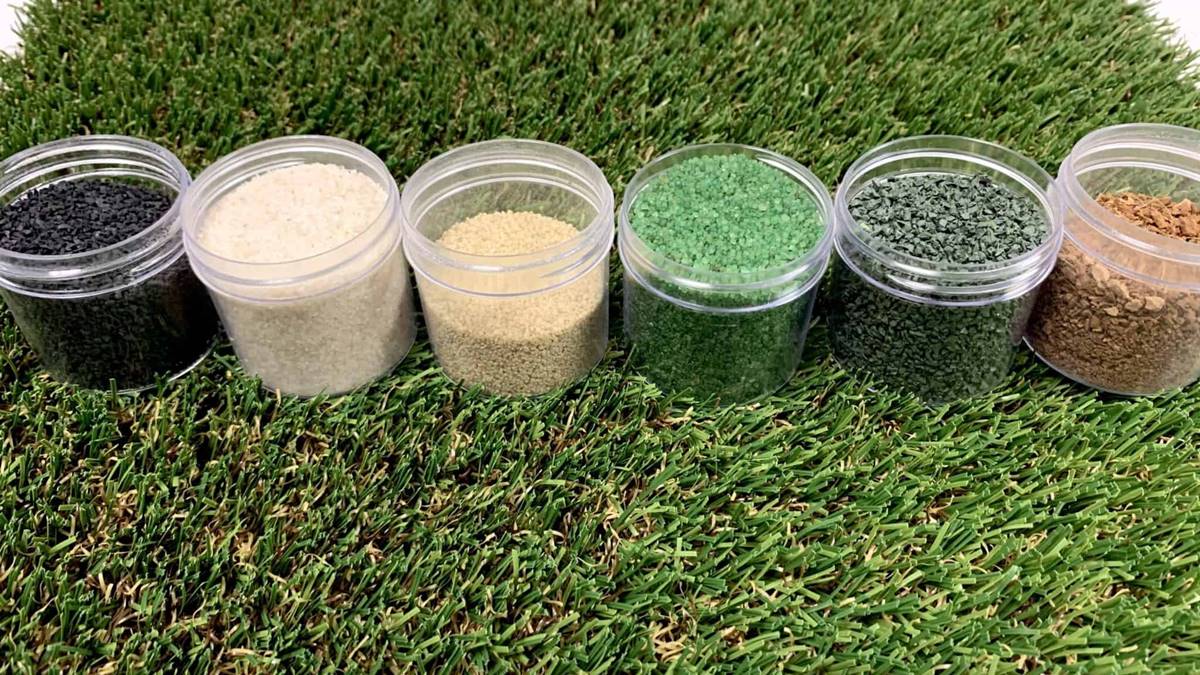
Add a Layer of Base Material: Depending on the specific requirements of your project, adding a layer of compacted base material, such as decomposed granite or crushed rock, may be necessary to further enhance the stability and drainage of the area.
By diligently preparing the area before cutting and installing the synthetic grass, you’ll create a solid and enduring foundation for your artificial turf. This meticulous approach to preparation sets the stage for a professional and long-lasting result that will enhance the aesthetic appeal of your outdoor space.
Step 2: Measure and Mark
Accurate measurements and precise marking are essential for ensuring a seamless and tailored fit when cutting synthetic grass. By carefully measuring and marking the area, you’ll set the stage for a successful installation. Here’s how to proceed:
Measure the Area: Use a reliable measuring tape to determine the dimensions of the space where the synthetic grass will be installed. Take precise measurements, accounting for any curves, angles, or irregularities in the area.
Mark the Cutting Lines: Once you’ve obtained the measurements, use marking chalk or another suitable marking tool to outline the cutting lines on the synthetic grass. Pay close attention to any specific patterns or directional guidelines indicated on the turf to ensure a cohesive and natural appearance after cutting.
Double-Check the Measurements: Before proceeding with the cutting process, take a moment to double-check the accuracy of your measurements and the alignment of the cutting lines. This extra step can help prevent errors and ensure a precise fit during the installation.
By meticulously measuring and marking the synthetic grass according to the specific dimensions and layout of the installation area, you’ll pave the way for a seamless and visually stunning result. This attention to detail at the outset of the cutting process will contribute to the overall professional and polished look of your synthetic turf installation.
When cutting synthetic grass, use a sharp utility knife or carpet cutter for clean, precise cuts. Make sure to measure and mark the area before cutting to ensure accuracy.
Step 3: Cut the Grass
With the area prepared and the synthetic grass measured and marked, it’s time to proceed with the cutting process. This step requires precision and care to achieve clean and seamless edges that seamlessly blend into the surrounding space. Here’s how to cut the grass:
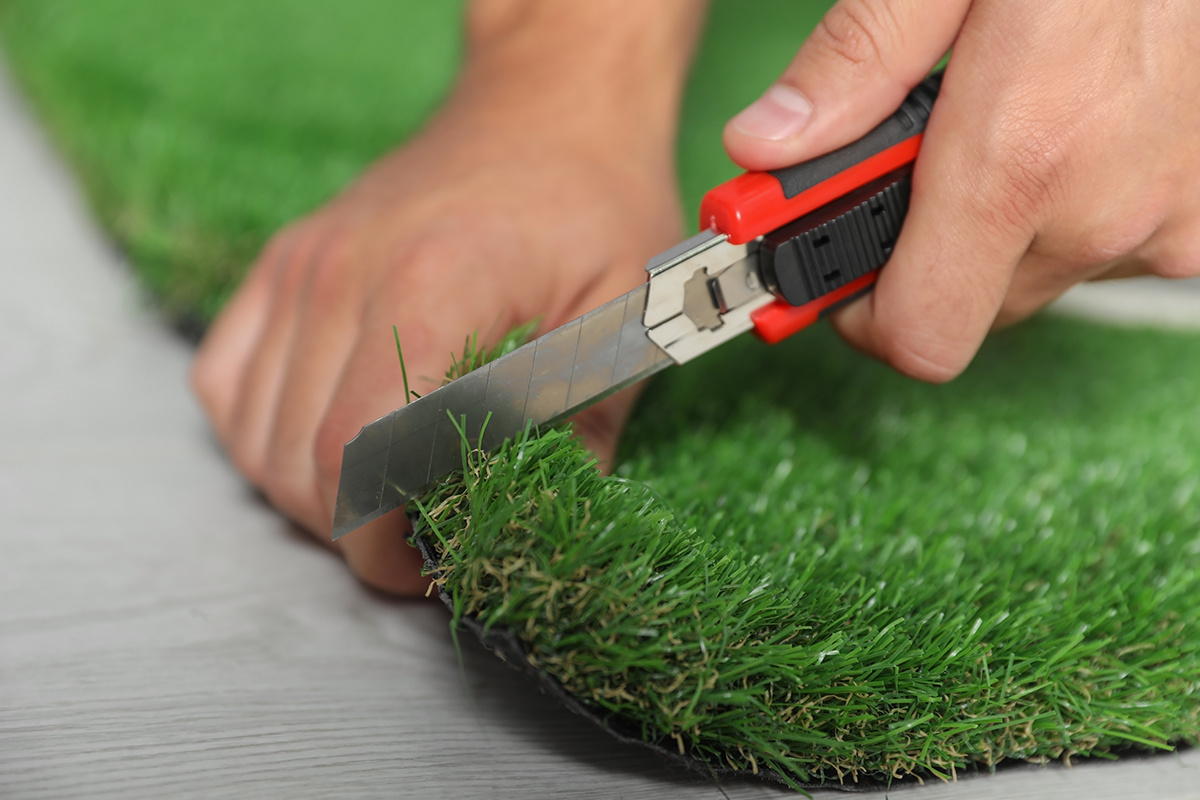
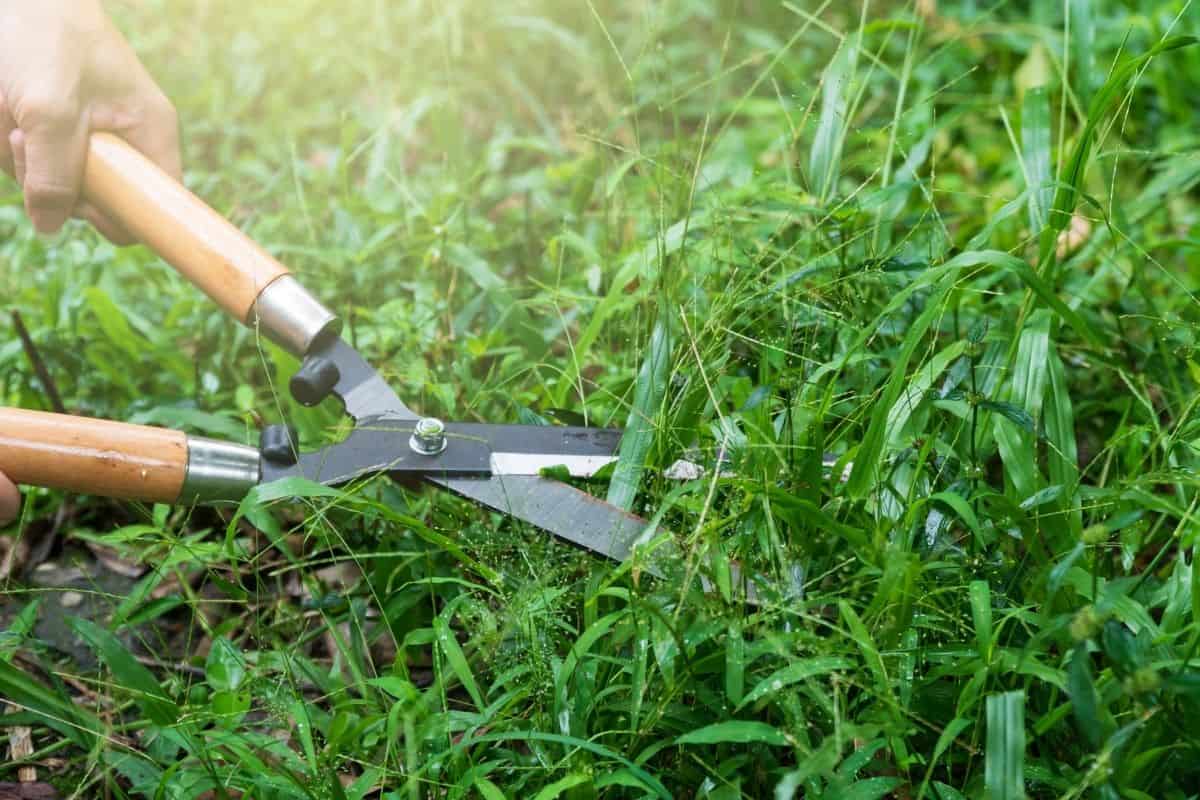
Use the Right Tool: Equip yourself with a sharp utility knife featuring a sturdy blade designed for cutting synthetic grass. This tool will enable you to make clean and accurate cuts, ensuring a professional finish.
Follow the Marked Lines: Starting at one end of the marked cutting lines, carefully guide the utility knife along the markings, applying even pressure to create a smooth and precise cut. Take your time and maintain a steady hand to achieve clean edges.
Trim Carefully Around Obstacles: If the installation area features obstacles such as trees, flower beds, or pathways, exercise caution and precision when cutting the synthetic grass around these elements. Make small, strategic cuts to ensure a snug and tailored fit.
Check the Fit Periodically: As you progress with the cutting process, periodically check the fit of the synthetic grass within the installation area. This allows you to make any necessary adjustments and ensure a seamless and uniform appearance.
Brush and Fluff the Edges: Once the grass is cut and positioned, use a stiff bristle broom to gently brush and fluff the edges of the synthetic turf. This step helps blend the cut edges with the surrounding grass, creating a natural and cohesive look.
By methodically cutting the synthetic grass according to the marked lines and taking care to achieve precise and seamless edges, you’ll contribute to the overall professional appearance of the installation. This meticulous approach ensures that the synthetic grass seamlessly integrates into the designated space, creating a visually appealing and harmonious outdoor environment.
Read more: How To Power Broom Synthetic Grass
Step 4: Secure the Edges
Once the synthetic grass is cut to fit the designated area, it’s essential to secure the edges to ensure a stable and long-lasting installation. This final step plays a crucial role in maintaining the integrity and appearance of the synthetic turf. Here’s how to secure the edges:
Apply Adhesive (If Necessary): In permanent installations, apply a suitable adhesive along the edges of the synthetic grass to secure it in place. Follow the manufacturer’s guidelines for the appropriate adhesive and application method.
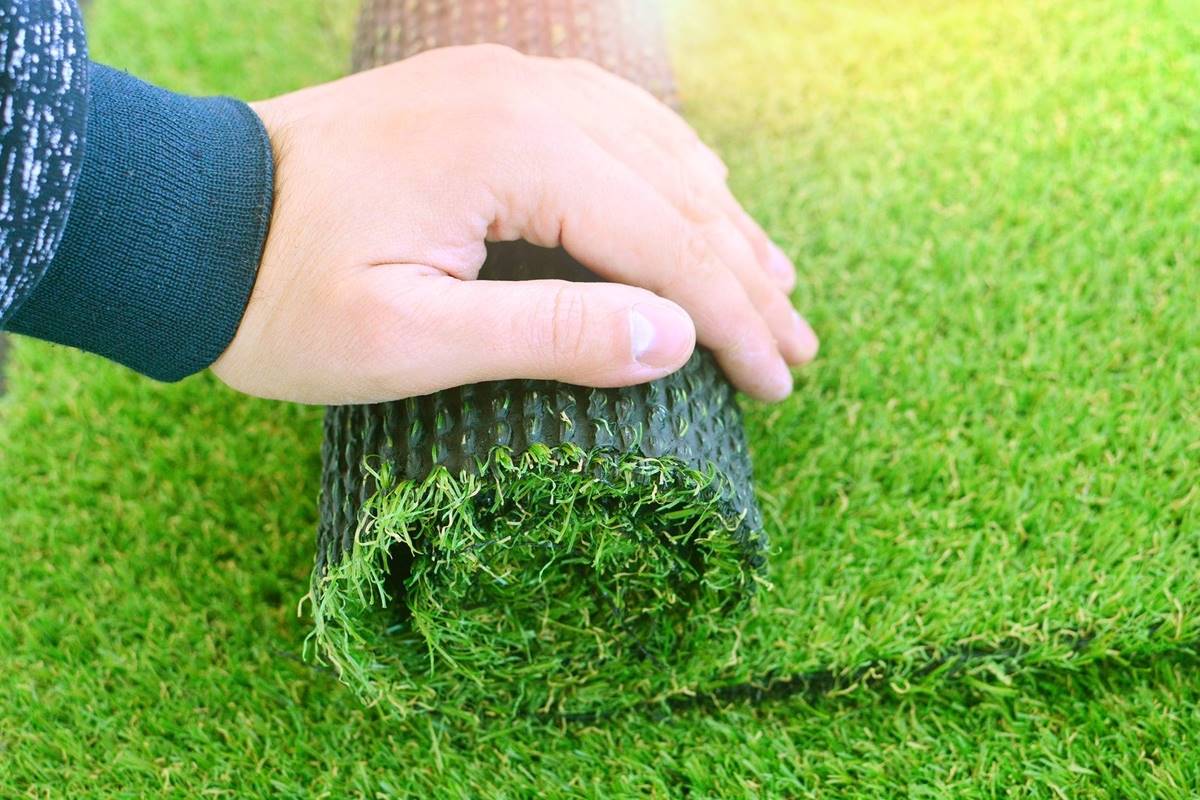
Use Joining Tape: If multiple pieces of synthetic grass are being installed, utilize joining tape to seamlessly connect the edges. Apply the joining tape beneath the turf and carefully bond the edges together for a smooth transition.
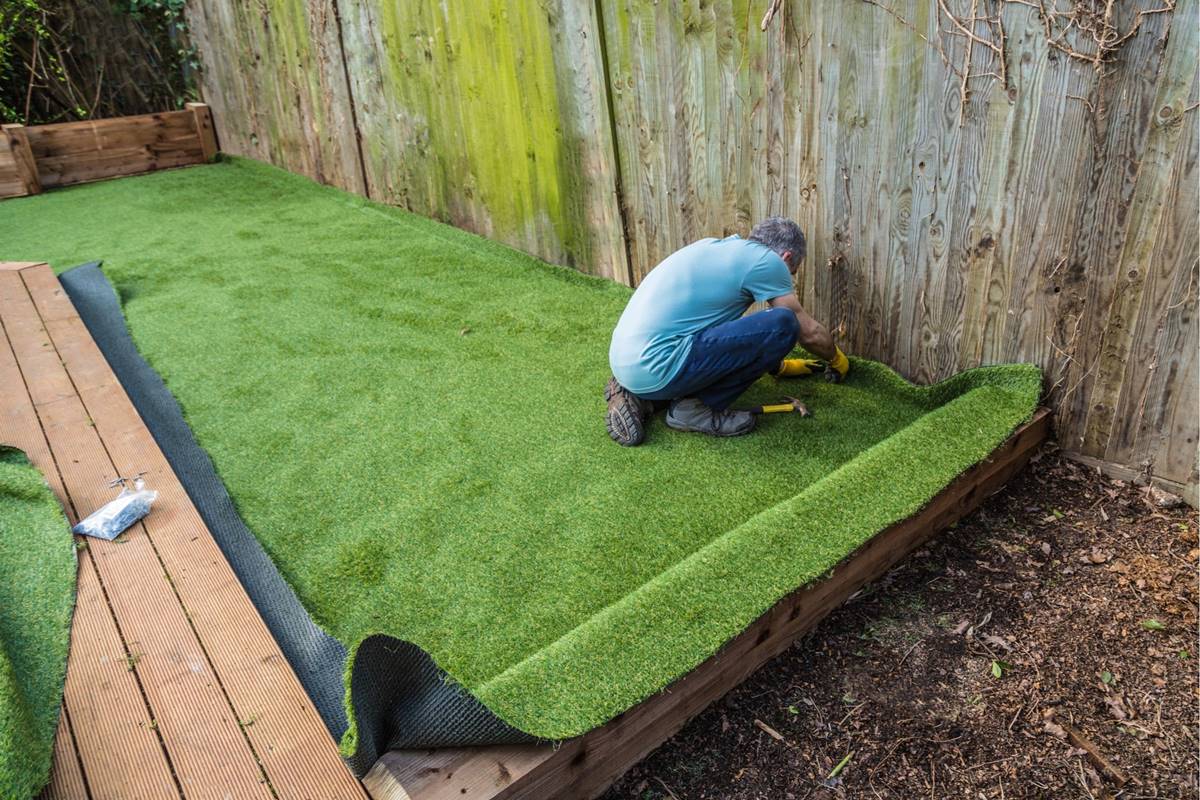
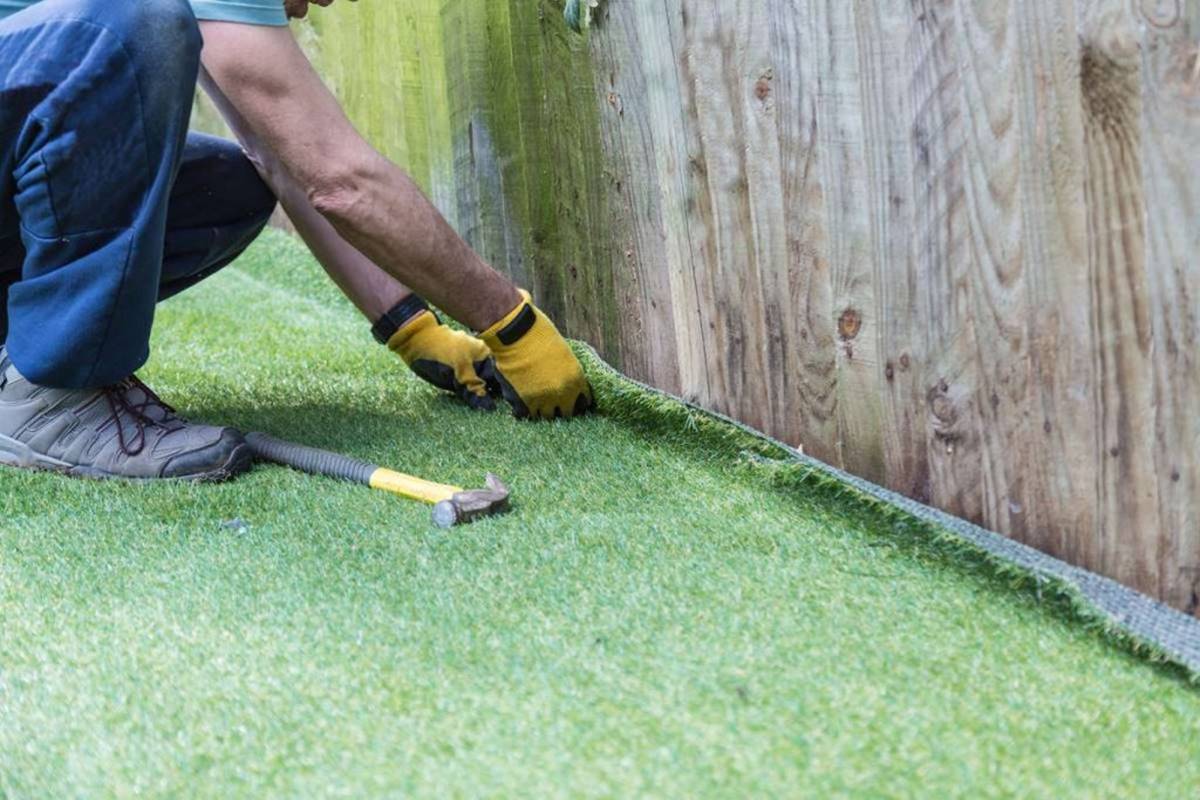
Anchor the Edges: In outdoor installations, use stakes or nails to anchor the edges of the synthetic grass, particularly along the perimeter. This helps prevent shifting and ensures that the turf remains securely in place, even in varying weather conditions.
Inspect and Adjust: After securing the edges, carefully inspect the entire installation, paying close attention to the edges and seams. Make any necessary adjustments to ensure that the synthetic grass is securely and evenly positioned.
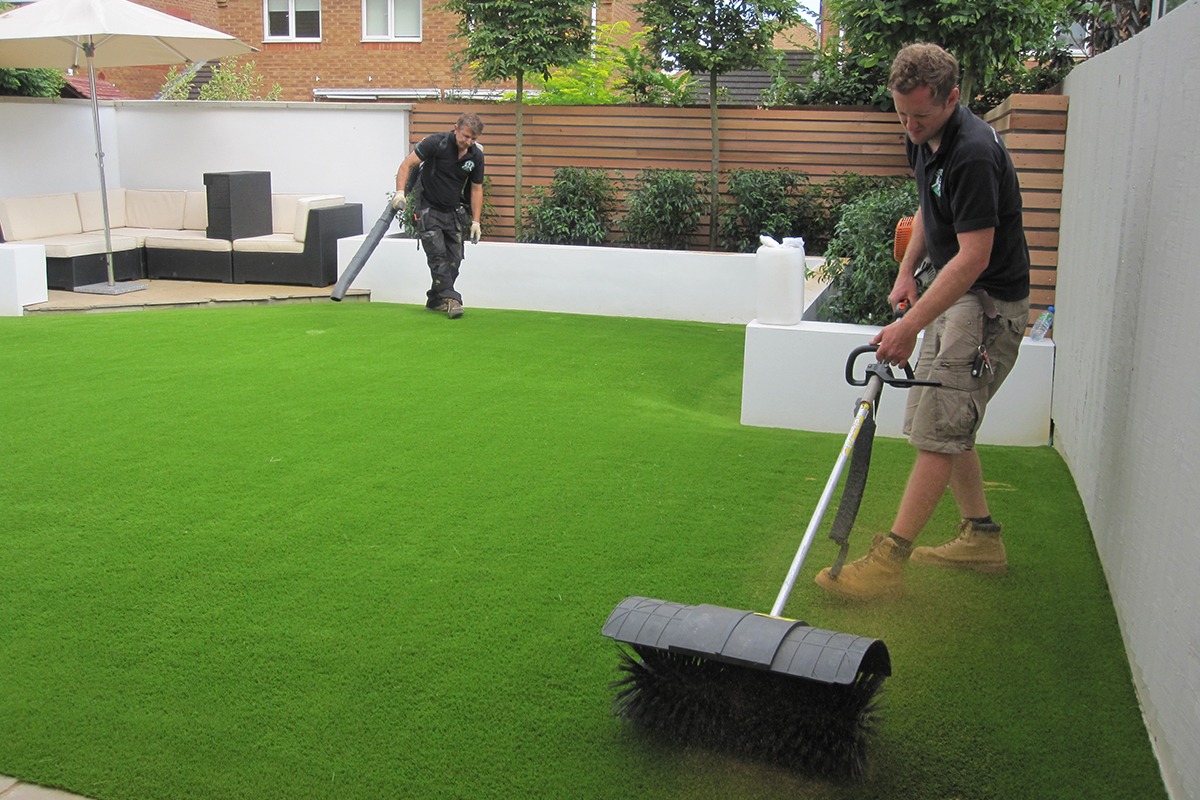
Brush and Fluff the Entire Area: Once the edges are secured, use a stiff bristle broom to brush and fluff the entire area of synthetic grass. This final step enhances the natural appearance of the turf and ensures that the fibers are uniformly distributed.
By diligently securing the edges of the synthetic grass and conducting a thorough inspection of the entire installation, you’ll contribute to the longevity and visual appeal of the synthetic turf. This final step ensures that the synthetic grass remains steadfast and visually captivating, ready to be enjoyed for years to come.
Conclusion
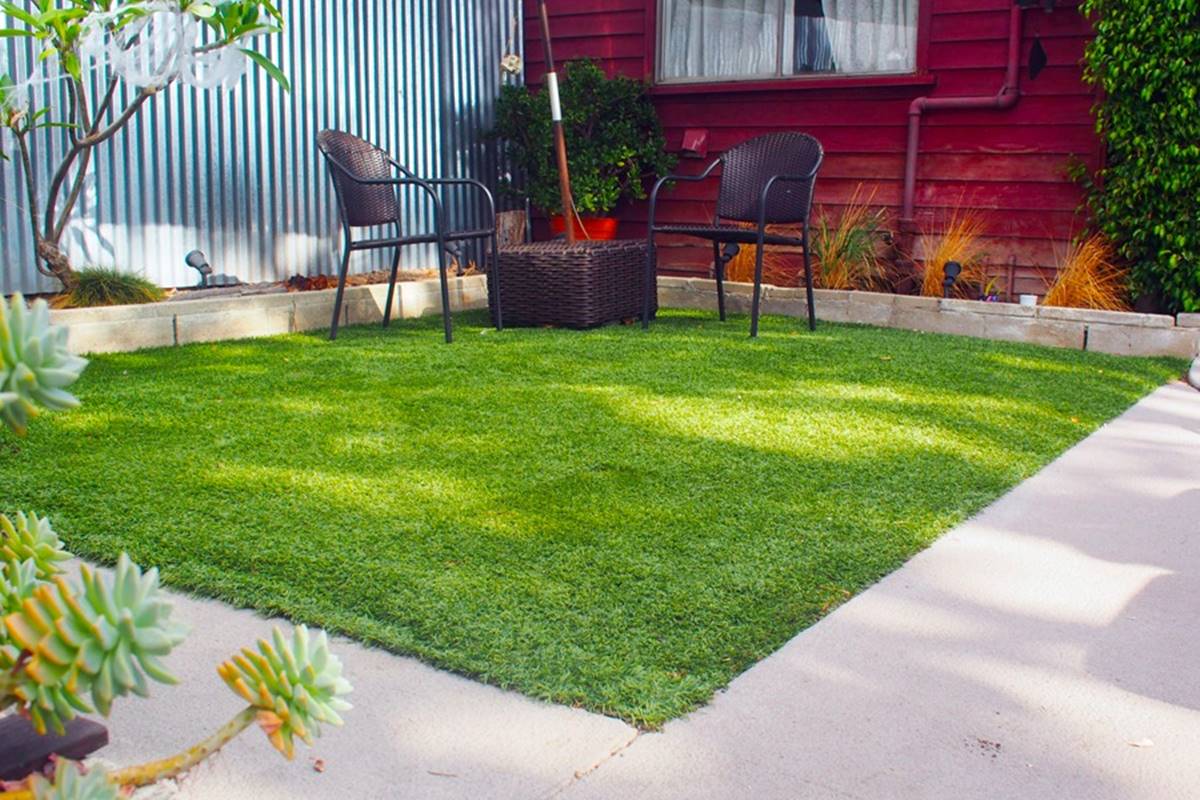
Cutting synthetic grass is a precise and rewarding process that culminates in a visually stunning and low-maintenance outdoor space. By following the step-by-step guide outlined in this article, you’ve gained the knowledge and confidence to tackle the cutting and installation of synthetic grass with skill and precision. From preparing the area to securing the edges, each step contributes to the creation of a seamless and vibrant synthetic lawn.
As you embark on your synthetic grass cutting journey, remember the importance of meticulous measurement, precise cutting, and careful securing of the edges. These elements collectively contribute to a professional and polished installation that enhances the aesthetic appeal of your outdoor environment.
Whether you’re creating a small backyard oasis or revamping a larger outdoor area, the art of cutting synthetic grass empowers you to craft a space that exudes natural beauty and requires minimal maintenance. With the right tools, attention to detail, and a passion for creating inviting outdoor spaces, you can transform any area into a vibrant and enduring landscape adorned with lush synthetic turf.
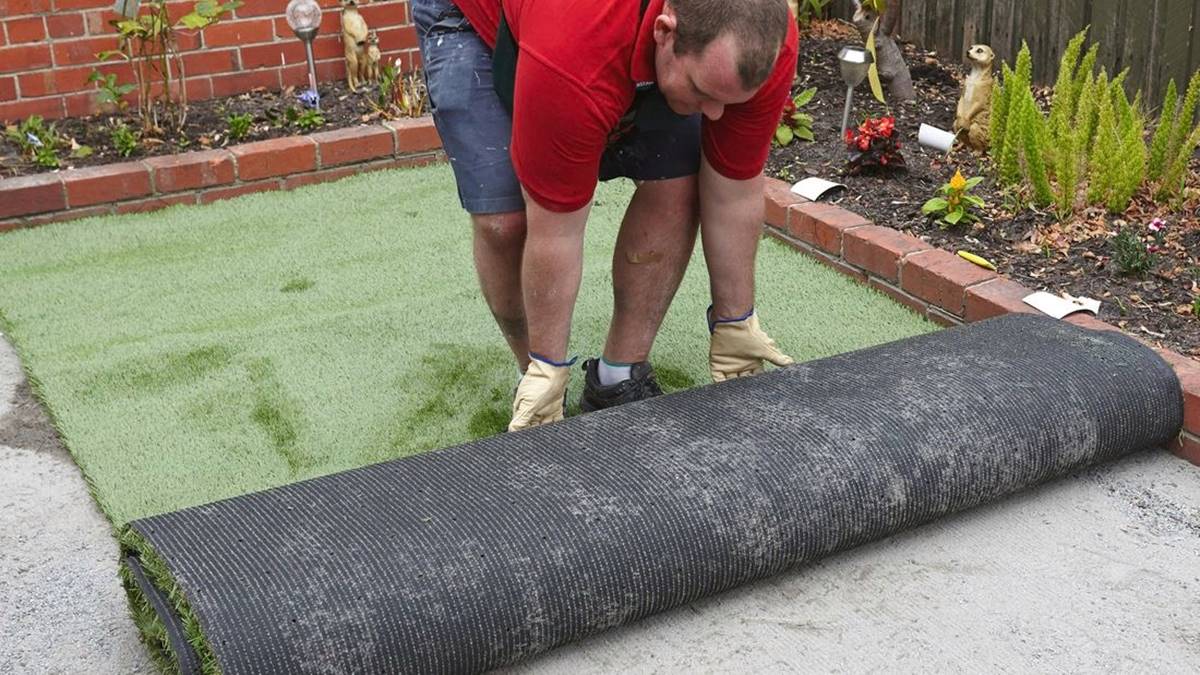
So, roll out your synthetic grass, grab your utility knife, and embark on the journey of precision cutting. With each meticulous cut and carefully secured edge, you’ll witness the transformation of your outdoor space into a captivating and evergreen sanctuary, ready to be enjoyed for years to come.
Frequently Asked Questions about How To Cut Synthetic Grass
Was this page helpful?
At Storables.com, we guarantee accurate and reliable information. Our content, validated by Expert Board Contributors, is crafted following stringent Editorial Policies. We're committed to providing you with well-researched, expert-backed insights for all your informational needs.


0 thoughts on “How To Cut Synthetic Grass”