Home>Garden Essentials>How To Lay Synthetic Grass On Concrete
Garden Essentials
How To Lay Synthetic Grass On Concrete
Modified: September 1, 2024
Transform your concrete space into a lush garden oasis with our step-by-step guide on laying synthetic grass. Create the perfect low-maintenance green space today.
(Many of the links in this article redirect to a specific reviewed product. Your purchase of these products through affiliate links helps to generate commission for Storables.com, at no extra cost. Learn more)
Introduction
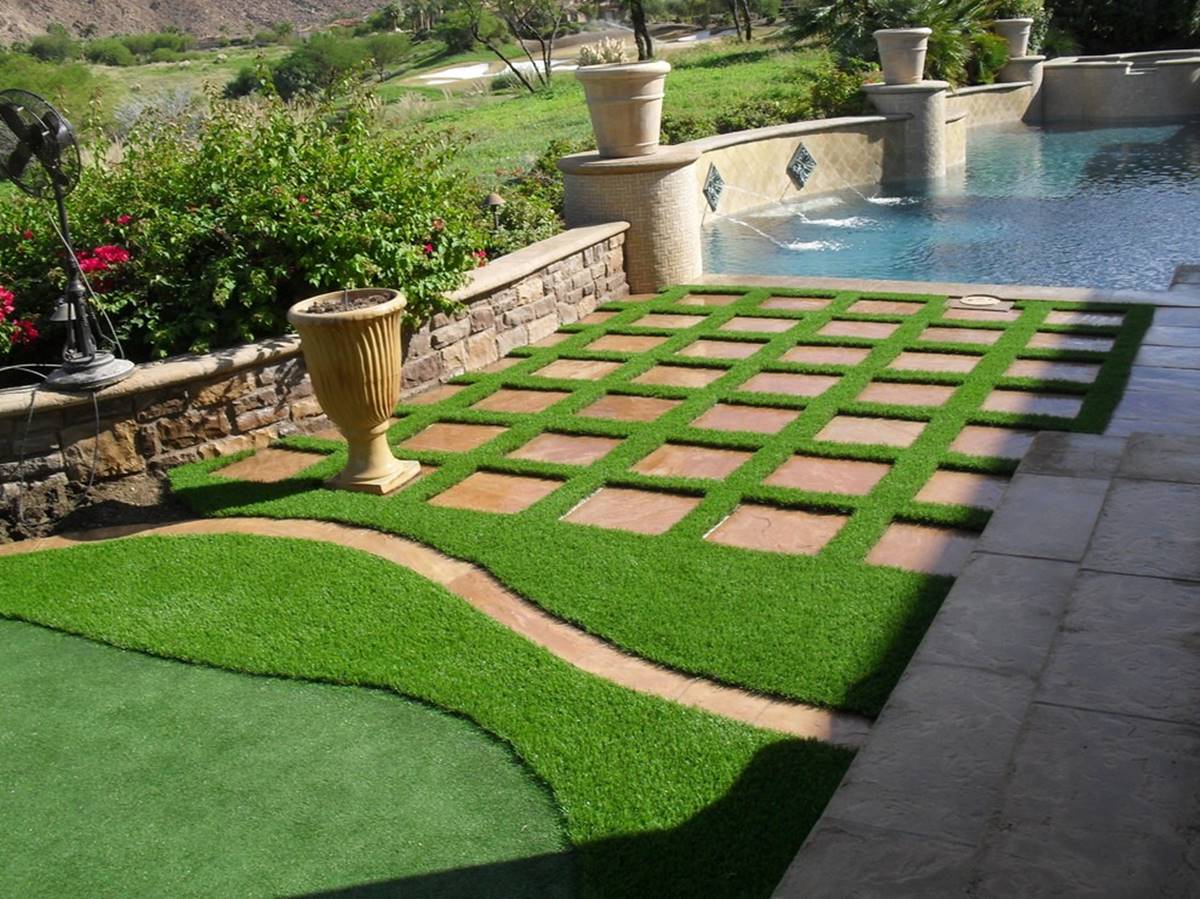
Welcome to our comprehensive guide on how to lay synthetic grass on concrete! If you’ve been dreaming of transforming your concrete patio, driveway, or any other concrete surface into a beautiful, low-maintenance, and lush green space, then you’re in the right place. Synthetic grass, also known as artificial turf, is a popular alternative to natural grass due to its durability, easy maintenance, and year-round vibrant appearance.
Whether you want to create a cozy backyard oasis, a safe play area for children, or an inviting outdoor entertaining space, laying synthetic grass on concrete is a fantastic solution. But before you dive into the installation process, it’s crucial to understand the necessary steps to ensure a successful and long-lasting transformation.
In this guide, we will take you through a step-by-step process of laying synthetic grass on concrete, covering everything you need to know – from preparing the surface to securing the edges and maintaining the synthetic grass. By following these instructions, you’ll be able to achieve professional-looking results and enjoy the benefits of a vibrant, green space without the need for constant watering, mowing, and fertilizing.
So, let’s get started with step one: cleaning and preparing the concrete surface.
Key Takeaways:
- Transform any concrete surface into a lush, low-maintenance green space by following our step-by-step guide to laying synthetic grass. Enjoy the benefits of easy upkeep and year-round vibrancy without the need for constant watering and mowing.
- Keep your synthetic grass looking fresh and vibrant by regularly maintaining and caring for it. From cleaning and addressing stains to controlling weed growth and protecting it from intense heat, these simple practices will ensure a long-lasting and beautiful outdoor space.
Read more: How To Lay Astro Turf On Concrete
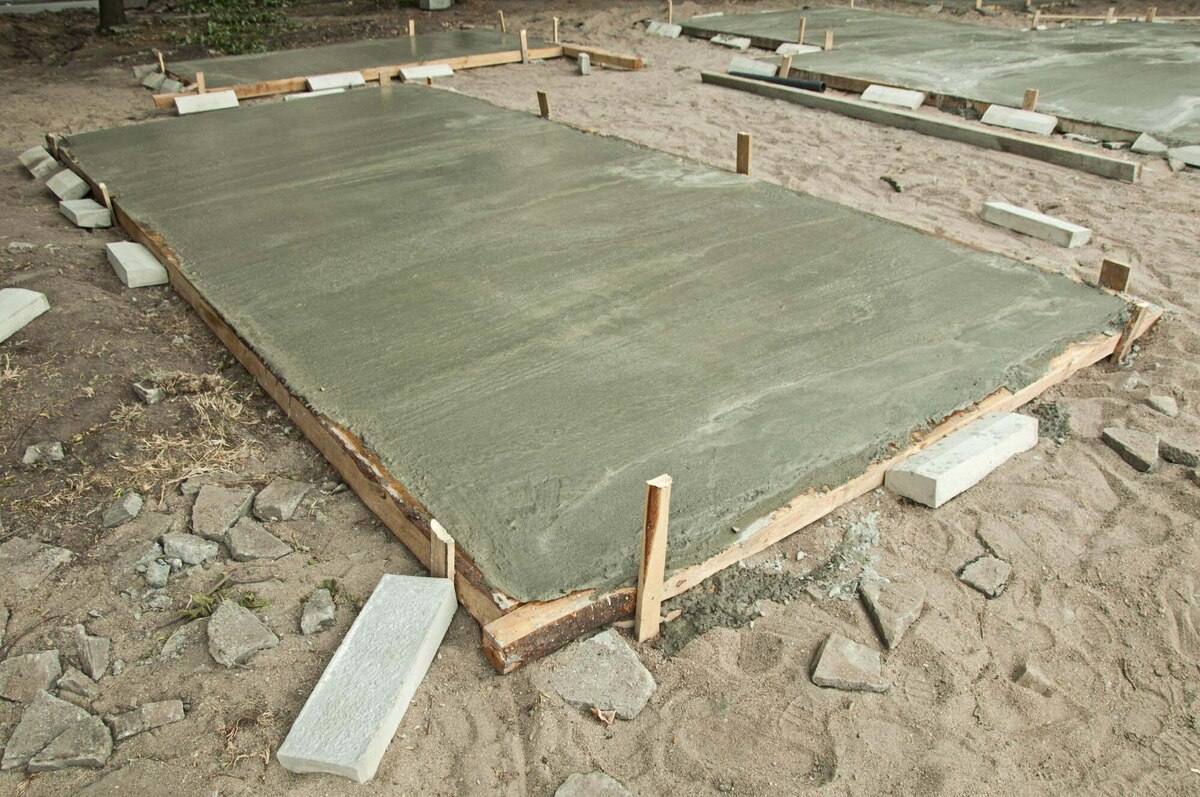
Step 1: Clean and Prepare the Concrete Surface
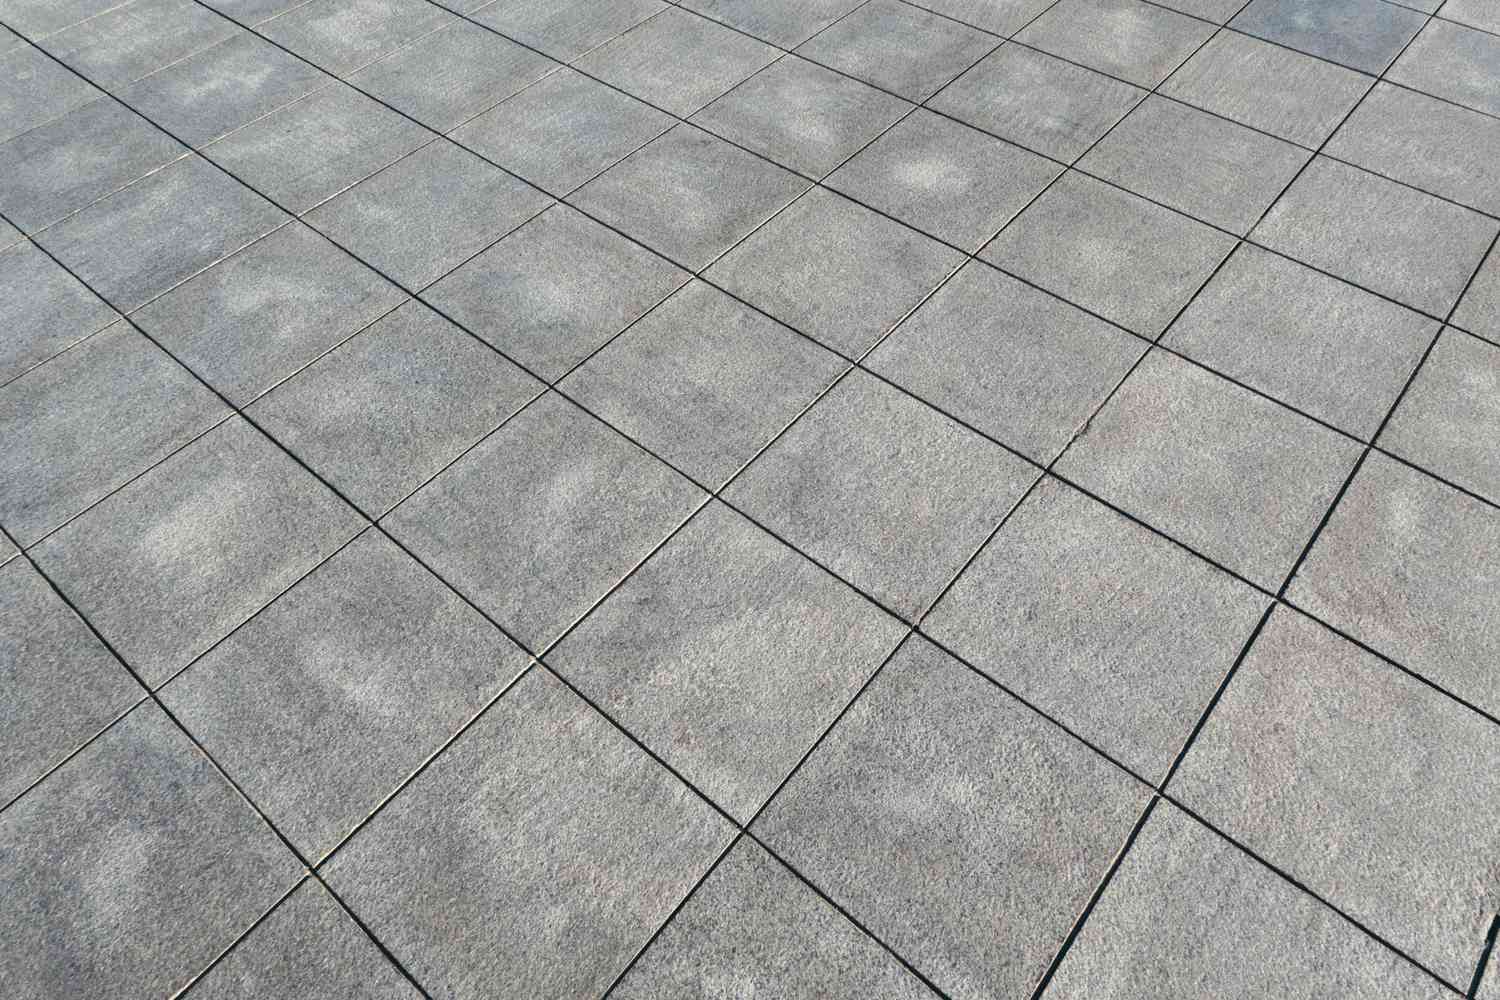
The first and most crucial step in laying synthetic grass on concrete is to clean and prepare the surface. A clean and debris-free concrete surface will ensure proper adhesion and a smooth installation process. Here’s how you can get started:
- Remove any existing vegetation or debris: Start by clearing the area of any plants, weeds, rocks, or other objects that may obstruct the installation process. Use a broom, rake, or a blower to remove any loose debris, leaves, or dirt.
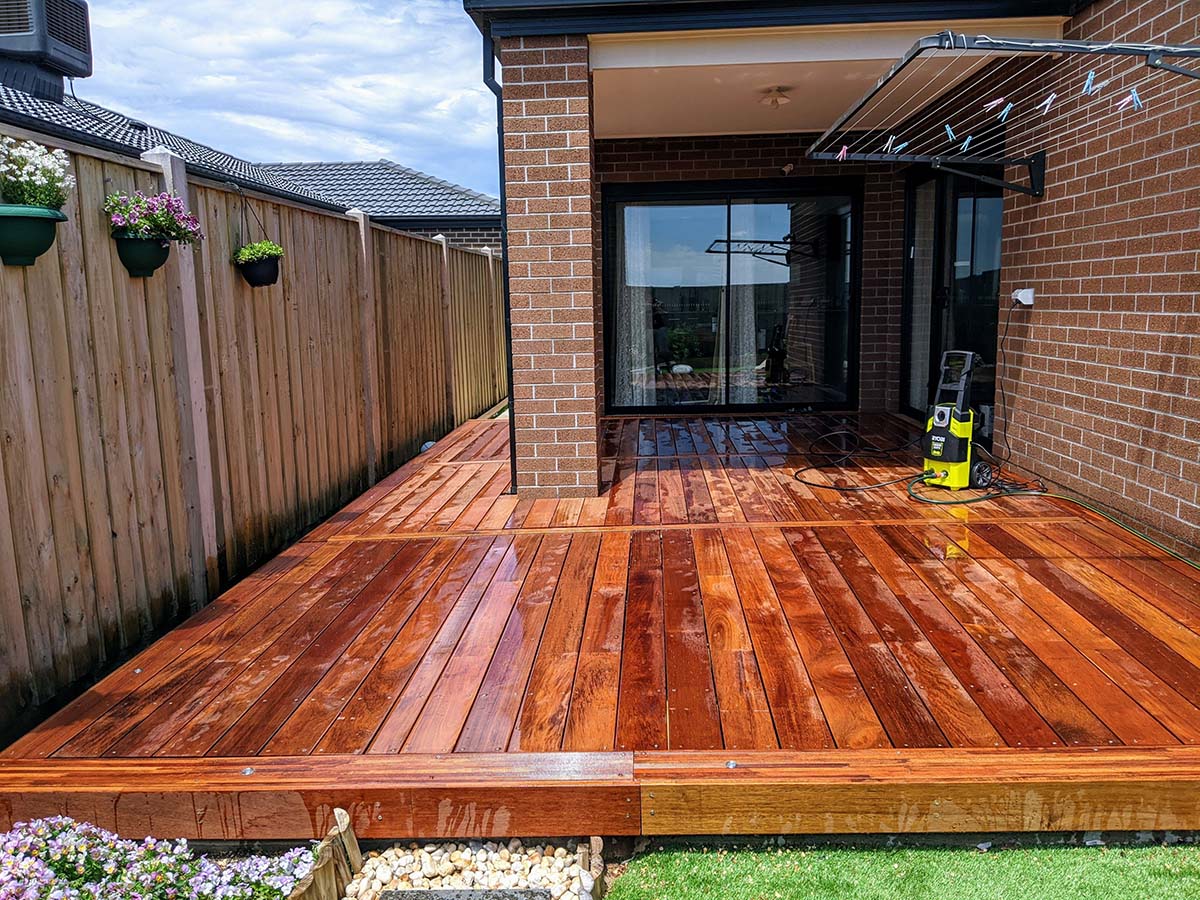
- Sweep and wash the concrete: Sweep the surface thoroughly to remove any remaining loose dirt or debris. Once the surface is swept, use a garden hose or a pressure washer to wash the concrete. This will help remove any stubborn dirt or stains. Pay extra attention to oil or grease stains, as they can affect the adhesive’s effectiveness.
- Repair cracks and uneven areas: Inspect the concrete surface for any cracks, chips, or uneven areas. Fill in any cracks or gaps with a concrete patching compound and smoothen out any uneven areas with a self-leveling compound. Allow the compounds to dry and cure according to the manufacturer’s instructions.
- Etch the concrete (if necessary): If the concrete surface is smooth and doesn’t provide enough grip, it’s recommended to etch it. Etching involves using an etching solution or muriatic acid to create a slightly rough texture on the concrete. This will help improve the adhesion of the adhesive used to secure the synthetic grass.
- Allow the surface to dry: After cleaning, repairing, and etching (if necessary), it’s important to allow the concrete surface to dry completely. This may take a few hours to a full day, depending on weather conditions. Make sure the surface is completely dry before proceeding to the next step.
By thoroughly cleaning and preparing the concrete surface, you create a solid foundation for the synthetic grass installation. This will ensure proper adhesion, a smooth installation process, and a long-lasting transformation.
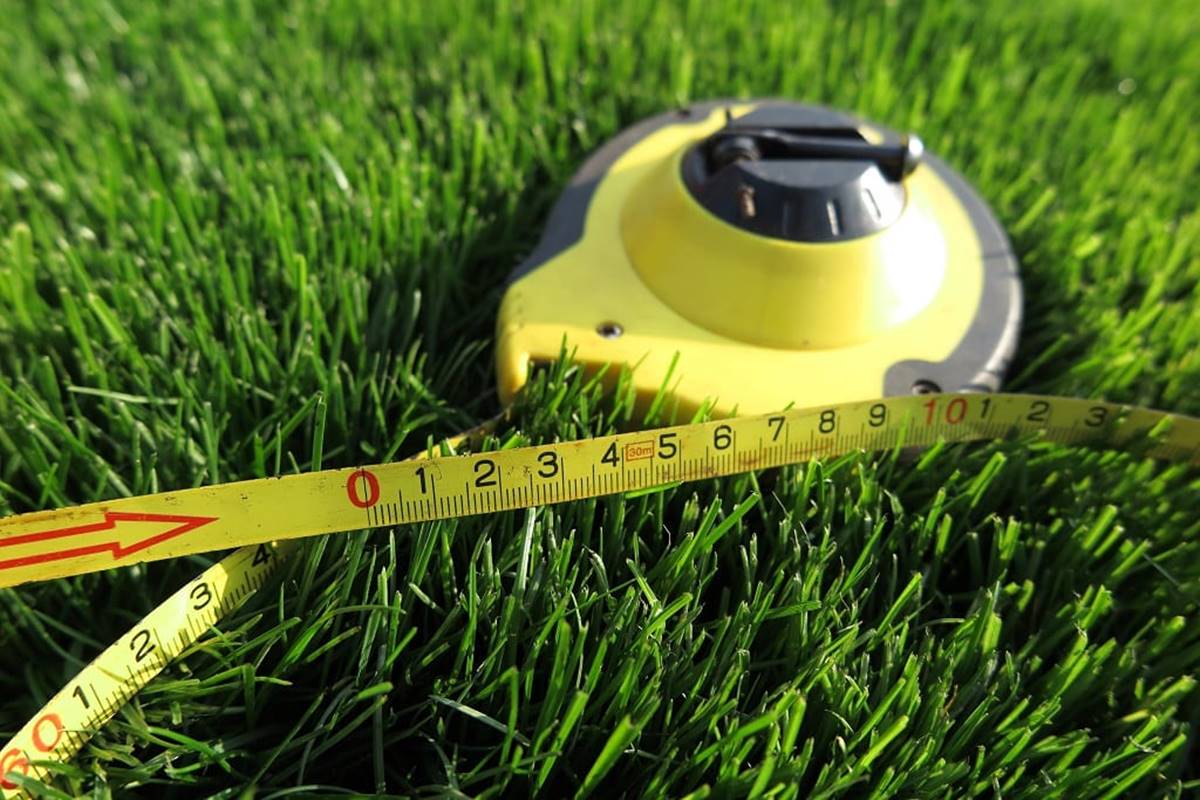
Step 2: Measure and Cut the Synthetic Grass
Once the concrete surface is clean and prepared, it’s time to measure and cut the synthetic grass to fit your desired area. Proper measurements and precise cuts are essential for a seamless and professional-looking installation. Here’s how you can proceed:
- Measure the area: Use a measuring tape to determine the dimensions of the area where you’ll be installing the synthetic grass. It’s important to measure both the length and width accurately to ensure you have the correct amount of synthetic grass for your project. Take note of any irregular shapes or obstacles, such as pillars or steps, as they may require additional cuts.
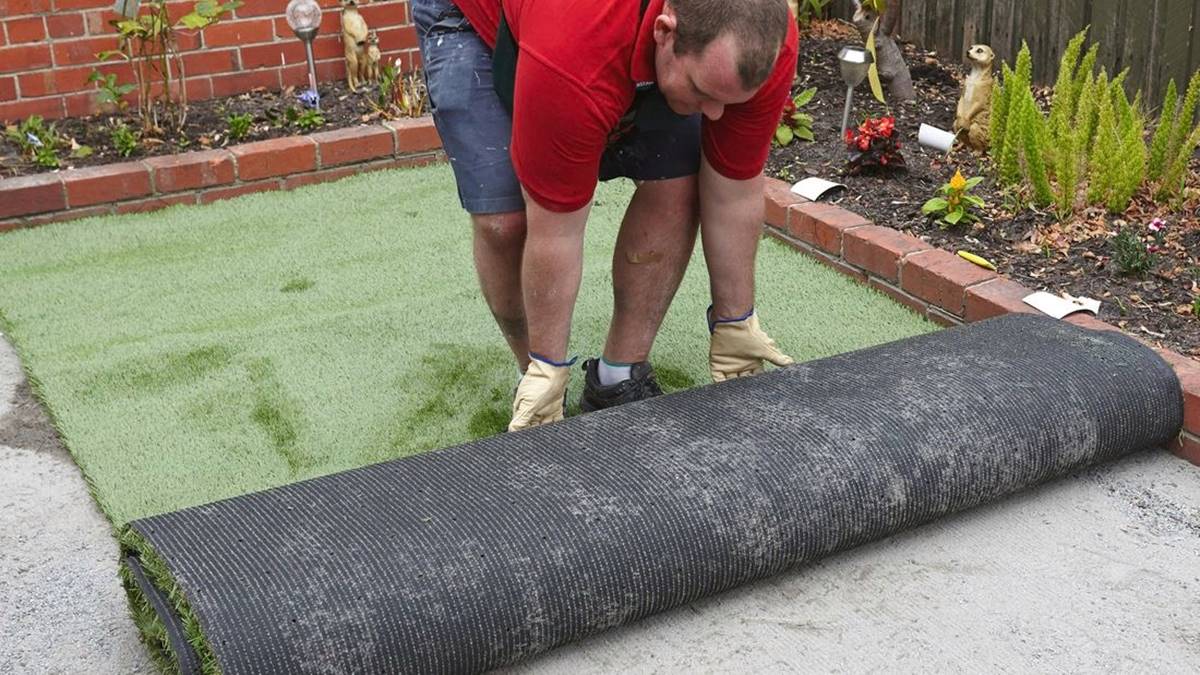
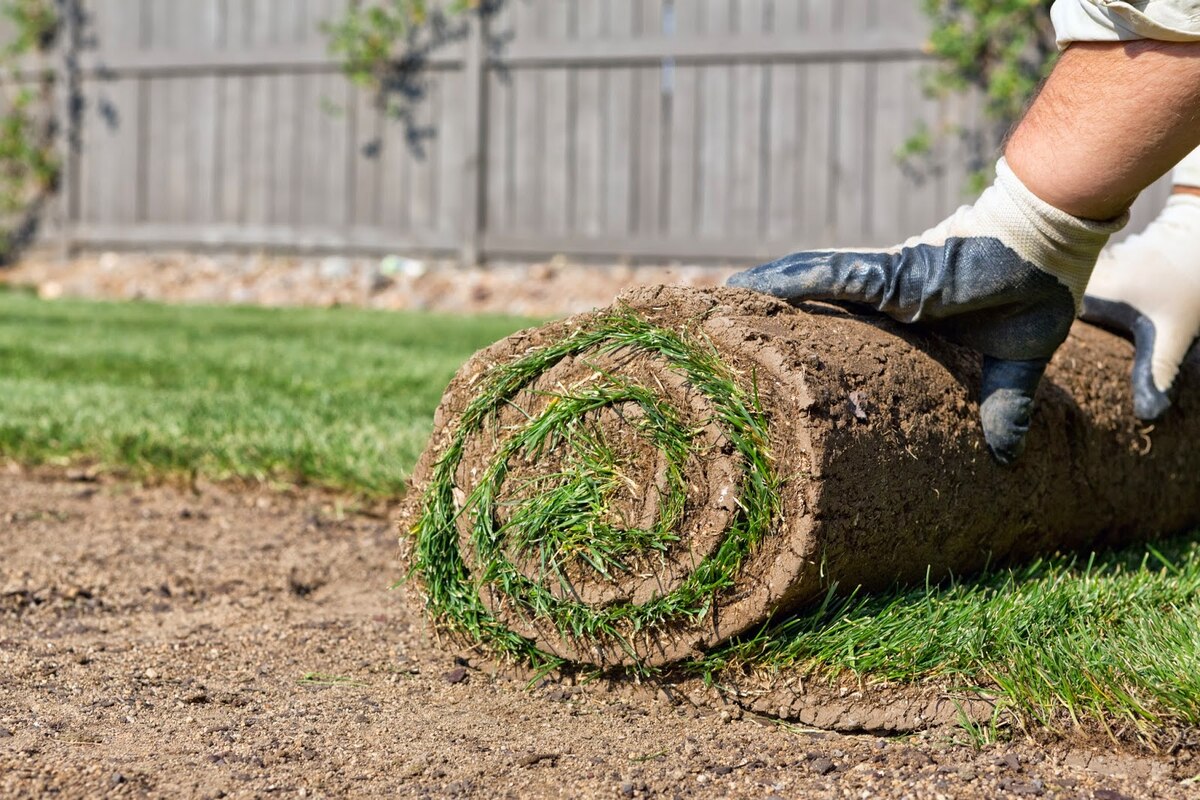
- Roll out the synthetic grass: Lay the synthetic grass roll on the concrete surface, taking care to align the edges with the boundaries of the area. Ensure that the grass fibers are facing the intended direction and that any pattern or design on the grass is oriented correctly.
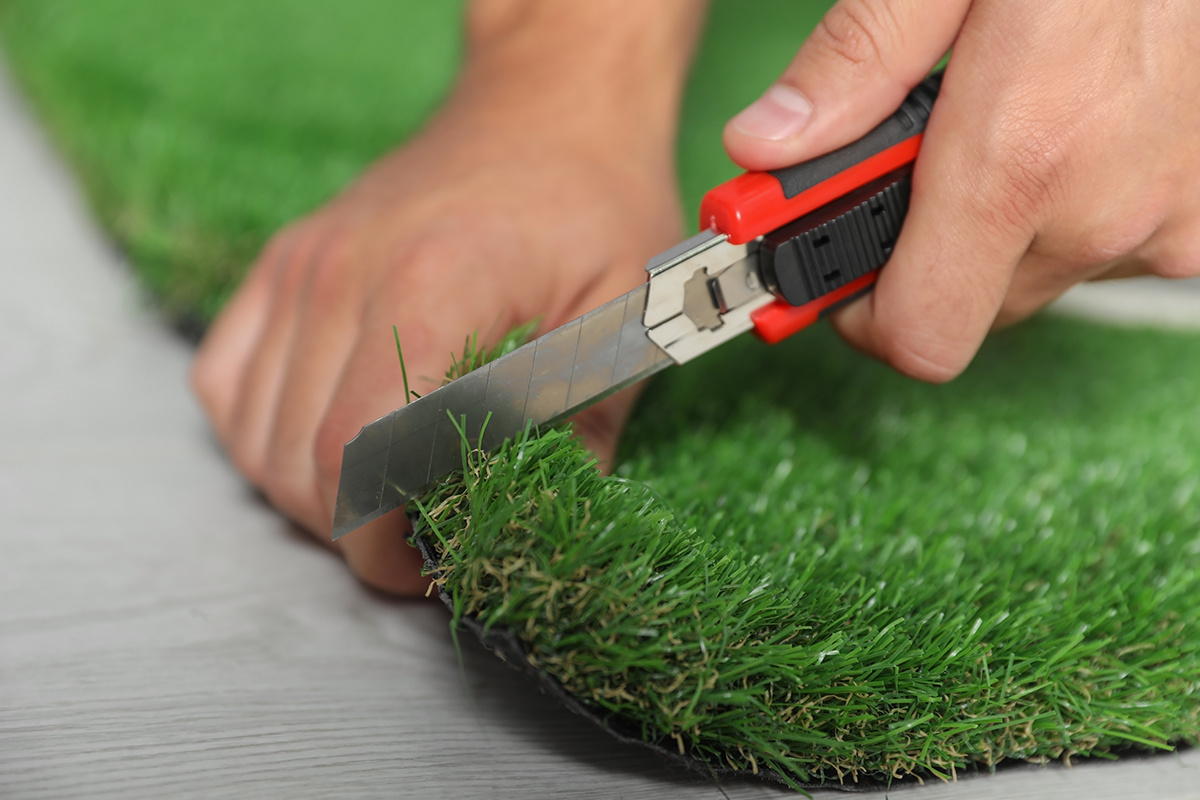
- Trim excess edges: Once the synthetic grass is rolled out, you may notice that there’s excess material extending beyond the boundaries of the area. Use a sharp utility knife or scissors to carefully trim the edges, following the shape of the area. Take your time and make clean, straight cuts to achieve a neat and precise fit.
- Cut around obstacles: If there are any obstacles within the area, such as pillars or steps, you’ll need to make additional cuts to fit the synthetic grass around them. Take accurate measurements of the obstacles and mark them on the grass. Use a utility knife or scissors to carefully cut around the obstacles, ensuring a snug fit.
- Roll up the cut synthetic grass: Once all the necessary cuts have been made, roll up the cut pieces of synthetic grass and set them aside. This will make it easier to proceed with the next steps of the installation process.
By measuring the area accurately and cutting the synthetic grass precisely, you’ll ensure a perfect fit and a seamless installation. Take your time and be meticulous in your measurements and cuts to achieve the best results possible.
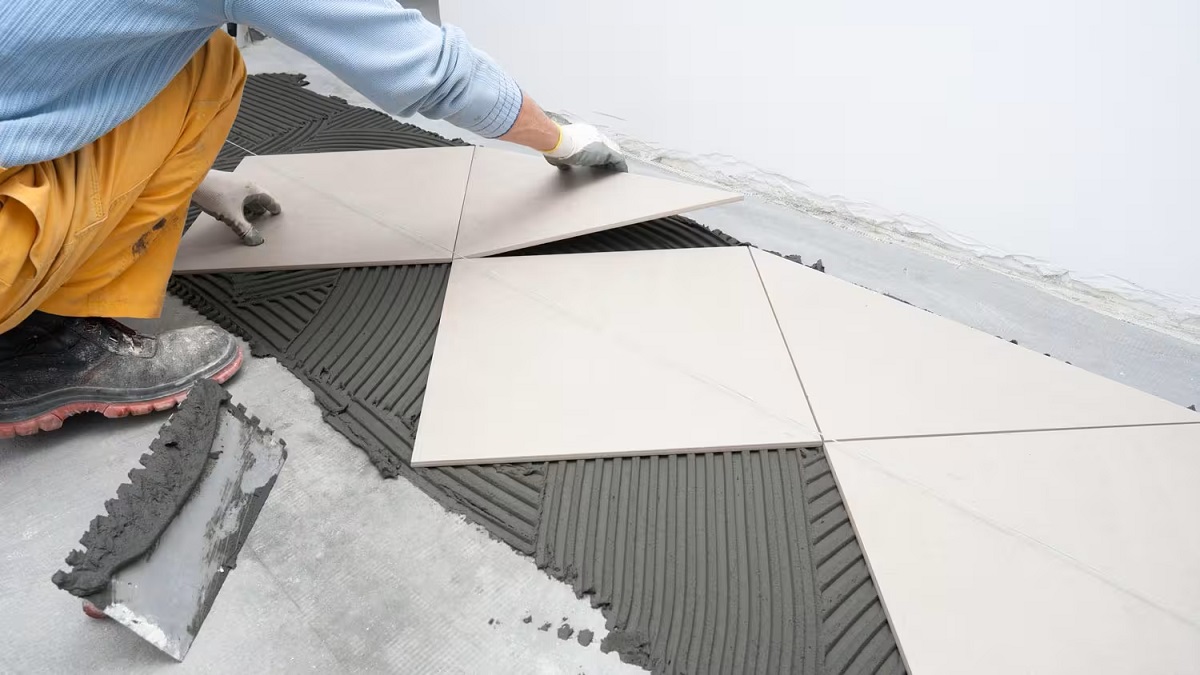
Step 3: Apply Adhesive or Biodegradable Mat
Now that the synthetic grass has been measured and cut to fit the area, it’s time to secure it to the concrete surface. There are two common methods for securing synthetic grass on concrete: using adhesive or using a biodegradable mat. Let’s explore both options:
- Adhesive method: Using adhesive is a popular and effective way to attach synthetic grass to concrete. Here’s how you can apply the adhesive:
- Start by unrolling the synthetic grass and positioning it on the concrete surface, ensuring a proper fit and alignment.
- Remove a section of the synthetic grass, exposing the concrete underneath.
- Apply a thin layer of adhesive directly to the concrete using a trowel or a notched adhesive spreader.
- Smoothly and evenly press the synthetic grass onto the adhesive, starting from the center and working your way towards the edges.
- Repeat this process, section by section, until the entire synthetic grass is securely attached to the concrete surface.
- Allow the adhesive to dry as per the manufacturer’s instructions before proceeding to the next step.
- Note: It’s important to choose an adhesive that is specifically designed for outdoor use and suitable for bonding synthetic grass to concrete.
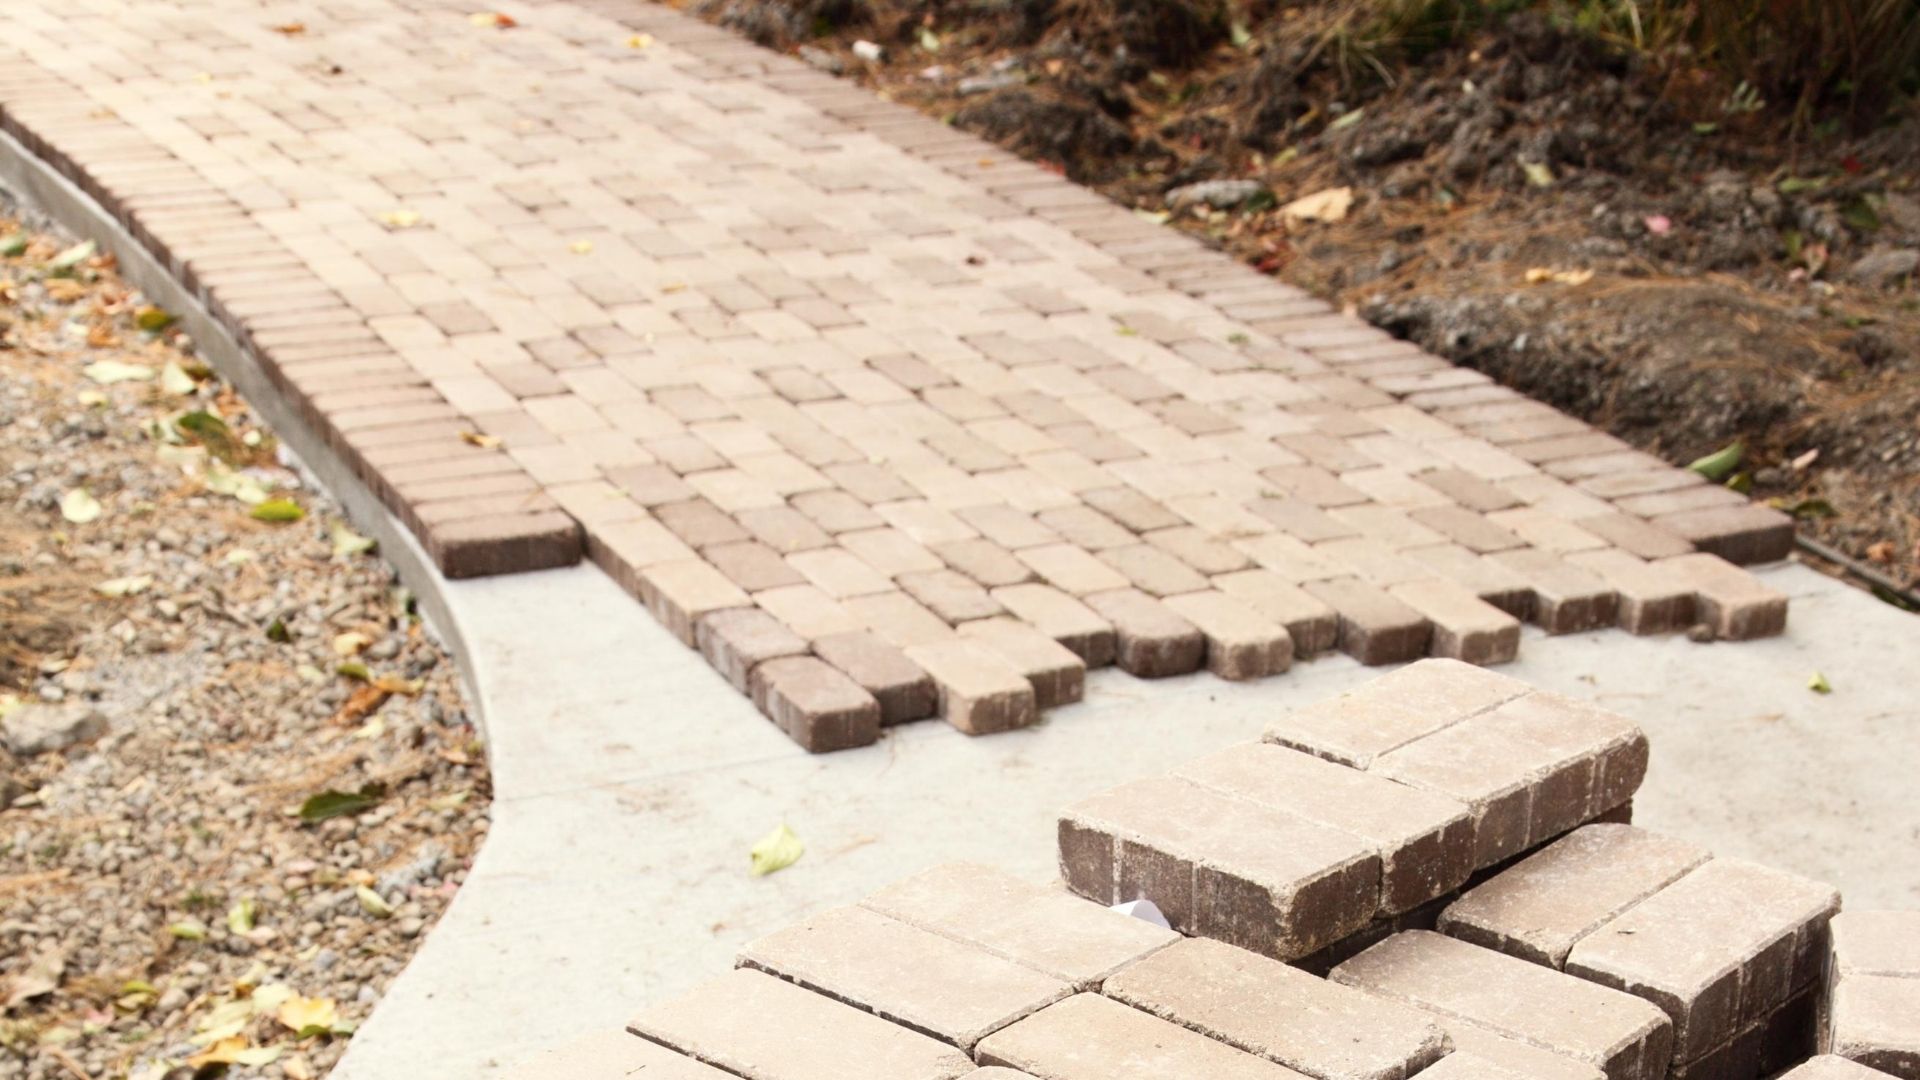
- Biodegradable mat method: An alternative to using adhesive is to lay a biodegradable mat underneath the synthetic grass. This method provides additional cushioning, drainage, and reduces the risk of weed growth. Here’s how you can use a biodegradable mat:
- Roll out the biodegradable mat on the cleaned and prepared concrete surface.
- Secure the mat to the concrete using nails, staples, or adhesive as per the manufacturer’s instructions.
- Unroll the synthetic grass on top of the biodegradable mat, aligning the edges and ensuring a proper fit.
- Trim any excess synthetic grass and make necessary cuts to fit around obstacles.
- Brush the fibers of the synthetic grass to fluff them up and create a natural look.
Both methods have their advantages and it’s up to you to decide which option suits your needs and preferences. Whichever method you choose, following proper application techniques will ensure a secure and long-lasting installation.
Step 4: Lay the Synthetic Grass
With the synthetic grass secured to the concrete surface using either adhesive or a biodegradable mat, it’s time to lay the grass and ensure a smooth and even surface. Follow these steps to lay the synthetic grass effectively:
- Unroll the synthetic grass: Begin by unrolling the synthetic grass over the secured area. Ensure that the grass fibers are facing in the desired direction, and that any patterns or designs on the grass are aligned correctly.
- Smooth out any wrinkles or folds: Gently smooth out any wrinkles, folds, or ripples in the synthetic grass. Use a broom or soft-bristle brush to carefully comb through the fibers and eliminate any imperfections. This will help create a uniform and visually pleasing appearance.
- Align the seams: If your installation requires multiple rolls of synthetic grass, align the seams carefully. Make sure the edges of the grass are touching each other without overlapping. Use a carpet knife to trim any excess grass along the seams, creating a seamless transition between rolls.
- Add infill (optional): Depending on your personal preference and the specific type of synthetic grass you’ve chosen, you may need to add infill material. Infill helps to support the grass fibers, provide stability, and enhance the overall feel of the synthetic grass. Follow the manufacturer’s instructions to evenly distribute the infill material and brush it into the grass fibers using a power broom or a stiff-bristle brush.
By following these steps, you’ll be able to lay the synthetic grass smoothly and achieve a beautiful and natural-looking surface. Take your time to ensure proper alignment and eliminate any imperfections for the best results.
Before laying synthetic grass on concrete, make sure the surface is clean and level. Use a weed barrier to prevent growth and apply a layer of sand for drainage. Then, install the synthetic grass according to the manufacturer’s instructions.
Read more: How To Lay Concrete Slabs On Grass
Step 5: Secure the Edges
Once the synthetic grass has been laid out smoothly, it’s important to secure the edges to prevent shifting and ensure a long-lasting installation. Here are the steps to secure the edges of the synthetic grass:
- Trim excess grass along the edges: Use a sharp utility knife to trim any excess grass along the edges of the installation area. Make clean and straight cuts to achieve a neat and finished look.
- Secure the edges with landscape spikes or nails: Along the outer perimeter of the installation area, insert landscape spikes or nails at regular intervals. Position them approximately 6-12 inches apart, ensuring they penetrate through the synthetic grass and into the concrete surface. This will help anchor the edges firmly in place.
- Apply adhesive (optional): If desired or recommended by the manufacturer, apply adhesive along the edges of the synthetic grass. This will further secure the edges and provide additional stability.
- Use a stiff brush to blend: After securing the edges, use a stiff-bristle brush to blend the grass fibers near the edges with the surrounding natural surface. This will create a seamless transition and give the synthetic grass a more natural appearance.
- Inspect and make adjustments if necessary: Take a step back and carefully inspect the entire installation to ensure that all edges are secure and the synthetic grass is evenly laid. Make any necessary adjustments or additional securing as needed.
By properly securing the edges, you’ll prevent the synthetic grass from shifting or coming loose, ensuring a durable and long-lasting installation. Take your time to trim, anchor, and blend the edges for a professional and finished look.
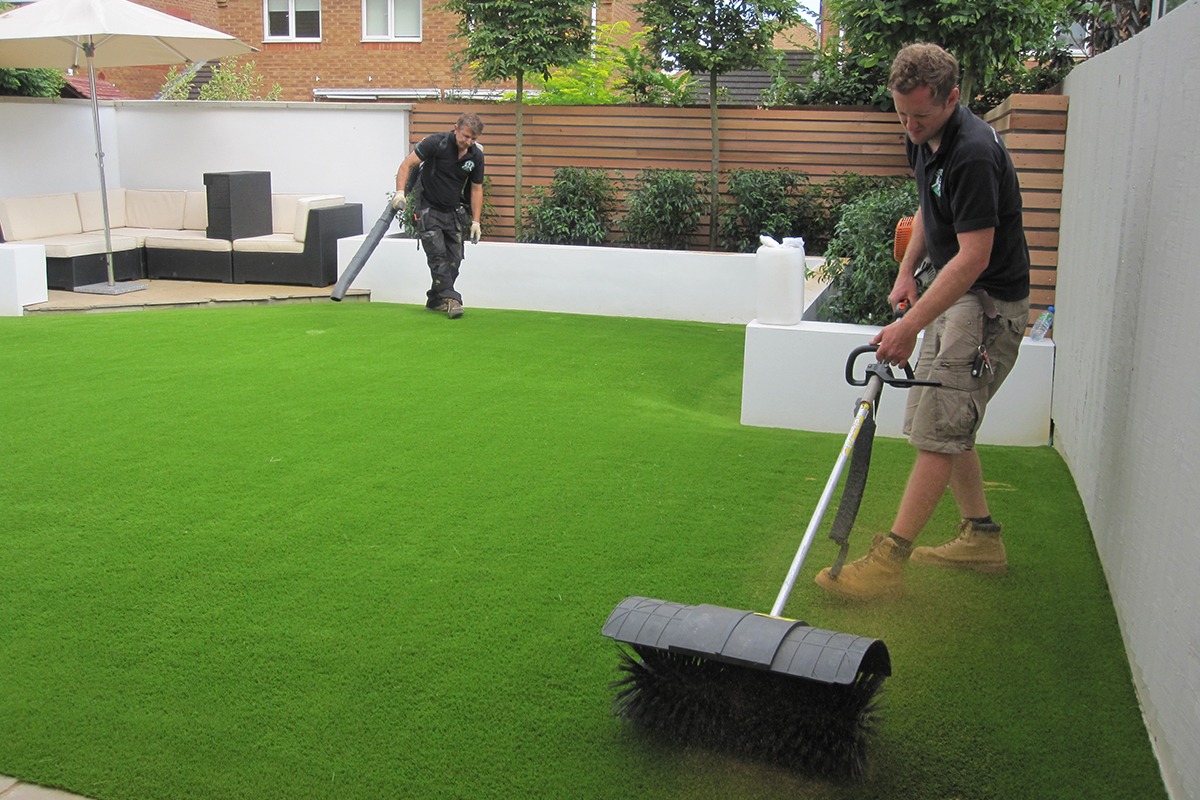
Step 6: Brush the Grass Fibers
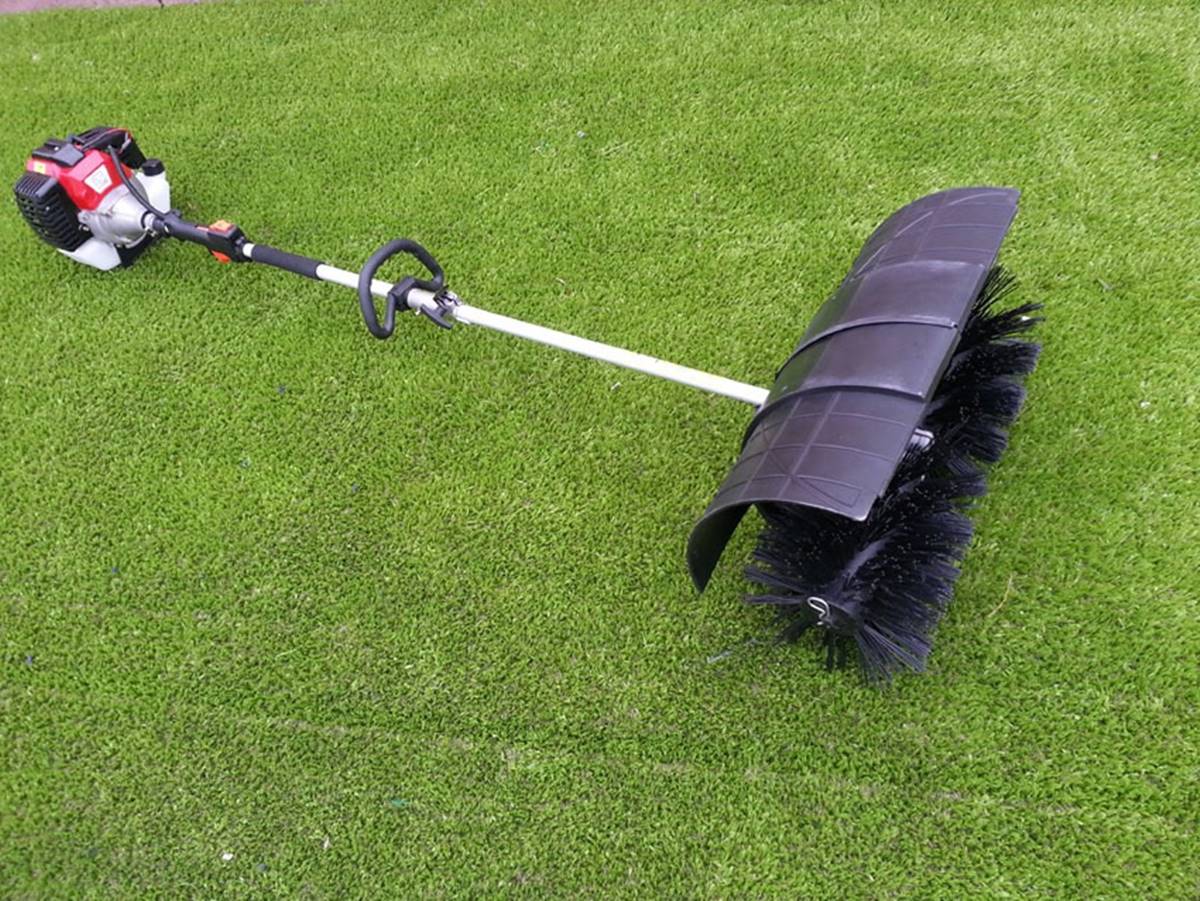
Brushing the grass fibers is an essential step in the installation process as it helps to improve the overall appearance and ensure that the synthetic grass looks natural and well-maintained. Here’s how you can effectively brush the grass fibers:
- Choose the right brush: Select a brush with stiff bristles, such as a power broom or a stiff-bristle brush. The bristles should be strong enough to penetrate the synthetic grass fibers without causing damage.
- Start from one end: Begin brushing the grass fibers from one end and work your way towards the other end. This will ensure a systematic approach and prevent overlapping or missing any areas. Use long, sweeping motions to gently brush the fibers.
- Vary the direction: As you brush, vary the direction of the strokes to help the grass fibers stand upright and create a more natural appearance. Brush against the grain, then with the grain, and even diagonally to achieve optimal results.
- Focus on high-traffic areas: Pay extra attention to areas that are likely to see more foot traffic, such as walkways or play areas. Brush these areas more vigorously to restore the grass fibers’ resilience and prevent matting.
- Regularly brush the grass: How frequently you need to brush the synthetic grass depends on factors such as usage and weather conditions. In general, aim to brush the grass fibers at least once a month or whenever you notice the fibers becoming flattened or compacted.
By regularly brushing the grass fibers, you’ll help to maintain their upright position, enhance the aesthetics of the synthetic grass, and ensure its longevity. This simple but important step will keep your synthetic grass looking fresh and inviting for years to come.
Step 7: Maintain and Care for Synthetic Grass
To ensure that your synthetic grass continues to look and perform its best, regular maintenance and care are essential. Here are some tips on how to maintain and care for your synthetic grass:
- Keep it clean: Regularly remove any debris, leaves, or organic matter that may accumulate on the surface of the synthetic grass. Use a leaf blower, a broom, or a plastic rake to gently sweep away the debris. This will prevent it from accumulating and potentially causing damage to the grass fibers.
- Remove stains and spills: Promptly clean up any spills or stains that may occur on the synthetic grass. Use a mild detergent mixed with water to gently scrub away the stain. Avoid using harsh chemicals or solvents as they may damage the grass fibers. Rinse the area thoroughly with water after cleaning.
- Control weed growth: Although synthetic grass is designed to be weed-resistant, it’s still possible for weeds to grow through the gaps or edges. Regularly inspect the synthetic grass for any signs of weed growth and promptly remove them. You can use a weed barrier or a weed killer specifically designed for synthetic grass to prevent and control weed growth.
- Address pet waste: If you have pets, it’s important to promptly remove solid waste and thoroughly rinse the affected area. Hose down the area to dilute any lingering odors and prevent staining. It’s also a good idea to periodically use a pet-friendly deodorizer to keep the synthetic grass smelling fresh.
- Protect from intense heat: Synthetic grass can become hot when exposed to direct sunlight or in hot weather conditions. To prevent overheating, you can lightly spray the grass with water to cool it down or provide shade using umbrellas or awnings. Avoid placing hot objects directly on the synthetic grass as it can cause melting or damage.
- Regularly groom the fibers: Aside from brushing, periodically using a power broom or a rake with synthetic grass-friendly bristles can help lift and rejuvenate the grass fibers. This will maintain a natural appearance and prevent matting or flattening of the grass.
- Follow manufacturer’s guidelines: It’s important to follow the specific maintenance guidelines provided by the manufacturer of your synthetic grass. They may have additional recommendations or specific care instructions based on the type and brand of synthetic grass you have installed.
By consistently following these maintenance and care practices, you can ensure that your synthetic grass remains vibrant, clean, and long-lasting. Regular attention and care will preserve its appearance and performance, allowing you to enjoy a beautiful and hassle-free outdoor space for years to come.
Conclusion
Congratulations! You have successfully learned how to lay synthetic grass on concrete. By following the step-by-step guide provided in this article, you can transform any concrete surface into a vibrant, low-maintenance, and beautiful green space. Synthetic grass offers a range of benefits, including easy upkeep, durability, and year-round visual appeal.
From cleaning and preparing the concrete surface to measuring, cutting, and securing the synthetic grass, each step is crucial for achieving a professional-looking installation. By carefully following the instructions and taking your time, you can create a seamless and visually appealing synthetic grass surface that enhances your outdoor area.
Remember to maintain and care for your synthetic grass regularly to ensure its longevity and continued beauty. Keep the surface clean, address stains or spills promptly, control weed growth, address pet waste, and protect it from intense heat. By following these maintenance tips, you can enjoy a fresh and vibrant synthetic grass surface for years to come.
Whether you’re transforming a patio, driveway, or any other concrete surface, synthetic grass offers a practical and visually pleasing solution. Say goodbye to the hassles of watering, mowing, and fertilizing, and say hello to a lush, green space that requires minimal upkeep.
Now that you have the knowledge and tools to lay synthetic grass on concrete, it’s time to turn your outdoor dreams into reality. Enjoy your new synthetic grass surface and make the most of your transformed space!
Frequently Asked Questions about How To Lay Synthetic Grass On Concrete
Was this page helpful?
At Storables.com, we guarantee accurate and reliable information. Our content, validated by Expert Board Contributors, is crafted following stringent Editorial Policies. We're committed to providing you with well-researched, expert-backed insights for all your informational needs.


0 thoughts on “How To Lay Synthetic Grass On Concrete”