Home>Garden Essentials>How Do You Install Synthetic Grass
Garden Essentials
How Do You Install Synthetic Grass
Modified: October 20, 2024
Looking to install synthetic grass in your garden? Learn how to easily install and maintain your own artificial turf with our step-by-step guide.
(Many of the links in this article redirect to a specific reviewed product. Your purchase of these products through affiliate links helps to generate commission for Storables.com, at no extra cost. Learn more)
Introduction
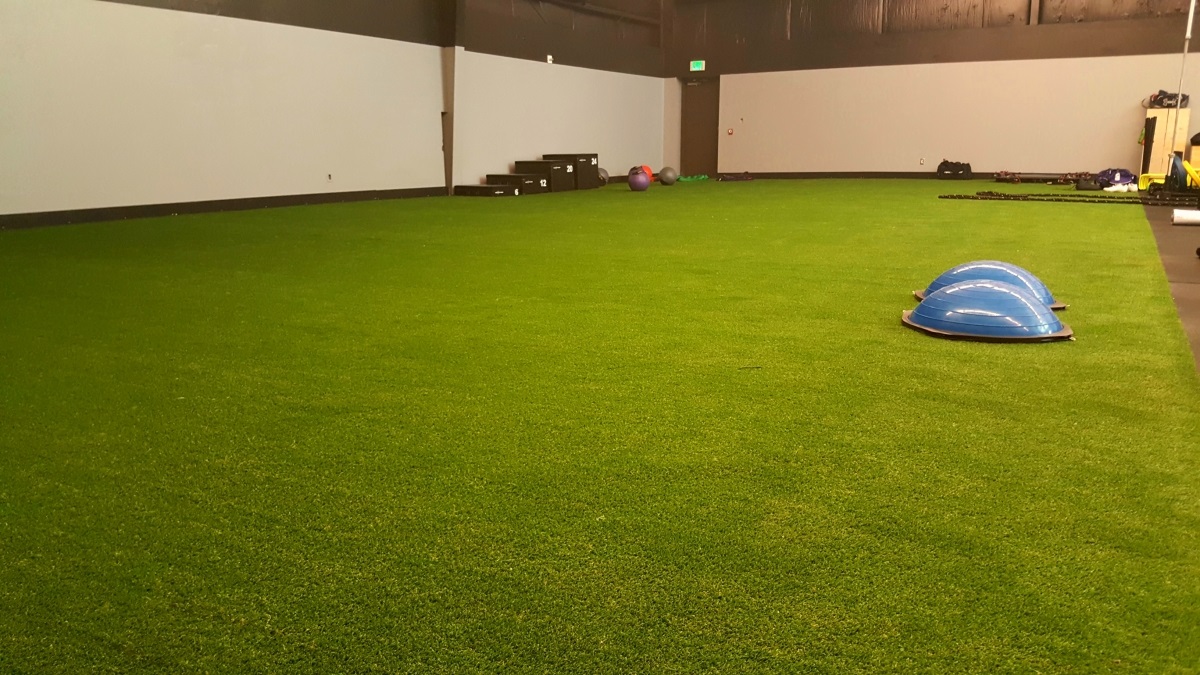
Welcome to the world of synthetic grass, where green and lush lawns can be enjoyed year-round without the hassle of mowing, watering, or fertilizing. Synthetic grass, also known as artificial turf, offers a low-maintenance alternative to natural grass that is perfect for homeowners, businesses, and even sports fields.
Installing synthetic grass may seem like a daunting task, but with the right guidance and a little bit of patience, you can achieve a beautiful and long-lasting artificial lawn. In this article, we will guide you through the step-by-step process of installing synthetic grass, from preparing the area to maintaining the final result.
Whether you have a small backyard, a large garden, or a commercial space, the installation process for synthetic grass is relatively similar. By following these steps, you can create a durable and visually appealing synthetic lawn that will enhance the beauty of your outdoor space.
Before diving into the installation process, it is important to note that there are different types of synthetic grass available, each with its own set of specifications and installation requirements. It is crucial to choose a high-quality synthetic grass that matches your specific needs and budget. Consulting with a professional or doing thorough research can help ensure you select the right synthetic grass for your project.
Now that you’re equipped with the basics, let’s get started on transforming your outdoor space into a lush and maintenance-free paradise! The first step in the installation process is preparing the area.
Key Takeaways:
- Say goodbye to mowing and watering! Installing synthetic grass is a step-by-step process that starts with preparing the area and ends with enjoying a maintenance-free, lush green lawn year-round.
- Keep it clean and tidy! Regular brushing and maintenance are essential for preserving the beauty and longevity of your synthetic grass, ensuring a vibrant and hassle-free outdoor space.
Step 1: Preparing the Area
Before installing synthetic grass, it is essential to prepare the area properly. This step will help ensure a smooth and long-lasting installation. Follow these guidelines to prepare the area:
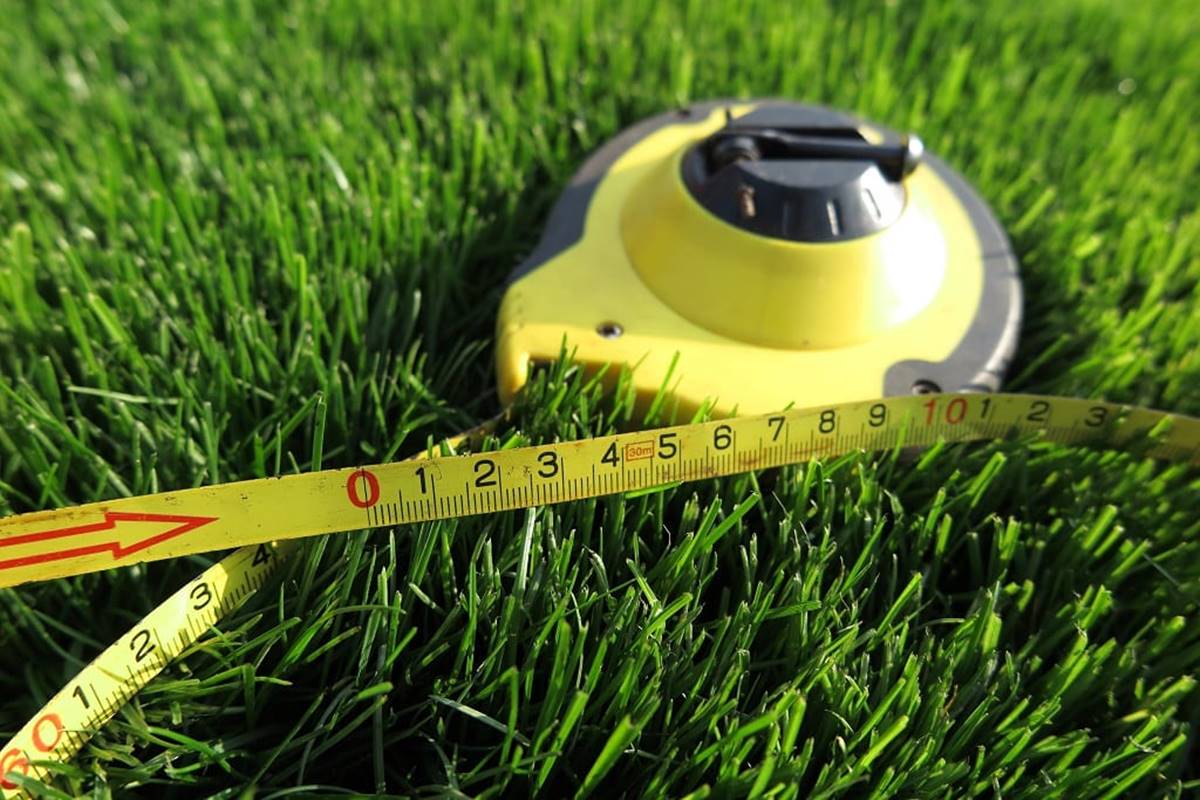
- Measure and mark the area: Begin by measuring the area where you plan to install synthetic grass. Use stakes and string or spray paint to mark the boundaries clearly. This will serve as a guide during the installation process.
- Clear the area: Remove any obstacles or debris from the marked area. This includes rocks, branches, and large patches of weeds. Make sure the surface is clean and free of any obstructions.
- Check for proper drainage: Ensure that the area has proper drainage to prevent water from pooling or accumulating on the synthetic grass. If needed, make necessary adjustments to the slope or install a drainage system.
- Consider edging: Depending on your preference and the aesthetic look you want to achieve, you may choose to install edging around the perimeter of the area. This can be done using materials such as plastic or metal to create a defined border.
- Address soil quality: Evaluate the quality of the soil. If the soil is compacted, consider loosening it with a rake or rototiller. Additionally, if the soil is excessively sandy or clay-based, it may be beneficial to add a layer of topsoil or amend the soil with organic matter for better stability and drainage.
Properly preparing the area before installing synthetic grass sets the foundation for a successful and visually appealing installation. Once you have completed these steps, you can move on to the next phase, which involves removing any existing grass or vegetation.
Step 2: Removing Existing Grass or Vegetation
In order to ensure a smooth and even installation, it is important to remove any existing grass, vegetation, or weeds from the area where you plan to install synthetic grass. Here’s how to remove them:
- Mow the existing grass: Start by mowing the existing grass as short as possible. This will make it easier to remove and prepare the area for the installation of synthetic grass.
- Remove the grass and vegetation: There are several methods you can use to remove the grass and vegetation effectively. These include manually digging it up with a shovel, using a sod cutter, or applying a herbicide to kill the grass and weeds. The method you choose will depend on the size and condition of the area.
- Dispose of the grass and vegetation: Properly dispose of the removed grass and vegetation. You can compost them, recycle them, or dispose of them in green waste bins, depending on the options available in your area.
- Inspect the soil: After removing the grass and vegetation, inspect the soil for any remaining roots, rocks, or other debris. Remove them as necessary to ensure a clean and even surface for the installation.
Removing existing grass or vegetation is an important step in the installation process as it helps provide a level and stable base for the synthetic grass. Once this step is completed, you can move on to the next phase: leveling the surface.
Step 3: Leveling the Surface
Once you have removed the existing grass and vegetation, the next step in installing synthetic grass is to level the surface. Leveling the surface ensures a smooth, even, and visually appealing final result. Here’s how you can level the surface:
- Inspect the area: Before leveling the surface, inspect the area for any low or high spots. Low spots can be filled in, while high spots may need to be leveled down. Having a level surface is crucial for a seamless installation.
- Use a rake or shovel: Start by using a rake or shovel to distribute any loose soil or backfill material to the low spots. This will help raise the level of the area and create a more even surface. Be sure to remove any excess soil or debris as you go.
- Compact the surface: After redistributing the backfill material, use a tamper or plate compactor to compact the surface. This will help ensure a firm and stable base for the synthetic grass. Go over the entire area, applying even pressure, until the surface is compacted and level.
- Check for drainage: Along with leveling the surface, it’s essential to check that the area has proper drainage. This can be done by running water over the surface and observing how it flows. If there are any areas where water pools or doesn’t drain properly, adjustments may need to be made to the slope or drainage system.
Leveling the surface is a crucial step in the installation process as it provides a solid foundation for the synthetic grass. Taking the time to ensure the surface is level will result in a more professional-looking installation and a durable and long-lasting synthetic lawn. Once you have completed this step, you can proceed to the next phase: installing the base for the synthetic grass.
Step 4: Installing the Base
Installing a proper base is essential for the successful installation of synthetic grass. The base provides stability, allows for proper drainage, and helps maintain the integrity of the synthetic turf. Here’s how to install the base:
- Select the type of base: There are a few options for the base material, including crushed stone, decomposed granite, or a combination of both. The choice will depend on factors such as the soil type, drainage requirements, and personal preference.
- Excavate the area: Begin by excavating the area to the desired depth for the base. This will typically be around 2-4 inches, but it may vary depending on the specific requirements of the synthetic grass you are installing.
- Compact the soil: After excavation, use a tamper or plate compactor to compact the soil. This will create a firm and stable base for the subsequent layers of the base material.
- Add the base material: Spread the selected base material evenly over the compacted soil. Use a rake or shovel to distribute it and ensure a uniform thickness. Aim for a base layer thickness of approximately 1-2 inches.
- Compact the base material: Use a plate compactor to compact the base material. This will promote stability and provide a solid foundation for the synthetic grass. Repeat this process until the base material is firmly compacted.
- Check for proper slope: Ensure that the base has a slight slope to facilitate proper drainage. The recommended slope is typically 1-2% away from any structures or buildings. This will prevent water from accumulating on the synthetic grass surface.
Installing the base is a crucial step in the installation process as it provides a stable and well-draining foundation for the synthetic grass. Take your time to ensure that the base is properly installed and compacted. Once you have completed this step, you can move on to the next phase: applying a weed barrier.
Read more: Why Should You Get Synthetic Grass
Step 5: Applying Weed Barrier
To prevent weeds from growing through your synthetic grass and to maintain a clean and pristine appearance, it is important to apply a weed barrier. This step ensures that your synthetic lawn remains weed-free and requires minimal maintenance. Here’s how to apply a weed barrier:
- Clean the base: Before applying the weed barrier, make sure the base is clean and free of any debris. Remove any rocks, twigs, or other objects that may interfere with the weed barrier installation.
- Measure and cut the weed barrier: Measure the area of your synthetic lawn and cut the weed barrier fabric to the appropriate size. It should be slightly larger than the area to allow for overlapping at the edges.
- Roll out the weed barrier: Place the weed barrier fabric over the compacted base, ensuring that it covers the entire area. Smooth out any wrinkles or folds to create a flat surface.
- Secure the weed barrier: Use landscaping stakes or other fasteners to secure the weed barrier in place. Place the stakes or fasteners around the perimeter of the installation area and in the middle as needed. This will prevent the weed barrier from shifting or coming loose once the synthetic grass is installed.
- Trim and overlap: Trim off any excess weed barrier fabric using scissors or a utility knife. Make sure the edges are neatly trimmed and fit snugly against the perimeter of the installation area. When laying multiple pieces of weed barrier fabric, overlap them by a few inches to ensure complete coverage and prevent weed growth.
Applying a weed barrier is an important step in the installation process as it helps to keep your synthetic grass free from weeds. By preventing weed growth, you can enjoy a low-maintenance and visually appealing synthetic lawn. With the weed barrier in place, you are now ready to move on to the next phase: rolling out the synthetic grass.
Before installing synthetic grass, make sure the area is properly prepared by removing existing grass and debris, leveling the ground, and adding a base layer of crushed rock for drainage.
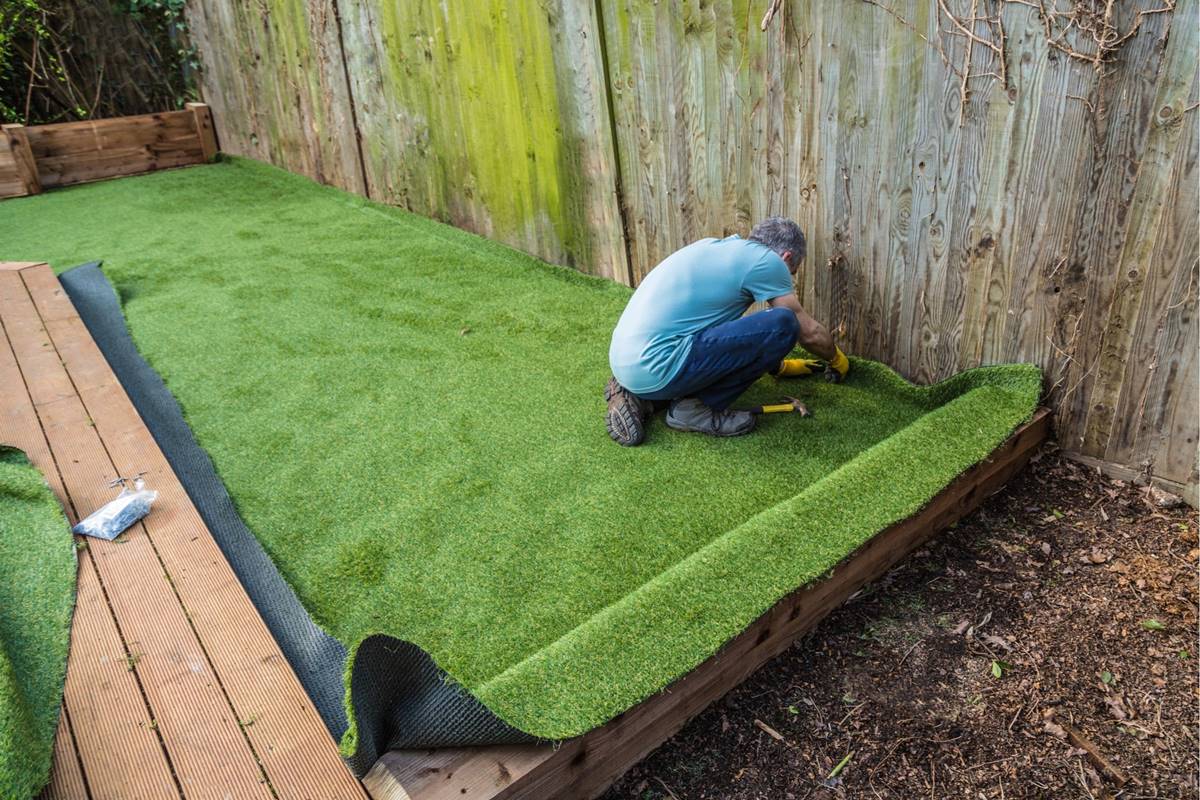
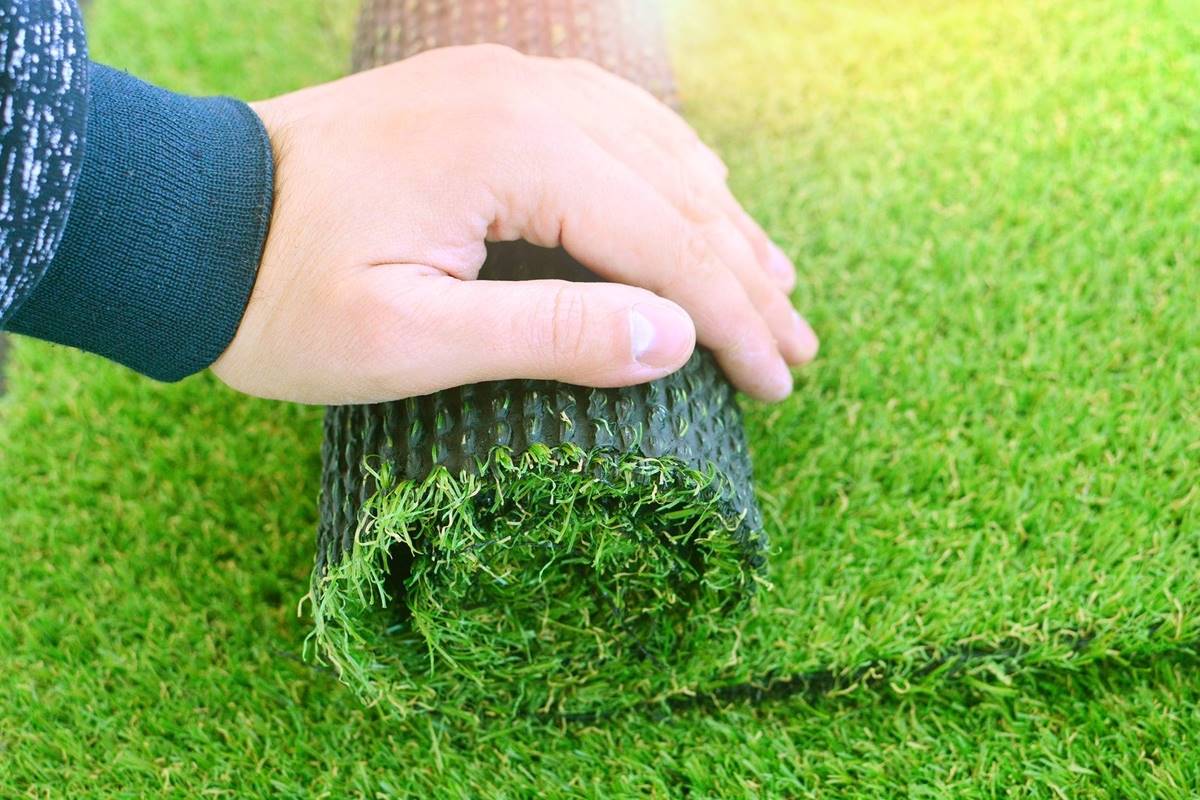
Step 6: Rolling Out the Synthetic Grass
Now that you have prepared the area and installed the base, it’s time to roll out the synthetic grass. This step brings your lawn to life and sets the stage for a beautifully transformed outdoor space. Follow these steps to properly roll out the synthetic grass:
- Unroll the synthetic grass: Start by unrolling the synthetic grass along one side of the installation area. Ensure that the grass fibers are facing in the desired direction and that the edges are aligned with the perimeter of the area.
- Adjust the position: Make any necessary adjustments to the position of the synthetic grass, ensuring it fits perfectly within the designated area. Take your time to achieve a precise fit.
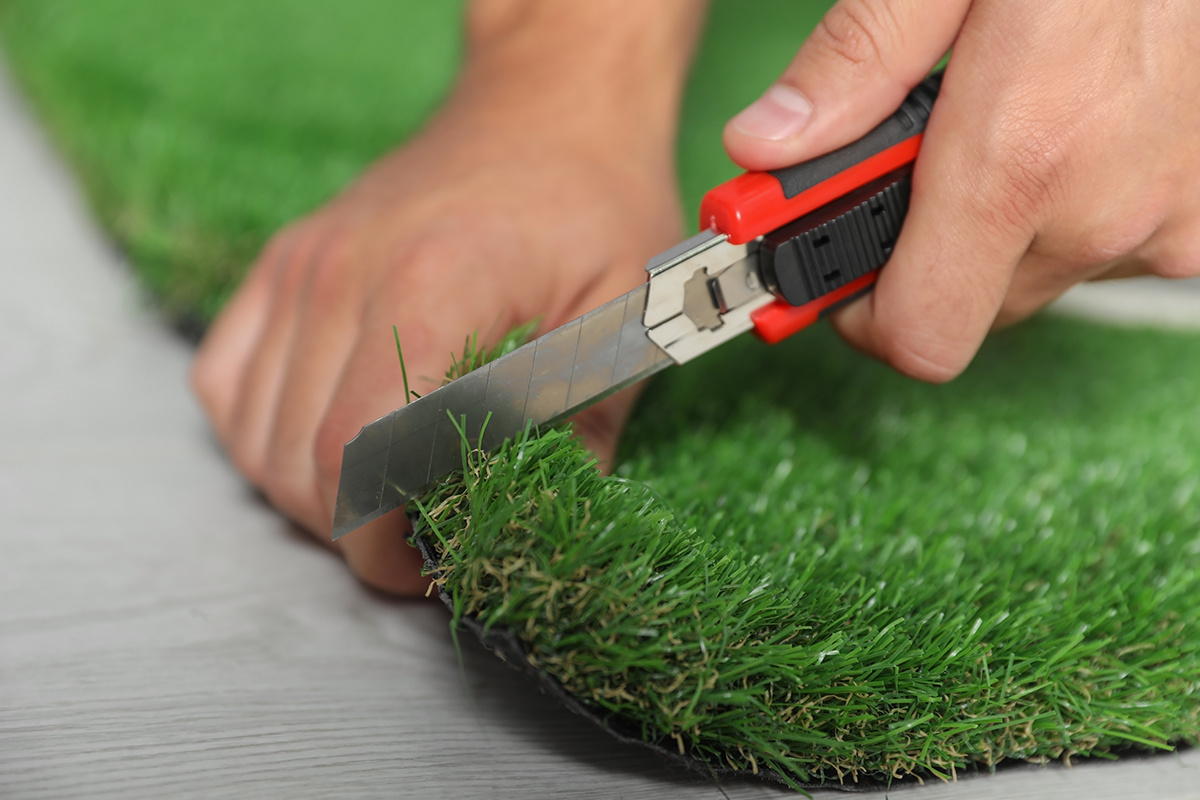
- Cut the grass: Use a sharp utility knife to cut the synthetic grass to fit any irregular edges or obstacles within the installation area. Take measurements and cut carefully to achieve clean and seamless edges.
- Overlap the seams: If you need to join multiple pieces of synthetic grass to cover a larger area, overlap the seams by a few inches. This will ensure a secure and seamless connection between the pieces.
- Trim excess grass: Once the synthetic grass is positioned and seamed correctly, trim any excess grass along the edges or in areas where the grass may extend beyond the designated area. Use a utility knife or scissors to create clean and straight edges.
- Inspect for proper fit: Step back and inspect the entire installation area to ensure that the synthetic grass fits snugly and evenly. Make any necessary adjustments or trims to achieve a seamless and natural-looking installation.
Rolling out the synthetic grass is an exciting step in the installation process as it transforms your outdoor space into a lush and low-maintenance oasis. Be patient and meticulous during this step to achieve a professional and visually appealing result. With the synthetic grass rolled out and positioned correctly, you’re now ready to move on to the next phase: trimming the edges.
Step 7: Trimming the Edges
Trimming the edges of the synthetic grass is an important step to give your installation a polished and professional look. By properly trimming the edges, you’ll achieve a clean and neat appearance for your synthetic lawn. Follow these steps to trim the edges:
- Gather the necessary tools: Before you begin trimming, gather the required tools such as a utility knife, a straightedge, and a measuring tape. These tools will help you achieve precise and straight cuts.
- Mark the cutting line: Use a straightedge or a line of string to mark the cutting line along the edge of the synthetic grass. This will serve as a guide for your cuts and ensure a straight and even trim.
- Cut along the line: Carefully follow the marked cutting line with a utility knife, applying even pressure to ensure a clean and straight cut. Take your time and make multiple passes if necessary to achieve a precise trim.
- Trim around obstacles: If you encounter any obstacles such as trees, flower beds, or structures, make small relief cuts to fit the synthetic grass around them. Use your utility knife to carefully trim and shape the grass as needed. Take measurements and make precise cuts to achieve a seamless fit.
- Remove excess grass: After trimming the edges, remove any excess grass or scraps. This will give your installation a tidy and finished look.
- Inspect the edges: Step back and inspect the trimmed edges to ensure they are clean and uniform. Make any necessary touch-ups or adjustments to achieve a polished and seamless appearance.
Trimming the edges of the synthetic grass is the final touch to create a professional and well-finished installation. Taking the time to trim carefully and accurately will enhance the overall look of your synthetic lawn. With the edges neatly trimmed, you’re now ready to move on to the next step: securing the synthetic grass.
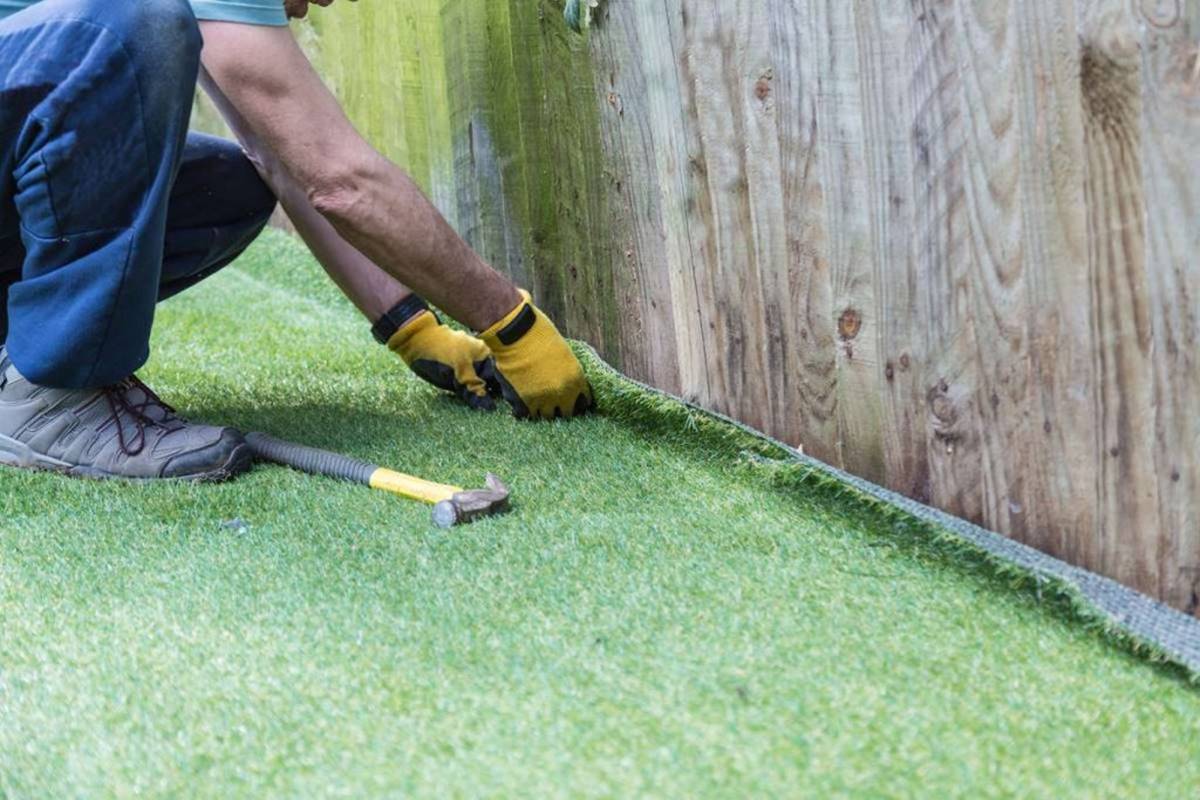
Step 8: Securing the Synthetic Grass
Securing the synthetic grass is an important step to ensure that it stays in place and maintains its integrity over time. By properly securing the grass, you’ll prevent shifting, wrinkling, or buckling, and create a visually appealing and long-lasting installation. Follow these steps to securely fasten the synthetic grass:
- Inspect the base: Before securing the synthetic grass, inspect the base to ensure it is clean and free of any debris or loose material. Remove any objects that may interfere with the installation process.
- Apply adhesive (optional): Depending on the type of synthetic grass you have, you may need to apply adhesive to secure the edges or seams. Follow the manufacturer’s instructions for the specific adhesive recommended for your synthetic grass.
- Roll out the adhesive: If using adhesive, carefully apply it along the seams or edges using a trowel or adhesive roller. Make sure to spread the adhesive evenly to prevent any lumps or unevenness.
- Join the seams: If you have multiple pieces of synthetic grass that need to be joined, carefully align the edges and press them together. Use stakes or landscape staples to secure the seam area and prevent any movement during the installation process.
- Secure the edges: Use landscape staples or nails to secure the edges of the synthetic grass, spacing them out every few inches. Be careful not to drive the staples or nails too deep as this can damage the grass. Make sure the edges are secure, but not overly tight.
- Inspect and adjust: Step back and inspect the entire installation to ensure that the synthetic grass is securely fastened and free from any wrinkles or loose areas. Make any necessary adjustments or additional fastenings to ensure a tight and smooth surface.
Securing the synthetic grass is crucial to maintaining the longevity and aesthetics of your installation. Take your time during this step to ensure that the grass is properly secured and free from any potential shifting or movement. With the synthetic grass securely in place, you’re now ready to move on to the next step: adding infill (optional).
Step 9: Adding Infill (Optional)
Adding infill to your synthetic grass is an optional step that can enhance the performance and aesthetics of your installation. Infill provides stability, helps the blades of the grass stand upright, and improves the overall look and feel of your synthetic lawn. Follow these steps to add infill:
- Select the type of infill: There are different types of infill available, including silica sand, rubber granules, or a combination of both. The choice of infill will depend on factors such as the desired feel, foot traffic, and personal preference.
- Distribute the infill: Use a drop spreader or a shovel to evenly distribute the infill material over the surface of the synthetic grass. Start at one end of the installation area and work your way to the other end, ensuring that the infill is spread evenly and consistently.
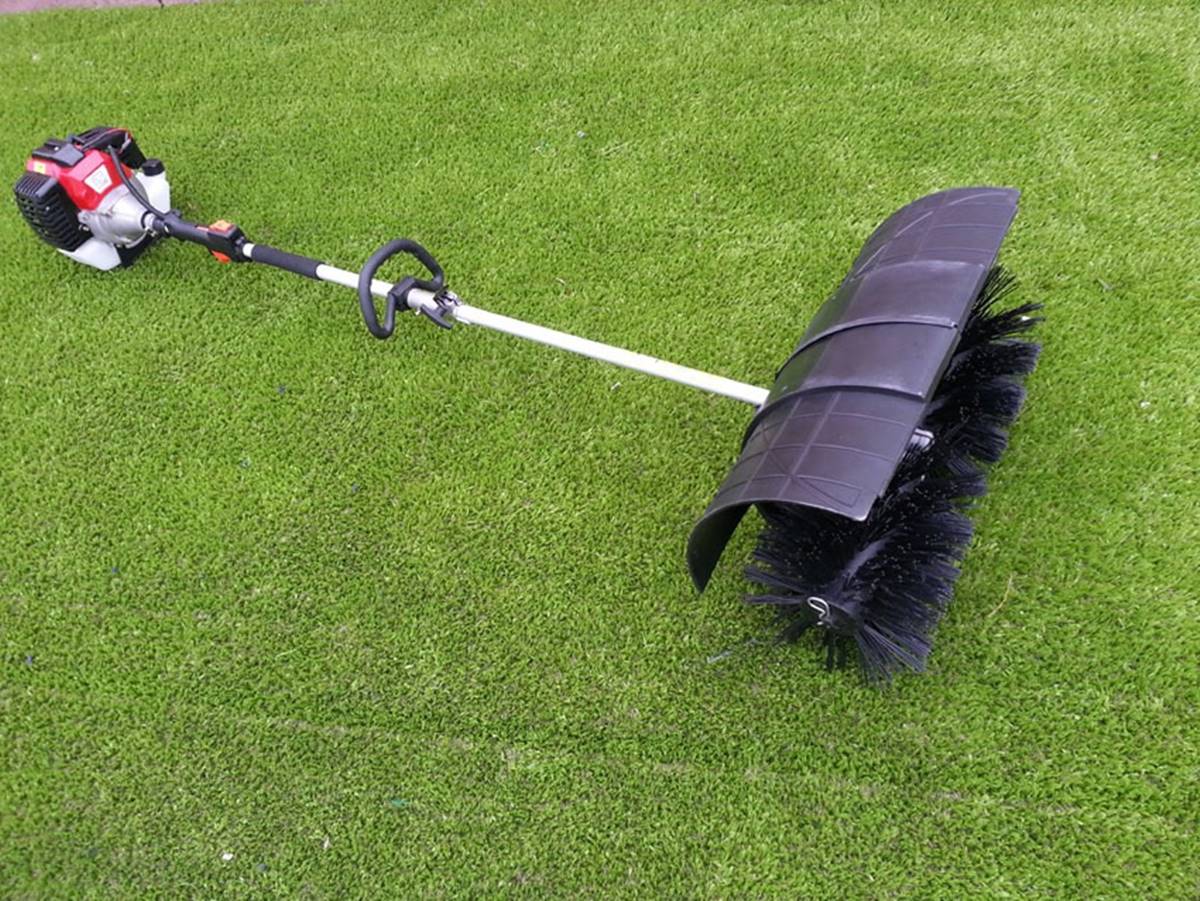
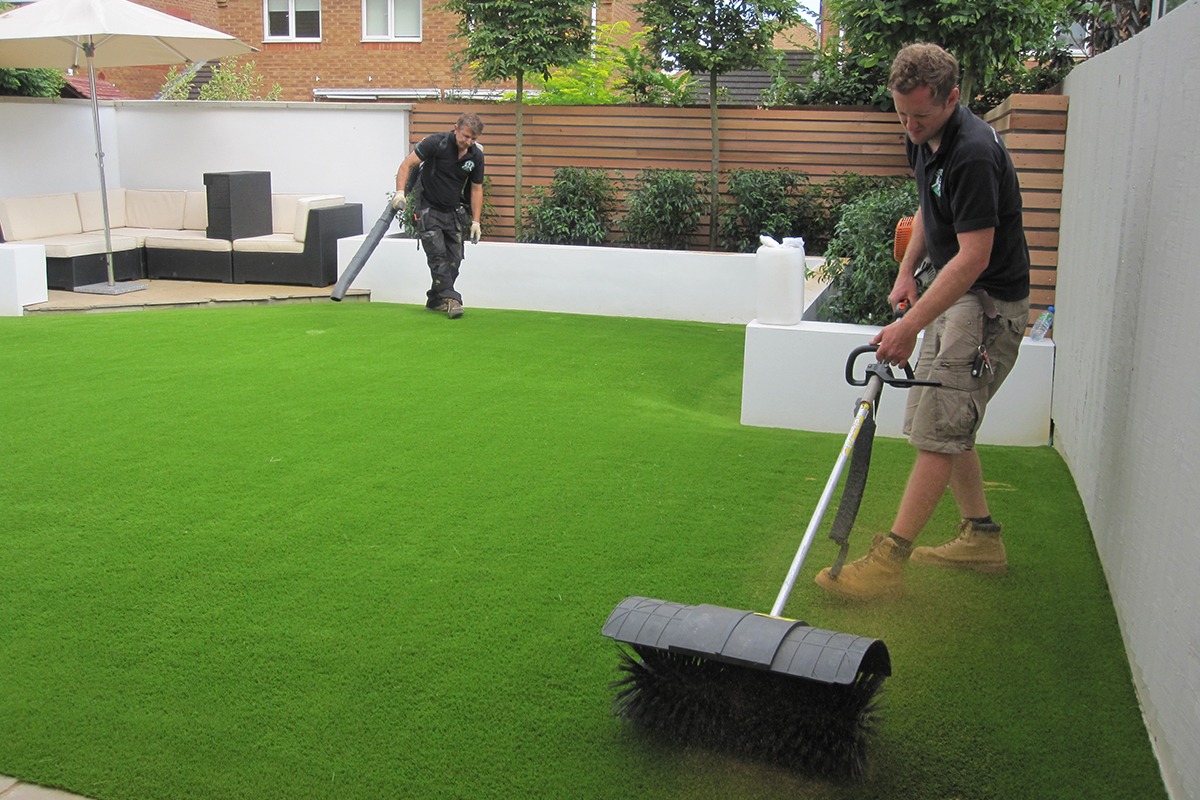
- Brush the infill into the grass: Use a power broom or a stiff bristle brush to brush the infill material into the synthetic grass fibers. This will help the infill settle and integrate with the grass, providing stability and support to the blades.
- Repeat the process: For optimal results, repeat the process of adding infill and brushing it into the grass in multiple directions. This will ensure that the infill is evenly distributed throughout the entire installation area.
- Check for even coverage: Step back and inspect the synthetic grass to ensure that the infill is evenly distributed and provides uniform coverage. Make any necessary adjustments or additions to achieve an even and consistent look.
Adding infill to your synthetic grass can improve its durability, performance, and overall appearance. However, it’s important to note that not all synthetic grass installations require infill. Check with the manufacturer or consult a professional to determine if infill is recommended for your specific synthetic grass product. With the infill added, your synthetic lawn is now complete! The final step is to brush and maintain the synthetic grass.
Step 10: Brushing and Maintaining the Synthetic Grass
Once the synthetic grass installation is complete, it’s important to establish a regular maintenance routine to keep your lawn looking its best. Regular brushing and proper care will ensure the longevity and beauty of your synthetic grass. Here’s how to maintain your synthetic lawn:
- Brush the grass fibers: Use a stiff bristle broom or a power brush to brush the grass fibers regularly. This helps to keep the blades upright, prevents matting, and ensures a natural look. Brushing should be done in different directions to avoid the grass fibers from becoming overly compacted in one direction.
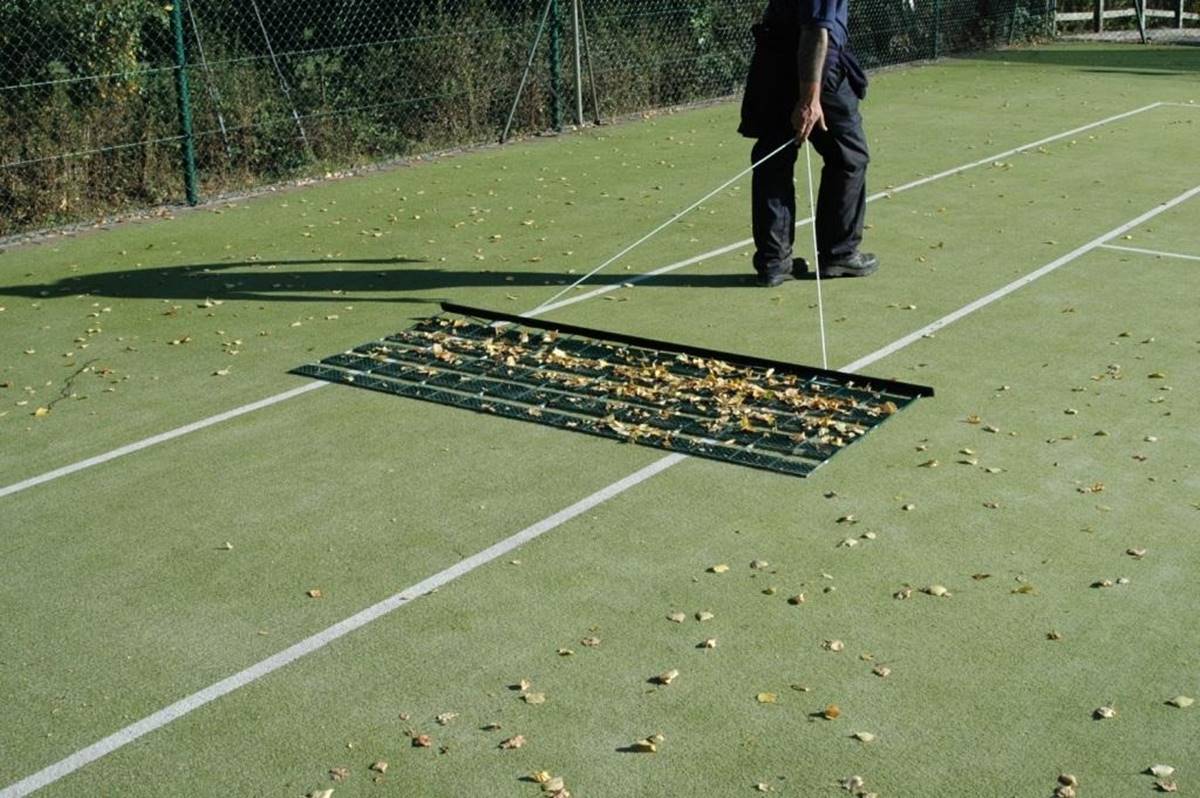
- Remove debris: Regularly remove leaves, twigs, and other debris from the surface of your synthetic grass. This can be done using a leaf blower, a rake, or simply by hand. Keeping the surface clear of debris will not only enhance the appearance but also prevent the buildup of organic matter that can potentially harbor pests or affect drainage.
- Clean spills and stains: Attend to spills or stains promptly to prevent them from setting into the synthetic grass fibers. Use a mild detergent mixed with water to gently clean the affected area. Avoid using harsh chemicals or abrasive cleaners, as they can damage the grass fibers.
- Check for proper drainage: Periodically inspect the drainage of your synthetic grass installation. If you notice any areas where water is pooling or not draining properly, check the base and make adjustments as necessary to ensure proper drainage.
- Address pet waste: If you have pets, promptly remove solid waste and rinse the affected area with water. Synthetic grass is designed to be pet-friendly and easy to clean, but regular maintenance is essential to prevent odors and maintain a hygienic environment.
- Consider periodic raking: To prevent infill from compacting, you can lightly rake the surface of the synthetic grass once in a while. This helps to redistribute the infill and maintain a uniform appearance.
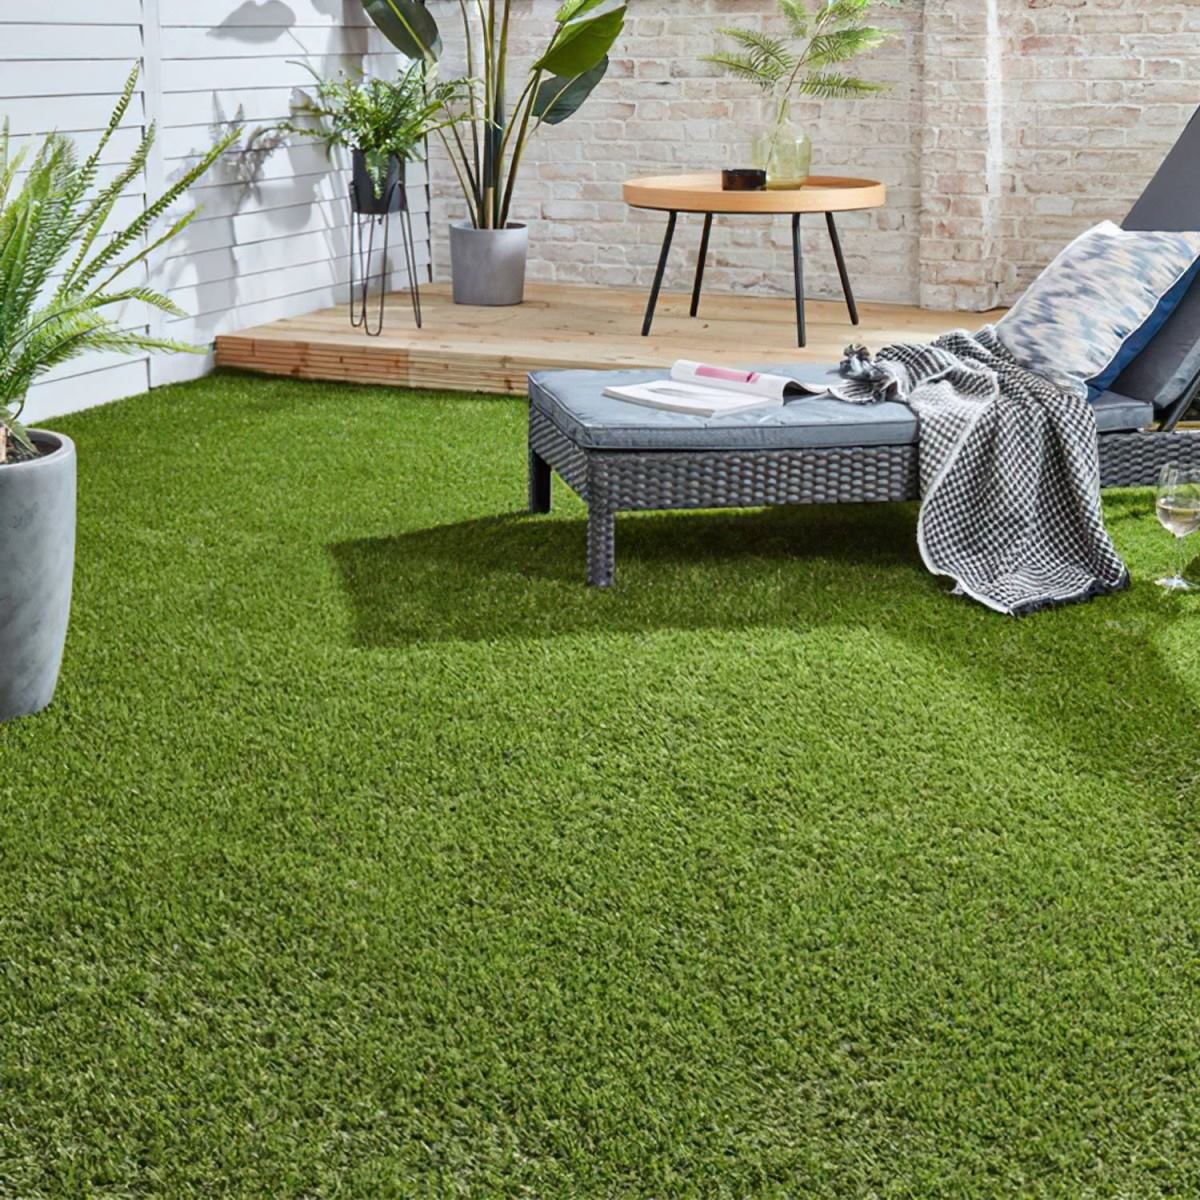
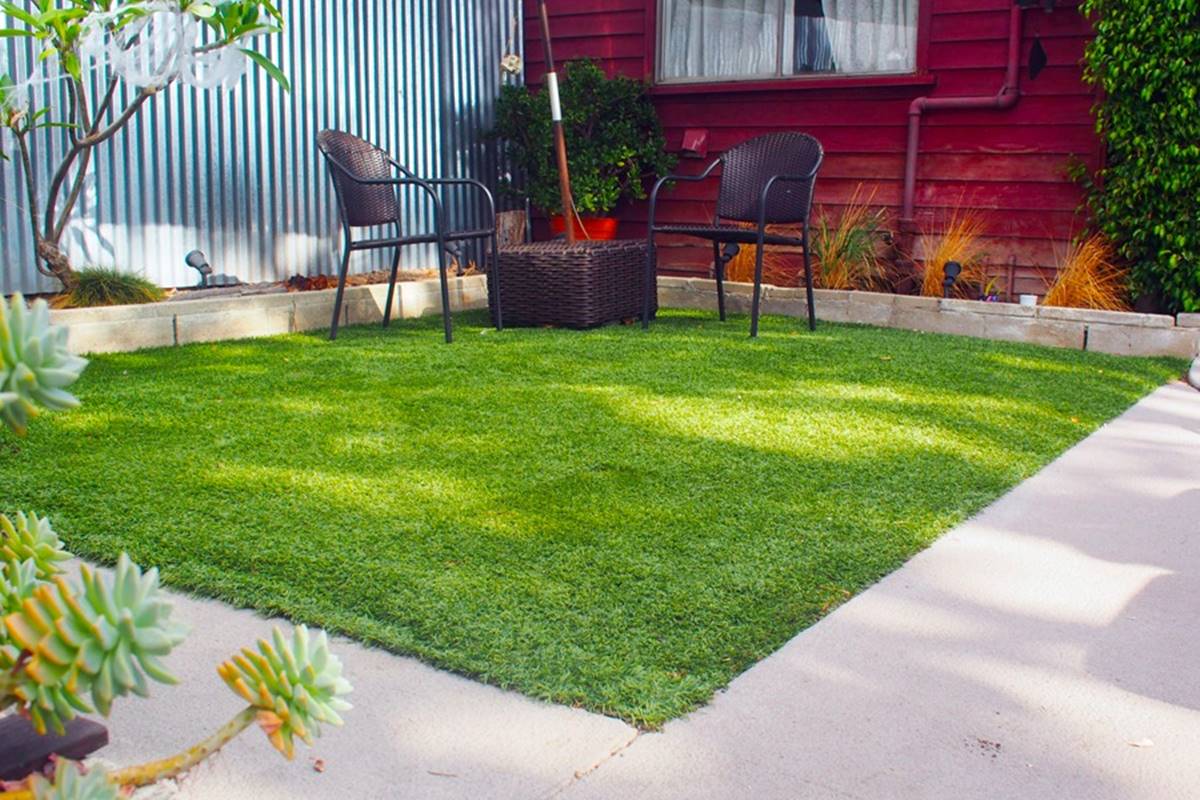
Regular brushing and maintenance are key to preserving the longevity and beauty of your synthetic grass. By following these upkeep practices, your lawn will continue to provide a lush and vibrant outdoor space for years to come. Enjoy the benefits of a low-maintenance and evergreen synthetic lawn!
With step 10 completed, you have finished the installation and maintenance guide for synthetic grass. Congratulations on creating a beautiful and hassle-free outdoor space. Now, sit back, relax, and enjoy your lush green lawn!
Conclusion
Installing synthetic grass can transform your outdoor space into a beautiful and low-maintenance oasis. By following the step-by-step guide outlined in this article, you can achieve a successful and visually appealing installation. Properly preparing the area, removing existing vegetation, leveling the surface, and installing the base are crucial steps to ensure a solid foundation for the synthetic grass. Applying a weed barrier, rolling out the grass, trimming the edges, and securing the grass are essential for achieving a polished and professional look. Optional steps such as adding infill can enhance the performance and aesthetics of your synthetic lawn.
Maintaining your synthetic grass through regular brushing and proper care is vital for its longevity and continued beauty. By following a maintenance routine that includes brushing the grass fibers, removing debris, cleaning spills, checking drainage, and addressing pet waste, you can ensure that your synthetic lawn remains vibrant and inviting for years to come.
Remember to choose high-quality synthetic grass that suits your specific needs and budget, as well as consult with professionals or conduct thorough research if needed. Synthetic grass offers a myriad of benefits, from saving time and money on maintenance to providing a green and lush lawn year-round. By taking the time to install and maintain your synthetic grass correctly, you can create a stunning outdoor space that will be the envy of your neighbors.
So, why wait? Embrace the beauty and convenience of synthetic grass and enjoy a maintenance-free landscape that stays green and perfect no matter the season.
Frequently Asked Questions about How Do You Install Synthetic Grass
Was this page helpful?
At Storables.com, we guarantee accurate and reliable information. Our content, validated by Expert Board Contributors, is crafted following stringent Editorial Policies. We're committed to providing you with well-researched, expert-backed insights for all your informational needs.

0 thoughts on “How Do You Install Synthetic Grass”