Home>Garden Essentials>How To Measure For Synthetic Grass
Garden Essentials
How To Measure For Synthetic Grass
Modified: September 2, 2024
Learn how to measure your garden for synthetic grass installation and get the perfect fit for your outdoor space. Create a low-maintenance, evergreen lawn in no time!
(Many of the links in this article redirect to a specific reviewed product. Your purchase of these products through affiliate links helps to generate commission for Storables.com, at no extra cost. Learn more)
Introduction
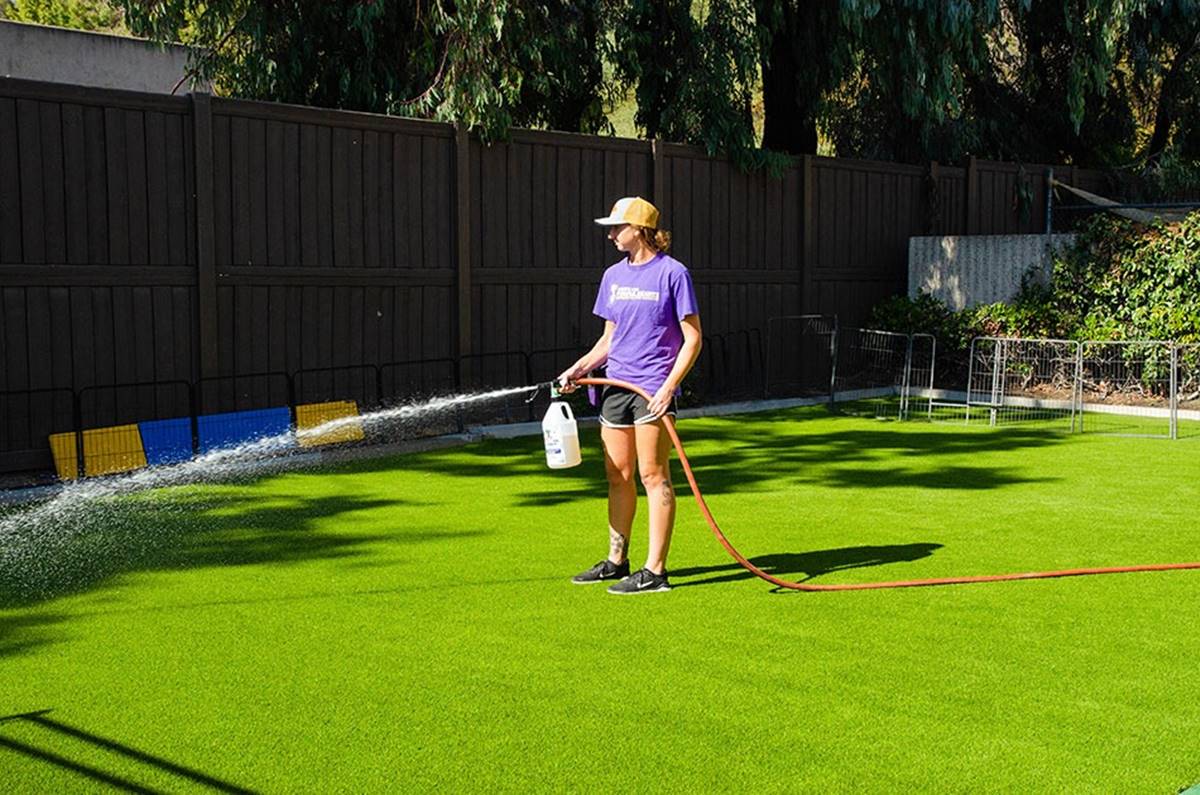
Welcome to the world of synthetic grass! If you’re tired of mowing, watering, and maintaining a natural lawn, synthetic grass can be a fantastic alternative. Not only does it require minimal upkeep, but it also stays green and lush all year round, regardless of the weather. Whether you’re looking to transform your backyard into a low-maintenance oasis or create a green space in an urban environment, synthetic grass is a practical and visually appealing solution.
In this article, we will guide you through the process of measuring for synthetic grass installation. Accurate measurements are crucial to ensure you purchase the right amount of turf and to ensure a seamless installation. We’ll cover the benefits of synthetic grass, the tools and materials you’ll need, and provide step-by-step instructions to help you achieve professional-looking results.
Before we dive into the measuring process, let’s explore some of the key advantages of synthetic grass.
Key Takeaways:
- Say goodbye to mowing and watering with synthetic grass! Measure accurately, clear the area, and install with care for a low-maintenance, lush lawn all year round.
- Enjoy a hassle-free, eco-friendly lawn with synthetic grass. Measure, prepare, and install for a durable, all-weather green space without the upkeep.
Read more: How To Cut Synthetic Grass
Benefits of Synthetic Grass
Synthetic grass offers a range of benefits that make it an attractive option for homeowners, businesses, and municipalities alike. Here are some of the key advantages:
- Low Maintenance: One of the biggest benefits of synthetic grass is that it requires minimal maintenance compared to natural grass. Say goodbye to mowing, watering, and fertilizing. Synthetic grass stays vibrant and green without the need for constant upkeep.
- Water Savings: Traditional lawns require a significant amount of water to keep them healthy and green. With synthetic grass, you can substantially reduce your water usage, helping to conserve this precious resource and lower your utility bills.
- All-Weather Durability: Synthetic grass is designed to withstand all weather conditions. It can handle heavy rain, extreme heat, and even freezing temperatures without losing its functionality or appearance.
- No Harmful Chemicals: Unlike natural grass that often requires the use of pesticides, herbicides, and fertilizers, synthetic grass eliminates the need for these potentially harmful chemicals. This makes it a safer option for children, pets, and the environment.
- Year-Round Beauty: Regardless of the season, synthetic grass maintains its lush and vibrant appearance. You can enjoy a picturesque green lawn all year round, even in regions where natural grass struggles to survive during certain seasons.
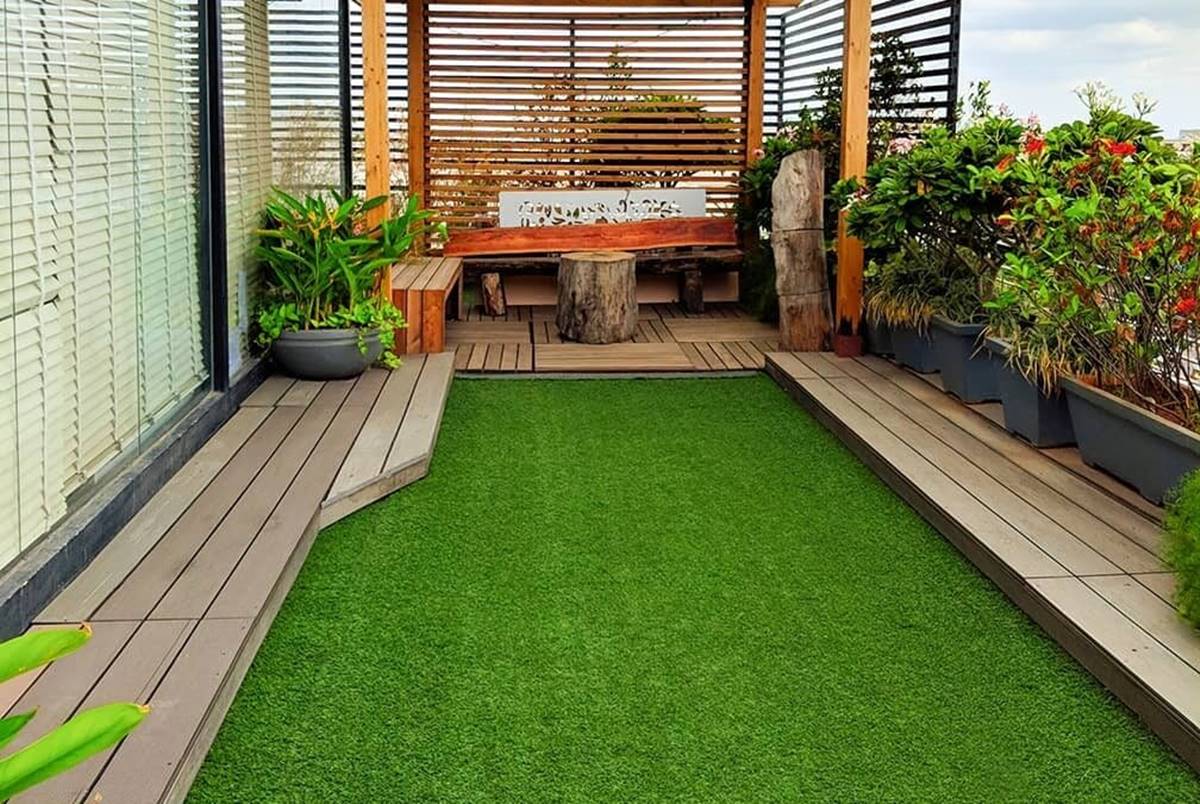
- Versatile Application: Synthetic grass can be installed in a variety of settings, including residential yards, commercial spaces, rooftops, and play areas. Its versatility makes it a versatile landscaping option for any space.
These benefits, paired with the advancements in synthetic grass technology, have made it a popular choice for homeowners and businesses looking for an attractive, low-maintenance alternative to natural grass.
Tools and Materials Needed
Before you start measuring for synthetic grass installation, it’s essential to gather the necessary tools and materials. Here’s what you’ll need:
- Tape Measure: A good quality tape measure is crucial for accurate measurements. Make sure it’s long enough to measure the entire area you’ll be covering with synthetic grass.
- Stakes: Stakes help mark the corners and edges of the area you’ll be measuring. Choose sturdy stakes that can be easily driven into the ground.
- String: String or twine is used to create straight lines for measuring. Opt for a durable and easy-to-see string that won’t stretch or break during the process.
- Chalk or Marking Spray: Chalk or marking spray can be used to mark the measurement lines on the ground, ensuring accuracy during the installation process.
- Utility Knife: A sharp utility knife is essential for cutting and trimming the synthetic grass. Choose a knife with a retractable blade for safety.
- Gloves: Gloves will protect your hands while handling the synthetic grass and working with tools.
- Shovel: A shovel is needed to clear the area of any debris, rocks, or existing vegetation.
- Wheelbarrow or Dump Trailer: If you’ll be removing any existing soil or debris, a wheelbarrow or dump trailer will make the process more efficient.
- Base Materials: Depending on your specific installation needs, you may require base materials such as crushed stone, decomposed granite, or sand. Consult with the manufacturer or an expert to determine the appropriate base materials for your project.
- Geotextile Fabric: Geotextile fabric is used to prevent weed growth and ensure proper drainage. It is typically placed between the base material and the synthetic grass.
Having these tools and materials on hand will make the measuring and installation process smoother, allowing you to achieve professional results.
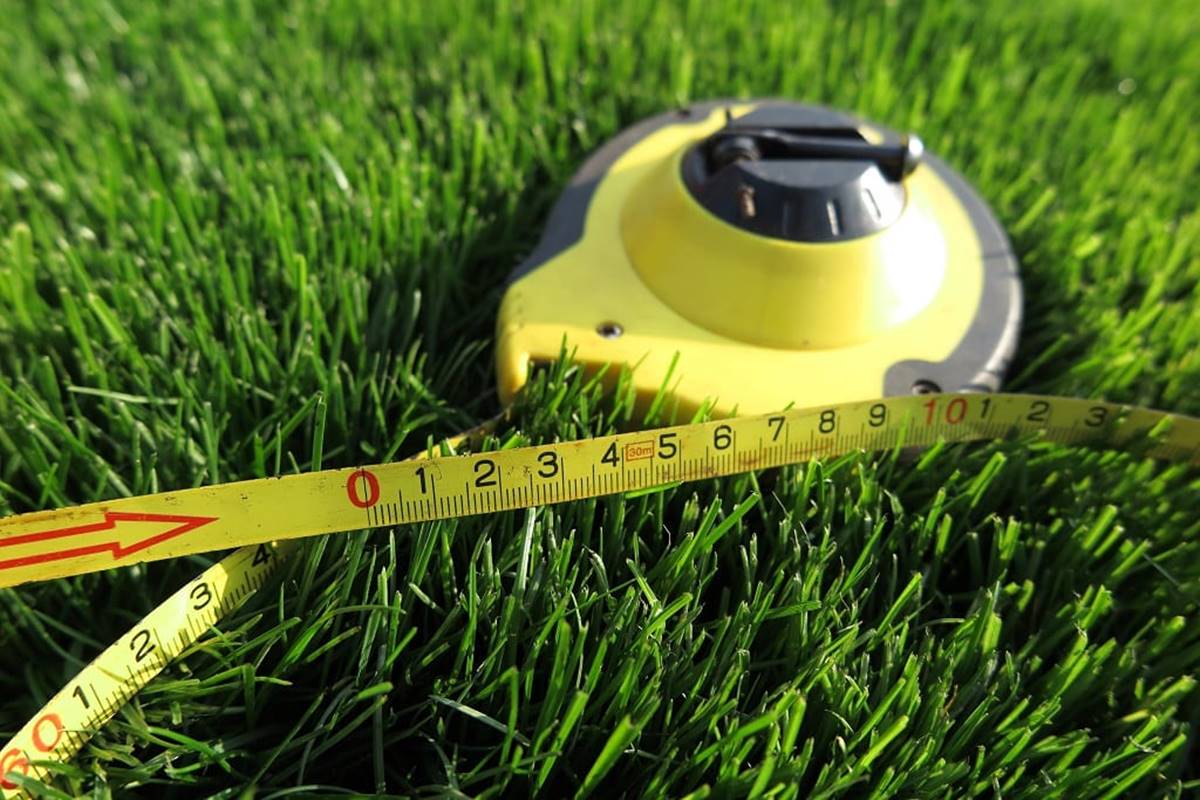
Step 1: Measuring the Area
Accurate measurements are essential when it comes to ordering the right amount of synthetic grass and ensuring a seamless installation. Follow these steps to measure the area properly:
- Clear the Area: Remove any furniture, plants, or obstacles from the area you’ll be measuring. This will give you a clear and accurate space to work with.
- Mark the Corners: Start by locating the corners of the area. Insert stakes into the ground at each corner and tie string tightly between them, creating a perimeter.
- Measure the Length: Use a tape measure to measure the length of one side of the area. Extend the tape measure from one corner stake to the other and record the measurement.
- Measure the Width: Repeat the same process to measure the width of the area. Extend the tape measure from an adjacent corner stake to the other and record the measurement.
- Calculate the Total Area: To calculate the total area, multiply the length and width measurements together. For example, if the length is 10 feet and the width is 8 feet, the total area would be 80 square feet (10ft x 8ft = 80 sq ft).
- Account for Irregular Shapes: If your area has irregular shapes, divide it into smaller sections and measure each section individually. Add up the individual measurements to get the total area.
- Consider Wastage: It’s recommended to add a small percentage (usually around 5-10%) to account for wastage and trimmings during installation. This ensures you have enough synthetic grass to cover the entire area.
By following these steps, you can accurately measure the area and determine the amount of synthetic grass needed for your project. Taking the time to measure correctly will help avoid unnecessary expenses and ensure a smooth installation process.
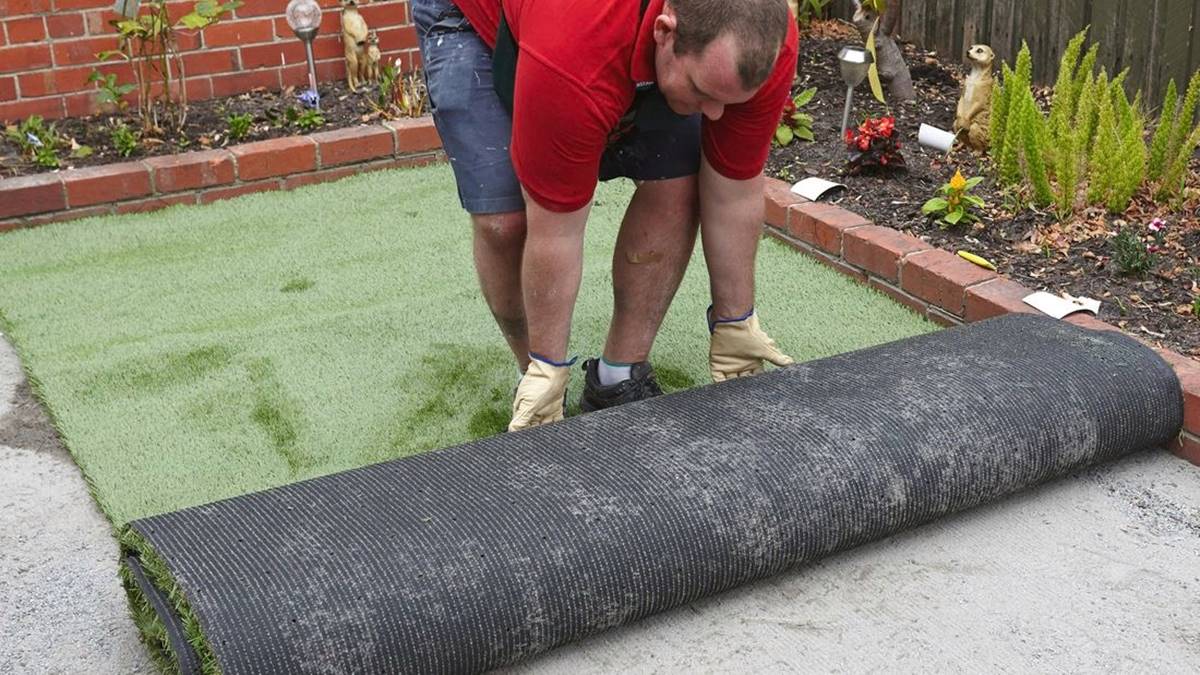
Step 2: Clearing the Area
Once you’ve measured the area for your synthetic grass installation, it’s time to clear the space of any existing vegetation, debris, or obstructions. Follow these steps to prepare the area:
- Remove Existing Vegetation: Use a shovel or a turf cutter to remove any existing grass, weeds, or plants from the area. Dig down to a depth of a few inches to ensure complete removal.
- Clear Debris: Remove any rocks, sticks, or other debris that may be present on the ground. Clearing the area of these objects will ensure a smooth and even surface for the synthetic grass.
- Level the Ground: Use a rake or a garden leveling tool to level the ground and remove any small bumps or uneven areas. This will provide a solid foundation for your synthetic grass installation.
- Compact the Soil: Use a plate compactor or a hand tamper to compact the soil. This will create a firm and stable base for the synthetic grass and prevent any sinking or shifting over time. Pay extra attention to high traffic areas.
- Install a Weed Barrier: Consider laying down a geotextile fabric weed barrier over the cleared area to prevent weed growth. This will help maintain the cleanliness and appearance of your synthetic grass.
Clearing the area is an important step in the installation process as it ensures a clean and proper foundation for your synthetic grass. Taking the time to complete this step thoroughly will result in a professional-looking and long-lasting installation.
When measuring for synthetic grass, make sure to measure the length and width of the area accurately. It’s also important to consider any curves or odd shapes in the space to ensure you order the right amount of turf.
Read more: How To Power Broom Synthetic Grass
Step 3: Preparing the Base
After clearing the area, the next step in installing synthetic grass is to prepare the base. The base provides stability, proper drainage, and a level surface for the turf. Follow these steps to prepare the base:
- Excavate the Area: Dig out the top layer of soil to a depth of around 3-4 inches. This will allow space for the base materials.
- Compact the Soil: Use a plate compactor or hand tamper to compact the soil at the bottom of the excavated area. This step ensures a sturdy foundation for the base materials.
- Add Base Materials: Fill the excavated area with a layer of crushed stone, decomposed granite, or sand. The thickness of the base material will depend on the specific requirements of your synthetic grass installation. Consult with the manufacturer or an expert for guidance on the appropriate depth.
- Spread and Level: Spread the base material evenly across the area. Use a rake or a leveling tool to ensure a consistent and level surface. Pay attention to any slopes or uneven areas, making necessary adjustments to achieve an even base.
- Compact the Base: Use a plate compactor or hand tamper to compact the base material. This step is crucial for creating a solid and stable base that will support the weight of the synthetic grass and provide proper drainage.
- Install Geotextile Fabric: Place a layer of geotextile fabric over the compacted base material. This will prevent weed growth, promote proper drainage, and add an extra layer of protection to your synthetic grass.
- Check for Levelness: Use a level tool to ensure the base is level across the entire area. Make any necessary adjustments to achieve a level surface.
Preparing the base is a critical step in ensuring the long-term success of your synthetic grass installation. Taking the time to properly prepare the base will result in a sturdy, level, and well-draining surface for your turf.
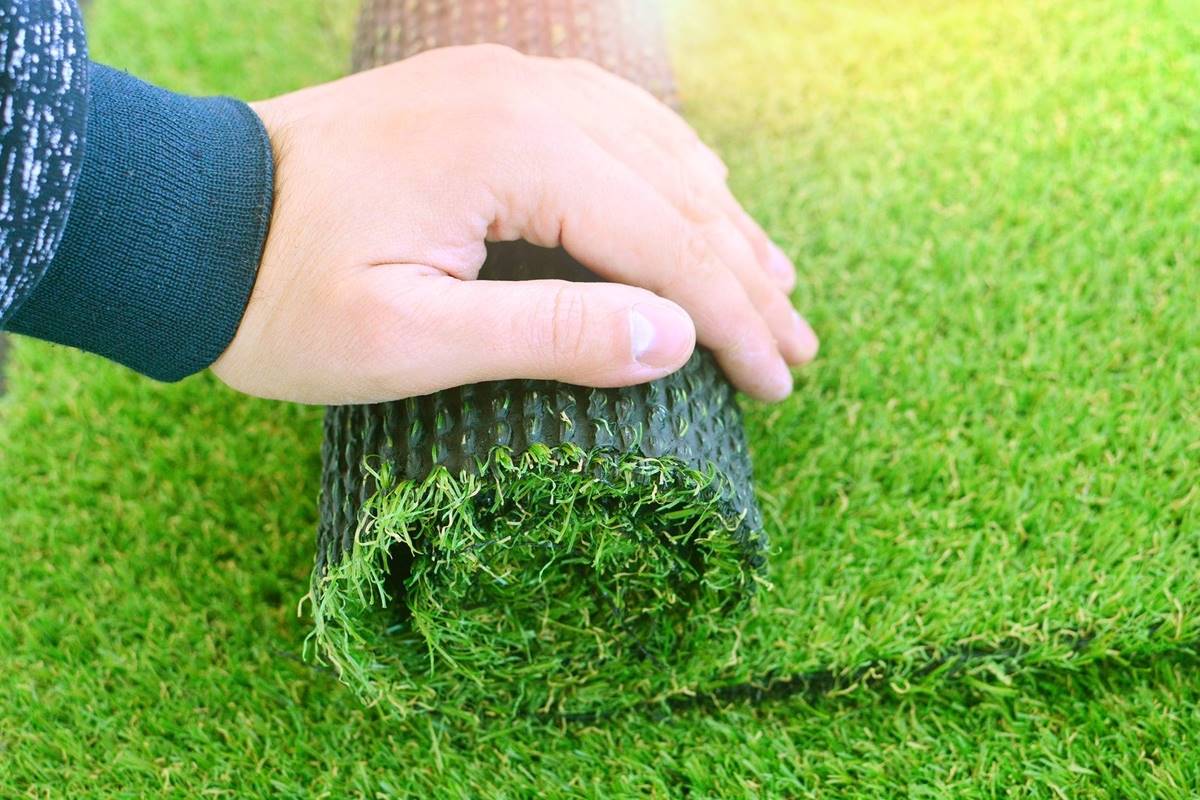
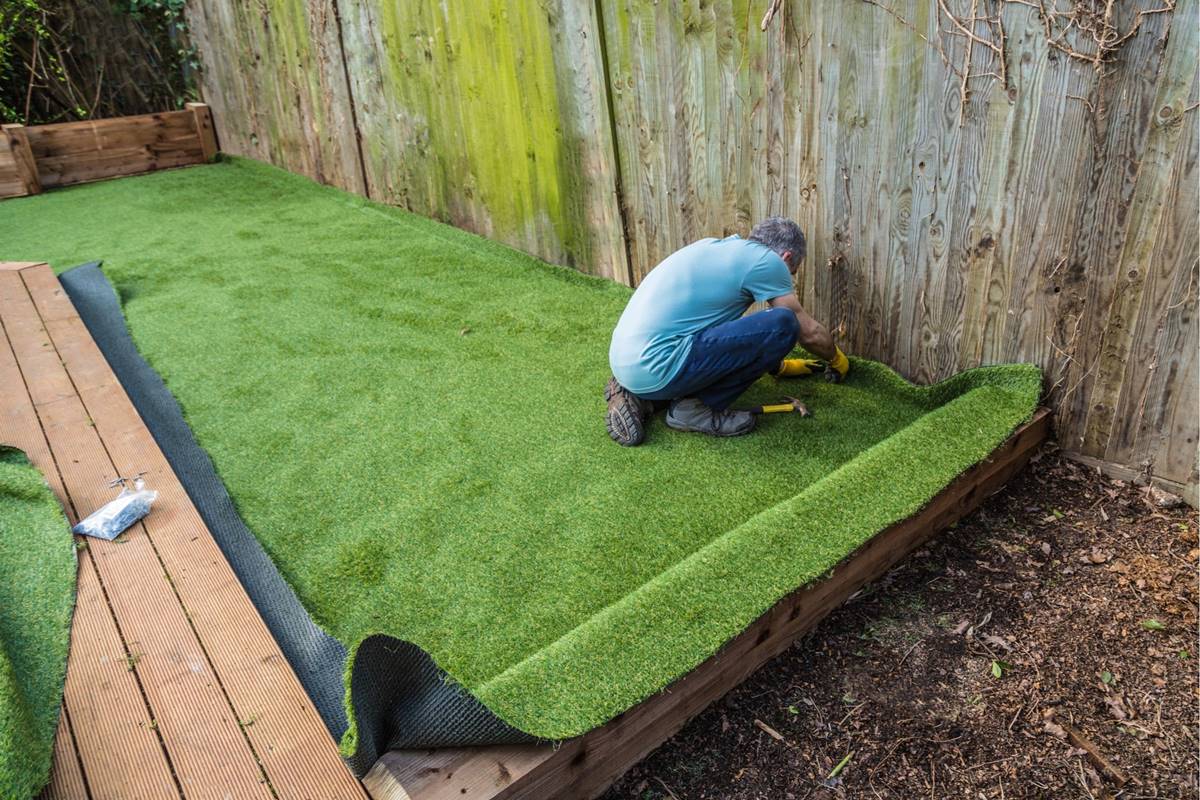
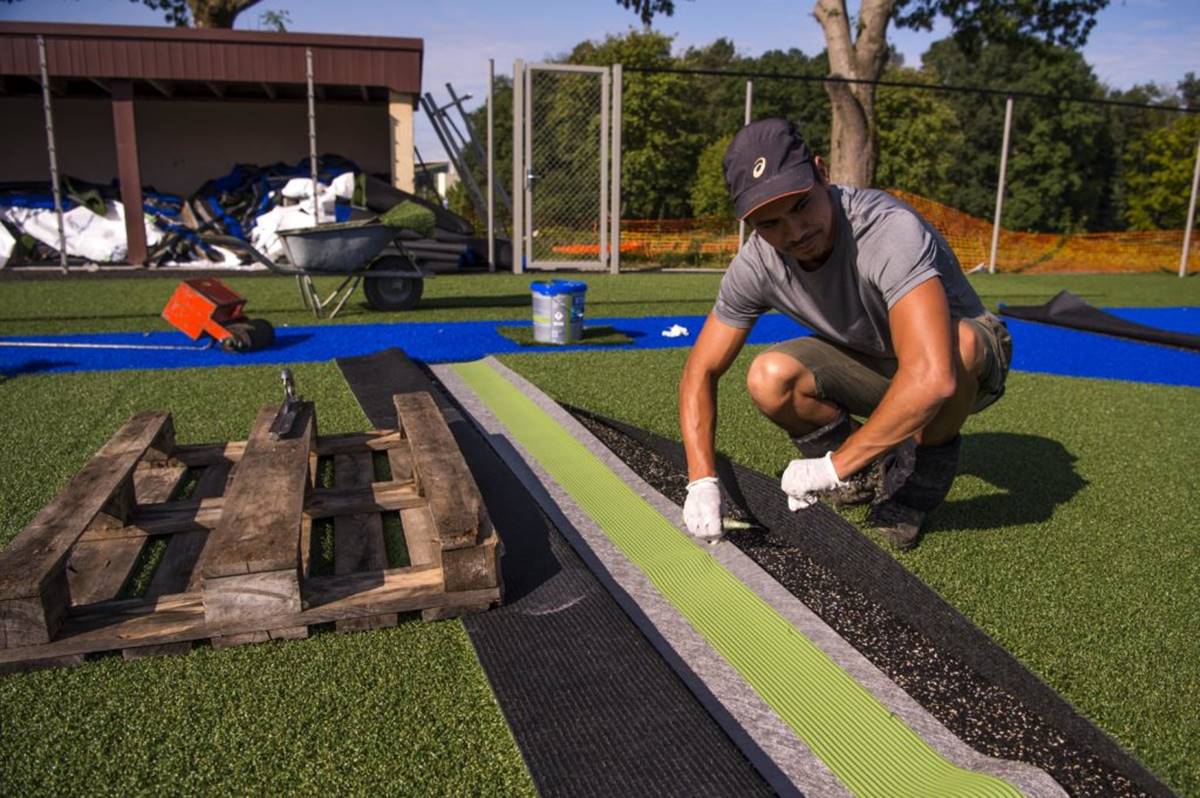
Step 4: Installing the Synthetic Grass
Now that you have prepared the base, it’s time to install the synthetic grass. Follow these steps to ensure a successful installation:
- Unroll the Turf: Start by unrolling the synthetic grass on top of the prepared base. Avoid dragging the turf to prevent misalignment or stretching.
- Trim Excess Turf: If necessary, trim any excess turf along the edges to ensure a clean and precise fit. Use a utility knife to make straight cuts.
- Align the Seams: If your installation requires multiple rolls of turf, make sure to align the seams properly. Use adhesive or seaming tape to secure the seams together, following the manufacturer’s instructions.
- Secure the Turf: Anchor the synthetic grass by inserting landscape staples or nails along the edges, spacing them every 6-8 inches. This will help to keep the turf in place during installation and prevent shifting.
- Brush or Rake: Use a broom or rake to brush the fibers of the synthetic grass against the grain. This will help the grass blades stand upright and create a more natural appearance.
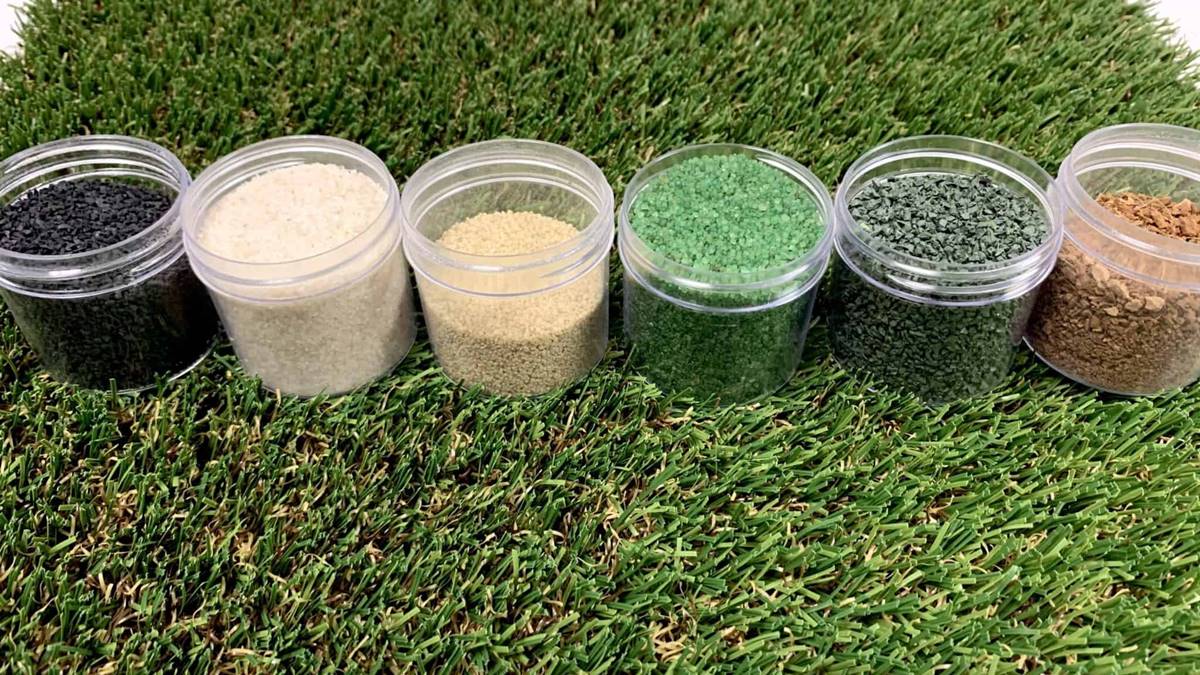
- Add Infill: Depending on the type of synthetic grass you have chosen, you may need to add infill material. Infill helps to support the fibers and provide stability. Follow the manufacturer’s instructions for the appropriate amount and type of infill.
- Distribute the Infill: Use a power broom or a stiff-bristle brush to distribute the infill evenly throughout the synthetic grass. This step will ensure proper coverage and help the infill settle between the fibers.
- Brush Again: Give the synthetic grass a final brushing to achieve a uniform, well-groomed appearance. This will help the grass blades stand upright and create a lush, realistic look.
By following these steps, you can install your synthetic grass with confidence. Taking the time to properly install the turf will result in a beautiful, durable, and long-lasting synthetic lawn for your enjoyment.
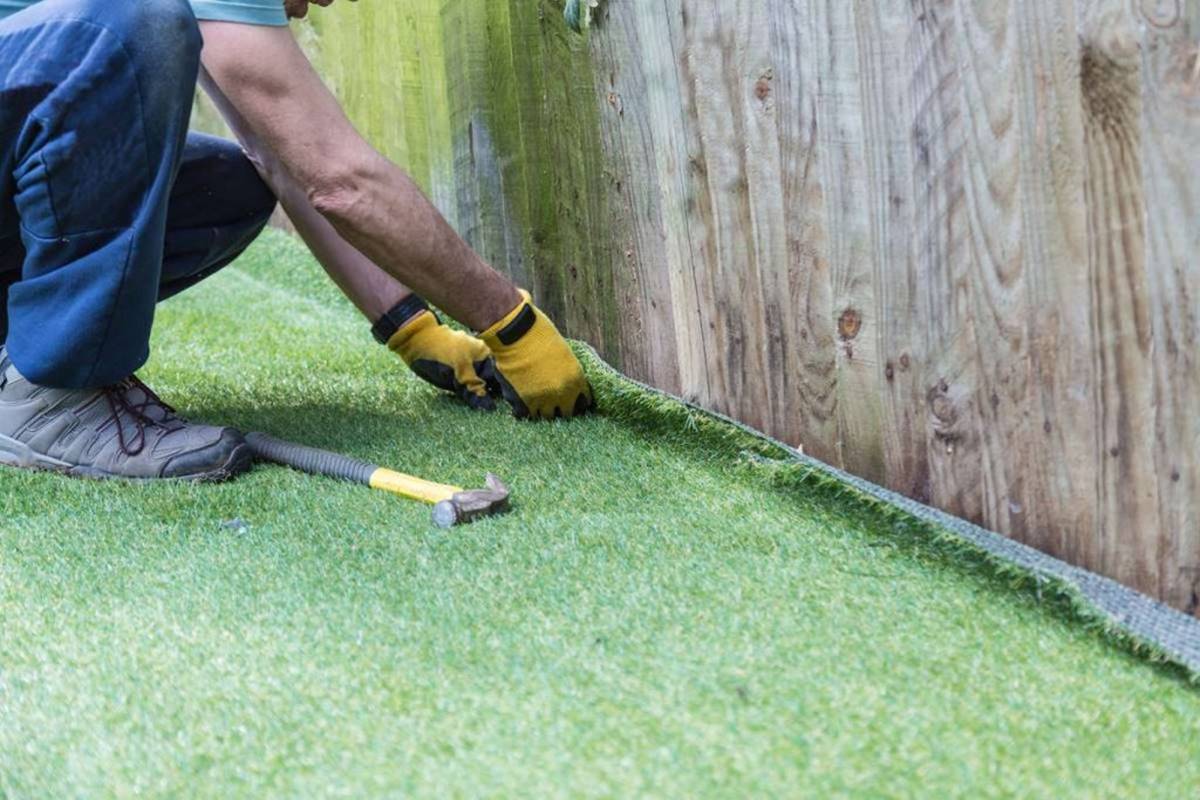
Step 5: Securing the Edges
After installing the synthetic grass, it’s important to secure the edges to ensure a clean and secure finish. Follow these steps to properly secure the edges of your synthetic grass:
- Trim Excess Edges: Trim any excess turf along the edges, leaving a clean and even edge. Use a sharp utility knife for precise cuts.
- Insert Edging Material: Depending on your preference and the specific requirements of your installation, you may choose to install edging material along the perimeter of the synthetic grass. Common edging options include bender board, plastic or metal edging, or even concrete curbing.
- Secure Edging Material: Use landscape staples or nails to secure the edging material to the ground, positioning them every few feet. This will help hold the edging in place and prevent any shifting.
- Tuck the Turf: Depending on the type of edging material used, you may need to tuck the edges of the synthetic grass under the edging. This will create a seamless and neat appearance.
- Secure with Adhesive: Apply adhesive to the edges of the synthetic grass, if required by the manufacturer. This will help secure the edges and prevent any lifting or movement.
- Brush to Blend: Once the edges are secured, use a broom or brush to blend the edges of the synthetic grass with the surrounding landscape. This will create a seamless transition and a natural-looking finish.
Securing the edges of your synthetic grass is essential for a professional and finished installation. Properly securing the edges will not only enhance the appearance of your synthetic lawn but also help prevent any tripping hazards and maintain longevity.
Step 6: Trimming and Finishing Touches
Now that the synthetic grass is installed and the edges are secured, it’s time to add the finishing touches to ensure a polished look. Follow these steps for trimming and perfecting your synthetic grass installation:
- Trim Excess Fibers: Use a utility knife or specialized artificial grass scissors to trim any long or uneven fibers along the surface of the synthetic grass. This step will help create a uniform and well-groomed appearance.
- Blend Seam Lines: If your installation required joining multiple rolls of synthetic grass, take the time to blend the seam lines for a seamless look. Use a stiff brush to blend the fibers and soften any visible lines.
- Inspect for Imperfections: Take a thorough look at the entire synthetic grass surface and inspect for any visible imperfections or irregularities. Address any issues promptly by adjusting the fibers or making necessary adjustments.
- Brush for Natural Appearance: Use a power broom or a stiff-bristle brush to brush the synthetic grass against the grain. This step will help the grass blades stand upright and create a more natural appearance.
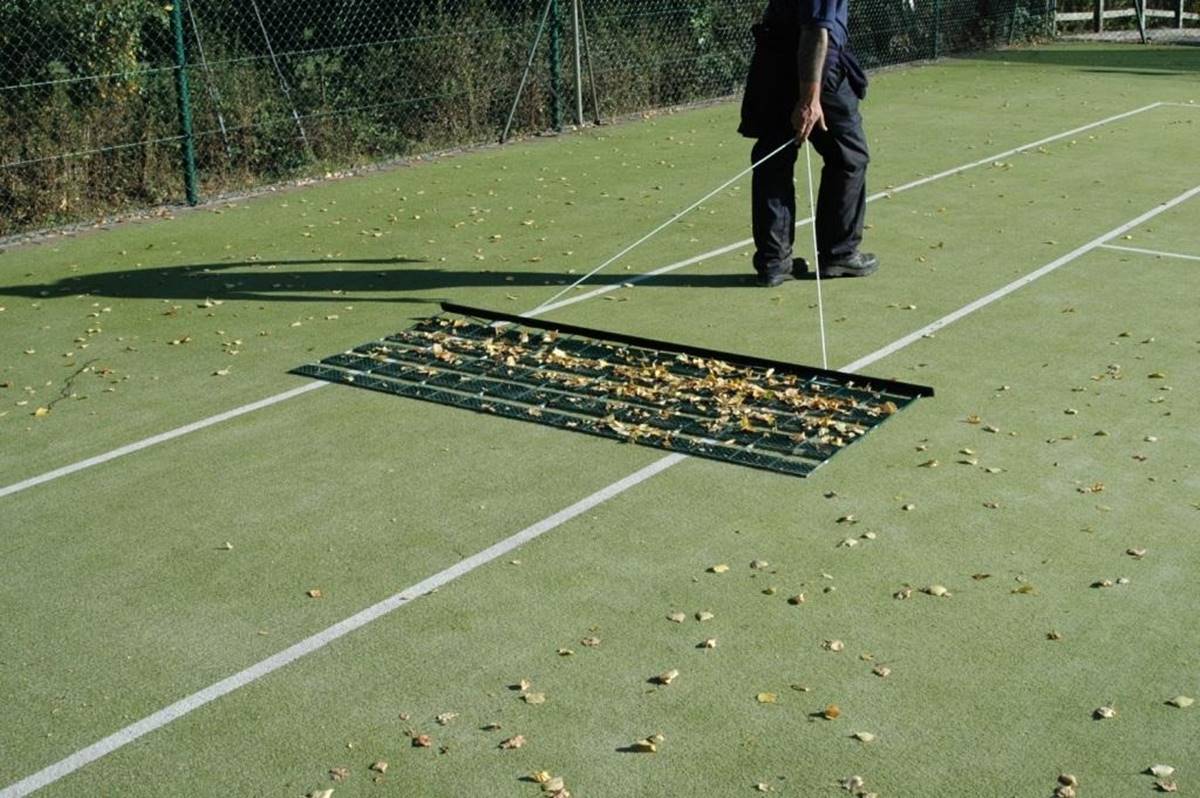
- Remove Debris: Clear the synthetic grass of any debris or fallen leaves using a leaf blower or a gentle rake. Regularly removing debris will help maintain the cleanliness and appearance of your synthetic grass.
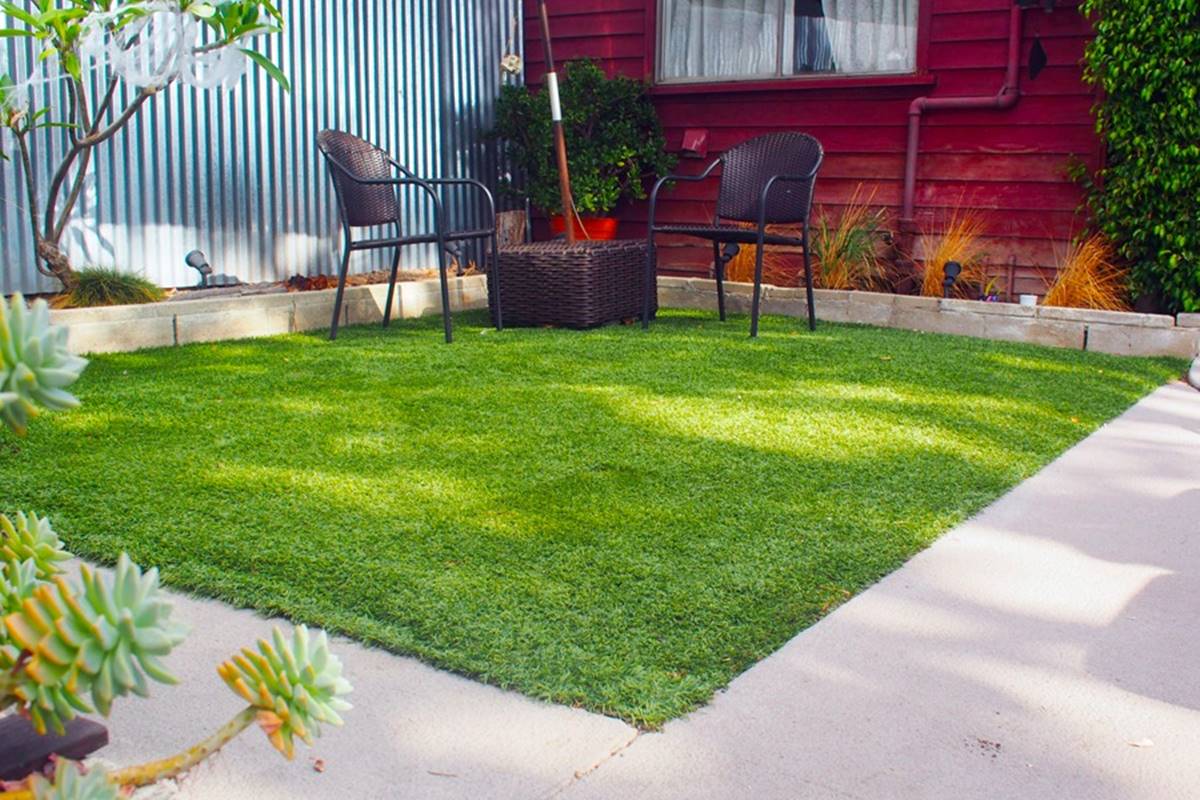
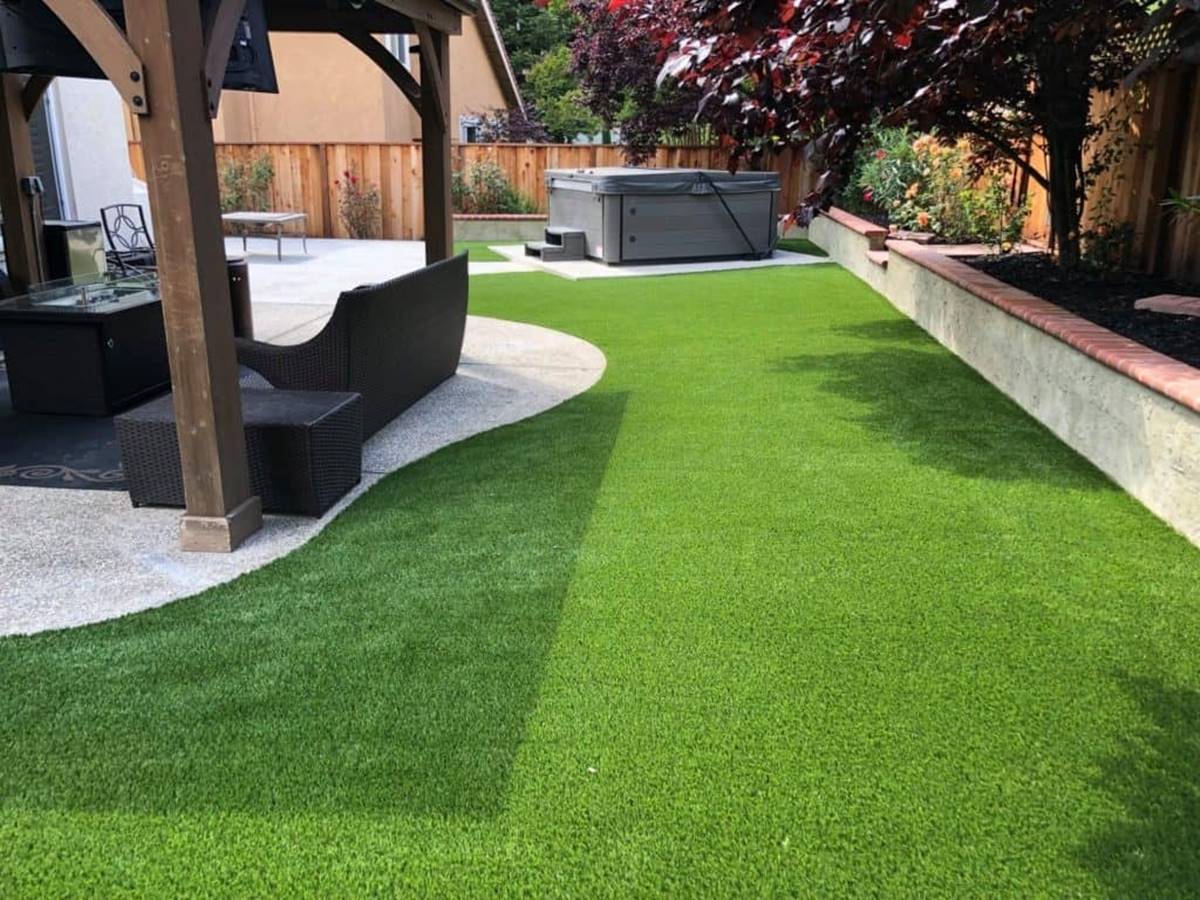
- Enjoy Your New Synthetic Lawn: With the trimming and finishing touches complete, it’s time to sit back, relax, and enjoy your new synthetic lawn. Take pride in the low maintenance and long-lasting beauty it provides throughout the year.
By following these final steps, you can ensure that your synthetic grass installation looks immaculate and ready to be enjoyed. Proper trimming and finishing touches will further enhance the natural appearance and longevity of your synthetic lawn.
Read more: How To Clean Synthetic Grass For Dogs
Conclusion
Congratulations! You have successfully learned how to measure for synthetic grass installation and complete the necessary steps to achieve a professional-looking result. By following the outlined process, you can enjoy the benefits of a low-maintenance, lush, and green lawn all year round.
Synthetic grass offers numerous advantages over natural grass, including minimal maintenance, water savings, durability in all weather conditions, and an eco-friendly approach. With the right tools, materials, and techniques, you can transform your outdoor space into a beautiful and functional area without the hassle of traditional lawn upkeep.
Remember to measure accurately to ensure you order the right amount of synthetic grass and prepare the area properly by clearing the space and creating a solid base. Installing the synthetic grass and securing the edges will provide a clean and secure finish, while trimming and adding finishing touches will give your lawn a polished look.
Always refer to the manufacturer’s instructions and seek expert advice if needed. Prioritize safety, and make sure to use appropriate tools and protective gear throughout the installation process.
Now it’s time to sit back, relax, and enjoy your beautiful synthetic lawn. Spend more time enjoying your outdoor space and less time worrying about maintenance. With proper care and regular cleaning, your synthetic grass will continue to enhance your surroundings for years to come.
So go ahead, invite friends and family over, host outdoor gatherings, and create lasting memories on your new synthetic lawn. Cheers to a beautiful and hassle-free outdoor space!
Frequently Asked Questions about How To Measure For Synthetic Grass
Was this page helpful?
At Storables.com, we guarantee accurate and reliable information. Our content, validated by Expert Board Contributors, is crafted following stringent Editorial Policies. We're committed to providing you with well-researched, expert-backed insights for all your informational needs.


0 thoughts on “How To Measure For Synthetic Grass”