Articles
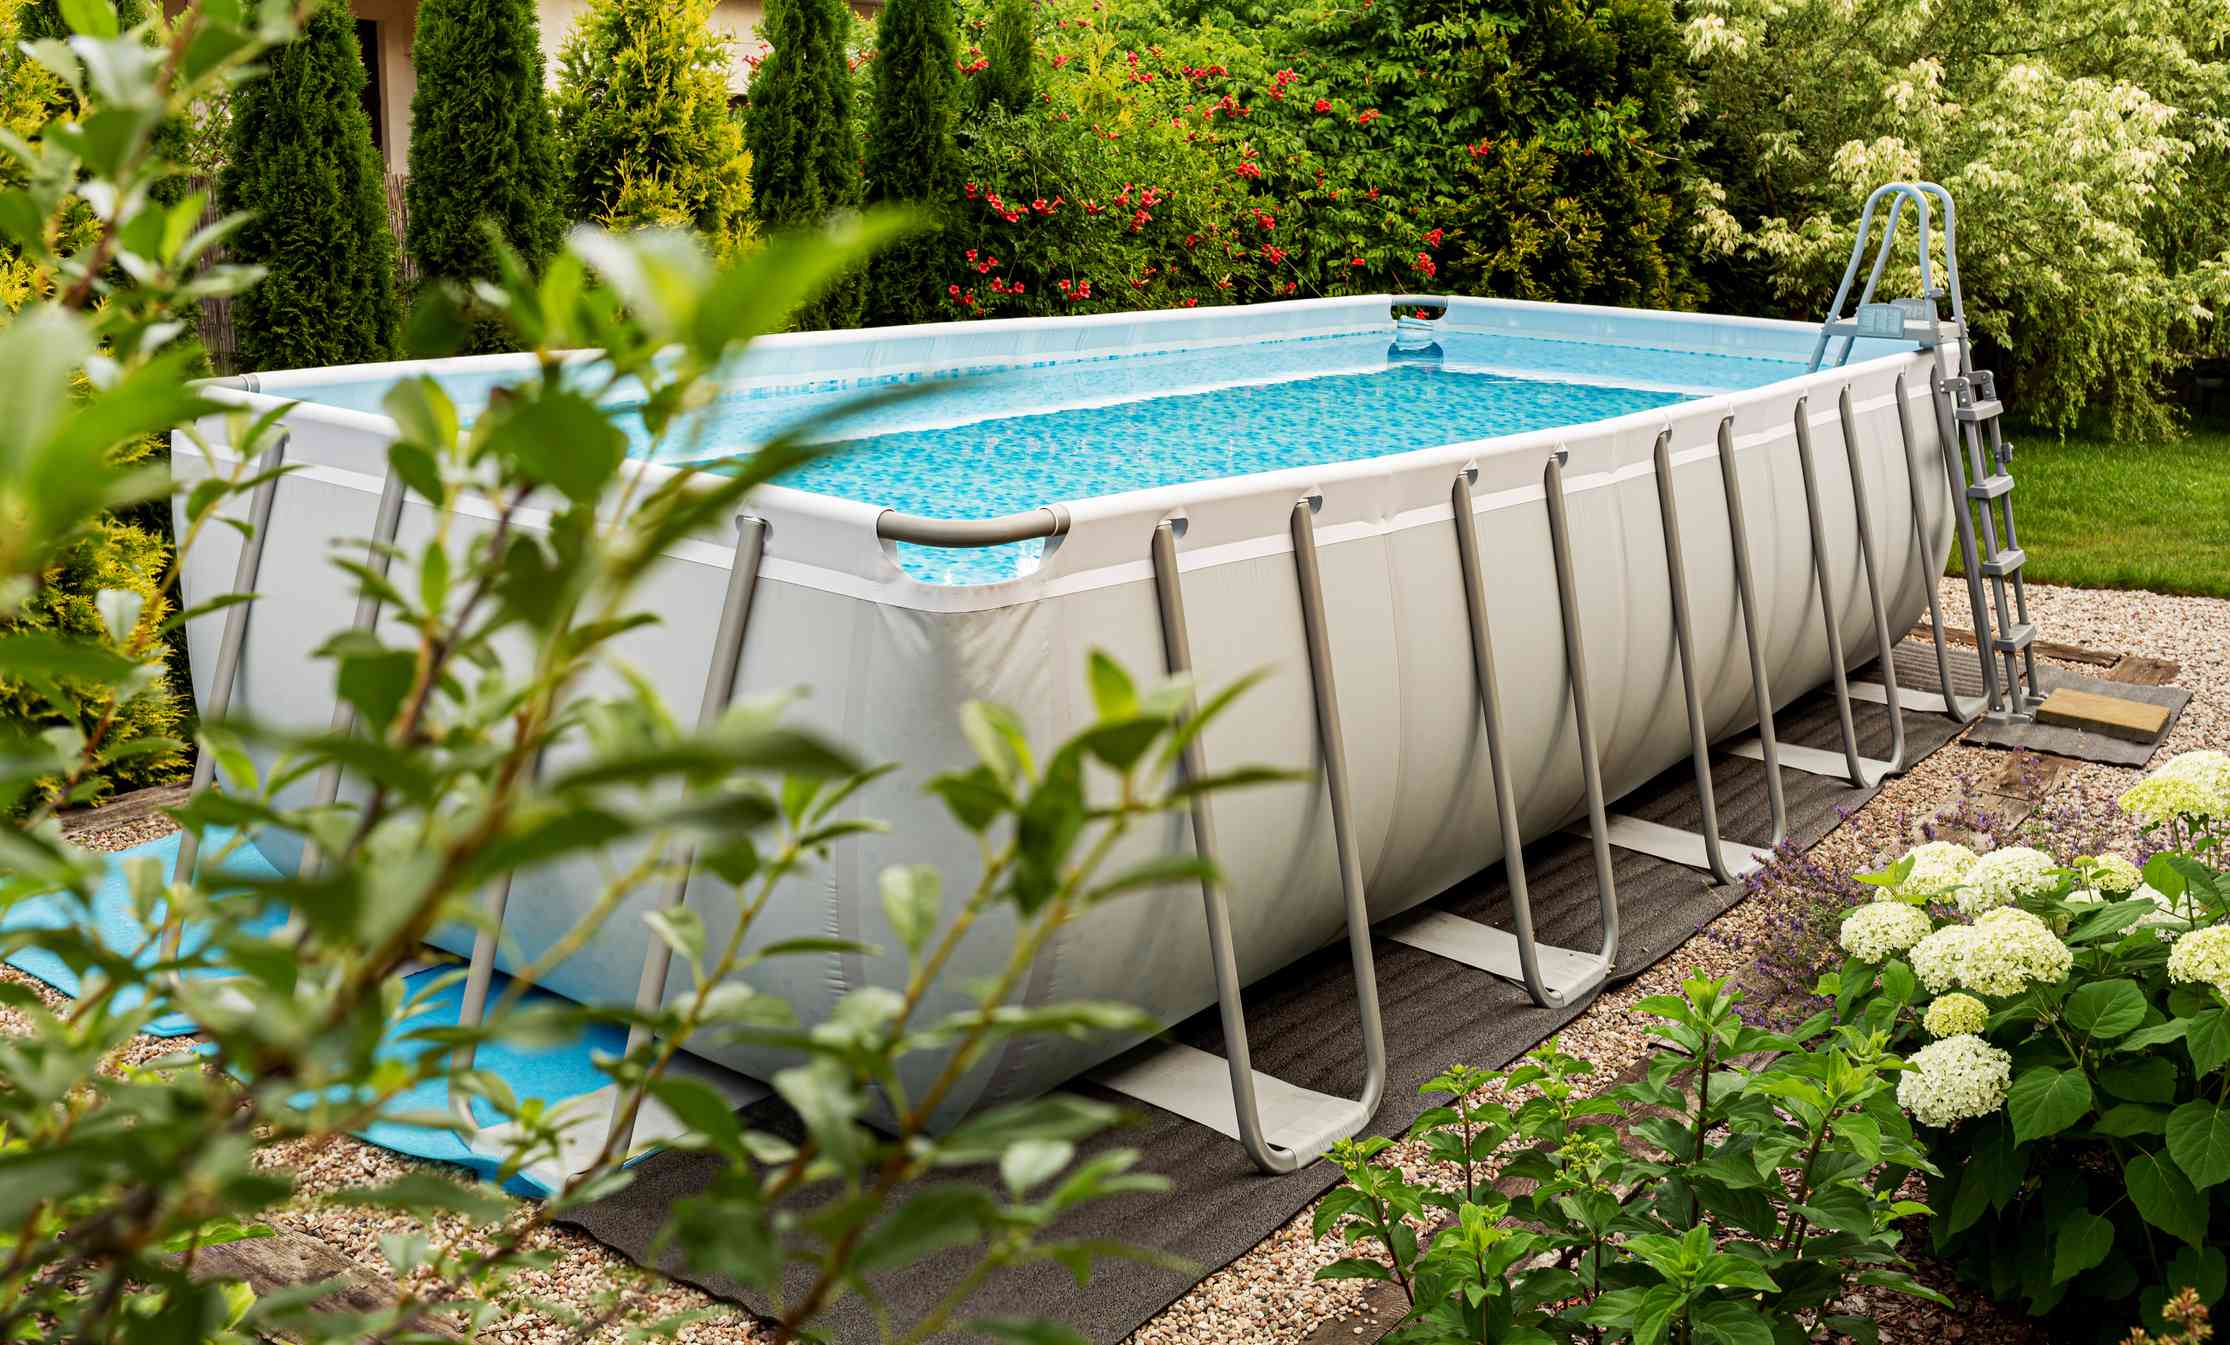
How To Store Above Ground Pool For Winter
Modified: February 28, 2024
Learn how to properly store your above ground pool for the winter in this informative article. Follow these steps to protect your pool and ensure it's ready for next season.
(Many of the links in this article redirect to a specific reviewed product. Your purchase of these products through affiliate links helps to generate commission for Storables.com, at no extra cost. Learn more)
Introduction
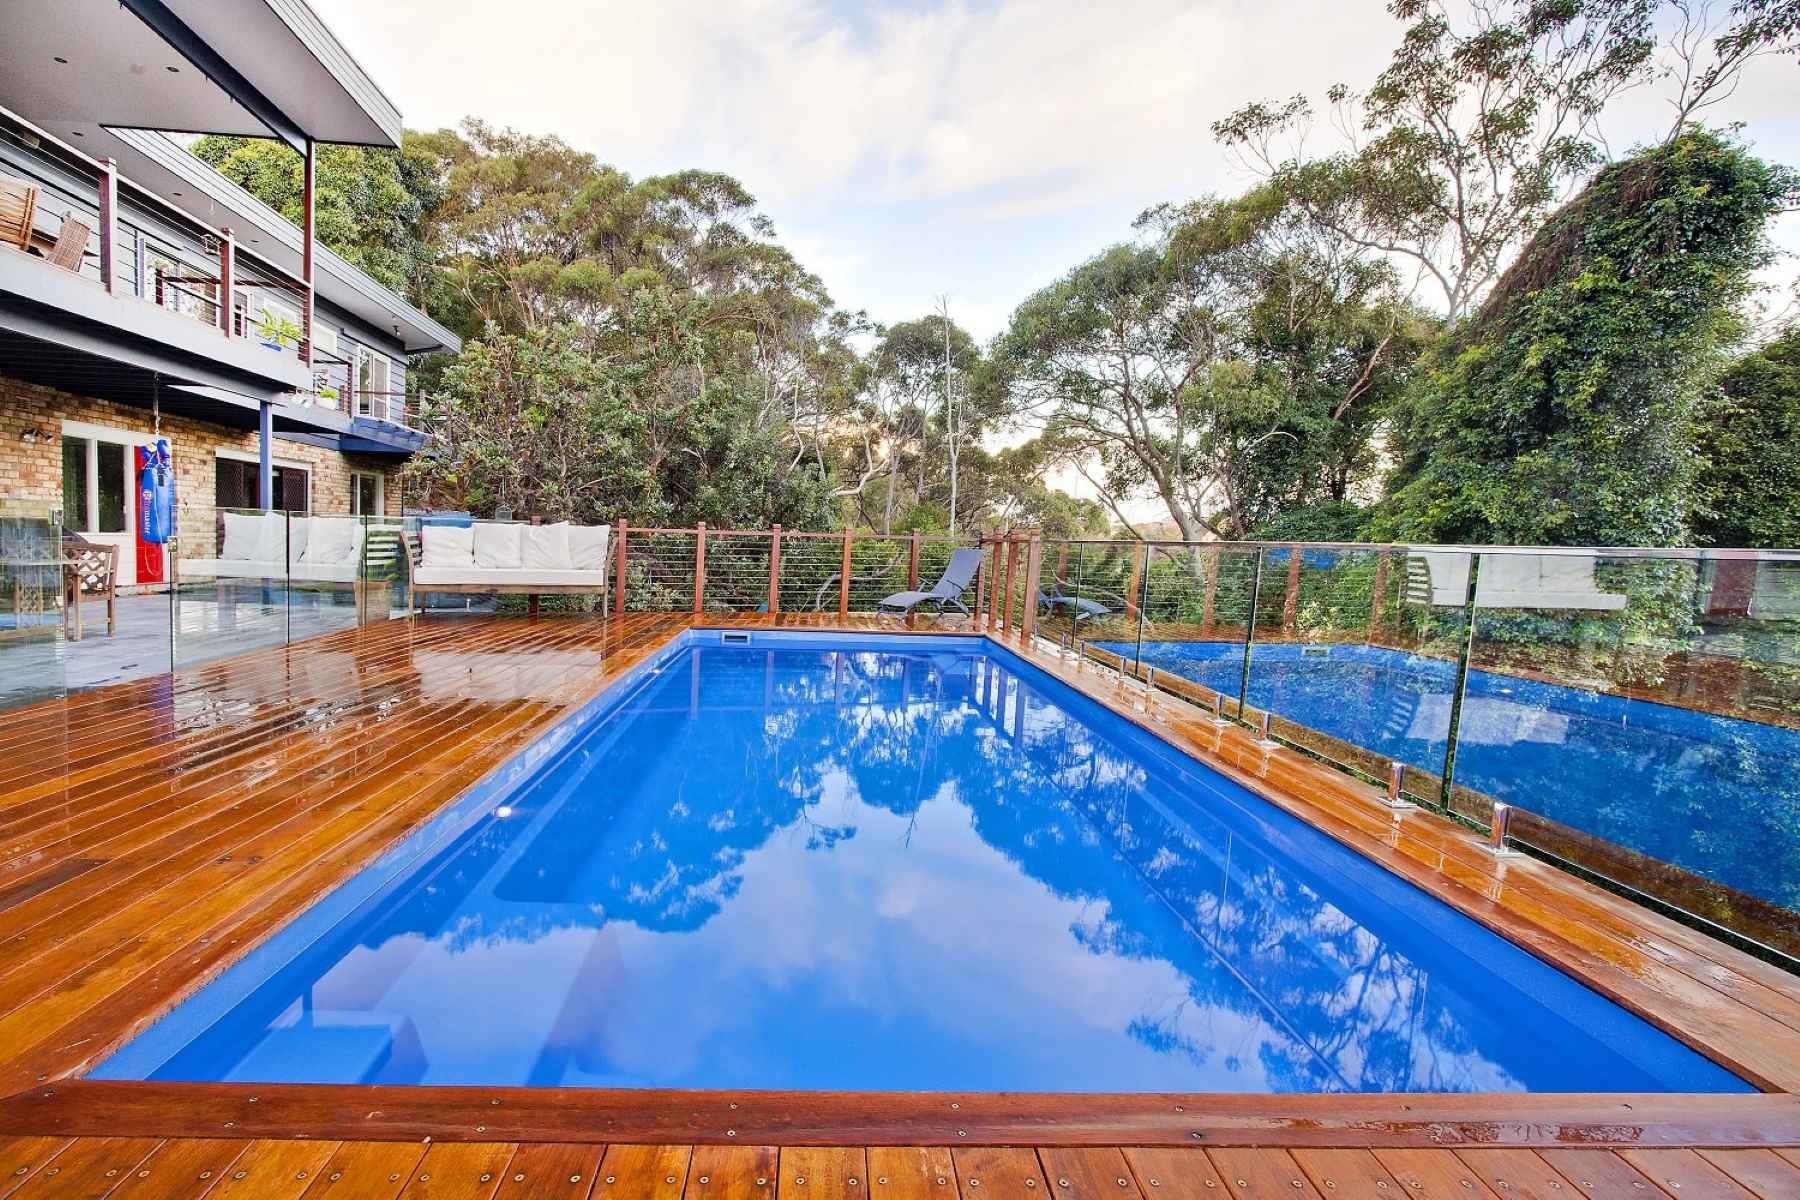
Welcome to our comprehensive guide on how to store an above ground pool for winter! As the summer season comes to a close, it’s time to start thinking about preparing your pool for the colder months ahead. Properly storing your above ground pool during winter not only protects it from potential damage but also ensures it will be ready for use when the warmer weather returns. In this article, we will walk you through the step-by-step process of winterizing and storing your above ground pool, so let’s dive in!
Key Takeaways:
- Properly winterizing and storing your above ground pool is essential to protect it from damage and ensure a fresh and healthy pool when warmer weather returns. Thorough cleaning, draining, disassembling, and regular maintenance are key steps in the process.
- Protecting and maintaining your pool during winter is crucial for its longevity. Regularly removing debris from the pool cover, inspecting for damage, and ensuring proper water balance are vital tasks. Adequate preparation for spring ensures a smooth transition into the swimming season.
Step 1: Clean and Prepare the Pool
Before you begin the winterization process, it’s important to thoroughly clean your above ground pool. Start by removing any debris, such as leaves, twigs, and insects, from the surface of the water using a pool skimmer or net. You can also use a pool vacuum to clean the bottom of the pool and remove any dirt or sediment that may have accumulated.
Once the pool is free of debris, it’s time to balance the water chemistry. Test the water using a pool testing kit to check the pH, chlorine levels, alkalinity, and other chemical levels. Adjust these levels as necessary to ensure the water is balanced and safe for storage.
Next, shock the pool with a pool shock treatment to kill any bacteria or algae that may be present in the water. Follow the instructions on the pool shock product for the appropriate dosage and application method. This will help prevent any potential growth or contamination during the winter months.
After the pool has been shocked, it’s recommended to add a winterizing algaecide to further protect against any algae growth. This will help keep the water clear and prevent any unsightly stains or discoloration.
Lastly, clean the pool’s filtration system. This includes backwashing the filter, emptying and cleaning the skimmer and pump baskets, and removing any debris from the filter cartridges. A clean and properly functioning filtration system is essential for maintaining the water quality during winter storage.
By thoroughly cleaning and preparing your above ground pool before winterizing, you’ll ensure a fresh and healthy pool when you’re ready to reopen it in the spring. Now that your pool is clean and balanced, let’s move on to the next step: draining the pool.
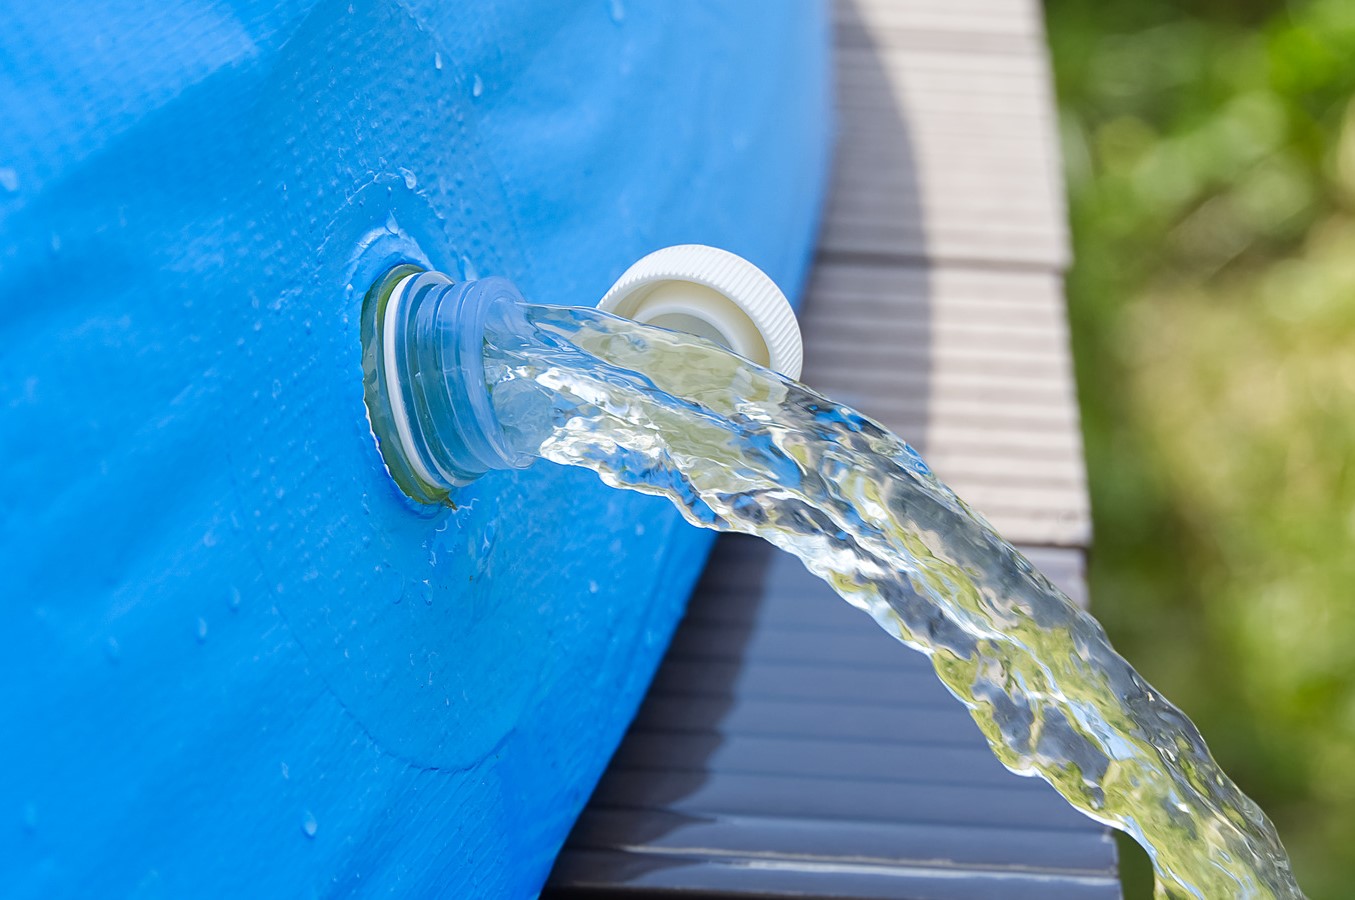
Step 2: Drain the Pool
Once you have cleaned and prepared the pool, it’s time to drain the water. Start by turning off the pool’s circulation system and disconnecting any hoses or pipes. If you have a drain plug, remove it to allow the water to flow out.
There are different methods to drain an above ground pool, depending on its size and the available drainage options. One common method is to use a submersible pump to remove the water. Place the pump in the deepest part of the pool and connect a hose to the pump’s outlet. Direct the hose towards a suitable drainage area, away from your house or any structures that could be damaged by the water.
If you don’t have a submersible pump, you can also use a siphon to drain the water. Place one end of a hose in the pool and the other end in a lower area outside of the pool area. By creating suction and letting gravity do its work, the water will start to flow out of the pool.
While draining the pool, be mindful of local regulations regarding the disposal of pool water. Some areas require you to drain the water into a sanitary sewer, while others permit you to drain it onto your property or into a storm drain system. Make sure to check with your local authorities to ensure you are following the correct guidelines.
Allow the pool to drain completely before moving on to the next step. This may take several hours or even a day, depending on the size of your pool and the drainage method used.
Now that the pool is drained, it’s time to remove the equipment and accessories. This brings us to step three: removal of equipment and accessories.
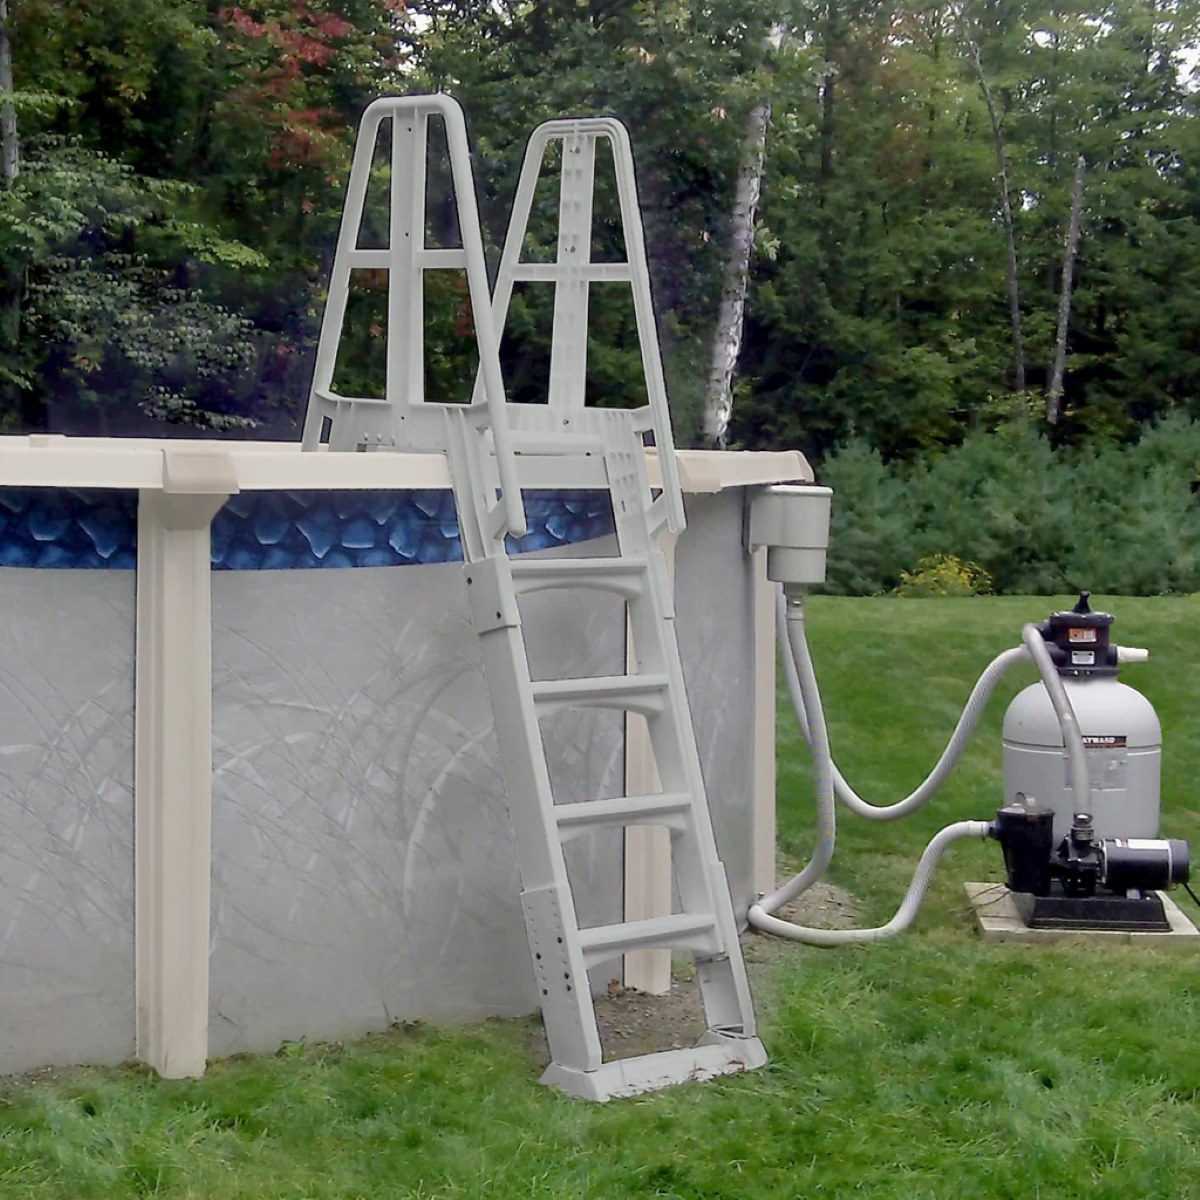
Step 3: Remove Equipment and Accessories
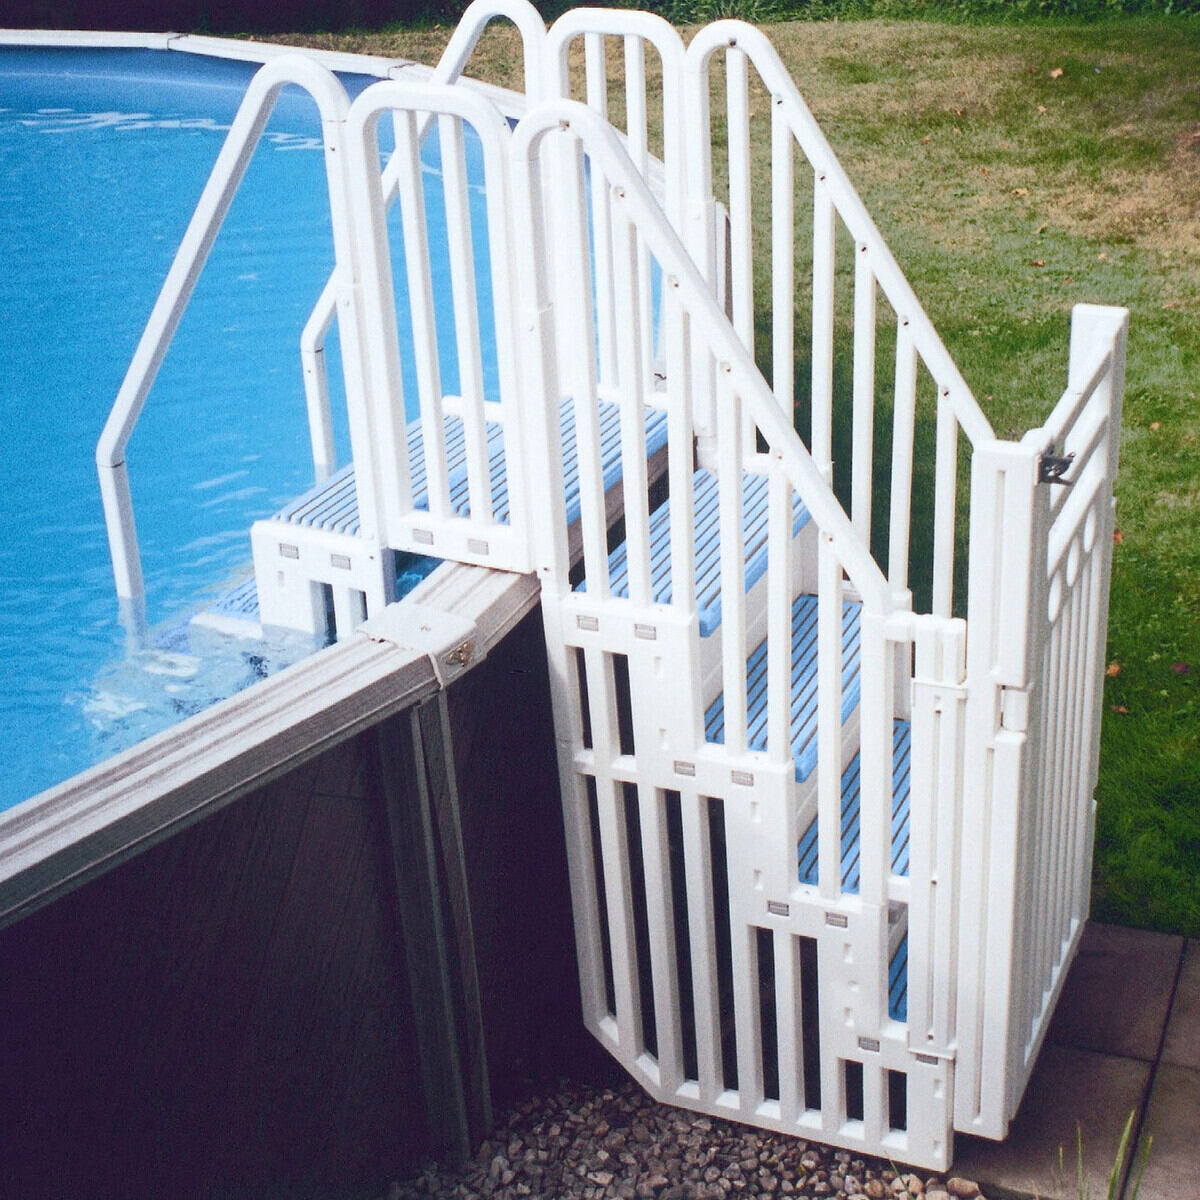
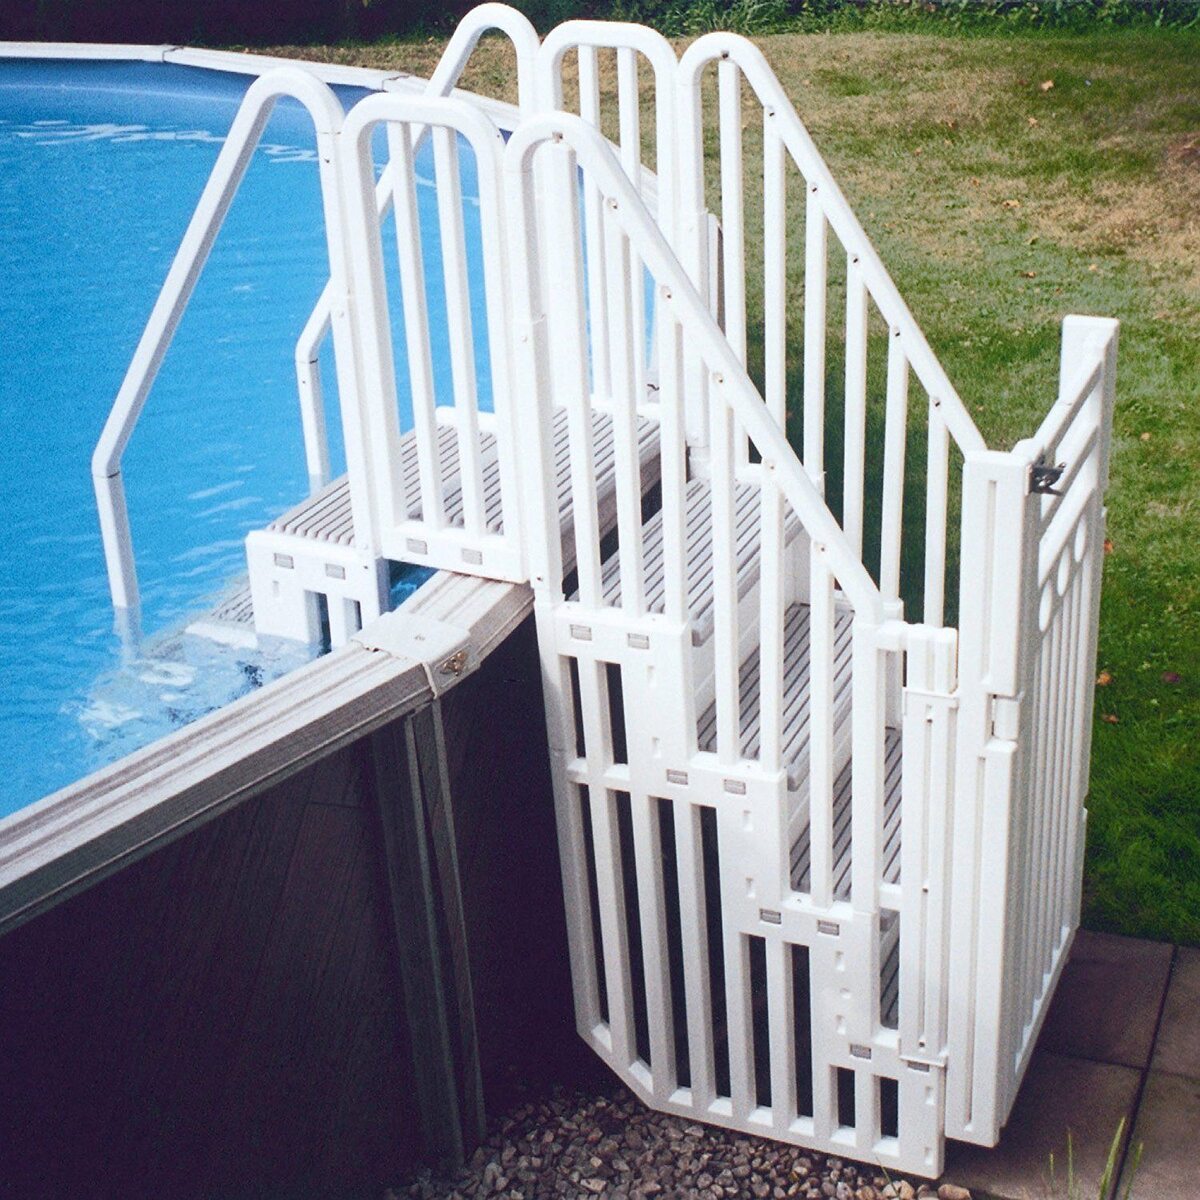
With the pool drained, it’s time to remove all the equipment and accessories. Start by disconnecting and removing the pool ladder, if you have one. Depending on the type of ladder, this may involve unscrewing bolts or simply lifting it out of the pool.
Next, remove any other equipment such as skimmers, pumps, and filters. Disconnect hoses and pipes from the equipment and carefully drain them to remove any excess water. Clean and dry the equipment thoroughly to prevent any mold or mildew growth.
If you have a pool cover, remove it as well. Take this opportunity to inspect the cover for any damage or wear and tear. Clean the cover if necessary and store it in a dry place until it’s time to use it again.
Don’t forget to remove any pool toys, floats, and other accessories from the pool as well. Give them a thorough cleaning and store them in a safe place, away from the elements.
By removing the equipment and accessories from the pool, you’ll protect them from potential damage during the winter months. It also gives you the opportunity to clean and inspect each item, ensuring they’re in good condition for future use.
Now that the pool is empty and devoid of equipment, it’s time to move on to step four: disassembling the pool.
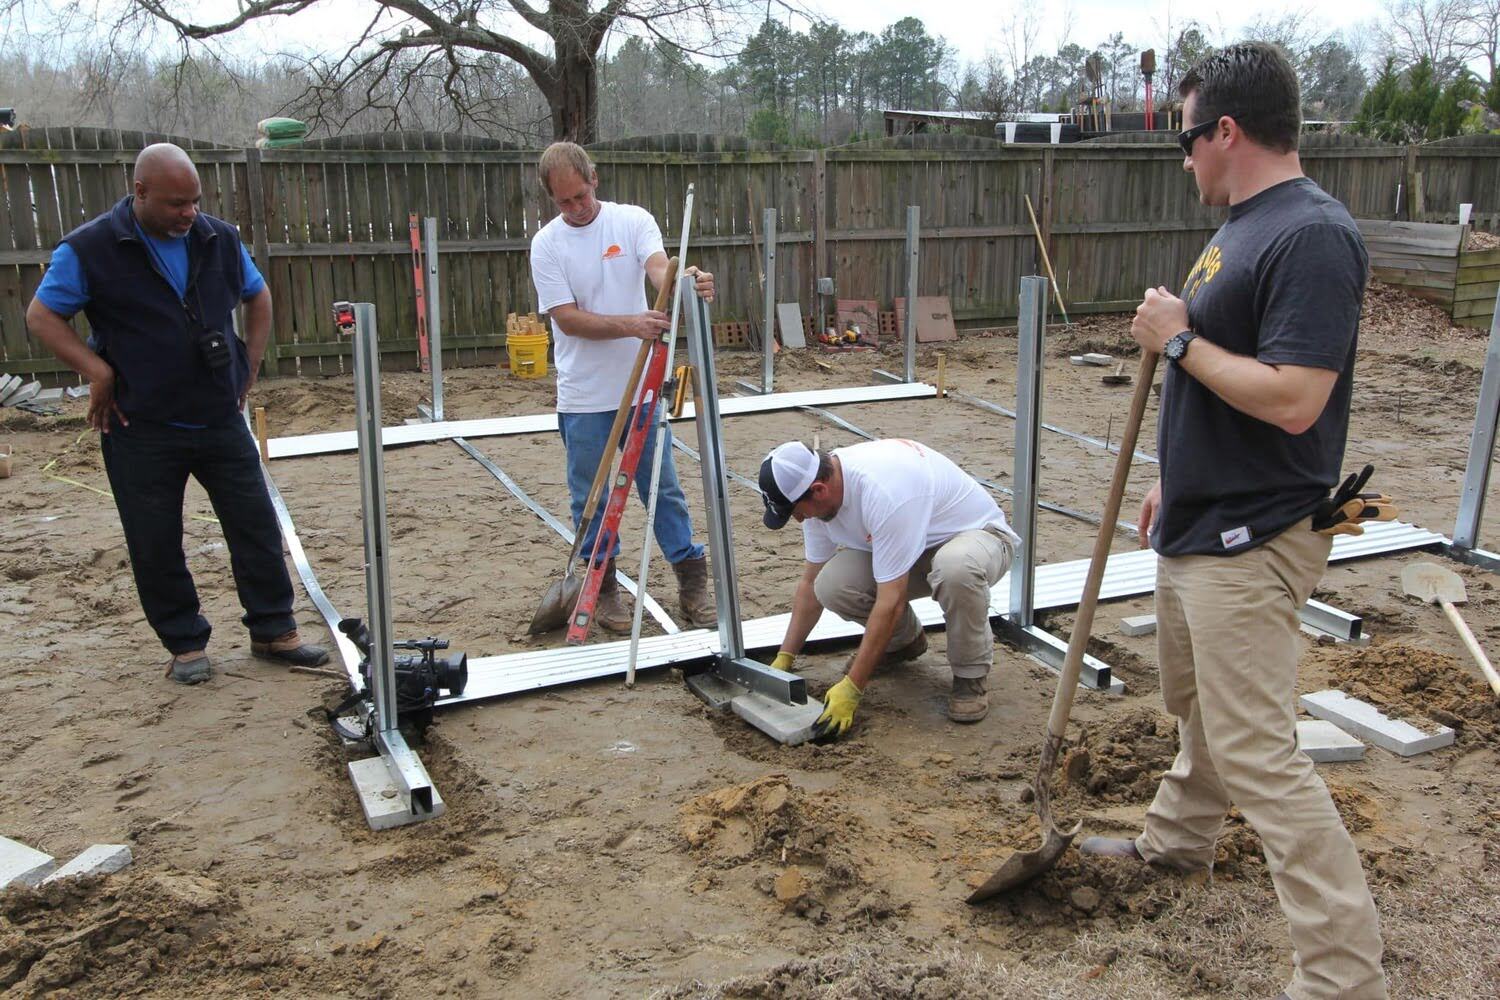
Step 4: Disassemble the Pool
Now that the pool is drained and the equipment and accessories have been removed, it’s time to disassemble the pool itself. Start by removing the top rail or coping of the pool, which may be held in place by screws or clips. Carefully remove each piece, making note of their placement for easier reassembly in the future.
Once the top rail is removed, you can begin disassembling the wall panels of the pool. Depending on the type of above ground pool you have, this may involve unlocking or loosening the panel connectors and lifting them out of the track.
As you remove each wall panel, be sure to clean and dry it thoroughly before storing it. Inspect the panels for any damage or signs of wear and tear. If you notice any issues, make a note to address them before reassembling the pool in the spring.
Continue removing the panels until the entire pool structure is disassembled. Be cautious when handling the panels, as they can be heavy and unwieldy. Enlist the help of a friend or family member if needed.
Once the pool is fully disassembled, organize and store the panels in a dry and secure location, away from any potential damage. Keep all the necessary hardware, such as screws or clips, in a labeled bag or container, making it easier to find when you need to reassemble the pool.
With the pool disassembled and stored, you’re one step closer to safely storing your above ground pool for winter. The next step is to clean and dry the pool components, which we’ll cover in step five.
Read more: How To Store Above Ground Pool
Step 5: Clean and Dry the Pool Components
Now that the pool is disassembled and safely stored, it’s time to focus on cleaning and drying the pool components. Start by thoroughly cleaning the pool liner or bottom surface. Scrub away any residue, dirt, or algae that may have accumulated during the pool season using a pool brush or a soft cloth. Rinse the surface with clean water to remove any cleaning agents.
Next, inspect the pool liner for any tears, holes, or damage. If you find any, make note of them and plan to address the repairs before reassembling the pool in the spring. Patching kits are readily available at most pool supply stores.
After cleaning the pool liner, move on to cleaning and drying the other pool components such as the pump, filter, and skimmer. Use a mild detergent and water to clean these items, making sure to remove any debris or buildup. Rinse them thoroughly and allow them to completely dry before storing.
If you have a sand filter, it’s important to properly clean and backwash it before winterizing. Refer to the manufacturer’s instructions for specific steps on how to clean and maintain your sand filter.
Ensure that all parts are fully dry to prevent any mold or mildew growth during storage. Moisture can cause damage and affect the performance of the pool components.
Once everything is clean and dry, store the pool components in a clean and dry location. You can use plastic storage bins, bags, or dedicated storage containers to keep them organized and protected from dust and moisture.
By cleaning and drying the pool components before storage, you’ll ensure that they are in good condition and ready to use when it’s time to set up the pool again in the spring. The next step is to store the pool components, which we will discuss in step six.
Before storing your above ground pool for winter, make sure to thoroughly clean and dry the pool, remove any accessories, and cover it with a durable pool cover to protect it from the elements. Additionally, consider using an air pillow to prevent ice damage.
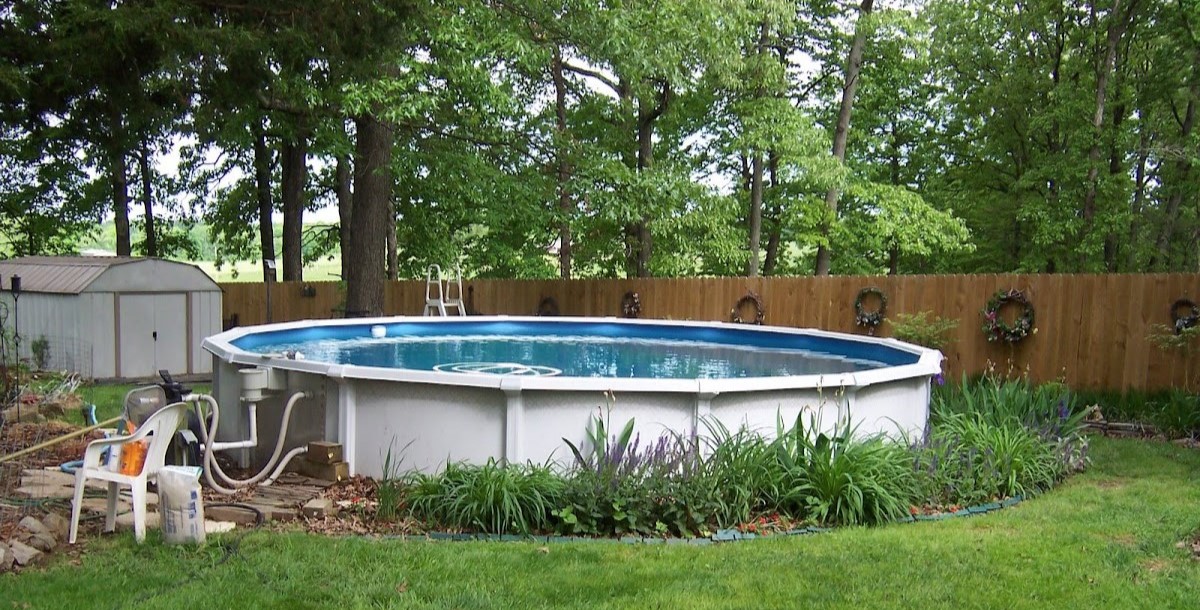
Step 6: Store the Pool Components
Now that the pool components are clean and dry, it’s time to properly store them for the winter. Choose a clean and dry area for storage, such as a garage, basement, or storage shed.
If you have disassembled the pool panels, stack them neatly in an upright position to save space. Make sure to keep them in a location where they won’t be exposed to extreme temperatures, moisture, or sunlight, as these can cause damage over time.
Store the pool liner in a cool and dry place, away from direct sunlight. You can roll it up loosely and secure it with bungee cords or straps to keep it compact. Avoid folding the liner, as this can create creases and potentially damage the material.
For smaller pool components like the pump, filter, and skimmer, place them in waterproof storage containers or sealable plastic bags. Label each container or bag with its contents for easy identification in the future. Store them in a location where they won’t be subjected to freezing temperatures.
Ensure that all hoses, pipes, and connectors are completely dry before storing them. You can coil them neatly and secure them with zip ties or twist ties to keep them organized. Store them in a place where they won’t be crushed or damaged.
It’s also a good idea to store any pool maintenance tools, such as brushes, nets, and vacuum heads, in the same storage area. This will keep everything together and easily accessible when you’re ready to set up the pool again.
By properly storing the pool components in a clean and dry space, you’ll prolong their lifespan and ensure they’re in good condition for the next pool season.
Now that the pool components are safely stored, it’s time to move on to step seven: covering and securing the pool.
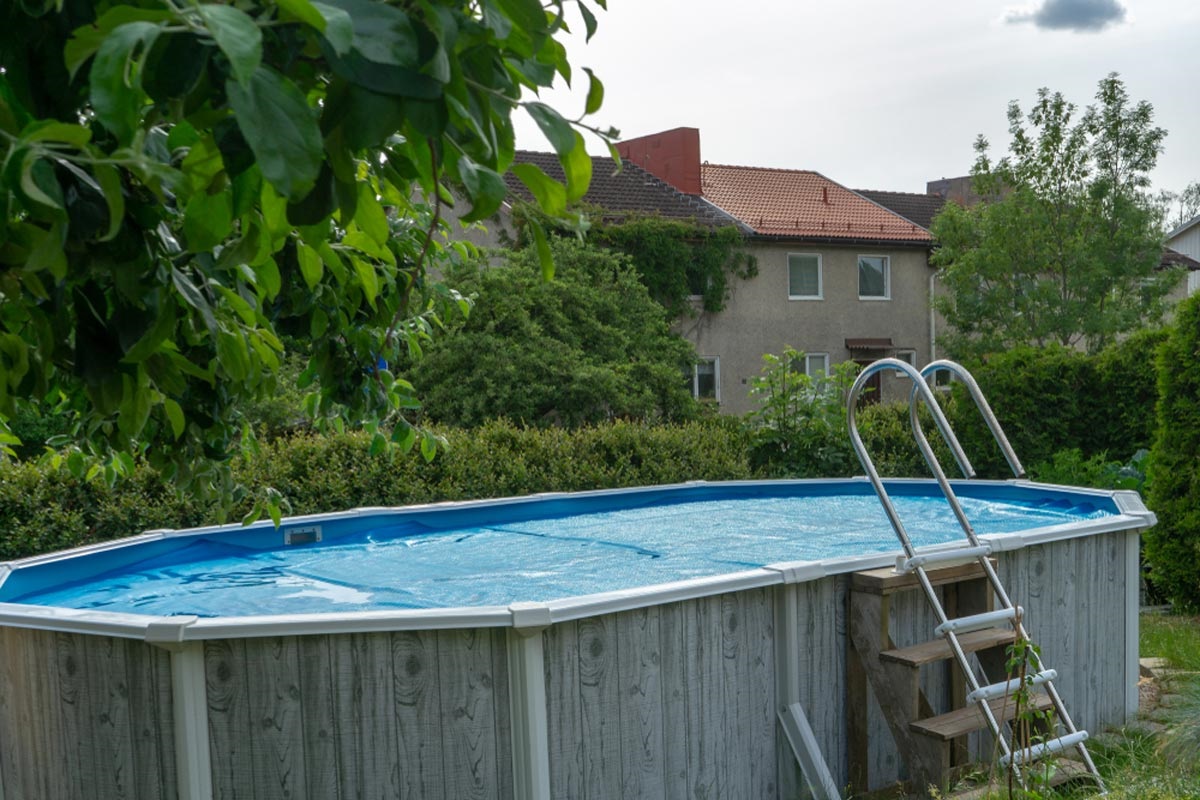
Step 7: Cover and Secure the Pool
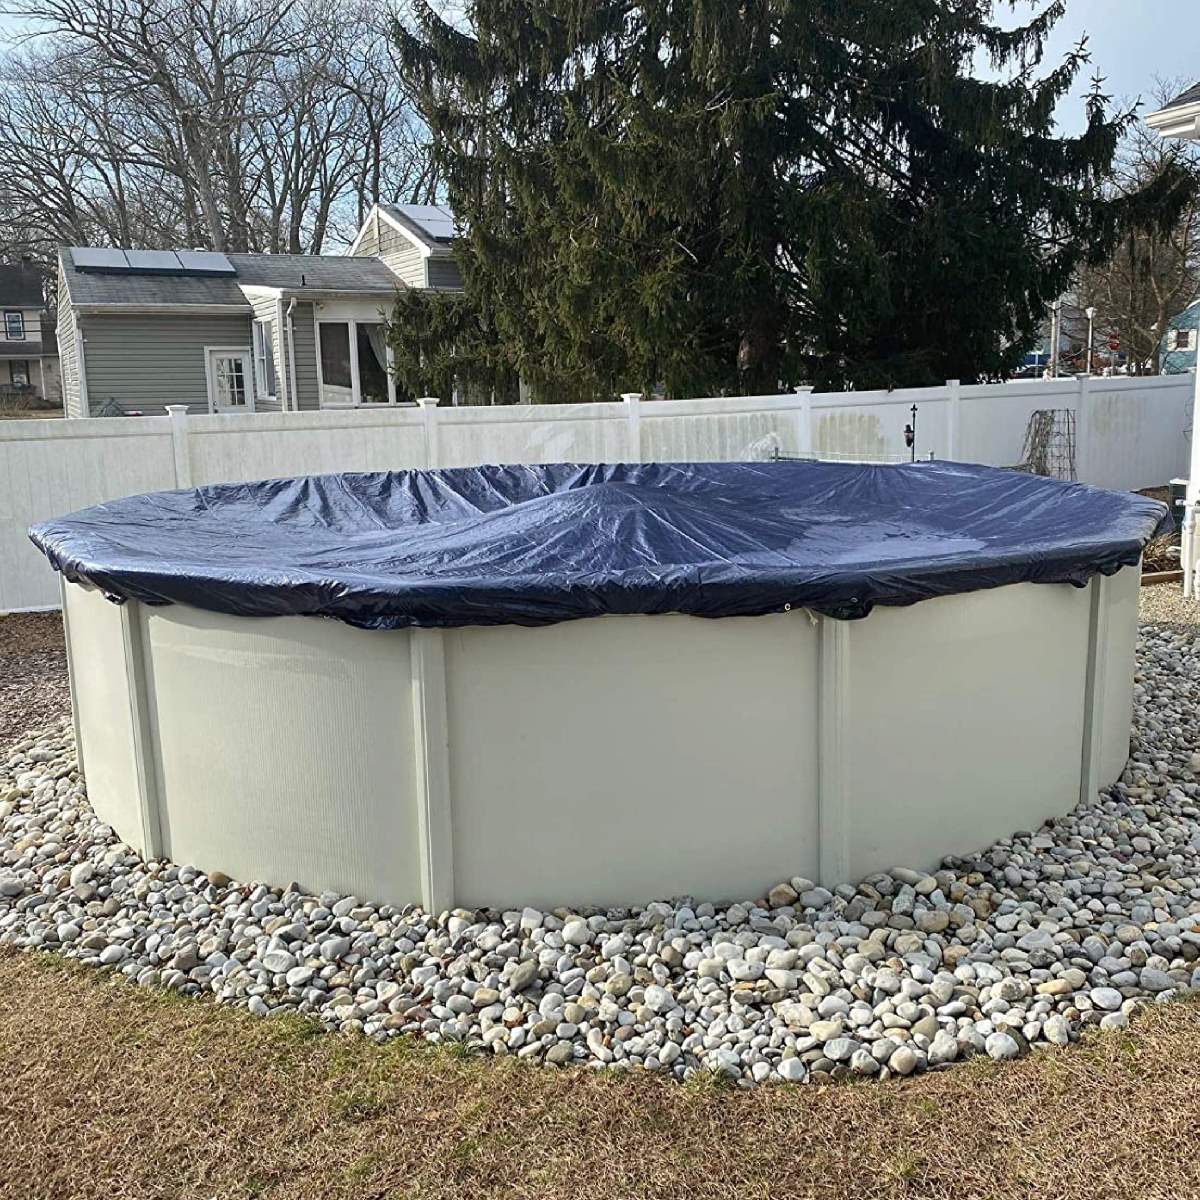
After the pool components are stored, it’s time to cover and secure the pool to protect it from debris, harsh weather conditions, and unwanted critters. A pool cover serves as a protective barrier and helps maintain the cleanliness of the pool during the winter months.
Choose a high-quality pool cover that is specifically designed for above ground pools. Make sure it fits securely over the pool and is able to withstand wind, rain, and snow. There are different types of pool covers available, such as solid covers or mesh covers, each with its own advantages.
Prior to covering the pool, ensure that the pool’s surface is clean and dry. This will help prevent the growth of mold or mildew underneath the cover. Remove any leaves, debris, or dirt that may have accumulated.
Carefully place the pool cover over the pool, making sure it is centered and taut. Secure the cover using the provided straps, or use water bags or weighted objects to hold it in place. This will prevent it from sagging or blowing off during strong winds.
Check the cover periodically throughout the winter season to ensure it remains secure and free of any tears or damage. Remove any excess water or debris that may accumulate on top of the cover to prevent it from sagging or putting unnecessary strain on the pool structure.
By covering and securing the pool, you’ll not only protect it from dirt and debris but also help prevent any potential damage caused by winter weather conditions.
Now that the pool is covered and secure, we move on to step eight: protecting the pool during winter.
Step 8: Protect the Pool During Winter
Protecting the pool during winter is crucial to ensure its longevity and minimize potential damage. Here are some important steps to follow:
- Regularly remove any debris, such as leaves or branches, that may accumulate on the pool cover. This will prevent excessive weight and stress on the cover.
- Inspect the pool cover regularly for any tears or damage. Repair or replace it as necessary to maintain its effectiveness.
- Be cautious of heavy snow accumulation on the pool cover. Use a pool cover pump or carefully remove the snow to prevent excessive weight on the cover and potential damage to the pool structure.
- Monitor the water level on top of the pool cover. Excessive water accumulation can lead to sagging or damage. Use a pool cover pump to remove any excess water if needed.
- Keep an eye on the pool cover’s straps or fasteners to ensure they remain secure and intact. Replace any damaged or worn-out straps to maintain proper cover tension.
- If you live in an area with freezing temperatures, use a pool antifreeze to protect the pool plumbing system. Follow the manufacturer’s instructions for proper application and dosage.
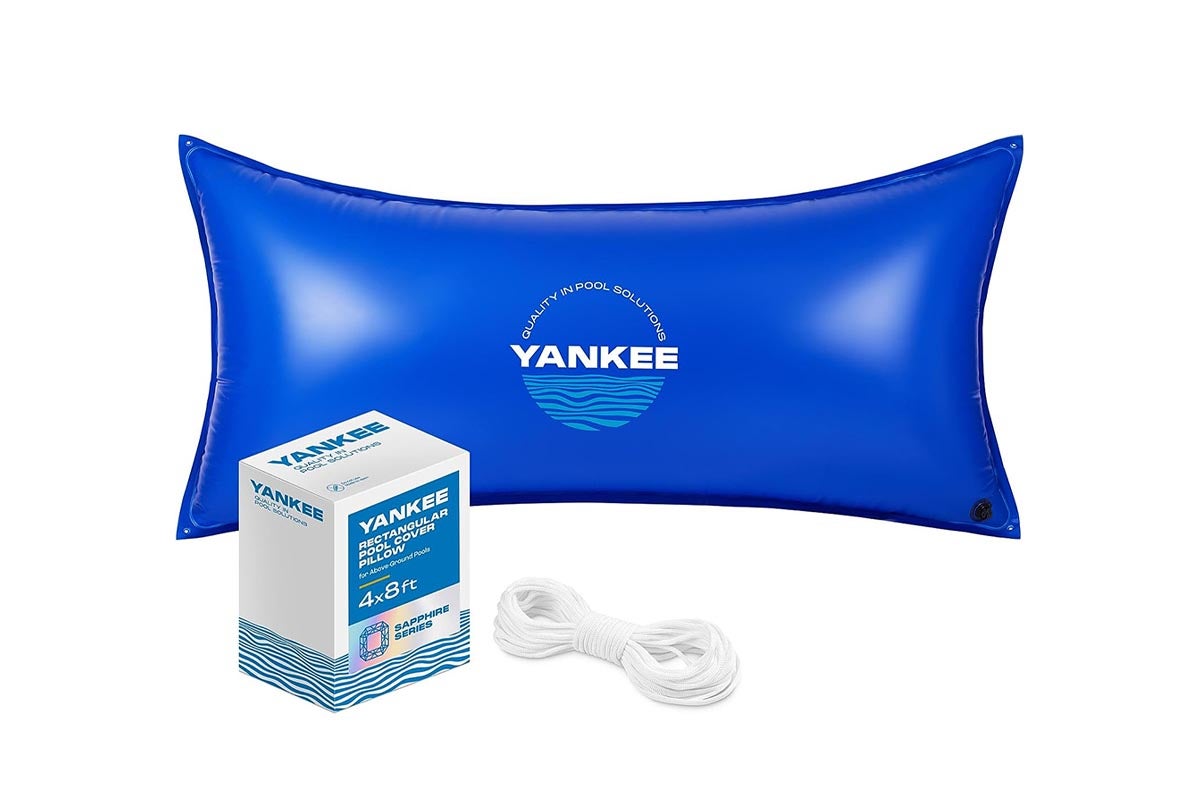
- Consider using a pool air pillow or float under the pool cover. This can help prevent ice expansion and provide additional support to the cover. Place the float in the center of the pool and secure it with a line or strap.
By taking these measures to protect the pool during winter, you’ll minimize the risk of damage and ensure that it remains in good condition for the upcoming pool season. Now, let’s move on to step nine: regular maintenance during winter.
Step 9: Regular Maintenance during Winter
Regular maintenance during the winter is essential to keep your pool in good condition and ensure its readiness for the next swimming season. Here are some important tasks to include in your winter pool maintenance routine:
- Check the pool cover regularly for any debris or water accumulation. Remove any leaves, sticks, or other debris that may have settled on top of the cover.
- If you notice excessive water accumulation on the cover, use a pool cover pump to remove it. This will prevent the cover from sagging and putting unnecessary strain on the pool.
- Inspect the pool cover for any damage or tears. If you find any, repair or replace the cover as needed to maintain its effectiveness.
- Ensure that the pool area remains clear of snow and ice. Remove any snow buildup on or around the pool to prevent damage to the pool structure.
- Monitor the pool water level. While the pool may be drained, it’s important to ensure that it doesn’t fill with rainwater or melting snow. If necessary, use a pool cover pump to remove any excess water.
- Check the pool equipment storage area for any signs of moisture or pests. Ensure that the area remains dry and secure to prevent any damage or infestation.
- Inspect the pool liner or surface for any signs of damage or deterioration. If you notice any issues, make a note to address them before opening the pool in the spring.
- Keep an eye on the pool’s surrounding area for any signs of erosion or shifting. Take necessary measures to prevent any further damage to the pool or its surroundings.
- Consider running the pool’s circulation system periodically during the winter. This will help prevent stagnant water and maintain proper water circulation.
By performing regular maintenance tasks during the winter, you’ll ensure that your pool remains in good condition and ready for use when the swimming season returns. Now, let’s move on to the final step: preparing for spring.
Step 10: Preparing for Spring
As winter comes to an end and warmer weather is on the horizon, it’s time to start preparing your pool for the upcoming spring season. Here are some important steps to take:
- Remove the pool cover carefully. Clean and dry the cover before storing it in a clean and dry location.
- Inspect the pool liner or surface for any damage or wear. Make any necessary repairs or replacements to ensure a fresh and healthy pool for the new season.
- Clean and reassemble the pool components. Install the wall panels, top rail, and other parts according to the manufacturer’s instructions.
- Reconnect and reinstall the pool equipment, including the pump, filter, and skimmer. Make sure all connections are secure and tighten any loose fittings or hoses.
- Fill the pool with fresh water. Take care to balance the water chemistry by testing and adjusting the pH, chlorine levels, alkalinity, and other chemical levels.
- Once the pool is filled, run the filtration system to circulate and filter the water. Check for any leaks or issues with the system and address them as necessary.
- Inspect and clean any pool accessories such as ladders, diving boards, and slides. Ensure their safety and functionality before allowing anyone to use them.
- Perform a final inspection of the pool area. Check for any signs of damage, wear, or necessary repairs. Address any issues promptly before allowing anyone to enter the pool.
- Consider hiring a professional pool service to perform an inspection and ensure all aspects of your pool are in proper working order.
- Lastly, make a schedule for regular pool maintenance during the swimming season. This will help you stay on top of required tasks and keep your pool clean and safe throughout the year.
By following these steps and adequately preparing your pool for spring, you’ll ensure a smooth transition into the swimming season and maximize the enjoyment of your pool. Remember to always prioritize safety and maintenance to keep your pool in its best possible condition.
Frequently Asked Questions about How To Store Above Ground Pool For Winter
Was this page helpful?
At Storables.com, we guarantee accurate and reliable information. Our content, validated by Expert Board Contributors, is crafted following stringent Editorial Policies. We're committed to providing you with well-researched, expert-backed insights for all your informational needs.
0 thoughts on “How To Store Above Ground Pool For Winter”