Home>Gardening & Outdoor>Outdoor Entertaining>How To Build A Sunken Fire Pit

Outdoor Entertaining
How To Build A Sunken Fire Pit
Modified: October 20, 2024
Discover the ultimate guide to building a sunken fire pit for your outdoor entertaining space. Create a cozy and inviting atmosphere for gatherings with friends and family.
(Many of the links in this article redirect to a specific reviewed product. Your purchase of these products through affiliate links helps to generate commission for Storables.com, at no extra cost. Learn more)
Introduction
When it comes to creating an inviting and cozy outdoor space, few features can rival the allure of a sunken fire pit. Picture this: a gathering of friends and family on a crisp evening, the crackling of a warm fire, and the enchanting glow illuminating the night. Whether you're a seasoned entertainer or a homeowner seeking to elevate your outdoor ambiance, a sunken fire pit can be the perfect addition to your backyard.
In this comprehensive guide, we'll delve into the art of crafting a sunken fire pit, from selecting the ideal location to adding the finishing touches. By the end of this journey, you'll be equipped with the knowledge and inspiration to embark on this rewarding outdoor project. So, grab your marshmallows and gather round as we explore the steps to bring this captivating vision to life.
Key Takeaways:
- Create a captivating outdoor oasis by carefully selecting the location for your sunken fire pit, considering safety, wind direction, and local regulations. This sets the stage for countless memorable evenings spent basking in the warmth and glow of your backyard.
- Infuse your sunken fire pit with personality and functionality through thoughtful finishing touches, such as comfortable seating, strategic lighting, practical additions, landscaping, and personalized accents. Each detail contributes to the overall charm and functionality, transforming it into a captivating focal point for relaxation, camaraderie, and cherished moments.
Read more: How To Build An Outdoor Fire Pit
Choosing the Location
Before you roll up your sleeves and grab your shovel, it’s crucial to carefully consider the location for your sunken fire pit. The right spot can enhance the overall ambiance of your outdoor space while ensuring safety and functionality.
First and foremost, assess the layout of your backyard. Look for a level area that is clear of overhanging branches and at a safe distance from any structures. Keep in mind the prevailing wind direction to minimize smoke blowing towards your home or seating areas.
Additionally, think about the purpose of your fire pit. Are you aiming to create a cozy nook for intimate gatherings, or do you envision a focal point for larger social events? The size and shape of the pit will influence the ideal location.
Consider the ground material as well. Opt for a location with a fire-resistant base, such as gravel or sand, to minimize the risk of accidental fires spreading. If you plan to incorporate seating around the fire pit, ensure there is ample space for comfortable circulation and a safe distance from the flames.
Lastly, factor in local regulations and obtain any necessary permits before proceeding. Some areas have specific guidelines regarding fire pit placement and size, so it’s essential to adhere to these regulations to ensure a safe and compliant installation.
By carefully selecting the location for your sunken fire pit, you can set the stage for countless memorable evenings spent basking in the warmth and glow of your outdoor oasis.
Gathering Materials
With the location chosen, it’s time to gather the essential materials for constructing your sunken fire pit. The following items will lay the foundation for a safe, durable, and visually appealing addition to your outdoor space:
- Fire Pit Kit or Materials: Depending on your preference, you can opt for a pre-designed fire pit kit that includes the necessary blocks or metal components. Alternatively, if you’re feeling particularly hands-on, you can gather individual materials such as fire-resistant bricks, retaining wall blocks, or metal fire pit inserts.
- Shovel and Digging Tools: To excavate the pit to the desired depth and shape, a sturdy shovel and digging tools will be indispensable. Consider the soil composition in your backyard when selecting the appropriate tools for the job.
- Leveling and Compacting Tools: Ensuring a stable base for your fire pit is essential. Acquire a tamper and a level to compact the ground and verify the evenness of the base as you progress.
- Landscape Fabric and Gravel: To prevent weed growth and promote drainage, landscape fabric and gravel will be vital for lining the base of the pit.
- Fire-Resistant Mortar or Adhesive: If you’re using individual bricks or blocks, a high-quality fire-resistant mortar or adhesive will be necessary to secure the components in place.
- Safety Gear: Prioritize safety by equipping yourself with gloves, safety glasses, and a dust mask, especially when handling materials and tools that generate dust or debris.
Before embarking on the construction phase, ensure that you have all the required materials and tools at your disposal. This preparation will streamline the building process and minimize interruptions, allowing you to focus on bringing your sunken fire pit to fruition.
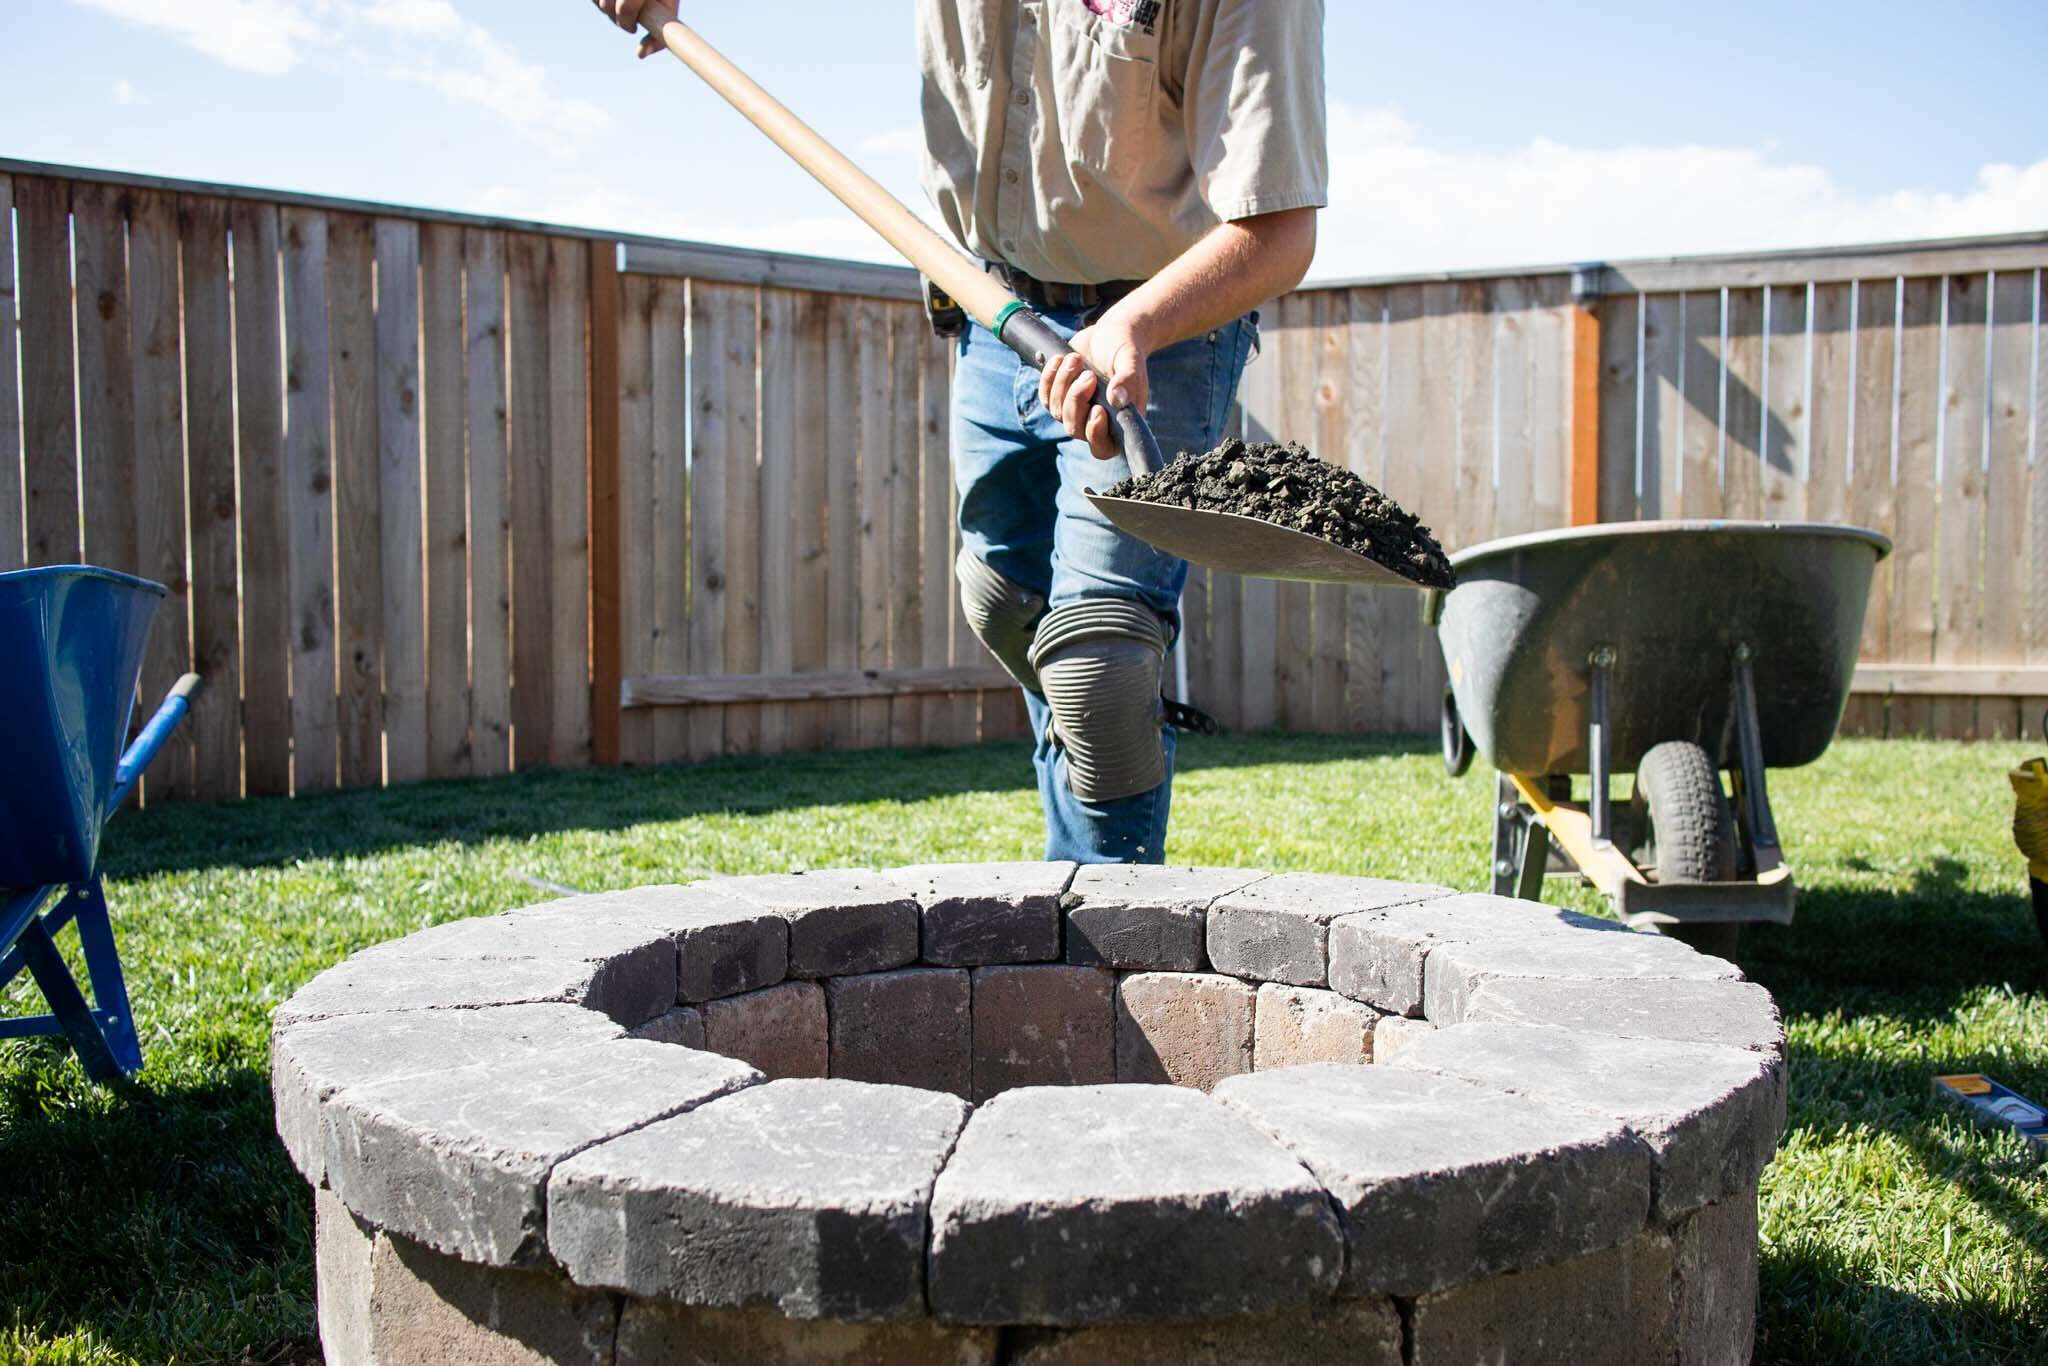
Excavating the Pit
With the materials assembled and the location determined, it’s time to roll up your sleeves and begin the excavation process. This pivotal step sets the stage for the structural integrity and visual impact of your sunken fire pit.
Start by outlining the dimensions of the pit using stakes and string, clearly defining the area to be excavated. If you’re using a fire pit kit, follow the provided instructions for the recommended dimensions. Then, using a shovel and digging tools, carefully remove the topsoil to achieve the desired depth, typically ranging from 12 to 18 inches. As you dig, periodically check the depth using a tape measure to ensure uniformity.
As you progress, pay attention to the shape of the pit, whether it’s circular, square, or another custom design. Maintain clean and defined edges, as they will influence the finished appearance of the fire pit. Once the excavation is complete, use a level and tamper to compact the base, creating a stable foundation for the subsequent construction.
Before proceeding to the next phase, take a moment to assess the depth, shape, and overall quality of the excavation. Attention to detail during this stage will yield a well-crafted and visually striking sunken fire pit that will be the centerpiece of your outdoor gatherings.
When building a sunken fire pit, make sure to check local regulations and obtain any necessary permits before starting construction.
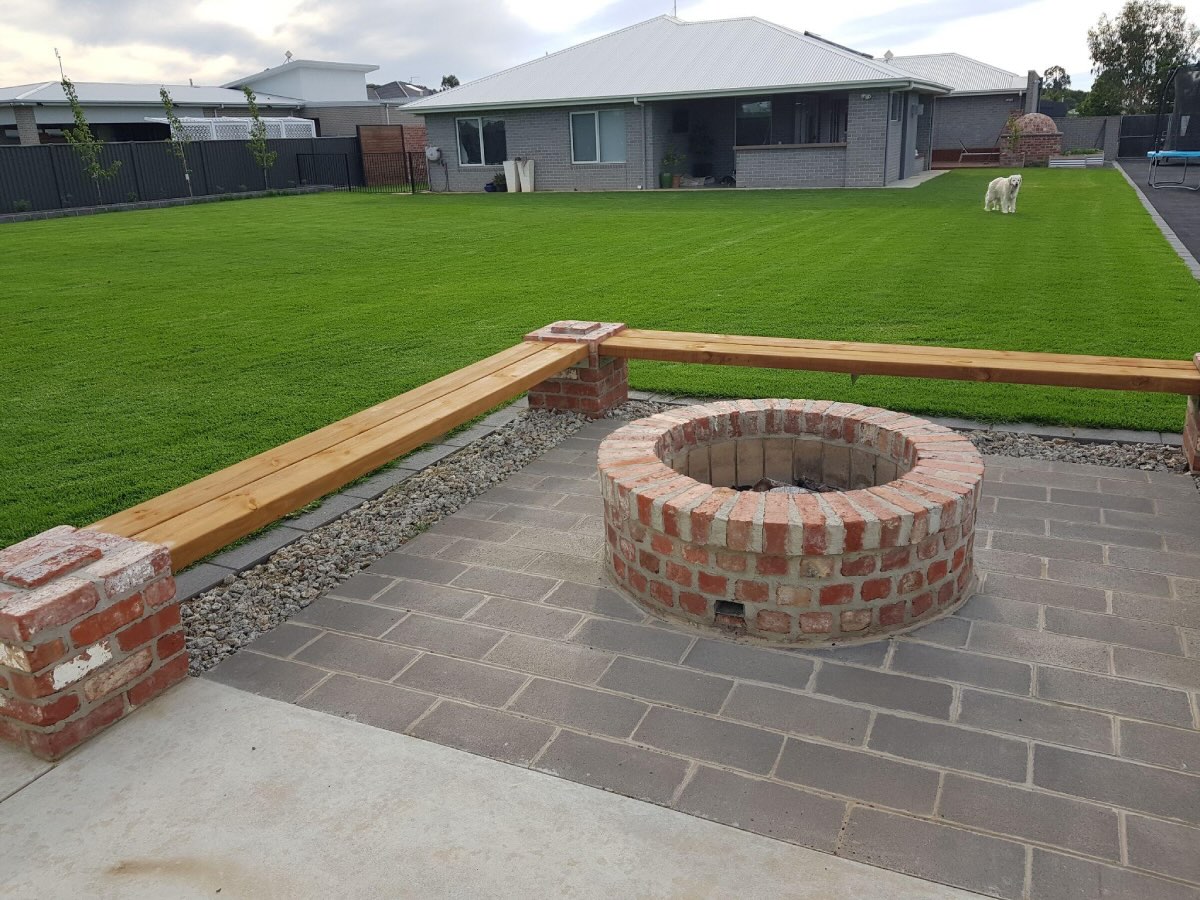
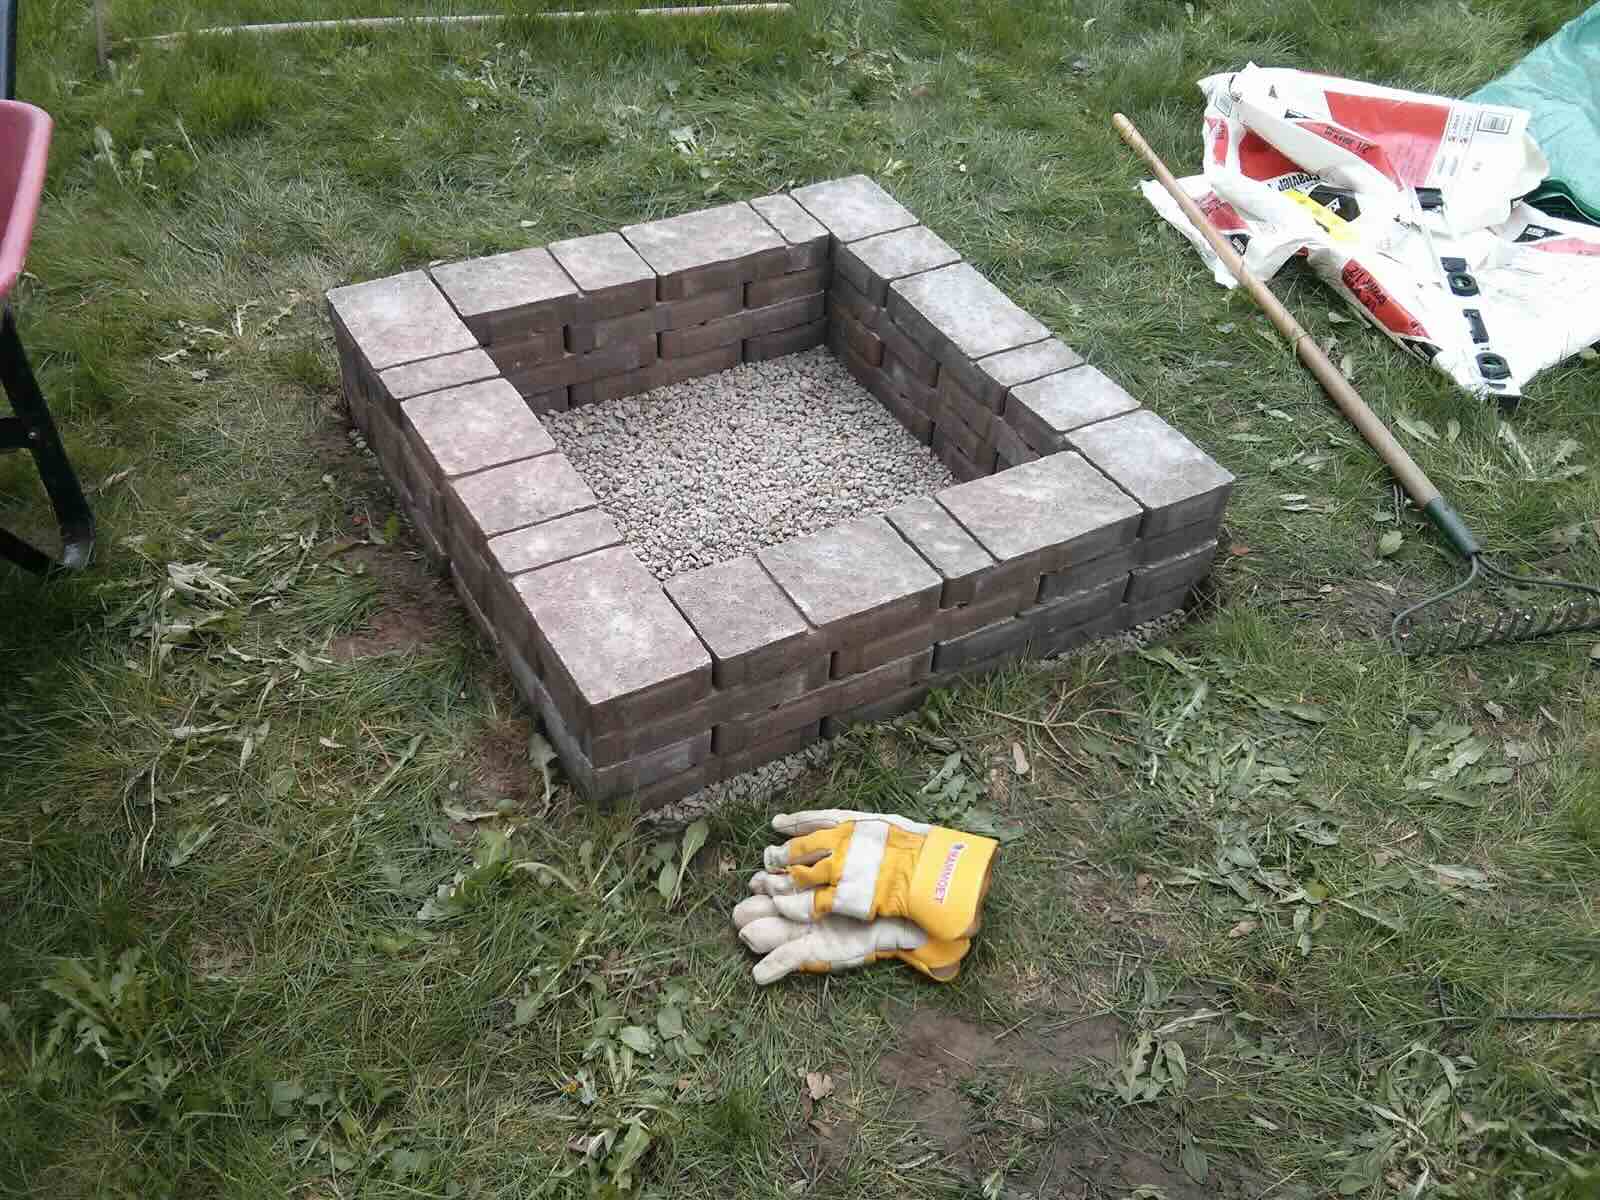
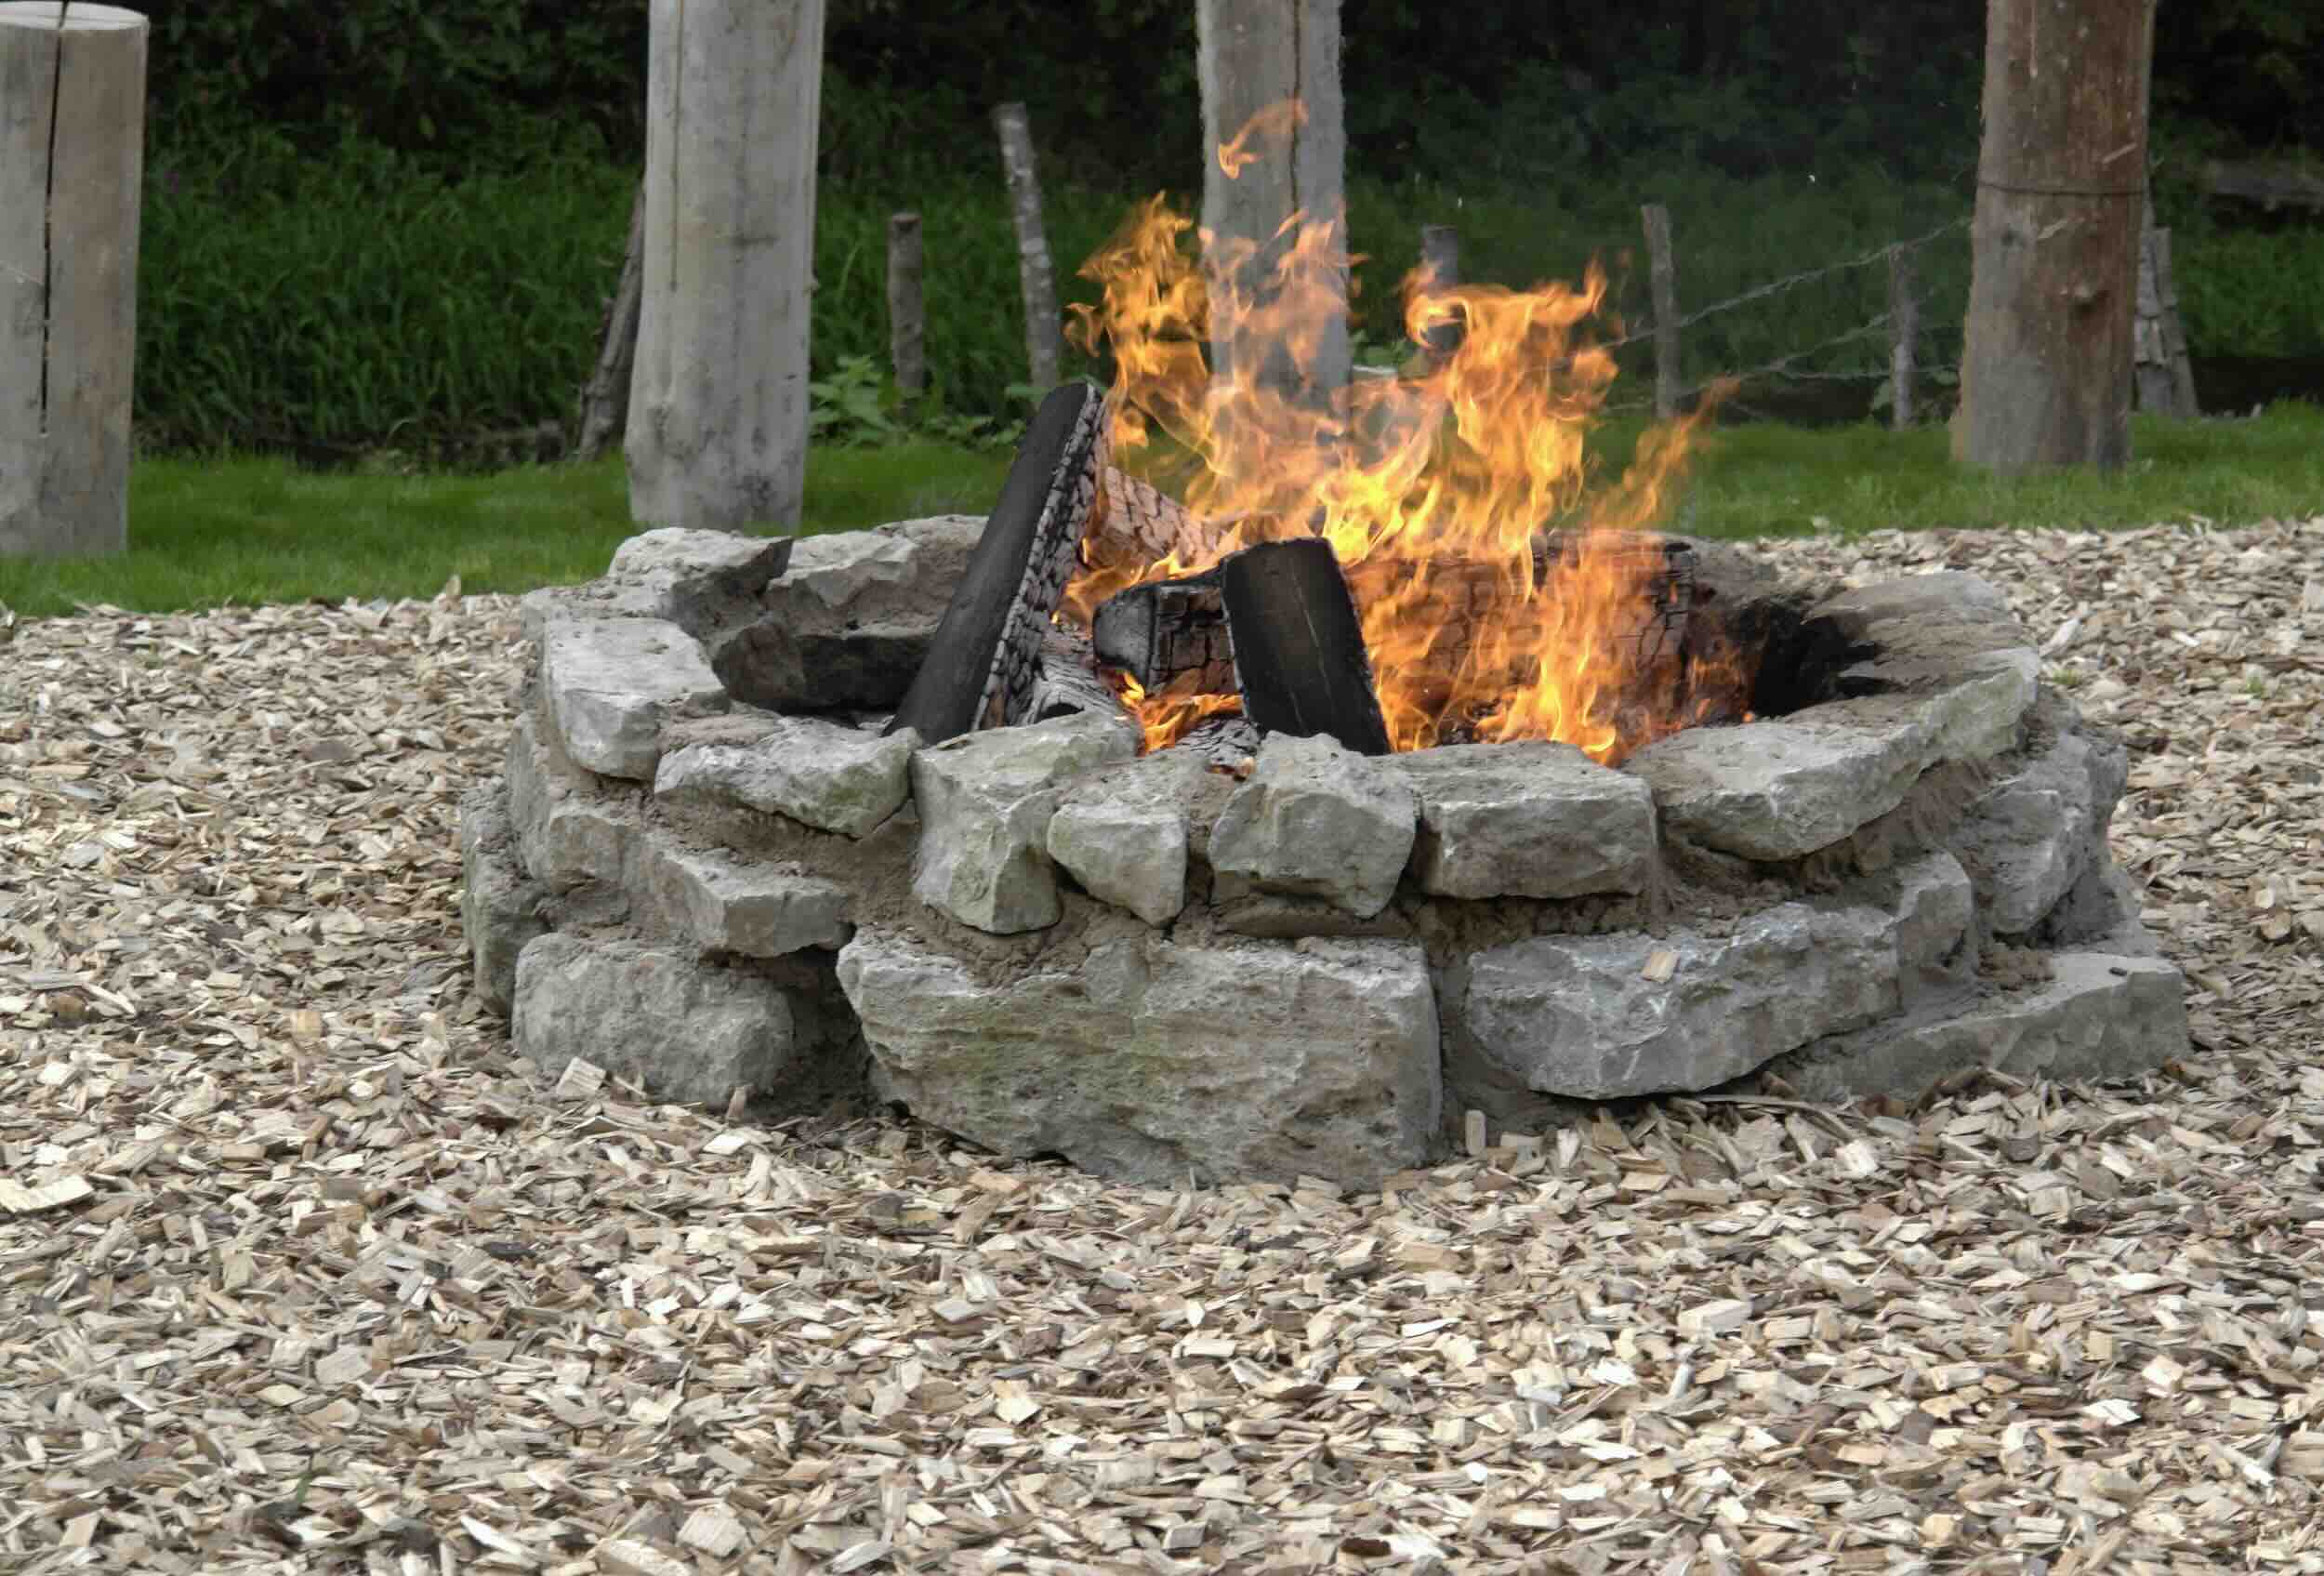
Building the Fire Pit
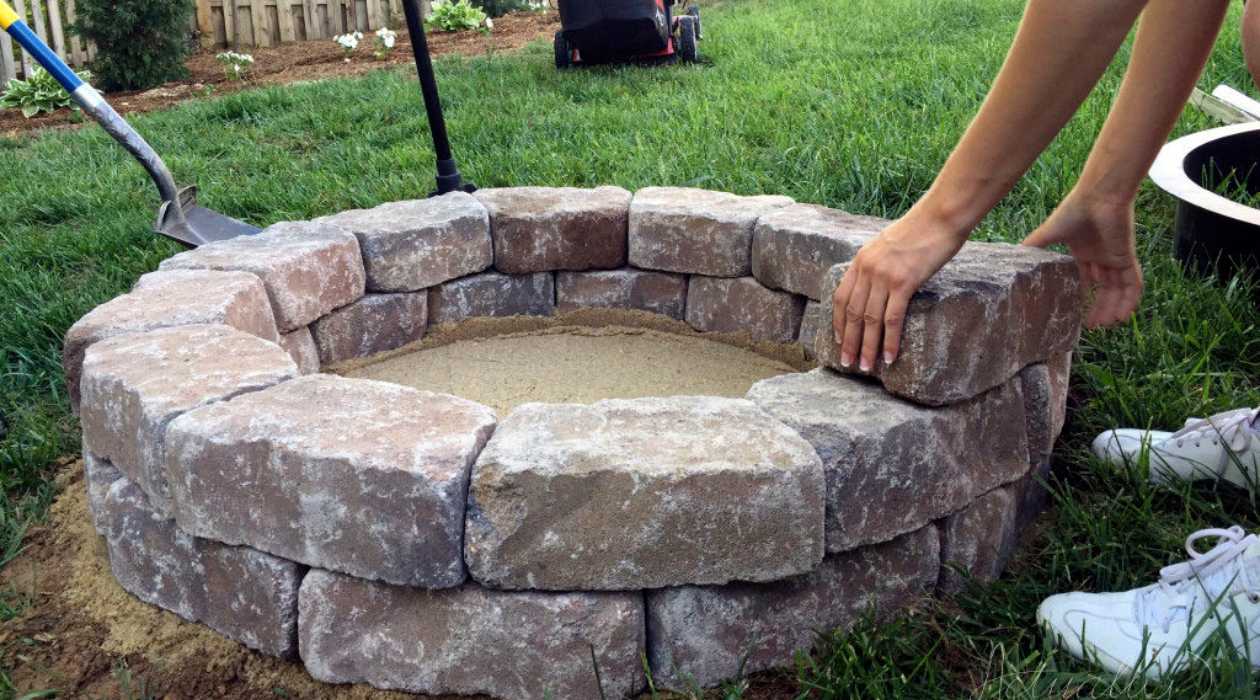
With the pit excavated and the groundwork laid, it’s time to bring your sunken fire pit to life by assembling the essential components. Whether you’re using a fire pit kit or individual materials, the following steps will guide you through the construction process:
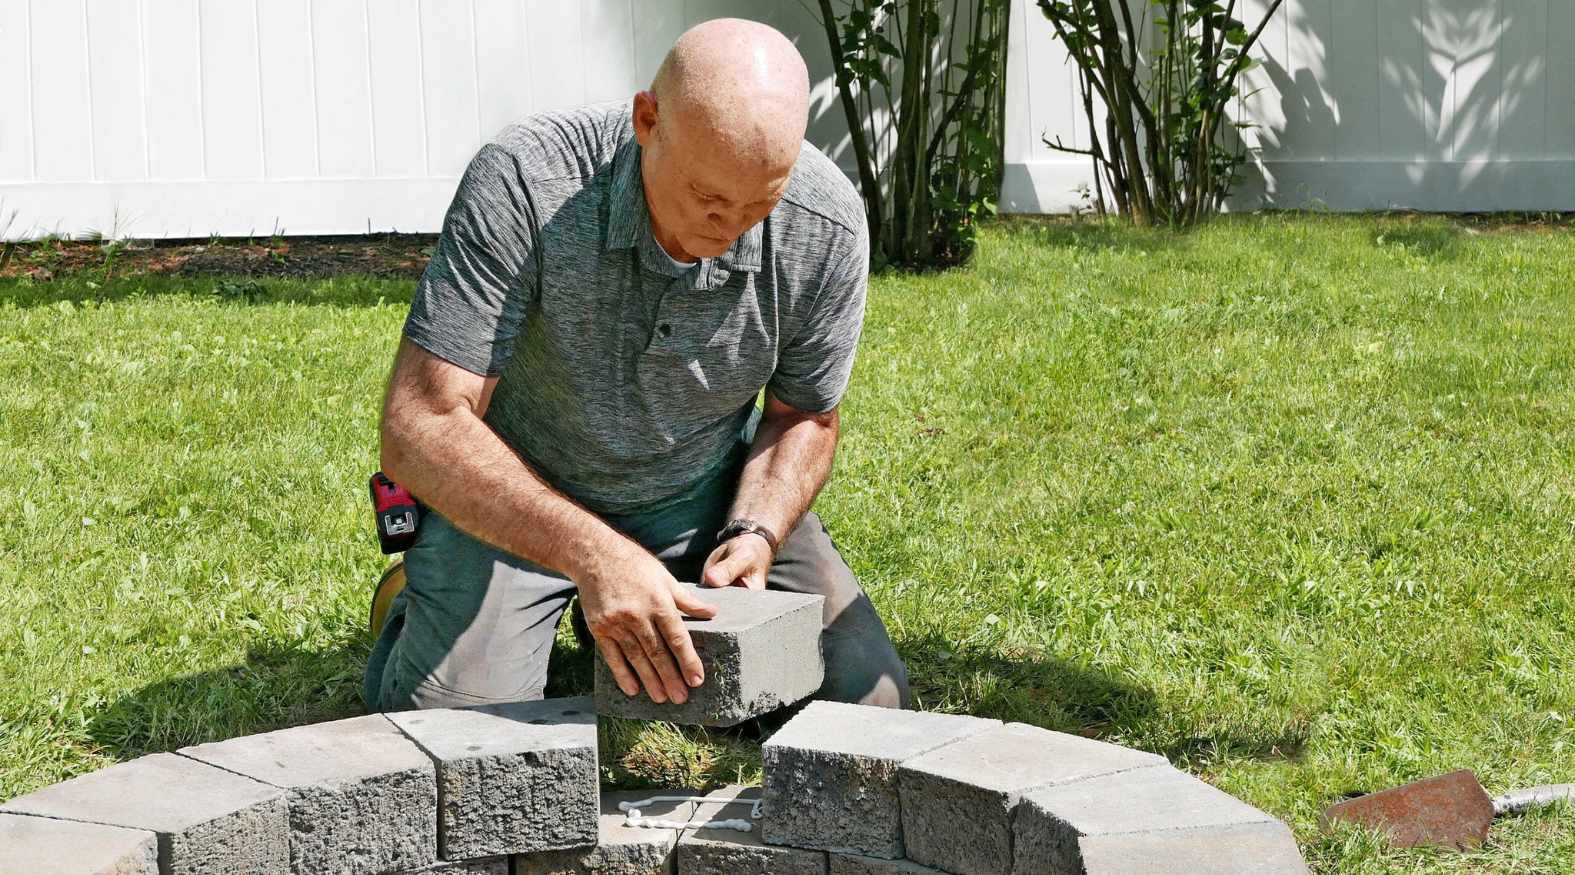
- Lay the Base: If using a fire pit kit, follow the manufacturer’s instructions for placing the base components. For a DIY approach, arrange fire-resistant bricks or blocks in the desired configuration, ensuring a level and stable foundation.
- Secure the Walls: Stack the wall components, interlocking them securely to create the walls of the fire pit. If using individual materials, apply a fire-resistant mortar or adhesive between the bricks or blocks to reinforce the structure.
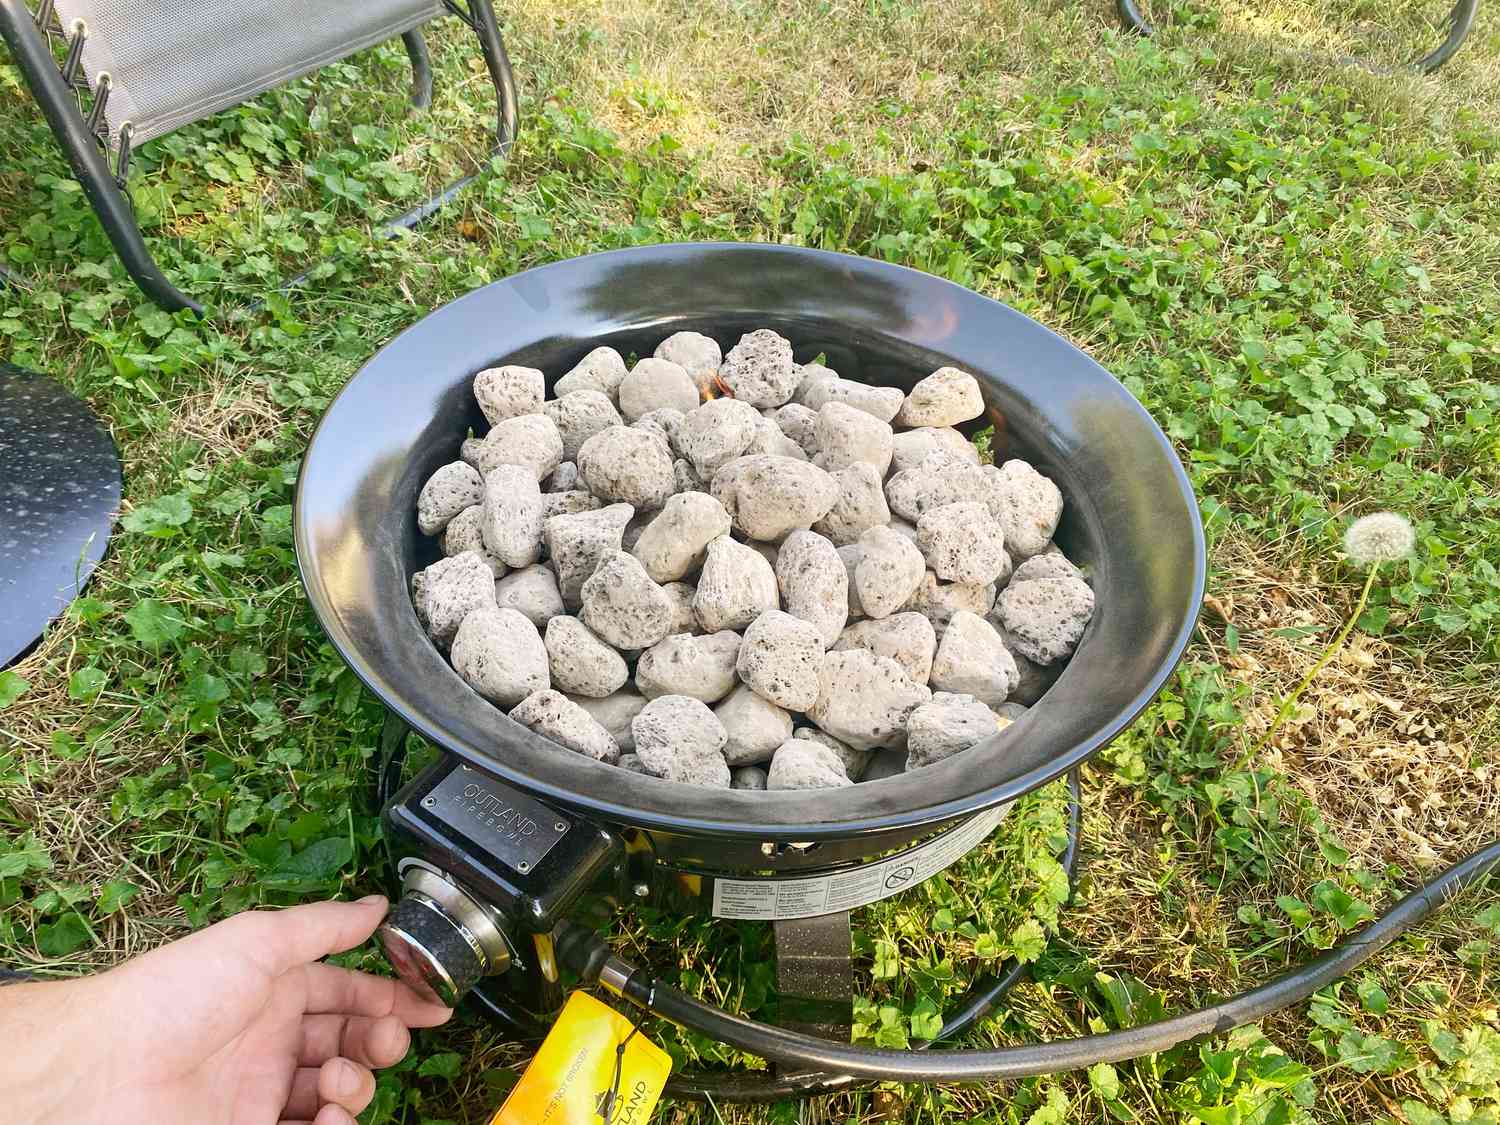
- Install the Fire Pit Insert: If your design incorporates a metal fire pit insert, carefully set it in place within the constructed walls. This insert will contain the fire and enhance the safety and longevity of your pit.
- Add a Decorative Cap: For a polished finish, consider adding a decorative cap to the top of the fire pit walls. This not only enhances the visual appeal but also provides a comfortable surface for seating or resting items.
- Verify Alignment and Stability: Throughout the assembly process, use a level to ensure the walls are straight and even. Make any necessary adjustments to maintain the structural integrity and aesthetic coherence of the fire pit.
As you progress through these steps, take the time to appreciate the transformation taking place in your outdoor space. The careful assembly of the fire pit components will culminate in a captivating centerpiece that promises warmth, ambiance, and countless cherished memories.
Read more: How To Build A Good Fire In A Fire Pit
Adding Finishing Touches
With the structural elements in place, it’s time to infuse your sunken fire pit with personality and functionality through thoughtful finishing touches. These details will elevate the aesthetic appeal and usability of your outdoor oasis, creating an inviting space for relaxation and entertainment.
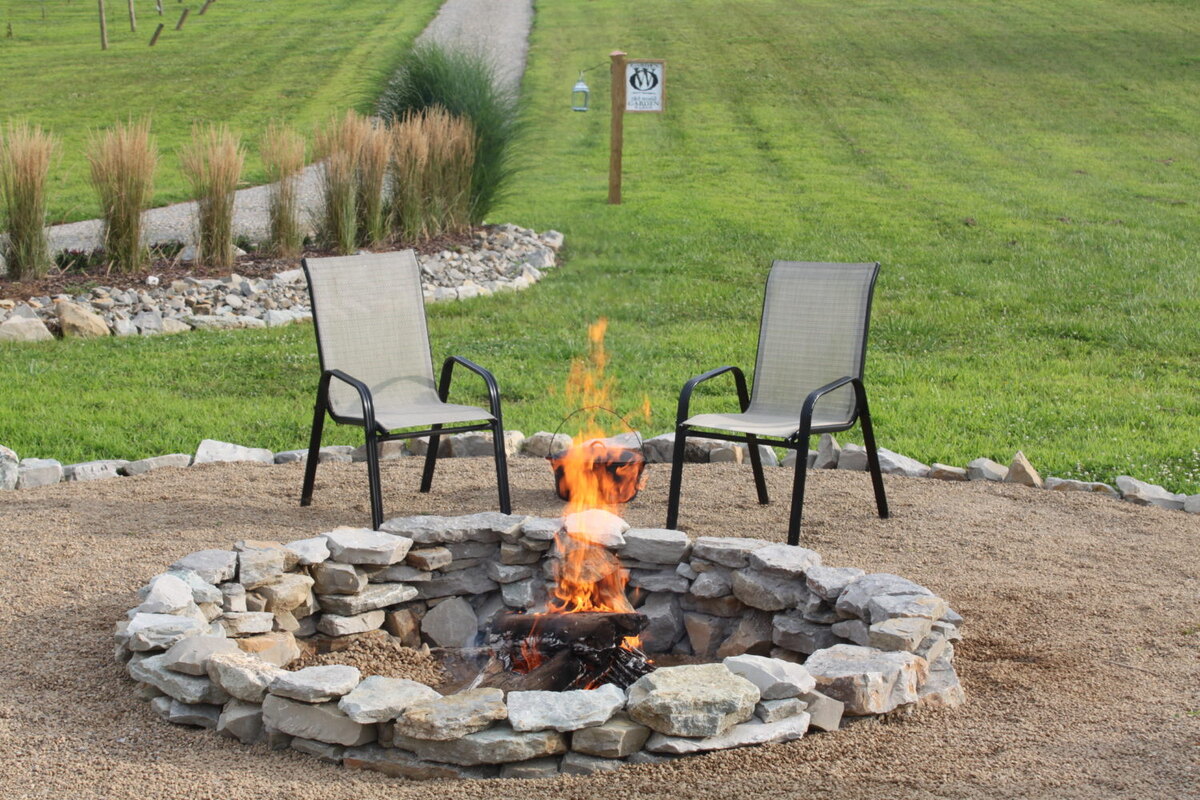
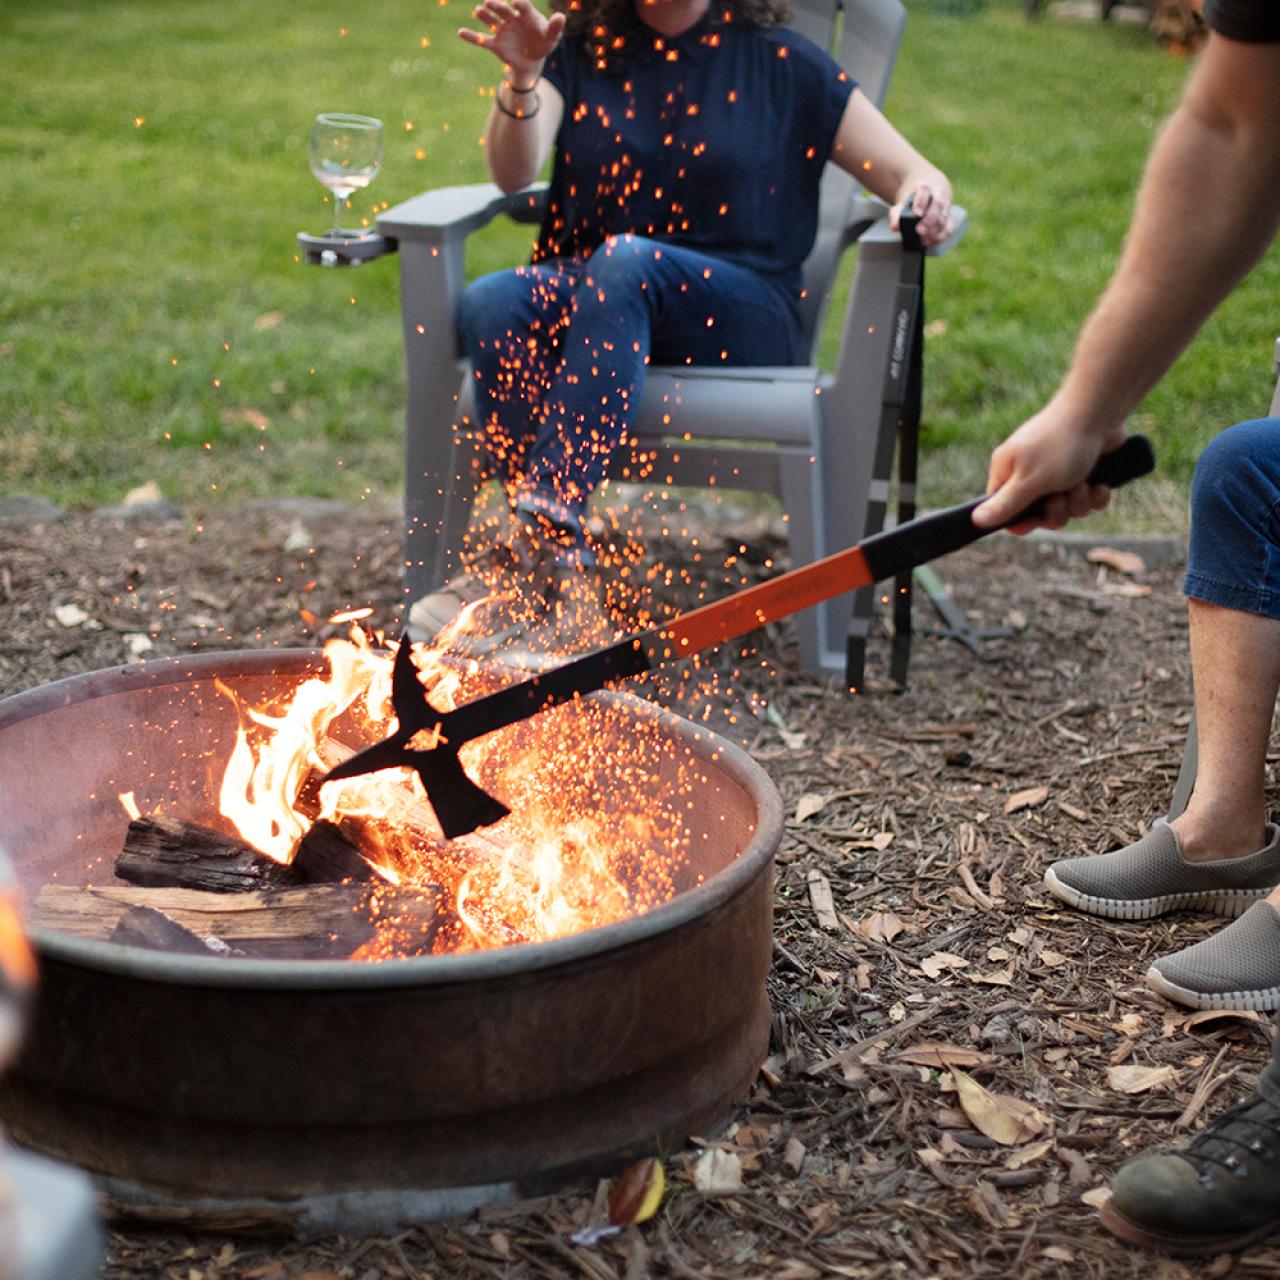
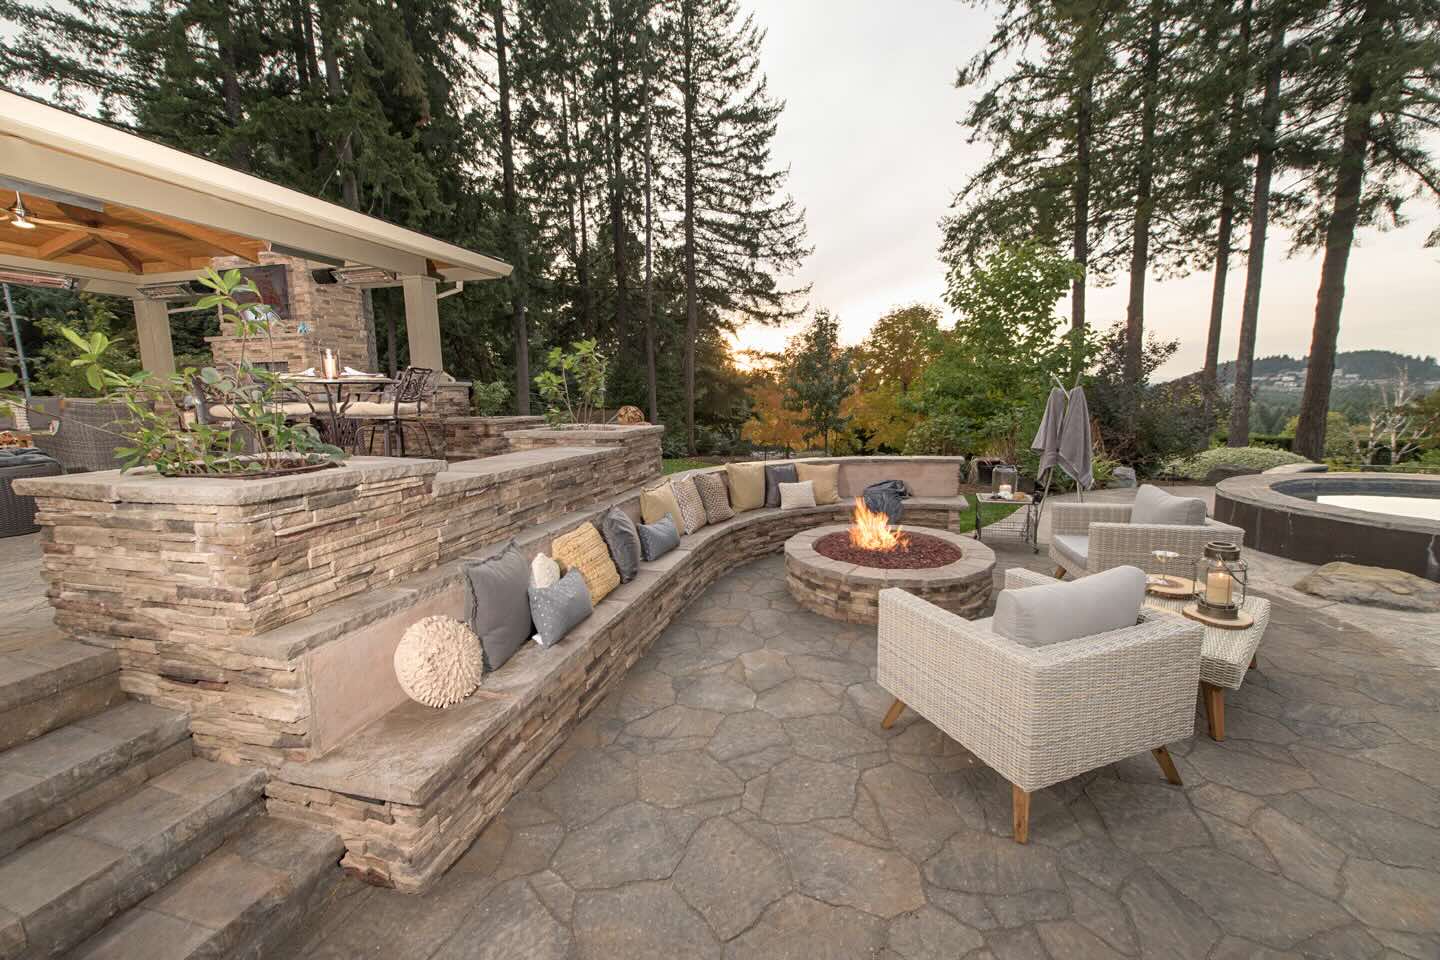
Seating Arrangements: Encircle the fire pit with comfortable seating options, such as weather-resistant chairs, benches, or built-in stone seating. Position the seating at an appropriate distance from the flames, allowing ample space for relaxation and conversation.
Lighting: Enhance the ambiance and safety of the area by incorporating strategic lighting. Consider solar-powered pathway lights, string lights, or low-voltage fixtures to illuminate the surroundings and guide guests to and from the fire pit.
Functional Additions: Integrate practical elements, such as a nearby storage unit for firewood, a side table for beverages and snacks, or a dedicated space for fire tools and accessories. These additions will enhance the convenience and enjoyment of the fire pit area.
Landscaping and Greenery: Soften the hardscape elements by introducing landscaping around the fire pit. Incorporate potted plants, native shrubs, or a ring of decorative gravel to seamlessly integrate the fire pit into the natural surroundings.
Personalized Accents: Add personal touches through decorative elements that reflect your style and interests. This could include a custom mosaic design on the fire pit cap, engraved stones, or personalized fire pit accessories that resonate with your outdoor vision.
As you add these finishing touches, envision the atmosphere you wish to create and the experiences you hope to cultivate in this outdoor haven. Each detail contributes to the overall charm and functionality of your sunken fire pit, transforming it into a captivating focal point for relaxation, camaraderie, and cherished moments.
Conclusion
Congratulations on embarking on the journey to create your own sunken fire pit! This outdoor feature not only adds warmth and visual allure to your backyard but also sets the stage for countless memorable gatherings and moments of relaxation. As you reflect on the process and envision the future enjoyment of your fire pit, consider the transformative impact it will have on your outdoor living space.
From the initial selection of the perfect location to the meticulous construction and thoughtful finishing touches, every step has contributed to the creation of a captivating outdoor oasis. The crackling flames, the inviting glow, and the shared stories and laughter around the fire pit will undoubtedly become cherished elements of your lifestyle.
As you bask in the ambiance of your sunken fire pit, take pride in the craftsmanship and care invested in its creation. This inviting space represents not just a physical addition to your home but a hub for connection, relaxation, and the simple joys of outdoor living.
Now, with the knowledge and inspiration gained from this guide, it’s time to ignite the flames, gather your loved ones, and savor the magic of your own sunken fire pit. Whether it’s a tranquil evening for two or a lively gathering of friends, this captivating feature will continue to kindle warmth and create lasting memories for years to come.
Ready to elevate your outdoor space even further? If you're inspired by the cozy allure of your new sunken fire pit, consider extending that comfort with vibrant touches to your deck. Our article on colorful decor for outdoor spaces offers creative ideas to spruce up your outdoor area for year-round enjoyment. Thinking about hosting more memorable evenings? Dive into our compilation of innovative fire pit designs, perfect for planning your next gathering around the flames. For those with a green thumb, our extensive list of creative garden fence designs can transform your garden fences into stunning statements.
Frequently Asked Questions about How To Build A Sunken Fire Pit
Was this page helpful?
At Storables.com, we guarantee accurate and reliable information. Our content, validated by Expert Board Contributors, is crafted following stringent Editorial Policies. We're committed to providing you with well-researched, expert-backed insights for all your informational needs.


0 thoughts on “How To Build A Sunken Fire Pit”