Home>Gardening & Outdoor>Outdoor Entertaining>How To Build A Pizza Oven From Scratch

Outdoor Entertaining
How To Build A Pizza Oven From Scratch
Published: January 1, 2024
Learn how to build a pizza oven from scratch for the ultimate outdoor entertaining experience. Discover step-by-step instructions and expert tips. Ideal for pizza lovers and outdoor enthusiasts.
(Many of the links in this article redirect to a specific reviewed product. Your purchase of these products through affiliate links helps to generate commission for Storables.com, at no extra cost. Learn more)
Introduction
So, you love pizza. Who doesn't, right? The crispy crust, the gooey cheese, the flavorful toppings – it's a culinary delight that's hard to resist. But have you ever considered taking your love for pizza to the next level by building your own pizza oven? Picture this: a warm summer evening, your backyard filled with the tantalizing aroma of freshly baked pizza, and your friends and family gathered around, eagerly awaiting a slice of your homemade masterpiece. Sounds enticing, doesn't it?
Building a pizza oven from scratch is a rewarding and surprisingly achievable project that can elevate your outdoor entertaining game to new heights. Not only does it allow you to craft authentic, wood-fired pizzas, but it also becomes a centerpiece for gatherings, creating a cozy and inviting atmosphere. In this guide, we'll walk you through the process of constructing your very own pizza oven, from selecting the materials and tools to firing up the first batch of delectable pies. Whether you're a seasoned DIY enthusiast or a novice builder, this endeavor is sure to ignite your passion for both cooking and outdoor living.
Get ready to roll up your sleeves, unleash your creativity, and embark on a journey to create a backyard oasis that will leave a lasting impression on your guests and fill your evenings with laughter, good food, and unforgettable memories. Let's dive into the nitty-gritty of building a pizza oven that will be the envy of your neighborhood.
Key Takeaways:
- Building a pizza oven from scratch is a creative and rewarding project that brings authentic wood-fired cooking to your backyard, creating a cozy and inviting atmosphere for gatherings and unforgettable memories.
- Embracing the art of traditional wood-fired cooking with your homemade pizza oven fosters connections and shared experiences, turning your outdoor space into a culinary treasure that kindles the spirit of conviviality and delight.
Read more: How To Build A Shed From Scratch
Materials and Tools
Before diving into the construction process, it’s essential to gather all the necessary materials and tools. Here’s a comprehensive list to get you started:
Materials:
- Fire bricks: These will form the base and interior of the oven, providing excellent heat retention.
- Refractory mortar: A specialized mortar designed to withstand high temperatures, essential for bonding the fire bricks together.
- Concrete mix: Used for the oven's base and insulation layer.
- Insulating materials: Vermiculite or ceramic fiber blanket to ensure heat retention within the oven.
- Sheet metal: For constructing the oven door.
- Wood: For creating the supportive framework and door handle.
- Sand: Used in the construction process and for leveling the base.
- Clay and sawdust: Optional materials for constructing an adobe oven dome.
Tools:
- Masonry saw: Essential for cutting the fire bricks to the required dimensions.
- Trowel: For applying mortar and concrete mix.
- Level: Ensures the base and oven structure are even and balanced.
- Measuring tape: For precise measurements during construction.
- Work gloves and safety goggles: To protect your hands and eyes during the building process.
- Wheelbarrow: For mixing concrete and transporting materials.
- Brush and bucket of water: Used for cleaning and smoothing mortar joints.
- Thermometer: To monitor the internal temperature of the oven during use.
By gathering these materials and tools, you’ll be well-equipped to tackle the construction of your pizza oven. Now that you have everything you need, it’s time to select the perfect location for your culinary masterpiece.
Choosing a Location
Before you start building your pizza oven, it’s crucial to carefully consider the location where it will be situated. Here are some key factors to keep in mind:
Accessibility: Select a location that is easily accessible from your kitchen or outdoor dining area. This will make it convenient to transport ingredients and pizzas to and from the oven.
Wind and Sun Exposure: Take note of the prevailing wind direction in your backyard. Position the oven so that the smoke is carried away from your entertaining area. Additionally, consider the sun’s path throughout the day to ensure that the oven receives ample sunlight for preheating and cooking, especially during evening gatherings.
Safety and Clearance: Allow sufficient clearance around the oven to minimize fire hazards and ensure that there is no risk of heat damage to nearby structures or vegetation. A clear space will also provide a comfortable area for the chef and guests to gather around the oven.
Aesthetic Appeal: The pizza oven can serve as a focal point in your outdoor space, so choose a location that enhances the overall aesthetic of your backyard. Consider integrating it into a patio, creating a dedicated cooking and dining area, or positioning it as a standalone feature surrounded by lush greenery.
Once you’ve identified the perfect spot for your pizza oven, it’s time to lay the groundwork for its construction. Building a sturdy and level base is essential to support the weight of the oven and ensure its long-term stability.
Building the Base
The foundation of your pizza oven is the base, which provides stability and support for the entire structure. Follow these steps to construct a solid base:
1. Site Preparation: Begin by clearing and leveling the ground where the base will be built. Use a shovel and a level to ensure the area is flat and even.
2. Constructing the Formwork: Create a wooden formwork to define the shape and dimensions of the base. Use sturdy boards to form the outline, ensuring that the corners are square and the formwork is level.
3. Mixing and Pouring Concrete: Prepare a concrete mix according to the manufacturer’s instructions. Pour the concrete into the formwork, spreading it evenly with a trowel. Use the level to confirm that the concrete surface is flat and smooth.
4. Curing the Base: Allow the concrete to cure for the recommended time, typically several days. This process is crucial for achieving the desired strength and durability of the base.
5. Adding Supportive Layers: Once the concrete base has cured, add a layer of insulating material, such as vermiculite or a ceramic fiber blanket. This layer helps to retain heat within the oven and prevents the base from becoming too hot.
With the base in place, you’ve laid the groundwork for the construction of the oven’s dome, the iconic feature that gives a pizza oven its distinctive appearance and cooking capabilities. Let’s delve into the process of constructing the oven dome, a truly rewarding phase of the project.
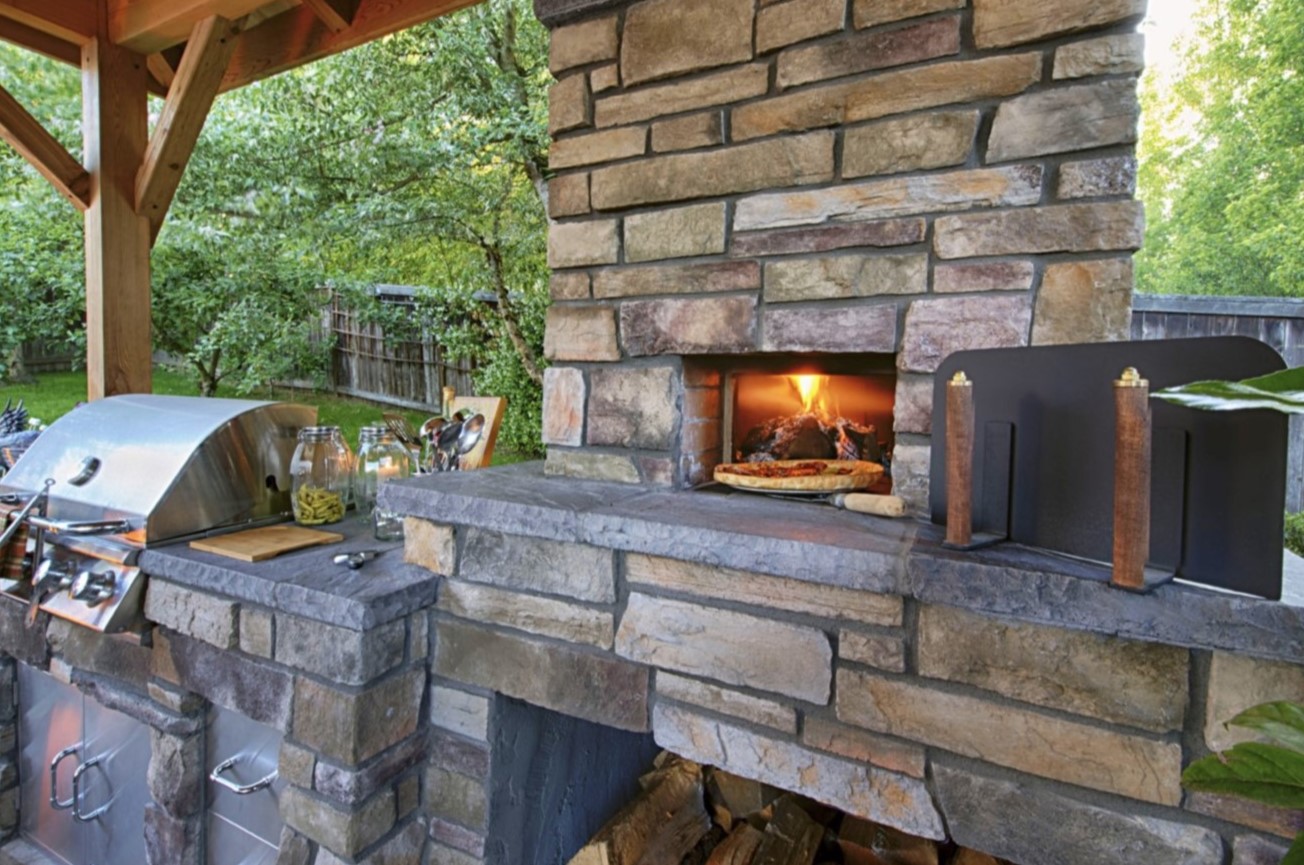
Constructing the Oven Dome
The oven dome is the defining feature of a traditional pizza oven, responsible for distributing heat evenly and creating the perfect cooking environment for mouthwatering pizzas. Here’s how to construct the oven dome:
1. Creating the Sand Mold: Start by piling damp sand into the shape of the desired dome. This serves as a mold for the oven’s interior shape and should be sculpted with precision to achieve the ideal curvature and height for efficient heat circulation.
2. Laying the Fire Bricks: Position the fire bricks over the sand mold, gradually forming the dome structure. Use a specialized refractory mortar to secure the bricks in place, ensuring a sturdy and heat-resistant bond.
3. Gradual Layering: As you build the dome, gradually slant the bricks inwards to create a supportive and cohesive structure. This technique allows for optimal heat retention and distribution during the pizza-making process.
4. Shaping the Entrance: Integrate a carefully crafted opening into the dome to serve as the oven’s entrance. This opening will later accommodate the oven door, allowing for easy access when loading and retrieving pizzas.
5. Fine-Tuning and Smoothing: Once the dome structure is complete, refine the surface and mortar joints to achieve a smooth and uniform appearance. This meticulous step contributes to the oven’s efficiency and enhances its visual appeal.
As the oven dome takes shape, you’ll witness the transformation of raw materials into a captivating architectural element that embodies the essence of traditional wood-fired cooking. The next phase involves insulating the oven to optimize its heat retention capabilities and ensure consistent performance.
Insulating the Oven
Insulating the pizza oven is a critical step that enhances its thermal efficiency, allowing it to maintain high temperatures for extended periods while conserving energy. Here’s how to insulate the oven for optimal performance:
1. Applying Insulating Layer: Begin by applying a layer of insulating material over the completed oven dome. Vermiculite, a naturally occurring mineral with excellent insulating properties, is commonly used for this purpose. Alternatively, a ceramic fiber blanket can be employed to achieve the desired insulation.
2. Ensuring Even Coverage: Distribute the insulating material evenly across the oven dome, ensuring thorough coverage to minimize heat loss. This layer acts as a barrier, preventing excessive heat from escaping and maintaining the internal temperature of the oven.
3. Protecting the Insulation: Once the insulating layer is in place, encase it within a protective barrier, such as a layer of refractory mortar or a durable, weather-resistant covering. This safeguard shields the insulation from external elements and safeguards its integrity over time.
4. Securing the Oven Floor: Insulate the oven floor using fire bricks or a refractory concrete layer. This additional insulation prevents heat from dissipating into the base, ensuring that the cooking surface remains consistently hot during pizza preparation.
By insulating the oven effectively, you create an environment that maximizes heat retention and promotes uniform cooking, resulting in delectably crisp pizzas with perfectly cooked toppings. With the insulation complete, it’s time to focus on the practical and aesthetic aspect of the oven—the addition of the oven door.
When building a pizza oven from scratch, make sure to use firebricks and refractory mortar for the oven chamber to withstand high temperatures and ensure even heat distribution.
Adding the Oven Door
The oven door serves as a crucial component of the pizza oven, facilitating the cooking process by retaining heat and containing the fire within the oven. Here’s how to add the oven door to your culinary creation:
1. Designing the Door Frame: Construct a sturdy frame for the oven door using metal or wood, ensuring that it fits snugly within the entrance of the oven. The frame should be durable and capable of withstanding high temperatures without warping or compromising its functionality.
2. Selecting a Heat-Resistant Material: Choose a suitable material for the door itself, such as sheet metal or a heat-resistant composite. This material should possess excellent heat retention properties and be resilient enough to endure the rigors of frequent use.
3. Installing a Heat-Resistant Glass Window (Optional): For added visual appeal and functionality, consider incorporating a heat-resistant glass window into the door. This feature allows you to monitor the cooking process without frequently opening the oven, preserving the ideal cooking environment for your pizzas.
4. Securing the Door: Affix the door to the frame using robust hinges, ensuring that it opens and closes smoothly while creating a tight seal to contain the heat within the oven. A secure and well-fitted door is essential for achieving consistent cooking temperatures and optimal pizza results.
5. Enhancing the Aesthetic Appeal: Consider adding decorative elements or personalized touches to the door, such as a stylish handle or embellishments that complement the overall design of your outdoor space. This attention to detail can elevate the visual allure of the oven while showcasing your creativity.
With the oven door in place, your pizza oven is now equipped with a fundamental feature that enhances its functionality and contributes to the authentic wood-fired cooking experience. As you add the finishing touches to your culinary masterpiece, the anticipation of firing up the oven and savoring your first homemade pizzas grows stronger. Let’s explore the final steps to complete your pizza oven.
Finishing Touches
As you near the completion of your pizza oven project, it’s time to add the finishing touches that will elevate its functionality, aesthetics, and overall appeal. Here are the essential steps to bring your creation to its full potential:
1. Sealing and Coating: Apply a protective sealant or heat-resistant coating to the exterior of the oven. This not only enhances the oven’s visual appeal but also shields it from the elements, ensuring its longevity and resilience.
2. Creating a Work Surface: Consider incorporating a dedicated work surface adjacent to the oven, providing a convenient area for pizza preparation, ingredient placement, and serving. This addition enhances the practicality of your outdoor cooking space.
3. Personalizing the Surroundings: Infuse your personal style into the outdoor area surrounding the pizza oven. Whether it’s adding comfortable seating, decorative lighting, or lush greenery, creating an inviting ambiance will enhance the overall experience for you and your guests.
4. Implementing Storage Solutions: Integrate storage options for wood, cooking utensils, and pizza-making essentials near the oven. This ensures that everything you need for a memorable pizza night is within easy reach, streamlining the cooking process.
5. Showcasing Decorative Elements: Add decorative elements such as mosaic tiles, custom signage, or vibrant paint accents to infuse personality and charm into the design of the pizza oven and its surroundings.
By attending to these finishing touches, you’ll transform your pizza oven into a visually striking, functional, and inviting focal point of your outdoor entertaining space. With the stage set for unforgettable gatherings and culinary adventures, it’s time to embark on the highly anticipated moment—firing up the oven for the inaugural pizza-making session.
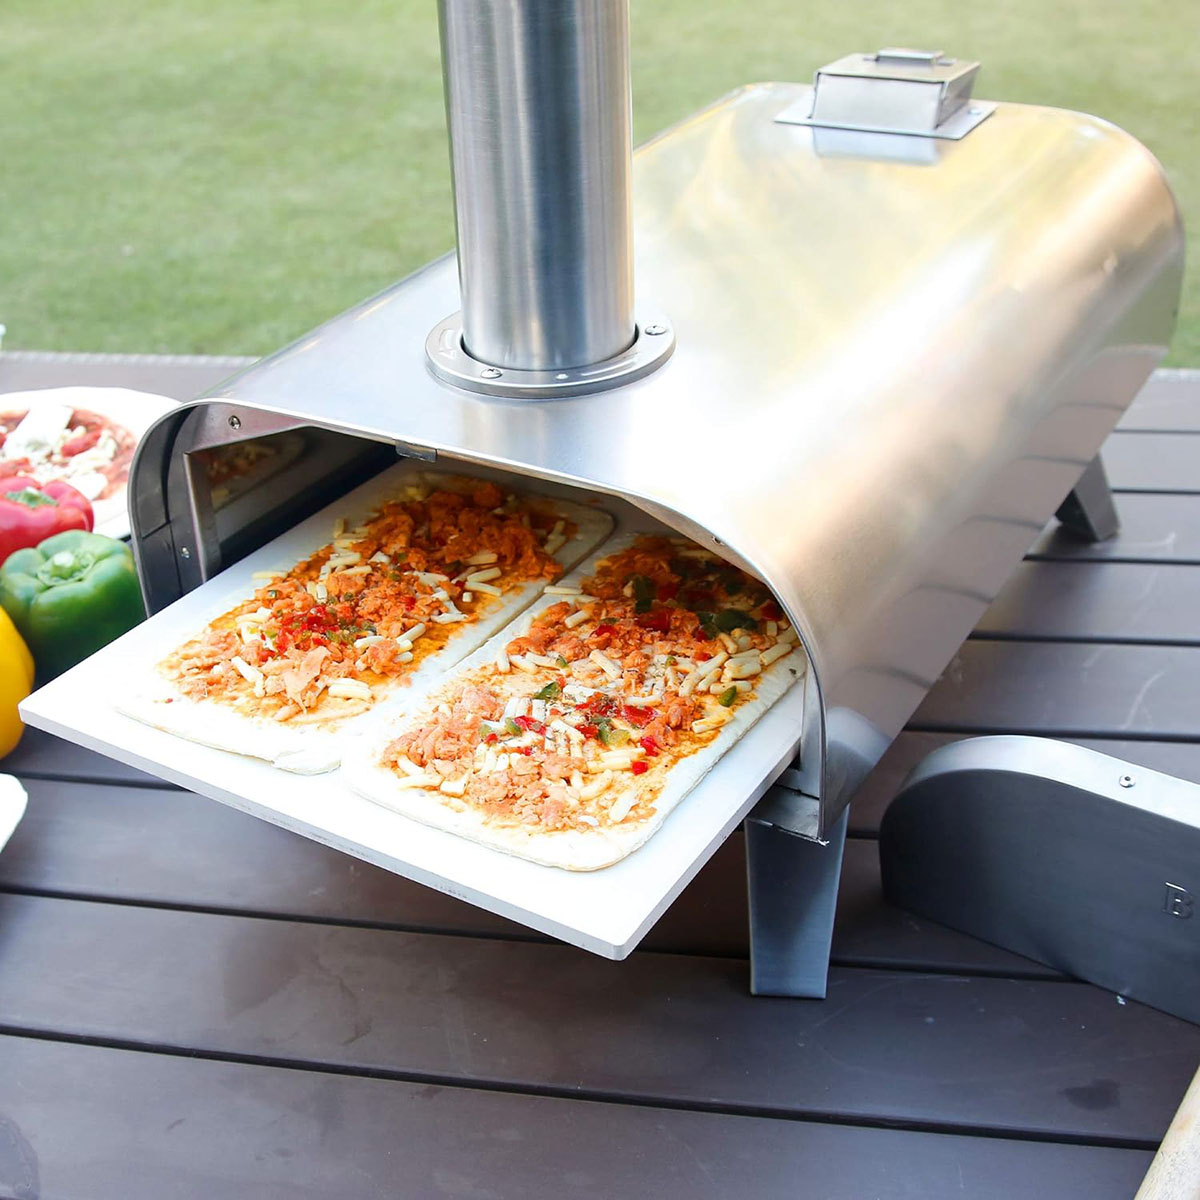
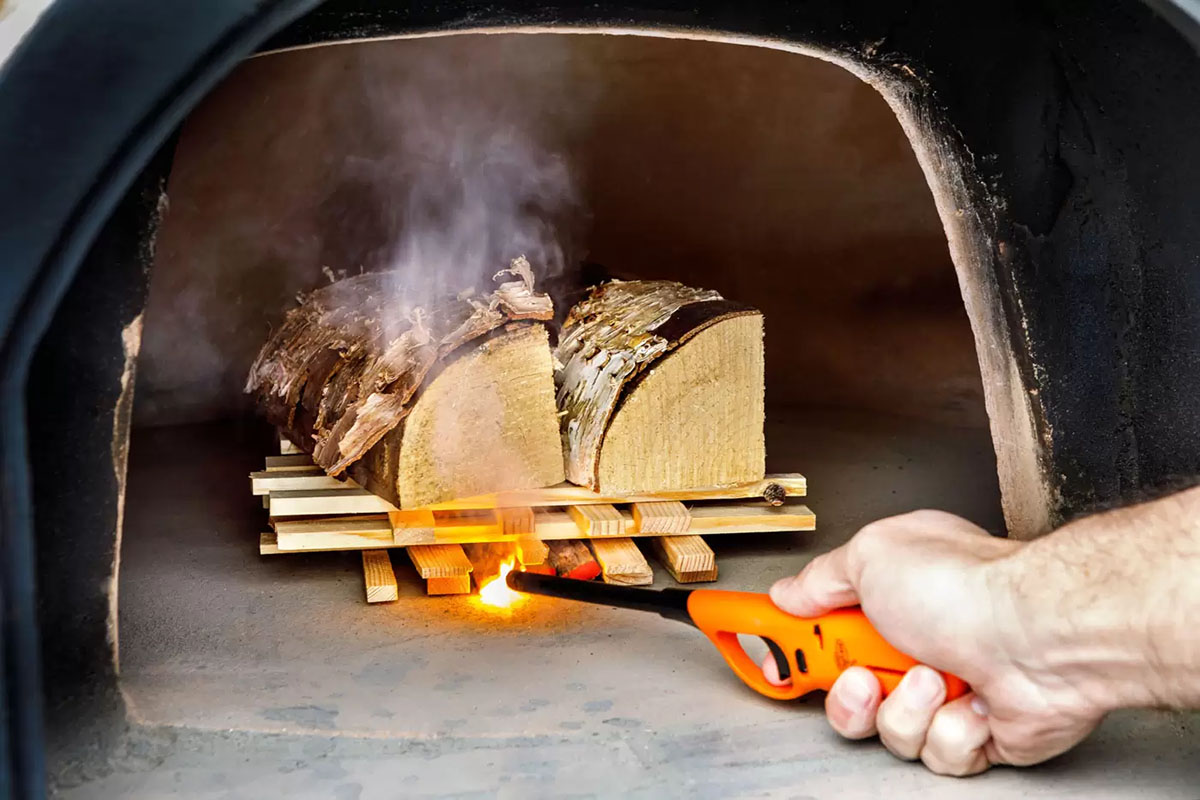
Firing Up the Oven
As the culmination of your labor of love, firing up the pizza oven for its inaugural use is an exhilarating and rewarding experience. Follow these steps to prepare and ignite the oven for a successful and memorable first cooking session:
1. Preheating the Oven: Before igniting the fire, ensure that the oven is dry and free of any debris. This step is essential for preventing potential damage and ensuring a clean cooking environment.
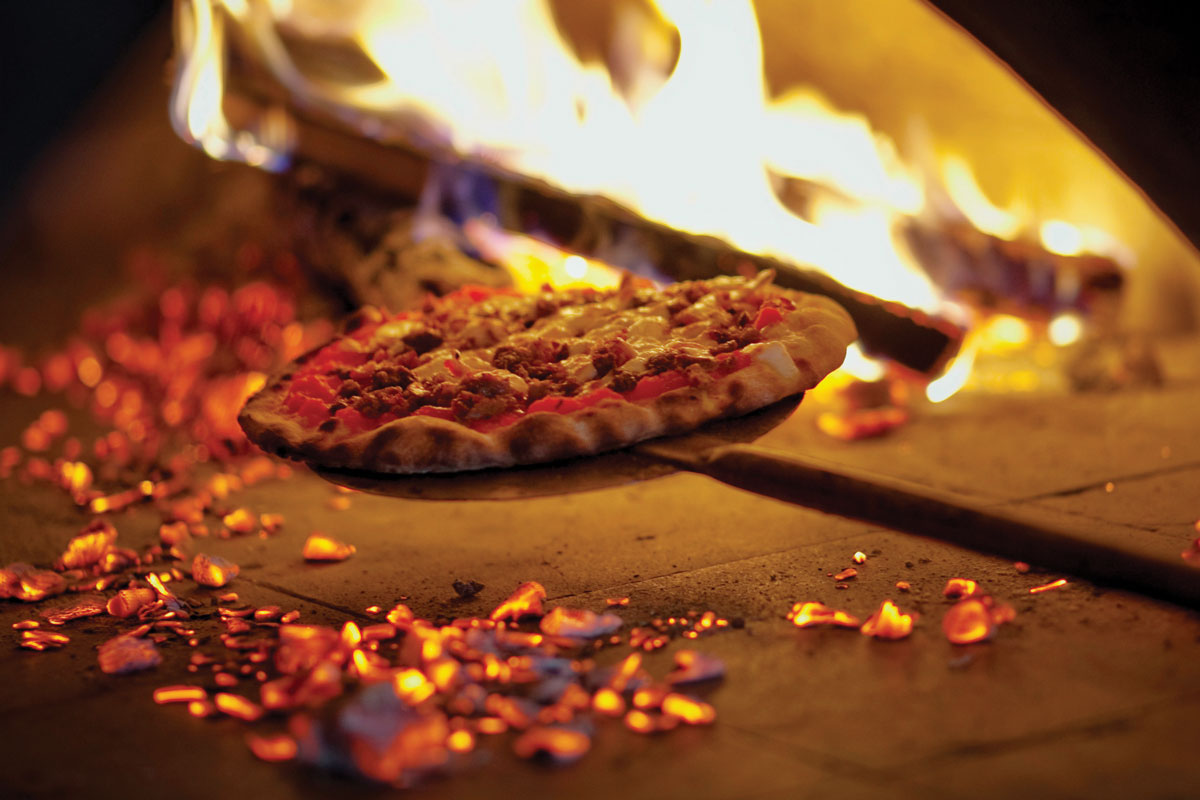
2. Building the Fire: Start by creating a small fire using kindling and firewood at the center of the oven. Gradually add more wood to establish a steady and robust fire that will heat the oven’s interior to the desired temperature for pizza cooking.
3. Monitoring the Temperature: Use a thermometer to gauge the internal temperature of the oven. Traditional wood-fired pizza ovens typically reach temperatures between 700°F and 800°F (370°C to 425°C), ideal for achieving the signature crispy crust and charred, smoky flavor of authentic Neapolitan-style pizzas.
4. Allowing for Heat Soak: Once the oven reaches the desired temperature, allow it to “soak” in the heat for approximately 45 minutes to ensure that the cooking surface and interior walls are evenly heated, creating an optimal cooking environment.
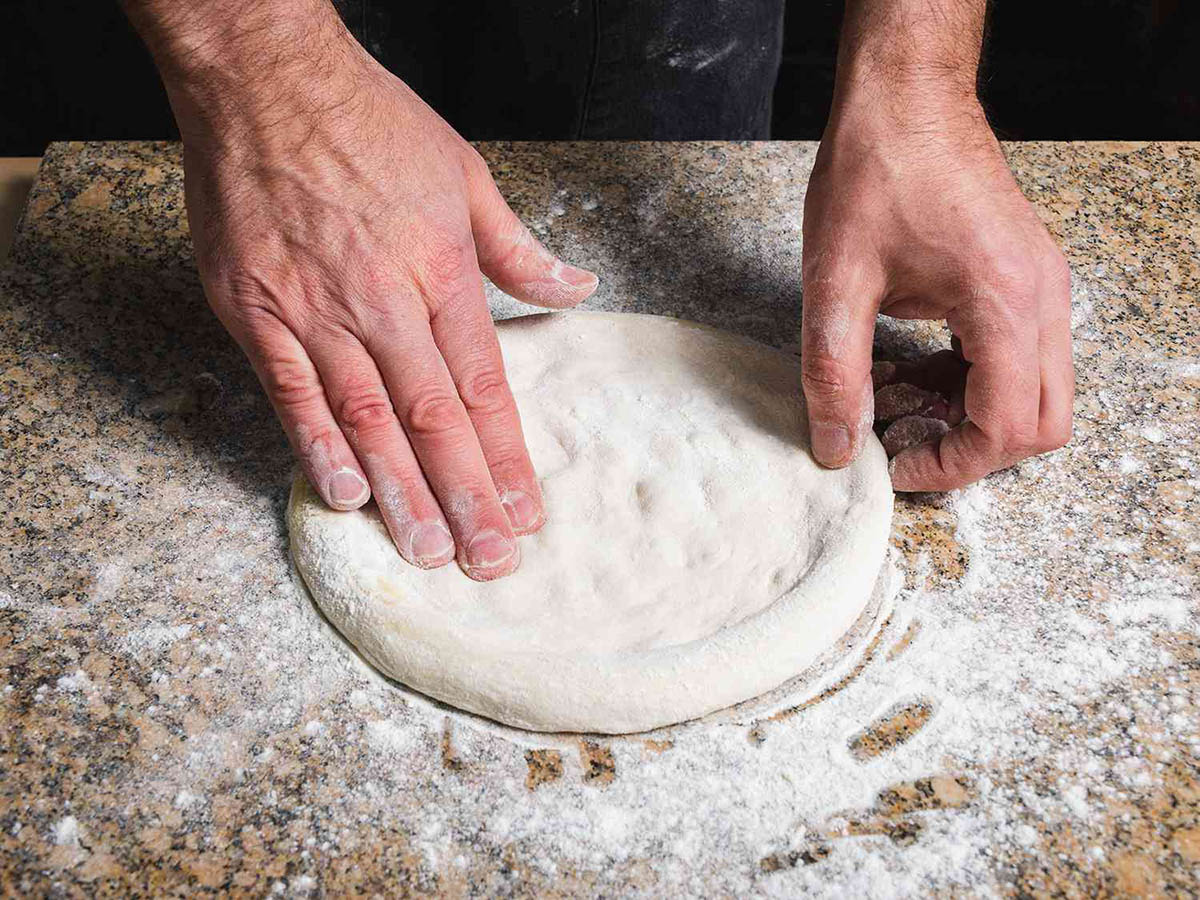
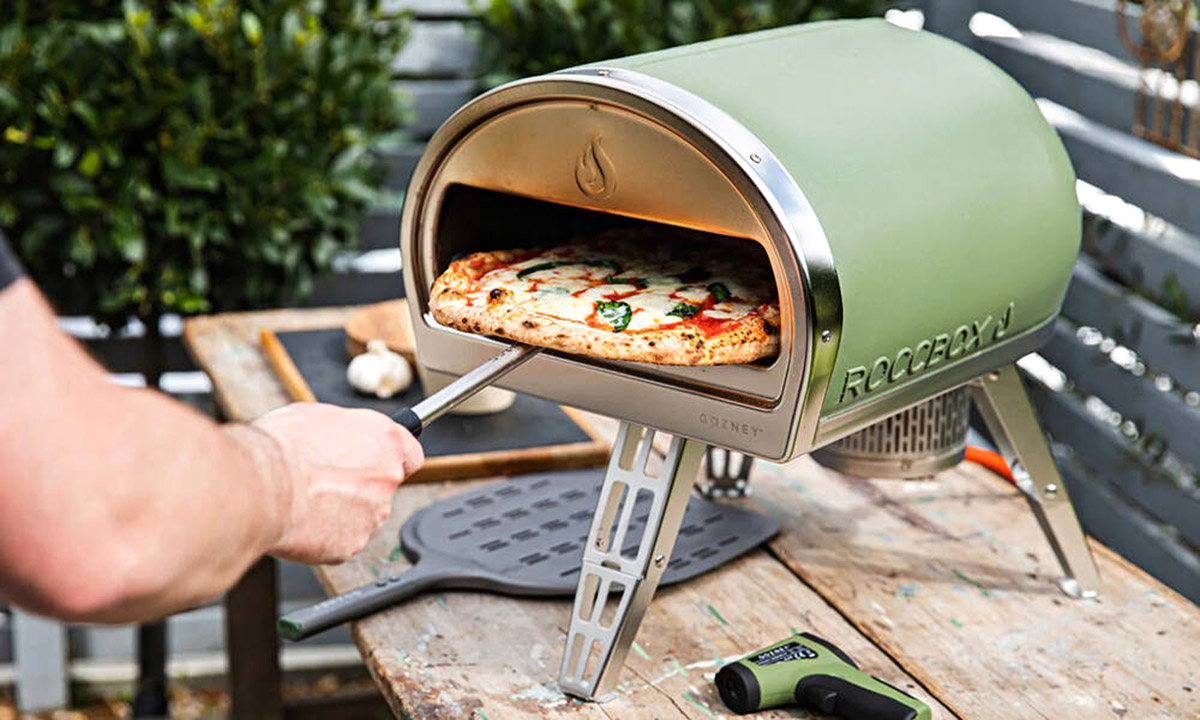
5. Preparing and Cooking Pizzas: With the oven primed and ready, it’s time to prepare your favorite pizza recipes and slide them into the fiery chamber. The intense heat and radiant energy of the wood-fired oven will swiftly cook the pizzas to perfection, delivering unparalleled flavor and texture.
As the tantalizing aroma of wood smoke and bubbling cheese fills the air, savor the satisfaction of witnessing your homemade pizzas undergo a culinary transformation within the confines of your meticulously crafted oven. The joy of sharing these delectable creations with friends and family in the comfort of your outdoor space is a testament to the remarkable journey of building and bringing to life your very own pizza oven.
Conclusion
Congratulations on embarking on the remarkable journey of constructing your own pizza oven from scratch. The process of building this culinary centerpiece has not only enriched your outdoor entertaining space but has also ignited a passion for the art of traditional wood-fired cooking. As you reflect on the rewarding endeavor, consider the following key takeaways:
Unleashing Creativity: The construction of a pizza oven presents a canvas for creativity, allowing you to personalize the design and functionality of the oven to suit your culinary aspirations and aesthetic preferences.
Embracing Authenticity: By embracing the time-honored method of wood-fired cooking, you’ve not only delved into a rich culinary tradition but have also unlocked the potential for creating truly authentic, artisanal pizzas with unparalleled flavor and texture.
Fostering Connections: Your pizza oven is more than a cooking appliance; it’s a catalyst for fostering meaningful connections and shared experiences. It beckons friends and family to gather, share stories, and savor the simple pleasures of good food and great company.
Continuing the Journey: As you continue to hone your pizza-making skills and explore the versatility of your wood-fired oven, remember that the process is a continual evolution. Each pizza you craft and every gathering you host will be an opportunity to refine your craft and create lasting memories.
With your pizza oven standing as a testament to your dedication and ingenuity, it’s time to embrace the joy of outdoor entertaining, the art of wood-fired cooking, and the warmth of shared moments in the company of loved ones. Your backyard oasis is now adorned with a culinary treasure that will undoubtedly kindle the spirit of conviviality and delight for years to come.
Frequently Asked Questions about How To Build A Pizza Oven From Scratch
Was this page helpful?
At Storables.com, we guarantee accurate and reliable information. Our content, validated by Expert Board Contributors, is crafted following stringent Editorial Policies. We're committed to providing you with well-researched, expert-backed insights for all your informational needs.


0 thoughts on “How To Build A Pizza Oven From Scratch”