Home>Construction & Tools>Building Materials>How To Remove A Paver Brick
Building Materials
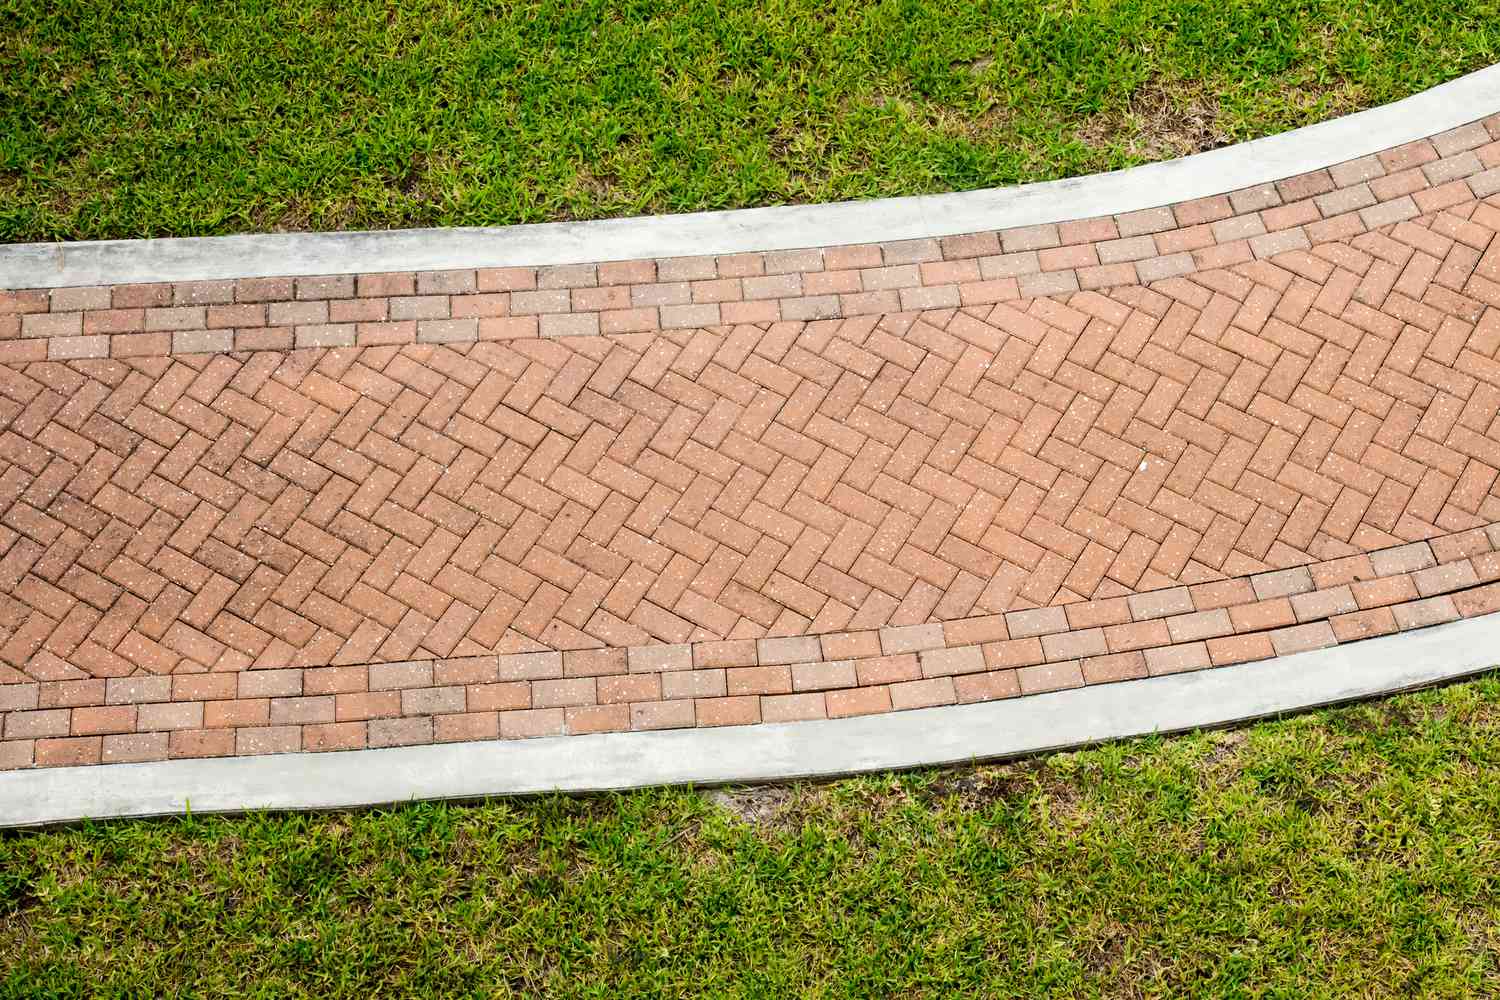
How To Remove A Paver Brick
Published: January 23, 2024
Learn how to properly remove a paver brick with our step-by-step guide. Find the best techniques and tools for this building materials project.
(Many of the links in this article redirect to a specific reviewed product. Your purchase of these products through affiliate links helps to generate commission for Storables.com, at no extra cost. Learn more)
Introduction
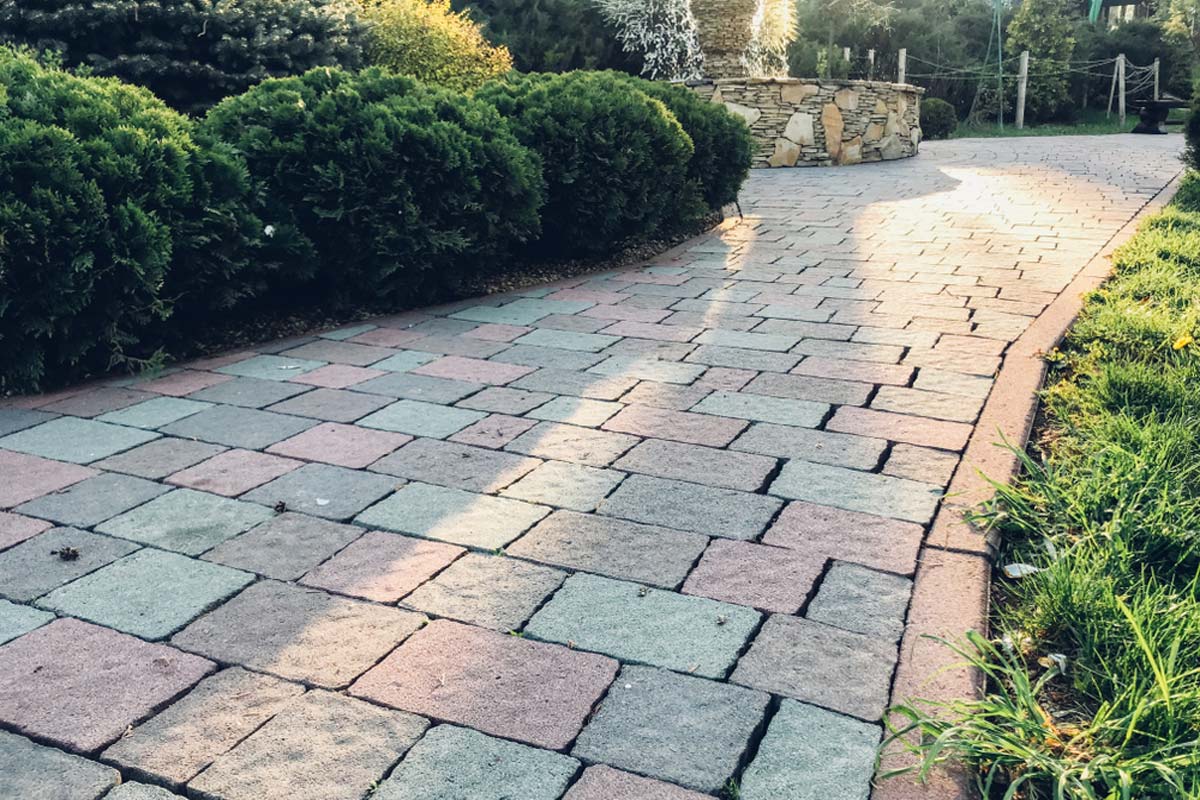
Welcome to our comprehensive guide on how to remove a paver brick! Whether you’re looking to replace a damaged brick, reconfigure your outdoor space, or simply need to access the area beneath the paver, understanding the proper removal process is crucial. Paver bricks are a popular choice for patios, walkways, and driveways due to their durability and aesthetic appeal. However, situations may arise that require the careful removal of these bricks without causing damage to surrounding structures or compromising their integrity.
In this guide, we’ll walk you through the step-by-step process of safely and effectively removing a paver brick. From gathering the necessary tools and materials to cleaning the area post-removal, we’ll cover everything you need to know to successfully complete this task. Whether you’re a seasoned DIY enthusiast or a homeowner tackling this project for the first time, our goal is to equip you with the knowledge and confidence to execute the removal process with precision.
By following our expert tips and instructions, you’ll be able to navigate the removal of a paver brick with ease, ensuring that your project is completed with professional-level results. So, let’s dive in and explore the essential steps for removing a paver brick, empowering you to maintain and enhance the beauty and functionality of your outdoor living space.
Key Takeaways:
- Safely remove a paver brick by gathering tools, preparing the area, and cleaning up afterward. Reuse or replace the brick for a polished outdoor space.
- Prioritize safety, meticulous preparation, and thoughtful decision-making to successfully remove and replace a paver brick, enhancing your outdoor living space.
Read more: What Is A Brick Paver
Step 1: Gather Necessary Tools and Materials
Before embarking on the task of removing a paver brick, it’s essential to gather the appropriate tools and materials to ensure a smooth and efficient process. Here’s a list of items you’ll need:
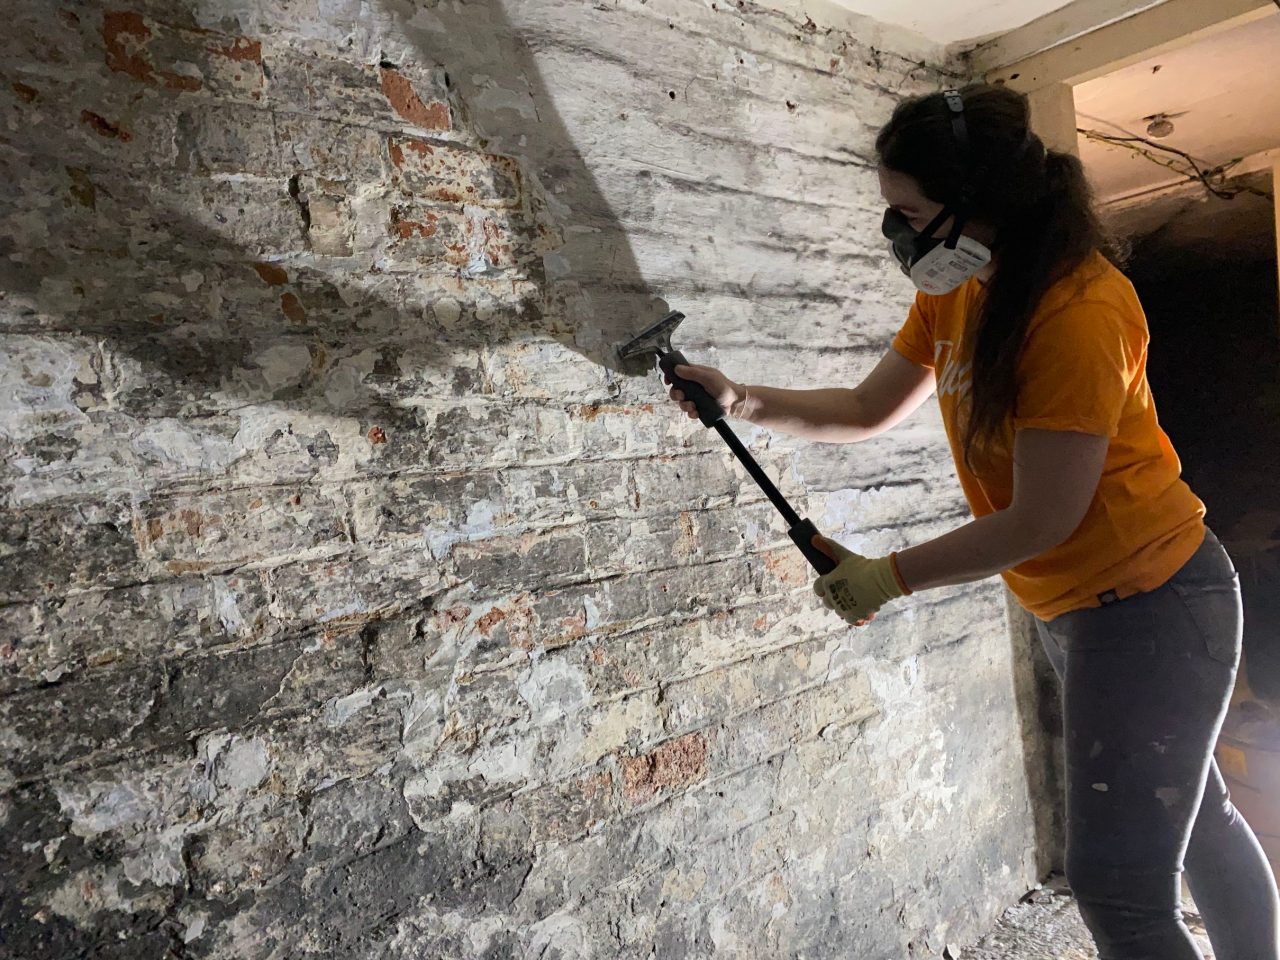
- Safety Gear: Prioritize safety by wearing protective gear, including gloves, safety goggles, and a dust mask. These will shield you from potential hazards such as sharp edges, dust, and debris.
- Work Gloves: Durable work gloves will provide added protection and improve your grip when handling heavy materials.
- Flat-Head Screwdriver or Chisel: A flat-head screwdriver or chisel will aid in loosening the paver brick from its position.
- Pry Bar: A pry bar is essential for leveraging and lifting the paver brick once it’s loosened.
- Hammer: A hammer will be used in conjunction with the chisel or screwdriver to carefully dislodge the brick.
- Wheelbarrow or Bucket: Use a wheelbarrow or bucket to transport removed pavers and debris away from the work area.
- Broom: A broom will help clear away loose dirt and debris before and after the removal process.
- Replacement Sand or Base Material: Depending on your specific project, you may need to replenish sand or base material once the paver brick is removed.
By ensuring you have these tools and materials on hand, you’ll be well-equipped to tackle the task of removing a paver brick with confidence and precision. Adequate preparation sets the stage for a successful and efficient removal process, allowing you to maintain the integrity of your outdoor space and complete the project with ease.
Step 2: Prepare the Area
Prior to initiating the removal of a paver brick, it’s crucial to prepare the surrounding area to facilitate a seamless and safe process. Here’s a detailed outline of the preparatory steps:
- Clear the Surrounding Space: Begin by clearing the area around the paver brick, removing any items such as outdoor furniture, planters, or decorative elements that may obstruct your access.
- Inspect the Surrounding Pavers: Take a moment to inspect the adjacent pavers for any signs of damage or instability. This assessment will help identify any additional maintenance or repairs that may be necessary.
- Secure a Stable Work Surface: Ensure that the ground beneath the paver brick is stable and level. If the area feels uneven or unstable, consider adding a layer of compacted base material to provide a solid work surface.
- Protect Adjacent Pavers: To prevent accidental damage to surrounding pavers during the removal process, consider placing a protective barrier, such as a piece of plywood or a thick cloth, adjacent to the paver brick you’ll be working on.
- Mark the Location: Using chalk or a temporary marker, outline the perimeter of the paver brick to clearly define the area you’ll be working on. This visual guide will help you maintain focus and precision during the removal process.
By meticulously preparing the area before removing the paver brick, you’ll create an environment conducive to a smooth and efficient removal process. These preparatory steps not only enhance safety but also contribute to the overall success of your project, ensuring that the surrounding structures remain intact and undisturbed.
Step 3: Remove the Surrounding Pavers
Before directly addressing the targeted paver brick, it’s often necessary to remove the surrounding pavers to create sufficient space and access for the removal process. Follow these steps to safely remove the adjacent pavers:
- Start at the Edge: Identify the pavers closest to the targeted brick and begin removing them from the outer edge of the designated work area.
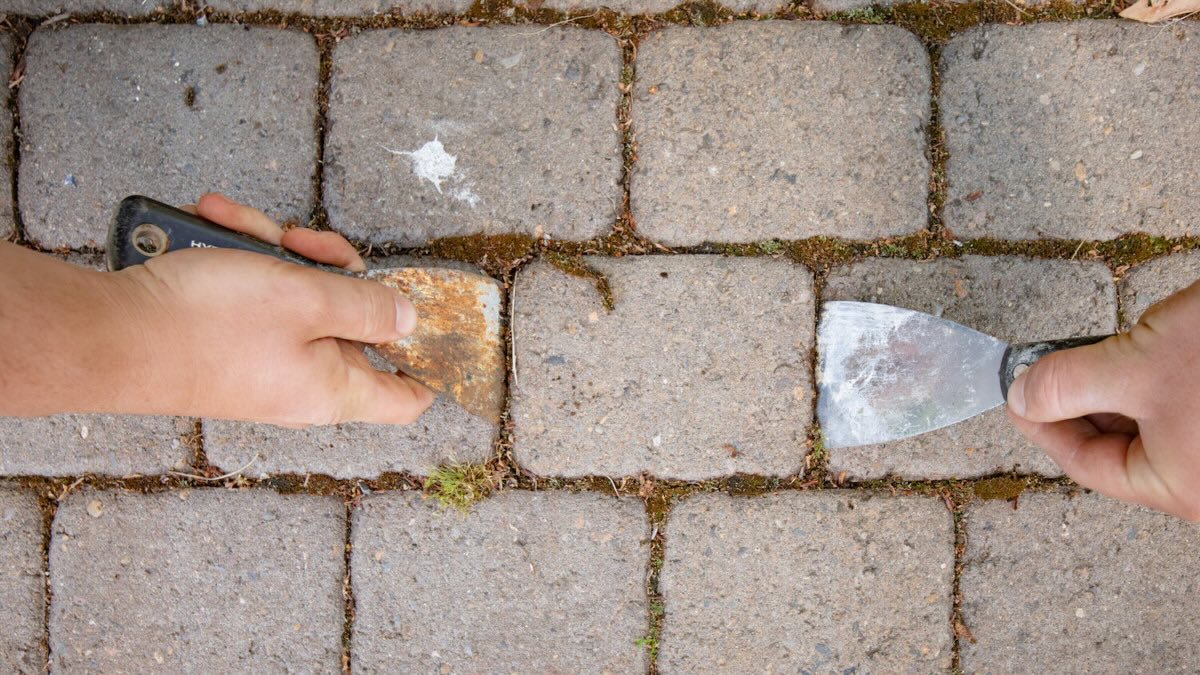
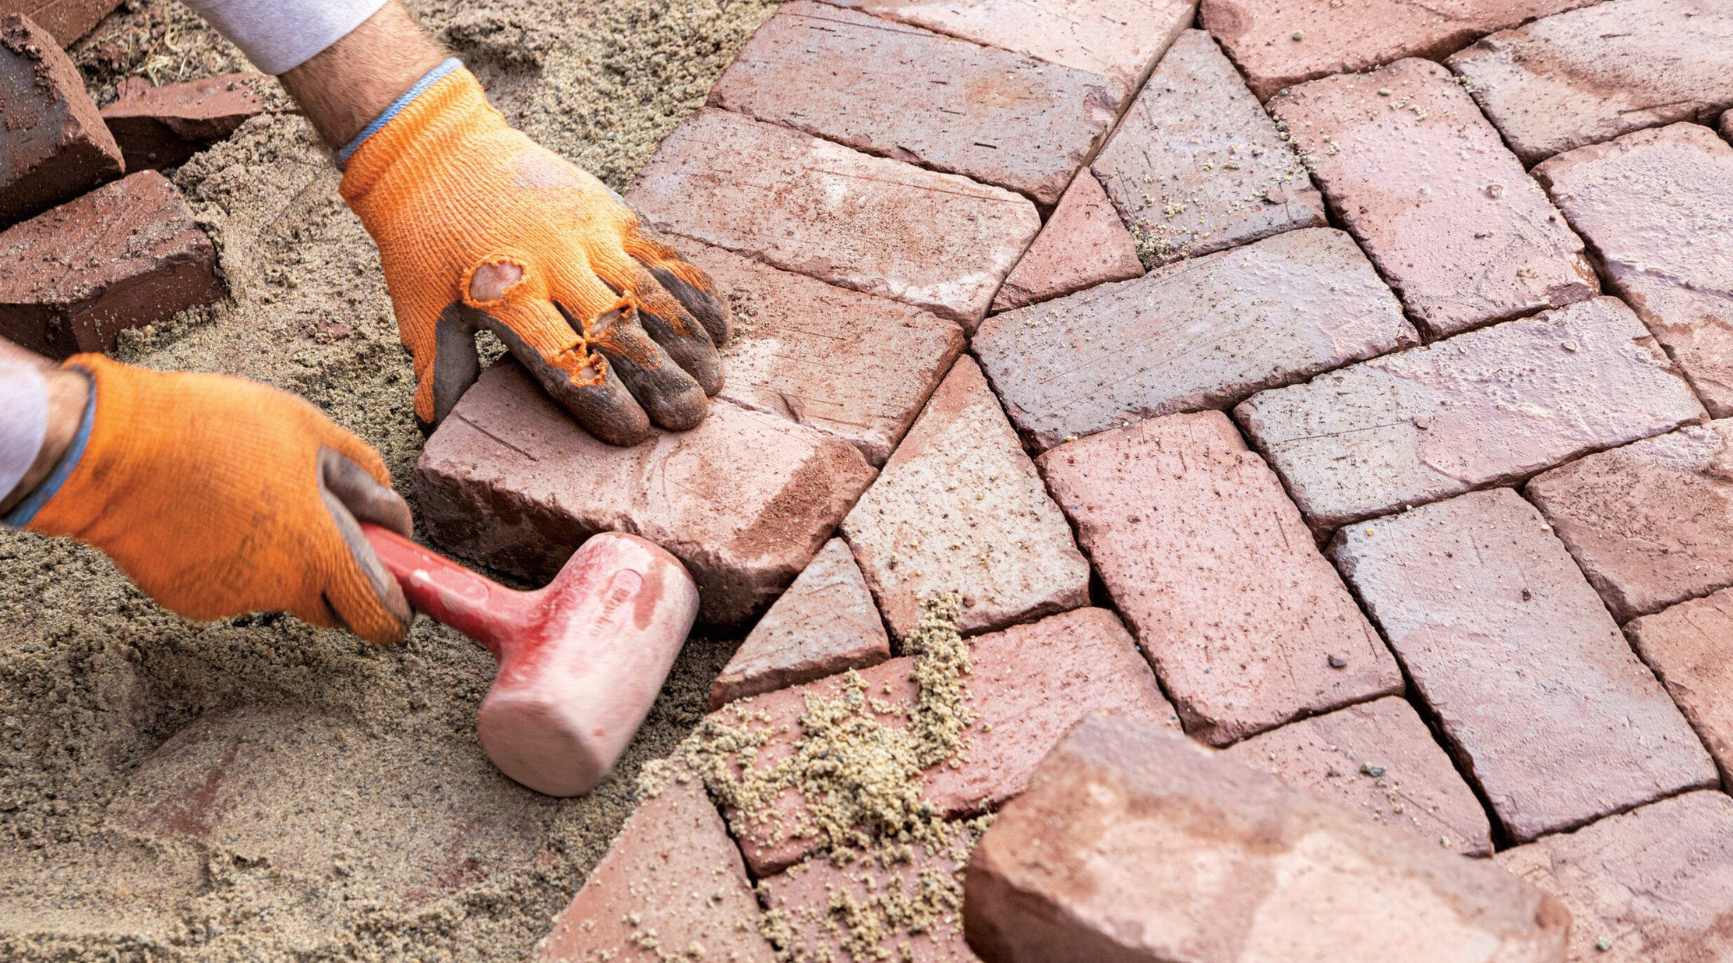
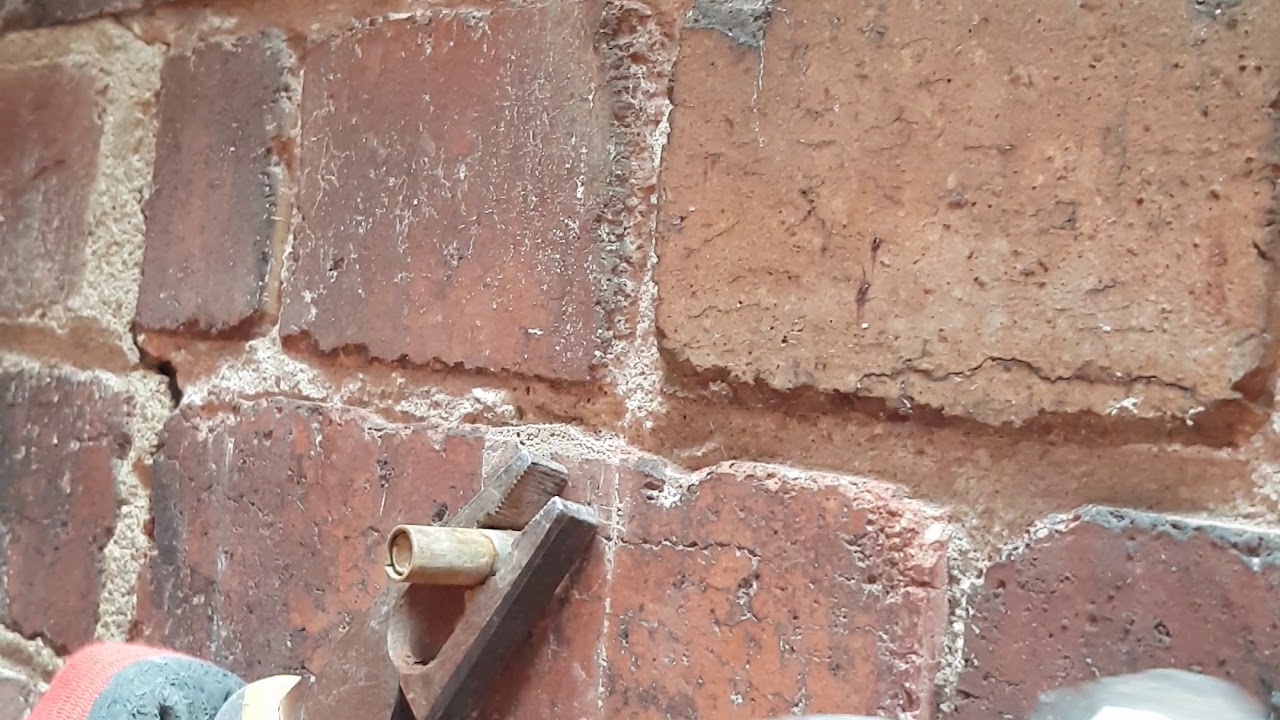
- Utilize a Flat-Head Screwdriver or Chisel: Gently insert a flat-head screwdriver or chisel into the joint between the pavers to loosen them. Carefully wiggle the tool to dislodge the pavers from the sand or base material beneath.
- Remove the Pavers: Once loosened, carefully lift and remove the adjacent pavers, setting them aside in a safe location for reinstallation later.
- Inspect the Substrate: Take a moment to inspect the exposed substrate, ensuring it remains intact and level. Address any irregularities or damage in the substrate before proceeding.
By systematically removing the surrounding pavers, you’ll create a clear and unobstructed workspace around the targeted paver brick, streamlining the subsequent removal process. This methodical approach minimizes the risk of accidental damage to adjacent structures and ensures that the area is prepared for the precise extraction of the paver brick.
To remove a paver brick, use a flat shovel to loosen the surrounding soil and then carefully lift the brick out. If it’s stuck, use a rubber mallet to gently tap it from the sides.
Step 4: Remove the Paver Brick
With the surrounding pavers successfully removed and the area prepared, it’s time to focus on the careful extraction of the targeted paver brick. Follow these detailed steps to effectively remove the paver brick:
- Assess the Adjoining Joints: Inspect the joints surrounding the paver brick to identify any compacted sand, debris, or potential obstructions that may hinder its removal.
- Loosen the Brick: Utilize a flat-head screwdriver or chisel to gently pry and loosen the targeted paver brick from its position. Work around the perimeter of the brick, gradually releasing it from the surrounding sand or base material.
- Use a Pry Bar: Once the brick is sufficiently loosened, carefully slide a pry bar beneath it to provide leverage for lifting. Apply gentle pressure to elevate the brick from the substrate.
- Handle with Care: Lift the paver brick with caution, ensuring that it remains intact and undamaged during the extraction process. Avoid excessive force that may lead to breakage.
- Set Aside the Removed Brick: Place the extracted paver brick in a secure location, away from the immediate work area, to prevent potential tripping hazards and facilitate a clear workspace for subsequent tasks.
By methodically following these steps, you can safely and effectively remove the targeted paver brick without causing damage to surrounding structures or compromising its integrity. This meticulous approach ensures that the brick is extracted with precision, setting the stage for a seamless transition to the next phase of your project.
Read more: How To Paint Brick Pavers
Step 5: Clean the Area
Once the paver brick has been successfully removed, it’s essential to thoroughly clean the surrounding area to prepare it for any necessary adjustments or the reinstallation of the brick. Follow these steps to ensure the area is clean and ready for the next phase of your project:
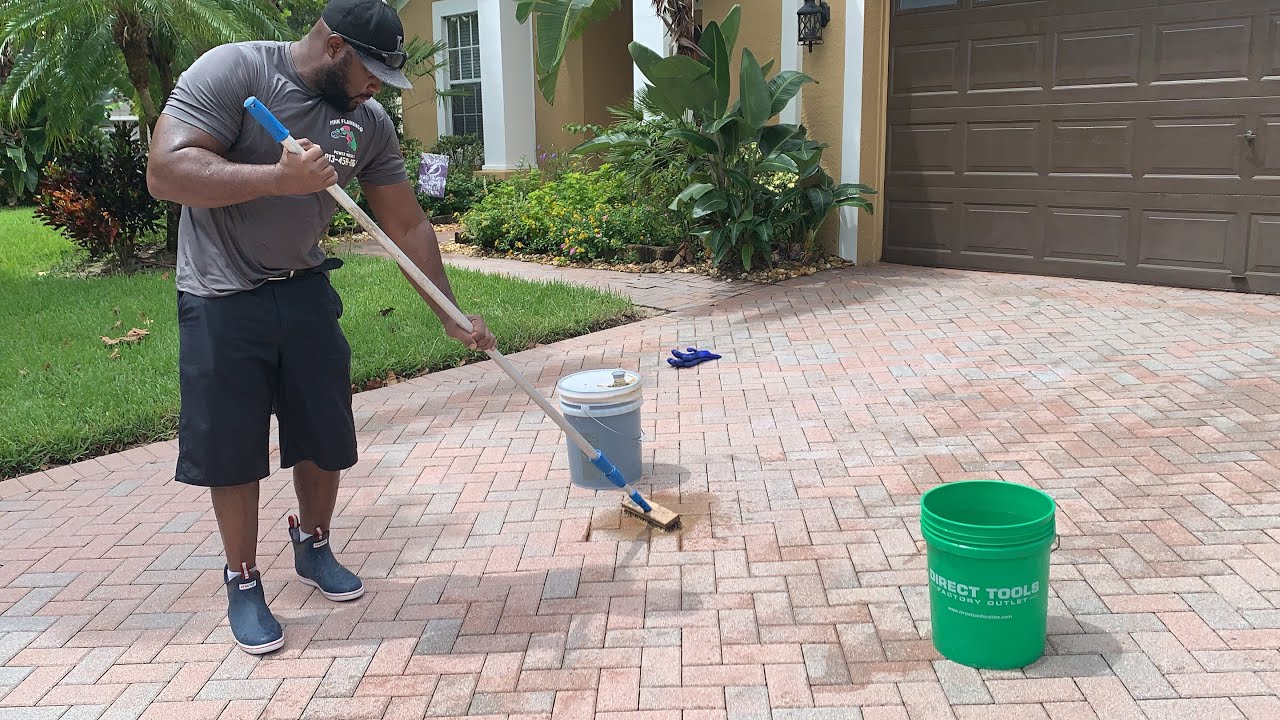
- Clear Loose Debris: Use a broom or handheld brush to clear away any loose dirt, sand, or debris from the exposed substrate. This initial cleaning step sets the foundation for a tidy work area.
- Inspect the Substrate: Take a moment to inspect the substrate beneath the removed paver brick. Address any irregularities, compacted sand, or debris to ensure a level and stable foundation for future adjustments or reinstallation.
- Replenish Sand or Base Material: Depending on the specific requirements of your project, consider replenishing the area with sand or base material to achieve the desired level and stability. This step is particularly important if adjustments to the substrate are necessary.
- Clean the Removed Paver Brick: If you plan to reuse the extracted paver brick, take the opportunity to clean it thoroughly. Remove any accumulated dirt, debris, or residual sand to restore its appearance and prepare it for potential reinstallation.
- Organize Reusable Pavers: If multiple pavers were removed, organize and store them in a secure location, keeping them neatly stacked and protected from potential damage or displacement.
By diligently cleaning the area and addressing any substrate-related requirements, you’ll ensure that the space is primed for the next phase of your project. This meticulous approach sets the stage for seamless adjustments, repairs, or the reinstallation of the paver brick, allowing you to proceed with confidence and precision.
Step 6: Replace or Reuse the Paver Brick
After completing the removal process and preparing the area, the next crucial step involves deciding whether to replace the paver brick with a new one or to reuse the extracted brick. Consider the following options and guidelines to determine the best course of action:
- Assess the Condition: Evaluate the condition of the removed paver brick. If it remains structurally sound and visually appealing, it may be suitable for reuse. However, if the brick shows signs of damage or wear that may compromise its functionality or aesthetics, replacing it with a new one may be the preferred choice.
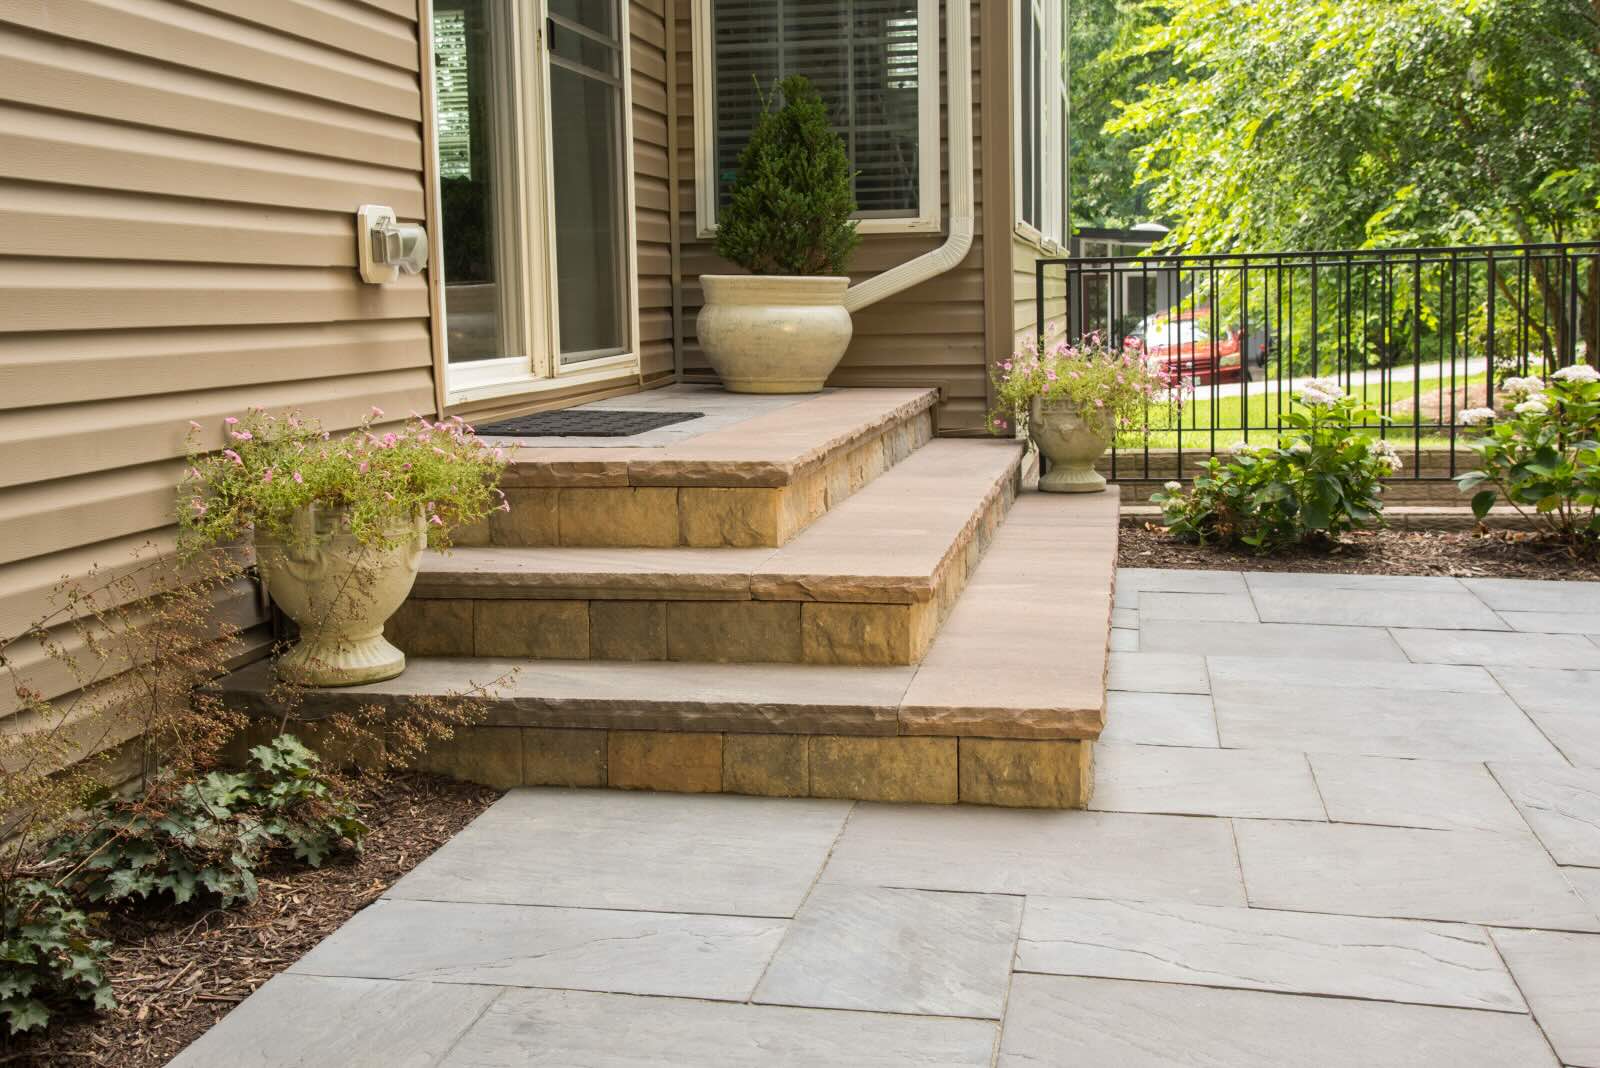
- Match with Existing Pavers: If you opt for a replacement brick, strive to select one that closely matches the size, style, and color of the existing pavers in your outdoor space. This ensures a cohesive and harmonious appearance once the replacement is installed.
- Consider Reinstallation: If you choose to reuse the extracted paver brick, carefully assess the surrounding area to determine the optimal position for its reinstallation. Ensure that the substrate is appropriately prepared to support the brick securely.
- Professional Assistance: If you encounter challenges or uncertainties regarding the replacement or reinstallation process, consider consulting with a professional contractor or landscaping expert. Their expertise can provide valuable insights and guidance for achieving the best results.
- Complete the Project: Once the decision to replace or reuse the paver brick has been made, proceed with the necessary adjustments, reinstallation, or placement of the new brick to finalize the project. Pay attention to alignment, joint spacing, and overall aesthetics to achieve a polished and cohesive outcome.
By carefully considering the condition of the removed paver brick and making an informed choice regarding its replacement or reuse, you can effectively complete the project with a focus on both functionality and visual appeal. This final step ensures that your outdoor space maintains its charm and structural integrity, reflecting your attention to detail and commitment to quality.
Conclusion
Congratulations on completing the comprehensive guide on how to remove a paver brick! By following the step-by-step instructions outlined in this guide, you’ve gained the knowledge and confidence to navigate the removal process with precision and efficiency. Whether you’re addressing a damaged brick, reconfiguring your outdoor space, or simply need to access the area beneath the pavers, mastering this skill empowers you to maintain and enhance the beauty and functionality of your outdoor living space.
From gathering the necessary tools and materials to carefully assessing the condition of the paver brick, each step of the removal process contributes to the successful execution of your project. By prioritizing safety, meticulous preparation, and thoughtful decision-making regarding the replacement or reuse of the paver brick, you’ve demonstrated a commitment to achieving professional-level results.
As you reflect on your accomplishment, consider the newfound expertise you’ve acquired and the potential for applying these skills to future projects. Whether you’re embarking on additional landscaping endeavors or sharing your knowledge with others, the knowledge gained from this guide serves as a valuable asset in your DIY toolkit.
Remember, the removal of a paver brick is not merely a task but an opportunity to enhance your outdoor space with care and precision. By embracing the principles of thorough preparation, attention to detail, and a commitment to quality, you’ve elevated your ability to maintain and improve your surroundings with confidence and expertise.
Thank you for embarking on this educational journey with us. We trust that the insights and guidance provided in this guide will serve as a valuable resource as you continue to embark on fulfilling and rewarding projects in your outdoor living space.
Frequently Asked Questions about How To Remove A Paver Brick
Was this page helpful?
At Storables.com, we guarantee accurate and reliable information. Our content, validated by Expert Board Contributors, is crafted following stringent Editorial Policies. We're committed to providing you with well-researched, expert-backed insights for all your informational needs.
0 thoughts on “How To Remove A Paver Brick”