Home>Gardening & Outdoor>Outdoor Entertaining>How To Place Lava Rocks In A Gas Fire Pit
Outdoor Entertaining
How To Place Lava Rocks In A Gas Fire Pit
Modified: January 14, 2024
Learn how to enhance your outdoor entertaining space by properly placing lava rocks in a gas fire pit. Create a stunning and functional focal point for your gatherings.
(Many of the links in this article redirect to a specific reviewed product. Your purchase of these products through affiliate links helps to generate commission for Storables.com, at no extra cost. Learn more)
Introduction
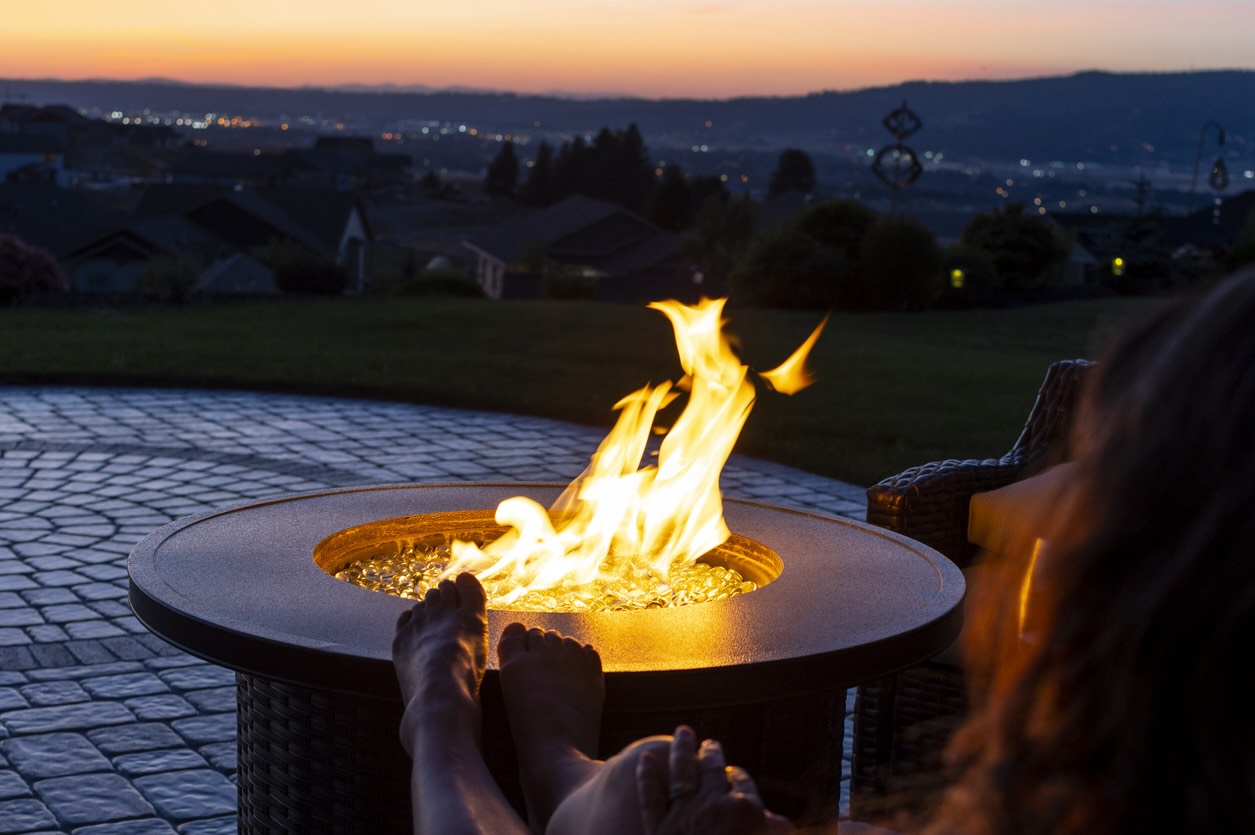
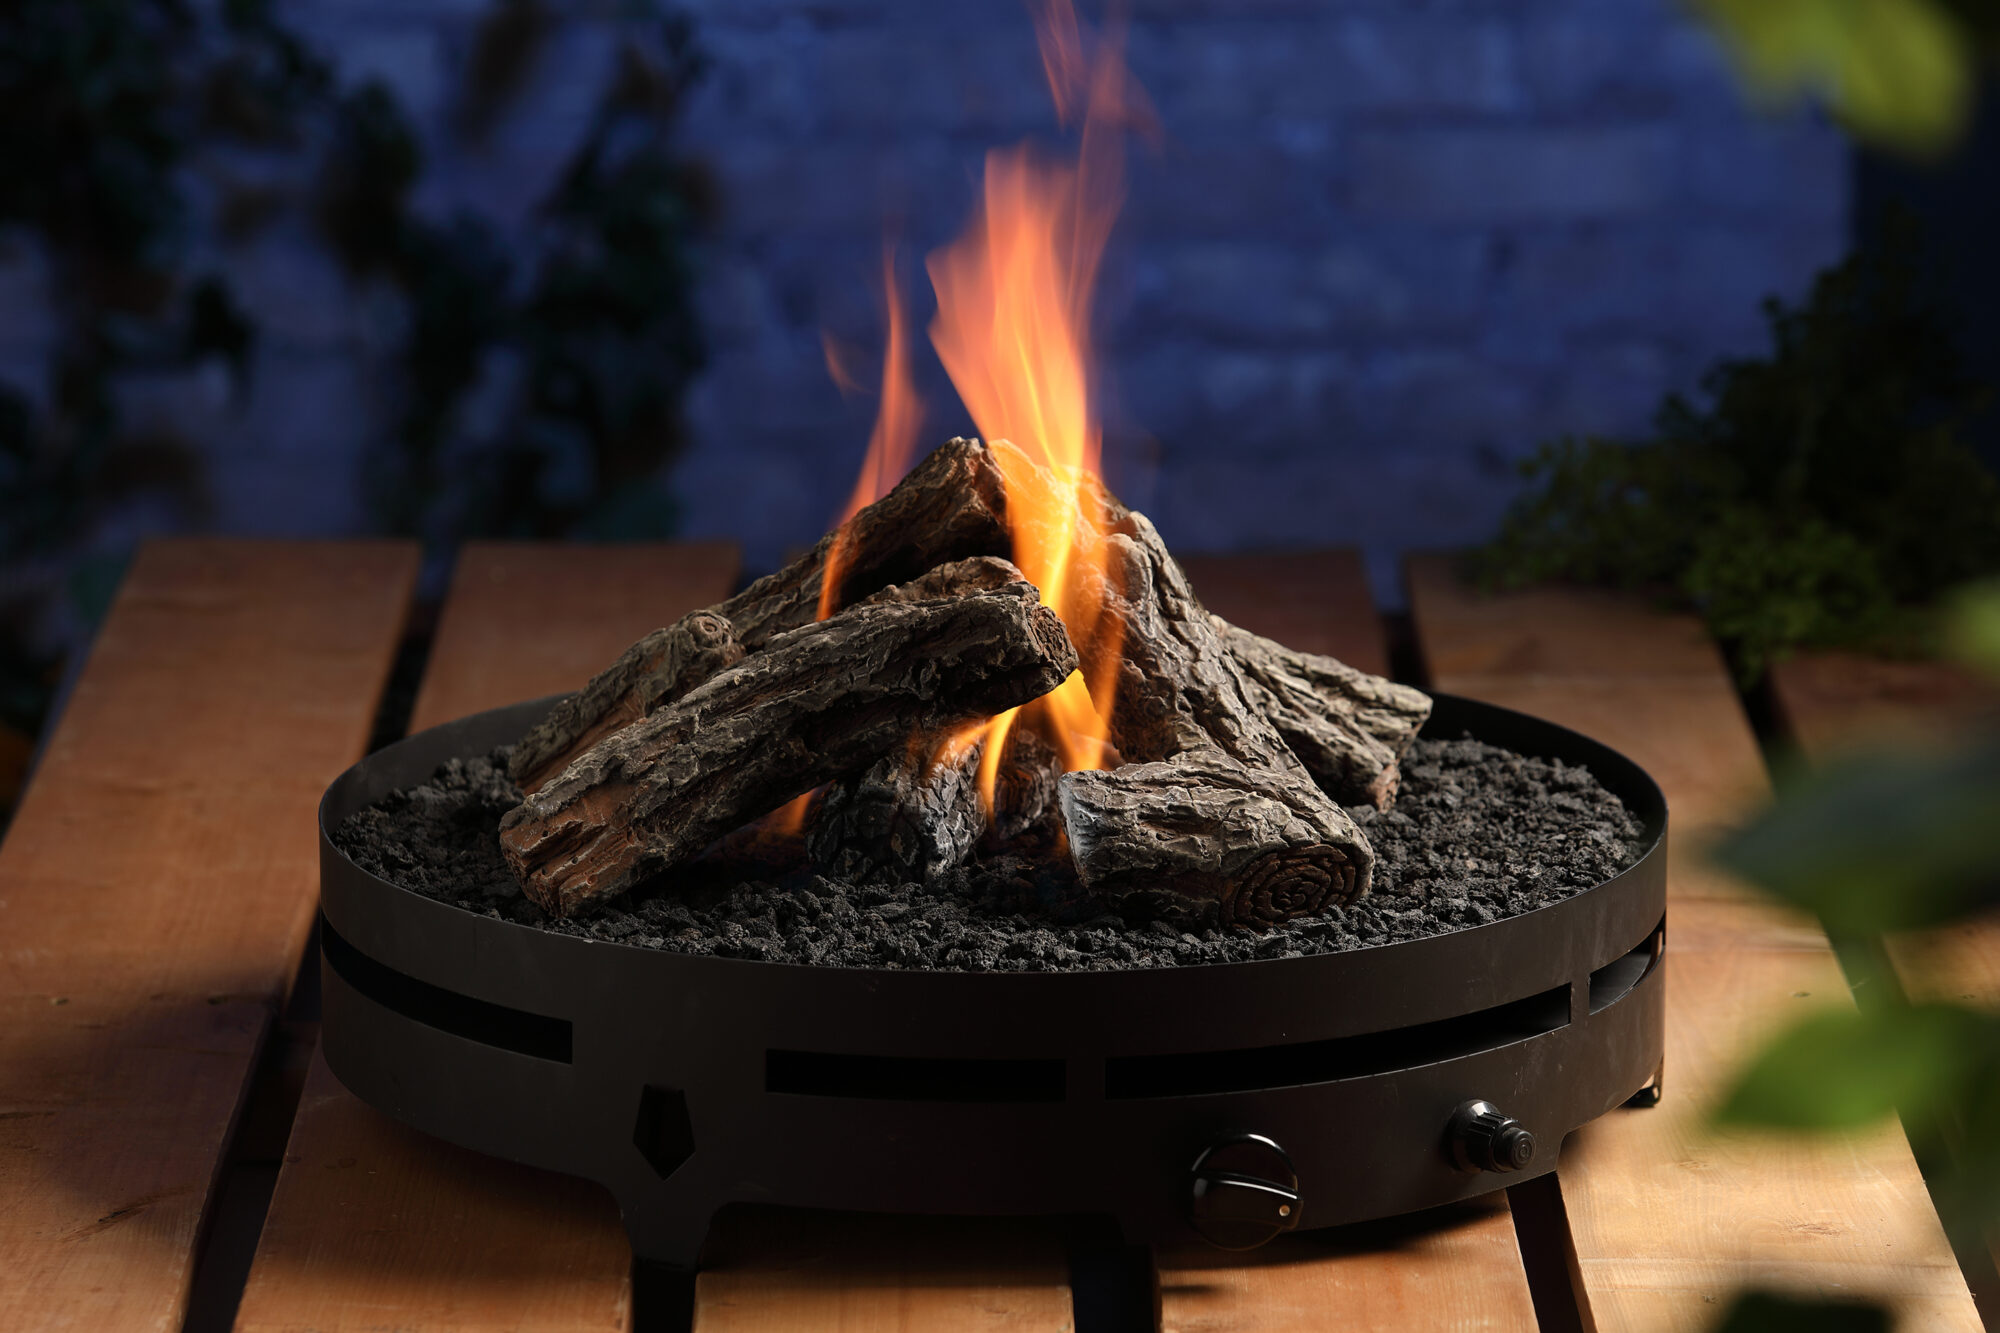
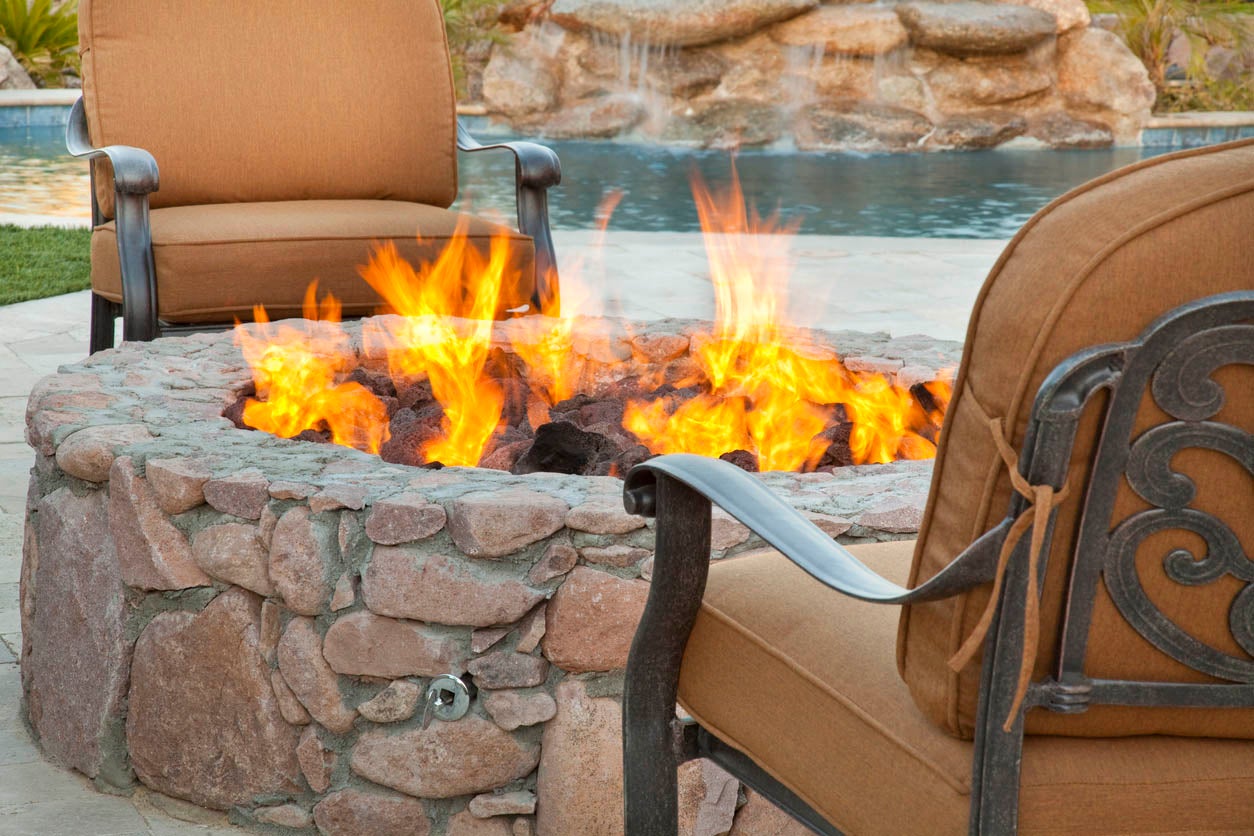
When it comes to creating a cozy and inviting outdoor space, a gas fire pit can be an excellent addition. Not only does it provide warmth and ambiance, but it also serves as a focal point for gatherings with family and friends. To enhance the functionality and aesthetics of a gas fire pit, many homeowners opt to use lava rocks as a decorative and practical element. In this guide, we will explore the step-by-step process of placing lava rocks in a gas fire pit, ensuring a safe and visually appealing setup.
Lava rocks, formed from volcanic eruptions, are renowned for their ability to withstand high heat and distribute it evenly. Their porous nature allows them to retain heat, making them an ideal medium for radiating warmth in a fire pit. Additionally, these rocks come in a variety of shapes, sizes, and colors, allowing for customization to suit different styles and preferences.
Whether you are a seasoned outdoor enthusiast or a novice looking to elevate your outdoor entertaining space, understanding how to properly place lava rocks in a gas fire pit is essential. By following the safety precautions and step-by-step instructions outlined in this guide, you can ensure that your gas fire pit not only looks stunning but also functions optimally, providing countless hours of relaxation and enjoyment. So, let's dive into the process and discover how to transform your gas fire pit with the natural beauty and practical benefits of lava rocks.
Key Takeaways:
- Safety First!
Before adding lava rocks to your gas fire pit, prioritize safety by following the manual, checking for gas leaks, and keeping flammable materials clear. This ensures a worry-free outdoor experience for all. - Transform Your Fire Pit
By skillfully placing lava rocks in your gas fire pit, you can create a captivating focal point for gatherings and moments of tranquility. The rocks enhance heat distribution and visual appeal, elevating your outdoor oasis.
Read more: How To Place Glass Rocks In Propane Fire Pit
Safety Precautions
Before embarking on the process of placing lava rocks in your gas fire pit, it is crucial to prioritize safety. Gas fire pits, when handled improperly, can pose risks, and it is essential to take the necessary precautions to mitigate any potential hazards. Here are some key safety measures to keep in mind:
- Read the Manual: Familiarize yourself with the manufacturer’s instructions and safety guidelines for your specific gas fire pit model. Understanding the recommended practices and limitations outlined in the manual is fundamental to safe operation.
- Ensure Proper Ventilation: Gas fire pits require adequate ventilation to prevent the accumulation of gas. Avoid placing the fire pit in enclosed or poorly ventilated spaces, as this can lead to a buildup of harmful gases.
- Inspect Gas Lines: Regularly inspect the gas lines and connections for any signs of wear, damage, or leaks. If you detect any issues, refrain from using the fire pit until the necessary repairs have been made by a qualified professional.
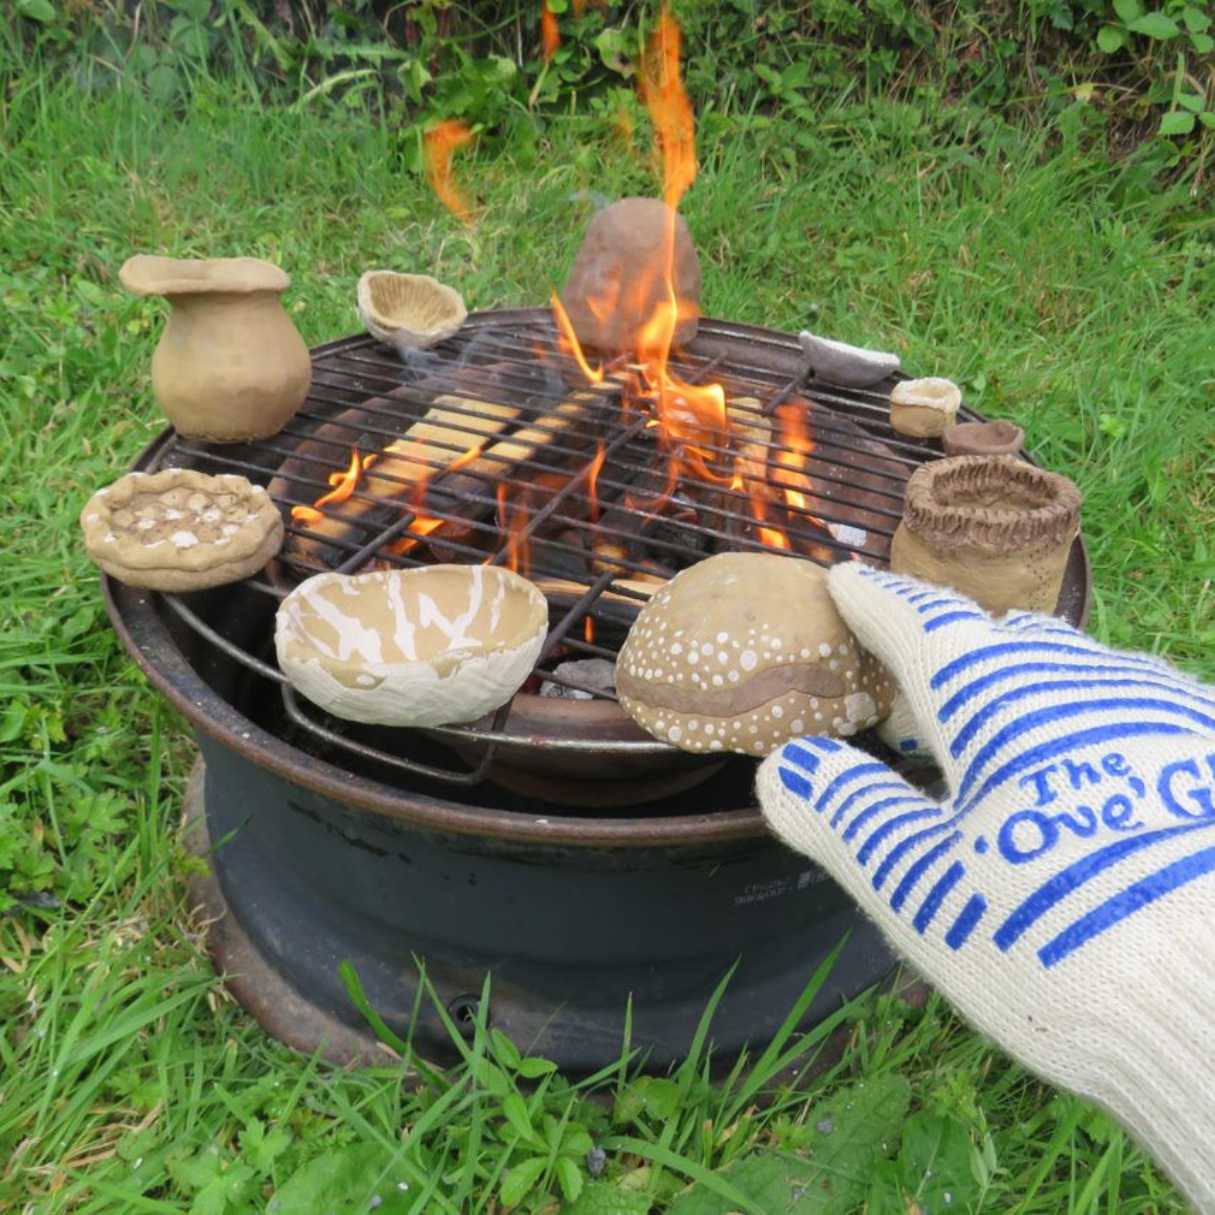
- Use Protective Gear: When handling lava rocks or performing maintenance on the fire pit, wearing protective gloves and safety goggles is advisable to prevent injury and minimize contact with debris.
- Keep Flammable Materials Clear: Clear the area around the gas fire pit of any flammable materials, such as dry leaves, paper, or fabrics. Maintaining a safe distance from combustible items reduces the risk of accidental fires.
- Monitor Children and Pets: Supervise children and pets around the fire pit at all times. Establish clear boundaries to prevent accidental contact with the hot surfaces, and consider installing a safety barrier if necessary.
- Have a Fire Extinguisher On Hand: It is advisable to have a fire extinguisher nearby in case of emergencies. Familiarize yourself with its operation and keep it easily accessible in the event of a fire.
- Regular Maintenance: Schedule routine inspections and maintenance for your gas fire pit to ensure that all components are functioning properly. Address any issues promptly to uphold the safety and efficiency of the unit.
By adhering to these safety precautions, you can create a secure environment for enjoying your gas fire pit with lava rocks, promoting peace of mind and a worry-free outdoor experience. Now that we’ve covered the essential safety measures, let’s proceed to the step-by-step process of placing lava rocks in your gas fire pit.
Step 1: Prepare the Gas Fire Pit
Before incorporating lava rocks into your gas fire pit, it is essential to ensure that the pit is clean, functional, and ready to accommodate the rocks. Follow these steps to prepare the fire pit for the addition of lava rocks:
- Turn Off the Gas Supply: Begin by turning off the gas supply to the fire pit. Locate the shut-off valve and ensure that the gas flow is completely halted before proceeding with any maintenance or adjustments.
- Allow Cooling Time: If the fire pit has been in use, allow it to cool down completely before initiating any cleaning or modification. This minimizes the risk of burns and ensures a safe working environment.
- Remove Debris: Clear the fire pit of any debris, ash, or residual materials. Use a handheld vacuum or a brush to eliminate loose particles and ensure that the burner and ignition components are free from obstructions.
- Inspect Burner and Ignition: Carefully inspect the burner and ignition system for any signs of damage, corrosion, or blockages. Clean the burner ports using compressed air or a soft brush to remove any buildup that may impede the flow of gas.
- Check for Gas Leaks: Perform a leak test to verify that the gas connections are secure and leak-free. A simple solution of soapy water applied to the connections will reveal bubbles if there is a gas leak, indicating the need for immediate repair.
- Adjust Flame Height: If your gas fire pit features adjustable flame settings, ensure that the flame height is suitable for the intended use. Follow the manufacturer’s guidelines for adjusting the flame to the desired level.
By meticulously preparing the gas fire pit, you establish a clean and safe foundation for the introduction of lava rocks. This proactive approach not only ensures optimal performance but also prolongs the longevity of the fire pit components. With the fire pit now primed for the next phase, let’s move on to the placement of the lava rocks, which will further enhance the functionality and visual appeal of the setup.
When placing lava rocks in a gas fire pit, make sure to spread them evenly to cover the burner. This will help distribute the heat and create a more uniform flame. Also, avoid stacking the rocks too high to prevent blockage of the gas flow.
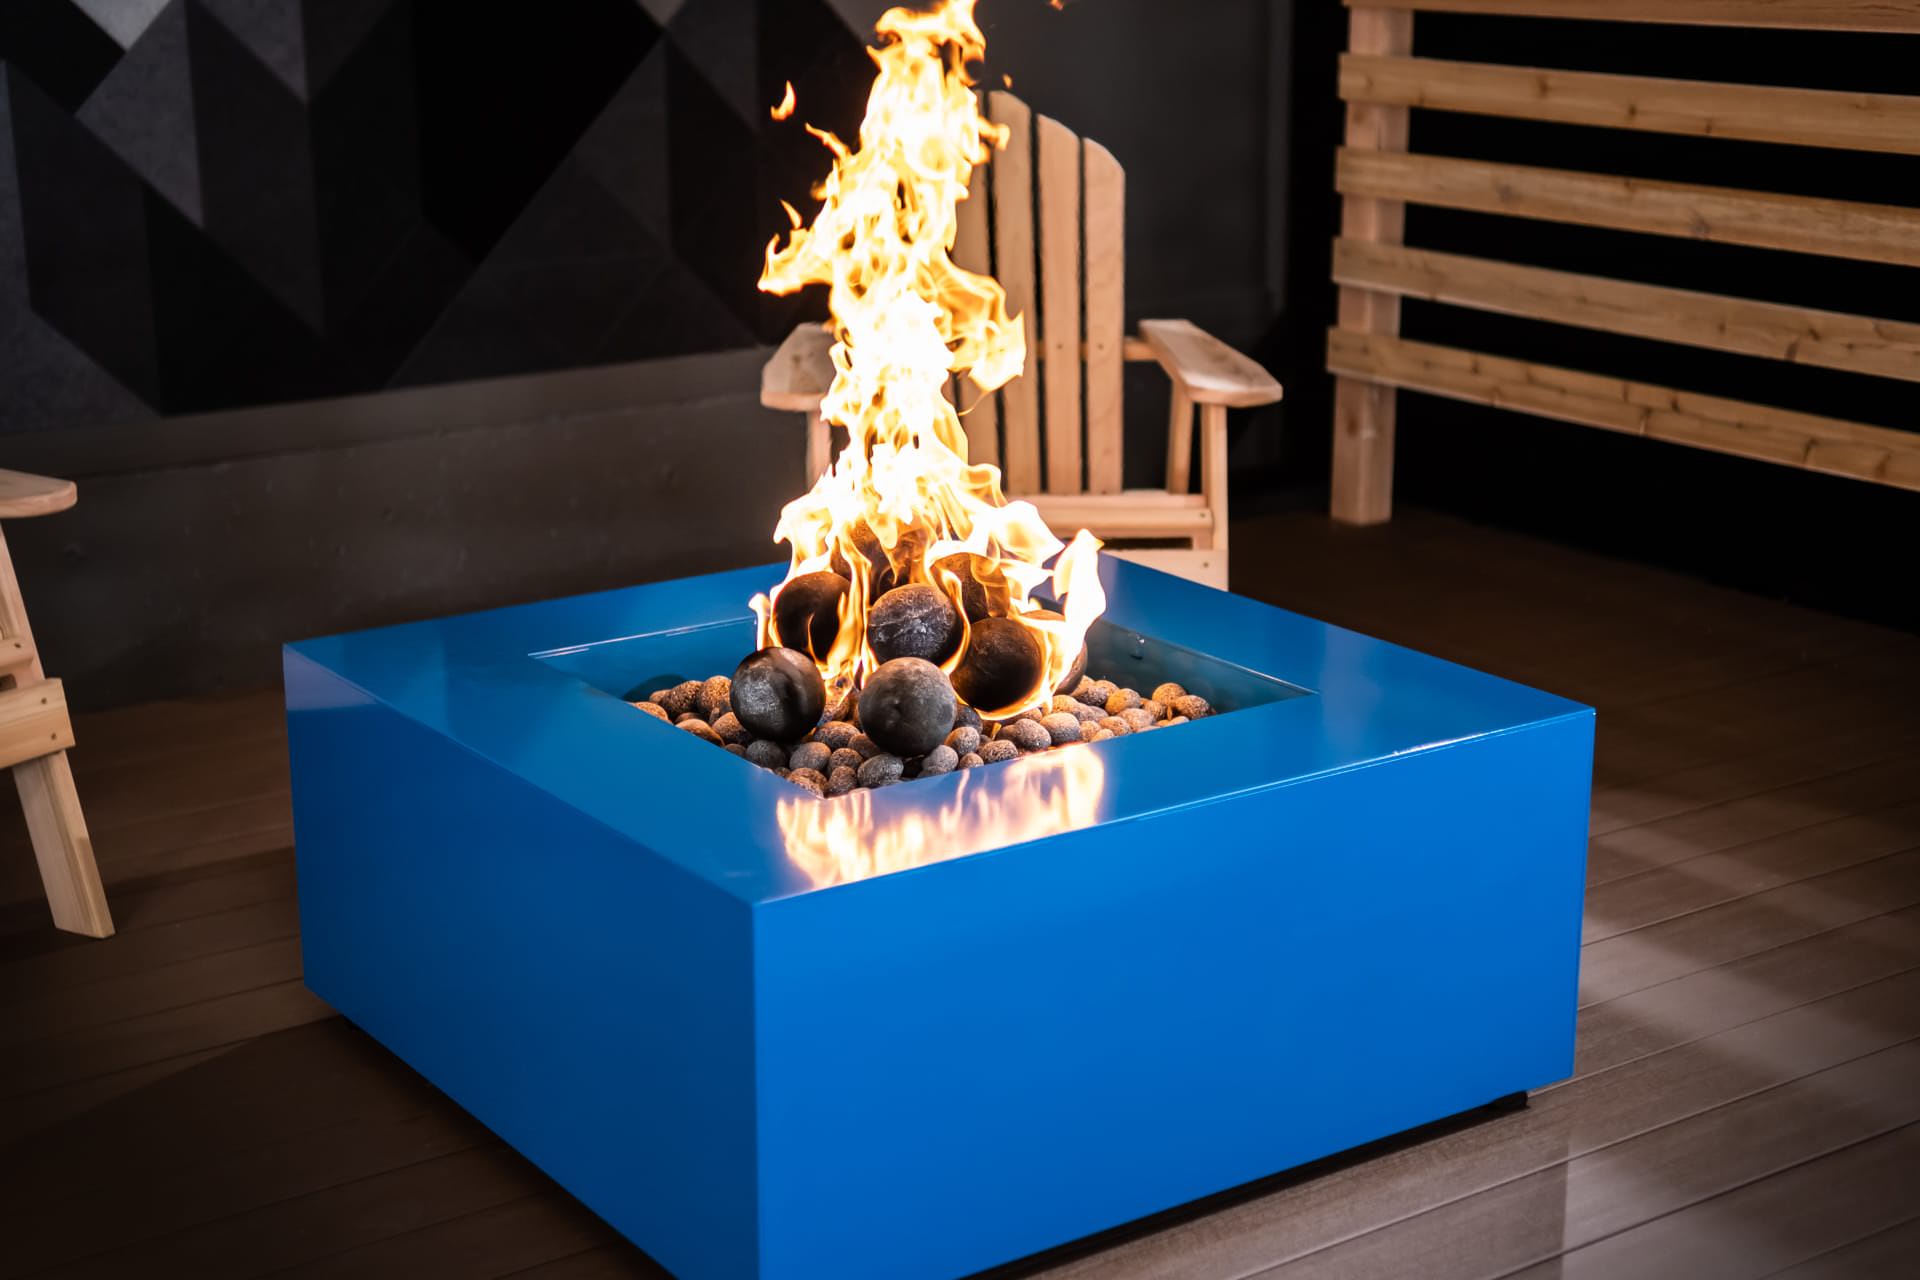
Step 2: Place the Lava Rocks
With the gas fire pit prepared and ready, it’s time to introduce the lava rocks, transforming the fire pit into a captivating focal point. Follow these steps to skillfully place the lava rocks within the fire pit:
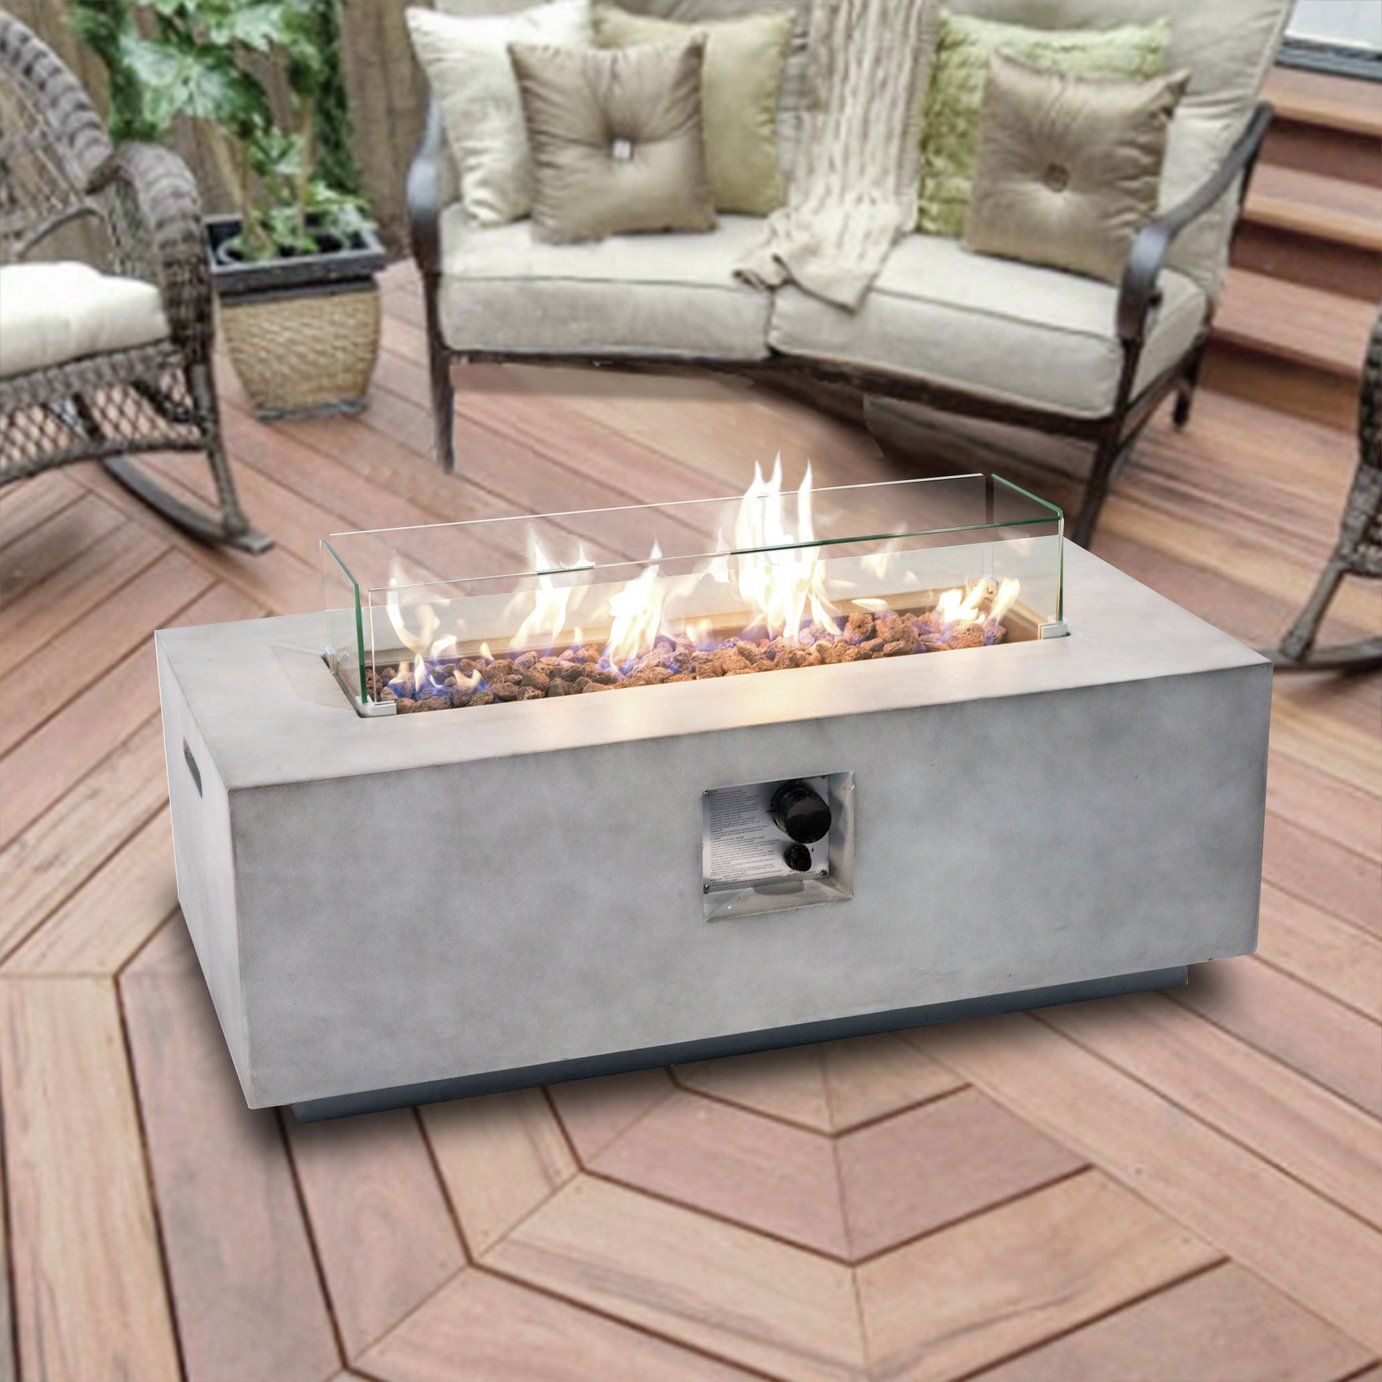
- Select Appropriate Lava Rocks: Choose lava rocks that are specifically designed for use in gas fire pits. Opt for high-quality rocks that are heat-resistant and suitable for withstanding the temperatures generated by the fire pit.
- Distribute Evenly: Carefully distribute the lava rocks across the burner and around the ignition system, ensuring an even layer that covers the entire fire pit area. This uniform distribution promotes consistent heat dispersion and enhances the visual appeal of the flames.
- Layering Technique: For optimal performance, consider layering the lava rocks in varying sizes. Start with larger rocks at the bottom to form a stable base, and gradually incorporate smaller rocks towards the top layer. This technique facilitates efficient heat retention and distribution.
- Fill Gaps and Gaps: Fill any gaps or spaces between the rocks to create a seamless and cohesive appearance. This not only enhances the aesthetic appeal but also prevents debris from accumulating in the crevices, facilitating easier maintenance.
- Avoid Overcrowding: While it is important to achieve thorough coverage, avoid overcrowding the fire pit with an excessive amount of lava rocks. Overfilling the pit can impede the flow of gas and compromise the performance of the fire pit.
- Refine the Arrangement: Once the rocks are in place, take a moment to refine the arrangement, ensuring that the rocks are positioned securely and symmetrically. This attention to detail contributes to a polished and professional finish.
By following these steps, you can artfully integrate the lava rocks into your gas fire pit, elevating its functionality and visual allure. The strategic placement of lava rocks not only enhances the efficiency of heat distribution but also imbues the fire pit with a natural and inviting charm. With the rocks expertly positioned, the stage is set to test the fire pit and revel in the captivating display it offers.
Step 3: Test the Fire Pit
After placing the lava rocks in your gas fire pit, it is essential to conduct a thorough test to ensure that the system functions optimally and that the rocks are integrated seamlessly. Follow these steps to test the fire pit and verify the effectiveness of the lava rocks:
- Turn On the Gas Supply: Carefully turn on the gas supply to the fire pit, following the manufacturer’s recommended procedure. Exercise caution and attentiveness during this step to prevent gas leaks or irregularities.
- Ignite the Fire Pit: Initiate the ignition process according to the fire pit’s operating instructions. Observe the flames as they emerge, ensuring that they are distributed evenly across the lava rocks and that the burner functions smoothly.
- Assess Heat Distribution: Pay attention to the heat distribution and intensity, gauging whether the lava rocks effectively radiate warmth and contribute to a consistent and inviting ambiance. Note any areas that may require adjustments or fine-tuning.
- Observe Flame Characteristics: Evaluate the visual impact of the flames as they interact with the lava rocks. Take note of the color, height, and overall appearance of the flames, appreciating the mesmerizing interplay between the fire and the rocks.
- Monitor Gas Efficiency: Assess the gas consumption and efficiency of the fire pit with the added lava rocks. Verify that the rocks facilitate efficient heat retention and dispersion, optimizing the utilization of the gas fuel.
- Check for Irregularities: During the testing phase, be vigilant for any irregularities, such as unusual odors, hissing sounds, or inconsistent flame patterns. Address any concerns promptly and seek professional assistance if necessary.
By meticulously testing the fire pit after placing the lava rocks, you can affirm the successful integration of the rocks and the overall functionality of the system. This comprehensive evaluation ensures that the fire pit operates safely and efficiently, providing a captivating focal point for outdoor gatherings and relaxation.
With the fire pit tested and confirmed to be in optimal condition, you can now look forward to enjoying the enchanting warmth and visual appeal it offers, courtesy of the strategically placed lava rocks. As you bask in the comforting glow and radiant heat of your enhanced gas fire pit, you can take pride in the meticulous preparation and thoughtful placement of the lava rocks, contributing to an inviting and memorable outdoor experience.
Read more: How To Light A Gas Fire Pit
Conclusion
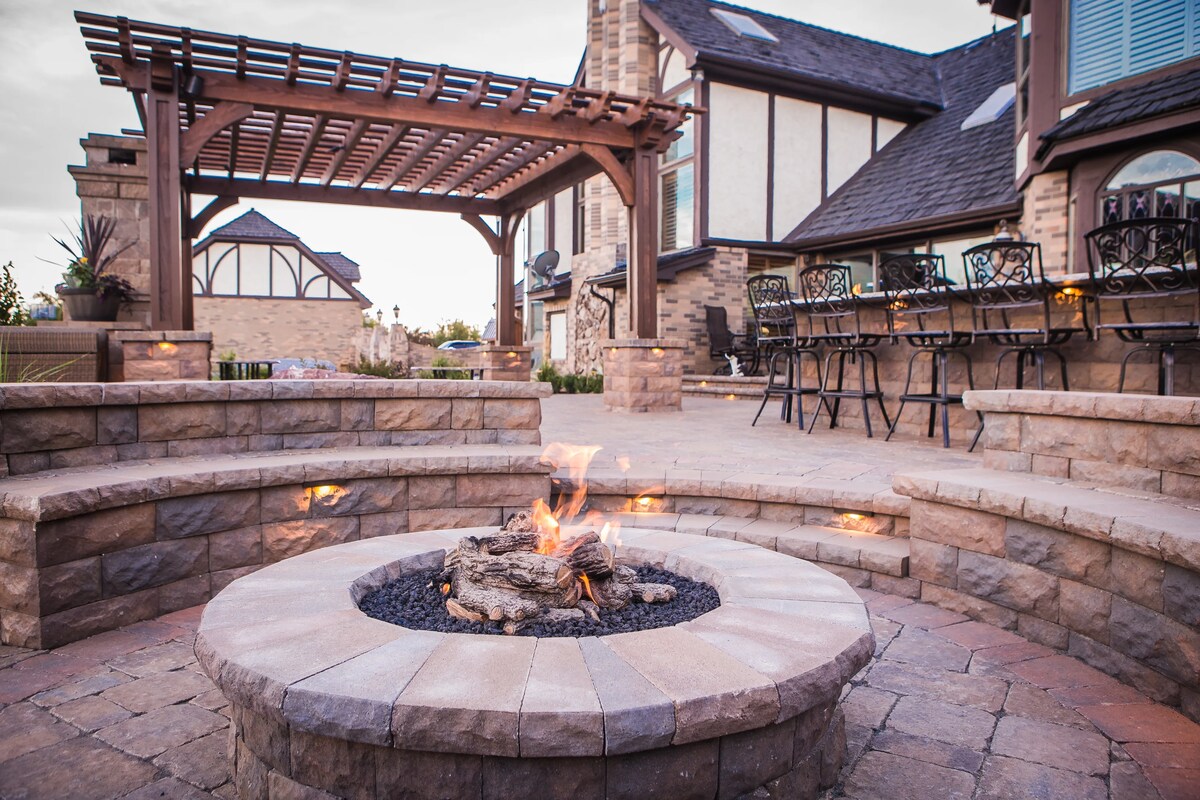
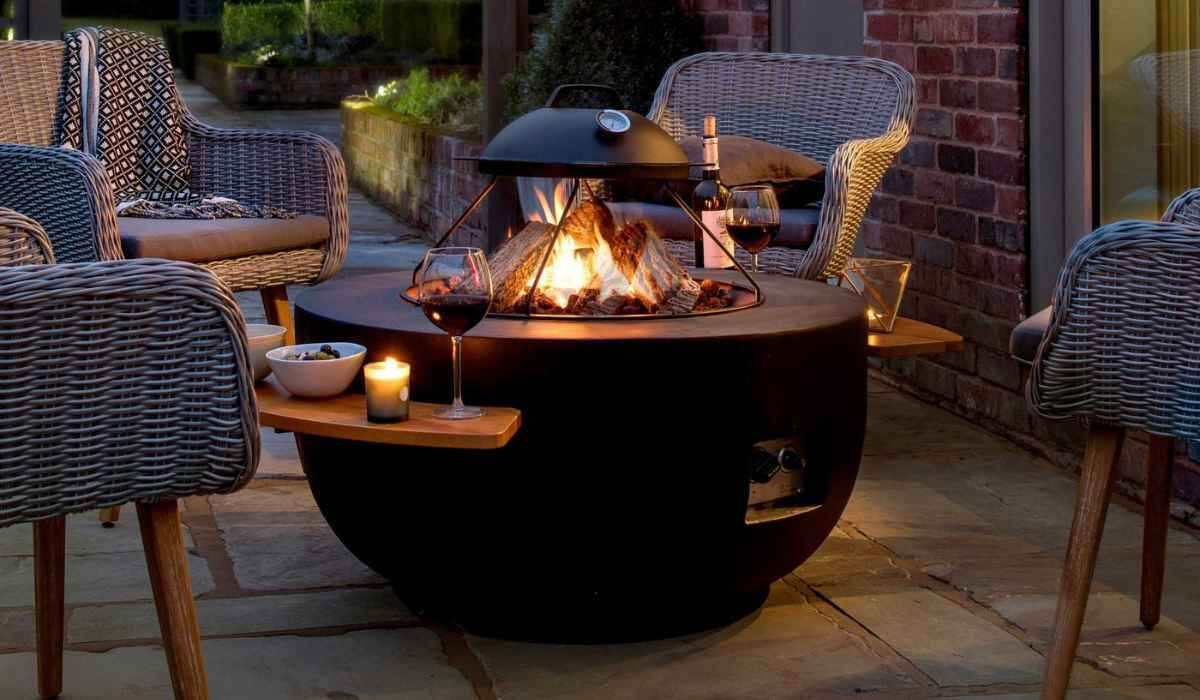
In the realm of outdoor entertaining and relaxation, a gas fire pit adorned with lava rocks holds the potential to elevate the ambiance and functionality of any outdoor space. By following the step-by-step process outlined in this guide, you have gained valuable insights into the art of placing lava rocks in a gas fire pit, transforming it into a captivating focal point for gatherings and moments of tranquility.
From prioritizing safety precautions to skillfully integrating the lava rocks and conducting a thorough testing process, you have embarked on a journey that balances practicality with aesthetic appeal. The careful preparation of the gas fire pit, the artful placement of the lava rocks, and the meticulous testing phase collectively contribute to a seamless and enjoyable outdoor experience.
As you gather around the mesmerizing flames and revel in the comforting warmth radiated by the lava rocks, you can take pride in your ability to enhance your outdoor oasis with a touch of natural beauty and functional elegance. The inviting glow of the fire pit, accentuated by the strategic placement of lava rocks, sets the stage for cherished moments with loved ones and tranquil reflections under the open sky.
Whether it’s a lively outdoor gathering or a serene evening of stargazing, your gas fire pit with lava rocks serves as a versatile and enchanting centerpiece, enriching your outdoor lifestyle with its allure and warmth. As you continue to explore the possibilities of outdoor entertaining, may the presence of the lava rock-adorned fire pit inspire countless memorable experiences and foster a deeper connection with the natural elements that surround you.
Embrace the enchantment of a well-appointed gas fire pit, adorned with the timeless allure of lava rocks, and savor the moments of joy, relaxation, and camaraderie it brings to your outdoor haven.
Frequently Asked Questions about How To Place Lava Rocks In A Gas Fire Pit
Was this page helpful?
At Storables.com, we guarantee accurate and reliable information. Our content, validated by Expert Board Contributors, is crafted following stringent Editorial Policies. We're committed to providing you with well-researched, expert-backed insights for all your informational needs.


0 thoughts on “How To Place Lava Rocks In A Gas Fire Pit”