Home>Dining>Table Decor>How To Build A Picnic Style Dining Table
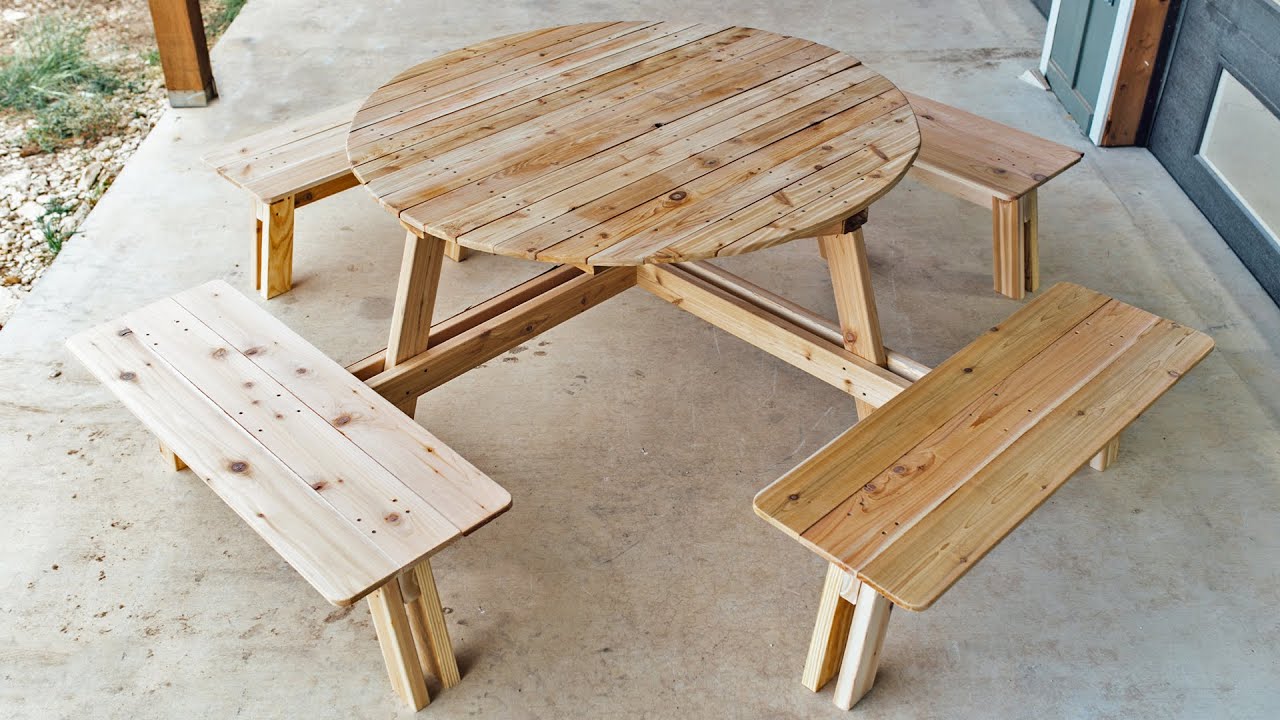
Table Decor
How To Build A Picnic Style Dining Table
Modified: August 16, 2024
Looking for table decor inspiration? Learn how to build a picnic style dining table and elevate your dining space with charming table decor ideas.
(Many of the links in this article redirect to a specific reviewed product. Your purchase of these products through affiliate links helps to generate commission for Storables.com, at no extra cost. Learn more)
Introduction
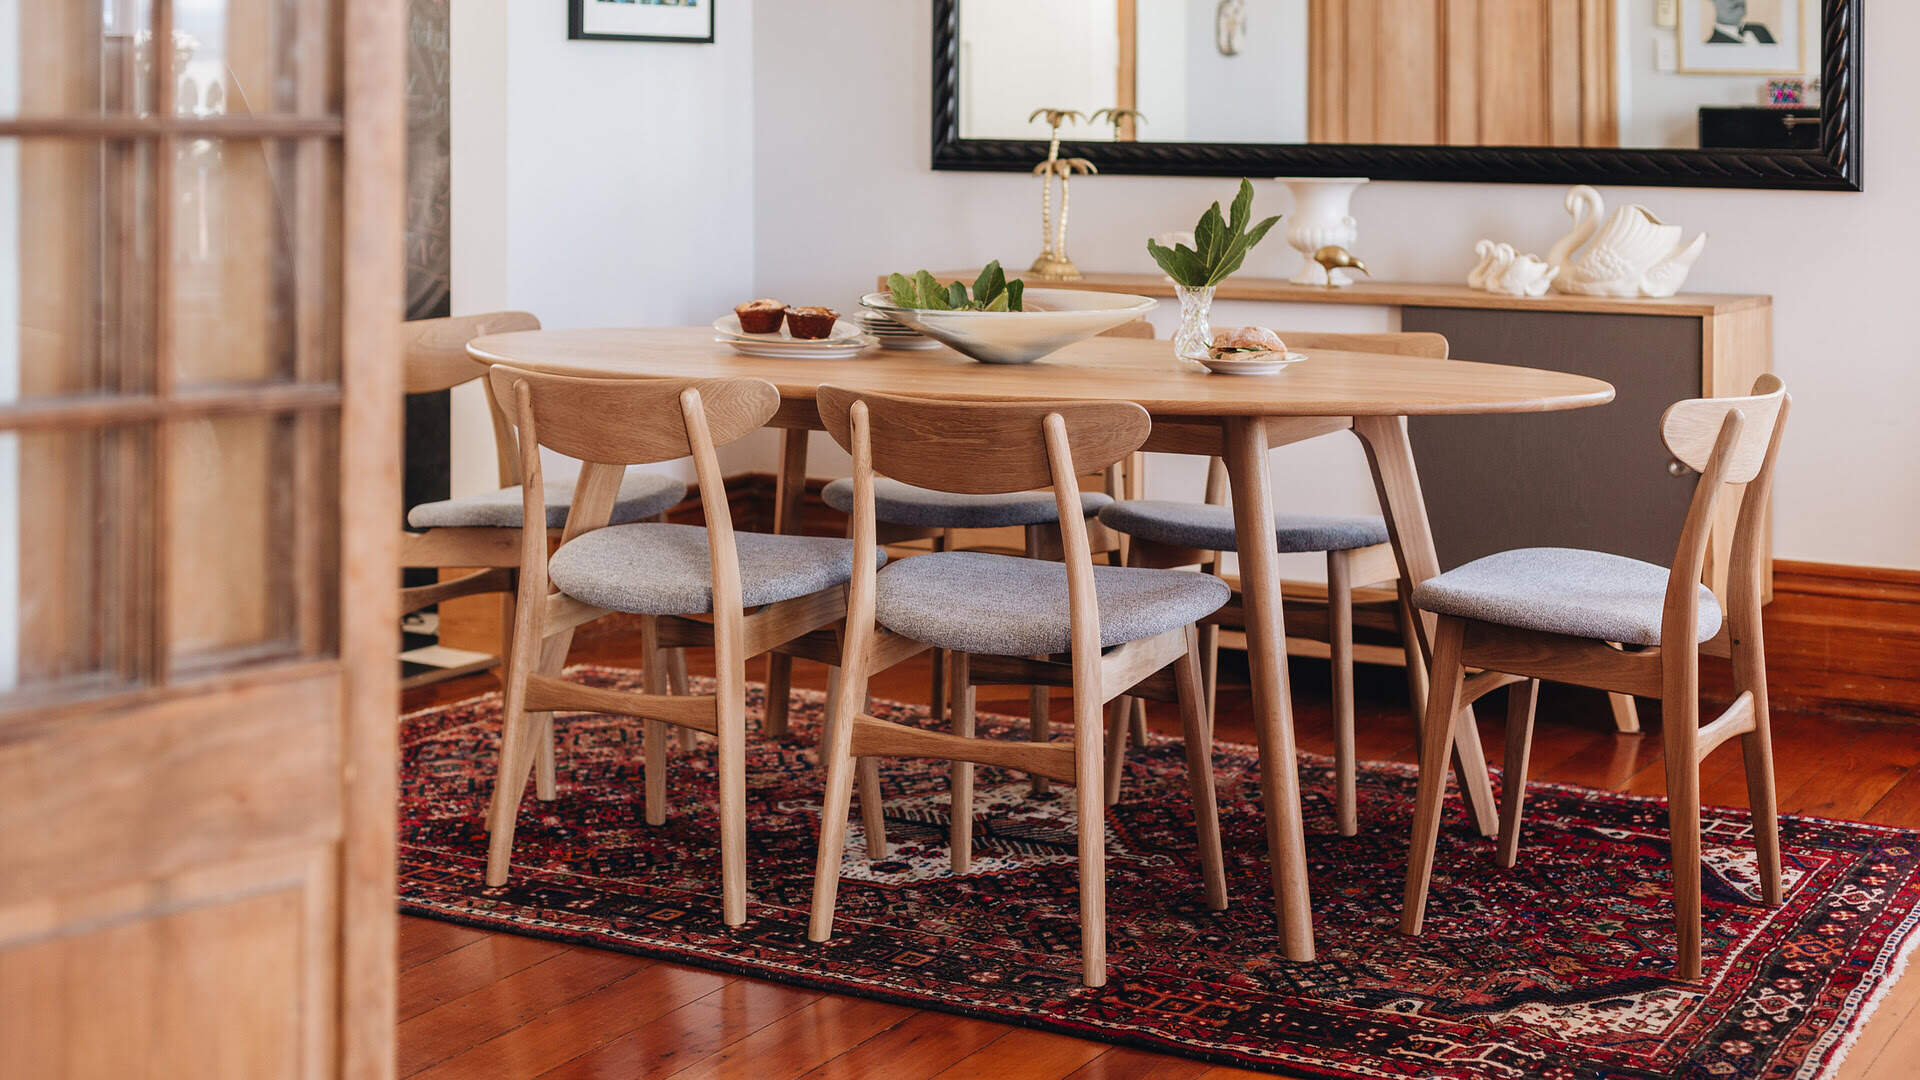
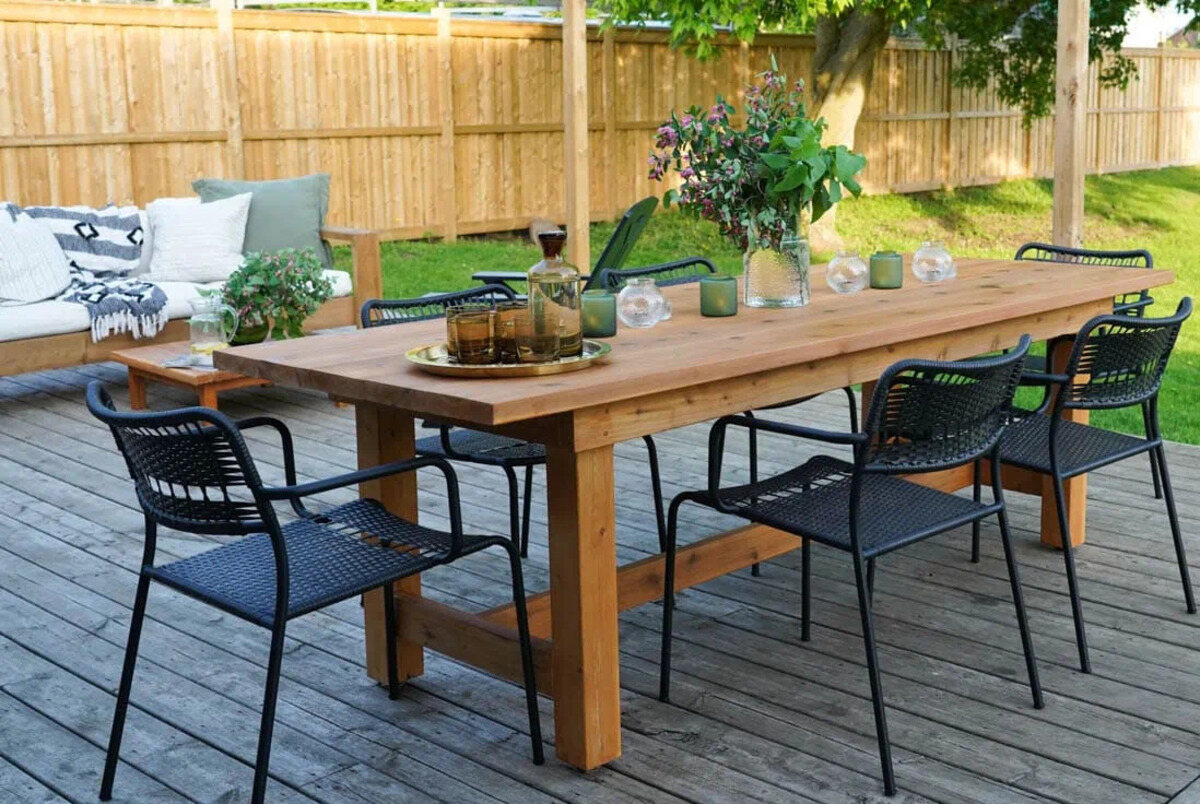
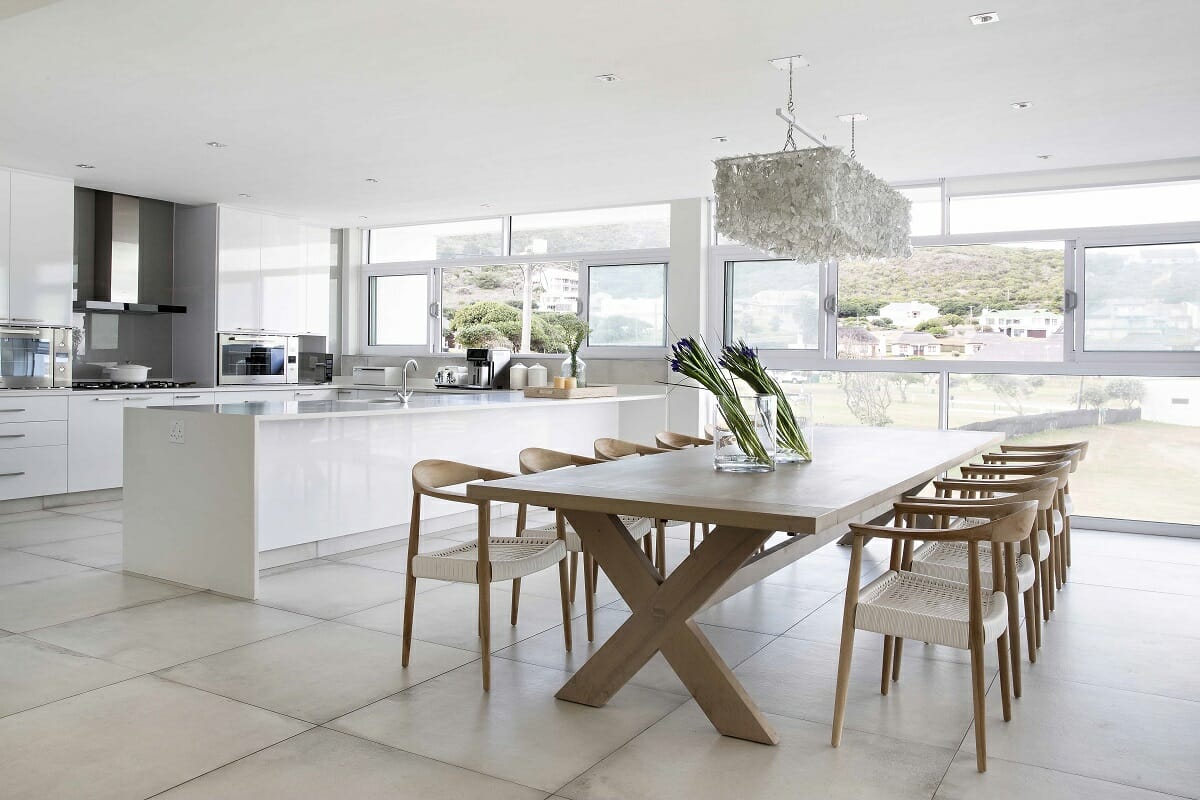
Welcome to the world of table decor! If you’re a fan of hosting outdoor gatherings, picnics, or simply enjoy dining al fresco, a picnic-style dining table is the perfect addition to your patio or backyard. Not only does it provide a casual and relaxed atmosphere for your meals, but it also adds a touch of charm and rustic elegance to your outdoor space.
Building your own picnic-style dining table is a rewarding DIY project that allows you to unleash your creativity while saving money. Whether you’re a seasoned woodworker or a beginner looking to try your hand at a new craft, this article will guide you through the step-by-step process of building your very own picnic-style dining table.
In this article, we will discuss the materials needed, provide detailed instructions on each step, and offer some tips and tricks to help you achieve the best results. So, grab your tools and let’s get started on creating a beautiful and functional picnic-style dining table that will impress your guests and elevate your outdoor dining experience!
Key Takeaways:
- Create a charming and functional picnic-style dining table for your outdoor space by following step-by-step instructions, from planning and measuring to sanding and finishing, and add personal touches to reflect your unique style.
- Embrace the satisfaction of DIY woodworking and save money by building a sturdy and visually appealing picnic-style dining table, while also enjoying the process and creating a stylish space for outdoor dining.
Read more: How To Build A Mission Style Dining Table
Materials Needed
Before you embark on your journey to build a picnic-style dining table, it’s important to gather all the necessary materials. Here’s a list of items you’ll need:
- Wood: Choose a high-quality and durable wood that suits your style and budget. Popular choices include pine, cedar, or redwood.
- Saw: A circular saw or a miter saw will come in handy for cutting the wood to the desired lengths.
- Measuring Tape: Accurate measurements are crucial for a perfectly balanced and symmetrical table.
- Screwdriver: Opt for a power drill or a screwdriver to assemble the various components of the table.
- Screws: Select appropriate screws depending on the type and thickness of the wood.
- Sandpaper: Smooth out rough edges and surfaces with sandpaper to achieve a polished finish.
- Wood Stain or Paint: Enhance the natural beauty of the wood or add a pop of color with a stain or paint of your choice.
- Paintbrushes: Acquire different sizes of paintbrushes to ensure even application of stain or paint.
- Wood Sealant: Protect your table from the elements by applying a wood sealant.
- Protective Gear: Don’t forget safety goggles, gloves, and a mask to keep yourself protected while working with wood.
These are the basic materials you’ll need to get started on your picnic-style dining table project. Make sure to double-check the measurements and quantities needed before you start the construction process. Investing in high-quality materials will result in a sturdy and long-lasting table that will withstand the test of time.
Step 1: Planning and Measuring
Before diving into the construction process, it’s essential to carefully plan and measure everything to ensure a successful outcome. Here are the steps to follow for this crucial initial phase:
- Determine the dimensions: Decide on the size of your picnic-style dining table based on your available space and the number of people you intend to accommodate. A standard picnic table is around 6 feet long and can seat 6-8 people.
- Sketch your design: Create a rough sketch of your table design, including the tabletop dimensions, leg placement, and overall structure. This will serve as a visual guide throughout the construction process.
- Measure and mark the wood: Take accurate measurements of the wood pieces needed for the tabletop, legs, and support beams. Use a measuring tape and mark the dimensions on your wood pieces with a pencil or a small knife.
- Consider additional features: Think about any additional features you want to incorporate into your picnic-style dining table. This could include an umbrella hole in the center of the tabletop or benches attached to the sides.
- Plan for wood type and finish: Choose the type of wood that suits your style and budget. Consider how you want to finish your table, whether you prefer a natural wood stain or a vibrant paint color.
Proper planning and accurate measurements are the foundation of a well-built dining table. By taking the time to plan and measure diligently, you’ll avoid any unexpected issues during the construction process and ensure a seamless and enjoyable building experience.
Step 2: Cutting the Wood
With the planning and measuring phase complete, it’s time to move on to cutting the wood for your picnic-style dining table. Follow these steps for accurate and precise cuts:
- Gather your wood pieces: Bring together all the pieces of wood you measured and marked according to your design. Double-check that you have the correct number of pieces for the tabletop, legs, and support beams.
- Set up a safe cutting area: Find a well-ventilated and spacious area to set up your workspace. Clear any clutter and make sure you have enough room to maneuver the wood and safely operate your saw.
- Protective gear: Put on your safety goggles, gloves, and mask to protect yourself from flying wood particles and sawdust.
- Follow your markings: Use a circular saw or miter saw to cut the wood along the marked lines. Take your time and ensure accurate and straight cuts.
- Label the pieces: As you cut each piece, label them accordingly. This will make the assembly process much smoother later on.
- Sand the edges: After cutting the wood, use sandpaper to smooth out any rough edges or splinters. This will prevent any accidental injuries and create a more polished final product.
Remember, precision is key when cutting the wood for your picnic-style dining table. Take your time, measure twice, and cut once to ensure all your pieces align perfectly during assembly. Additionally, maintaining a clean and organized workspace will contribute to a more efficient and enjoyable cutting process.
Step 3: Assembling the Tabletop
Now that the wood is cut and sanded, it’s time to start assembling the tabletop for your picnic-style dining table. Follow these steps to ensure a sturdy and well-constructed surface:
- Lay out the tabletop pieces: Arrange the cut pieces of wood on a flat and stable surface, following your design and measurements. Ensure that the pieces fit together snugly with no gaps.
- Attach the support beams: Flip the tabletop pieces over and place the support beams perpendicular to the tabletop pieces. Position them evenly across the length of the table and screw them in place.
- Pre-drill holes: To prevent the wood from splitting, pre-drill pilot holes using a drill bit slightly smaller than the screws you’ll be using.
- Screw the pieces together: Using your screwdriver or power drill, secure the tabletop pieces together and to the support beams. Make sure to countersink the screws slightly to create a flush surface.
- Check for stability: Once all the screws are in place, give the tabletop a gentle shake to ensure it’s stable and sturdy. Make any necessary adjustments to ensure a level and solid surface.
During the assembly process, pay attention to the alignment and positioning of the tabletop pieces to create a cohesive and visually appealing design. Taking the time to securely attach the support beams and checking for stability will ensure that your tabletop can handle the weight and provide a reliable dining surface.
Congratulations! You’ve completed the third step of building your picnic-style dining table. The tabletop is now ready to be paired with the legs in the next step.
When building a picnic style dining table, make sure to use pressure-treated lumber for outdoor use and stainless steel hardware to prevent rusting. This will ensure the table lasts longer and withstands outdoor elements.
Read more: How To Style A Square Dining Table
Step 4: Building the Legs
With the tabletop assembled, it’s time to move on to building the legs for your picnic-style dining table. Follow these steps to create sturdy and visually appealing supports:
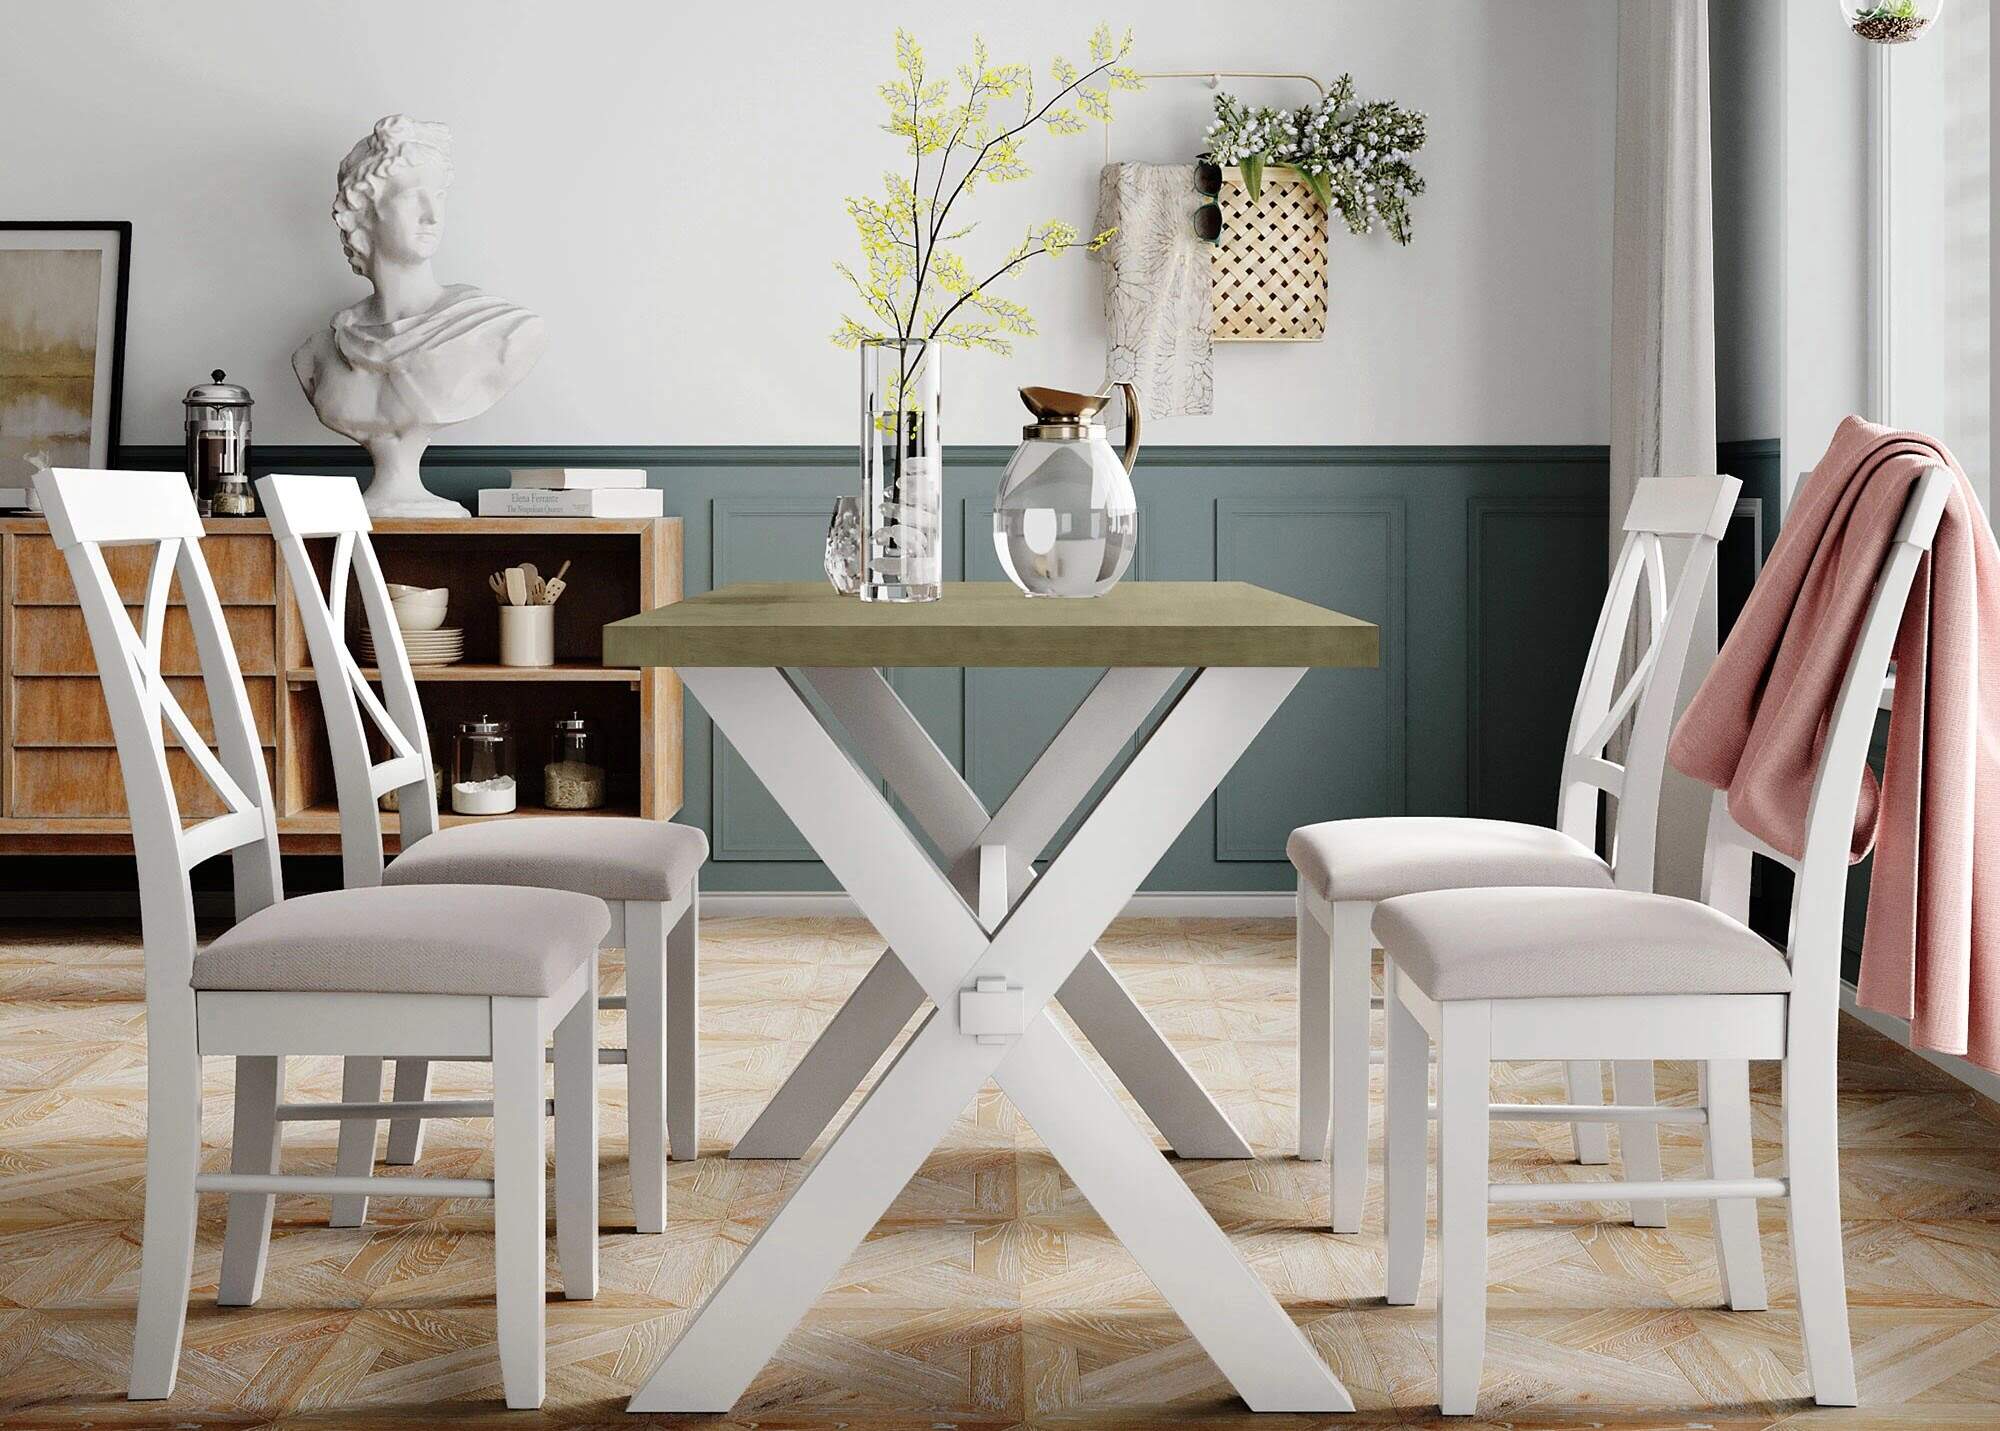
- Determine leg design: Decide on the design and style of the legs that align with your overall table aesthetic. Popular options include straight legs, X-shaped legs, or tapered legs.
- Measure and cut the leg pieces: Take precise measurements for the length of each leg and cut the wood accordingly. Ensure that all legs are the same length for a level table.
- Create the leg structure: Arrange the cut leg pieces in the desired design, whether it’s straight legs or an intricate pattern. Use clamps or other tools to hold the pieces securely in place.
- Attach the support beams: Connect the pieces of the leg structure with support beams to add stability. Ensure that the beams are positioned evenly and securely attached with screws.
- Secure the legs to the tabletop: Flip the tabletop upside down and position the leg structure in the corners of the table. Mark the position of the legs on the underside of the tabletop.
- Attach the legs to the tabletop: Pre-drill pilot holes in the marked locations and then screw the legs into place. Make sure to countersink the screws to create a flush surface.
- Check for stability: Once all the legs are attached, test the stability of the table by giving it a gentle shake. If there is any wobbling, ensure that the legs are securely fastened or make adjustments as needed.
Building strong and aesthetically pleasing legs is essential to the overall stability and visual appeal of your picnic-style dining table. Take the time to design and assemble the legs with care to ensure a solid foundation for your table.
With the legs securely attached, your picnic-style dining table is taking shape. Get ready to move on to the next step, where you’ll learn how to sand and finish your table for a polished and refined look.
Step 5: Attaching the Legs to the Tabletop
Now that you have built the legs for your picnic-style dining table, it’s time to attach them securely to the tabletop. Follow these steps to ensure a strong and stable connection:
- Prepare the tabletop: Flip the tabletop over so that the underside is facing upwards. Ensure that the surface is clean and free from any debris.
- Align the legs: Position the legs in their designated corners of the tabletop. Use a level to ensure that the legs are perfectly upright and aligned.
- Mark the attachment points: With the legs in the desired position, mark the attachment points on the tabletop surface using a pencil or marker. These marks will serve as a guide for drilling pilot holes.
- Pre-drill pilot holes: Use an appropriate drill bit to pre-drill pilot holes at the marked points. Make sure the drill bit is slightly smaller than the screws you will be using to attach the legs.
- Attach the legs: With the pilot holes drilled, align the legs with the holes and insert the screws through the holes. Use a screwdriver or power drill to securely fasten the legs to the tabletop.
- Check stability: Once all the legs are attached, test the stability of the table by gently applying pressure to different areas. If you notice any wobbling, double-check the screws and tighten them if necessary.
Attaching the legs to the tabletop is a critical step in ensuring the overall stability and durability of your picnic-style dining table. Take your time to properly align and secure the legs, and double-check the connection points for a solid and sturdy structure.
With the legs securely attached, your picnic-style dining table is nearly complete. In the next step, we will explore how to sand and finish the table for a smooth and elegant finish.
Step 6: Sanding and Finishing
Once the legs are attached, it’s time to focus on the final touches of your picnic-style dining table by sanding and finishing the wood. Follow these steps to achieve a smooth and polished look:
- Sanding the table: Start by sanding the entire surface of the table, including the tabletop and the legs. Begin with a coarse-grit sandpaper to remove any rough surfaces, and gradually transition to finer-grit sandpaper for a smooth finish. Make sure to sand in the direction of the wood grain to avoid scratches.
- Round the edges: Use sandpaper or a router to gently round the edges of the tabletop and the legs. This will not only make the table more visually appealing but also help prevent any sharp corners or edges.
- Clean the wood: After sanding, thoroughly clean the wood to remove any dust or debris. Use a soft cloth or a tack cloth to wipe down the entire surface of the table, ensuring a clean canvas for finishing.
- Choose your finish: Decide on the type of finish you want for your table, whether it’s a natural wood stain or a vibrant paint color. Apply the finish with a brush or a rag, following the manufacturer’s instructions for the specific product you’re using.
- Apply multiple coats: For a more durable and long-lasting finish, apply multiple coats of your chosen finish. Allow each coat to dry completely before applying the next, and lightly sand between coats for a smooth and even application.
- Seal the wood: If desired, protect the wood further by applying a layer of wood sealant. This will help shield your picnic-style dining table from the effects of moisture, sunlight, and general wear and tear.
By sanding and finishing your table, you not only enhance its appearance but also provide protection to the wood, ensuring its longevity. The final step in this project is all about giving the table those perfect touches that make it truly shine.
After completing the sanding and finishing process, your picnic-style dining table is now ready to be showcased in your outdoor space. In the next and final step, we’ll wrap up the project and provide some additional tips for maintaining and caring for your table.
Step 7: Final Touches
Congratulations! You’ve almost completed your journey of building a picnic-style dining table. In this final step, we’ll add those finishing touches and provide some additional tips for maintaining and caring for your table:
- Inspect for any imperfections: Take a close look at your completed table and inspect for any imperfections or areas that require touch-ups. Fill any gaps or cracks with wood filler and sand them down for a seamless finish.
- Add protective pads: Attach felt or rubber pads to the bottom of the legs to prevent scratches on your flooring and make it easier to move the table around.
- Style the table: Personalize your picnic-style dining table by adding decorative accents, such as a table runner, place mats, or a centerpiece. These elements can enhance the overall ambiance and reflect your personal style.
- Maintain and protect: Regularly clean your table with a gentle wood cleaner and a soft cloth to remove dust and debris. Avoid placing hot items directly on the surface and use coasters or trivets to prevent damage. Additionally, consider covering the table with a weatherproof cover during periods of inclement weather.
- Enjoy your creation: Finally, invite friends and family to gather around your beautifully crafted picnic-style dining table and enjoy memorable meals, conversations, and laughter together. Your hard work and creativity have resulted in a stunning addition to your outdoor space.
Remember, your picnic-style dining table is a testament to your craftsmanship and creativity. Take pride in your creation and cherish the moments spent dining and creating memories around it.
Building your own picnic-style dining table is not only a satisfying DIY project but also a great way to save money and add a personal touch to your outdoor area. So, go ahead and showcase your woodworking skills while creating a functional and stylish space for outdoor dining!
Thank you for joining us on this journey of creating a picnic-style dining table. We hope you found this guide helpful and inspiring. Enjoy your new table!
Read more: How To Style A Black Dining Table?
Conclusion
Building your own picnic-style dining table is a rewarding and fulfilling project that allows you to showcase your creativity and craftsmanship. With careful planning, precise measurements, and a little DIY spirit, you can create a beautiful and functional addition to your outdoor space.
Throughout this guide, we’ve covered each step of the construction process, from planning and measuring to sanding and finishing. We’ve provided tips and techniques to ensure a sturdy and visually appealing table, while also emphasizing the importance of safety and attention to detail.
By gathering the necessary materials, accurately cutting and assembling the wood, and paying attention to sanding and finishing, you can create a picnic-style dining table that will be the centerpiece of your outdoor gatherings. The personal touches you add, such as choosing a wood stain or paint color, will reflect your unique style and make the table truly your own.
Remember to maintain and care for your table by regularly cleaning it and applying protective measures to prolong its lifespan. With proper care, your picnic-style dining table will continue to bring joy and create meaningful memories for years to come.
We hope this guide has inspired you to take on the challenge of building your own picnic-style dining table. The sense of accomplishment and pride that comes with creating a functional piece of furniture with your own hands is truly invaluable.
So, gather your tools, unleash your creativity, and embark on this DIY adventure. Building a picnic-style dining table is a journey that combines artistry, craftsmanship, and the joy of outdoor dining. Enjoy the process, and may your table be the backdrop for countless unforgettable moments!
Frequently Asked Questions about How To Build A Picnic Style Dining Table
Was this page helpful?
At Storables.com, we guarantee accurate and reliable information. Our content, validated by Expert Board Contributors, is crafted following stringent Editorial Policies. We're committed to providing you with well-researched, expert-backed insights for all your informational needs.

0 thoughts on “How To Build A Picnic Style Dining Table”