Home>Gardening & Outdoor>Outdoor Recreation & Activities>How To Build Regulation Cornhole Boards
Outdoor Recreation & Activities
How To Build Regulation Cornhole Boards
Published: January 31, 2024
Learn how to build regulation cornhole boards for your outdoor recreation and activities. Step-by-step guide to create your own cornhole set.
(Many of the links in this article redirect to a specific reviewed product. Your purchase of these products through affiliate links helps to generate commission for Storables.com, at no extra cost. Learn more)
Introduction
Are you ready to elevate your outdoor recreation game? Building your own regulation cornhole boards is a fantastic way to add a personal touch to your favorite backyard activity. Whether you're hosting a summer barbecue, tailgating at a sports event, or simply enjoying a leisurely afternoon with friends and family, having a custom cornhole set can take your outdoor entertainment to the next level.
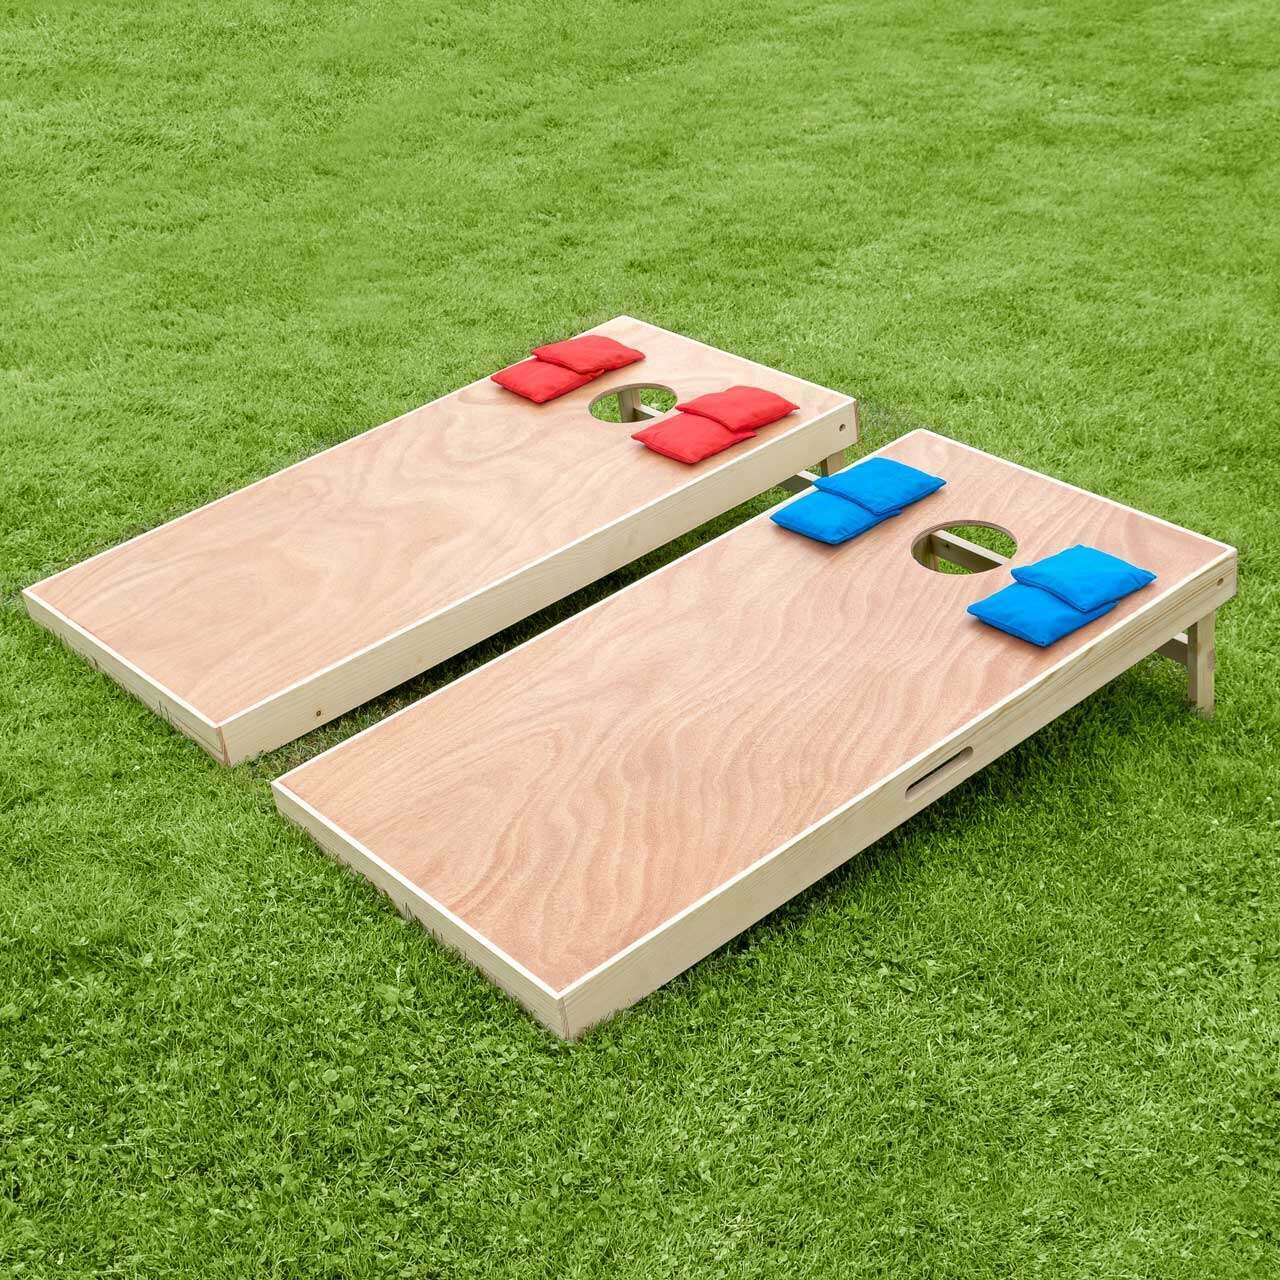
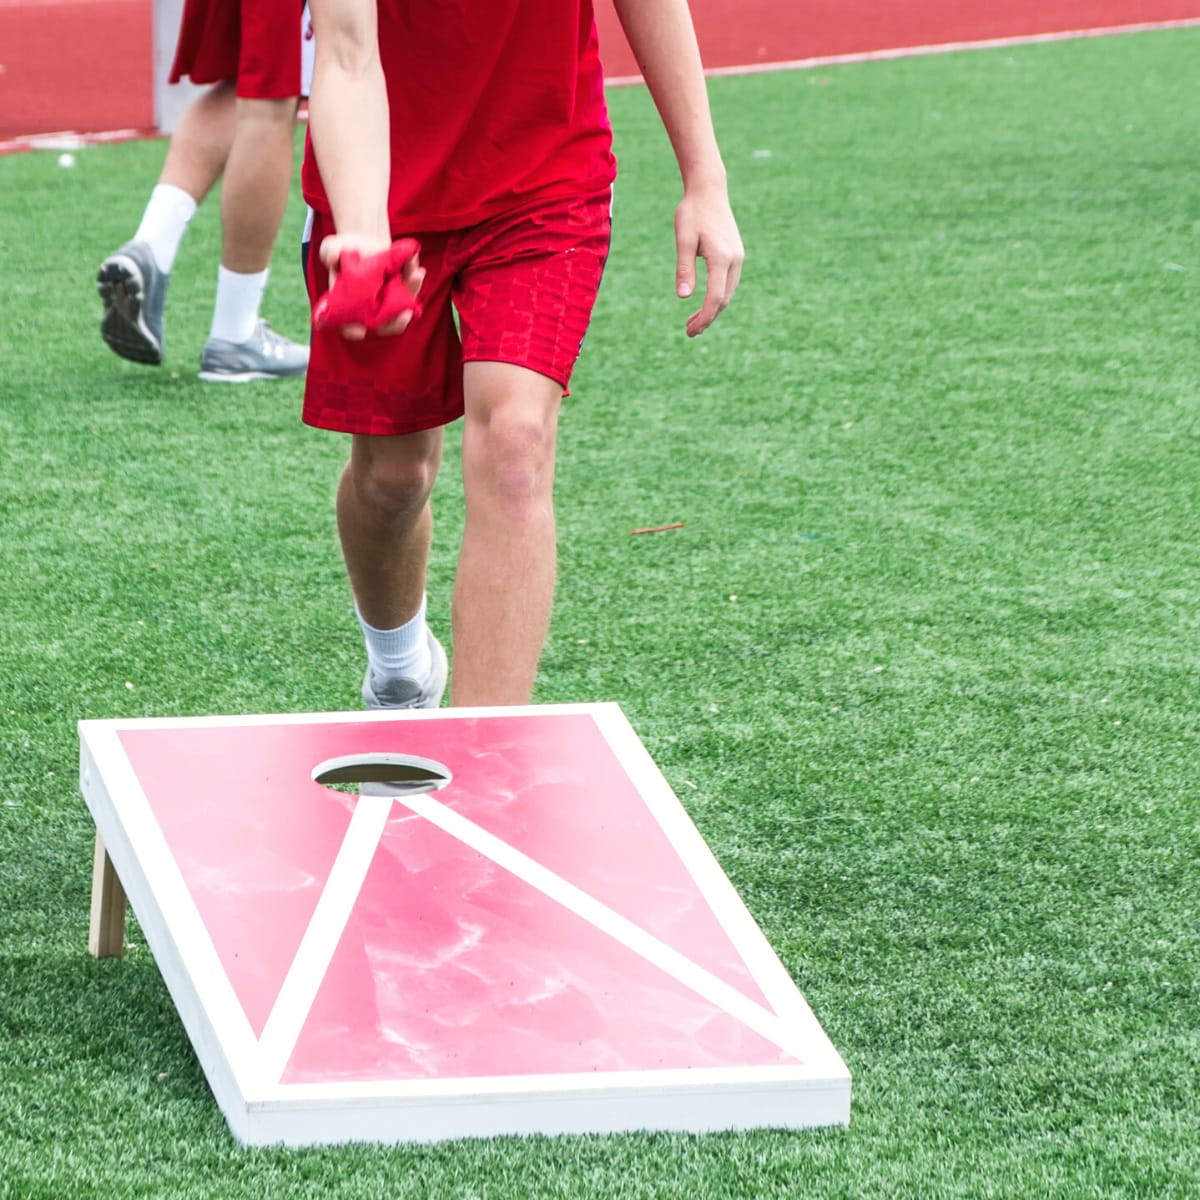
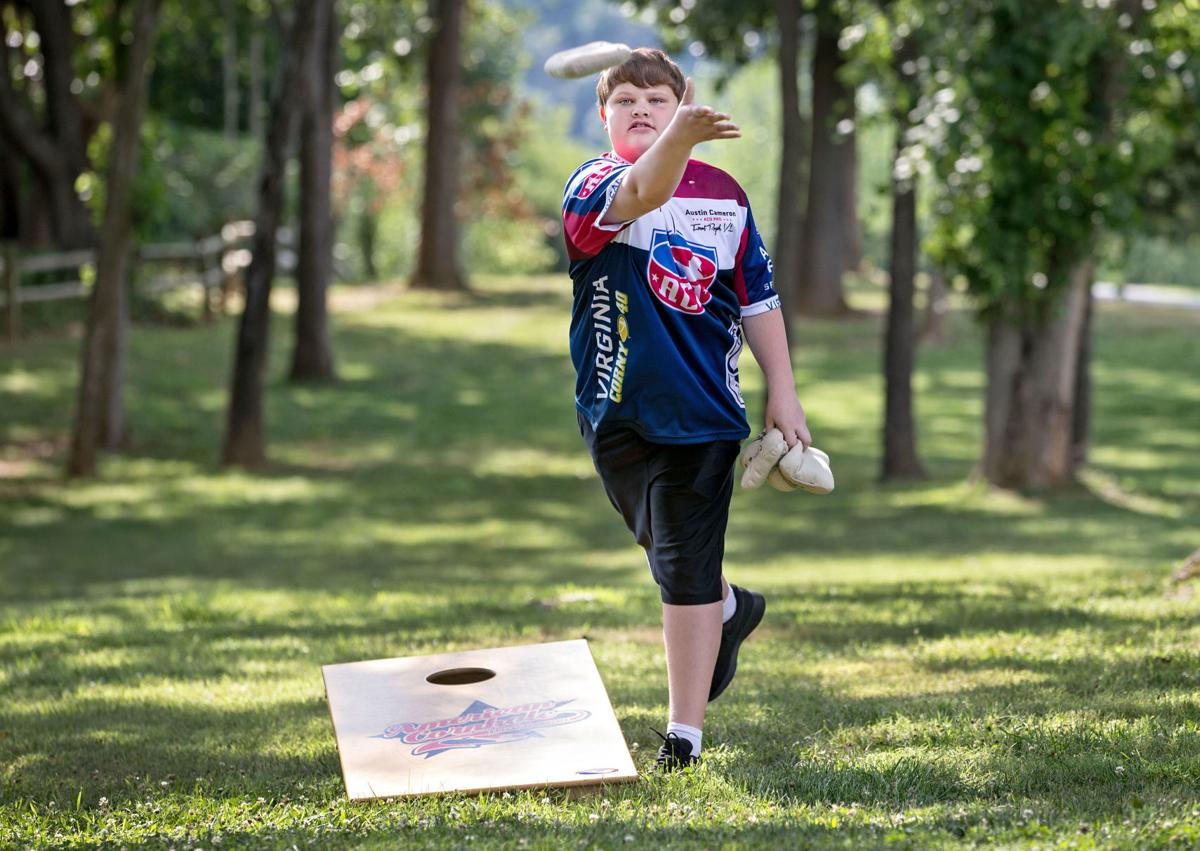
Cornhole, also known as bean bag toss, is a classic lawn game that has been enjoyed for generations. The game involves tossing bean bags at a raised platform with a hole in it, aiming to score points by getting the bags through the hole or landing them on the platform. While you can easily purchase a cornhole set, crafting your own boards allows you to tailor the design to your preferences and create a set that reflects your unique style.
In this guide, we will walk you through the step-by-step process of building regulation cornhole boards. With the right materials, tools, and a bit of craftsmanship, you can construct durable and professional-grade cornhole boards that will provide endless entertainment for years to come. So, roll up your sleeves, gather your supplies, and get ready to embark on a rewarding DIY journey to create your very own regulation cornhole boards.
Key Takeaways:
- Building regulation cornhole boards is a fun DIY project that adds a personal touch to outdoor entertainment. With the right materials and tools, you can create durable and professional-grade boards for endless fun with friends and family.
- Crafting your own cornhole set allows you to showcase your creativity and passion for outdoor play. By following the step-by-step process, you can create a gaming set that fosters lasting memories and connections through shared experiences.
Read more: What Is The Regulation Cornhole Board Size?
Materials and Tools Needed
Before diving into the construction process, it’s essential to gather all the necessary materials and tools. Here’s a comprehensive list to ensure you have everything required to build regulation cornhole boards:
Materials:
- Two 2×4 plywood sheets
- Four 2×4 boards for the frame
- Four 2×4 boards for the legs
- Wood glue
- Wood screws
- Sandpaper (medium and fine grit)
- Outdoor paint or wood stain
- Clear polyurethane sealant
- Bean bags
Tools:
- Measuring tape
- Pencil
- Circular saw or table saw
- Drill with screwdriver bits
- Countersink bit
- Sanding block or electric sander
- Paintbrushes or paint sprayer
- Drop cloth or tarp for painting
By ensuring you have all the materials and tools listed above, you’ll be well-equipped to begin the construction process with confidence. Now that you’re ready to roll up your sleeves and get started, let’s move on to the first step: cutting the plywood.
Step 1: Cutting the Plywood
When building regulation cornhole boards, precision is key, especially when it comes to cutting the plywood for the playing surface. Here’s a detailed guide to help you achieve accurate and uniform cuts:
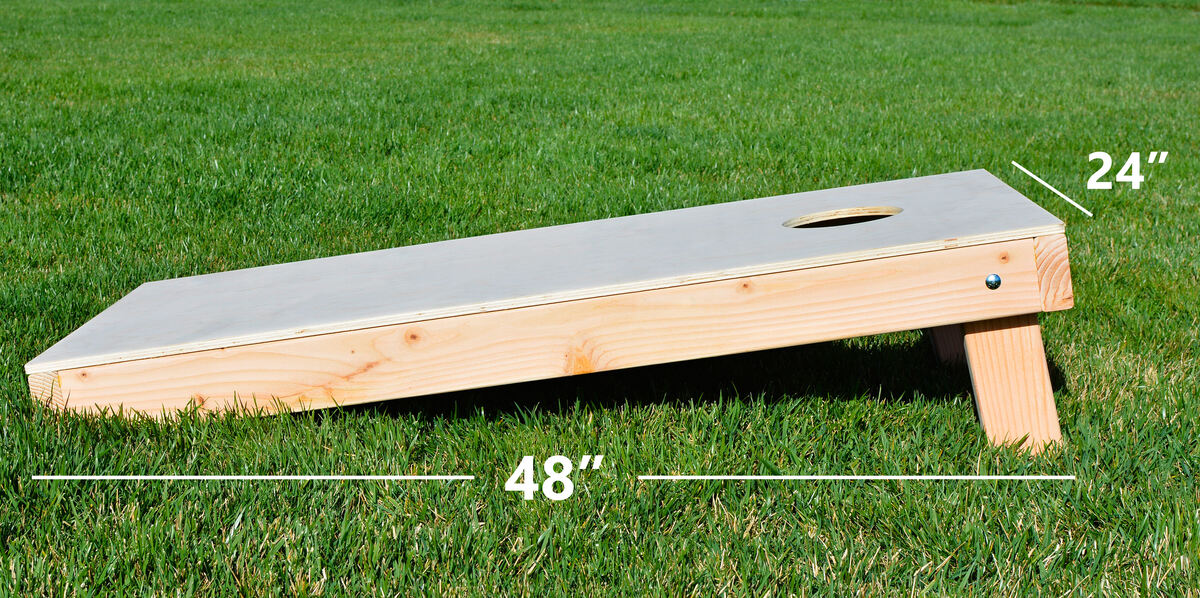
Begin by marking the plywood sheets to the standard regulation size of 24 inches by 48 inches. Use a measuring tape and pencil to outline the dimensions carefully. Once marked, secure the plywood to a stable work surface using clamps to prevent any movement during cutting.
Next, using a circular saw or table saw, carefully cut along the marked lines to create two identical plywood pieces, each measuring 24 inches by 48 inches. It’s crucial to maintain a straight and steady cutting motion to ensure clean and precise edges.
After cutting the plywood, take the time to inspect the edges for any splinters or rough areas. Lightly sand the edges using medium-grit sandpaper to achieve a smooth and splinter-free finish. This step not only enhances the playing experience but also adds a professional touch to your cornhole boards.
By accurately cutting the plywood to the regulation size and refining the edges, you’ll set the foundation for constructing high-quality cornhole boards. With this crucial step completed, you’re now ready to move on to assembling the frame, the next phase in the construction process.
Step 2: Assembling the Frame
Assembling the frame is a pivotal stage in building regulation cornhole boards, as it forms the structural backbone of the entire set. Follow these steps to construct a sturdy and durable frame for your cornhole boards:
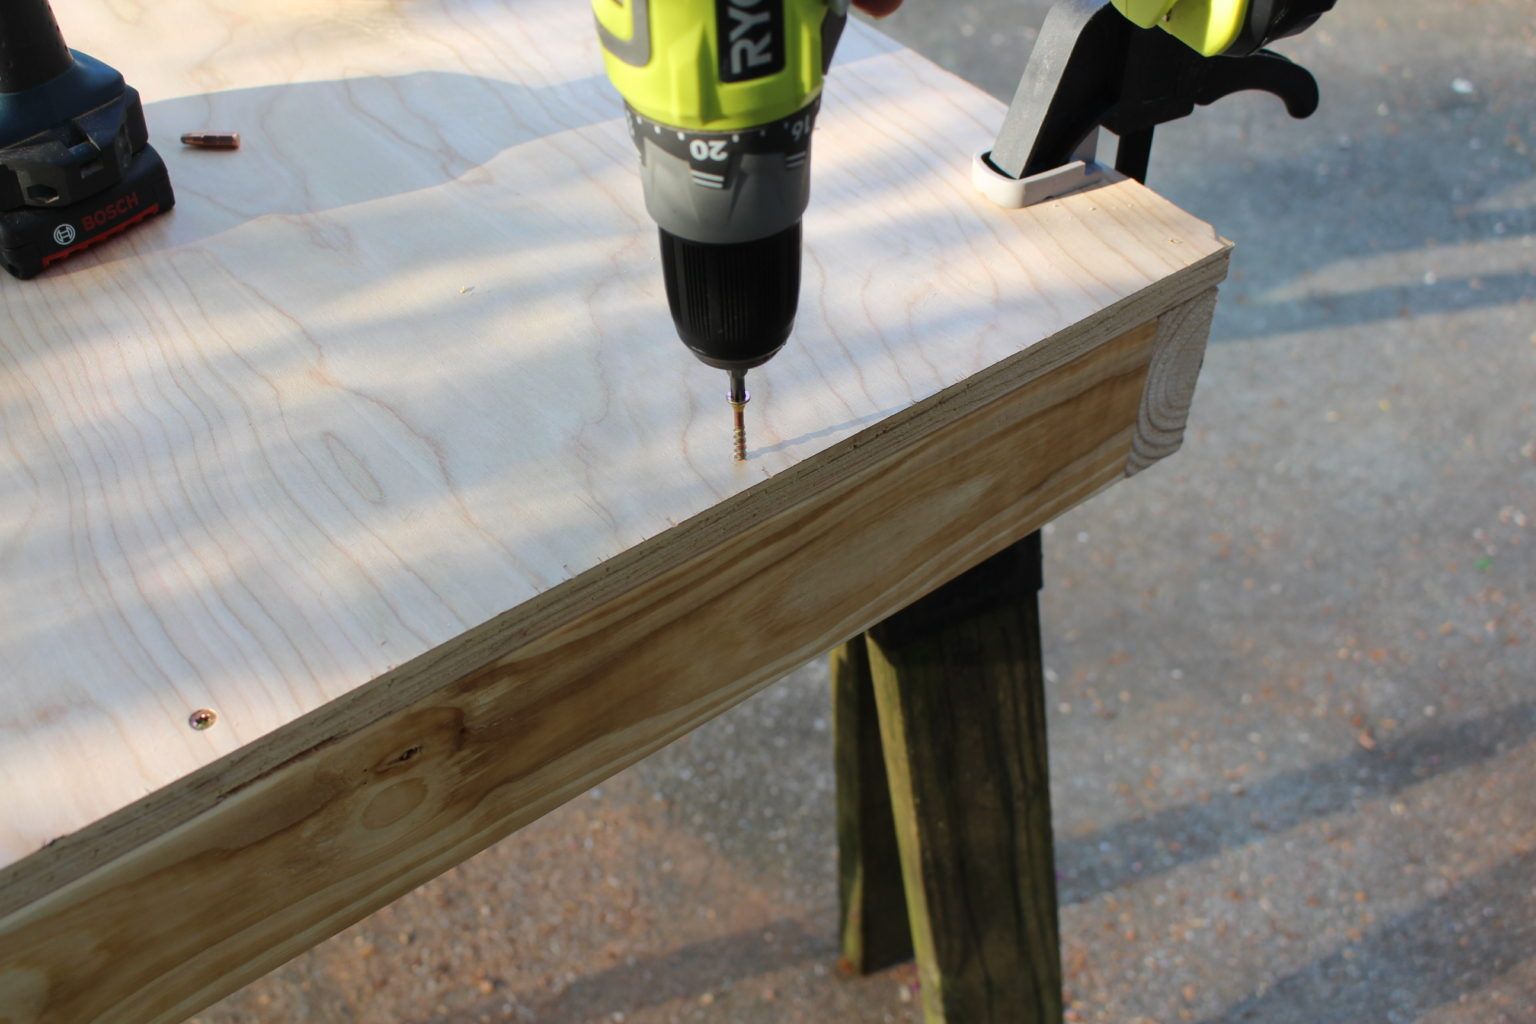
Begin by gathering the four 2×4 boards designated for the frame. Measure and cut two pieces to 48 inches in length for the top and bottom, and two pieces to 21 inches for the sides. Once cut, arrange the boards on a flat surface to form a rectangular frame, ensuring the corners are squared and aligned.
With the boards in position, apply wood glue along the meeting edges to enhance the bond and stability of the frame. Then, using a drill and wood screws, secure the boards together at each corner. To achieve a professional finish, consider using a countersink bit to sink the screw heads slightly below the surface of the wood.
After the frame is assembled, it’s essential to verify its stability and structural integrity. Check for any wobbling or unevenness, and make any necessary adjustments to ensure the frame sits level and solid on the ground.
By following these steps, you’ll successfully construct a robust frame that provides the foundation for the regulation cornhole boards. With the frame securely assembled, you’re now ready to move on to the next phase: attaching the legs, an essential component for stability and gameplay functionality.
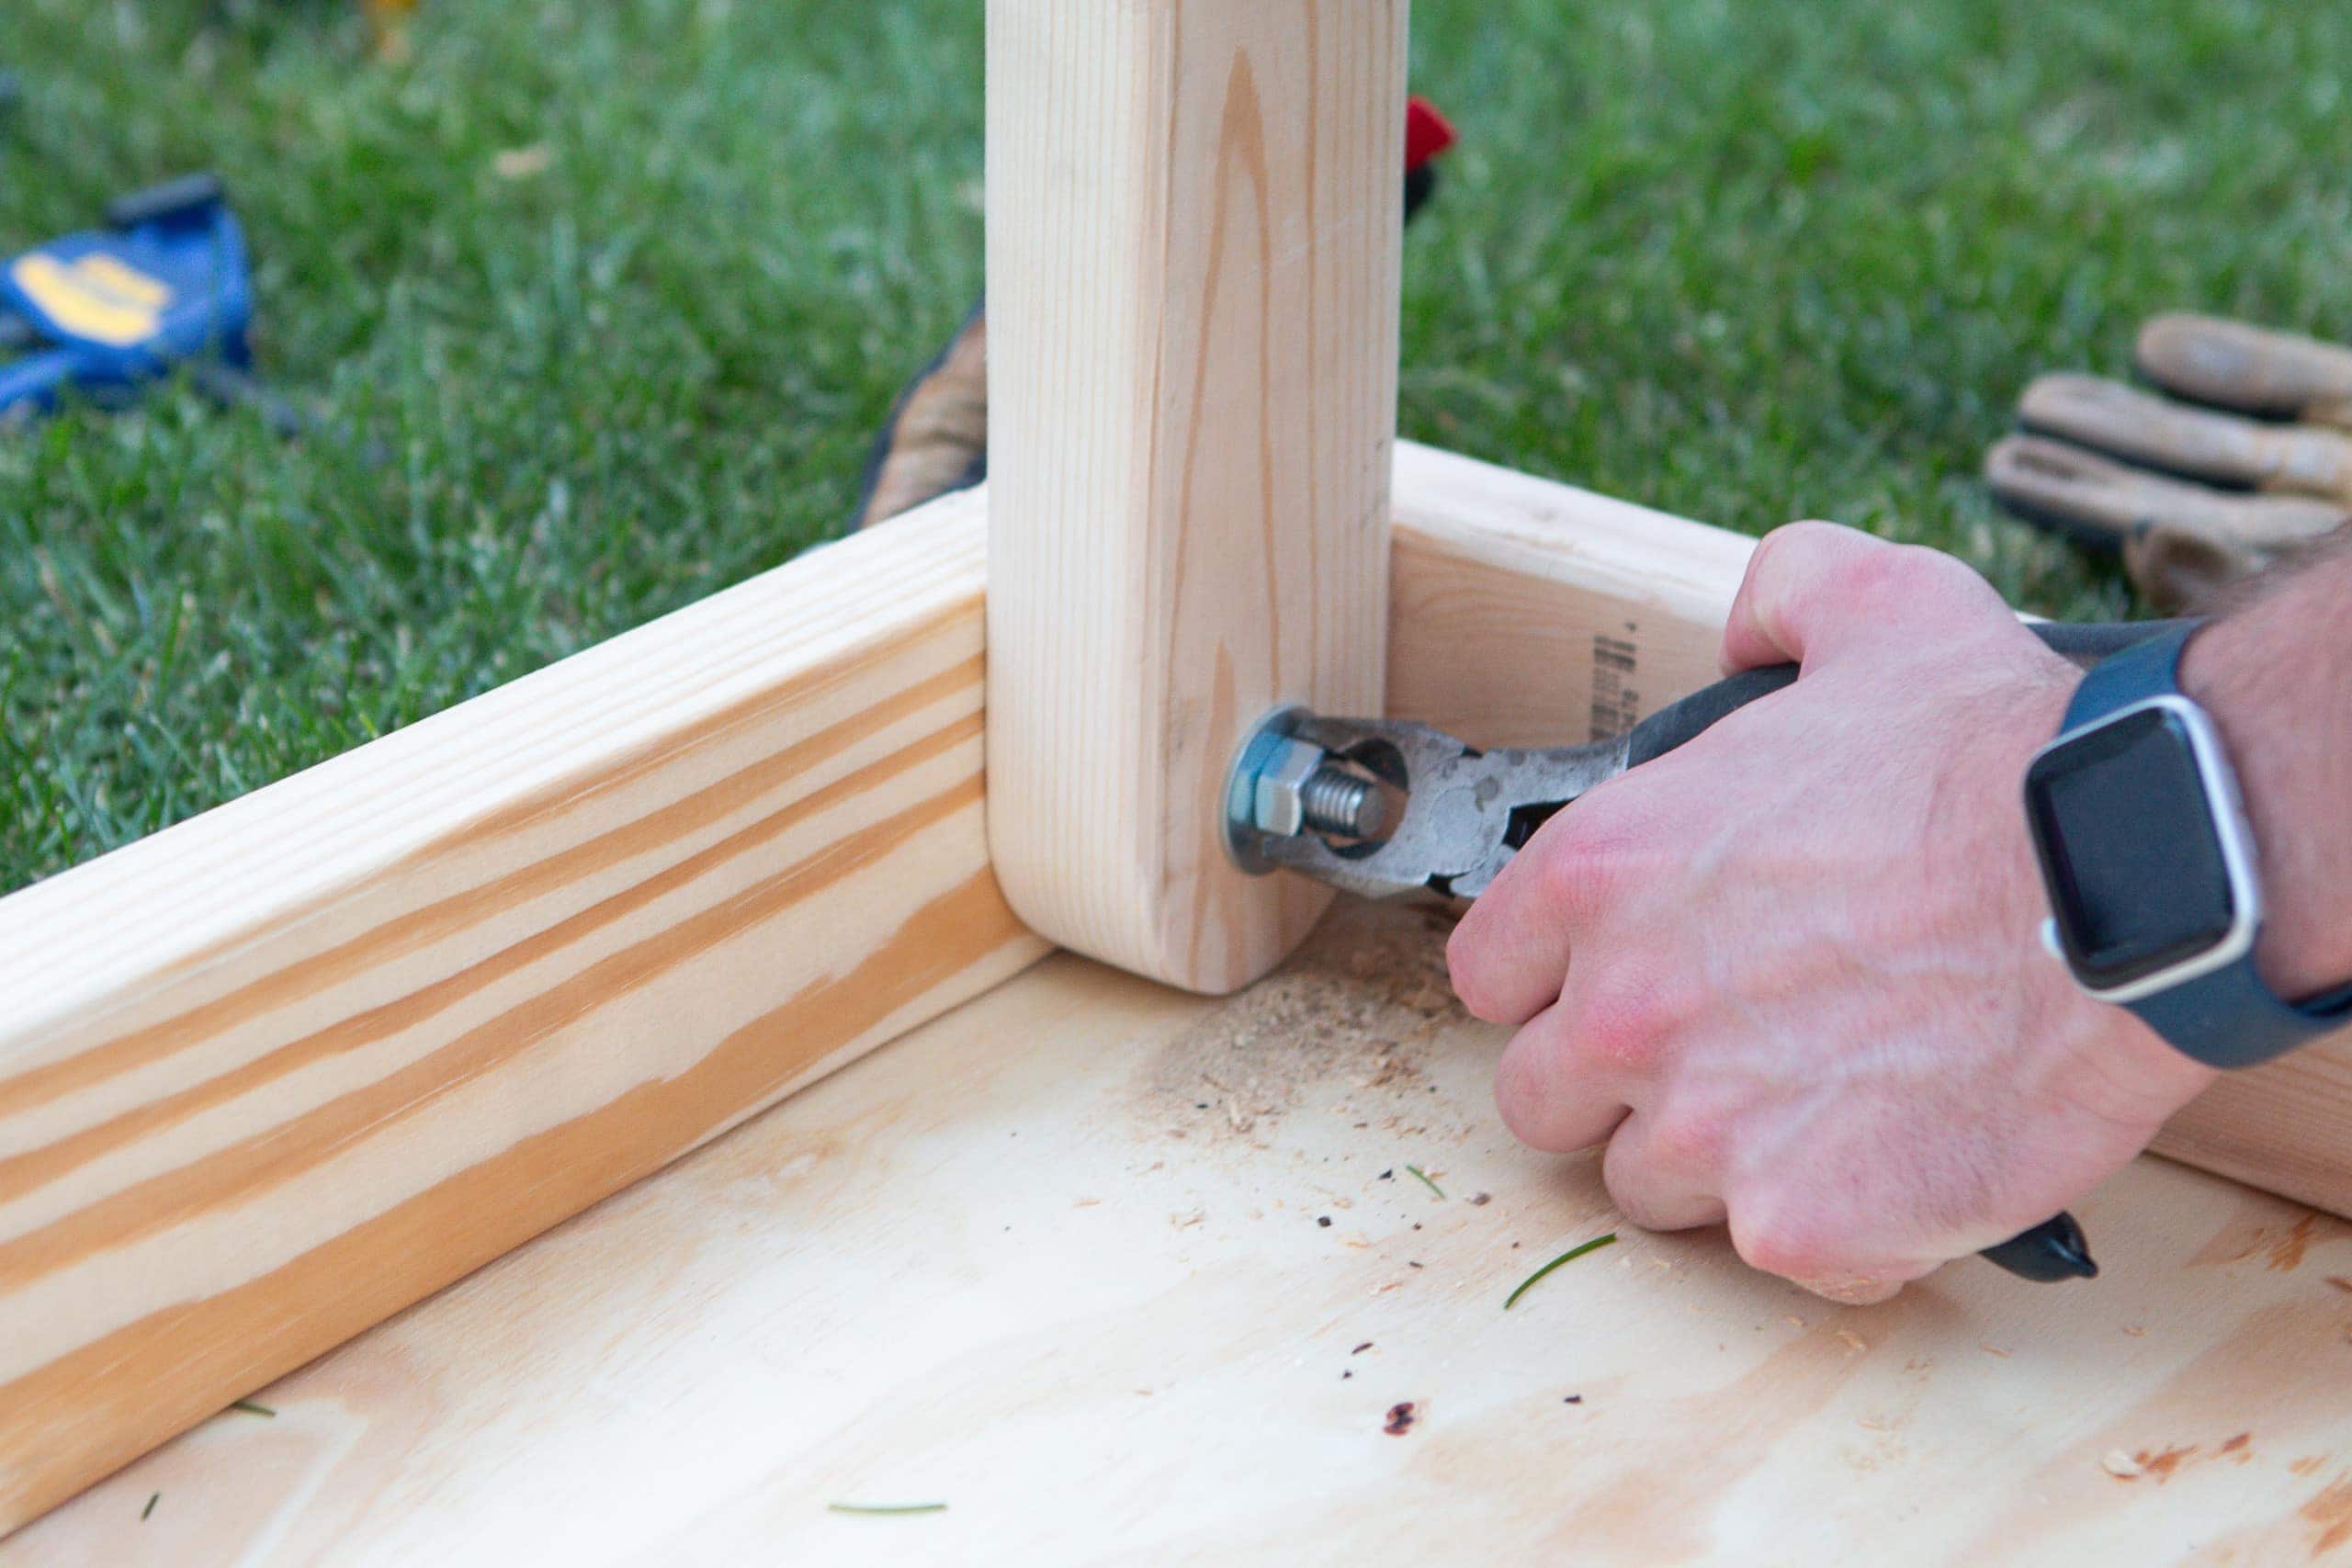
Step 3: Attaching the Legs
Attaching the legs is a critical step in the construction of regulation cornhole boards, as it directly impacts the stability and playability of the set. Here’s a detailed guide to help you securely attach the legs to the frame:
Begin by positioning the assembled frame upside down to expose the bottom side. This orientation will allow for easy attachment of the legs while ensuring the boards remain stable during the process.
Next, take the four 2×4 boards designated for the legs and measure and cut them to the desired length, typically around 12 inches. Once cut, position the legs at each corner of the frame, ensuring they are flush with the outer edges and perpendicular to the ground. This alignment is crucial for maintaining the stability and balance of the cornhole boards.
With the legs in place, apply wood glue along the areas where the legs will make contact with the frame. This additional adhesive will reinforce the bond between the legs and the frame, enhancing the overall strength of the structure.
Using a drill and wood screws, securely attach the legs to the frame, driving the screws through the legs and into the frame to create a firm and lasting connection. It’s important to ensure that the legs are evenly positioned and firmly attached to prevent any wobbling or instability during gameplay.
Once the legs are securely attached, carefully flip the cornhole boards to their upright position and verify the stability and balance. Test the boards on different surfaces to ensure they sit level and steady, ready to withstand countless rounds of spirited gameplay.
With the legs successfully attached, you’ve reached a pivotal milestone in the construction process. The next step involves adding the plywood surface, bringing your regulation cornhole boards one step closer to completion.
When building regulation cornhole boards, make sure to use 2×4 lumber for the frame and 1/2 inch plywood for the playing surface. Also, ensure the hole is 6 inches in diameter and centered 9 inches from the top of the board.
Step 4: Adding the Plywood Surface
Adding the plywood surface is a crucial phase in the construction of regulation cornhole boards, as it forms the playing area where all the action takes place. Follow these steps to seamlessly attach the plywood surface to the frame:
Begin by placing the frame with the legs facing upward to prepare for the attachment of the plywood surface. Position one of the pre-cut plywood pieces on top of the frame, ensuring it aligns perfectly with the edges of the frame to create a smooth and uniform playing surface.
Once the plywood is in position, apply wood glue along the top edges of the frame. This adhesive will help secure the plywood to the frame and prevent any shifting or movement during gameplay. The added reinforcement contributes to the overall durability of the cornhole boards.
With the plywood aligned and the wood glue applied, carefully lower the second pre-cut plywood piece on top, sandwiching the frame between the two plywood sheets. Ensure that the edges of both plywood pieces are flush with the frame to maintain a seamless and professional finish.
Using wood screws, attach the plywood to the frame at regular intervals along the perimeter, driving the screws through the plywood and into the frame. This secure fastening method ensures that the plywood surface remains firmly affixed to the frame, providing a stable and reliable playing area.
After attaching the plywood, take a moment to inspect the surface for any protruding screws or imperfections. Use a countersink bit to sink the screw heads slightly below the surface of the plywood, creating a smooth and even playing area free of any obstructions.
By following these steps, you’ll successfully add the plywood surface to the frame, bringing your regulation cornhole boards one step closer to completion. The next phase involves sanding and finishing, where you’ll refine the boards to perfection and prepare them for countless hours of gameplay and enjoyment.
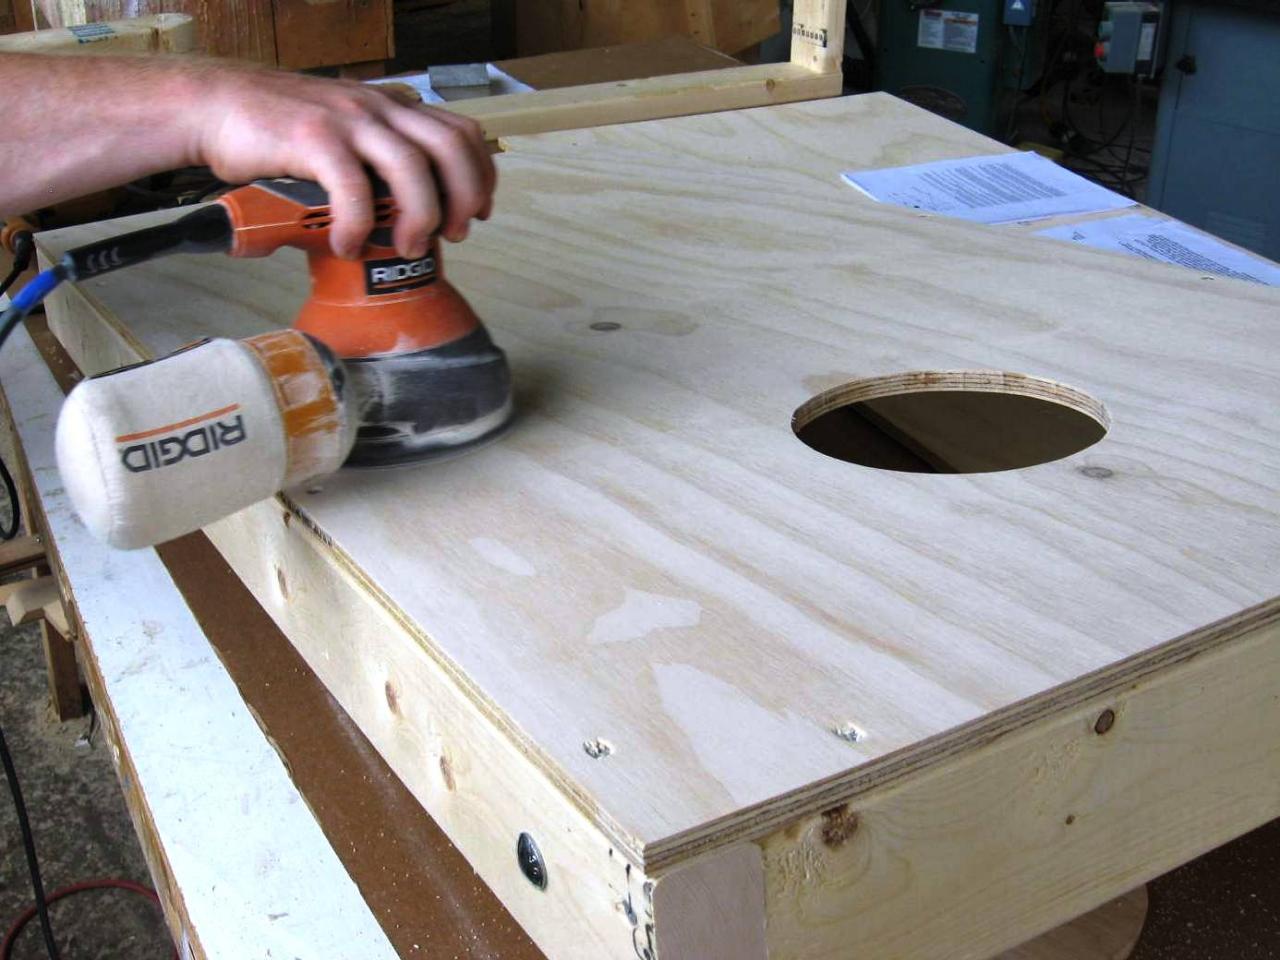
Step 5: Sanding and Finishing
After assembling the structure of the regulation cornhole boards, it’s time to focus on sanding and finishing to achieve a professional and polished look. Follow these steps to refine the boards and enhance their durability and visual appeal:
Begin by using medium-grit sandpaper to sand the entire surface of the cornhole boards, including the plywood playing area and the frame. This step aims to smooth out any rough spots, imperfections, or uneven edges, creating a seamless and inviting playing surface.
Once the initial sanding is complete, transition to fine-grit sandpaper to further refine the surface. Focus on achieving a smooth and consistent texture, paying particular attention to the edges and corners to ensure they are splinter-free and comfortable to handle.
After sanding, carefully wipe down the boards with a clean, dry cloth to remove any dust or debris. This preparatory step is essential before applying the finishing touches, ensuring a clean surface for the final stages of the construction process.
Now, it’s time to add the finishing touches to the cornhole boards. Whether you opt for outdoor paint or wood stain, select a finish that complements your outdoor space and provides long-lasting protection against the elements. Apply the chosen finish evenly across the entire surface of the boards, following the manufacturer’s instructions for the best results.
Once the paint or stain has dried, consider applying a clear polyurethane sealant to provide an extra layer of protection and enhance the boards’ durability. The sealant will safeguard the finish from wear and tear, ensuring that your cornhole boards retain their vibrant appearance and withstand outdoor conditions.
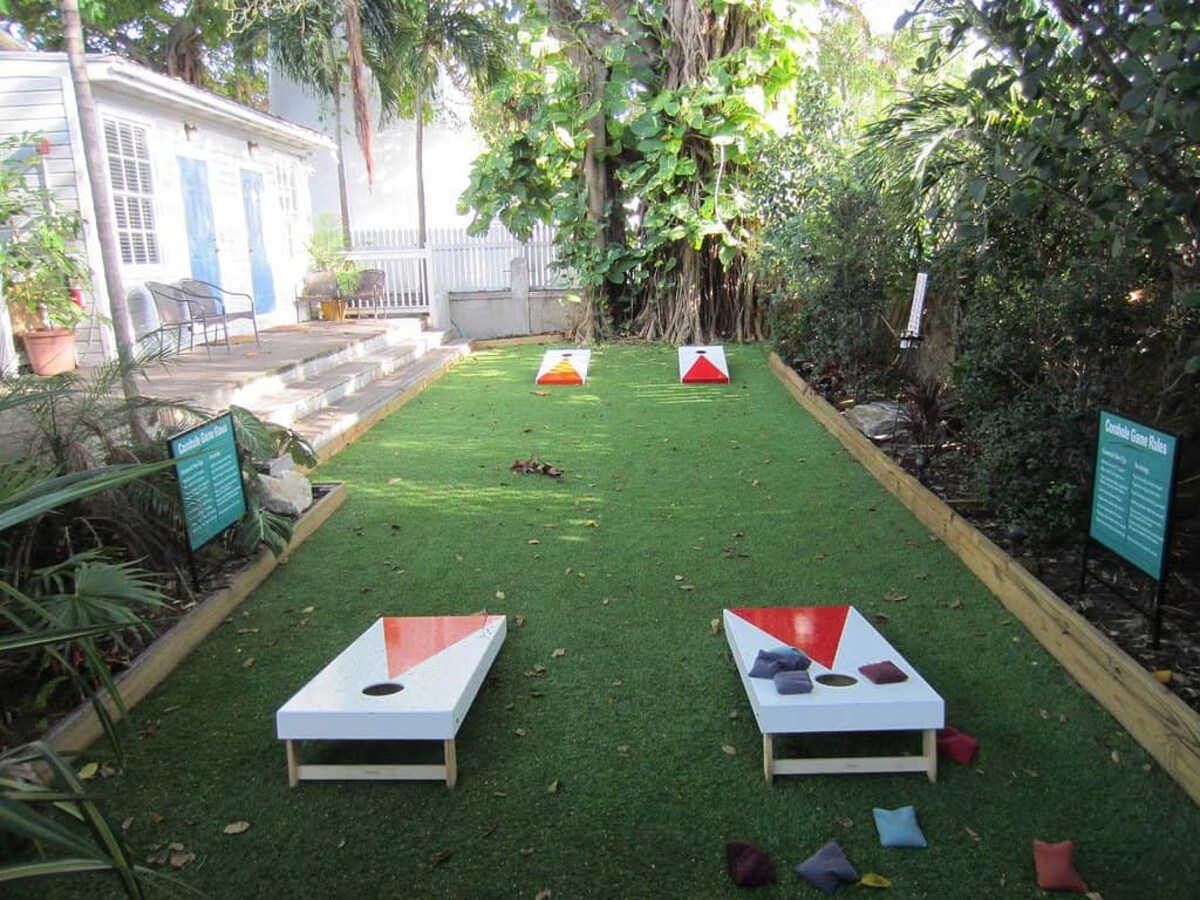
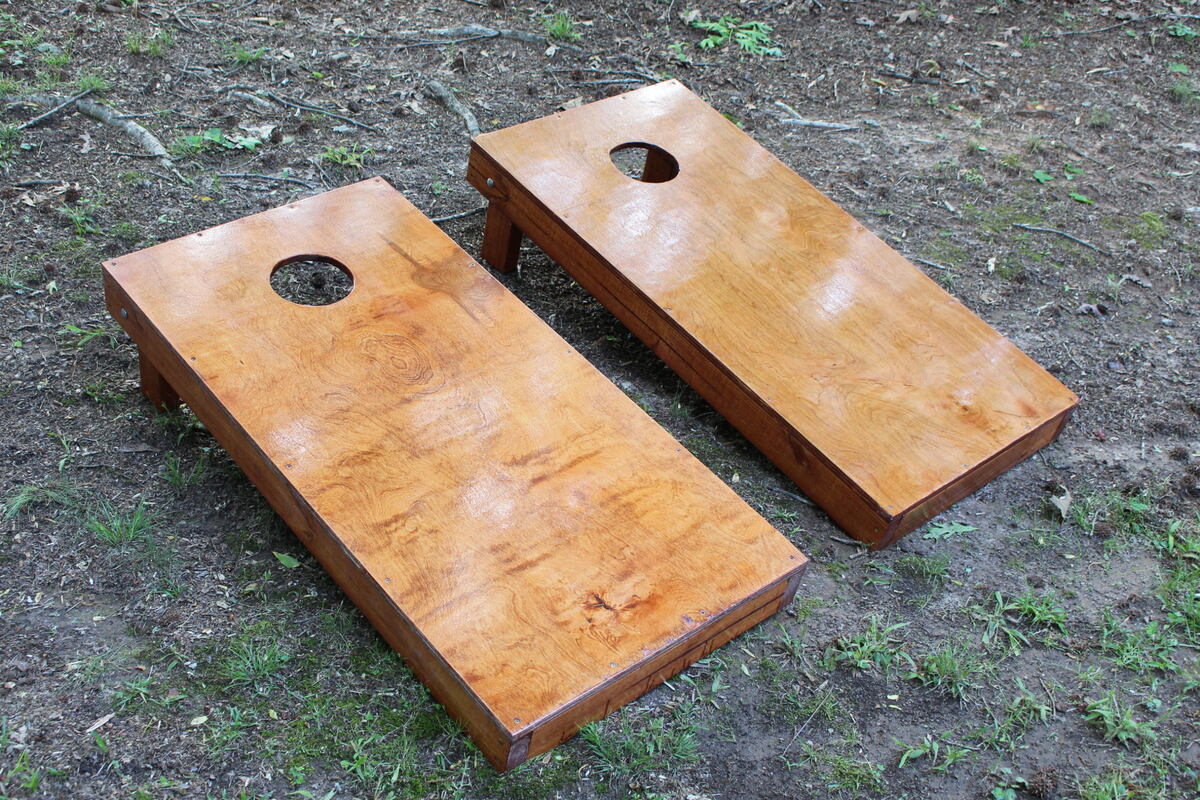
With the sanding and finishing process complete, take a moment to admire your craftsmanship and attention to detail. The regulation cornhole boards are now ready for countless hours of enjoyment, whether you’re hosting friendly competitions, tailgating at sporting events, or simply relishing leisurely outdoor gatherings with family and friends.
Read more: What Is A Cornhole Board?
Conclusion
Congratulations on successfully building your very own regulation cornhole boards! Through meticulous craftsmanship and attention to detail, you’ve created a set of durable and professional-grade boards that are sure to provide endless entertainment for years to come.
As you embark on this DIY journey, you’ve not only crafted a set of cornhole boards but also fostered a sense of creativity and pride in your outdoor recreation space. The personalized touch you’ve added to your cornhole boards reflects your unique style and enhances the overall ambiance of your outdoor gatherings.
Whether you’re engaging in spirited cornhole tournaments, enjoying casual games with loved ones, or simply relishing the joy of outdoor play, your regulation cornhole boards stand as a testament to your craftsmanship and passion for outdoor entertainment.
Remember, the process of building regulation cornhole boards is not just about constructing a gaming set; it’s about creating lasting memories and fostering connections through shared experiences. Your cornhole boards are a symbol of fun-filled moments and laughter, adding a touch of joy to every outdoor gathering.
So, as you proudly display your custom cornhole boards at backyard barbecues, picnics, and tailgating events, take pride in the fact that you’ve brought a piece of your creativity and craftsmanship to the forefront of outdoor recreation. Your regulation cornhole boards are more than just a gaming set; they’re a reflection of your dedication to crafting unforgettable moments and cherished memories.
Now, gather your bean bags, invite your friends and family, and let the games begin. With your custom-built regulation cornhole boards, you’re all set for hours of outdoor fun and friendly competition. Embrace the joy of play, celebrate your DIY achievement, and savor the camaraderie that comes with every toss and every victory. Here’s to countless hours of laughter, camaraderie, and unforgettable outdoor adventures with your one-of-a-kind regulation cornhole boards!
Frequently Asked Questions about How To Build Regulation Cornhole Boards
Was this page helpful?
At Storables.com, we guarantee accurate and reliable information. Our content, validated by Expert Board Contributors, is crafted following stringent Editorial Policies. We're committed to providing you with well-researched, expert-backed insights for all your informational needs.
0 thoughts on “How To Build Regulation Cornhole Boards”