Home>Gardening & Outdoor>Outdoor Recreation & Activities>How To Make A Cornhole Board
Outdoor Recreation & Activities
How To Make A Cornhole Board
Modified: August 17, 2024
Learn how to make a cornhole board for your outdoor recreation and activities. Follow our step-by-step guide to create your own custom cornhole set.
(Many of the links in this article redirect to a specific reviewed product. Your purchase of these products through affiliate links helps to generate commission for Storables.com, at no extra cost. Learn more)
Introduction
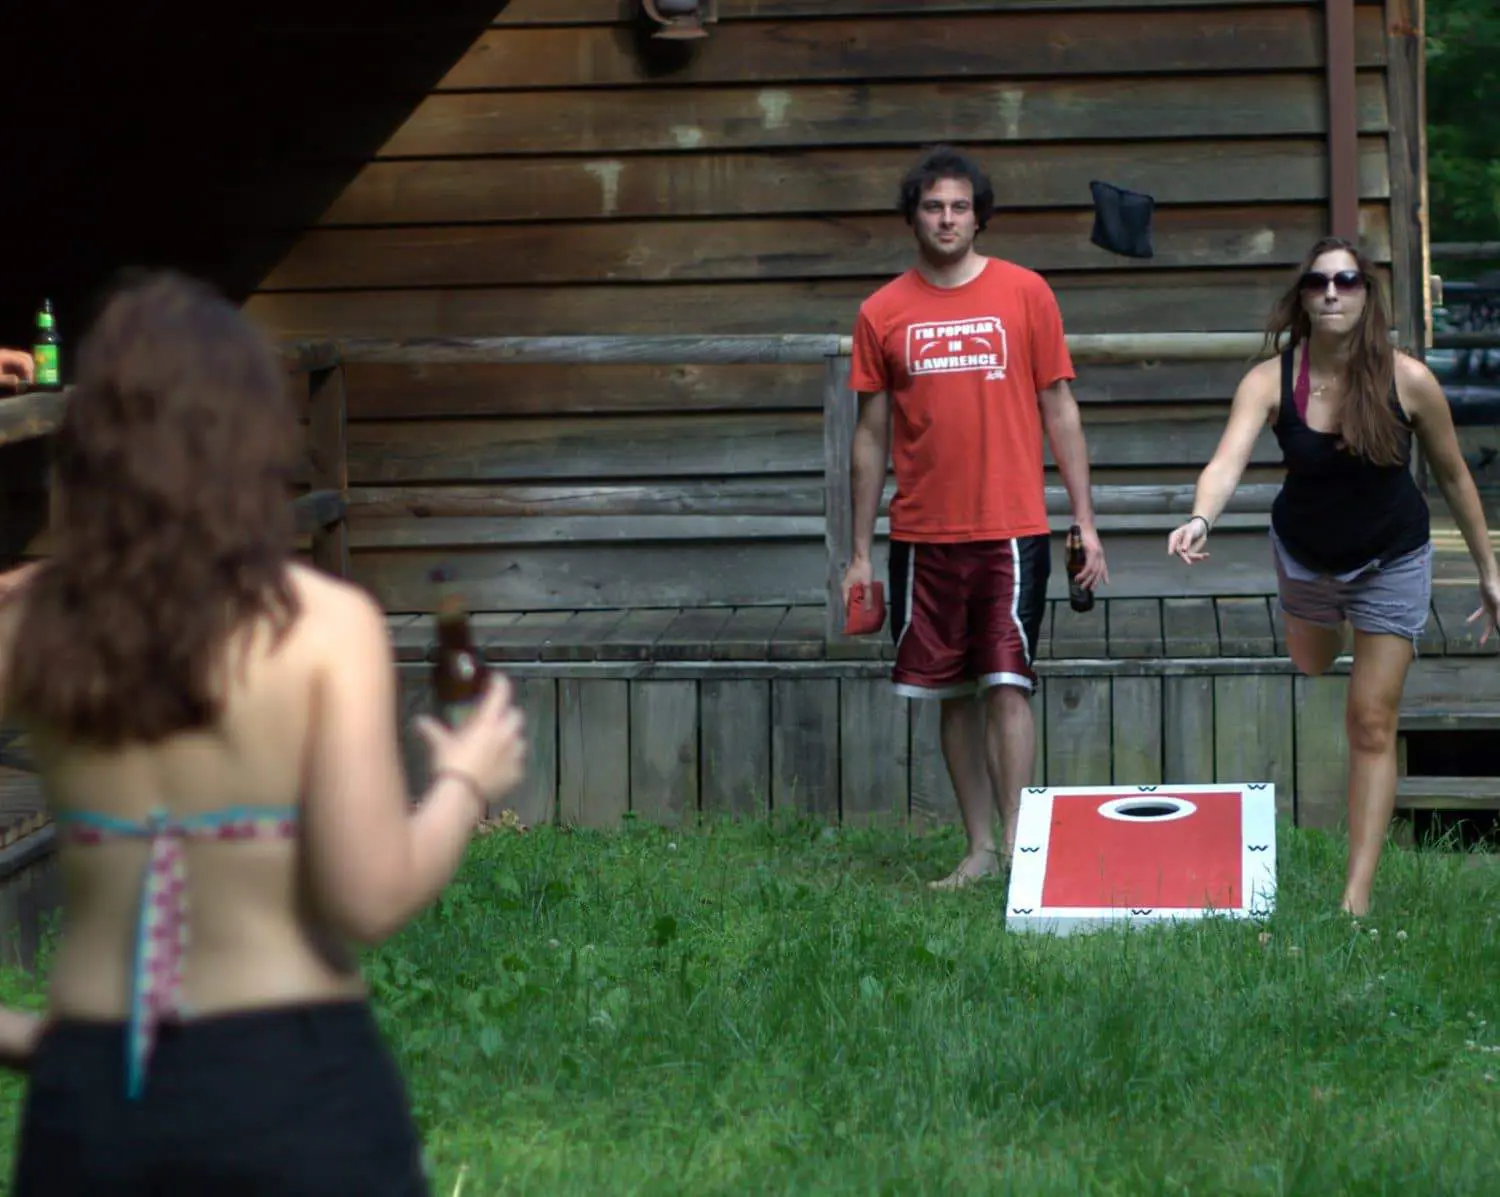
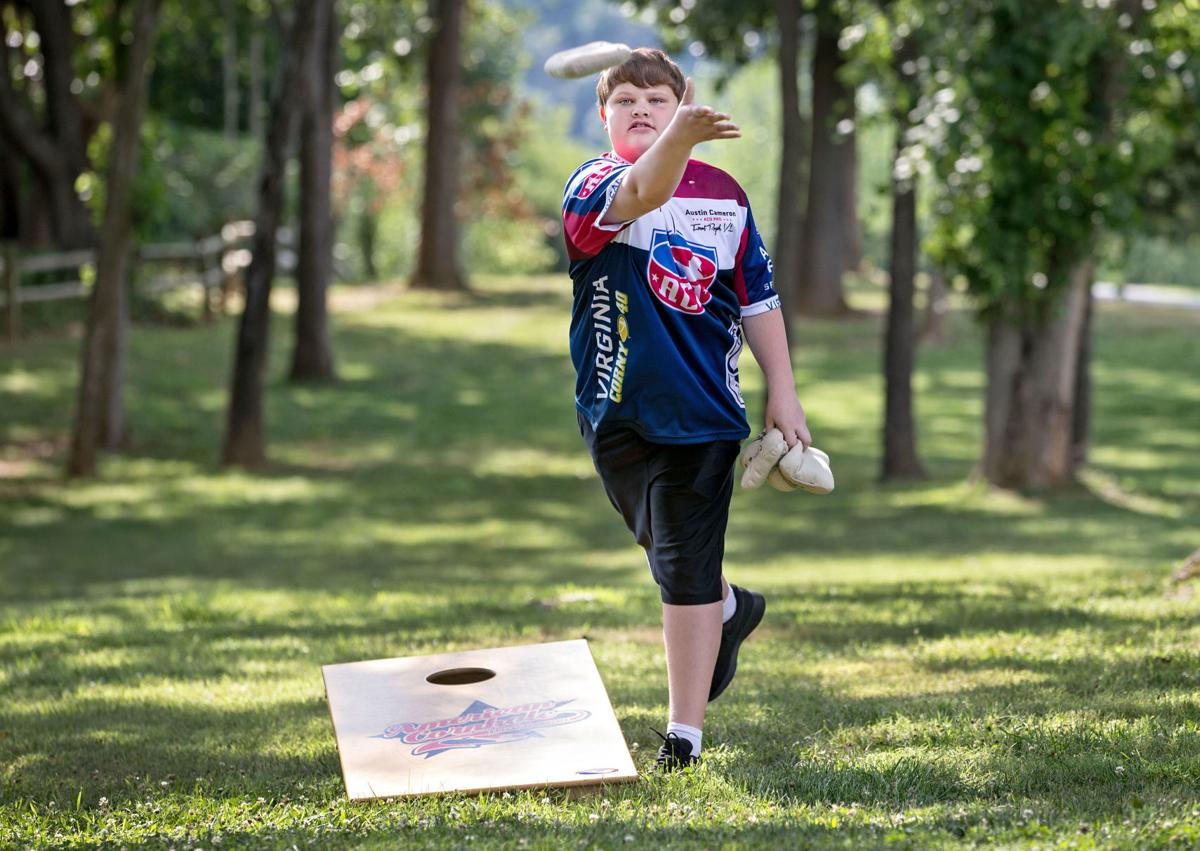
Welcome to the world of cornhole, a classic American lawn game that brings friends and family together for hours of outdoor fun. Whether you're hosting a backyard barbecue, tailgating at a sports event, or simply enjoying a sunny day at the park, a cornhole board is a fantastic addition to any gathering. Building your own cornhole board can be a rewarding and enjoyable project that allows you to customize the design and create a board that reflects your unique style.
In this comprehensive guide, we'll walk you through the step-by-step process of creating your own cornhole board, from gathering the materials and tools to adding the finishing touches. Whether you're a seasoned DIY enthusiast or a novice woodworker, this project is approachable and can be completed with basic woodworking skills and a few essential tools. By the end of this guide, you'll have a sturdy and professional-looking cornhole board that's ready for countless rounds of gameplay.
So, roll up your sleeves, gather your supplies, and get ready to embark on a fun and fulfilling journey of crafting your very own cornhole board. Let's dive in and learn how to make a cornhole board that will be the envy of every outdoor gathering!
Key Takeaways:
- Crafting your own cornhole board is a fun and rewarding DIY project that brings friends and family together for hours of outdoor fun. With basic woodworking skills and a few tools, you can create a personalized board that reflects your unique style.
- Personalizing your cornhole board with custom designs and vibrant colors adds a touch of individuality to your gaming setup. From painting to adding custom artwork, you can create a visually striking board that will be the envy of every outdoor gathering.
Read more: How To Make Cornhole Boards Slick
Materials and Tools Needed
Before diving into the construction process, it’s essential to gather all the necessary materials and tools. Here’s a comprehensive list to ensure you have everything on hand before you begin:
Materials:
- Two 2×4 plywood sheets (4'x8')
- Four 2×4 boards (8' long)
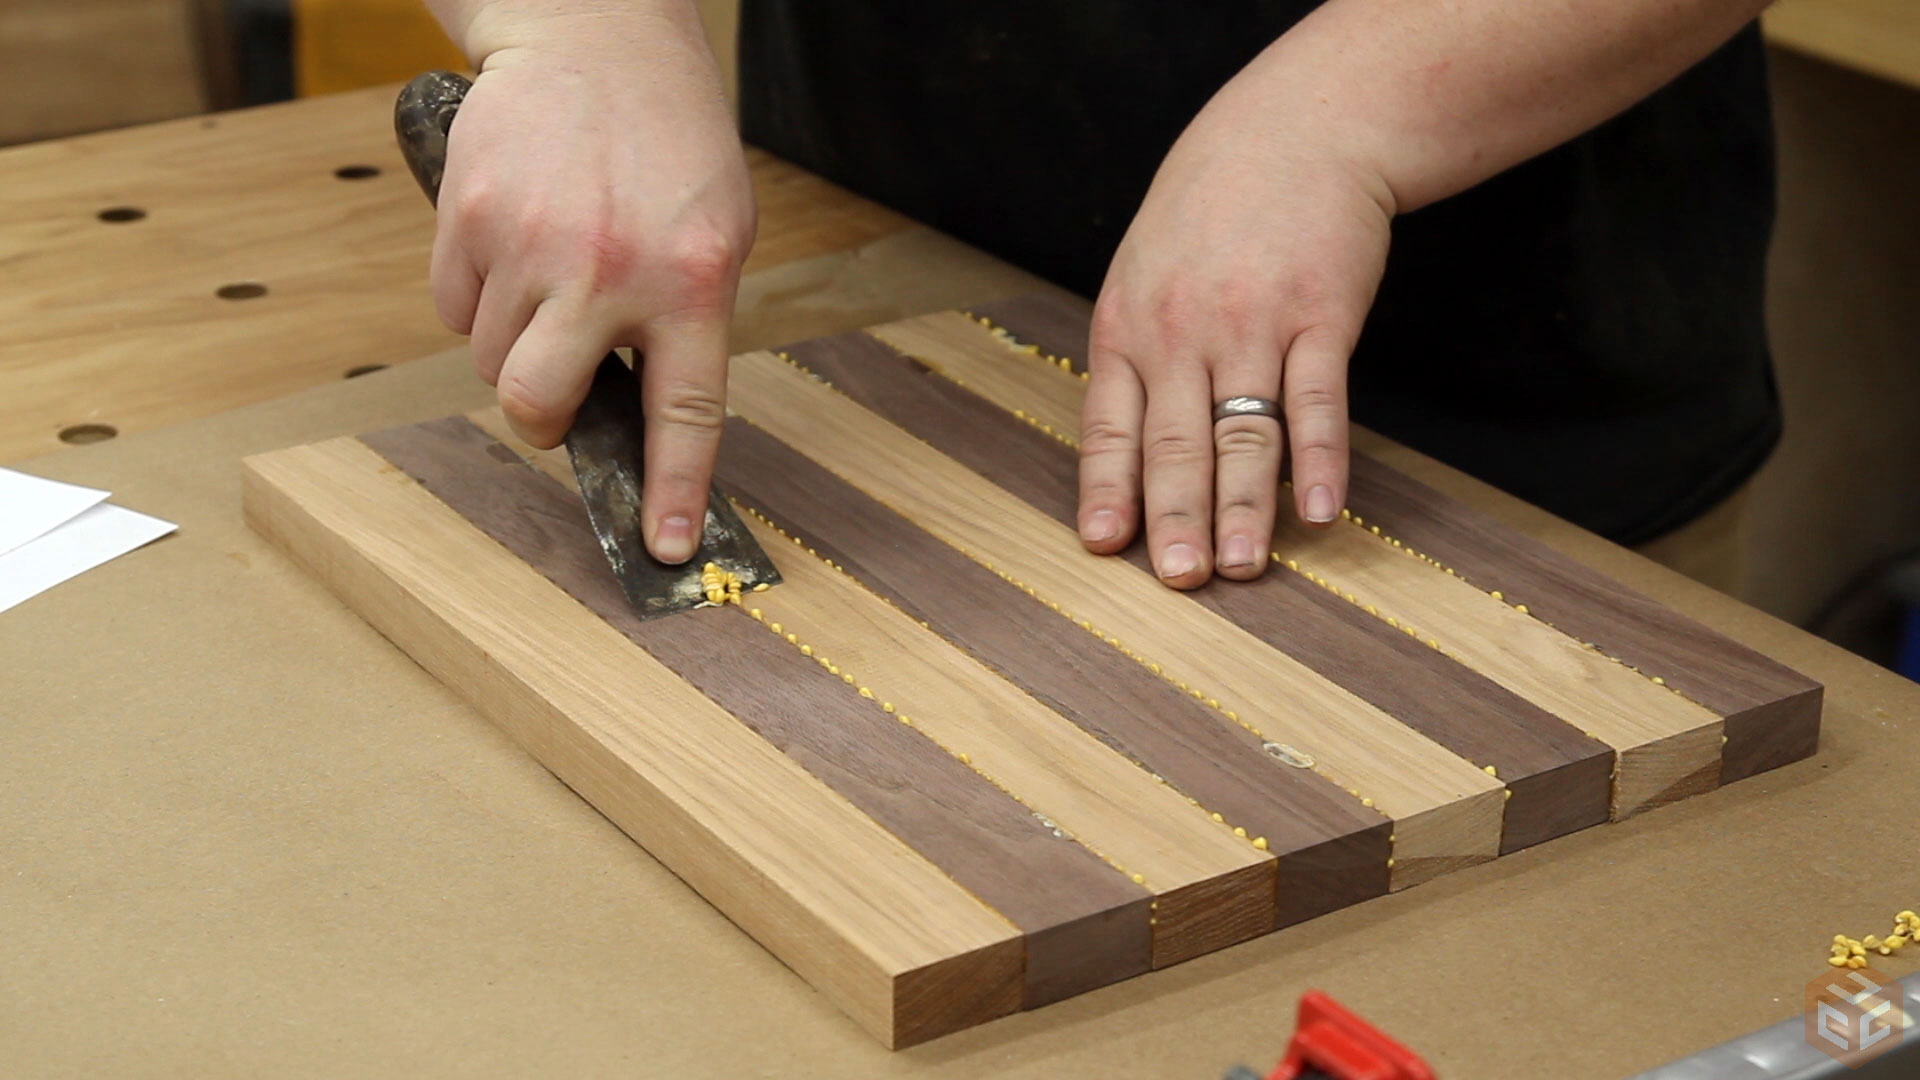
- Wood glue
- 1 1/4" wood screws
- 2 1/2" wood screws
- Wood filler
- Sandpaper (medium and fine grit)
- Outdoor paint or wood stain
- Clear polyurethane sealant (if using paint)
Tools:
- Measuring tape
- Pencil
- Circular saw or table saw
- Drill with bits
- Countersink bit
- Screwdriver
- Clamps
- Sanding block or orbital sander
- Paintbrushes or paint sprayer
- Drop cloth or tarp
By ensuring you have all the required materials and tools at your disposal, you’ll be well-prepared to commence the construction process with confidence. Now that you’ve gathered everything you need, it’s time to move on to the next step: cutting and preparing the wood.
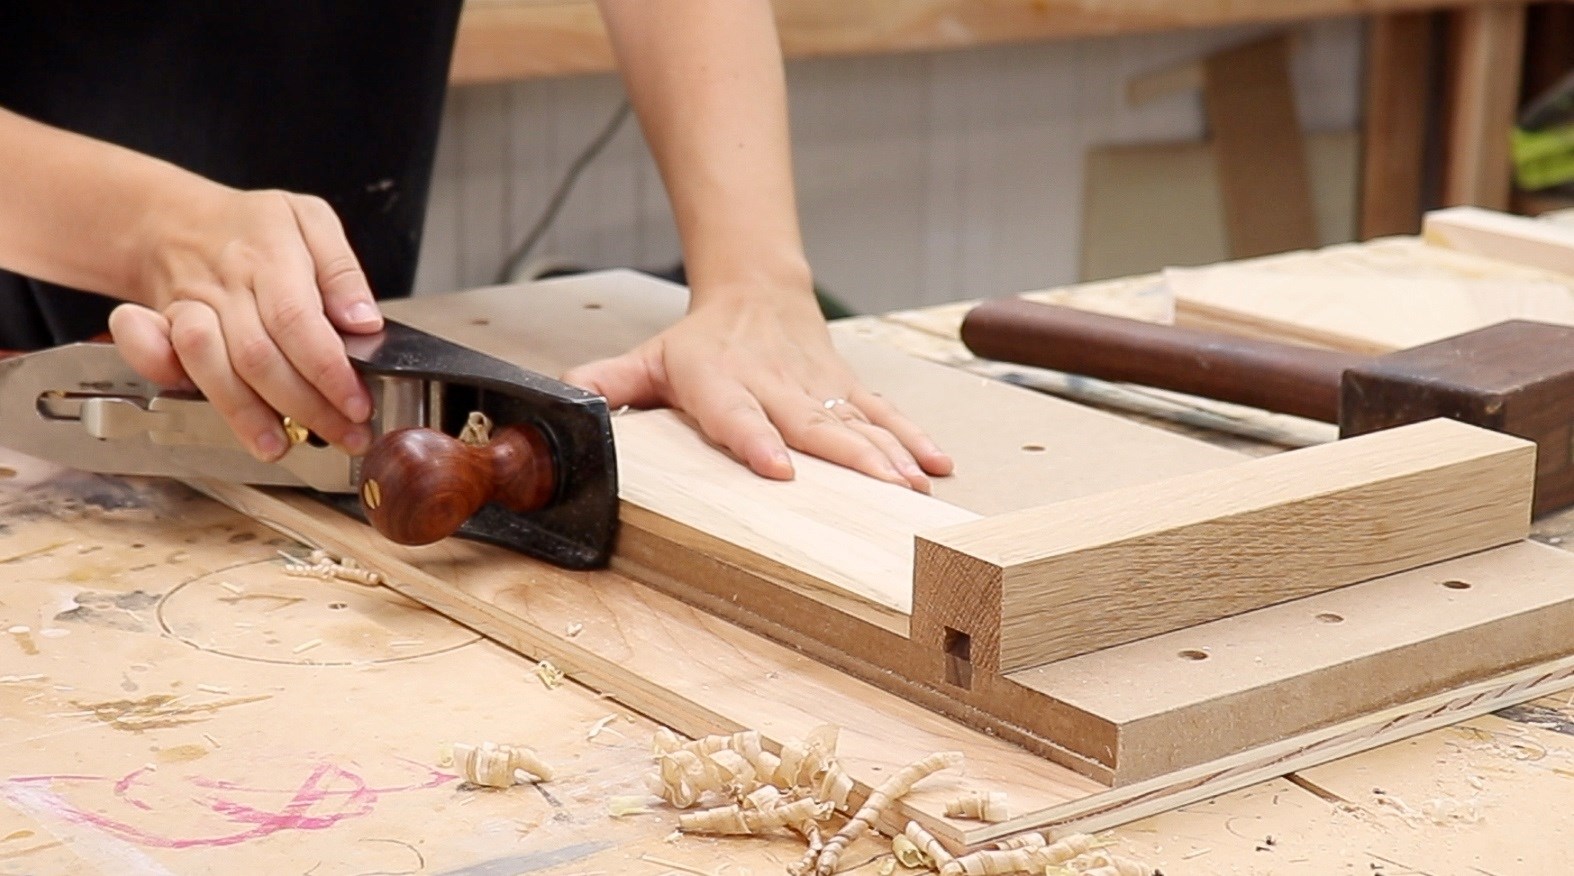
Cutting and Preparing the Wood
With all the necessary materials and tools in hand, the first step in creating a cornhole board is to cut and prepare the wood for assembly. Follow these steps to ensure precision and accuracy:
Read more: What Size Is A Cornhole Board?
Step 1: Cutting the Plywood
Begin by measuring and marking the plywood sheets to create two 2' x 4' sections, which will serve as the playing surface for the cornhole board. Use a circular saw or table saw to make the cuts, ensuring straight and even edges.
Step 2: Building the Frame
Next, cut the 2×4 boards to construct the frame for the cornhole board. You will need four pieces cut to 48" for the sides and four pieces cut to 21" for the ends. Once the pieces are cut, use wood glue and 2 1/2" wood screws to secure the frame, ensuring it fits snugly around the plywood playing surface.
Step 3: Preparing the Cornhole Holes
Measure and mark the center of each board’s width, 9" from the top. From the center, measure and mark 12" down to indicate the center of the hole. Use a 6" hole saw to cut the cornhole openings at the marked positions. For precision, clamp a scrap piece of wood beneath the plywood to prevent splintering as the saw exits the wood.
Once the plywood is cut and the frame is assembled, the components are ready for the next phase: assembling the cornhole board. By meticulously following these cutting and preparation steps, you’ll ensure that your cornhole board is structurally sound and ready for assembly. Now, let’s move on to the exciting process of putting it all together.
Assembling the Cornhole Board
Now that the wood has been cut and prepared, it’s time to assemble the components to create the playing surface and frame of the cornhole board. Follow these steps to ensure a sturdy and professional-looking assembly:
Read more: What Are The Best Cornhole Boards?
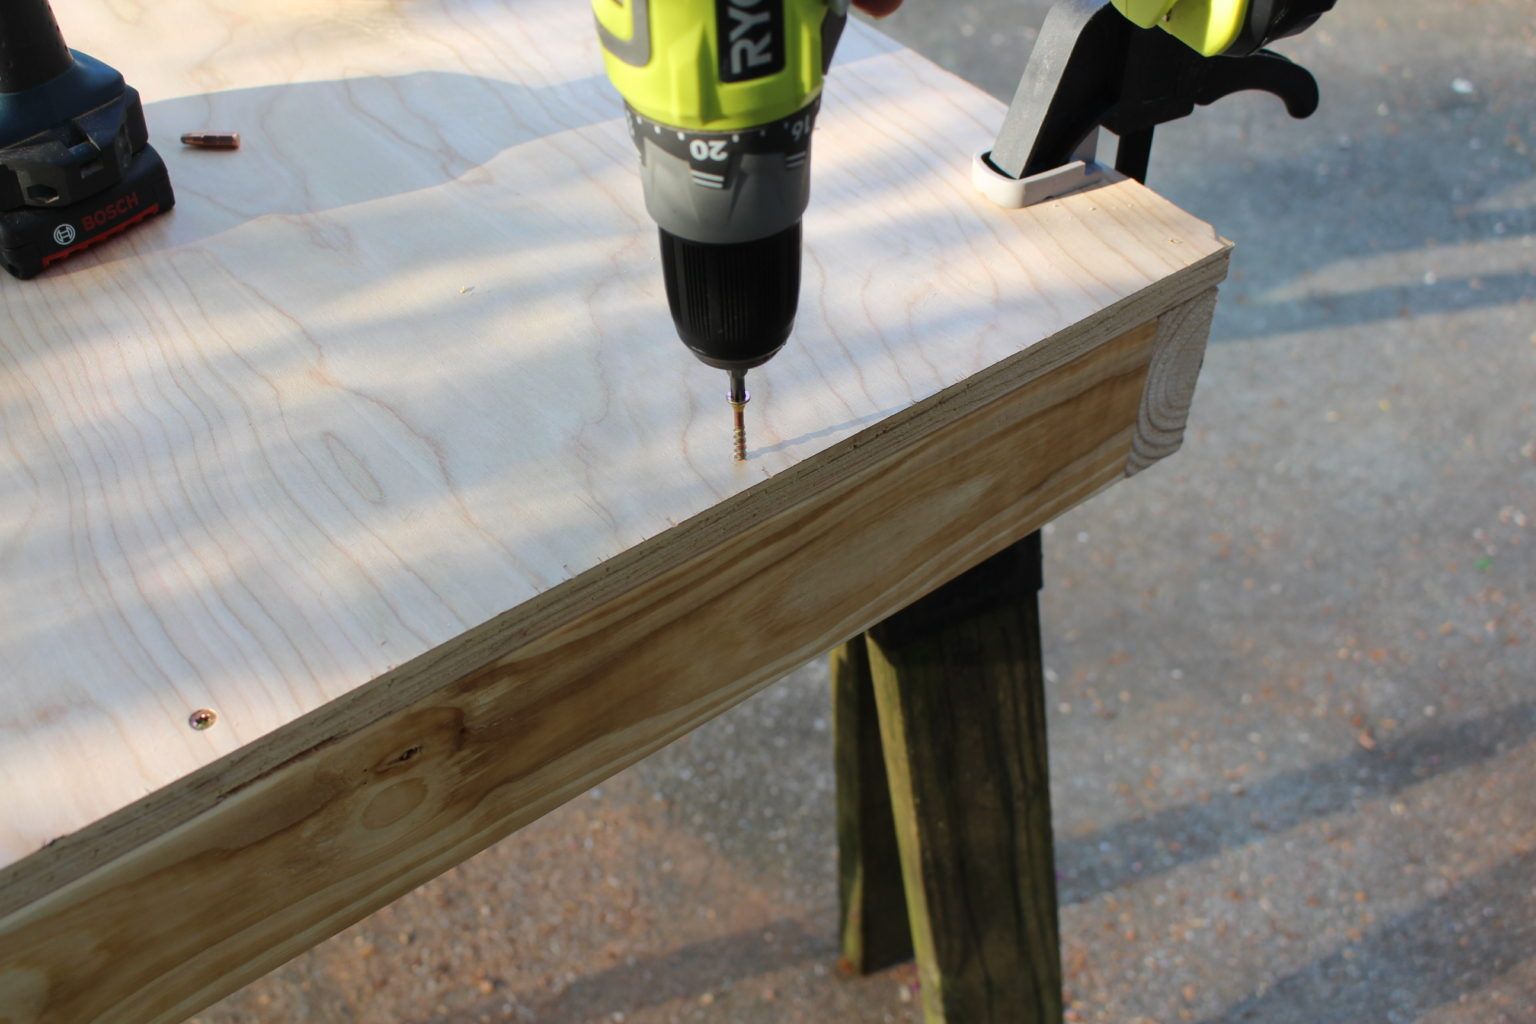
Step 1: Attaching the Plywood Playing Surface
Position the cut plywood sections on a flat surface, ensuring they are aligned and flush with the edges. Apply wood glue along the top edges of the frame, then carefully place the plywood sections on top, pressing down to secure them in place. Use 1 1/4" wood screws to further secure the plywood to the frame, placing screws approximately every 6 inches along the perimeter.
Step 2: Securing the Frame Corners
To reinforce the corners of the frame, use corner brackets or metal braces to add extra stability and support. Attach the brackets using screws, ensuring they are flush with the edges of the frame for a seamless finish.
Step 3: Adding Cross Supports (Optional)
For added reinforcement, consider adding cross supports to the underside of the playing surface. Cut two 2×4 boards to fit between the sides of the frame, perpendicular to the end pieces. Secure the cross supports using wood glue and 2 1/2" wood screws, evenly spacing them along the width of the board.
By following these steps, you’ll successfully assemble the core components of the cornhole board, creating a stable and durable playing surface. With the board taking shape, the next crucial step is to sand and finish the wood to ensure a smooth and professional appearance. Let’s move on to the next phase of the process.
Sanding and Finishing
Once the cornhole board is assembled, it’s essential to sand and finish the wood to create a smooth and polished playing surface. Follow these steps to achieve a professional finish:
Read more: How Far Apart Should Cornhole Boards Be?
Step 1: Sanding the Playing Surface
Begin by using medium-grit sandpaper to sand the entire playing surface, focusing on the edges and corners to remove any roughness or splinters. Once the surface is smooth to the touch, switch to fine-grit sandpaper to achieve a polished finish.
Step 2: Sanding the Frame and Legs
Next, sand the frame and any additional components, such as the legs, to ensure all edges are smooth and free from any sharp or rough areas. Pay close attention to any areas where the wood pieces join together, as these may require extra sanding to achieve a seamless finish.
Step 3: Applying the Finish
Once the wood is sanded to satisfaction, it’s time to apply the chosen finish. If you prefer a natural wood look, consider applying a clear polyurethane sealant to protect the wood and enhance its natural beauty. Alternatively, if you wish to add a pop of color, outdoor paint or wood stain can be applied to the playing surface and frame.
Step 4: Sealing the Playing Surface
If you opt for a painted finish, it’s crucial to apply a clear polyurethane sealant to the playing surface to protect the paint and provide a smooth, durable surface for gameplay. Apply the sealant evenly using a paintbrush or paint sprayer, following the manufacturer’s instructions for drying and curing times.
By meticulously sanding and finishing the cornhole board, you’ll create a professional-looking playing surface that’s both visually appealing and durable. With the wood prepared and finished to perfection, the next step is to add the legs to the board, allowing for easy setup and gameplay. Let’s move on to the process of adding the cornhole board legs.
Read more: Why Are Cornhole Boards So Expensive?
Adding the Cornhole Board Legs
Adding legs to the cornhole board is essential for creating a stable and elevated playing surface, allowing for an optimal gameplay experience. Follow these steps to securely attach the legs:
Step 1: Positioning the Board
Begin by flipping the assembled cornhole board over so that the playing surface is facing downward. Place the board on a flat surface, ensuring it is stable and secure for the leg attachment process.
Step 2: Measuring and Marking
Measure and mark the placement of the legs on the underside of the board. The legs should be positioned near the ends of the board to provide stability and balance during gameplay. Ensure the legs are evenly spaced and aligned for a uniform appearance.
Step 3: Attaching the Legs
Using wood screws, attach the legs to the underside of the board at the marked positions. For added stability, consider using corner braces or metal brackets to reinforce the connection between the legs and the board. Ensure the legs are securely attached and that the board rests evenly on all four legs when flipped upright.
Read more: How To Make Cornhole Bags
Step 4: Testing Stability
Once the legs are attached, carefully flip the board upright and test its stability on a flat surface. Ensure that the board sits level and that all four legs make solid contact with the ground, providing a sturdy and balanced playing surface.
By following these steps, you’ll successfully add legs to the cornhole board, creating a functional and portable gaming setup. With the legs securely attached, the next step is to personalize the cornhole board by adding custom designs, paint, or decals. Let’s explore the exciting process of painting or customizing the cornhole board to make it uniquely yours.
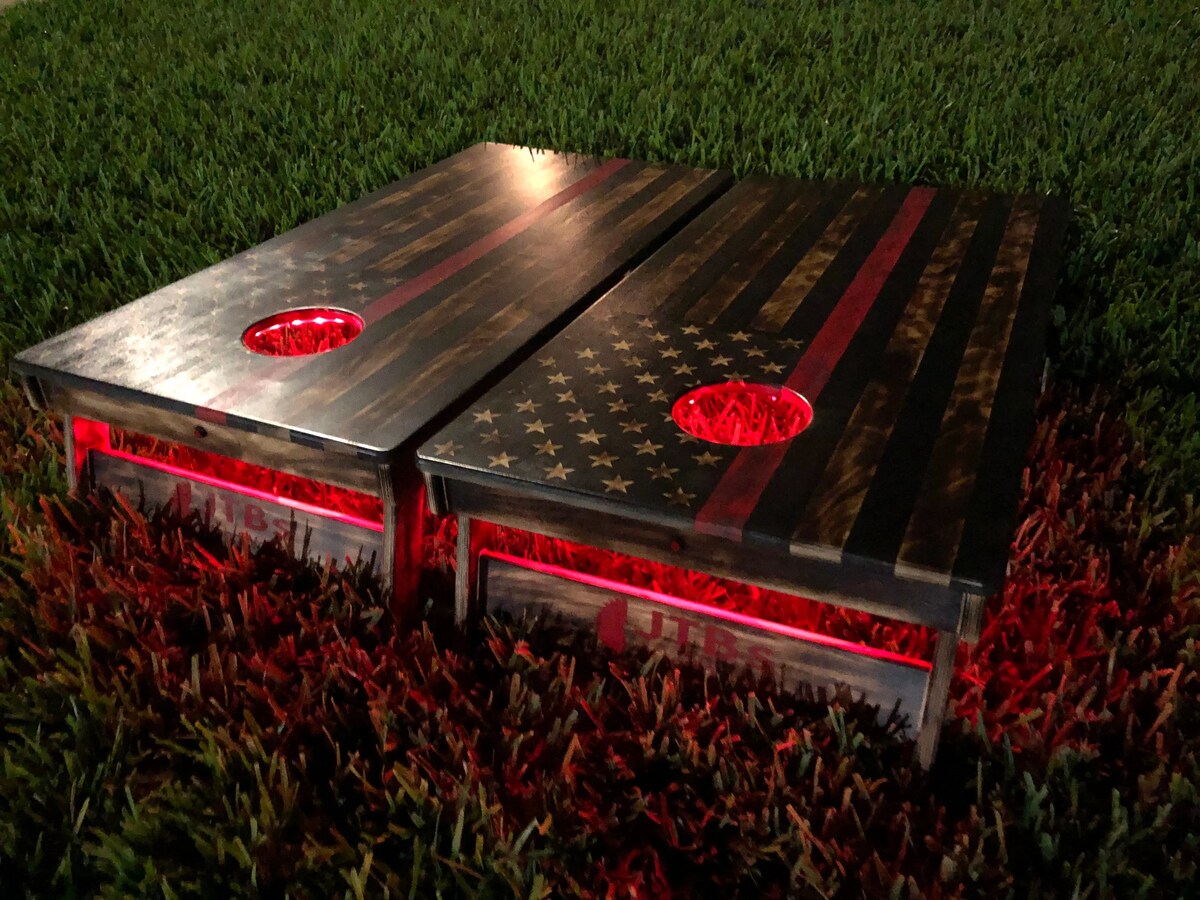
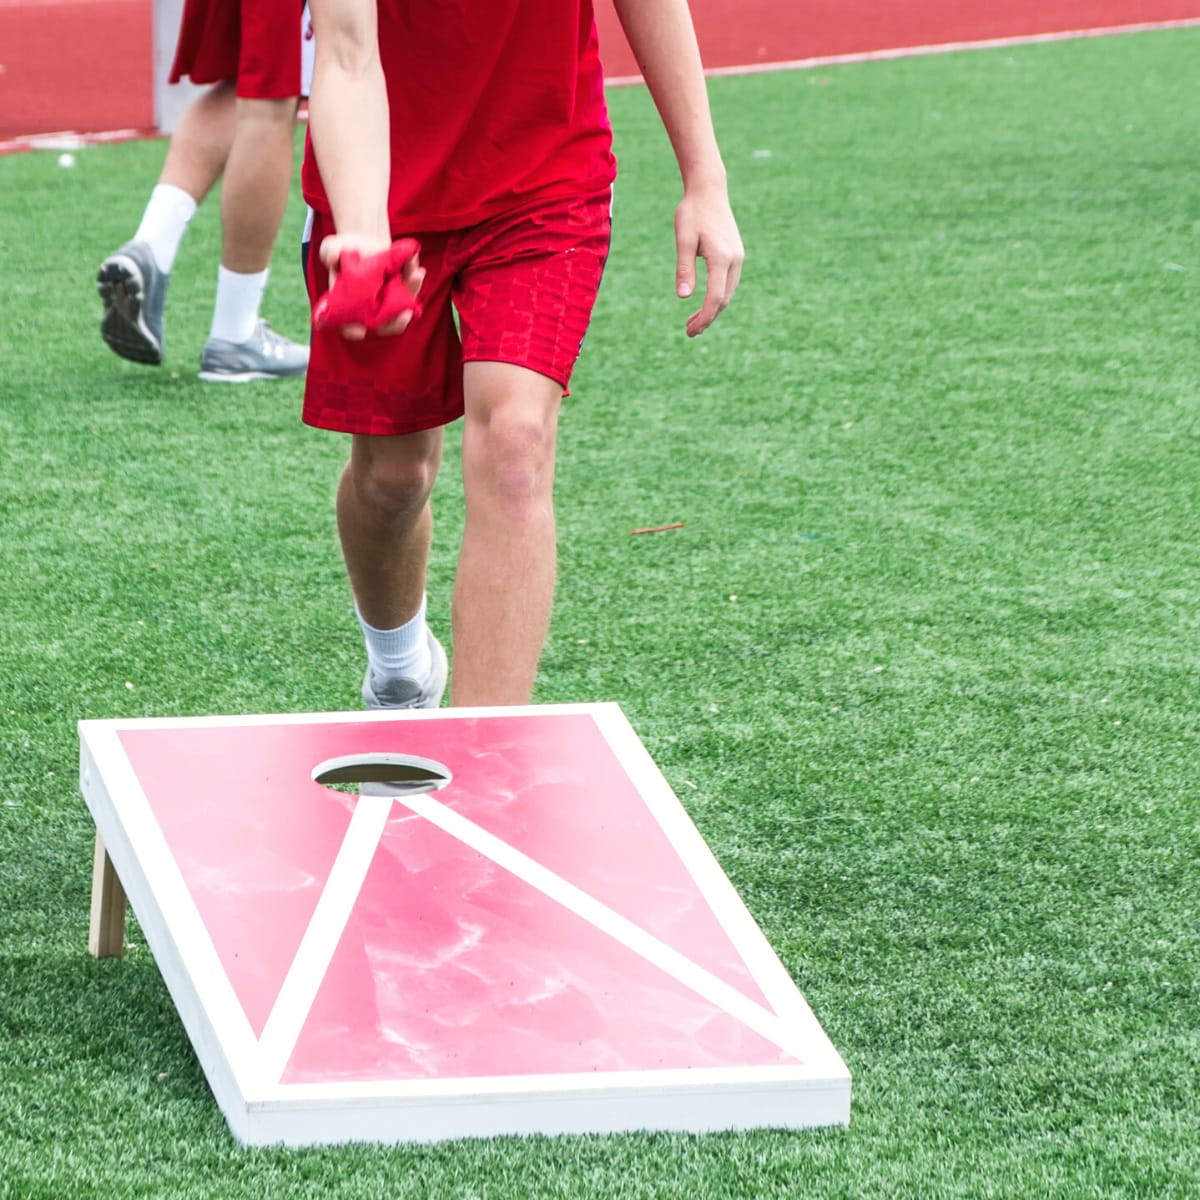
Painting or Customizing the Cornhole Board
Personalizing your cornhole board with custom designs, vibrant colors, or team logos can add a touch of individuality and creativity to your gaming setup. Follow these steps to paint or customize the cornhole board to reflect your unique style:
Step 1: Preparing the Surface
If you’re painting the board, ensure the surface is clean and free of any dust or debris. If desired, apply a coat of primer to create a smooth base for the paint and allow it to dry according to the manufacturer’s instructions.
Step 2: Applying the Paint
Use outdoor paint in your chosen colors to create the base coat on the playing surface and frame of the cornhole board. Apply the paint evenly using a paintbrush or paint sprayer, allowing each coat to dry completely before applying additional layers for a smooth and vibrant finish.
Read more: What Kind Of Paint To Use On Cornhole Boards
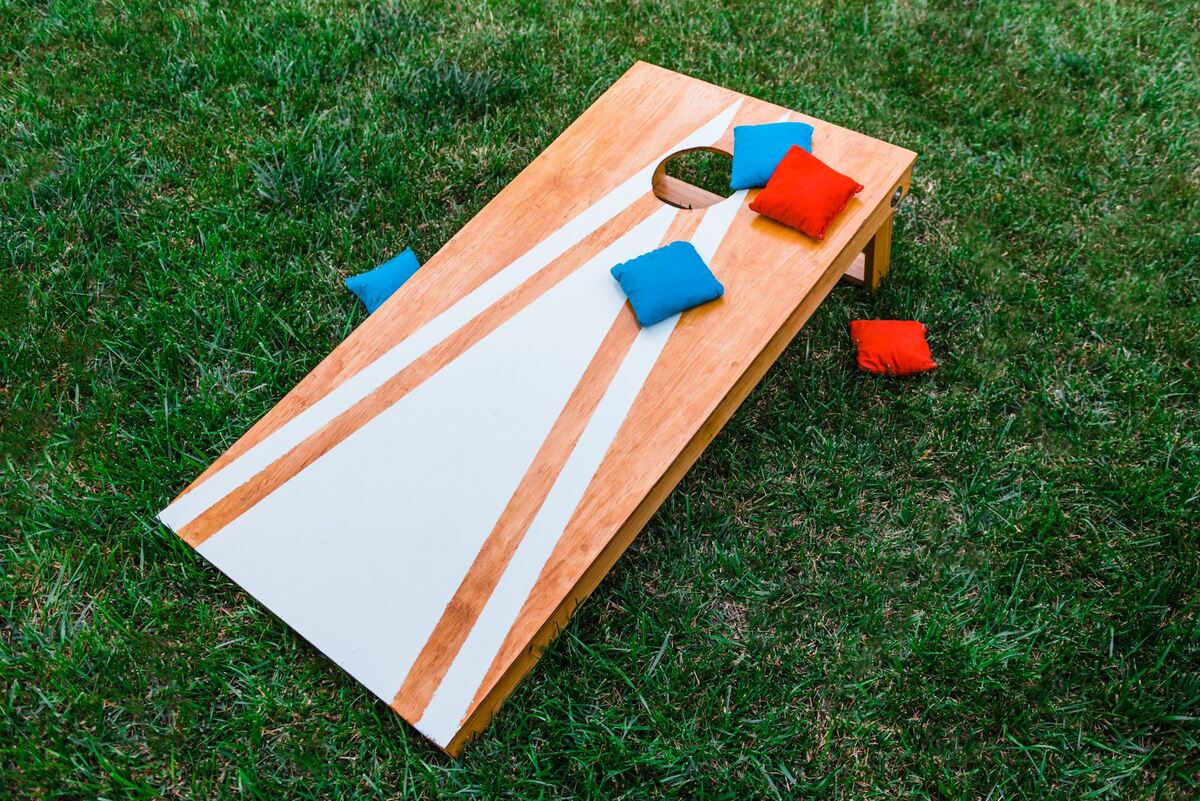
Step 3: Adding Custom Designs
For a personalized touch, consider adding custom designs, decals, or team logos to the playing surface. Utilize stencils, vinyl decals, or freehand painting to create unique and eye-catching designs that reflect your personal style or favorite sports teams.
Step 4: Applying a Clear Coat (Optional)
To protect the painted or customized surface, consider applying a clear polyurethane sealant as a final coat. The sealant will provide added durability and weather resistance, ensuring that your custom designs remain vibrant and protected during gameplay and outdoor use.
Step 5: Adding Scoreboards or Personal Touches
If desired, consider adding scoreboards or personal touches to the sides of the cornhole board. This can include scorekeeping mechanisms, built-in beverage holders, or additional custom artwork to enhance the functionality and visual appeal of the board.
By following these steps, you’ll transform your cornhole board into a personalized and visually striking gaming accessory that reflects your unique tastes and interests. With the painting and customizing process complete, your cornhole board is now ready to take center stage at outdoor gatherings, tailgating events, and friendly competitions. In the next section, we’ll conclude this guide with a summary of the key steps and the excitement of enjoying your newly crafted cornhole board.
Conclusion
Congratulations on successfully crafting your very own cornhole board! Through this guide, you’ve learned the step-by-step process of creating a durable, professional-quality board that’s ready for countless hours of outdoor fun. From gathering the materials and tools to customizing the design, your cornhole board is a testament to your creativity and craftsmanship.
As you prepare to showcase your cornhole board at gatherings and events, remember the sense of pride and accomplishment that comes with building something with your own hands. Whether it’s the vibrant colors of your custom paint job, the precision of the woodworking, or the joy of playing on a board you crafted yourself, your cornhole board is a reflection of your passion for outdoor recreation and DIY projects.
As you introduce friends and family to the game of cornhole on your expertly crafted board, you’ll create lasting memories and moments of friendly competition. The joy of seeing your loved ones enjoy the board you created is a reward in itself, and the board itself will become a cherished centerpiece of outdoor gatherings for years to come.
So, as you bask in the satisfaction of completing this engaging project, take a moment to appreciate the craftsmanship and dedication that went into every detail of your cornhole board. Whether it’s the smooth playing surface, the sturdy frame, or the personalized designs, your board is a testament to your creativity and skill.
Now, as you embark on a new chapter of outdoor fun with your custom cornhole board in tow, remember the journey you’ve taken to bring this project to life. Cherish the memories you’ll create and the laughter that will echo around the board, knowing that it all began with your passion for DIY craftsmanship and outdoor recreation.
So, gather your friends, set up your new cornhole board, and let the games begin. Here’s to many hours of outdoor enjoyment, friendly competition, and the pride of crafting something truly special. Cheers to your new cornhole board and the countless memories it will help create!
Frequently Asked Questions about How To Make A Cornhole Board
Was this page helpful?
At Storables.com, we guarantee accurate and reliable information. Our content, validated by Expert Board Contributors, is crafted following stringent Editorial Policies. We're committed to providing you with well-researched, expert-backed insights for all your informational needs.
0 thoughts on “How To Make A Cornhole Board”