Home>Gardening & Outdoor>Outdoor Recreation & Activities>How To Make Cornhole Board Legs
Outdoor Recreation & Activities
How To Make Cornhole Board Legs
Modified: March 2, 2024
Learn how to make sturdy and durable cornhole board legs for your outdoor recreation and activities. Step-by-step guide for building the perfect DIY cornhole set.
(Many of the links in this article redirect to a specific reviewed product. Your purchase of these products through affiliate links helps to generate commission for Storables.com, at no extra cost. Learn more)
Introduction
Welcome to the world of cornhole, where fun and skill collide in a game that has become a staple of outdoor gatherings and backyard entertainment. One of the essential components of a cornhole set is the board, and crafting the perfect set of legs for your cornhole board is a crucial step in ensuring a stable and enjoyable playing experience. In this guide, we will walk you through the process of creating sturdy and reliable legs for your cornhole board, allowing you to elevate your game to the next level.
Whether you are a seasoned woodworking enthusiast or a novice DIY-er, this project provides an excellent opportunity to hone your skills and add a personal touch to your cornhole set. By following these step-by-step instructions and utilizing basic materials and tools, you can construct durable and professional-looking legs that will enhance the functionality and aesthetics of your cornhole board.
So, gather your materials, roll up your sleeves, and get ready to embark on a woodworking adventure that will culminate in a set of custom-built cornhole board legs. Let's dive into the process and transform ordinary boards into a platform for endless hours of outdoor enjoyment.
Key Takeaways:
- Elevate your cornhole game by crafting sturdy, custom legs using basic materials and tools. Enjoy endless outdoor fun with a personalized touch and stable playing experience.
- Transform lumber into robust legs, seamlessly attach them to your cornhole board, and add finishing touches for a durable and visually appealing gaming platform. Craftsmanship meets outdoor enjoyment!
Read more: How To Make A Cornhole Board
Materials Needed
Before diving into the construction of cornhole board legs, it’s essential to gather all the necessary materials and tools. Here’s a comprehensive list of what you’ll need to complete this project:
- 2×4 lumber: This will serve as the primary material for constructing the legs. Ensure that the lumber is of good quality and free from defects.
- Measuring tape: Accurate measurements are crucial for achieving consistent and symmetrical leg dimensions.
- Saw: A miter saw or a circular saw will be indispensable for cutting the lumber to the required lengths.
- Sandpaper: Smooth out any rough edges and surfaces for a professional finish.
- Wood screws: Select screws of appropriate length to securely attach the legs to the cornhole board.
- Drill: A power drill will be used to create pilot holes and drive the screws into the lumber.
- Square: This tool will aid in ensuring that the legs are assembled at perfect right angles, promoting stability.
- Protective gear: Safety goggles and work gloves are essential for safeguarding yourself during the woodworking process.
- Paint or wood stain (optional): If you desire a personalized touch, you can choose to paint or stain the legs to complement your cornhole board’s design.
By acquiring these materials and tools, you’ll be well-equipped to proceed with crafting your own cornhole board legs. With everything in place, it’s time to roll up your sleeves and bring your vision to life.
Cutting the Wood
Once you have gathered the necessary materials and tools, the next step in creating your cornhole board legs is to cut the 2×4 lumber to the appropriate lengths. Precision is key in this phase, as accurately sized pieces will ensure the stability and uniformity of the legs.
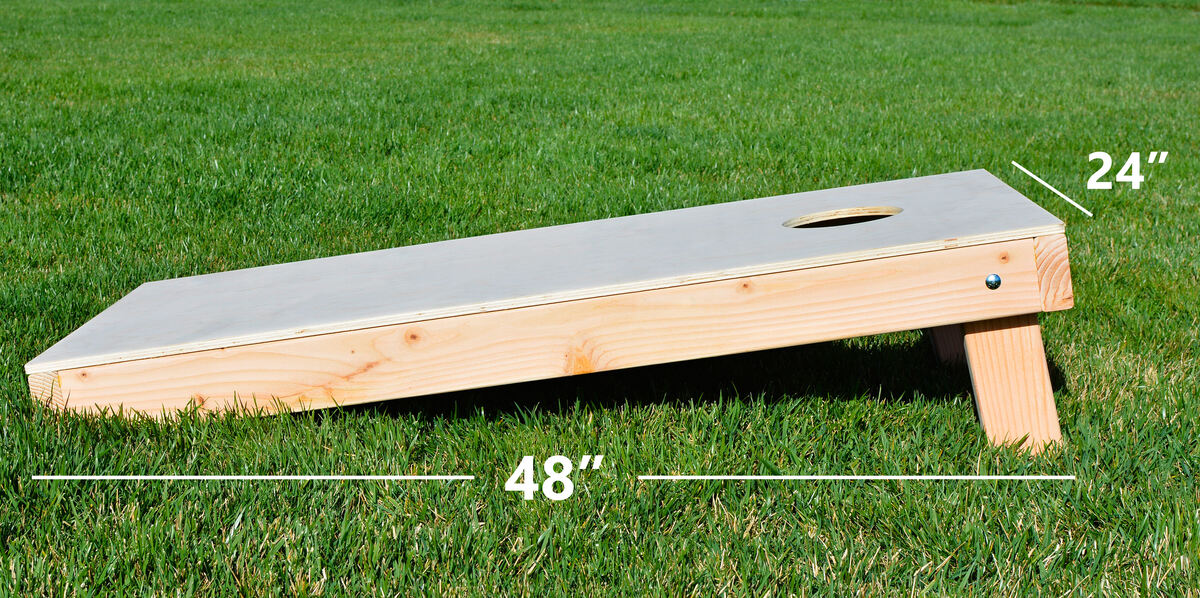
Begin by measuring and marking the lumber according to the desired dimensions for the legs. A typical length for cornhole board legs is around 12 inches, but you can adjust this based on your preference and playing environment. Use a measuring tape to mark the lumber, and make sure to double-check your measurements to avoid errors.
With the lumber marked, it’s time to employ a saw to make the cuts. A miter saw or a circular saw is ideal for this task, as they provide clean and precise cuts. Exercise caution and steady control while cutting the lumber to ensure straight and uniform pieces.
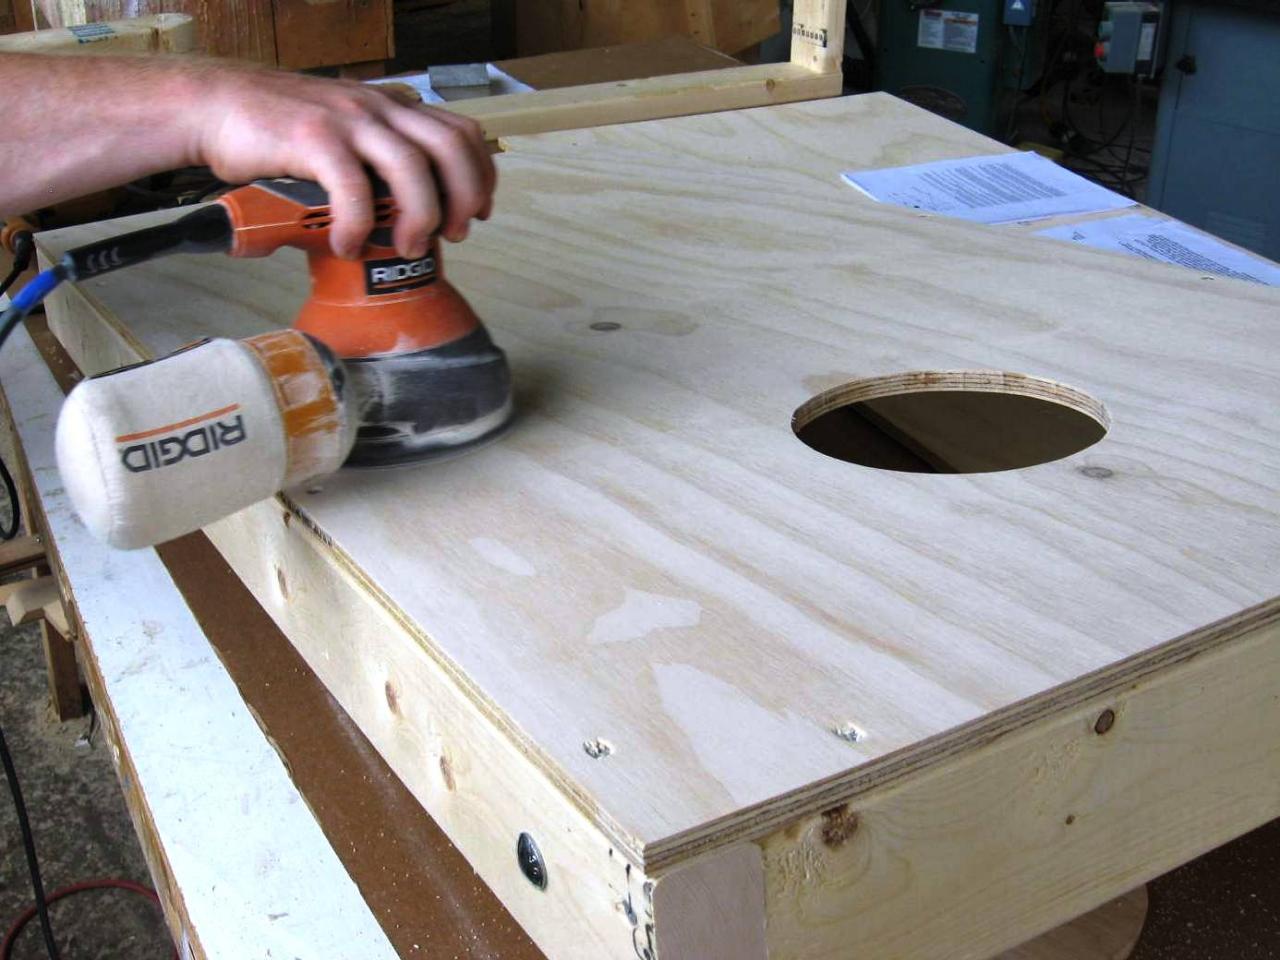
After cutting the lumber into individual pieces for the legs, use sandpaper to smooth out any rough edges and surfaces. This step not only enhances the appearance of the legs but also reduces the risk of splinters and ensures a professional finish.
By meticulously cutting and refining the 2×4 lumber, you’ll produce the foundational components for your cornhole board legs. With this phase completed, you’re ready to move on to the assembly of the legs, bringing you one step closer to a fully functional and customized cornhole set.
Assembling the Legs
With the lumber cut to the appropriate lengths and prepared for assembly, the next phase of creating your cornhole board legs involves putting the pieces together to form sturdy and reliable supports for the board. Follow these step-by-step instructions to seamlessly assemble the legs:
- Arrange the Pieces: Lay out the cut lumber on a flat and spacious work surface, ensuring that the pieces are organized and easily accessible.
- Create Pilot Holes: Use a drill to create pilot holes in the lumber. This pre-drilling step will prevent the wood from splitting when you drive in the screws during assembly.
- Position the Pieces: Place the pieces of lumber in the configuration that will form the legs. Typically, this involves arranging two pieces to create an “L” shape, which will serve as the basis for each leg.
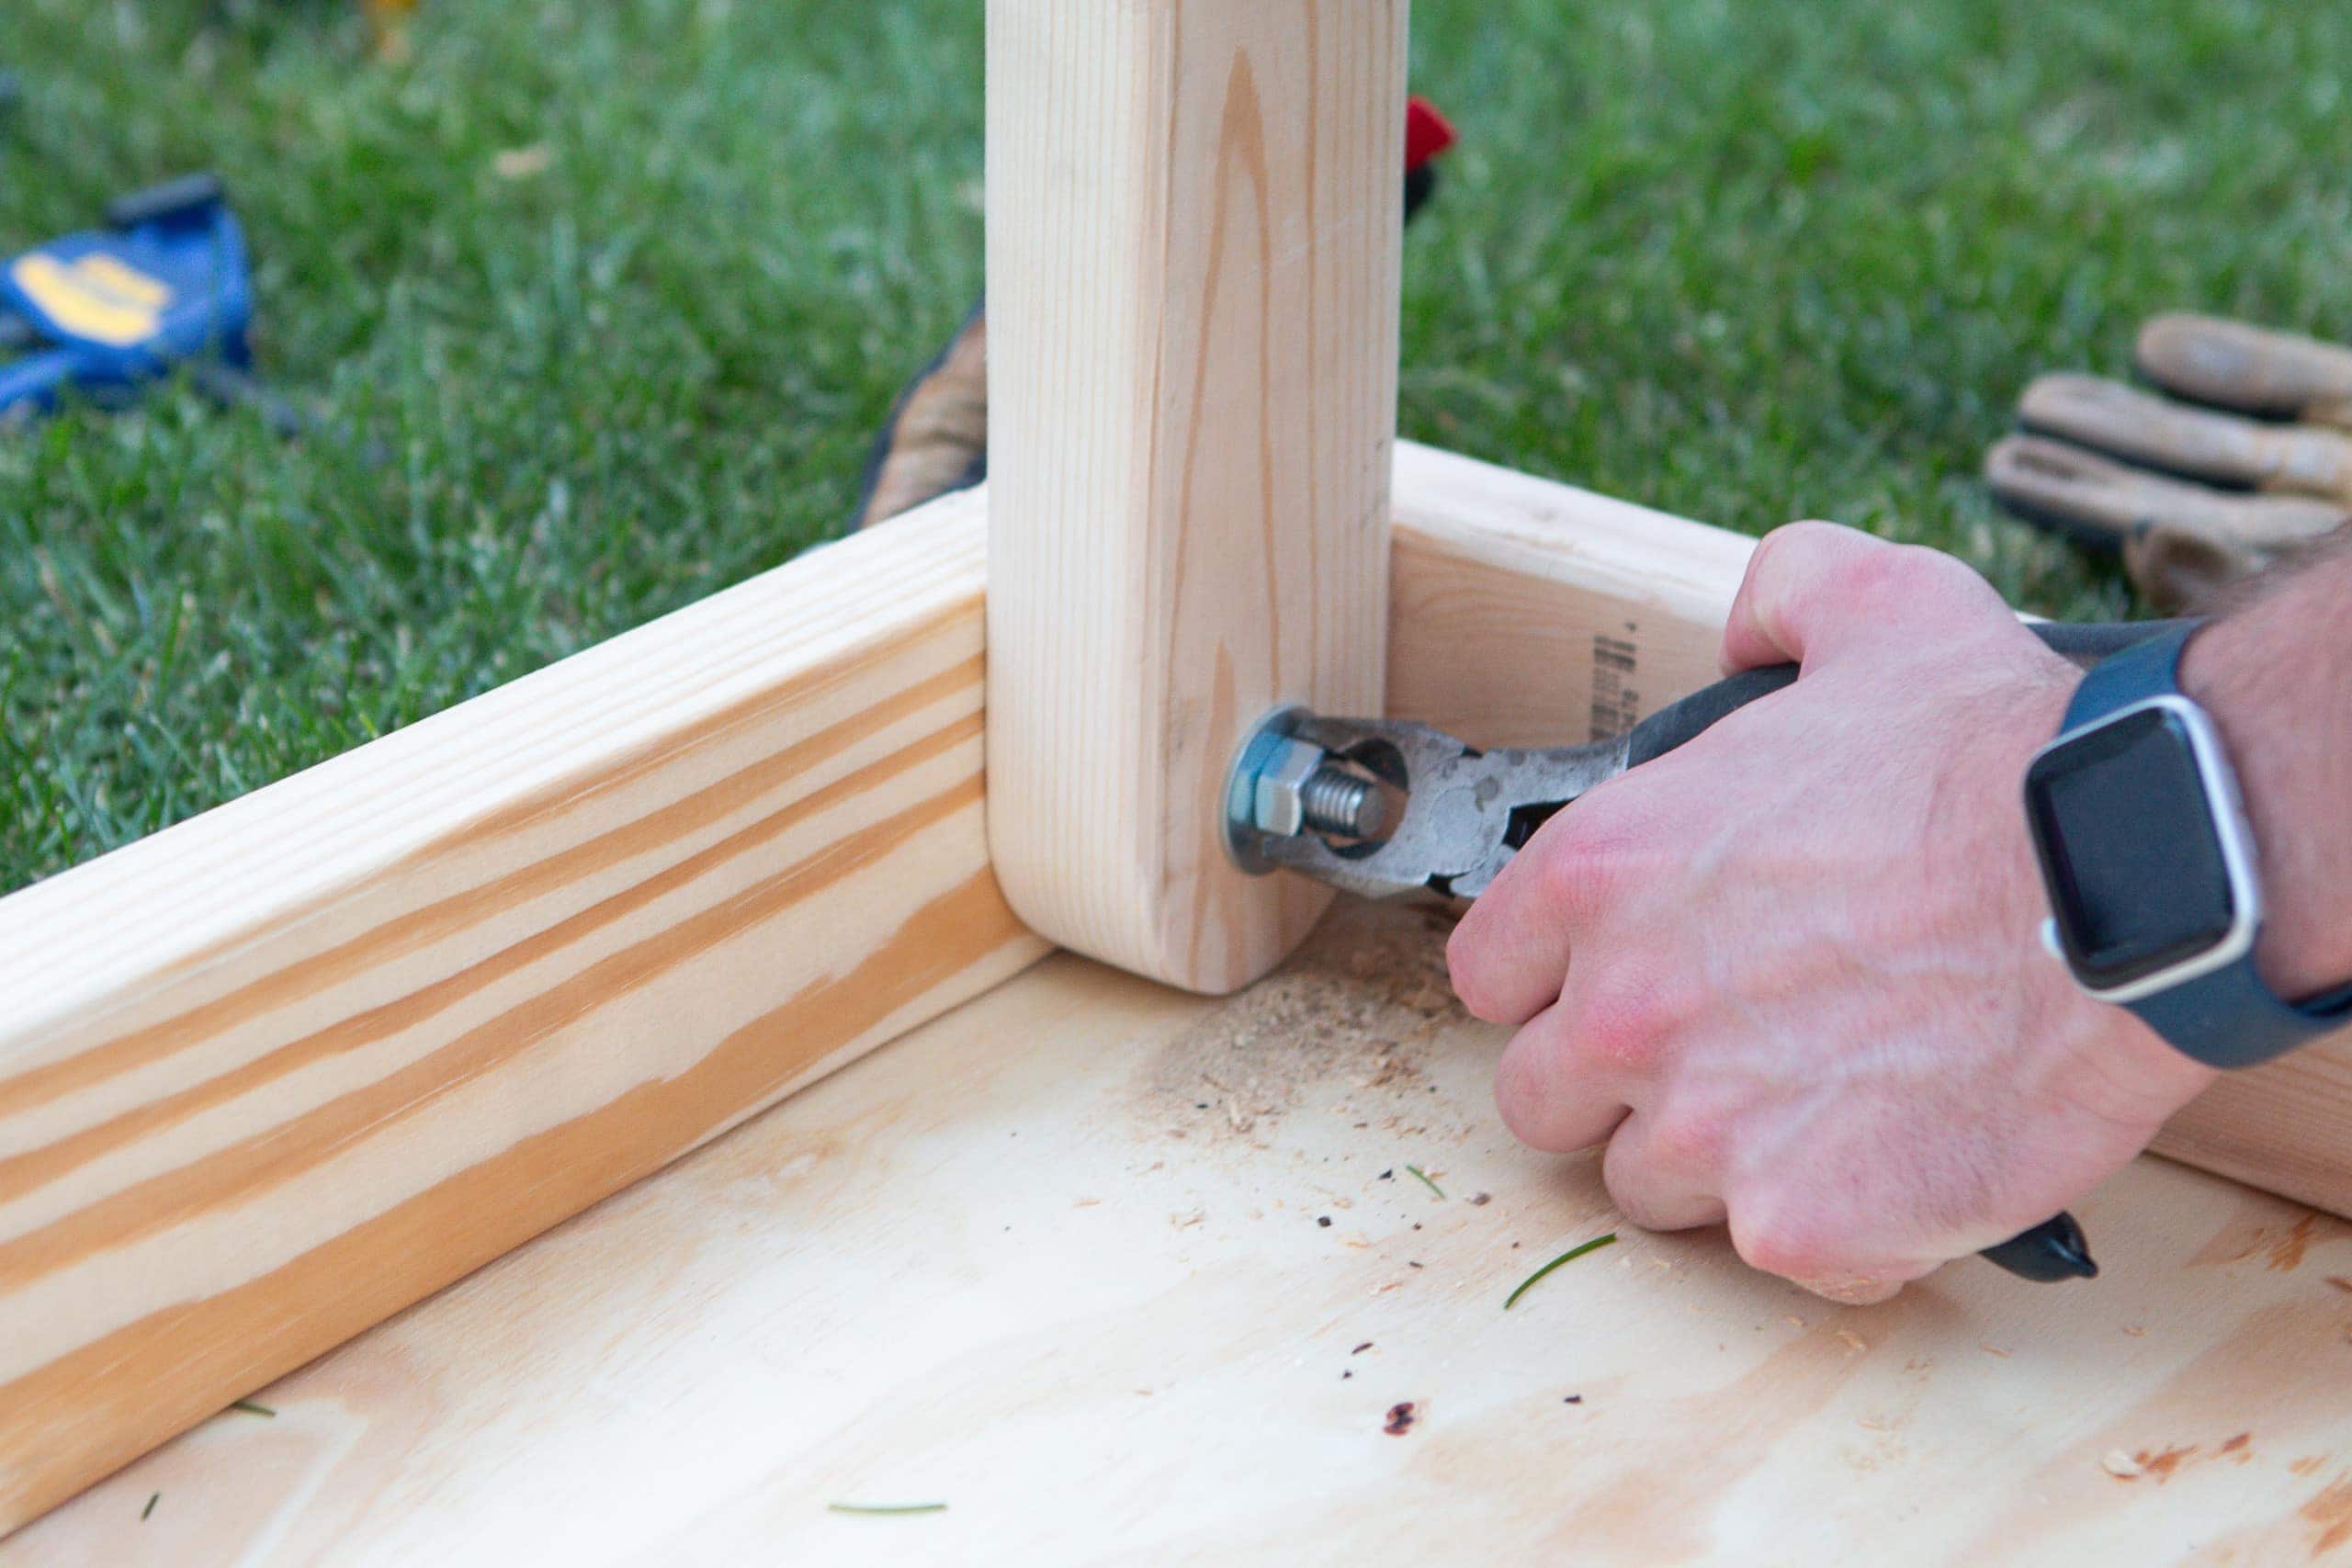
- Secure the Joints: Utilize wood screws to secure the joints of the legs. Ensure that the screws are of appropriate length to effectively fasten the pieces together, providing stability and strength.
- Check for Squareness: Use a square to verify that the legs are assembled at perfect right angles. This step is crucial for ensuring that the legs will provide stable support for the cornhole board.
By meticulously following these assembly steps, you will transform the individual pieces of lumber into well-structured and robust legs for your cornhole board. The careful execution of this phase sets the stage for the final integration of the legs with the board, bringing you closer to completing your custom cornhole set.
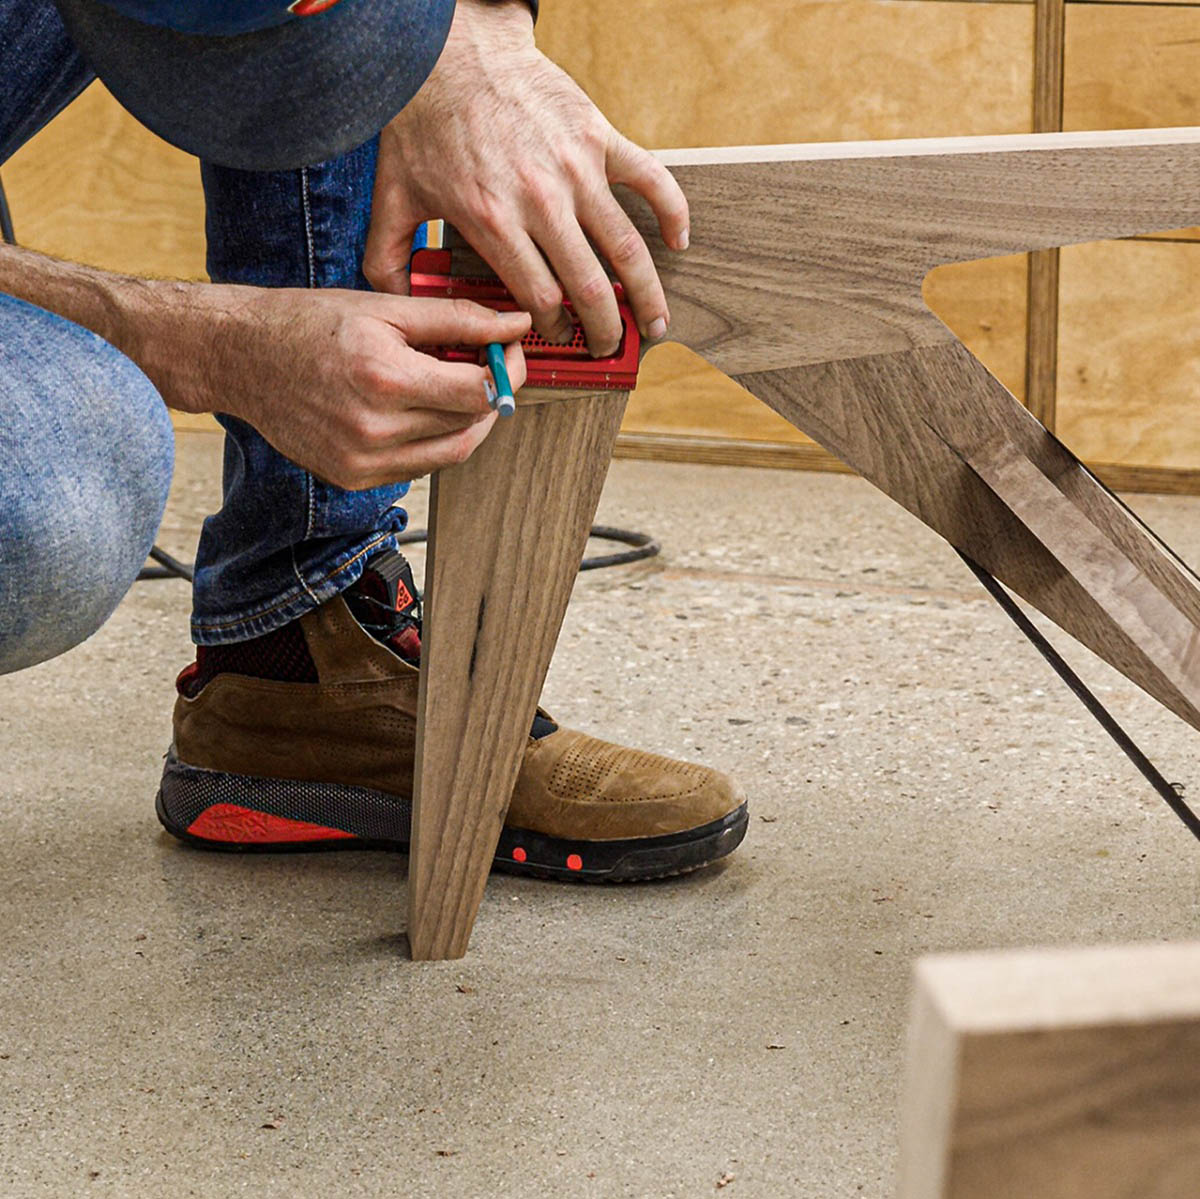
When making cornhole board legs, ensure they are at least 12 inches long for stability. Use a 60-degree angle for the legs to provide the best support. Sand the edges for a smooth finish.
Attaching the Legs to the Cornhole Board
As you near the culmination of your cornhole board leg construction project, the time has come to affix the legs to the board, creating a functional and versatile playing surface. Follow these straightforward steps to seamlessly attach the legs to the cornhole board:
- Position the Board: Place the cornhole board on a stable and level surface, ensuring that it is oriented in the desired playing direction.
- Align the Legs: Position the assembled legs at the appropriate locations on the underside of the board, ensuring that they are evenly spaced and aligned for optimal stability.
- Create Pilot Holes: Use a drill to create pilot holes in the board, corresponding to the locations where the legs will be attached. This preparatory step will facilitate the insertion of screws and minimize the risk of damaging the board.
- Secure the Legs: Utilize wood screws to securely attach the legs to the underside of the cornhole board. Ensure that the screws are of sufficient length to penetrate the board and firmly anchor the legs in place.
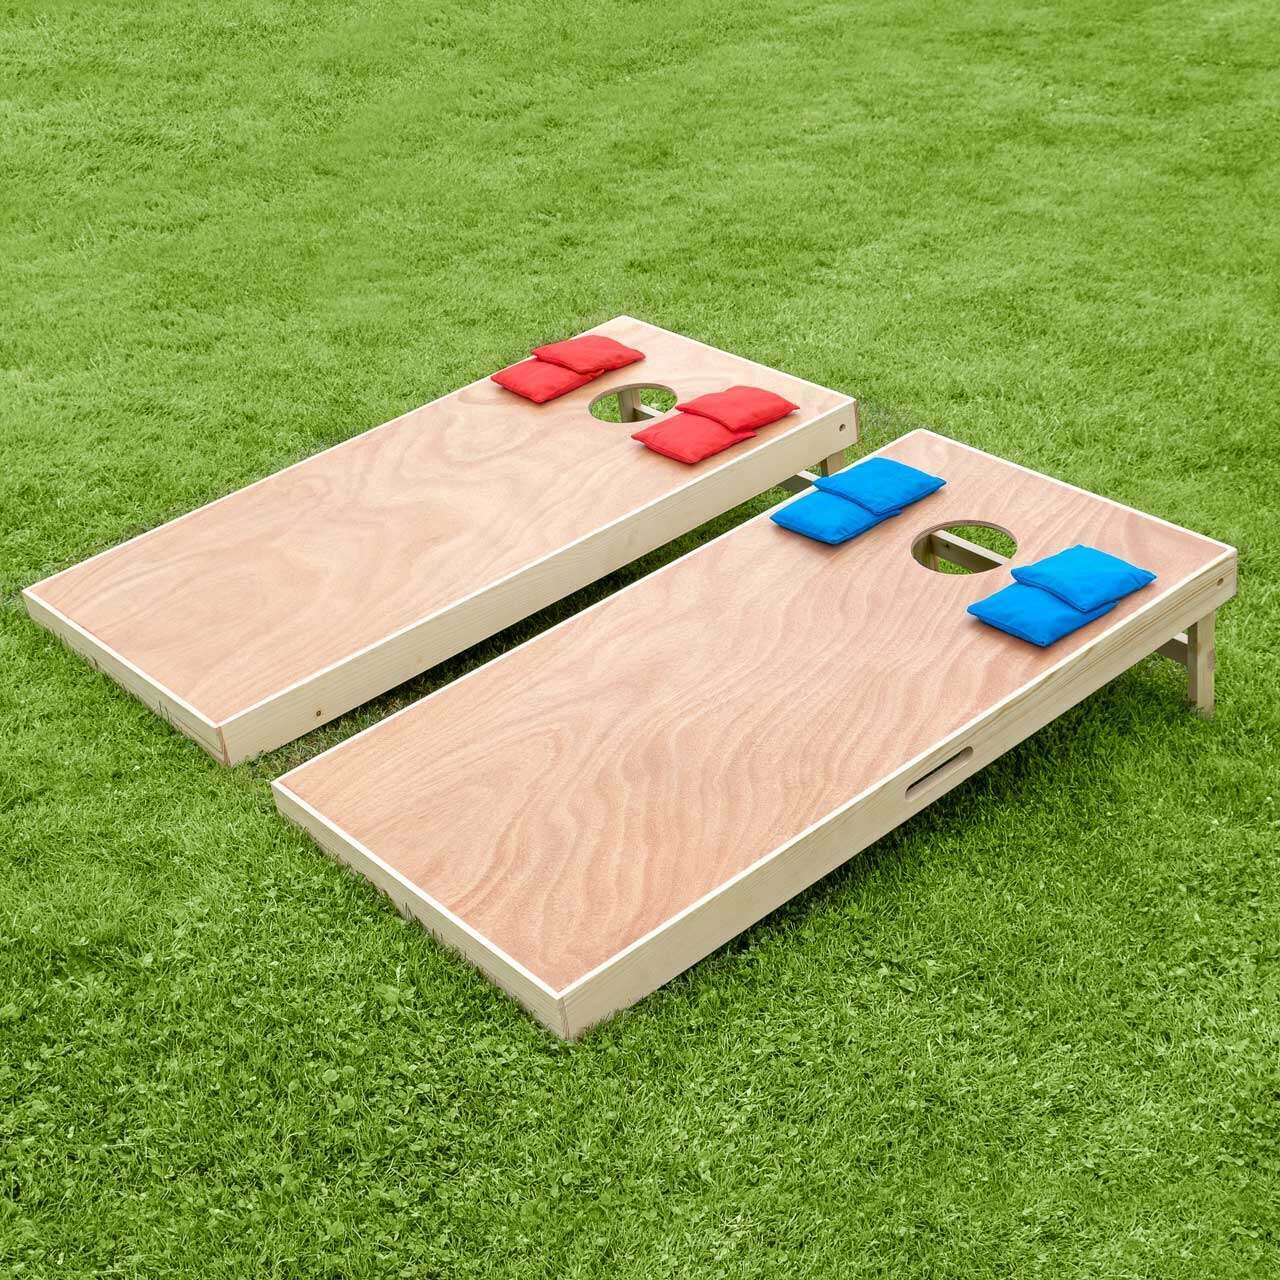
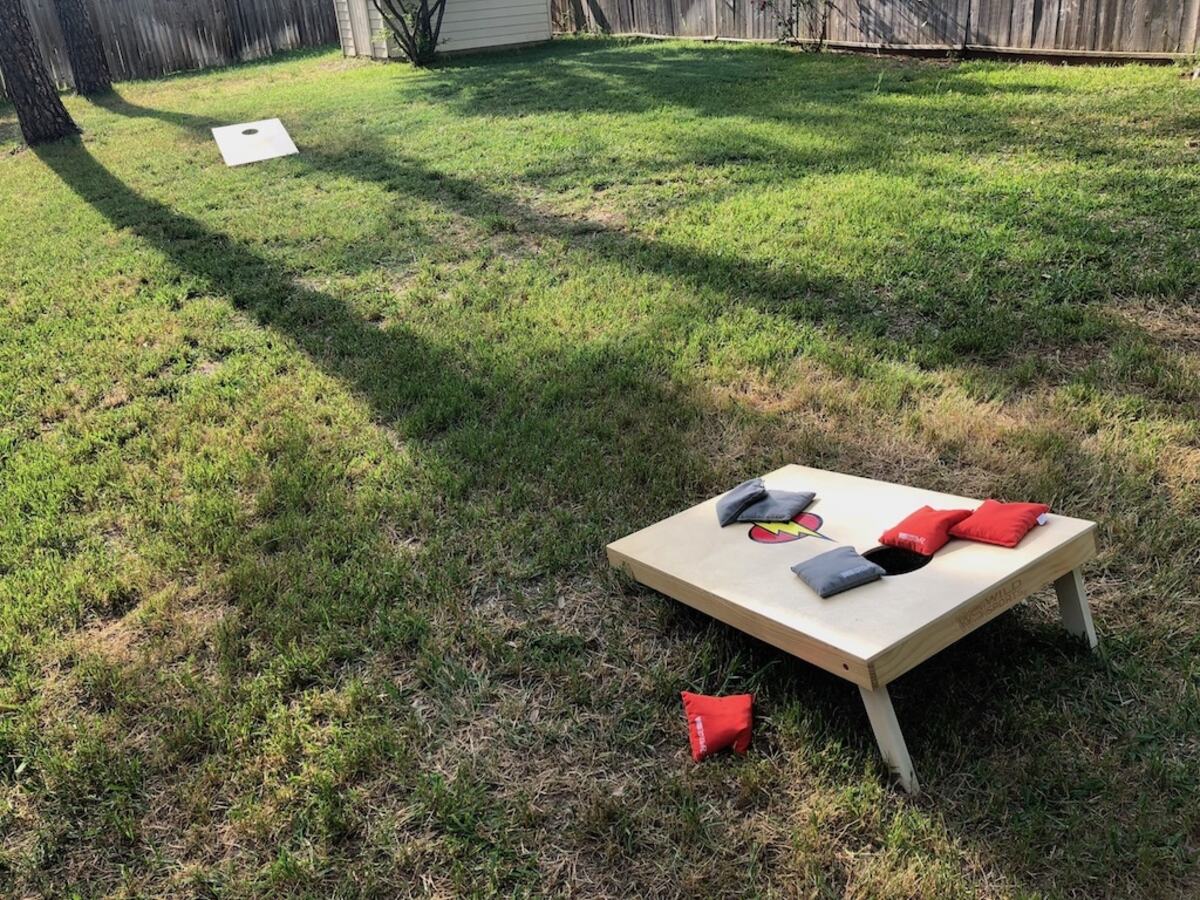
- Test for Stability: Once the legs are attached, carefully flip the board over and test its stability on various surfaces. Confirm that the legs provide steady support and that the board rests evenly without wobbling.
By methodically following these attachment steps, you will seamlessly integrate the legs with the cornhole board, transforming it into a versatile and portable gaming platform. With the legs firmly in place, your custom cornhole set is poised to deliver countless hours of outdoor entertainment and friendly competition.
Read more: How To Make Cornhole Boards Slick
Finishing Touches
As you near the completion of your custom cornhole board leg construction, consider adding finishing touches to enhance the appearance and functionality of your creation. These optional steps allow you to personalize your cornhole set and ensure its durability and visual appeal:
- Sand and Smooth: Use sandpaper to meticulously smooth out any rough edges and surfaces on the legs and the board. This step not only enhances the tactile experience but also contributes to a professional and polished look.
- Apply Protective Finish: Consider applying a protective finish, such as a clear sealant or wood varnish, to the legs and the board. This will safeguard the wood from outdoor elements and prolong the lifespan of your cornhole set.
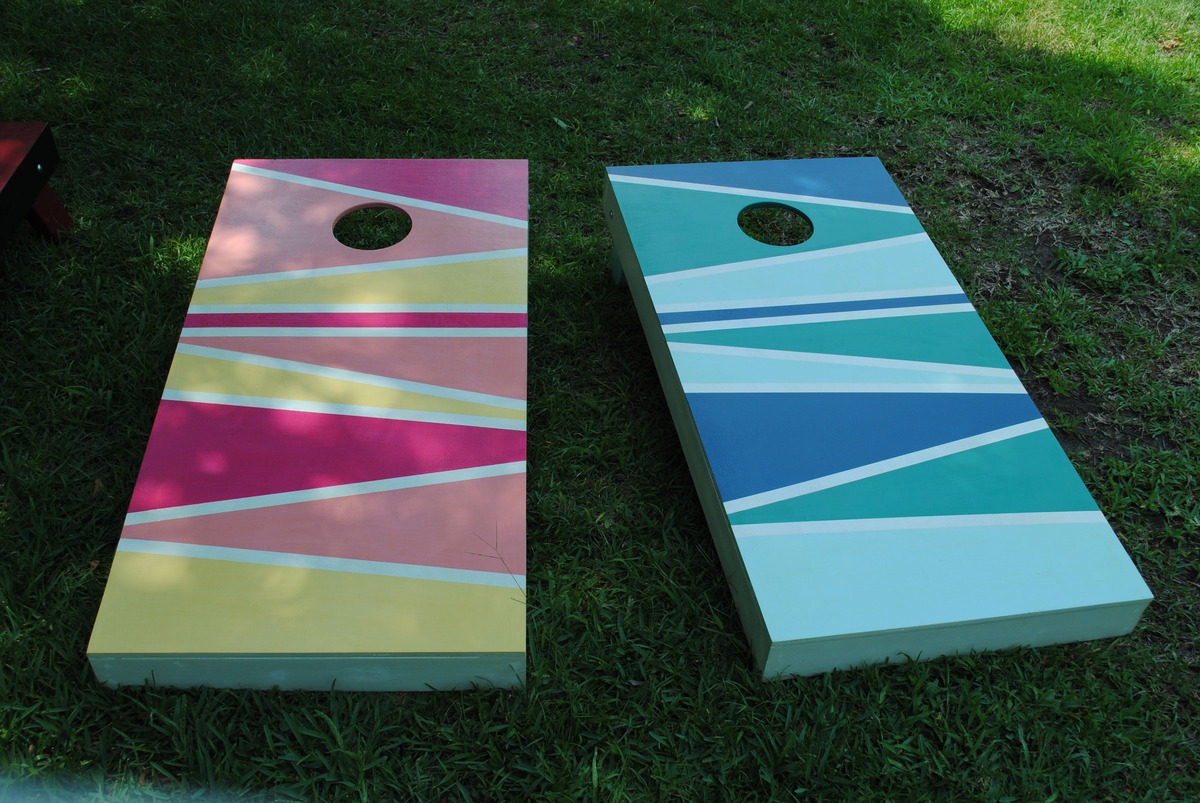
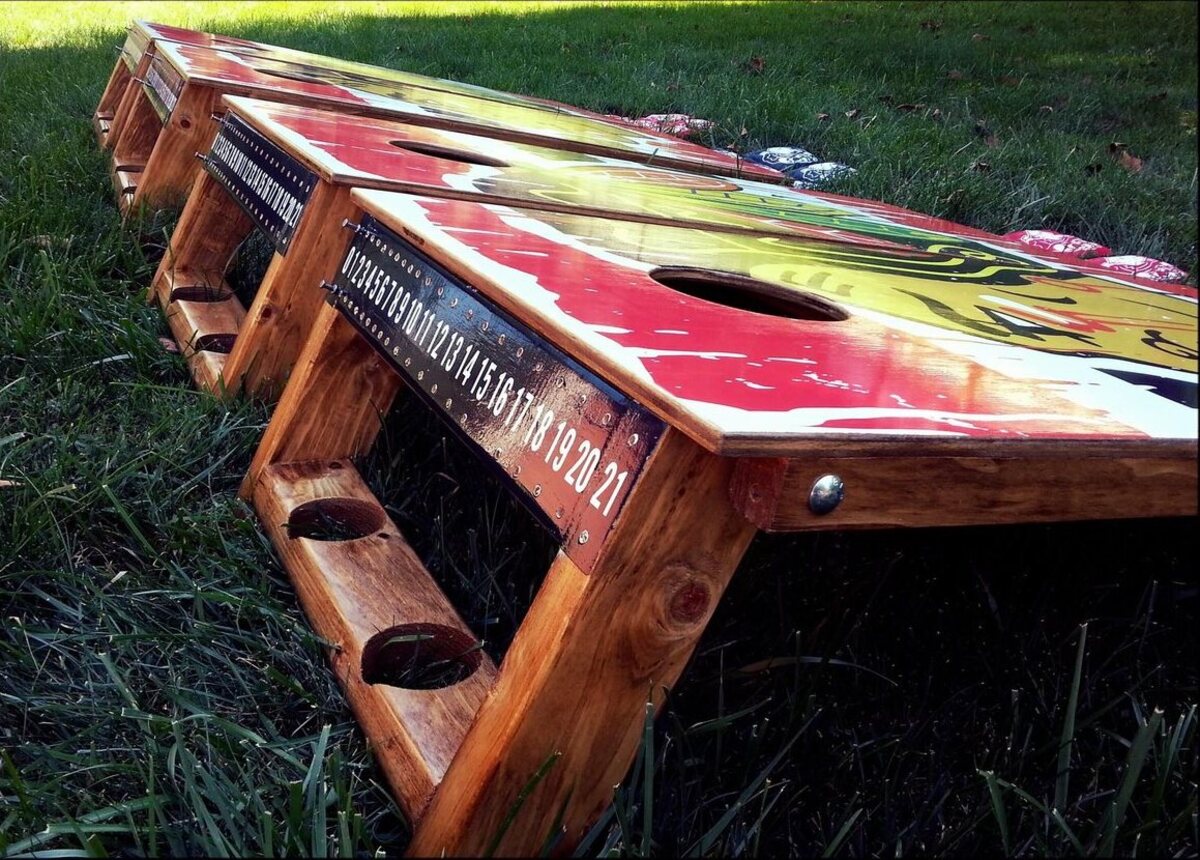
- Personalize with Paint or Stain: If desired, unleash your creativity by painting or staining the legs and the board in colors or designs that reflect your personality or match your outdoor decor. This customization adds a personal touch to your cornhole set.
- Add Non-Slip Pads: To enhance stability and prevent slippage during gameplay, affix non-slip pads to the bottom of the legs. This simple addition can make a significant difference in the performance of your cornhole board.
- Inspect and Adjust: Thoroughly inspect the assembled cornhole board and legs, ensuring that all components are securely fastened and that the board rests evenly on various surfaces. Make any necessary adjustments to guarantee optimal stability and performance.
By incorporating these finishing touches, you will elevate the functionality and aesthetics of your cornhole board legs, creating a durable and visually appealing gaming platform. With attention to detail and a touch of creativity, your custom cornhole set will stand out as a testament to your craftsmanship and dedication.
Conclusion
Congratulations on successfully crafting your own set of cornhole board legs! Through meticulous measurements, precise cuts, and thoughtful assembly, you have transformed basic materials into essential components of a beloved outdoor game. As you prepare to showcase your craftsmanship in friendly competitions and outdoor gatherings, take a moment to appreciate the journey and the skills you’ve honed along the way.
By constructing your own cornhole board legs, you’ve not only personalized your gaming equipment but also gained valuable experience in woodworking and DIY projects. The attention to detail and the care invested in this endeavor have resulted in a set of legs that will provide stable support and contribute to countless hours of outdoor enjoyment.
As you integrate the legs with your cornhole board and prepare for spirited games with family and friends, remember the satisfaction of creating something functional and enduring with your own hands. Whether you’ve chosen to personalize the set with unique finishes or opted for a classic and natural look, your cornhole board legs are a testament to your creativity and dedication.
As you embark on new projects and continue to explore the world of DIY craftsmanship, carry the lessons learned from this endeavor with you. The skills and techniques acquired in this process will undoubtedly serve you well in future woodworking ventures, allowing you to tackle new challenges with confidence and precision.
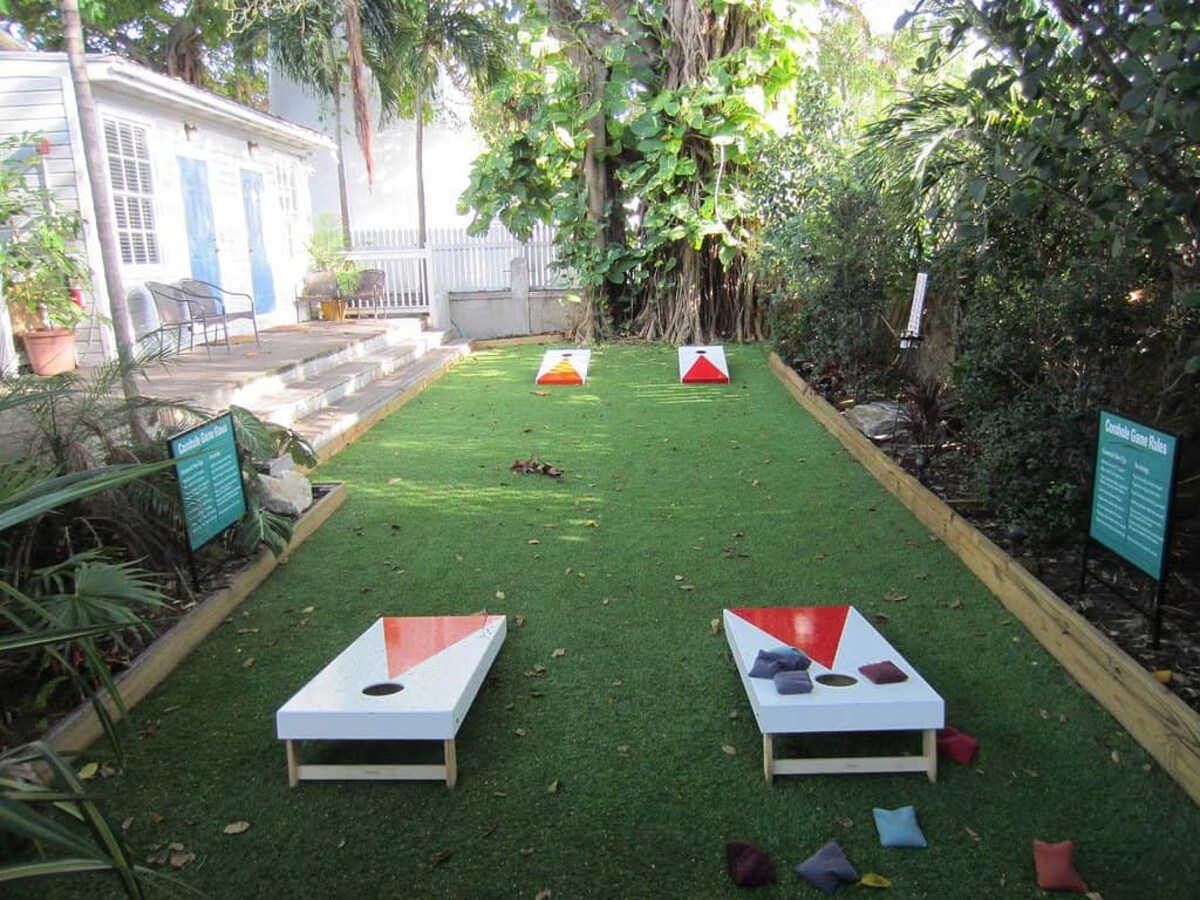
Now, with your custom-built cornhole board legs ready for action, it’s time to gather your fellow enthusiasts, set up your playing area, and let the games begin. May your cornhole set be a centerpiece of joy, camaraderie, and lighthearted competition, bringing smiles and laughter to all who partake in the timeless outdoor pastime.
Enjoy the fruits of your labor, and may your cornhole board legs stand as a testament to your craftsmanship and passion for creating unforgettable moments in the great outdoors.
Frequently Asked Questions about How To Make Cornhole Board Legs
Was this page helpful?
At Storables.com, we guarantee accurate and reliable information. Our content, validated by Expert Board Contributors, is crafted following stringent Editorial Policies. We're committed to providing you with well-researched, expert-backed insights for all your informational needs.

0 thoughts on “How To Make Cornhole Board Legs”