Home>Gardening & Outdoor>Outdoor Recreation & Activities>How To Fix A Leaking Swimming Pool
Outdoor Recreation & Activities
How To Fix A Leaking Swimming Pool
Published: February 17, 2024
Learn how to fix a leaking swimming pool with our expert outdoor recreation and activities guide. Keep your pool in top shape with our easy-to-follow tips.
(Many of the links in this article redirect to a specific reviewed product. Your purchase of these products through affiliate links helps to generate commission for Storables.com, at no extra cost. Learn more)
Introduction
A leaking swimming pool can be a source of frustration for any pool owner. Not only does it lead to water wastage, but it can also result in costly damage to the pool structure and surrounding areas. However, the good news is that many pool leaks can be identified and fixed with the right approach and tools. In this comprehensive guide, we will walk you through the step-by-step process of fixing a leaking swimming pool, enabling you to restore your pool to its pristine condition and enjoy a worry-free swimming experience once again.
A leaking pool can stem from various sources, including damaged plumbing, cracks in the pool shell, or faulty fittings. Identifying the precise source of the leak is crucial to implementing an effective repair strategy. By following the outlined steps and leveraging the right tools and materials, you can address the issue methodically and restore your pool to its optimal state.
Whether you are a seasoned pool owner or a novice in the realm of pool maintenance, this guide is designed to equip you with the knowledge and confidence to tackle pool leaks head-on. By understanding the underlying causes of leaks and mastering the repair process, you can safeguard your pool investment and ensure that it continues to be a source of enjoyment for years to come.
Now, let's dive into the step-by-step process of fixing a leaking swimming pool, starting with the crucial first step of identifying the source of the leak.
Key Takeaways:
- Don’t let a leaking swimming pool dampen your fun! Follow our step-by-step guide to identify, repair, and test for leaks, ensuring a worry-free and enjoyable pool experience for years to come.
- From identifying the source of the leak to refilling and testing for leaks, our comprehensive guide equips you with the knowledge and tools to fix your leaking swimming pool with confidence and precision.
Read more: How To Find Swimming Pool Leaks
Step 1: Identify the source of the leak
The first and most crucial step in fixing a leaking swimming pool is to accurately identify the source of the leak. Pool leaks can originate from various areas, including the pool shell, plumbing, fittings, or accessories. Identifying the precise location of the leak is essential to implementing an effective repair strategy and preventing further damage to the pool and its surroundings.
One of the initial indicators of a pool leak is a noticeable drop in the water level. If you observe a consistent decrease in the water level despite regular refilling, it is likely that your pool has a leak. However, determining the exact source of the leak requires a systematic approach.
A common method to identify the source of a pool leak is the "bucket test." This involves filling a bucket with pool water and placing it on the pool steps. By marking the water level inside the bucket and on the pool's exterior, you can compare the evaporation rate of the pool water with that of the bucket. If the pool water level drops significantly more than the water level in the bucket over the same period, it indicates a probable leak.
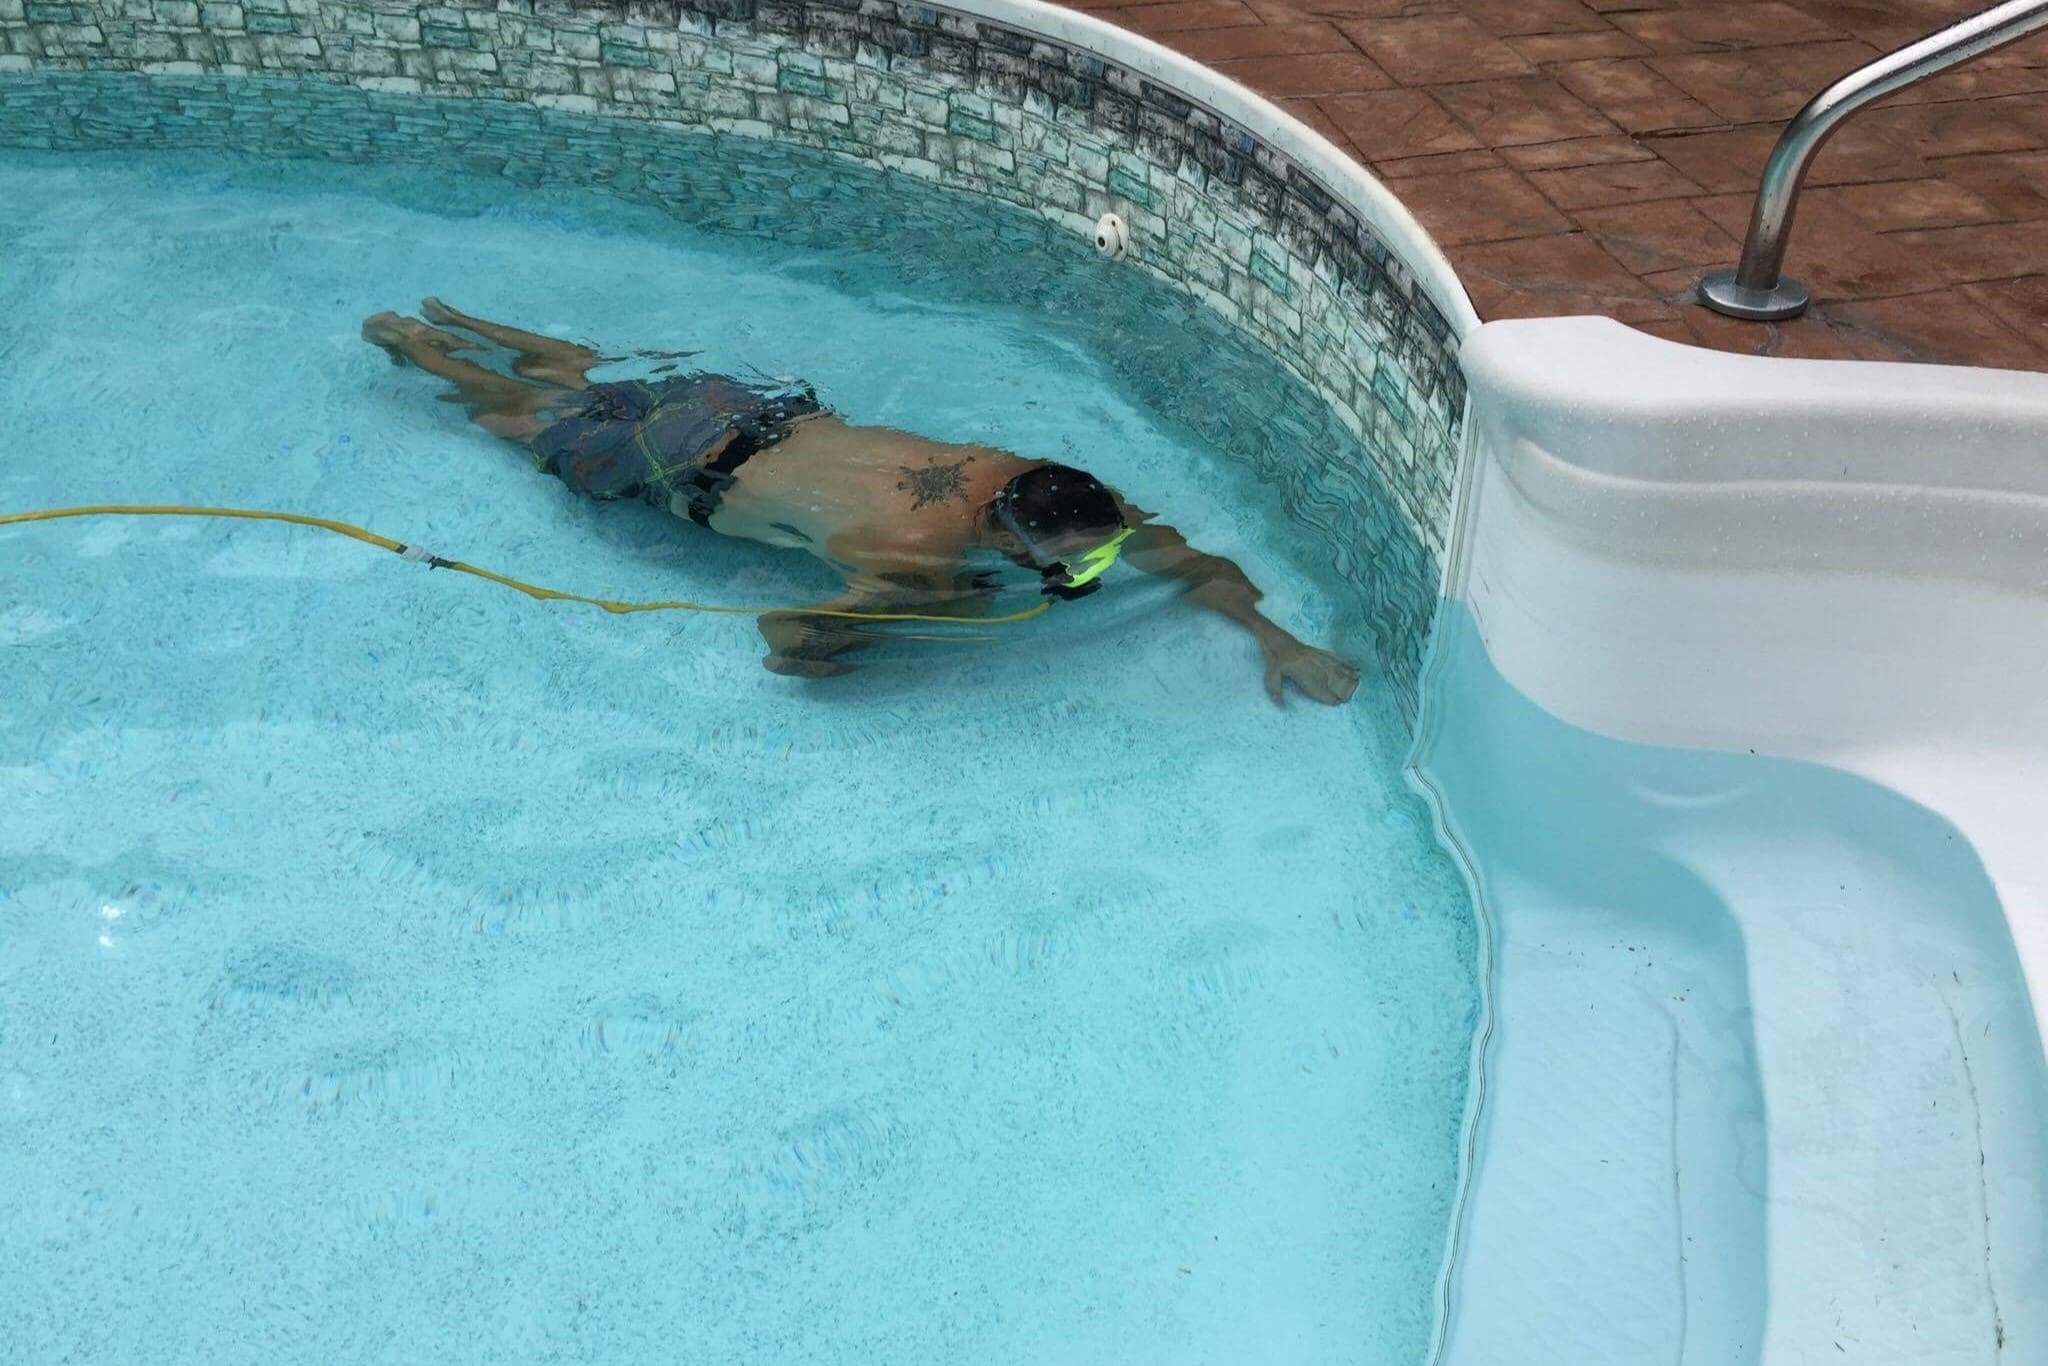
Furthermore, inspecting the pool and its surroundings for visible signs of water leakage is essential. Look for damp areas, particularly around the pool equipment, fittings, and the pool perimeter. Additionally, observing the pool's behavior during filtration and circulation can provide valuable clues about the location of the leak.
Another effective method for pinpointing the source of a pool leak is the dye test. By adding a small amount of food coloring near suspected leak areas and observing the movement of the dye, you can trace the path of the water and identify the precise location of the leak.
In some cases, enlisting the expertise of a professional leak detection service may be necessary, especially for complex or hard-to-detect leaks. These professionals utilize advanced technology, such as electronic listening devices and pressure testing, to accurately pinpoint the source of the leak.
By diligently following these methods and observations, you can successfully identify the source of the leak, laying the groundwork for the subsequent repair steps. Understanding the specific location of the leak is fundamental to executing a targeted and effective repair, ultimately restoring your pool to its optimal condition.
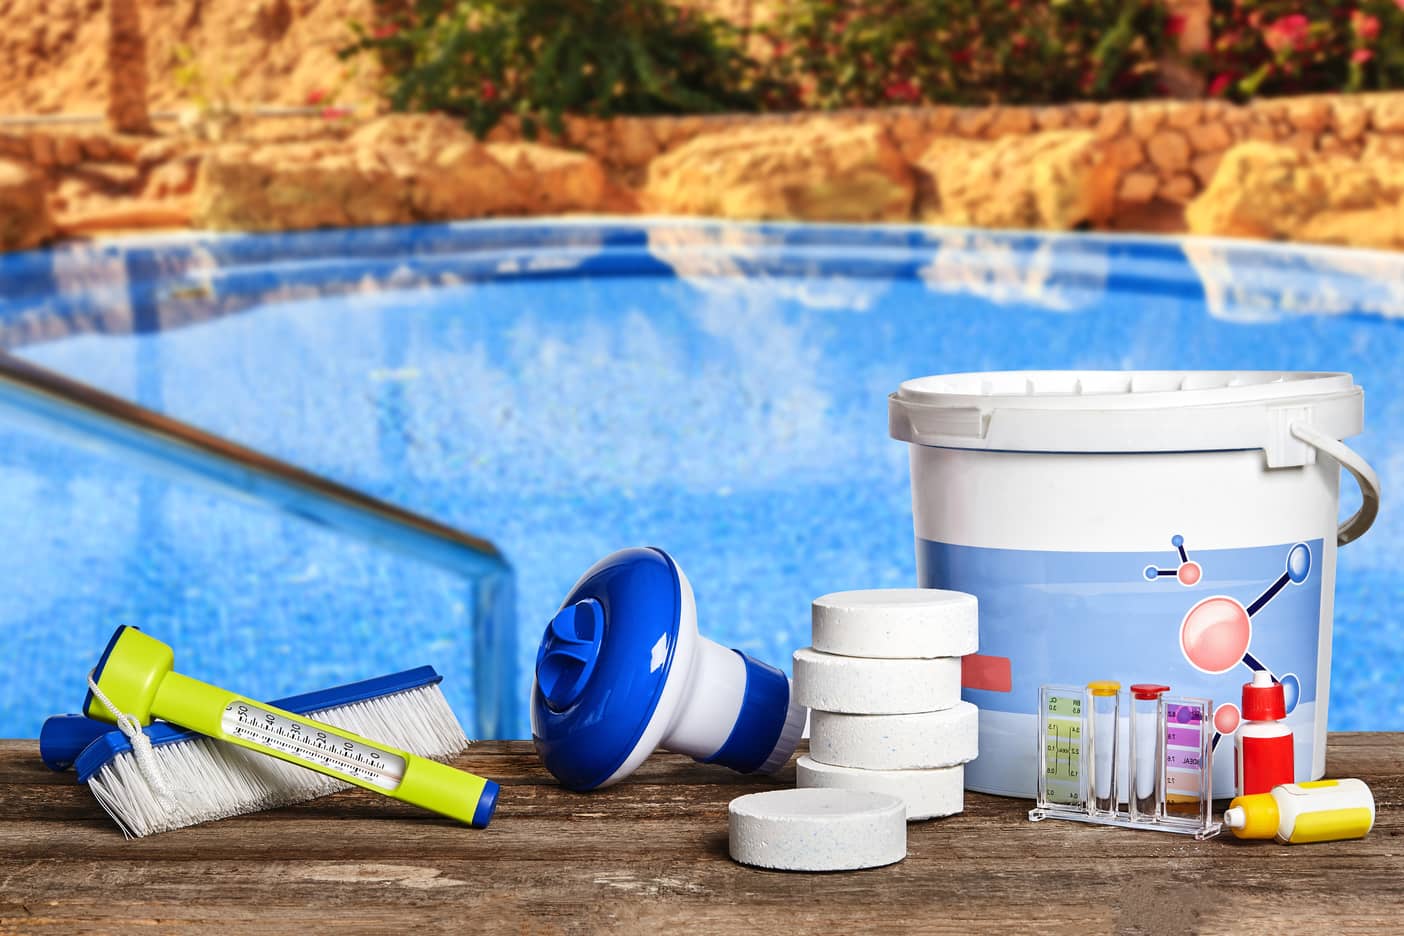
Step 2: Gather necessary tools and materials
Before embarking on the repair process, it is essential to gather the necessary tools and materials to effectively address the pool leak. Having the right equipment at your disposal will streamline the repair process and ensure that you can address the leak with precision and efficiency.
Here are the essential tools and materials you will need to gather:
Tools:
-
Submersible Pump: A submersible pump is crucial for draining the pool efficiently, allowing you to access the leak and perform the necessary repairs. Ensure that the pump is suitable for the size of your pool to expedite the draining process.
-
Pool Patch Kit: A high-quality pool patch kit is indispensable for repairing cracks and leaks in the pool shell. Look for a kit that includes waterproof sealants and patching materials designed specifically for swimming pools.
-
Plumbing Tools: Depending on the nature of the leak, you may require plumbing tools such as wrenches, PVC cutters, and pipe sealants to address plumbing-related leaks and fittings.
-
Trowel or Putty Knife: These tools are essential for applying patching materials and sealants to the pool shell, ensuring a smooth and uniform repair.
-
Bucket and Hose: A bucket and hose will be useful for the bucket test to measure water evaporation and for refilling the pool after the repair is complete.
-
Safety Equipment: It is crucial to prioritize safety when working on pool repairs. Ensure that you have protective gear such as gloves, goggles, and appropriate footwear to safeguard yourself during the repair process.
Materials:
-
Pool Patching Compound: Select a high-quality pool patching compound that is compatible with your pool's material, whether it is concrete, fiberglass, or vinyl. The patching compound should be designed to withstand the water pressure and provide a durable seal.
-
Waterproof Sealant: A waterproof sealant is essential for sealing cracks, gaps, and joints in the pool structure. Look for a sealant that is specifically formulated for underwater applications to ensure long-lasting effectiveness.
-
PVC Cement and Primer: If the leak is related to PVC plumbing, PVC cement and primer are necessary for securely bonding and sealing PVC pipes and fittings.
-
Pool Paint (if applicable): In the case of cosmetic repairs or addressing surface imperfections, pool paint may be required to restore the visual appeal of the pool after the leak repair.
By ensuring that you have these essential tools and materials on hand, you can proceed with confidence to address the pool leak effectively. With the right equipment at your disposal, you are well-prepared to move on to the subsequent steps of draining the pool and executing the necessary repairs.
Read more: How To Repair A Swimming Pool Light Leak
Step 3: Drain the pool
Draining the pool is a critical step in the process of fixing a leaking swimming pool. By lowering the water level, you gain access to the areas requiring repair and create a conducive environment for executing the necessary fixes. However, it is essential to approach the draining process with caution and adherence to safety guidelines to ensure a smooth and efficient operation.
Before initiating the draining process, it is important to consider the following factors:
-
Weather Conditions: Choose a time for draining the pool when the weather forecast indicates dry and stable conditions. Draining during inclement weather can lead to complications and delays in the repair process.
-
Disposal Plan: Determine the appropriate disposal method for the drained pool water. Depending on local regulations, you may need to redirect the water to a suitable drainage area or seek professional assistance for proper disposal.
Once you have considered these factors, you can proceed with the following steps to drain the pool effectively:
-
Turn off Equipment: Begin by turning off the pool pump, filter, and any other relevant equipment to prevent them from running dry during the draining process.
-
Locate Drainage Point: Identify the drainage point or outlet for the pool water. This may be a dedicated drainage valve or a suitable area for redirecting the water.
-
Use Submersible Pump: Utilize the submersible pump to initiate the draining process. Submersible pumps are designed to efficiently remove large volumes of water from the pool, expediting the draining operation.
-
Monitor Progress: Keep a close eye on the draining progress to ensure that the water level decreases steadily and uniformly. This helps prevent uneven pressure on the pool structure and facilitates a smooth repair process.
-
Inspect Drained Area: As the water level lowers, take the opportunity to inspect the exposed areas of the pool for any visible signs of damage, such as cracks, leaks, or structural issues. This preliminary inspection can provide valuable insights for the subsequent repair phase.
-
Secure Drainage Point: Once the pool is sufficiently drained, secure the drainage point and ensure that the water flow is directed appropriately according to local regulations and environmental considerations.
By following these steps and exercising care during the draining process, you can prepare the pool for the subsequent repair phase, setting the stage for addressing the identified leaks and restoring the pool to its optimal condition.
Step 4: Repair the leak
With the pool drained and the source of the leak identified, it's time to focus on repairing the damaged areas to restore the pool's integrity. The repair process will vary depending on the nature of the leak and the specific areas requiring attention. Here's a comprehensive guide to effectively repairing the leak in your swimming pool:
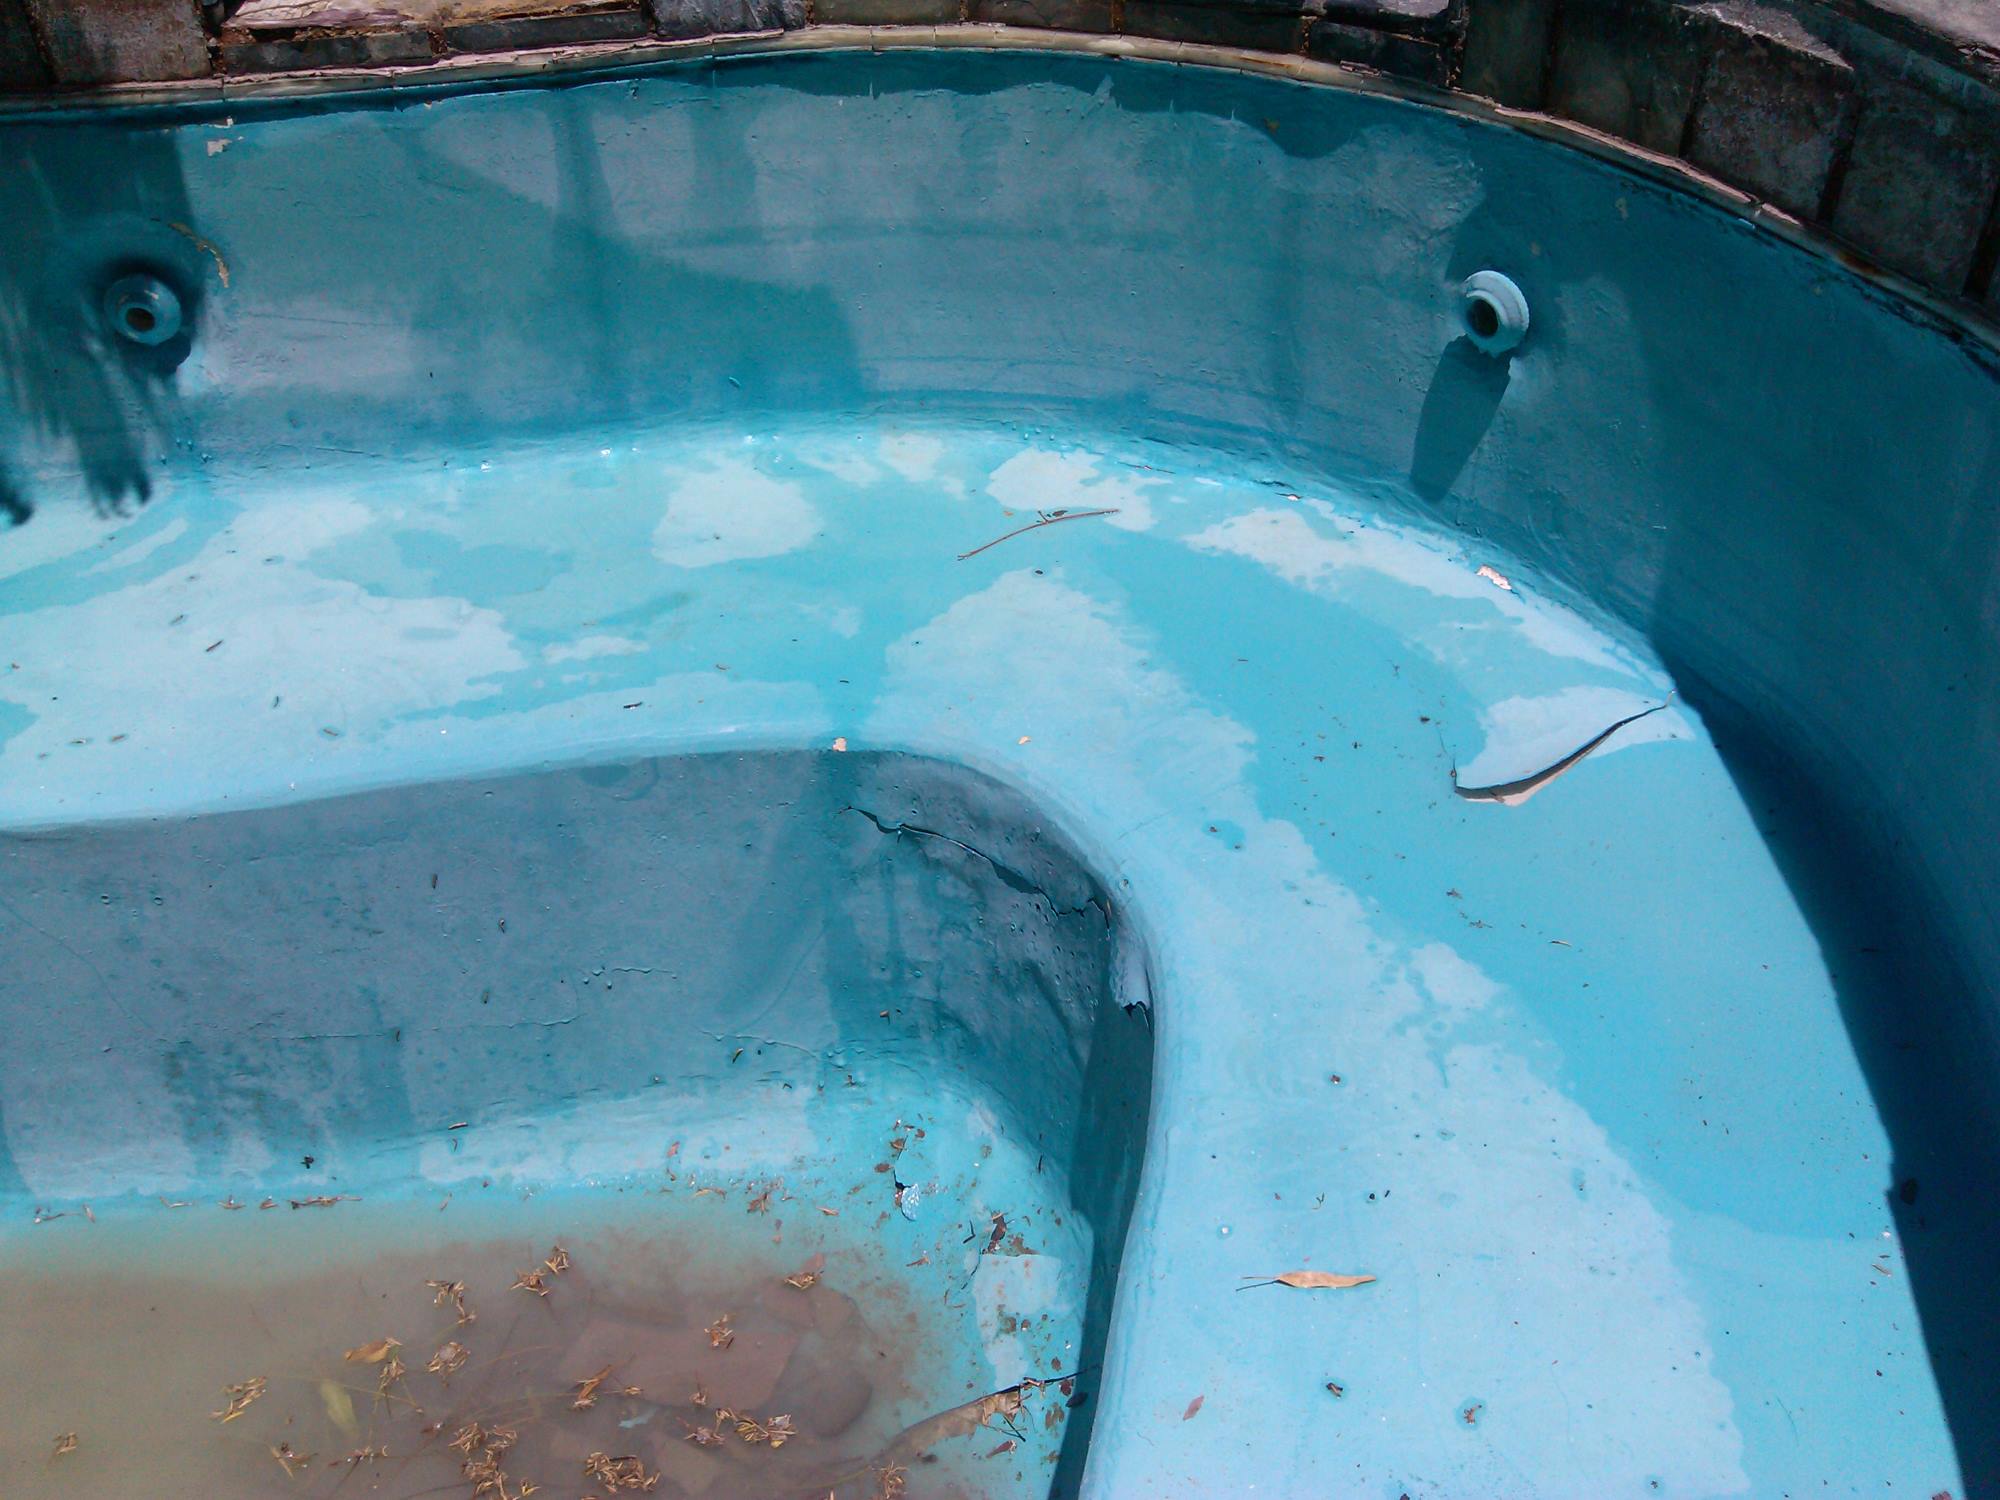
Repairing Cracks in the Pool Shell:
-
Clean and Prepare the Surface: Thoroughly clean the cracked areas of the pool shell to remove debris, algae, and any loose material. Use a wire brush or sandpaper to create a clean and rough surface for better adhesion of the patching compound.
-
Apply Pool Patching Compound: Utilize a high-quality pool patching compound to fill the cracks in the pool shell. Follow the manufacturer's instructions for application, ensuring that the compound is evenly spread and smoothed over the damaged areas. For larger cracks, consider using reinforcing mesh or fiberglass tape before applying the patching compound for added strength.
-
Allow for Proper Curing: After applying the patching compound, allow sufficient time for it to cure and bond with the pool surface. This typically involves keeping the repaired areas dry and free from water contact for the specified curing duration.
Addressing Plumbing Leaks and Fittings:
-
Inspect and Replace Faulty Components: If the leak is related to plumbing or fittings, carefully inspect the affected areas for damaged pipes, valves, or fittings. Replace any faulty components with new, compatible parts to ensure a secure and leak-free plumbing system.
-
Apply PVC Cement and Primer: When working with PVC plumbing, use PVC cement and primer to securely bond and seal the connections. Follow the manufacturer's guidelines for proper application and curing of the cement to create durable and watertight seals.
Read more: How To Find A Leak In A Swimming Pool Liner
Sealing Joints and Fittings:
-
Apply Waterproof Sealant: Use a waterproof sealant to seal joints, fittings, and areas where leaks are detected. Ensure that the sealant is specifically designed for underwater applications and is compatible with the pool's material to provide long-lasting protection against leaks.
-
Inspect and Test for Integrity: After completing the repairs, thoroughly inspect the repaired areas for any signs of remaining leaks or weaknesses. Test the integrity of the repairs by pressurizing the plumbing system and observing for any indications of leakage.
By meticulously addressing the identified leaks and implementing the appropriate repair techniques, you can effectively restore the structural integrity of your swimming pool and mitigate the risk of future leaks. Once the repairs are completed and verified, you can proceed to the next crucial step of refilling the pool to its optimal water level.
Step 5: Refill the pool
Refilling the pool marks a pivotal stage in the process of fixing a leaking swimming pool, as it signifies the transition towards restoring the pool to its functional and visually appealing state. However, refilling the pool should be approached with careful consideration to ensure a seamless and efficient operation.
Here are the essential steps to effectively refill the pool:
-
Water Source: Identify a reliable and suitable water source for refilling the pool. This may involve utilizing municipal water supply, well water, or other approved sources based on local regulations and availability.
-
Water Quality: Prioritize water quality by ensuring that the refill water is free from contaminants and meets the necessary standards for safe swimming. If necessary, consider water testing or treatment to address any quality concerns.
-
Monitor Water Level: As the pool refills, closely monitor the water level to ensure that it reaches the optimal operating level. This typically involves filling the pool to the midpoint of the skimmer opening or to the recommended level for proper filtration and circulation.
-
Adjust Chemical Balance: Once the pool is refilled, assess and adjust the chemical balance to ensure that the water is properly sanitized and balanced for safe and enjoyable swimming. This may involve testing and adjusting the pH, chlorine levels, alkalinity, and other essential parameters.
-
Resume Filtration and Circulation: Restart the pool filtration system and circulation equipment to facilitate proper water circulation and filtration. This helps maintain water clarity, cleanliness, and balanced chemical distribution throughout the pool.
-
Observation and Testing: After refilling the pool, observe the water for any irregularities, such as air pockets, unusual cloudiness, or imbalanced chemical levels. Conduct water testing to verify that the chemical parameters are within the recommended ranges for safe and comfortable swimming.
By following these steps and exercising diligence during the refilling process, you can effectively restore the pool to its operational state, ready for enjoyment and relaxation. Refilling the pool represents a significant milestone in the repair journey, bringing you closer to the successful resolution of the pool leak and the restoration of your aquatic oasis.
Step 6: Test for leaks
After completing the repair and refilling process, it is crucial to thoroughly test the pool for any remaining leaks to ensure that the repair efforts have been successful. Testing for leaks involves a systematic evaluation of the pool's structure, plumbing, and fittings to verify the integrity of the repairs and address any potential sources of leakage.
Here's a comprehensive guide to effectively testing for leaks in your swimming pool:
Visual Inspection:
Begin by conducting a visual inspection of the pool and its surroundings, paying close attention to the areas that were repaired. Look for any signs of moisture, water seepage, or discoloration that may indicate the presence of leaks. Additionally, inspect the pool shell, plumbing connections, and fittings for any visible abnormalities or indications of ongoing leakage.
Read more: How To Fix A Hole In A Swimming Pool Liner
Pressure Testing:
Pressure testing is a valuable method for assessing the integrity of the plumbing system and identifying potential leaks. By pressurizing the plumbing lines and observing for pressure drops over a specified duration, you can pinpoint any areas of concern that may require further attention. This test helps ensure that the repaired plumbing components and connections are effectively sealed and free from leaks.
Dye Testing:
Utilize the dye testing method to detect subtle leaks or seepage in the pool structure and fittings. Add a small amount of dye near the repaired areas and observe the movement of the dye to identify any unexpected water flow or seepage. This method is particularly effective for detecting minor leaks that may not be immediately visible to the naked eye.
Water Level Monitoring:
Monitor the pool's water level over an extended period to assess for any abnormal fluctuations that may indicate ongoing leaks. A consistent and unexplained decrease in water level could signify the presence of hidden leaks or unresolved issues that require further investigation and remediation.
Professional Leak Detection:
In cases where complex or persistent leaks are suspected, engaging the services of a professional leak detection specialist may be necessary. These experts utilize advanced technologies, such as acoustic listening devices and thermal imaging, to identify elusive leaks and provide targeted solutions for resolution.
By diligently testing for leaks using these methods, you can ensure that the repair efforts have effectively addressed the identified leaks and restored the pool to a leak-free state. Thorough testing provides peace of mind and confidence in the pool's structural integrity, allowing you to fully enjoy your rejuvenated swimming oasis without the worry of recurring leaks.
Read more: How To Cover A Swimming Pool
Conclusion
In conclusion, addressing a leaking swimming pool requires a systematic approach, attention to detail, and the utilization of appropriate tools and techniques. By following the step-by-step process outlined in this guide, pool owners can effectively identify, repair, and mitigate leaks, ultimately restoring their pools to optimal condition.
The journey of fixing a leaking swimming pool begins with the crucial step of identifying the source of the leak. Through methods such as the bucket test, visual inspections, and professional leak detection services, pool owners can pinpoint the precise location of the leak, laying the foundation for targeted repairs.
Gathering the necessary tools and materials is essential for a seamless repair process. From submersible pumps and pool patch kits to waterproof sealants and PVC cement, having the right equipment at hand empowers pool owners to address leaks with precision and efficiency.
Draining the pool marks a pivotal stage in the repair journey, providing access to the areas requiring attention. Careful consideration of weather conditions, disposal plans, and safety measures ensures a smooth draining process, setting the stage for effective repairs.
Repairing the identified leaks involves a tailored approach, whether it's addressing cracks in the pool shell, repairing plumbing components, or sealing joints and fittings. By diligently executing the repair techniques and verifying the integrity of the repairs, pool owners can mitigate the risk of future leaks and safeguard their pool investment.
Refilling the pool and testing for leaks represent the final steps in the repair process. By prioritizing water quality, adjusting chemical balance, and conducting thorough leak testing, pool owners can confidently restore their pools to an operational and leak-free state, ready for enjoyment and relaxation.
In essence, fixing a leaking swimming pool is a journey that demands patience, attention to detail, and a commitment to maintaining the pool's structural integrity. By following the comprehensive steps outlined in this guide, pool owners can navigate the repair process with confidence, ensuring that their pools remain a source of enjoyment and relaxation for years to come.
Frequently Asked Questions about How To Fix A Leaking Swimming Pool
Was this page helpful?
At Storables.com, we guarantee accurate and reliable information. Our content, validated by Expert Board Contributors, is crafted following stringent Editorial Policies. We're committed to providing you with well-researched, expert-backed insights for all your informational needs.


0 thoughts on “How To Fix A Leaking Swimming Pool”