Home>Gardening & Outdoor>Outdoor Structures>How To Clean A Shed
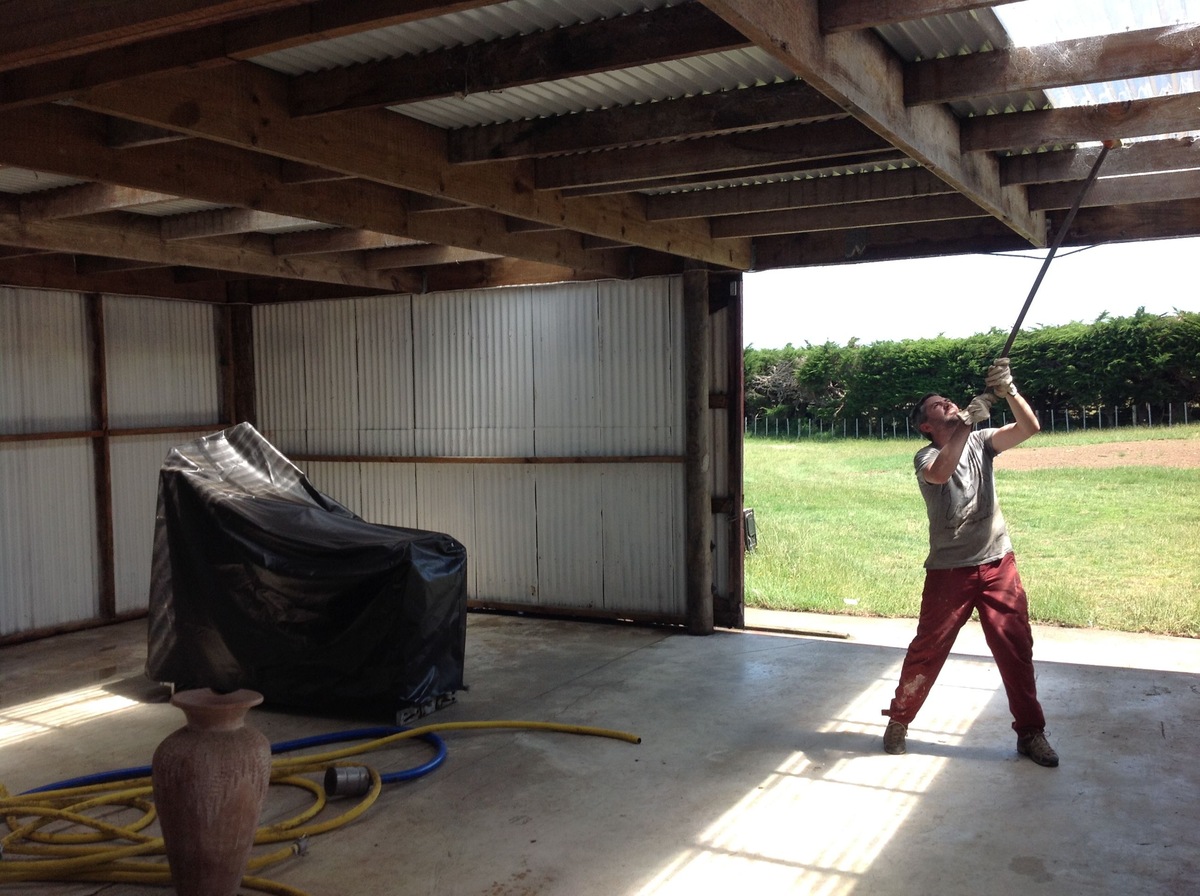

Outdoor Structures
How To Clean A Shed
Modified: August 28, 2024
Learn the best techniques for cleaning outdoor structures with our comprehensive guide. Keep your shed looking its best with our expert tips and advice.
(Many of the links in this article redirect to a specific reviewed product. Your purchase of these products through affiliate links helps to generate commission for Storables.com, at no extra cost. Learn more)
Introduction
Welcome to the comprehensive guide on how to clean a shed! Whether your shed is a storage space, a workshop, or a sanctuary for your outdoor gear, keeping it clean and organized is essential for both functionality and longevity. Over time, sheds can accumulate dust, dirt, and clutter, which can detract from their usability and appeal. By following the step-by-step cleaning process outlined in this article, you can restore your shed to its optimal condition and create a pleasant and efficient space for your activities.
Cleaning a shed may seem like a daunting task, especially if it has been neglected for some time. However, with the right approach and a bit of elbow grease, you can transform your shed into a tidy and inviting environment. From removing items and sweeping the floors to organizing tools and decluttering shelves, each step plays a crucial role in revitalizing your shed.
Not only does regular cleaning enhance the aesthetics of your shed, but it also contributes to its durability. By eliminating dirt and grime, you can prevent corrosion on metal surfaces, deterioration of wooden structures, and the accumulation of mold and mildew. Furthermore, a clean and well-organized shed allows for easier access to tools and equipment, saving you time and frustration when working on outdoor projects.
Whether you're a seasoned DIY enthusiast or a homeowner looking to maintain your outdoor space, this guide is designed to provide practical tips and insights for efficiently cleaning your shed. By incorporating these cleaning techniques into your routine maintenance, you can ensure that your shed remains a functional and enjoyable part of your property for years to come. So, roll up your sleeves, gather your cleaning supplies, and let's dive into the process of rejuvenating your shed!
Key Takeaways:
- Regular shed cleaning prevents damage, mold, and clutter, making it a pleasant and efficient space for outdoor activities.
- Organizing tools and decluttering shelves maximizes shed functionality and creates a safe and accessible workspace.
Read more: How To Turn A Shed Into A She Shed
Step 1: Remove Items and Sweep
The first step in cleaning your shed is to remove all items from the interior, creating a blank canvas for the cleaning process. Start by carefully taking out any tools, equipment, and storage containers, placing them outside the shed or in an adjacent space. This not only allows for thorough cleaning but also gives you the opportunity to assess and organize the items before returning them to the shed.
Once the shed is cleared of all items, it’s time to tackle the dust and debris that may have accumulated on the floors and surfaces. Begin by sweeping the entire floor area, using a broom or a shop vacuum to remove loose dirt, leaves, and other debris. Pay attention to corners, crevices, and areas around shelves or workbenches, as these spots often harbor hidden dirt.
For stubborn dirt and grime, consider using a stiff-bristled brush or a scraper to dislodge buildup from the floor. This is particularly important if your shed has a concrete or wooden floor, as these surfaces can trap dirt over time. By thoroughly sweeping and cleaning the floor, you create a clean foundation for the subsequent steps of the cleaning process.
During this phase, you may also want to inspect the condition of the floor for any signs of damage or wear. Look for cracks, water damage, or areas that may require repair or maintenance. Addressing these issues early on can prevent further deterioration and contribute to the overall upkeep of your shed.
Once the sweeping is complete, take a moment to appreciate the transformation that a clean and cleared space can bring. With the shed emptied and the floors free of debris, you’re ready to move on to the next steps of the cleaning process, which will further enhance the functionality and appeal of your shed.
Step 2: Dust and Wipe Down Surfaces
After removing items and sweeping the floors, the next crucial step in cleaning your shed is to address the accumulation of dust and grime on surfaces such as shelves, workbenches, and walls. Dust not only diminishes the visual appeal of your shed but can also contribute to poor air quality and affect the condition of stored items and equipment.
Start by dusting all surfaces using a microfiber cloth or a duster, ensuring that you reach high and low areas, as well as any nooks and crannies where dust may have settled. Pay particular attention to shelving units, tool racks, and any exposed surfaces where dust tends to collect. By thoroughly dusting these areas, you can improve the overall cleanliness and organization of your shed.
Once the dusting is complete, it’s time to wipe down surfaces to remove any remaining dirt, stains, or spills. Use a mild cleaning solution and a clean cloth to wipe down shelves, workbenches, and other surfaces, paying attention to areas that may have accumulated grease or grime. For wooden surfaces, consider using a wood cleaner or polish to restore their luster and protect them from environmental elements.
While cleaning surfaces, take the opportunity to inspect them for any signs of damage or wear. Look for water stains, mold growth, or structural issues that may require attention. Addressing these issues as part of your cleaning routine can help maintain the integrity of your shed and prevent more extensive damage in the future.
By dusting and wiping down surfaces, you not only improve the cleanliness and aesthetics of your shed but also create a more pleasant and functional environment for your activities. With the surfaces sparkling clean and free of dust and grime, you’re ready to move on to the next steps of organizing and decluttering, which will further enhance the usability of your shed.
Regularly sweep and remove any debris from the shed floor to prevent dirt and dust buildup. Use a mild detergent and water to clean the walls and floor, and consider using a pressure washer for tougher stains. Don’t forget to declutter and organize the items inside to maintain a clean shed.
Step 3: Organize and Declutter
Organizing and decluttering your shed is a transformative process that not only enhances its functionality but also contributes to a more efficient and enjoyable workspace. As you return items to the shed after cleaning, take the opportunity to assess and reorganize your tools, equipment, and storage solutions, ensuring that everything has its designated place.
Start by categorizing items based on their use and frequency, grouping similar items together for easy access. Consider installing or optimizing storage solutions such as shelves, pegboards, and storage bins to keep tools and supplies organized and off the floor. Utilize clear containers or labels to identify the contents of storage bins, making it easier to locate specific items when needed.
During the organization process, take the opportunity to declutter your shed by identifying items that are no longer needed or are in disrepair. Dispose of or donate any tools, equipment, or materials that are damaged, obsolete, or no longer serve a purpose. By reducing clutter and streamlining your storage, you create a more efficient and visually appealing space.
As you organize and declutter, consider the accessibility and safety of your shed. Ensure that frequently used items are easily reachable, while hazardous materials or equipment are stored securely and out of reach of children or pets. By creating a well-organized and safe environment, you can maximize the utility of your shed while minimizing potential hazards.
The process of organizing and decluttering not only improves the functionality of your shed but also provides a sense of satisfaction and accomplishment. With a well-organized space, you can easily locate tools and supplies, work on projects more efficiently, and maintain the overall cleanliness of your shed. As you complete this step, you’ll be ready to move on to the next phase of the cleaning process, which focuses on cleaning the floors and windows to further enhance the appeal of your shed.
Step 4: Clean Floors and Windows
As you progress through the cleaning process, addressing the floors and windows of your shed is essential for creating a clean and inviting environment. Over time, floors can accumulate dirt, oil, and grime, while windows may gather dust and streaks, impacting both the appearance and functionality of your shed.
Begin by thoroughly cleaning the floors, using an appropriate cleaning solution based on the flooring material. For concrete floors, a mild detergent or concrete cleaner can effectively remove dirt and stains. Wooden floors may require a wood-specific cleaner to maintain their finish and protect them from moisture. Use a scrub brush or mop to apply the cleaning solution, focusing on any areas with visible stains or buildup.
After cleaning the floors, consider applying a sealant or protective coating to enhance their durability and resistance to future stains. This step can help prolong the life of your shed’s flooring and make future cleaning easier. Additionally, addressing any cracks or damage to the floor during this phase can prevent further deterioration and maintain a safe and functional workspace.
Next, turn your attention to the windows of the shed. Use a glass cleaner and a lint-free cloth to thoroughly clean the interior and exterior surfaces of the windows, removing any accumulated dirt, dust, or water spots. Pay attention to the window sills and tracks, ensuring that they are free of debris and functioning properly.
As you clean the windows, take the opportunity to inspect them for any signs of damage or wear. Look for cracks, gaps, or issues with the window seals that may affect insulation or security. Addressing these issues early on can prevent air and moisture infiltration, contributing to a more comfortable and efficient shed environment.
By cleaning the floors and windows, you not only improve the overall cleanliness and aesthetics of your shed but also contribute to its maintenance and longevity. With a sparkling clean floor and clear, streak-free windows, your shed will be transformed into an inviting and functional space, ready for your outdoor projects and activities.
Read more: How To Turn An Old Shed Into A She Shed
Step 5: Maintain Regular Cleaning Schedule
Once you’ve completed the thorough cleaning process for your shed, it’s essential to establish and maintain a regular cleaning schedule to preserve the cleanliness and functionality of the space. By incorporating routine maintenance tasks into your schedule, you can prevent the accumulation of dirt, clutter, and disorganization, ensuring that your shed remains a pleasant and efficient environment.
Consider creating a cleaning checklist that outlines specific tasks to be completed on a weekly, monthly, or seasonal basis. This checklist may include sweeping the floors, dusting surfaces, inspecting and organizing tools, and addressing any maintenance or repair needs. By breaking down cleaning tasks into manageable segments, you can stay on top of shed maintenance without feeling overwhelmed.
Regularly inspect and maintain the condition of the shed’s exterior, including the roof, siding, and doors. Address any issues such as leaks, cracks, or damage promptly to prevent further deterioration and maintain a weather-resistant and secure shed. Additionally, consider applying protective coatings or sealants to wooden surfaces to enhance their resistance to moisture and UV exposure.
As part of your cleaning schedule, prioritize the organization and storage of items within the shed. Periodically assess the contents of storage bins, shelves, and workbenches, ensuring that tools and equipment are properly stored and labeled. By maintaining an organized and clutter-free environment, you can optimize the functionality and accessibility of your shed.
Throughout the year, consider seasonal maintenance tasks such as cleaning gutters, inspecting for pest infestations, and preparing the shed for changes in weather. By staying proactive and attentive to the maintenance needs of your shed, you can prevent issues from escalating and ensure that the space remains a valuable asset to your property.
By establishing and adhering to a regular cleaning schedule, you can preserve the cleanliness, organization, and functionality of your shed, creating a space that enhances your outdoor activities and projects. With consistent maintenance, your shed will continue to serve as a reliable and enjoyable extension of your home for years to come.
Frequently Asked Questions about How To Clean A Shed
Was this page helpful?
At Storables.com, we guarantee accurate and reliable information. Our content, validated by Expert Board Contributors, is crafted following stringent Editorial Policies. We're committed to providing you with well-researched, expert-backed insights for all your informational needs.





0 thoughts on “How To Clean A Shed”