Home>Gardening & Outdoor>Outdoor Structures>How To Extend A Shed
Outdoor Structures
How To Extend A Shed
Published: January 19, 2024
Learn how to extend your outdoor structures with our step-by-step guide. Discover the best tips for expanding your shed and creating more space for your outdoor needs.
(Many of the links in this article redirect to a specific reviewed product. Your purchase of these products through affiliate links helps to generate commission for Storables.com, at no extra cost. Learn more)
Introduction
Welcome to the world of outdoor structures! If you have a shed that’s bursting at the seams with your gardening tools, outdoor gear, or other essentials, it might be time to consider giving it a little extra breathing room. Fortunately, extending your shed is a feasible and rewarding project that can provide the additional space you need without having to invest in an entirely new structure.
Whether you’re a seasoned DIY enthusiast or a newcomer to the world of outdoor construction, this guide will walk you through the process of extending your shed with confidence and success. From assessing your current shed to choosing the right extension, preparing the site, building the extension, and adding the finishing touches, we’ll cover each step in detail to ensure that your shed extension project is a resounding triumph.
So, grab your tool belt, put on your thinking cap, and get ready to embark on an exciting journey to expand and enhance your outdoor storage space. Let’s dive in!
Key Takeaways:
- Extend your shed by assessing its condition, choosing the right extension, preparing the site, building the extension, and adding finishing touches for a rewarding and transformative outdoor project.
- Transform your shed into a versatile and valuable asset that enriches your property and contributes to the enjoyment of your outdoor living experience.
Read more: How To Extend A Patio
Assessing the Shed
Before diving into the process of extending your shed, it’s crucial to conduct a thorough assessment of your current structure. Start by evaluating the existing size and layout of your shed. Consider the available space around the shed and how an extension might fit into the surrounding area. Take note of any potential obstacles, such as trees, fences, or utility lines, that could impact the extension process.
Next, assess the condition of the shed itself. Check for any signs of damage, wear, or structural issues that may need to be addressed before proceeding with the extension. It’s essential to ensure that the existing shed is in good shape to support the added extension and that any necessary repairs are completed before moving forward.
Additionally, think about the purpose of the shed extension. Are you looking to create more storage space, a workshop area, or a dedicated space for a specific hobby or activity? Understanding the intended use of the extended shed will help guide your decisions as you move through the extension process.
Finally, consider the aesthetic aspects of the extension. How do you envision the extended shed blending in with its surroundings? Think about the materials, colors, and design elements that will complement the existing structure and enhance the overall appearance of your outdoor space.
By thoroughly assessing your shed and its surroundings, you’ll gain valuable insights that will inform the next steps in the extension process. With a clear understanding of the existing shed and your goals for the extension, you’ll be well-prepared to move forward with confidence and clarity.
Choosing the Right Extension
When it comes to extending your shed, there are several options to consider, each offering unique benefits and considerations. The choice of extension will depend on factors such as your available space, budget, intended use, and personal preferences. Here are some popular shed extension options to explore:
- Lean-to Extension: A lean-to extension involves adding a narrow structure that extends from the side of the existing shed. This option is ideal for creating additional storage space or a sheltered area for outdoor equipment.
- Gable Extension: A gable extension adds a new section with a pitched roof that complements the existing shed’s design. This type of extension can provide more headroom and a visually appealing addition to your shed.
- Side-by-Side Extension: If you have ample space alongside your current shed, a side-by-side extension allows for expanding the storage capacity or creating separate sections for different purposes, such as storage and workspace.
- Custom Design: For those seeking a unique and tailored extension, a custom design allows for creating a personalized space that perfectly suits your needs and complements the existing shed’s architecture.
As you evaluate these options, consider the practical aspects of each extension type, such as how it will integrate with the existing shed, its impact on available space, and any additional construction or reinforcement requirements. Take into account the visual harmony of the extension with the original shed and its surroundings, ensuring a cohesive and aesthetically pleasing result.
Furthermore, think about the materials and finishes that will best match your existing shed. Whether you opt for wood, metal, or another material, selecting an extension that harmonizes with the current structure will create a unified and polished look for your outdoor storage space.
By carefully considering the available extension options and weighing the practical and aesthetic factors, you’ll be well-equipped to choose the right extension that aligns with your needs, budget, and vision for your shed.
Preparing the Site
Before commencing the construction of your shed extension, it’s essential to prepare the site thoroughly to ensure a smooth and successful building process. Here are the key steps to take when preparing the site for your shed extension:
- Clearing and Leveling: Begin by clearing the area where the extension will be built. Remove any debris, vegetation, or obstacles that may impede the construction process. Additionally, ensure that the ground is level and compacted to provide a stable foundation for the new structure.
- Checking Utilities: Verify the location of underground utilities, such as water lines, electrical cables, and gas pipes, to prevent accidental damage during excavation and construction. Contact local utility companies or relevant authorities to mark the utility lines before digging.
- Obtaining Permits: Check with your local building authority to determine if permits are required for the shed extension project. Obtain any necessary permits and ensure compliance with local building codes and regulations before proceeding with the construction.
- Creating a Foundation: Depending on the chosen extension type, you may need to prepare a suitable foundation, such as a concrete slab or footings, to support the new structure. Follow the recommended foundation specifications based on the extension design and local building requirements.
- Gathering Materials and Tools: Gather all the necessary materials, tools, and equipment required for the construction of the shed extension. This includes building materials, fasteners, power tools, safety gear, and any specialized equipment specific to your chosen extension design.
By meticulously preparing the site for your shed extension, you’ll lay the groundwork for a successful and efficient construction phase. Taking the time to clear and level the area, address utility considerations, obtain permits, and establish a solid foundation will set the stage for a seamless transition into the building phase of your shed extension project.
Consider using a shed extension kit to easily add extra space to your shed. These kits typically include all the necessary materials and instructions for a seamless extension.
Building the Extension
With the site prepared and all necessary permits secured, it’s time to roll up your sleeves and embark on the exciting phase of constructing the shed extension. Whether you’re working solo or enlisting the help of friends or professionals, the following steps will guide you through the building process:
- Frame Construction: Begin by constructing the framework of the extension, following the specifications of your chosen design. This may involve assembling wall frames, roof trusses, and other structural components according to the extension type and design plans.
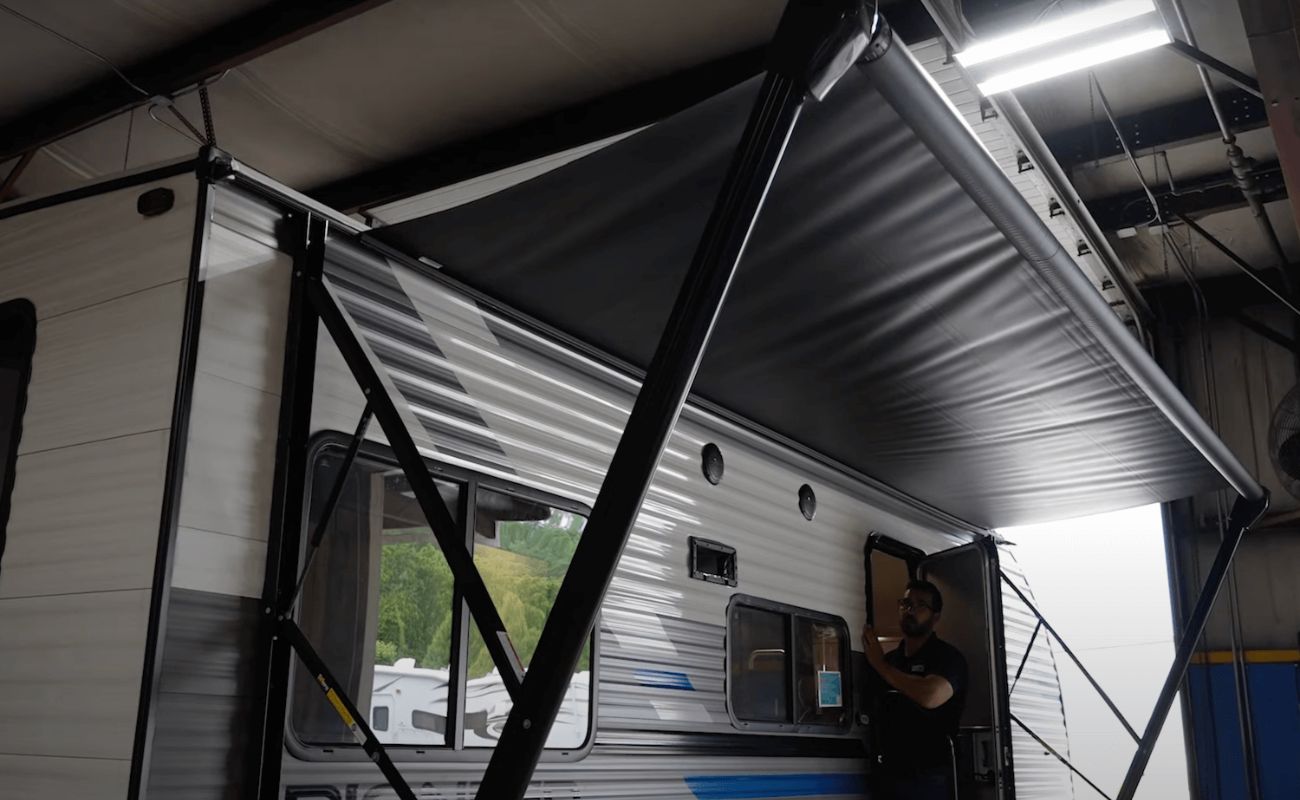
- Roofing and Siding: Once the frame is in place, proceed to install the roofing materials, whether it’s shingles, metal panels, or another roofing option. Additionally, add the siding to the exterior walls of the extension, ensuring a weatherproof and visually appealing finish.
- Doors and Windows: If your shed extension includes entry points or windows, carefully install these elements, ensuring proper sealing, security features, and smooth operation. Consider the placement of doors and windows to maximize natural light and ventilation within the extended space.
- Interior Finishing: Customize the interior of the extension to suit your intended use, whether it’s adding storage solutions, workbenches, or other functional elements. Consider insulation, lighting, and interior finishes to create a comfortable and functional interior space.
- Integration with Existing Shed: Integrate the new extension with the existing shed, ensuring a seamless connection between the two structures. Pay attention to details such as alignment, roofline continuity, and exterior finishes to achieve a cohesive and unified appearance.
Throughout the construction phase, prioritize safety measures, proper tool usage, and adherence to building codes and regulations. Whether you’re a seasoned builder or new to construction projects, taking a methodical and cautious approach will yield a well-built and enduring shed extension.
As the extension takes shape, savor the satisfaction of witnessing your vision come to life, and look forward to the enhanced functionality and appeal that the extended shed will bring to your outdoor space.
Read more: How To Extend Extension Ladder
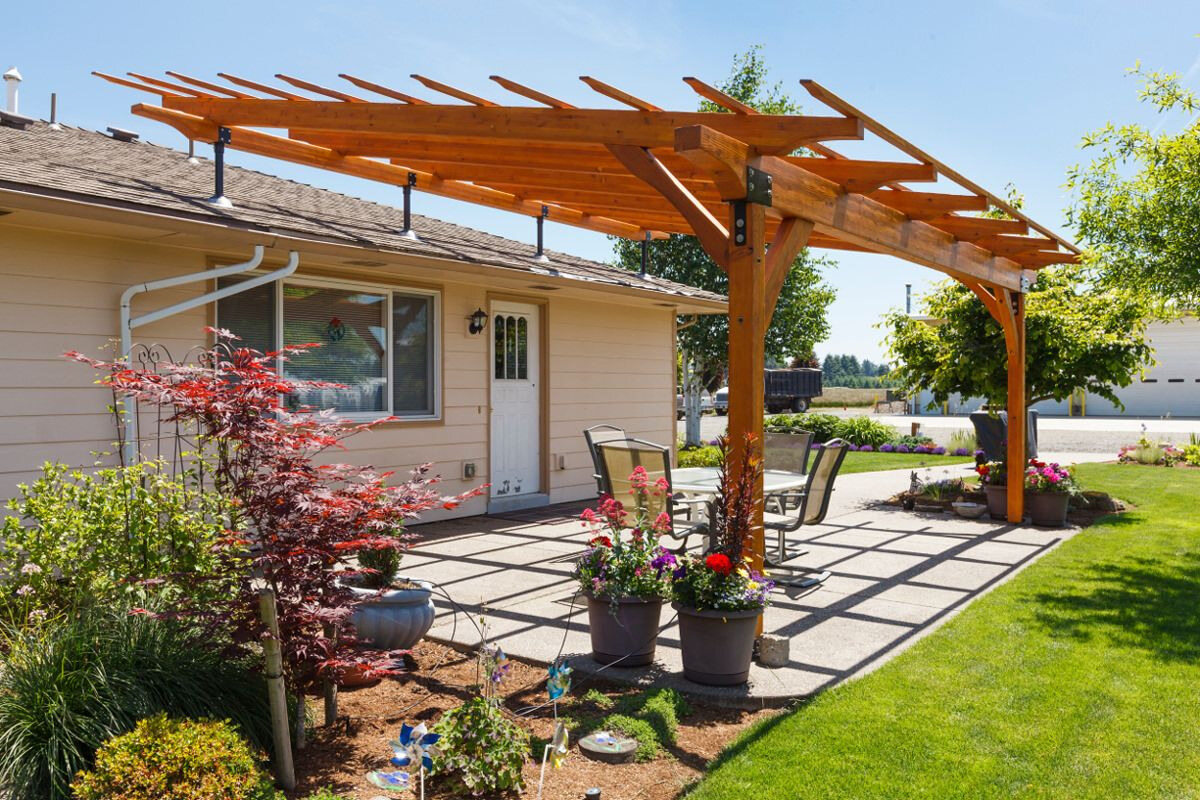
Adding Finishing Touches
As the construction of your shed extension nears completion, it’s time to shift focus to the finishing touches that will elevate the functionality, aesthetics, and overall appeal of the extended space. Consider the following steps to add those final flourishes:
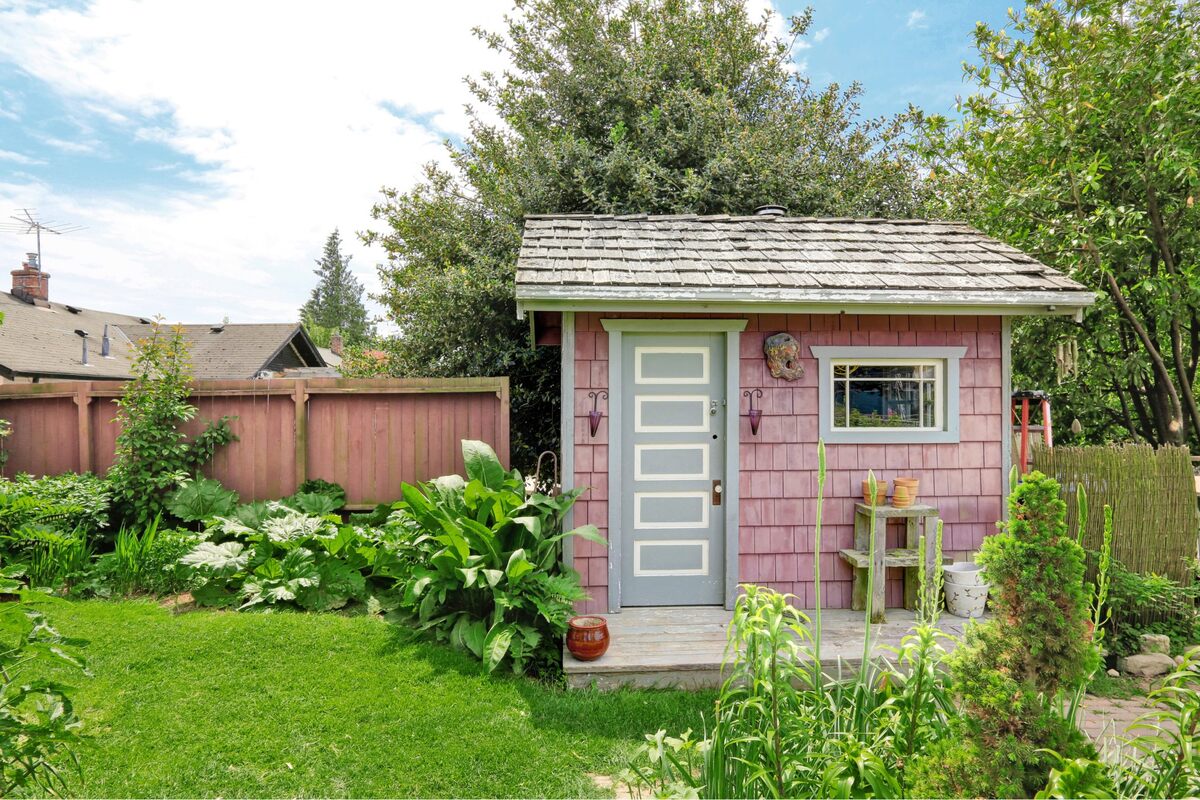
- Paint and Stain: Apply a fresh coat of paint or stain to the exterior of the shed extension, harmonizing it with the existing shed while providing protection against the elements. Choose colors and finishes that complement the overall aesthetic of your outdoor space.
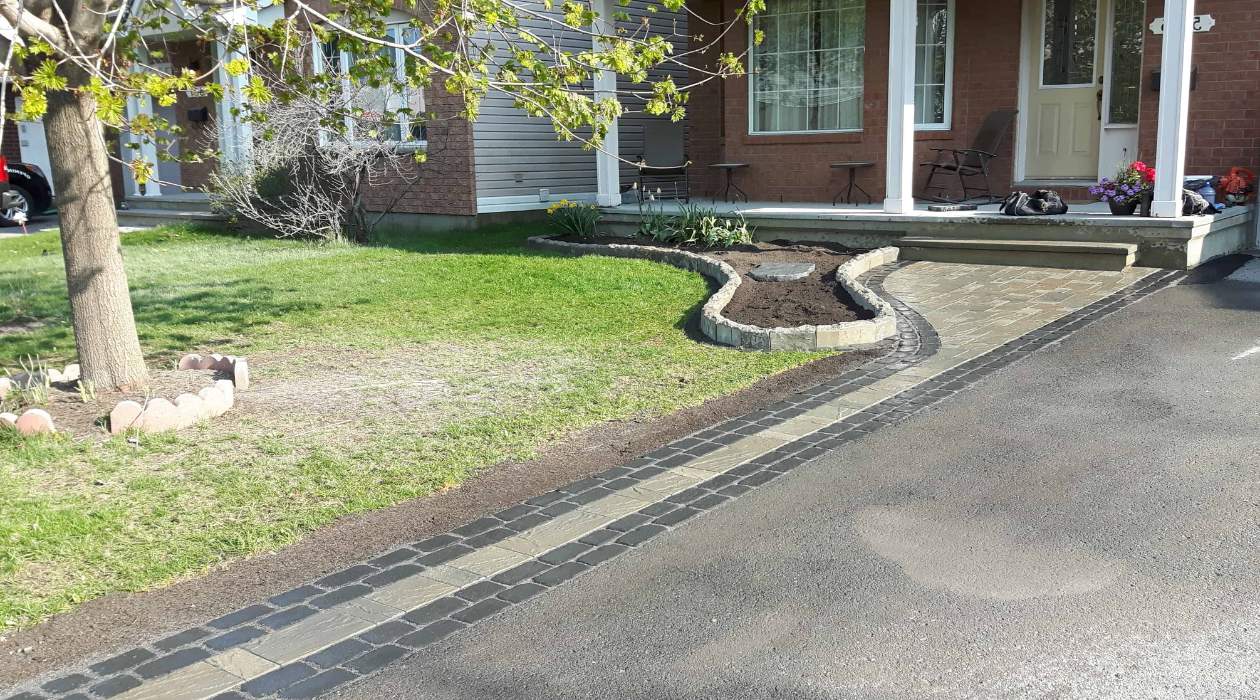
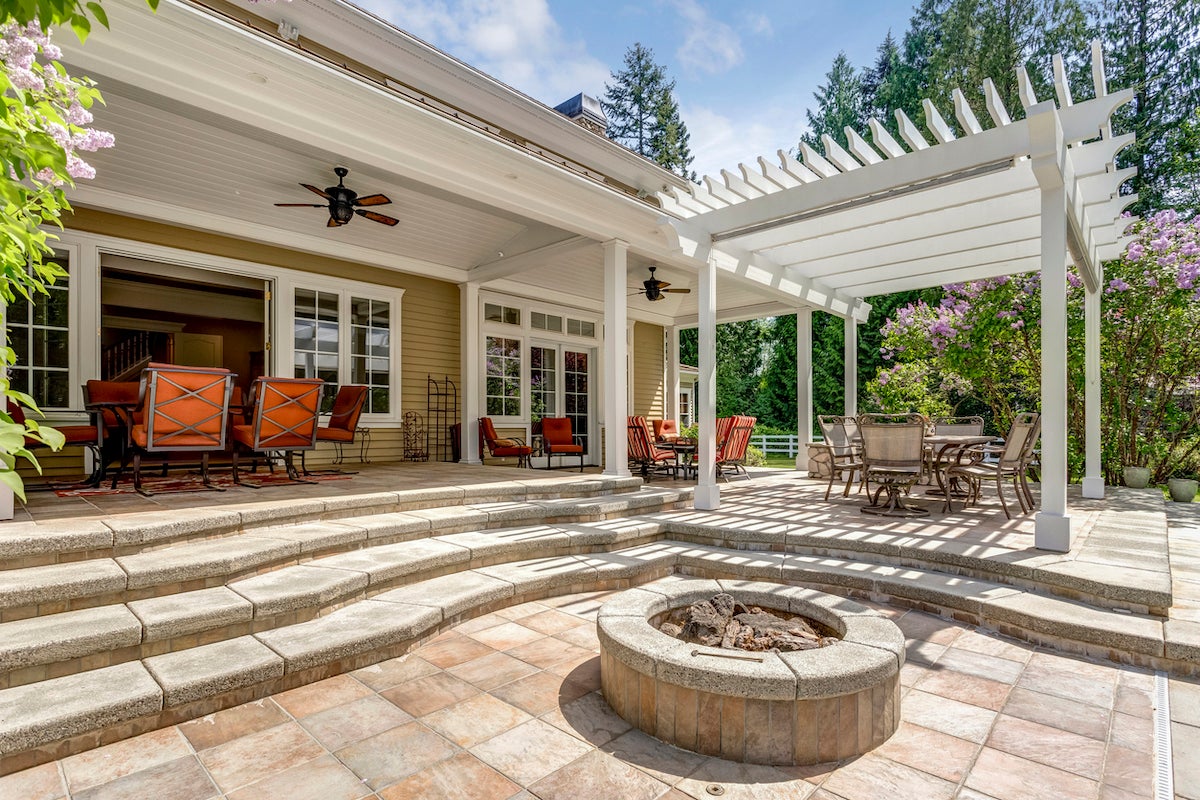
- Landscaping: Enhance the surroundings of the extended shed with landscaping elements such as flower beds, shrubs, or pathways. Thoughtful landscaping can integrate the shed extension seamlessly into your outdoor environment, creating a cohesive and inviting setting.
- Storage Solutions: Install shelving, hooks, or organizational systems within the shed extension to optimize storage and keep tools, equipment, and supplies neatly arranged. Customizing the interior storage will maximize the functionality of the extended space.
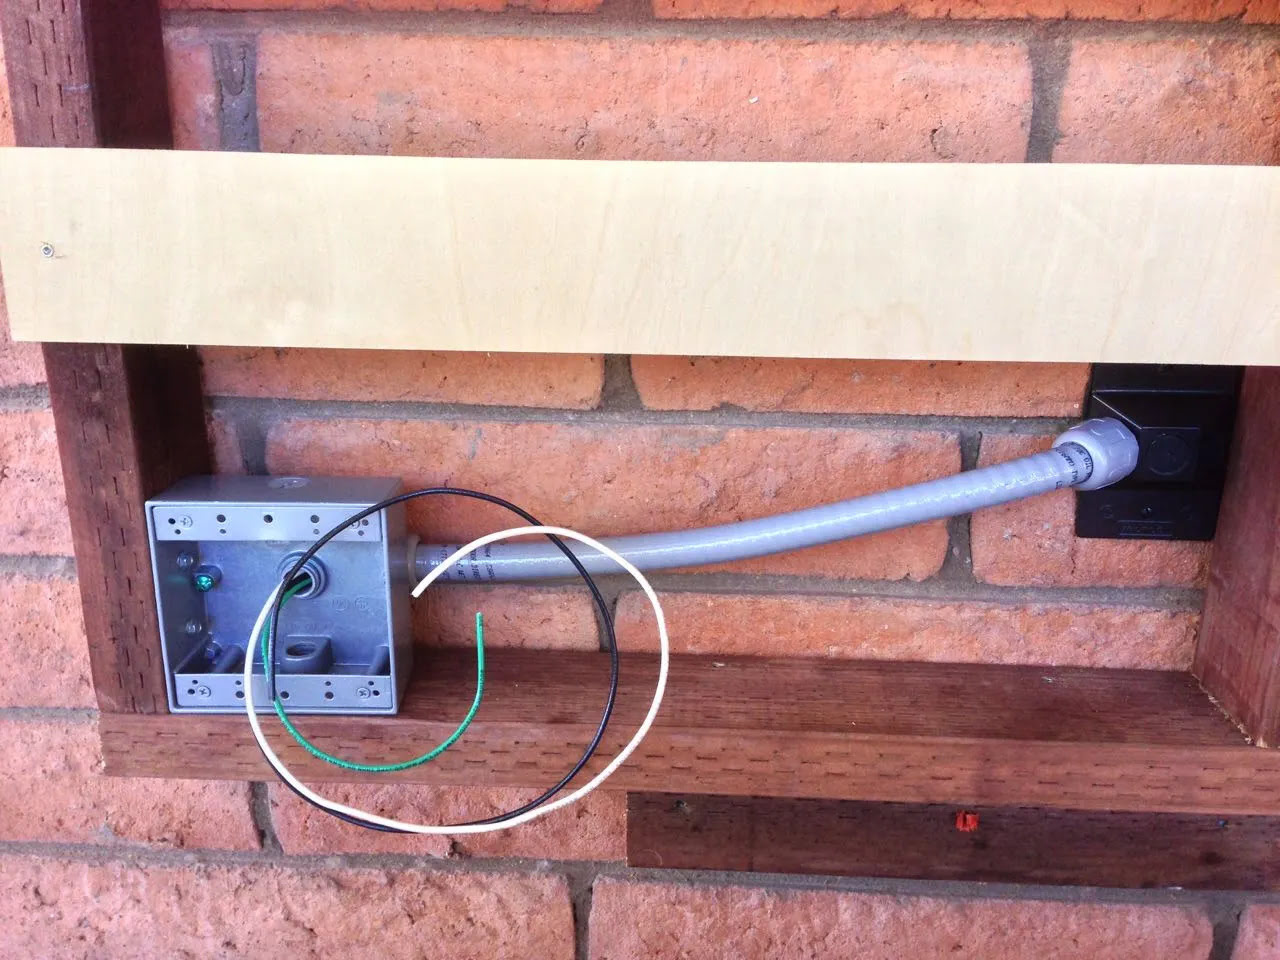
- Lighting and Electrical: Consider adding lighting fixtures and electrical outlets to the shed extension, providing illumination for evening tasks and enabling the use of power tools or other electrical devices. Ensure that all electrical work is carried out by a qualified professional to guarantee safety and compliance with regulations.
- Personalization: Infuse the extended shed with personal touches that reflect your style and interests. Whether it’s hanging decorative items, signage, or creating a dedicated workspace, adding personal elements will make the space feel truly your own.
By attending to these finishing touches, you’ll transform the shed extension into a fully realized and functional addition to your outdoor space. The careful consideration of details such as paint, landscaping, storage solutions, lighting, and personalization will culminate in a shed extension that not only meets your practical needs but also enhances the visual appeal and enjoyment of your outdoor environment.
Conclusion
Congratulations on successfully extending your shed and expanding your outdoor storage and workspace capabilities! The journey from assessing your existing shed to choosing the right extension, preparing the site, building the extension, and adding the finishing touches has culminated in a rewarding and transformative project.
By taking on the challenge of extending your shed, you’ve not only increased the functionality and storage capacity of your outdoor space but also demonstrated your creativity, craftsmanship, and dedication to enhancing your surroundings. The extended shed now stands as a testament to your vision and commitment to creating a practical and visually appealing addition to your property.
As you enjoy the benefits of your newly extended shed, whether it’s organized storage, a versatile workspace, or a dedicated area for your hobbies and activities, take pride in the accomplishment and the newfound potential that the extended space offers. Embrace the opportunity to make the most of your outdoor environment, utilizing the extended shed to support your projects, hobbies, and storage needs with ease and efficiency.
Remember that the process of extending a shed is not just about construction and expansion; it’s about enhancing your lifestyle, optimizing your outdoor space, and creating a place where functionality meets creativity. The extended shed is now a versatile and valuable asset that enriches your property and contributes to the enjoyment of your outdoor living experience.
As you reflect on the journey of extending your shed, take pride in the skills you’ve acquired, the challenges you’ve overcome, and the transformation you’ve brought to your outdoor environment. Whether it’s admiring the seamless integration of the extension with the existing shed, reveling in the organized storage solutions, or relishing the personalized touches that make the space your own, the extended shed represents a meaningful and impactful addition to your property.
May the extended shed continue to serve as a source of inspiration, productivity, and enjoyment, enriching your outdoor lifestyle for years to come. Here’s to the success of your shed extension project and the countless memories and accomplishments that will unfold within its expanded walls.
Frequently Asked Questions about How To Extend A Shed
Was this page helpful?
At Storables.com, we guarantee accurate and reliable information. Our content, validated by Expert Board Contributors, is crafted following stringent Editorial Policies. We're committed to providing you with well-researched, expert-backed insights for all your informational needs.

0 thoughts on “How To Extend A Shed”