Home>Gardening & Outdoor>Outdoor Structures>How To Restore A Shed
Outdoor Structures
How To Restore A Shed
Modified: April 23, 2024
Learn how to restore your outdoor shed with our expert tips and techniques. Revive your outdoor structures and make them look brand new.
(Many of the links in this article redirect to a specific reviewed product. Your purchase of these products through affiliate links helps to generate commission for Storables.com, at no extra cost. Learn more)
Introduction
Welcome to the world of shed restoration! Whether your shed has weathered years of storms or has fallen into disrepair due to neglect, restoring it to its former glory can be a rewarding and satisfying project. A well-maintained shed not only enhances the aesthetics of your outdoor space but also provides functional storage and workspace. In this comprehensive guide, we will walk you through the step-by-step process of restoring a shed, from assessing the damage to adding the final touches.
Restoring a shed is a labor of love that requires patience, dedication, and a bit of elbow grease. By the end of this journey, you will not only have a revitalized shed but also a sense of accomplishment and pride in bringing new life to an old structure. So, roll up your sleeves, gather your tools, and let’s embark on this fulfilling endeavor together!
Key Takeaways:
- Reviving a neglected shed involves assessing, cleaning, repairing, and adding personal touches. The process requires patience and attention to detail, resulting in a functional and visually appealing outdoor structure.
- Restoring a shed is a labor of love, from structural repairs to final touches. The journey yields a revitalized space, showcasing dedication and craftsmanship while creating lasting memories and pride.
Read more: How To Restore The Carpet Fluffiness
Assessing the Damage
Before diving into the restoration process, it’s crucial to assess the extent of the damage your shed has sustained. Start by conducting a thorough inspection of the structure, paying close attention to the walls, roof, foundation, doors, and windows. Look for signs of rot, decay, mold, pest infestation, water damage, and structural weaknesses. Take note of any areas that require immediate attention and make a list of the materials and tools you’ll need for the restoration.
When assessing the walls, check for rot, warping, or insect damage. Soft spots, discoloration, or a musty odor are indicators of potential water damage or mold growth. Inspect the roof for missing or damaged shingles, leaks, sagging, or signs of deterioration. Ensure that the foundation is stable and free from cracks or sinking. Examine the doors and windows for proper alignment, functionality, and any signs of damage or wear.
Additionally, evaluate the shed’s structural integrity by looking for any leaning or shifting. If the shed is supported by a concrete base, inspect it for cracks or erosion. It’s essential to assess the overall condition of the shed to determine the scope of the restoration project and establish a clear plan of action.
During the assessment, take note of any salvageable materials that can be reused in the restoration process. Salvaging and repurposing materials not only adds a touch of sustainability to the project but also preserves the shed’s original character and charm.
By thoroughly assessing the damage, you’ll gain valuable insights into the specific areas that require attention and the necessary steps to restore your shed to its former glory. With a clear understanding of the extent of the damage, you’ll be well-prepared to move on to the next phase of the restoration process.
Cleaning and Clearing
Once you have assessed the damage and identified the areas in need of restoration, the next crucial step is to thoroughly clean and clear the shed and its surroundings. Over time, sheds can accumulate dirt, debris, mold, and mildew, making it essential to start the restoration process with a clean slate.
Begin by removing any clutter, old furniture, or items stored inside the shed. Sort through the contents, and decide what to discard, donate, or keep. This decluttering process not only creates a clean workspace for the restoration but also allows you to assess the condition of the items stored inside.
With the interior cleared, it’s time to focus on the exterior of the shed. Use a broom or a leaf blower to remove leaves, cobwebs, and other debris from the walls, roof, and corners. For stubborn dirt and grime, consider using a mild detergent solution and a soft-bristled brush to gently scrub the surfaces. Pay special attention to areas prone to mold and mildew, as thorough cleaning is essential to prevent future growth.
After cleaning the shed’s exterior, turn your attention to the surrounding area. Trim overgrown vegetation, remove weeds, and clear any debris from around the shed. This not only improves the aesthetics of the space but also helps prevent moisture buildup and pest infestation around the shed.
During the cleaning process, keep an eye out for any additional damage or areas that may require immediate attention. Addressing these issues early on will ensure that the restoration progresses smoothly and effectively.
By meticulously cleaning and clearing the shed and its surroundings, you’ll create a fresh canvas for the restoration work ahead. This initial step sets the stage for the subsequent phases of the restoration process, allowing you to work in a clean and organized environment as you breathe new life into your beloved shed.
Repairing the Structure
With the shed cleaned and cleared, it’s time to address the structural repairs necessary to restore its stability and integrity. The extent of the repairs will depend on the damage identified during the assessment phase, and it’s essential to approach each issue systematically to ensure a thorough restoration.
Begin by focusing on the walls and siding. Inspect for signs of rot, decay, or insect damage. If the damage is localized, carefully remove the affected sections and replace them with new, matching materials. For minor issues such as small cracks or holes, use wood filler or caulking to seal and reinforce the affected areas. Address any loose or damaged trim, ensuring that the shed’s exterior is not only structurally sound but also visually appealing.
Next, turn your attention to the shed’s foundation. If you notice any cracks or sinking, consider consulting a professional to assess and address any structural concerns. Repairing the foundation is crucial to ensure the long-term stability of the shed.
Inspect the doors and windows for proper functionality and address any issues related to alignment, hardware, or weather-stripping. Replace damaged or worn-out components to ensure that the shed is secure and weather-resistant. Additionally, consider applying a fresh coat of paint to the doors and windows to enhance their appearance and protect them from the elements.
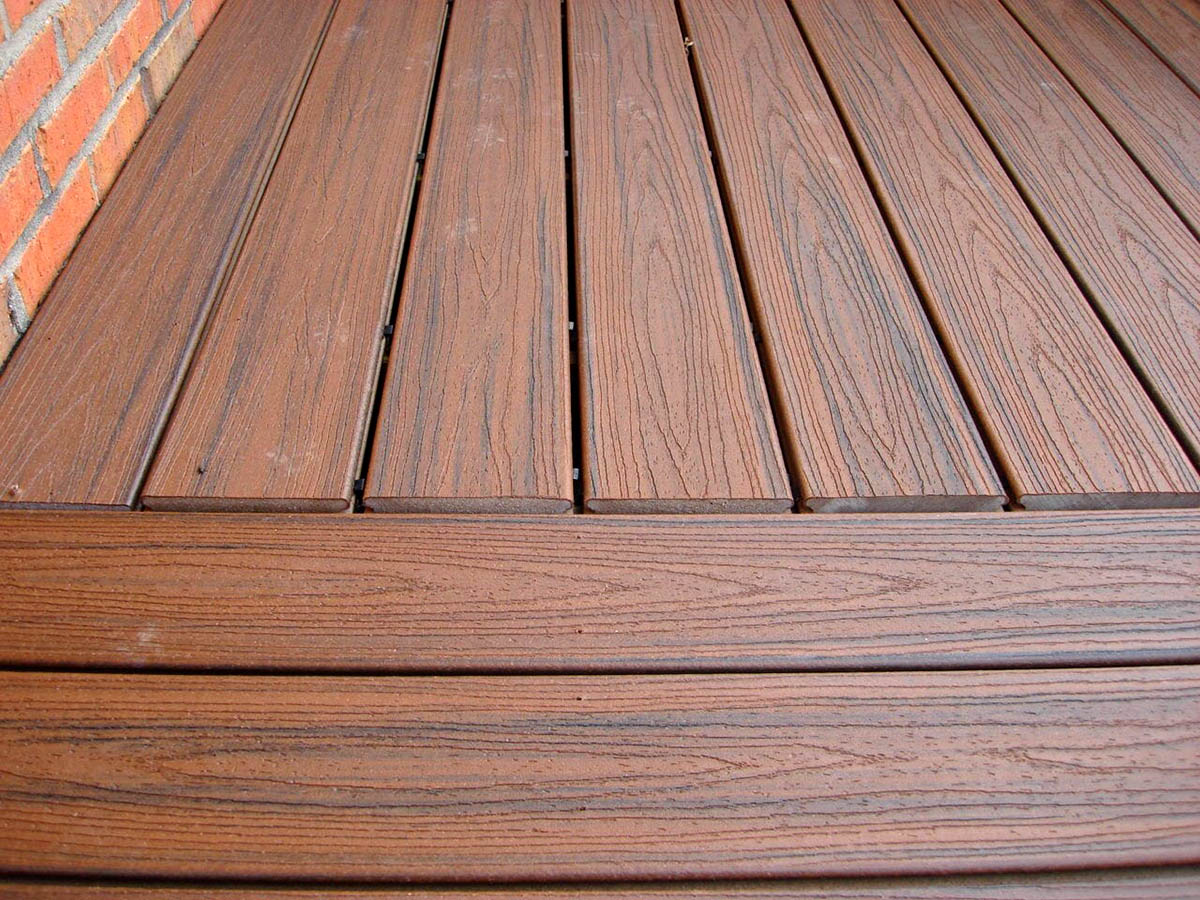
If the shed has a wooden floor, assess its condition and address any areas of rot or damage. Replace rotted floorboards and reinforce the subfloor as needed. Consider applying a protective sealant or paint to the floor to enhance its durability and resistance to moisture.
Throughout the repair process, prioritize the use of high-quality materials and techniques that promote longevity and resilience. By meticulously addressing the structural repairs, you’ll ensure that your restored shed not only looks rejuvenated but also stands the test of time, providing reliable functionality and charm for years to come.
Regularly inspect and repair any damaged or rotting wood on the shed to prevent further deterioration. Sand and repaint the shed to protect it from the elements and give it a fresh look.
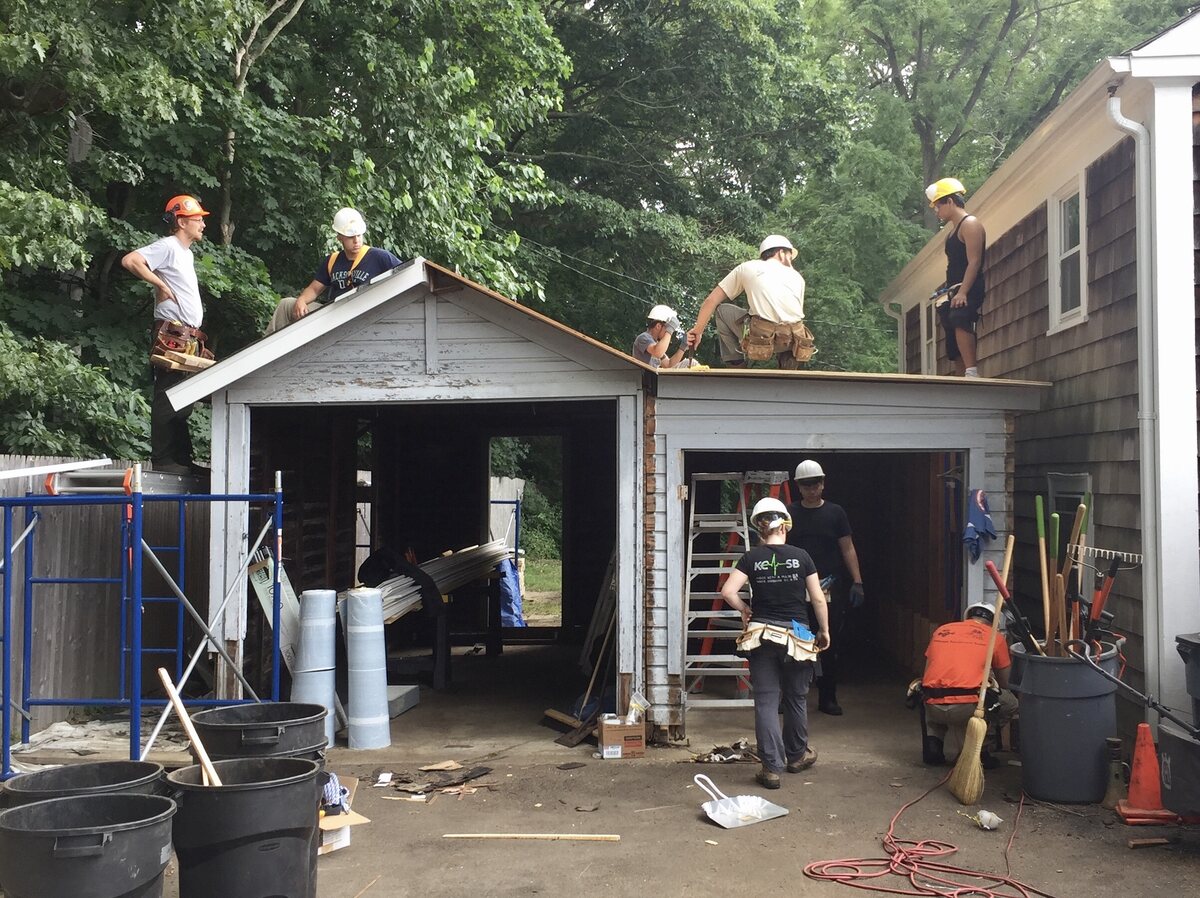
Replacing the Roof
The roof is a critical component of any shed, providing protection against the elements and ensuring the interior remains dry and secure. If the assessment reveals issues such as missing or damaged shingles, leaks, or signs of deterioration, it may be necessary to replace the roof to safeguard the shed’s structural integrity and longevity.
Before embarking on the roof replacement, carefully measure the dimensions of the roof to determine the quantity of materials needed. Select high-quality roofing materials that are suitable for the shed’s design and climate conditions. Whether opting for asphalt shingles, metal roofing, or another material, ensure that it offers durability and weather resistance.
Begin the roof replacement process by removing the existing roofing materials, including shingles, underlayment, and any damaged or rotted wood. Inspect the roof sheathing for signs of damage or decay, and replace any compromised sections to create a solid foundation for the new roofing materials.
Install a new underlayment to provide an additional layer of protection against moisture and ensure a watertight seal. Depending on the chosen roofing material, carefully follow the manufacturer’s guidelines for installation, ensuring proper overlap, fastening, and flashing to prevent water infiltration and promote efficient water shedding.
As you install the new roofing materials, pay attention to the details, such as proper alignment, fastening, and trim work. Ensure that the roof’s edges are neatly finished and that all components work together to create a cohesive and watertight barrier against the elements.
Upon completing the roof replacement, conduct a thorough inspection to verify that the new roof is securely installed and free from any potential issues. A well-executed roof replacement not only enhances the shed’s visual appeal but also provides peace of mind, knowing that the structure is well-protected and prepared to withstand the elements for years to come.
Read more: How To Restore Brick Color
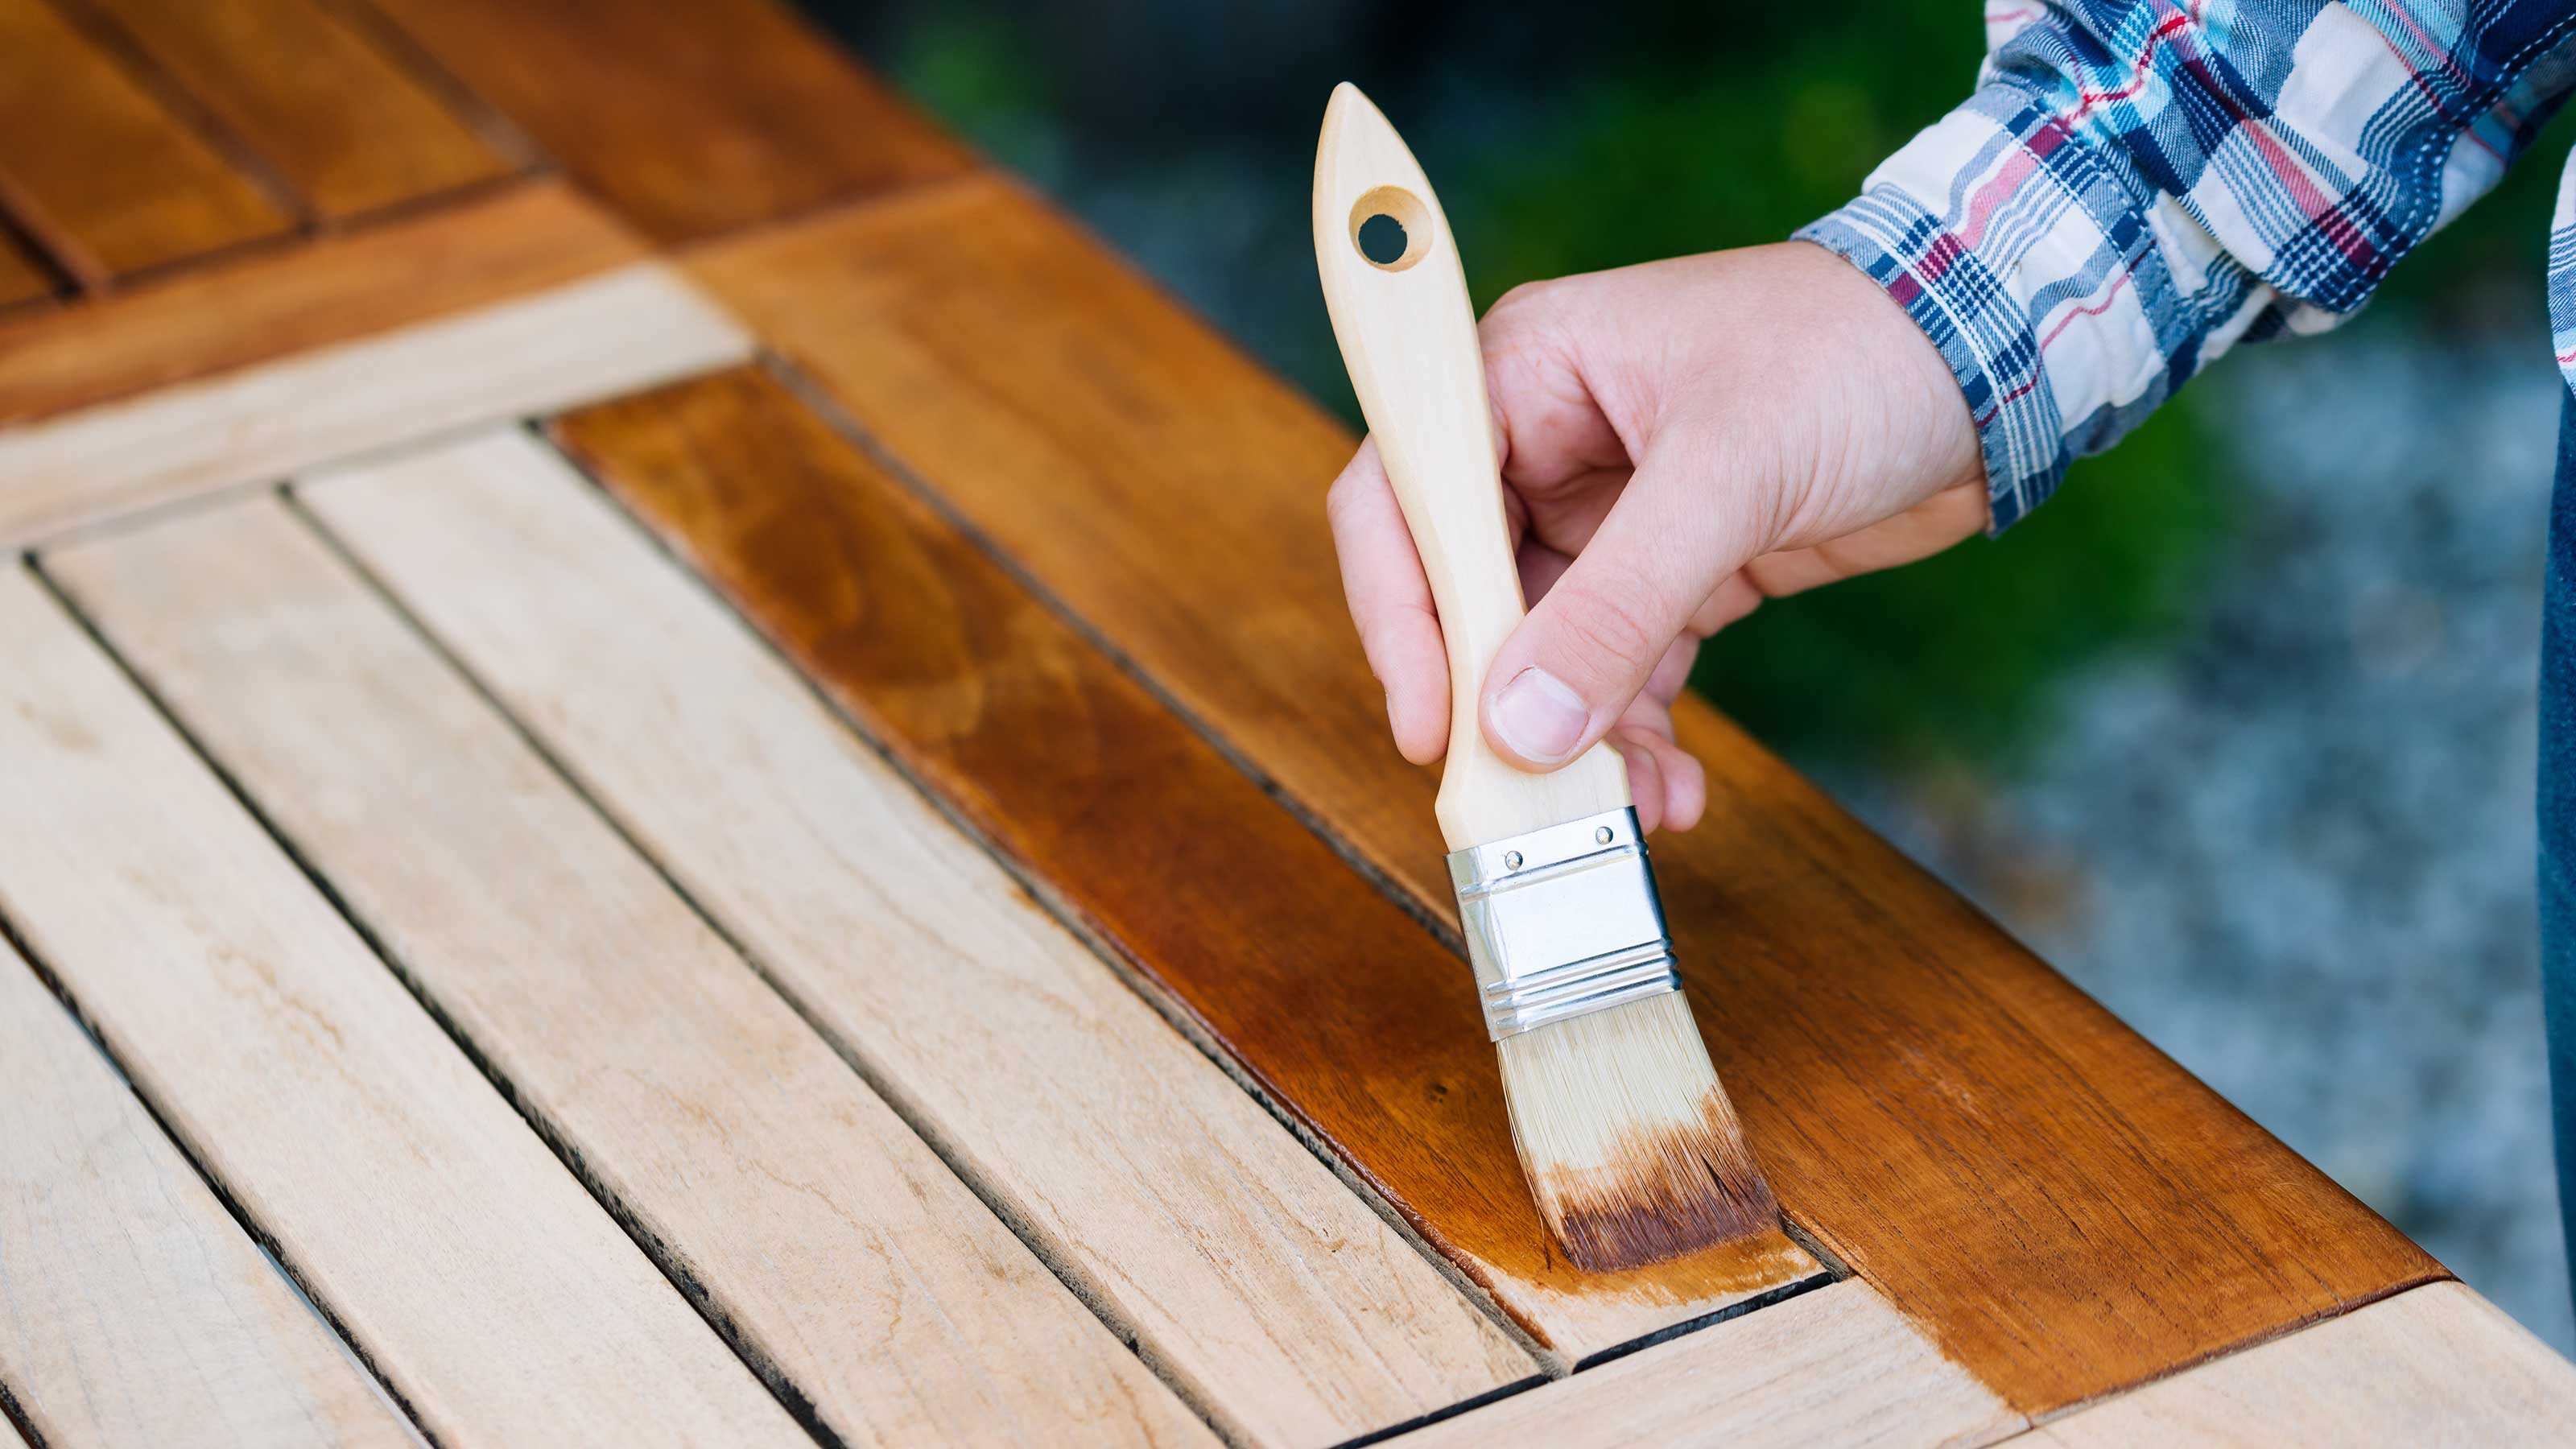
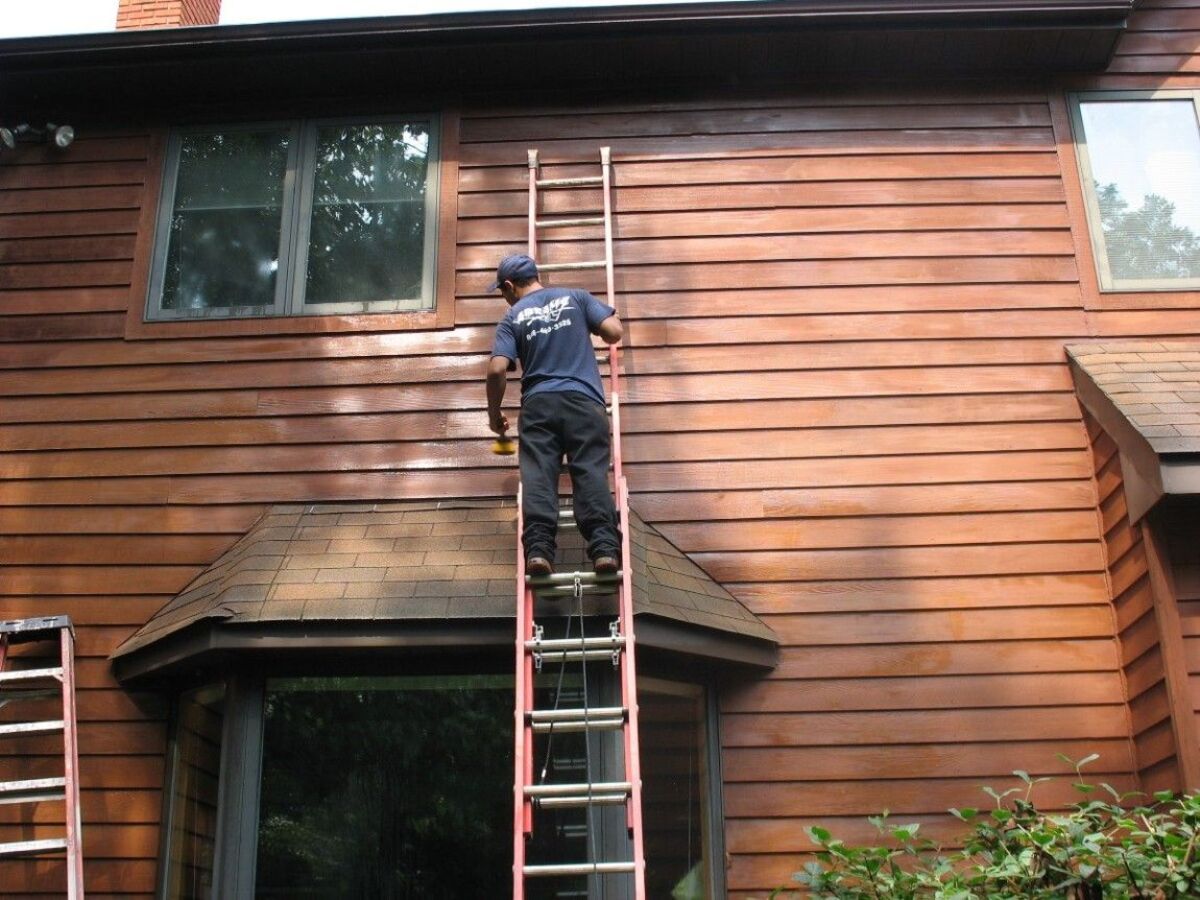
Painting and Finishing
Once the structural repairs and roof replacement are complete, it’s time to breathe new life into your shed through the transformative power of paint and finishing touches. A fresh coat of paint not only enhances the shed’s appearance but also provides essential protection against the elements, preserving the wood and ensuring longevity.
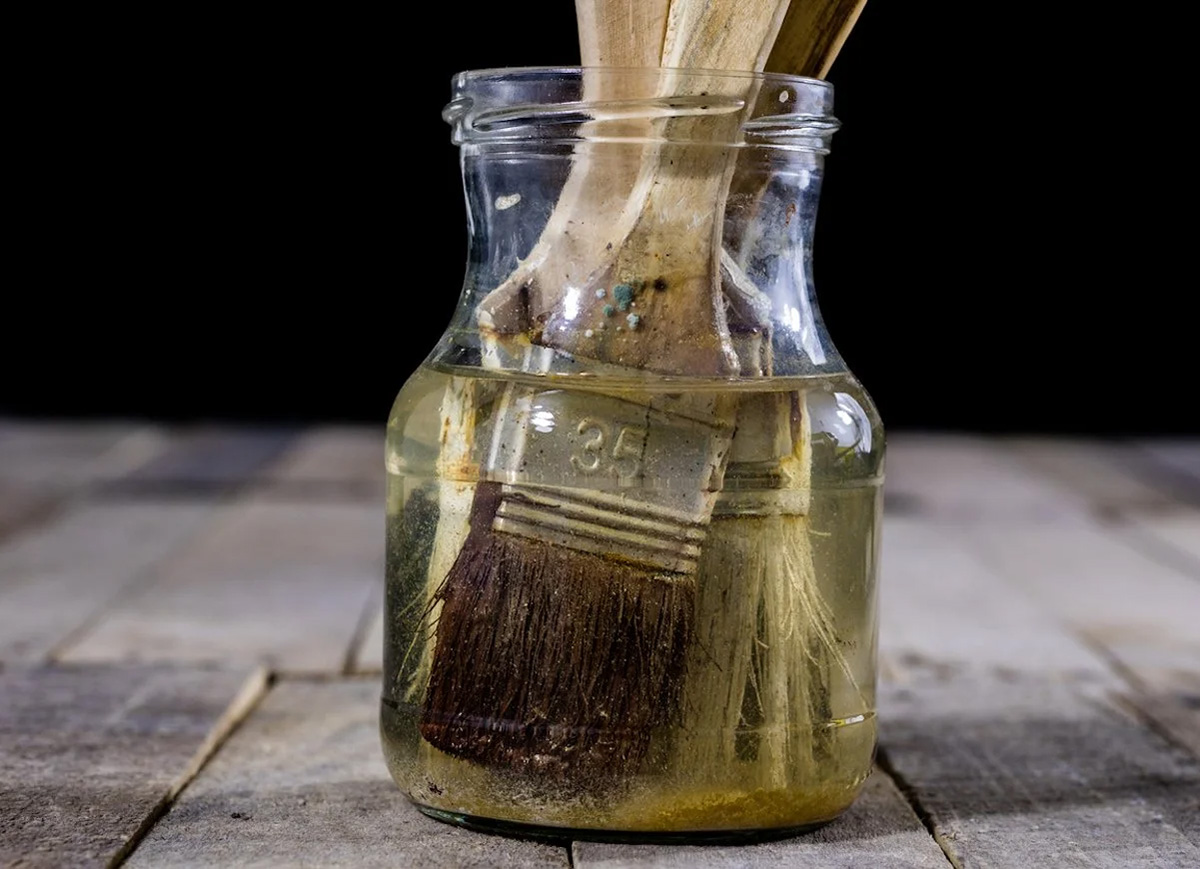
Before painting, prepare the shed’s exterior by thoroughly cleaning the surfaces and allowing them to dry completely. Remove any remaining debris, dust, or loose particles to ensure a smooth and clean painting surface. If the shed previously had peeling or flaking paint, consider using a scraper and sandpaper to remove the old paint and create a uniform base for the new finish.
Choose a high-quality exterior paint that is suitable for the shed’s material and climate conditions. Opt for colors that complement the surrounding landscape while reflecting your personal style. Consider using a primer to promote adhesion and enhance the durability of the topcoat, especially if the shed’s surface is porous or has undergone extensive repairs.
Apply the paint evenly using a brush, roller, or sprayer, ensuring thorough coverage and paying special attention to details such as corners, trim, and edges. Multiple coats may be necessary to achieve the desired color depth and protection, so plan accordingly and allow sufficient drying time between coats.
While painting is a significant aspect of finishing, don’t overlook the opportunity to add charming details and personal touches to the shed. Consider installing decorative trim, window boxes, or shutters to enhance its visual appeal. Additionally, adding a protective sealant to the wood surfaces can further fortify the shed against moisture and UV damage, prolonging the life of the paint and wood.
As you complete the painting and finishing touches, step back and admire the remarkable transformation taking place. The shed, once weathered and worn, now stands rejuvenated and ready to serve as a functional and visually captivating asset to your outdoor space.
Adding Final Touches
With the structural restoration, roof replacement, and painting complete, it’s time to add the final touches that will elevate your shed’s functionality and visual appeal to new heights. These finishing touches not only enhance the shed’s aesthetics but also contribute to its practicality and overall charm.
Consider installing shelving, storage units, or workbenches inside the shed to optimize its functionality and organization. Customizing the interior layout to suit your specific needs ensures that the shed becomes a versatile and efficient space for storage, hobbies, or DIY projects.
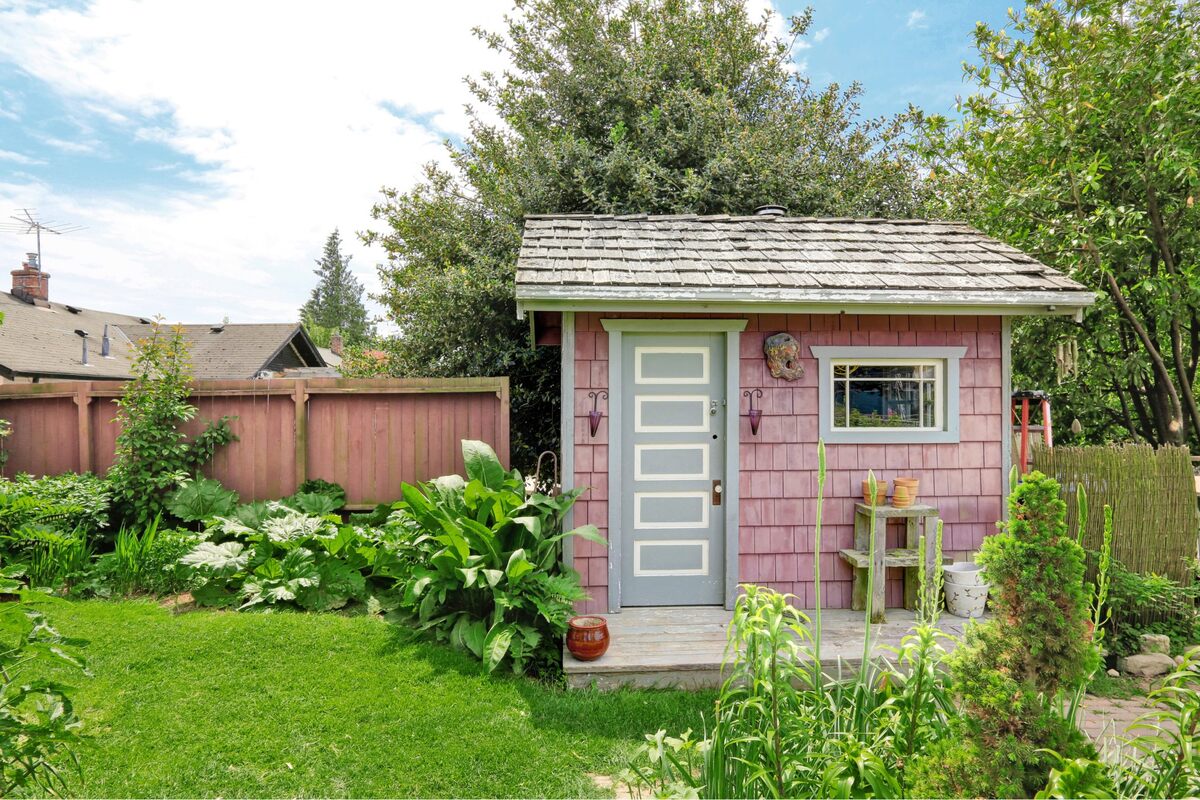
Enhance the shed’s exterior by incorporating landscaping elements such as flower beds, potted plants, or a trellis with climbing vines. These additions soften the transition between the shed and its surroundings, creating a harmonious and inviting atmosphere in your outdoor space.
Illuminate the shed’s exterior with tasteful lighting to extend its functionality into the evening hours. Whether through solar-powered lanterns, string lights, or wall-mounted fixtures, thoughtful lighting not only enhances safety and security but also accentuates the shed’s architectural features and creates a welcoming ambiance.
Personalize the shed with decorative accents that reflect your individual style and preferences. Consider adding a weathervane, decorative signage, or window treatments to infuse the shed with character and charm. These small details contribute to a sense of cohesiveness and personality, making the shed a unique and inviting focal point in your outdoor space.
Finally, take a moment to step back and appreciate the remarkable transformation your shed has undergone. What was once a weathered and neglected structure has now been revitalized into a functional, visually appealing, and cherished asset in your outdoor environment. The addition of these final touches not only enhances the shed’s practicality and aesthetics but also signifies the culmination of your dedication and craftsmanship in restoring a beloved outdoor structure.
Conclusion
Congratulations on successfully restoring your shed to its former glory! The journey from assessing the damage to adding the final touches has been a labor of love, dedication, and craftsmanship. As you stand back and admire the revitalized structure, it’s clear that the effort invested in the restoration process has yielded a remarkable transformation.
By embarking on this restoration journey, you’ve not only rejuvenated a weathered shed but also breathed new life into your outdoor space. The restored shed now stands as a functional, visually captivating, and cherished asset, ready to serve as a storage space, workshop, or retreat in your garden or backyard.
Throughout the restoration process, you’ve demonstrated patience, attention to detail, and a commitment to preserving the shed’s original charm and character. Your careful assessment of the damage, meticulous repairs, and thoughtful finishing touches have culminated in a revitalized structure that will serve you well for years to come.
As you enjoy the fruits of your labor, take pride in knowing that the restored shed is a testament to your craftsmanship and dedication. It stands as a tangible representation of your ability to breathe new life into aging structures, infusing them with functionality, beauty, and purpose.
Perhaps most importantly, the restoration of your shed has created lasting memories and a sense of accomplishment. The journey from weathered to revitalized has not only enhanced your outdoor space but has also provided a fulfilling and rewarding experience that will be remembered for years to come.
As you move forward, may the restored shed continue to be a source of joy, inspiration, and pride. Whether you use it for storage, creative projects, or simply as a peaceful retreat, may it serve as a constant reminder of the transformative power of dedication and the enduring value of preserving and revitalizing cherished outdoor structures.
Frequently Asked Questions about How To Restore A Shed
Was this page helpful?
At Storables.com, we guarantee accurate and reliable information. Our content, validated by Expert Board Contributors, is crafted following stringent Editorial Policies. We're committed to providing you with well-researched, expert-backed insights for all your informational needs.


0 thoughts on “How To Restore A Shed”