Home>Gardening & Outdoor>Outdoor Structures>How To Paint A Shed Exterior
Outdoor Structures
How To Paint A Shed Exterior
Modified: October 25, 2024
Learn how to paint your shed exterior with our step-by-step guide. Enhance the look of your outdoor structures with our expert tips.
(Many of the links in this article redirect to a specific reviewed product. Your purchase of these products through affiliate links helps to generate commission for Storables.com, at no extra cost. Learn more)
Introduction
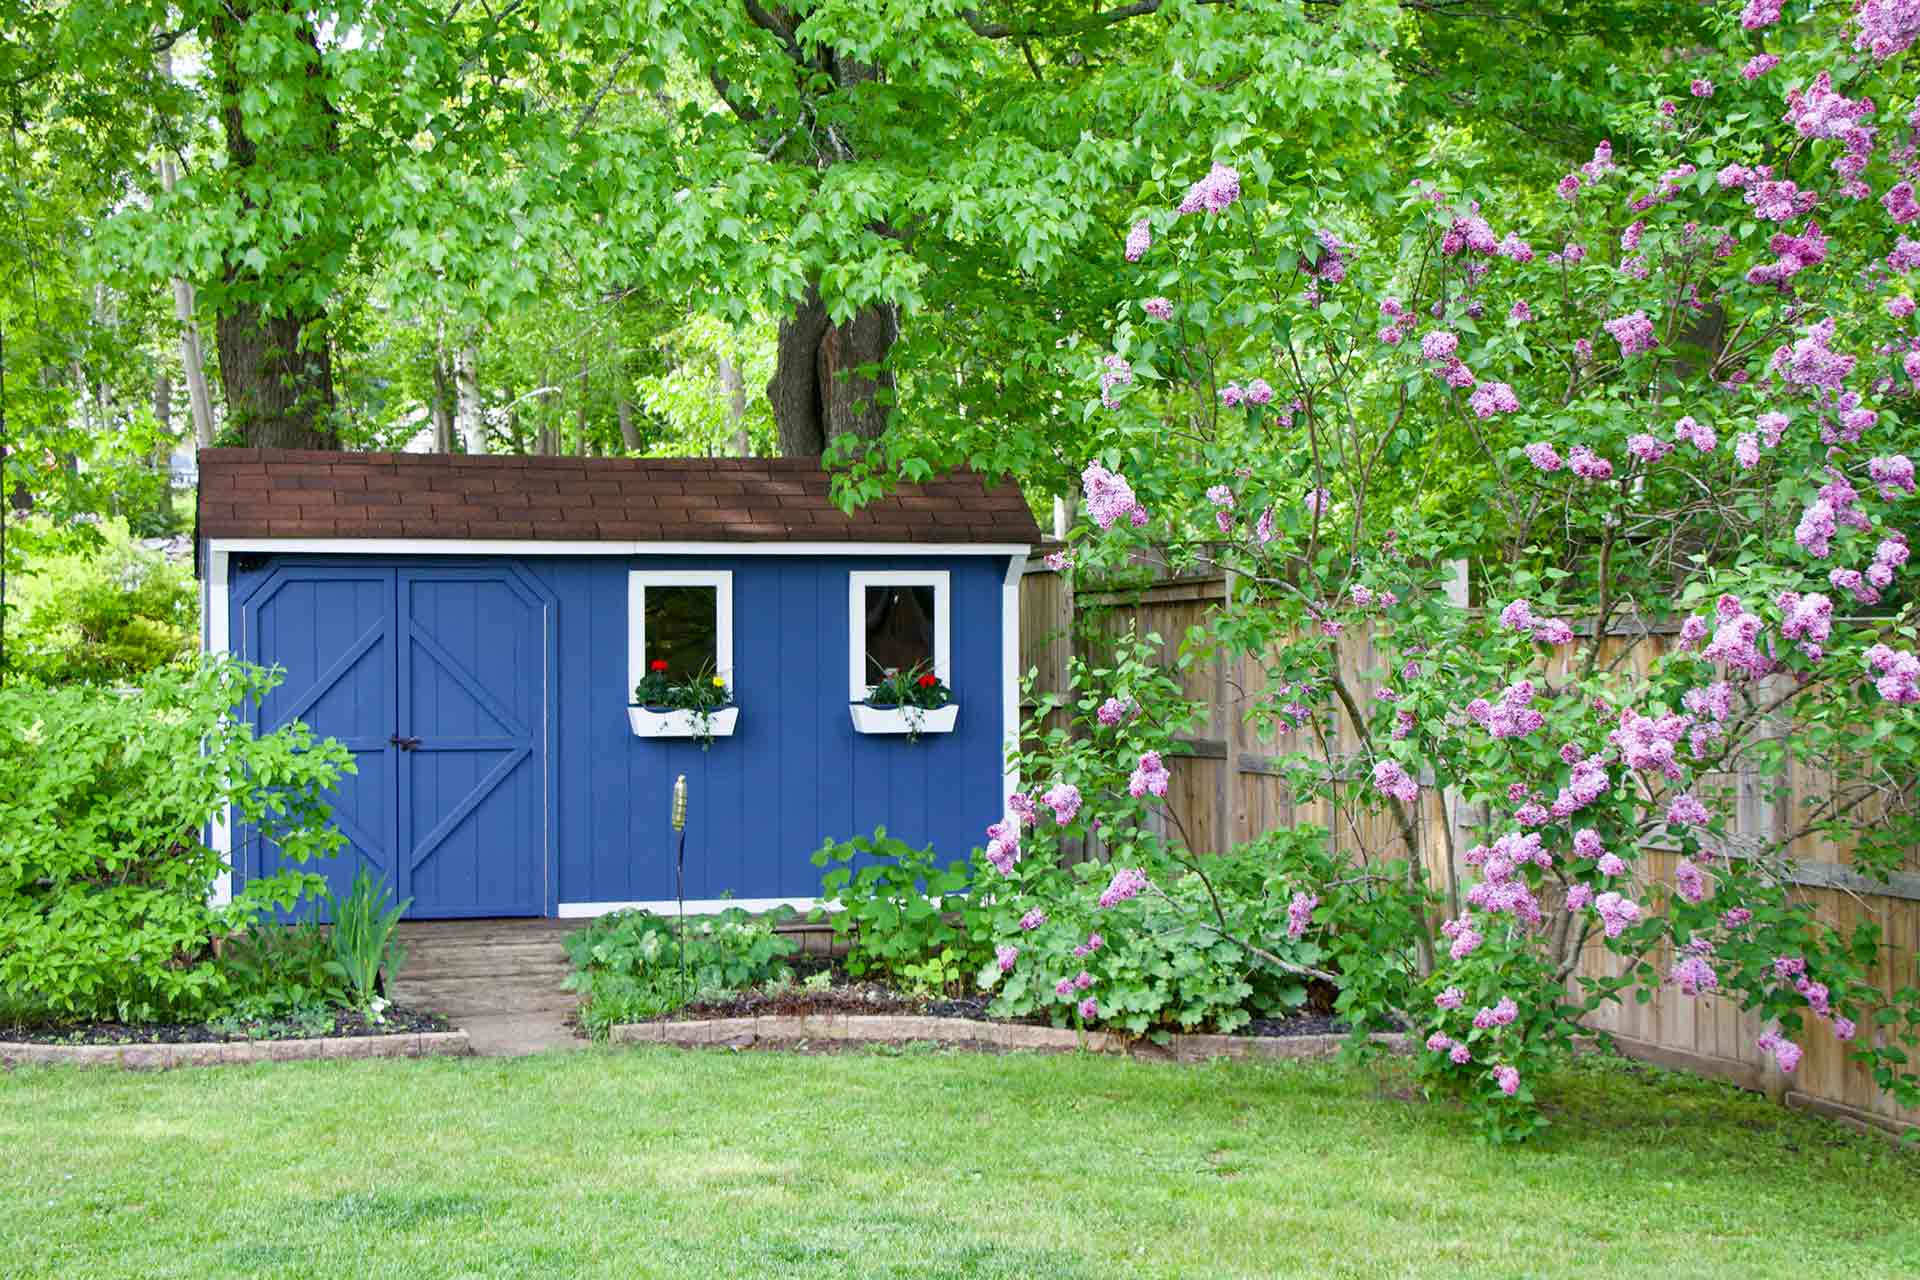
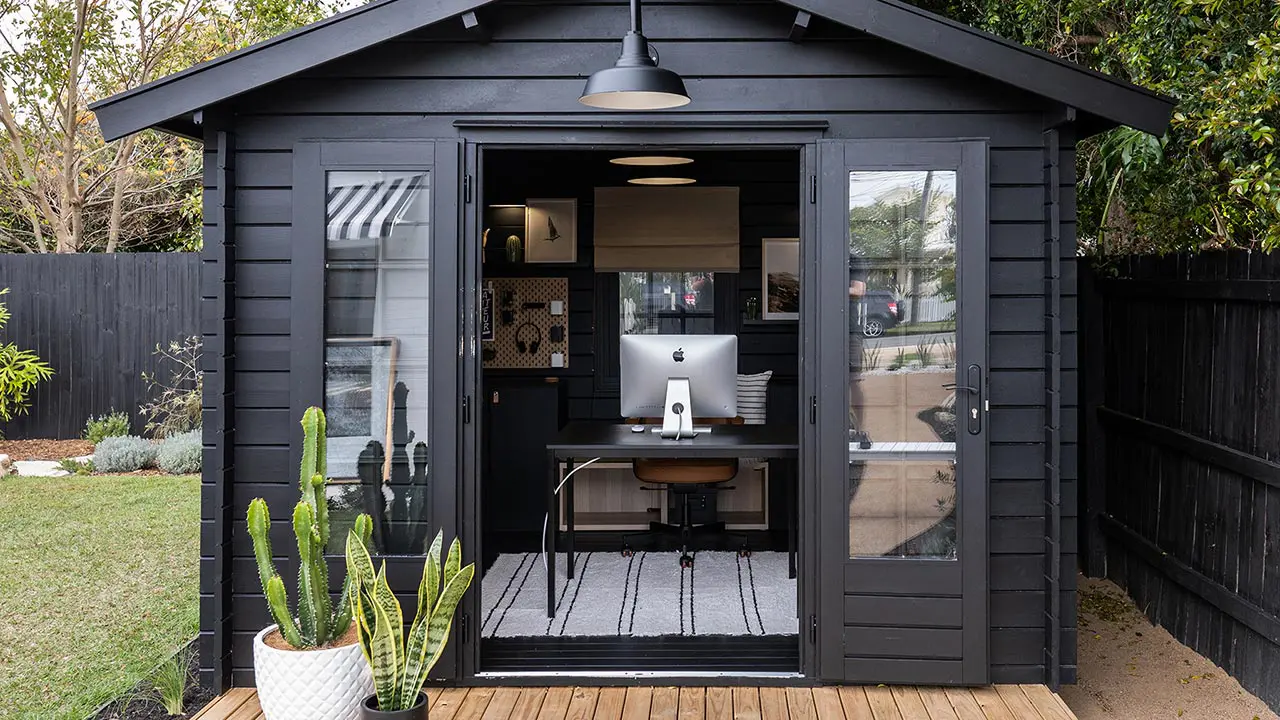
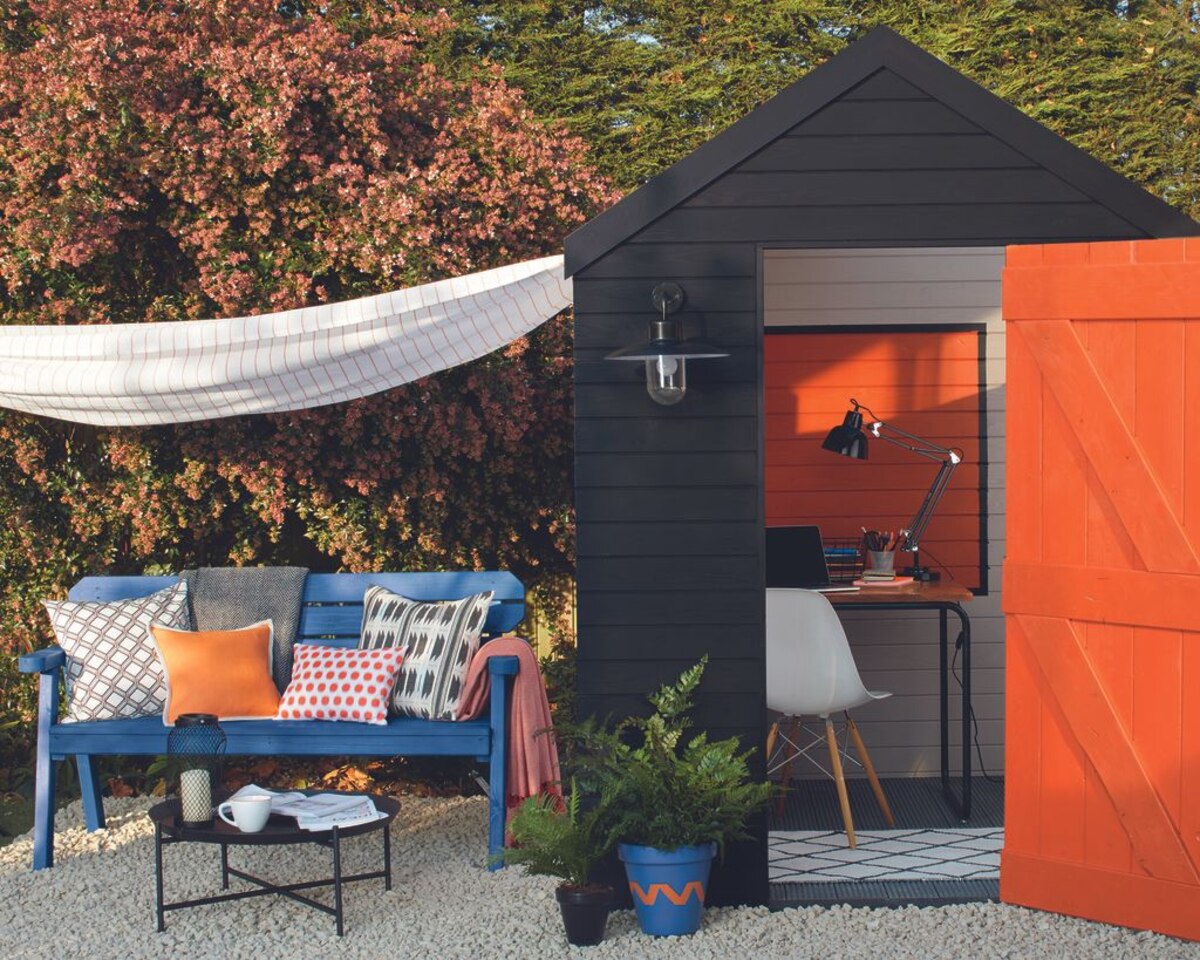
When it comes to enhancing the aesthetic appeal and durability of your outdoor shed, painting the exterior can make a remarkable difference. Not only does a fresh coat of paint revitalize the appearance of the structure, but it also provides essential protection against the elements, preventing decay and extending the shed's lifespan. Whether you're aiming to match the shed to your home's color scheme or simply wish to breathe new life into the weathered exterior, this comprehensive guide will walk you through the process of painting your shed with finesse.
Before embarking on this endeavor, it's essential to gather the necessary tools and materials, familiarize yourself with the step-by-step process, and understand the significance of each stage. By doing so, you'll be well-equipped to execute the project efficiently while achieving professional-quality results. So, roll up your sleeves, unleash your creativity, and let's transform your outdoor shed into a stunning focal point of your property.
Key Takeaways:
- Transform your outdoor shed with a fresh coat of paint to enhance its appearance and protect it from the elements, extending its lifespan and adding a stunning focal point to your property.
- By carefully choosing the right paint, preparing the surface, and applying the topcoat with precision, you can elevate your shed’s visual appeal and ensure long-lasting resilience, creating a welcoming and enduring feature for your outdoor space.
Read more: How To Paint Exterior Conduit
Choosing the Right Paint
Before delving into the painting process, it’s crucial to select the appropriate type of paint for your shed’s exterior. The choice of paint not only influences the visual appeal but also determines the level of protection and longevity it offers.
1. Exterior Paint Types: Opt for high-quality exterior paint specifically formulated for outdoor use. Acrylic latex paint is a popular choice due to its durability, flexibility, and ease of application. It provides excellent adhesion and resists cracking, peeling, and fading, making it ideal for wooden shed exteriors. Oil-based paints are also suitable for sheds but require proper ventilation during application and a longer drying time.
2. Finish: Consider the sheen or finish of the paint. Glossy finishes offer a sleek, shiny appearance and are easier to clean, making them suitable for high-traffic areas. However, they may accentuate surface imperfections. Satin and eggshell finishes strike a balance between durability and hiding flaws, while flat/matte finishes conceal imperfections but are less resistant to dirt and moisture.
3. Color Selection: When choosing a color, take into account the existing color scheme of your property. Whether you opt for a bold statement or a subtle complement, ensure the chosen color harmonizes with the surroundings. Lighter shades reflect sunlight and heat, minimizing the risk of heat absorption and potential warping of the shed’s exterior.
4. UV and Mildew Resistance: Given the shed’s exposure to the elements, prioritize paints with UV protection to prevent color fading and deterioration. Additionally, select paints with mildew-resistant properties to inhibit the growth of mold and mildew, especially in humid climates.
By carefully considering these factors and consulting with paint professionals, you can make an informed decision that aligns with your aesthetic preferences and the environmental conditions your shed faces. With the right paint in hand, you’ll be ready to embark on the transformation of your shed’s exterior.
Preparing the Shed Exterior
Proper preparation of the shed exterior is paramount to ensure the paint adheres effectively and the final finish is flawless. This stage involves thorough cleaning, surface repairs, and safeguarding surrounding areas to facilitate a seamless painting process.
1. Cleaning the Surface: Begin by clearing the surrounding area and removing any debris or vegetation that may obstruct the painting process. Use a stiff brush or pressure washer to eliminate dirt, grime, and any existing flaking paint. For stubborn areas, a solution of mild detergent and water can be used to scrub the surface clean. Rinse the shed thoroughly and allow it to dry completely before proceeding.
2. Surface Inspection and Repairs: Carefully inspect the shed’s exterior for any signs of damage, such as cracks, rot, or loose boards. Address these issues by replacing rotted wood, tightening loose components, and filling cracks or gaps with an appropriate wood filler. Sand rough areas to create a smooth, uniform surface for painting. Taking the time to repair and reinforce the structure ensures that the new paint will adhere securely and contribute to the shed’s structural integrity.
3. Protection and Masking: Shield windows, doors, trim, and any adjacent surfaces from accidental paint splatter or overspray by using painter’s tape and drop cloths. This meticulous step prevents unwanted paint transfer and simplifies the cleanup process. Additionally, if the shed is situated near delicate plants or landscaping, consider covering these areas to safeguard them from potential paint exposure.
4. Weather Considerations: Plan the preparation phase around favorable weather conditions. Avoid painting in excessively hot or humid conditions, as these can affect the paint’s drying time and overall finish. Ideally, aim for a mild, dry day to undertake the preparatory tasks and proceed with the subsequent painting stages.
By investing time and effort into thorough preparation, you set the stage for a successful painting endeavor and contribute to the longevity of the shed’s new exterior finish. With the shed surface primed and ready, you’re now poised to move on to the next crucial step in the painting process: applying primer.
Applying Primer
Before diving into the application of the topcoat, applying a high-quality primer to the shed’s exterior is a vital preparatory step that significantly impacts the paint’s adhesion, coverage, and overall longevity. Primer serves as a foundation for the topcoat, enhancing its durability and ensuring a uniform finish across the entire surface.
1. Primer Selection: Choose a primer specifically formulated for exterior use and compatible with the type of paint you’ll be applying. For wooden sheds, an oil-based or latex-based exterior primer is suitable. Opt for a primer that offers excellent adhesion, seals the surface, and provides protection against moisture and UV exposure. If the shed has knots or resinous areas, consider using a stain-blocking primer to prevent bleed-through.
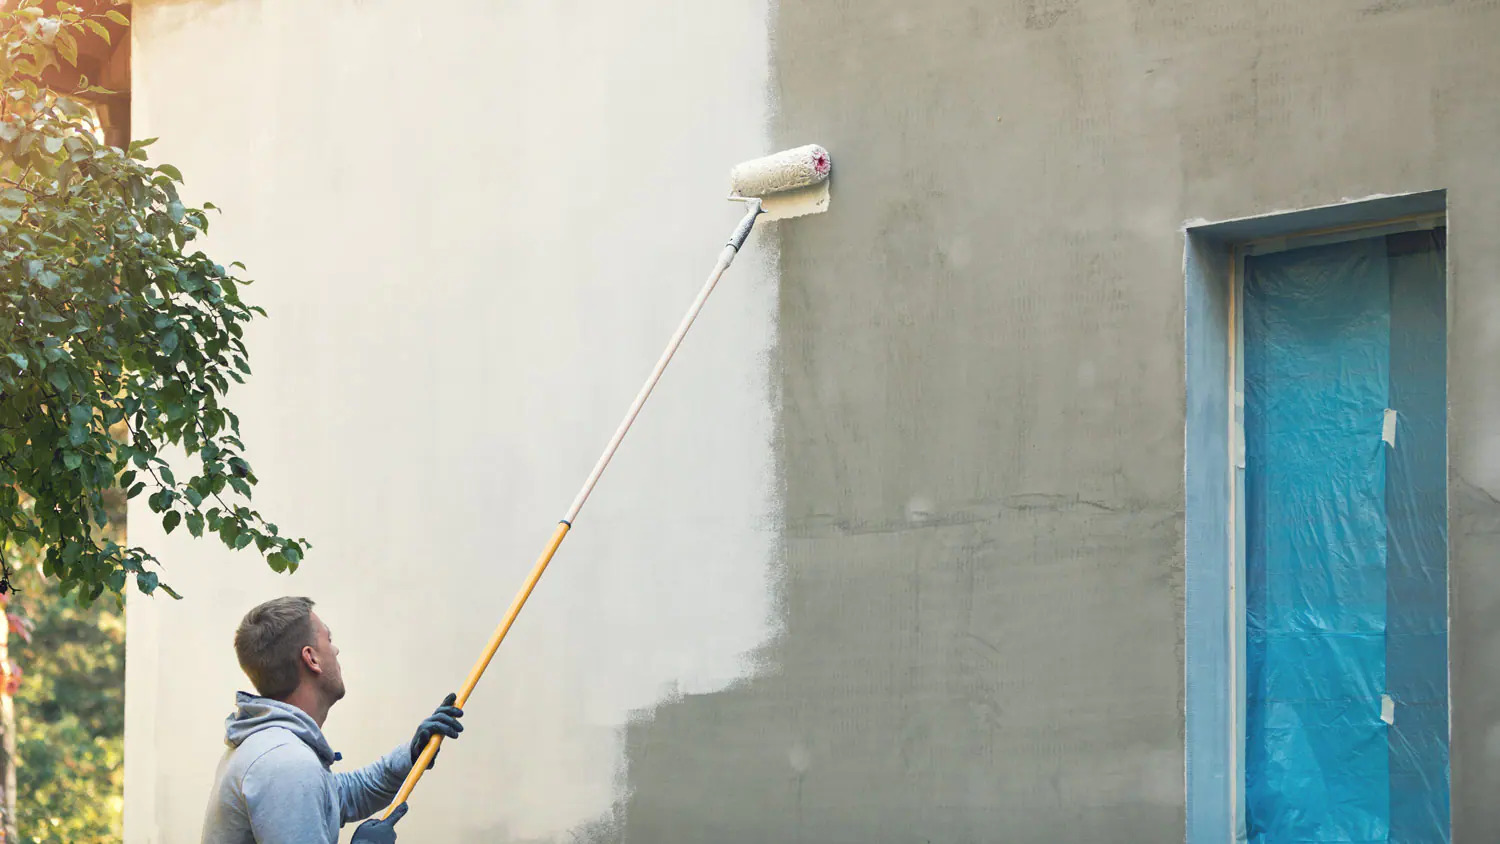
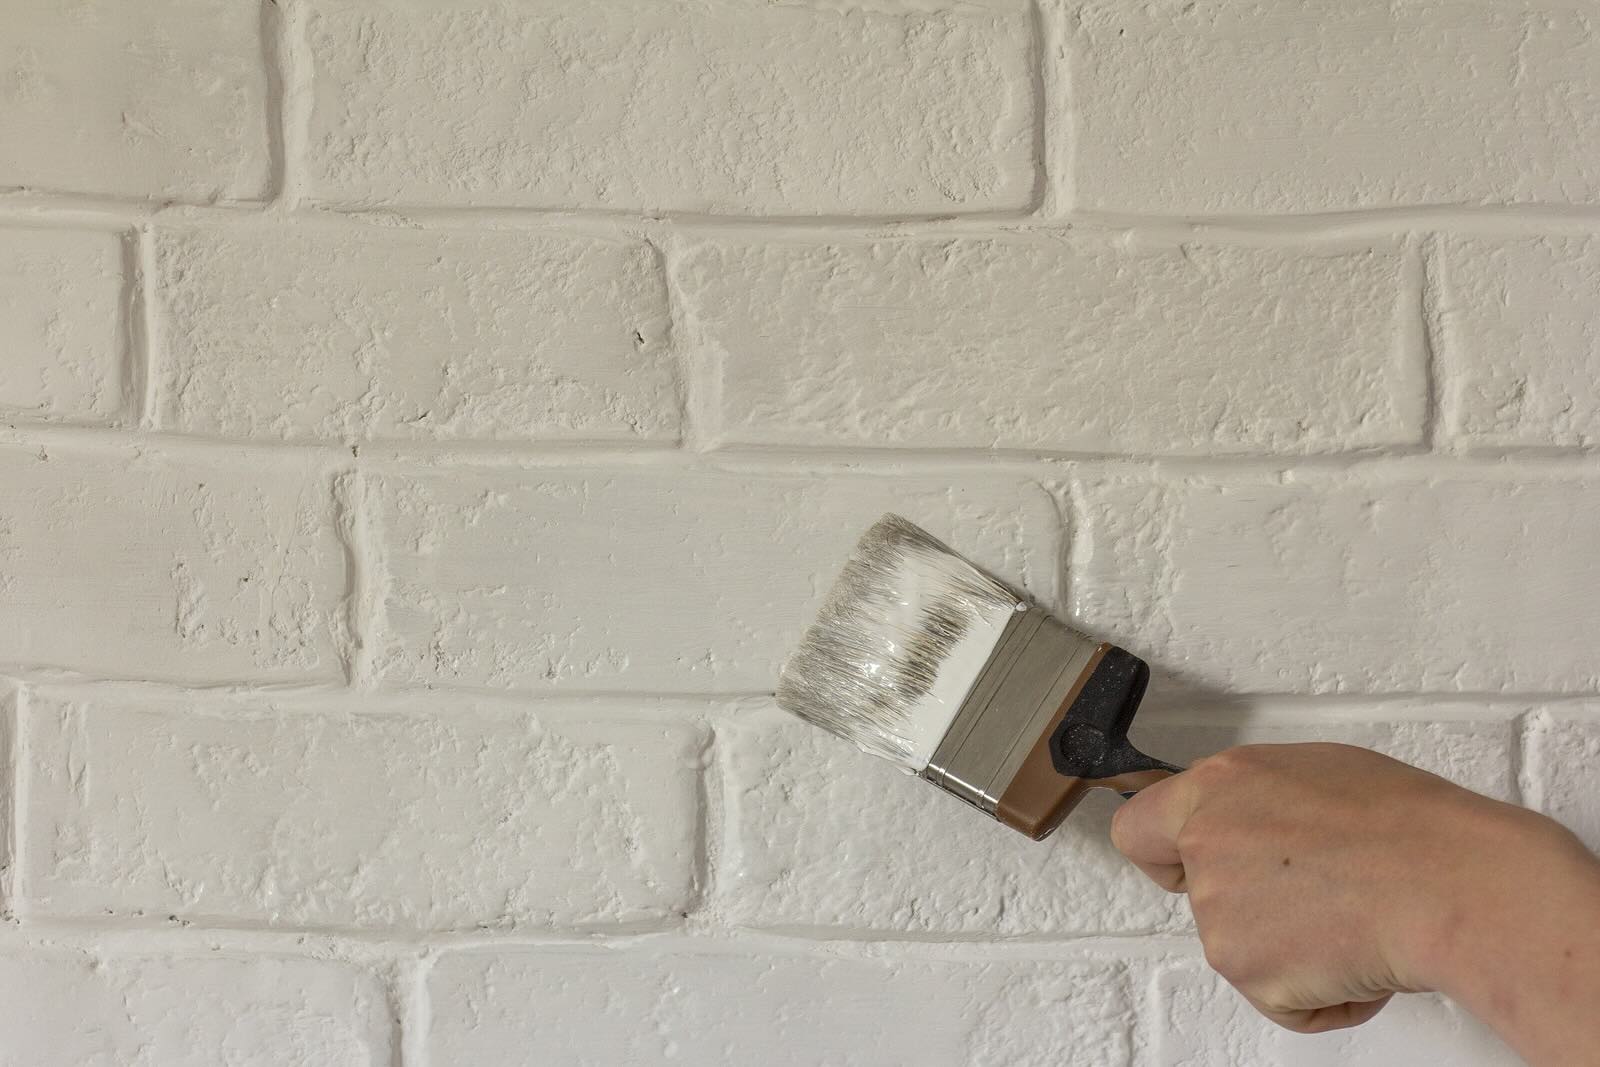
2. Application Technique: Begin by stirring the primer thoroughly to achieve a consistent texture. Use a high-quality paintbrush or a paint sprayer to apply the primer, ensuring even coverage across the entire exterior surface. Pay special attention to areas with bare wood, as they require thorough priming to prevent moisture infiltration and ensure optimal paint adhesion. Apply the primer in thin, uniform coats, allowing sufficient drying time between applications as per the manufacturer’s recommendations.
3. Drying and Sanding: Once the primer has been applied and allowed to dry completely, inspect the surface for any imperfections or roughness. Lightly sand the primed surface with fine-grit sandpaper to create a smooth foundation for the topcoat. This step promotes optimal paint adhesion and contributes to a professional, blemish-free finish.
4. Clean-Up and Safety: After completing the priming process, clean your painting tools thoroughly according to the manufacturer’s instructions. Properly dispose of any used materials and ensure adequate ventilation during the application and drying of the primer. Adhering to safety guidelines and environmental practices is essential at every stage of the painting process.
By diligently priming the shed exterior, you establish a solid base for the topcoat, fortify the surface against environmental elements, and pave the way for a resilient and visually appealing finish. With the primer effectively applied and prepared, you’re now poised to embark on the transformative stage of painting the shed’s exterior.
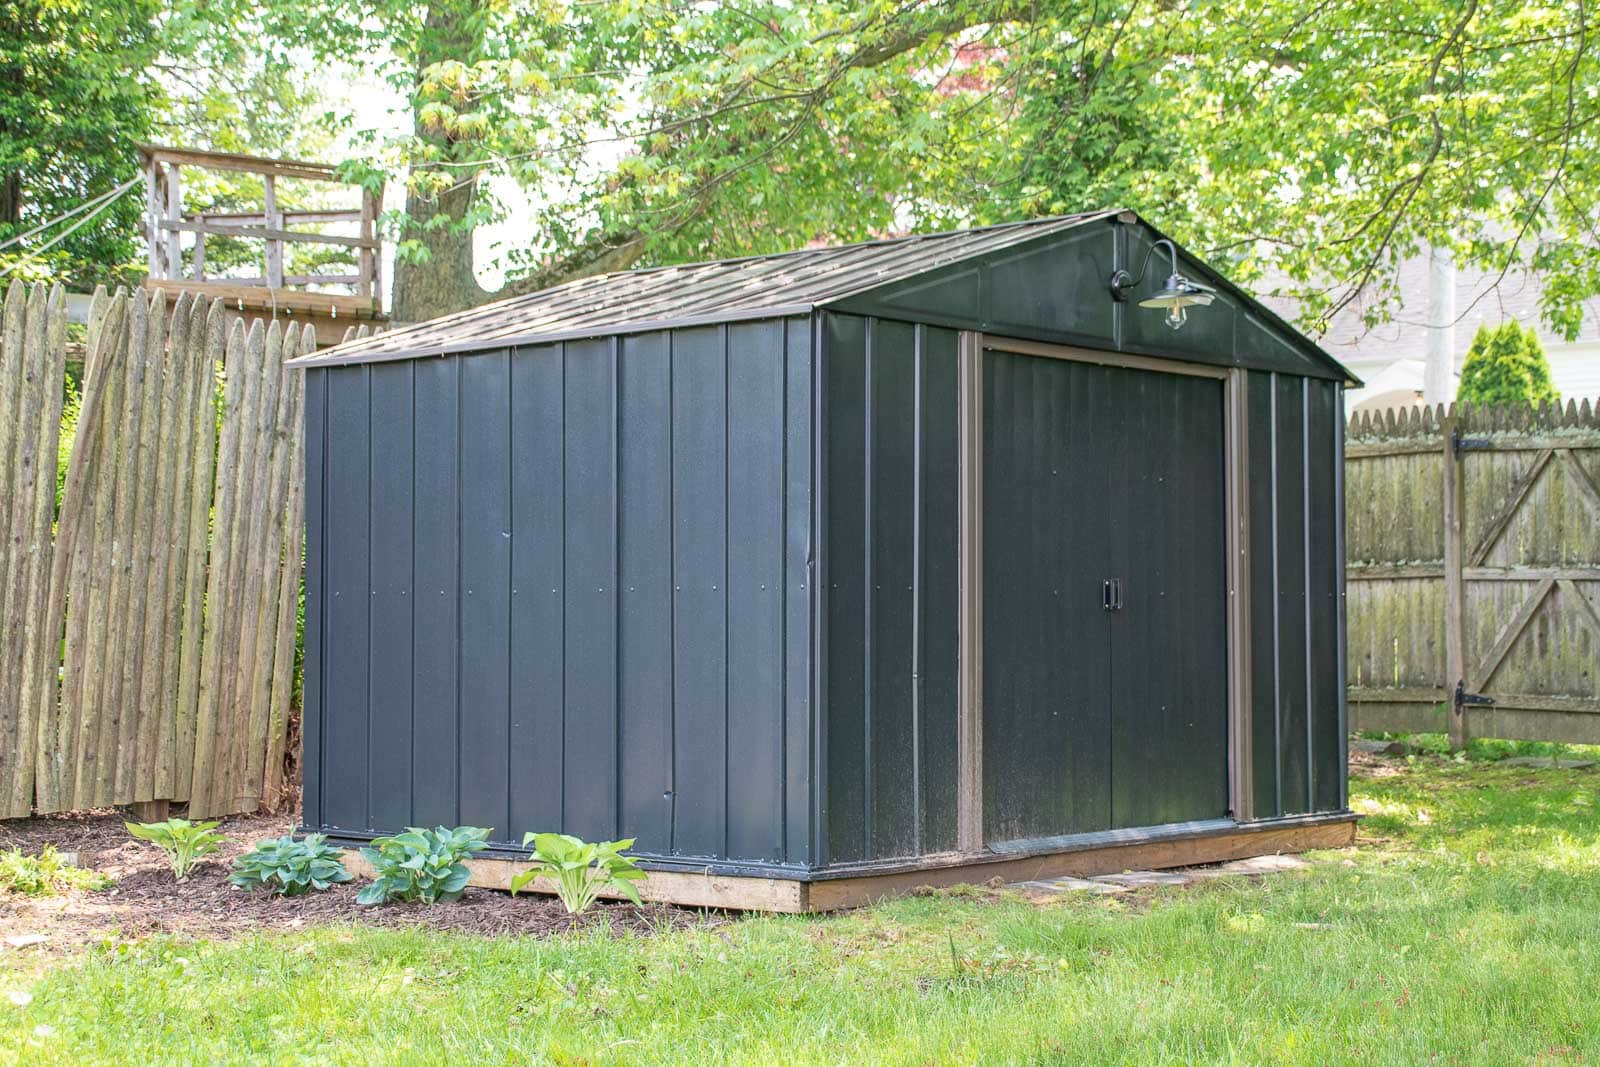
Before painting a shed exterior, make sure to clean the surface thoroughly to remove dirt and debris. This will help the paint adhere better and last longer.
Painting the Shed Exterior
With the shed’s exterior meticulously prepared and primed, it’s time to embark on the transformative process of applying the topcoat. This stage allows you to infuse your creative vision, revitalize the shed’s appearance, and fortify its exterior against the elements, ensuring long-lasting protection and visual appeal.
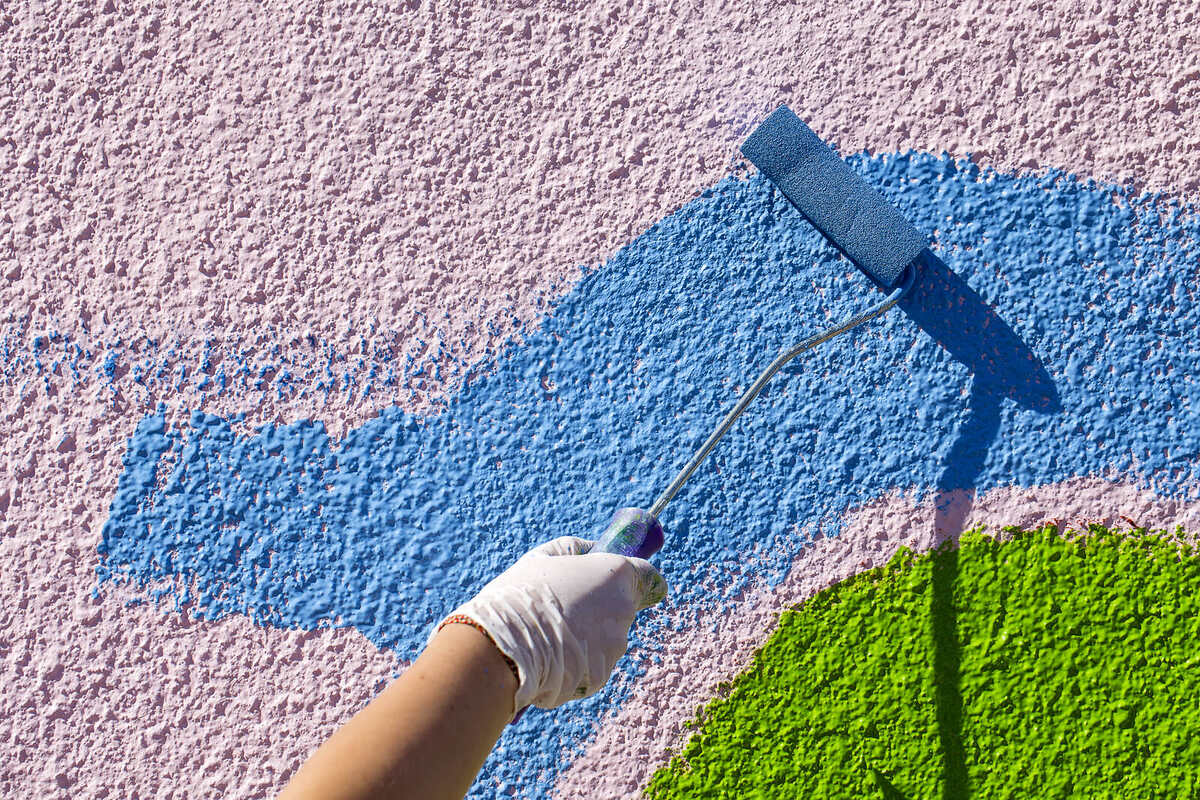
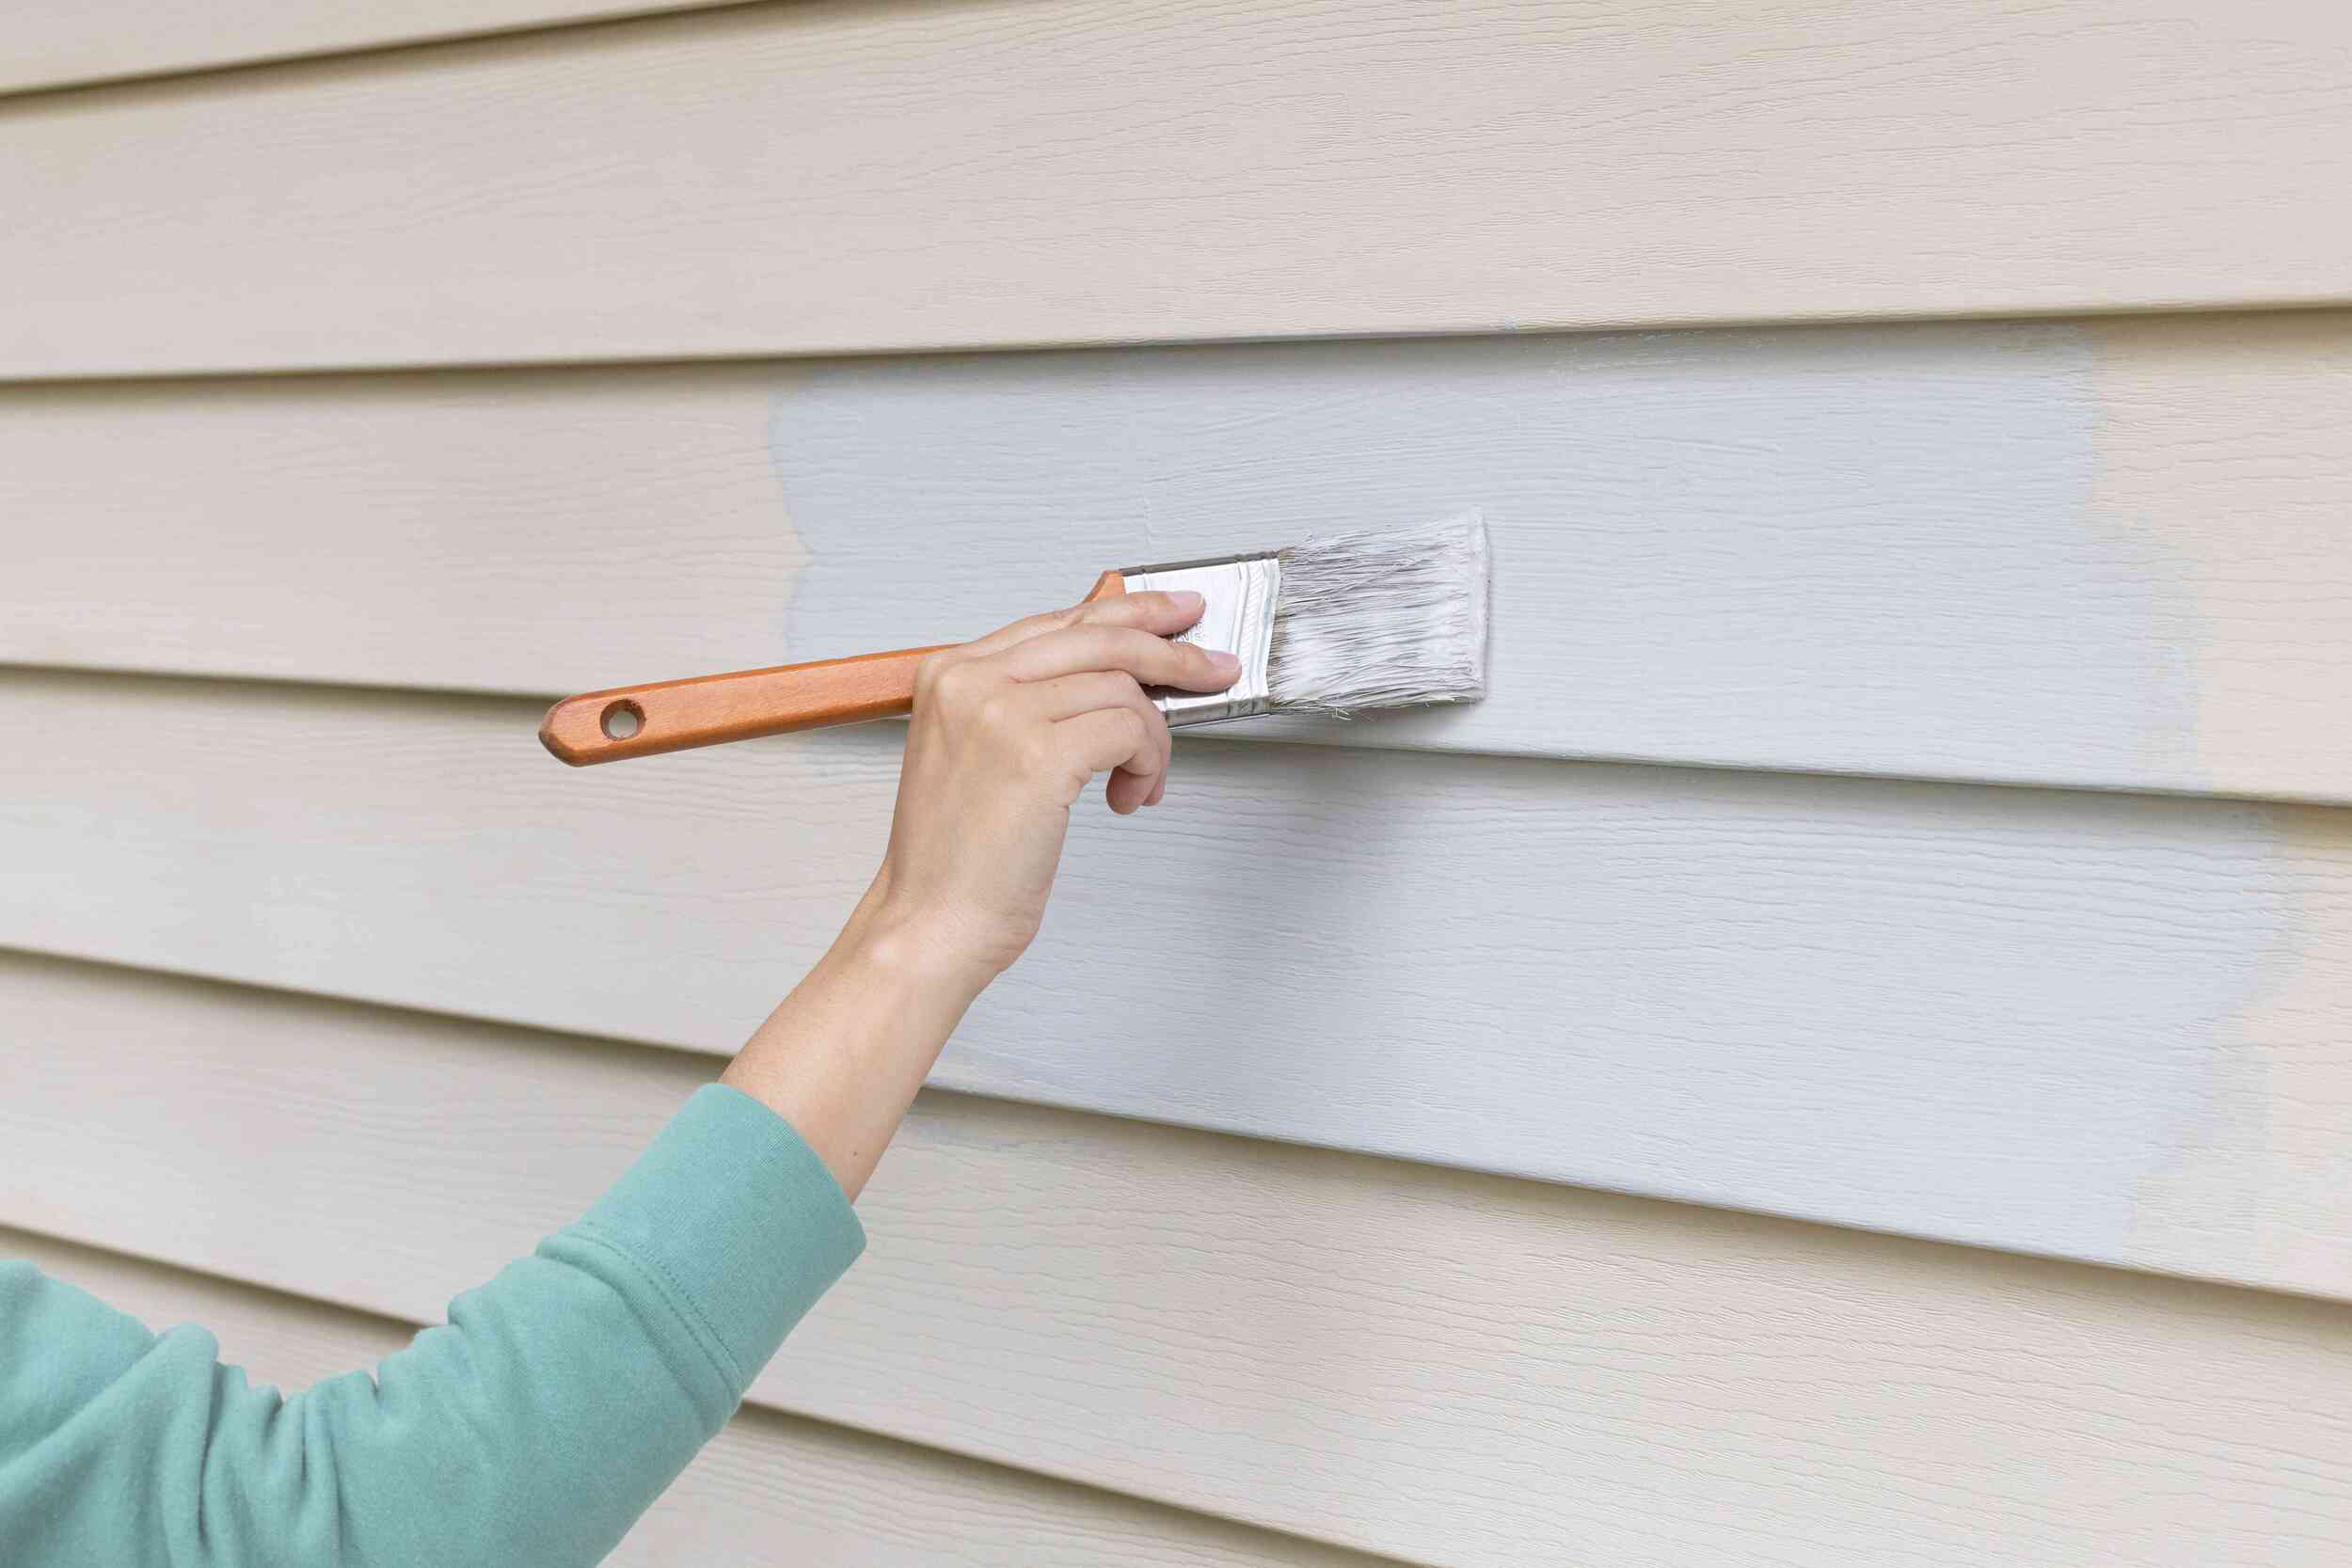
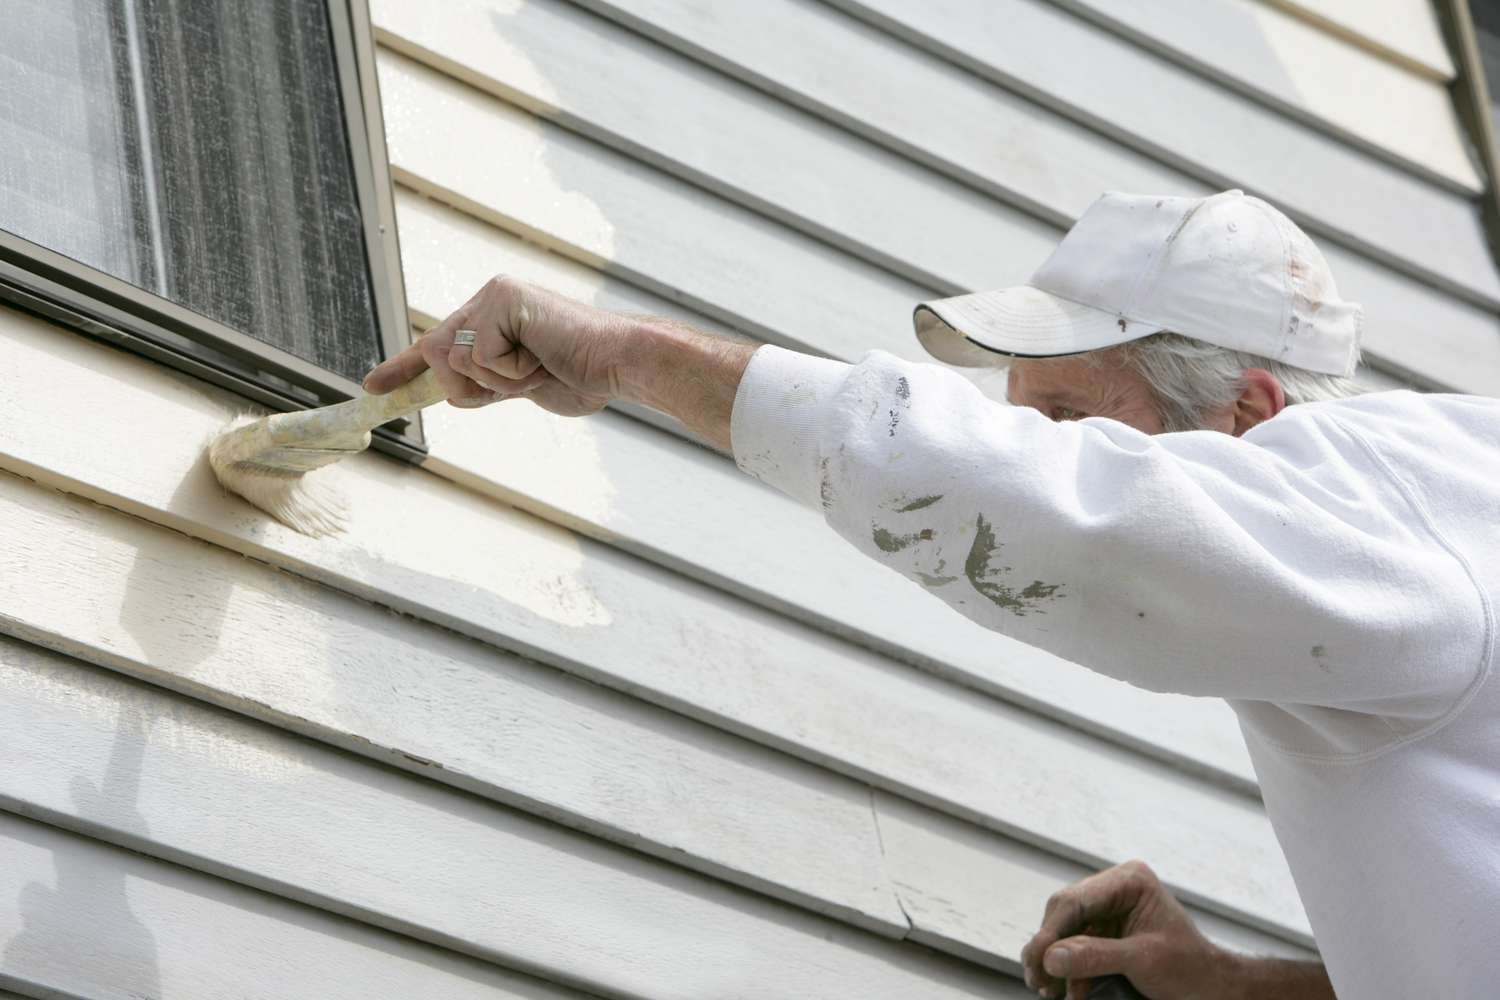
1. Paint Application: Utilize a high-quality paintbrush, roller, or paint sprayer to apply the chosen exterior paint evenly across the shed’s surface. Begin with the trim and edges before moving on to the larger areas, working methodically to maintain a wet edge and prevent visible lap marks. Apply the paint in thin, uniform coats, allowing adequate drying time between applications as specified by the paint manufacturer.
2. Technique and Coverage: Whether using a brush or roller, employ smooth, overlapping strokes to ensure consistent coverage and a seamless finish. Pay attention to details such as corners, crevices, and intricate features, ensuring they receive ample paint and appear cohesive with the overall aesthetic. Additionally, strive for even paint thickness to achieve a professional, polished result.
3. Multiple Coats and Drying Time: Depending on the paint type and color, multiple coats may be necessary to achieve the desired opacity and color depth. Allow each coat to dry completely before applying the next, and inspect the shed exterior under different lighting conditions to ensure uniform coverage and address any missed spots or uneven areas.
4. Weather Considerations: Monitor weather forecasts and avoid painting during inclement conditions, such as rain, excessive humidity, or extreme heat. Ideal painting conditions typically involve mild temperatures and low humidity, facilitating proper paint adhesion and drying. Be mindful of dew or moisture accumulation, as this can compromise the paint’s finish if not taken into account.
By methodically painting the shed’s exterior, you breathe new life into the structure, enhance its resilience, and contribute to the overall visual harmony of your property. With the final strokes of paint, you’re one step closer to completing the transformation of your shed’s exterior and savoring the gratifying results of your meticulous efforts.
Read more: How To Paint Exterior Stucco
Finishing Touches
As the paint dries and the shed’s exterior undergoes a remarkable transformation, attending to the finishing touches ensures that the project culminates in a polished, cohesive, and enduring result. These final steps encompass attention to detail, cleanup, and proactive measures to safeguard the newly painted surface.
1. Trim and Accentuation: Once the main body of the shed has been painted, focus on the trim, doors, and any accent features. Apply a steady hand to ensure precise, clean lines and uniform coverage. This attention to detail elevates the overall aesthetic and contributes to a professional-looking finish.
2. Cleanup and Disposal: Safely remove painter’s tape, drop cloths, and any protective coverings, ensuring that any residual paint or debris is properly disposed of. Thoroughly clean your painting tools and equipment, following the manufacturer’s guidelines, to maintain their longevity and performance for future projects.
3. Sealing and Protection: Consider applying a clear, weather-resistant sealant or topcoat to safeguard the freshly painted exterior from UV exposure, moisture, and potential abrasions. This additional layer of protection enhances the durability of the paint and promotes long-term color retention and resilience.
4. Enhanced Maintenance: Embrace proactive maintenance practices to preserve the shed’s newly painted exterior. Regularly inspect the surface for signs of wear, touch up any areas of concern, and address any environmental factors that may impact the paint’s longevity. By staying vigilant and proactive, you can prolong the vibrancy and integrity of the shed’s exterior finish.
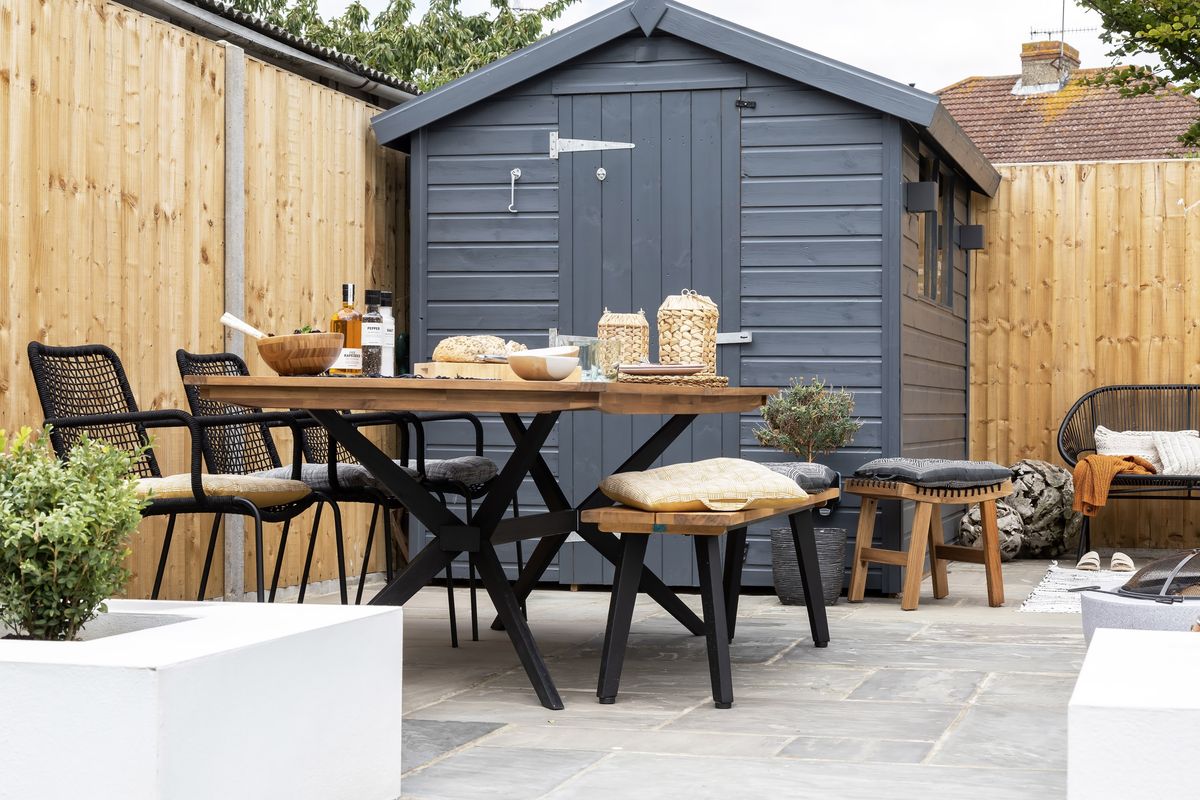
5. Celebrating the Transformation: Step back and admire the remarkable metamorphosis of your shed’s exterior. Take pride in the meticulous effort and attention to detail invested in the painting process, and revel in the enhanced visual appeal and protective benefits that the fresh coat of paint bestows upon the structure.
By tending to these finishing touches, you elevate the overall outcome of the painting project and ensure that your shed’s exterior exudes enduring charm and resilience. With the completion of these final steps, you can relish in the satisfaction of a job well done and the enduring impact of your efforts on the shed’s aesthetic and structural integrity.
Conclusion
Embarking on the journey of painting your shed’s exterior is a transformative endeavor that not only revitalizes the appearance of the structure but also fortifies it against the rigors of the outdoor environment. By meticulously selecting the right paint, preparing the surface with care, and executing the painting process with precision, you have the power to elevate the shed’s visual appeal and longevity.
Throughout this comprehensive guide, you’ve gained insights into the significance of choosing the appropriate paint type, color, and finish, aligning your selection with the environmental conditions and aesthetic preferences. The meticulous steps of preparing the shed’s exterior, including cleaning, repairing, and priming, set the stage for a successful painting endeavor, ensuring optimal adhesion and durability of the new finish.
As you delved into the transformative process of applying the topcoat, you honed your technique, paid attention to detail, and navigated the nuances of weather considerations to achieve a seamless, professional result. The finishing touches and proactive measures underscored your commitment to preserving the shed’s newly painted exterior and savoring the enduring impact of your efforts.
By infusing your shed with a fresh coat of paint, you’ve not only enhanced its visual allure but also contributed to its resilience and longevity. The newfound vibrancy and protection bestowed upon the shed’s exterior serve as a testament to your dedication to maintaining and beautifying your outdoor space.
As you stand back and admire the remarkable transformation, take pride in the craftsmanship and care invested in this project. Your shed now stands as a testament to your creativity, attention to detail, and commitment to preserving its structural integrity and visual charm for years to come.
With the completion of this painting project, you’ve not only elevated the shed’s exterior but also enriched your connection to your outdoor space, creating a welcoming and enduring feature that harmonizes with your property’s aesthetic. As you continue to enjoy the fruits of your labor, may this experience inspire future endeavors and infuse your surroundings with beauty and resilience.
Frequently Asked Questions about How To Paint A Shed Exterior
Was this page helpful?
At Storables.com, we guarantee accurate and reliable information. Our content, validated by Expert Board Contributors, is crafted following stringent Editorial Policies. We're committed to providing you with well-researched, expert-backed insights for all your informational needs.


0 thoughts on “How To Paint A Shed Exterior”