Home>Gardening & Outdoor>Outdoor Structures>How To Repair Canvas Awning
Outdoor Structures
How To Repair Canvas Awning
Published: January 31, 2024
Learn how to repair canvas awnings and extend the life of your outdoor structures. Discover step-by-step tips for fixing outdoor-structures.
(Many of the links in this article redirect to a specific reviewed product. Your purchase of these products through affiliate links helps to generate commission for Storables.com, at no extra cost. Learn more)
Introduction
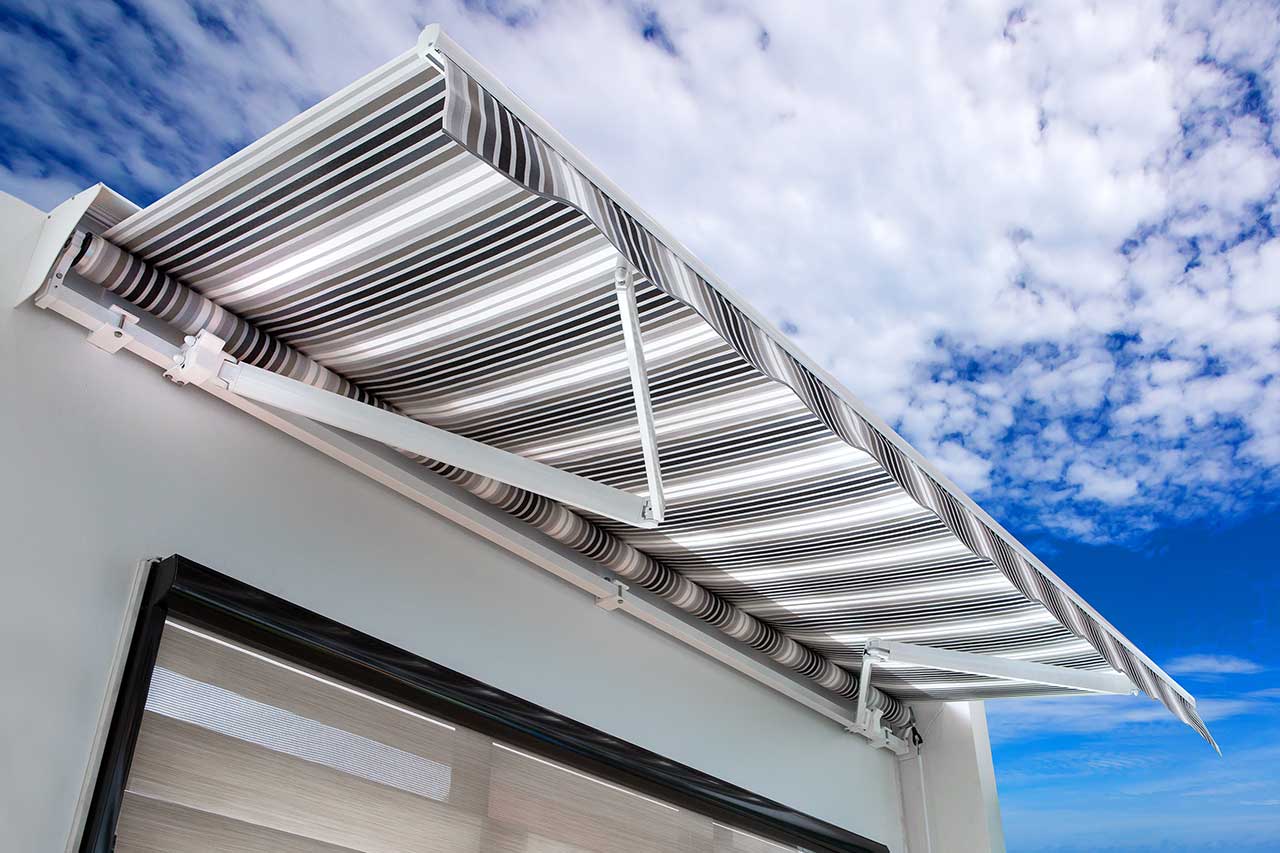
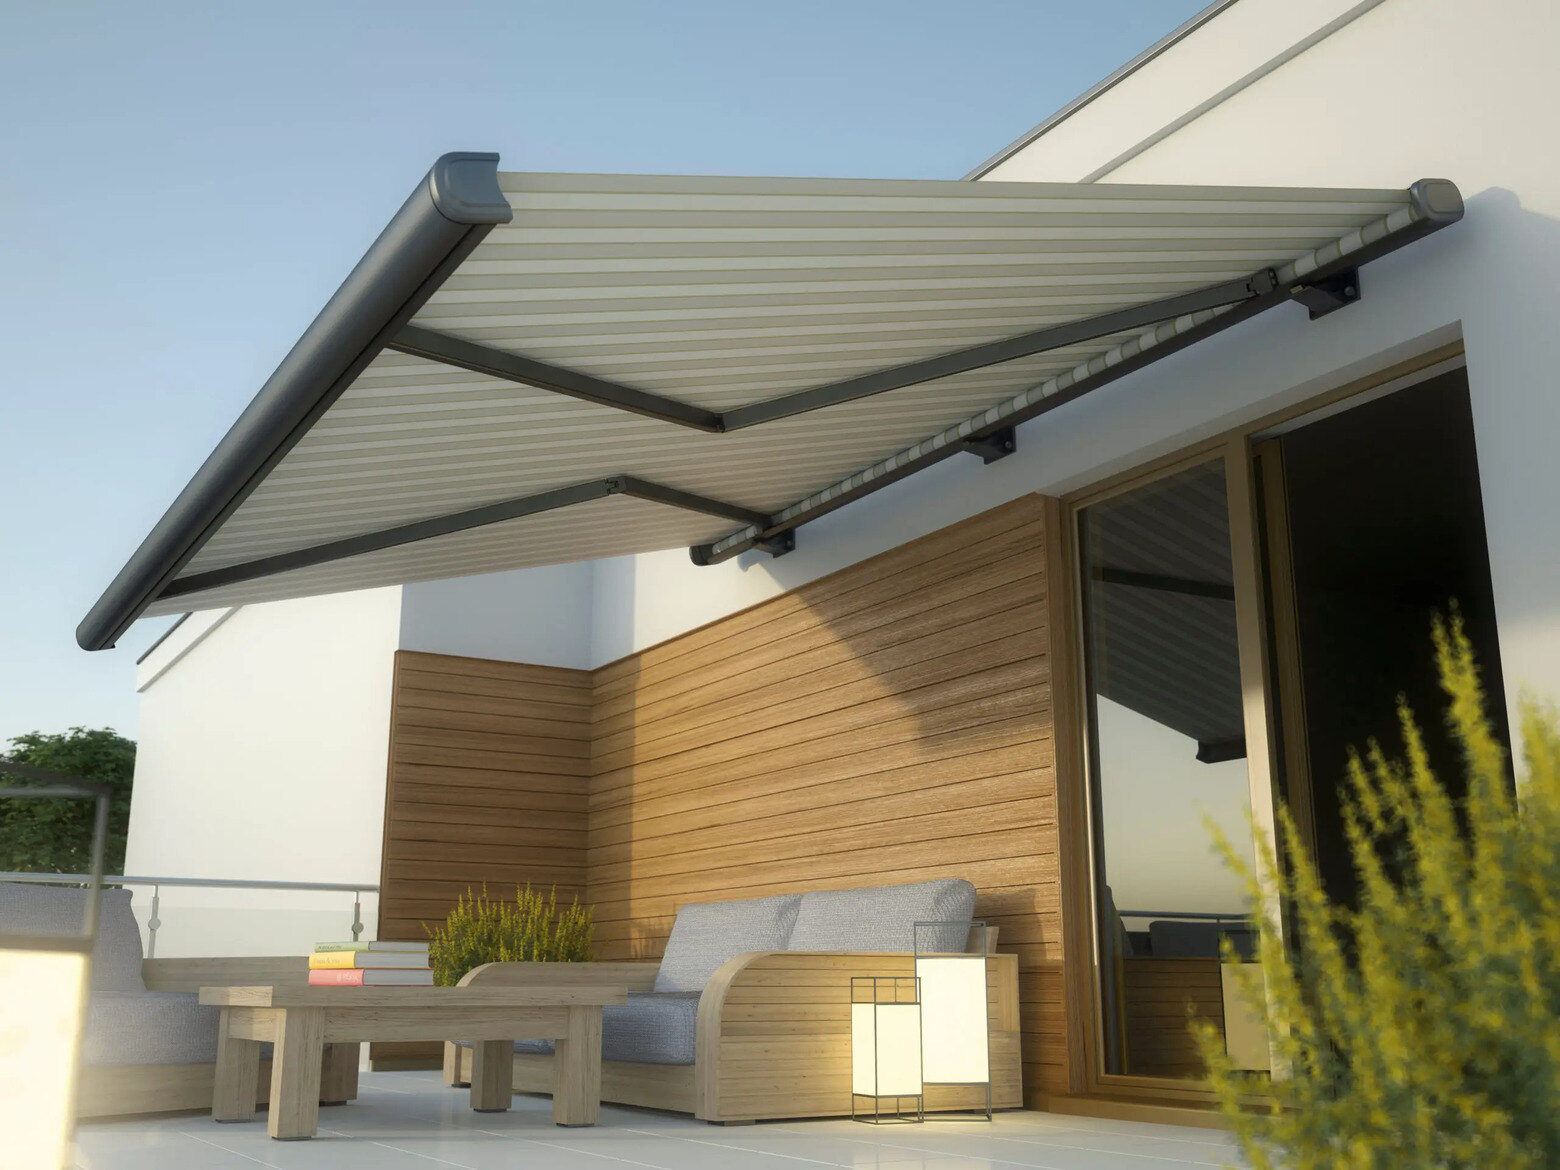
If you have a canvas awning that's seen better days, don't fret – repairing it is entirely feasible and can save you a significant amount of money compared to replacing the entire structure. Canvas awnings are a popular choice for providing shade and protection from the elements, but over time, they can become worn, torn, or damaged. Fortunately, with a bit of know-how and some elbow grease, you can restore your canvas awning to its former glory.
In this comprehensive guide, we'll walk you through the step-by-step process of repairing a canvas awning. From assessing the damage to cleaning the canvas, patching holes and tears, restoring the frame, reattaching the canvas, and waterproofing the awning, we've got you covered. By following these instructions, you'll be able to breathe new life into your canvas awning and extend its lifespan for years to come.
So, roll up your sleeves and get ready to revive your canvas awning. With a little effort and the right techniques, you'll soon be enjoying the shade and protection it provides, knowing that you've restored it with your own hands. Let's dive in and learn how to repair a canvas awning like a pro.
Key Takeaways:
- Revive your worn canvas awning by following a step-by-step repair process. From patching holes to restoring the frame, you can save money and extend the lifespan of your awning with some DIY effort.
- Keep your canvas awning in top condition by cleaning, patching, and waterproofing it regularly. With proper care, you can enjoy the shade and protection it provides for years to come.
Read more: How To Clean A Canvas Awning
Assessing the Damage
Before diving into the repair process, it’s crucial to assess the extent of the damage to your canvas awning. Start by thoroughly inspecting the entire awning for any signs of wear and tear, such as holes, tears, mold, mildew, or structural damage. Take note of the specific areas that require attention, as this will guide your repair efforts.
Next, evaluate the condition of the awning’s frame and hardware. Ensure that the frame is structurally sound and that the hardware, such as screws, bolts, and brackets, is secure and in good condition. If any components are rusted or damaged, they may need to be replaced or repaired as part of the overall restoration process.
Additionally, consider the overall appearance of the canvas material. Is it faded from prolonged sun exposure? Are there stubborn stains or discoloration that need to be addressed? By conducting a thorough assessment, you’ll gain a comprehensive understanding of the awning’s condition and the specific issues that need to be resolved.
Take measurements of any tears or areas of damage to determine the size of the repairs needed. This will be essential when it comes time to patch the canvas. By accurately assessing the damage, you’ll be better equipped to plan and execute the necessary repairs, ensuring that your canvas awning is restored to its optimal state.
Remember, a meticulous assessment sets the stage for a successful repair project. By understanding the scope of the damage, you can proceed with confidence, knowing that you’re addressing each issue effectively. With the assessment complete, it’s time to move on to the next crucial step in the repair process: cleaning the canvas.
Cleaning the Canvas
Before embarking on the repair and restoration of your canvas awning, it’s essential to start with a clean canvas surface. Over time, dirt, debris, mold, and mildew can accumulate on the fabric, detracting from its appearance and potentially causing further damage. By thoroughly cleaning the canvas, you’ll create a clean and suitable foundation for the subsequent repair steps.
Begin by removing the awning from its frame, if possible, to facilitate thorough cleaning. Lay the canvas flat on a clean, spacious surface, such as a driveway or patio, ensuring that it’s fully extended and taut. Use a soft-bristled brush or broom to gently sweep away loose dirt and debris from the surface of the canvas. This initial step will prevent dirt from being ground into the fabric during the cleaning process.
Next, prepare a cleaning solution by mixing a mild detergent, such as dish soap or a specialized canvas cleaner, with lukewarm water. Avoid using harsh chemicals or bleach, as these can damage the fabric. Using a soft sponge or cloth, gently scrub the entire surface of the canvas with the cleaning solution, paying particular attention to any stained or soiled areas. Take care not to scrub too vigorously, as this can weaken the fabric fibers.
After cleaning the canvas, thoroughly rinse it with a hose, ensuring that all soap residue is completely removed. Allow the canvas to air dry fully before proceeding with the repair process. It’s crucial to ensure that the fabric is completely dry to prevent mold and mildew growth, which can compromise the effectiveness of the repairs and the overall longevity of the awning.
Once the canvas is clean and dry, inspect it closely to ensure that all dirt, stains, and debris have been effectively removed. With a fresh and clean canvas, you’re now ready to move on to the next step in the repair process: patching any holes and tears to restore the integrity of the fabric.
Patching Holes and Tears
Addressing holes and tears in the canvas is a crucial aspect of repairing a canvas awning. These issues not only compromise the awning’s appearance but can also diminish its functionality and protection from the elements. Fortunately, with the right materials and techniques, you can effectively patch these imperfections, restoring the integrity of the fabric.
Start by gathering the necessary supplies, including a patching material specifically designed for canvas, such as a canvas repair patch or a durable, weather-resistant fabric. Ensure that the patching material is slightly larger than the area to be repaired, providing ample coverage and a secure bond to the surrounding fabric.
Position the canvas on a flat, stable surface, ensuring that it’s fully extended and taut. Carefully align the patch over the hole or tear, ensuring that it covers the damaged area completely. Using a heavy-duty thread and a needle designed for outdoor fabrics, carefully sew the patch onto the canvas, employing a sturdy and secure stitch pattern to ensure long-lasting durability.
For tears in the fabric, consider using a “sailmaker’s stitch” or a similar robust stitch pattern to effectively close the gap and prevent further unraveling. Be sure to sew through both the patch and the canvas fabric, creating a seamless and secure bond between the two materials.
After sewing the patch in place, apply a specialized outdoor fabric adhesive around the edges of the patch to further reinforce the bond and prevent moisture from seeping through the repaired area. This additional step enhances the overall strength and weather resistance of the repair, ensuring that the patched area remains secure and resilient over time.
Once the patching process is complete, inspect the repaired areas closely to ensure that the patches are securely attached and that the stitches are tight and even. By effectively patching holes and tears, you’re one step closer to restoring the structural integrity and visual appeal of your canvas awning.
With the holes and tears effectively patched, it’s time to turn your attention to the next critical phase of the repair process: restoring the frame of the awning to ensure its stability and functionality.
To repair a canvas awning, clean the area with mild soap and water, then patch any holes or tears with a canvas repair kit. Apply a waterproof sealant to prevent future damage.
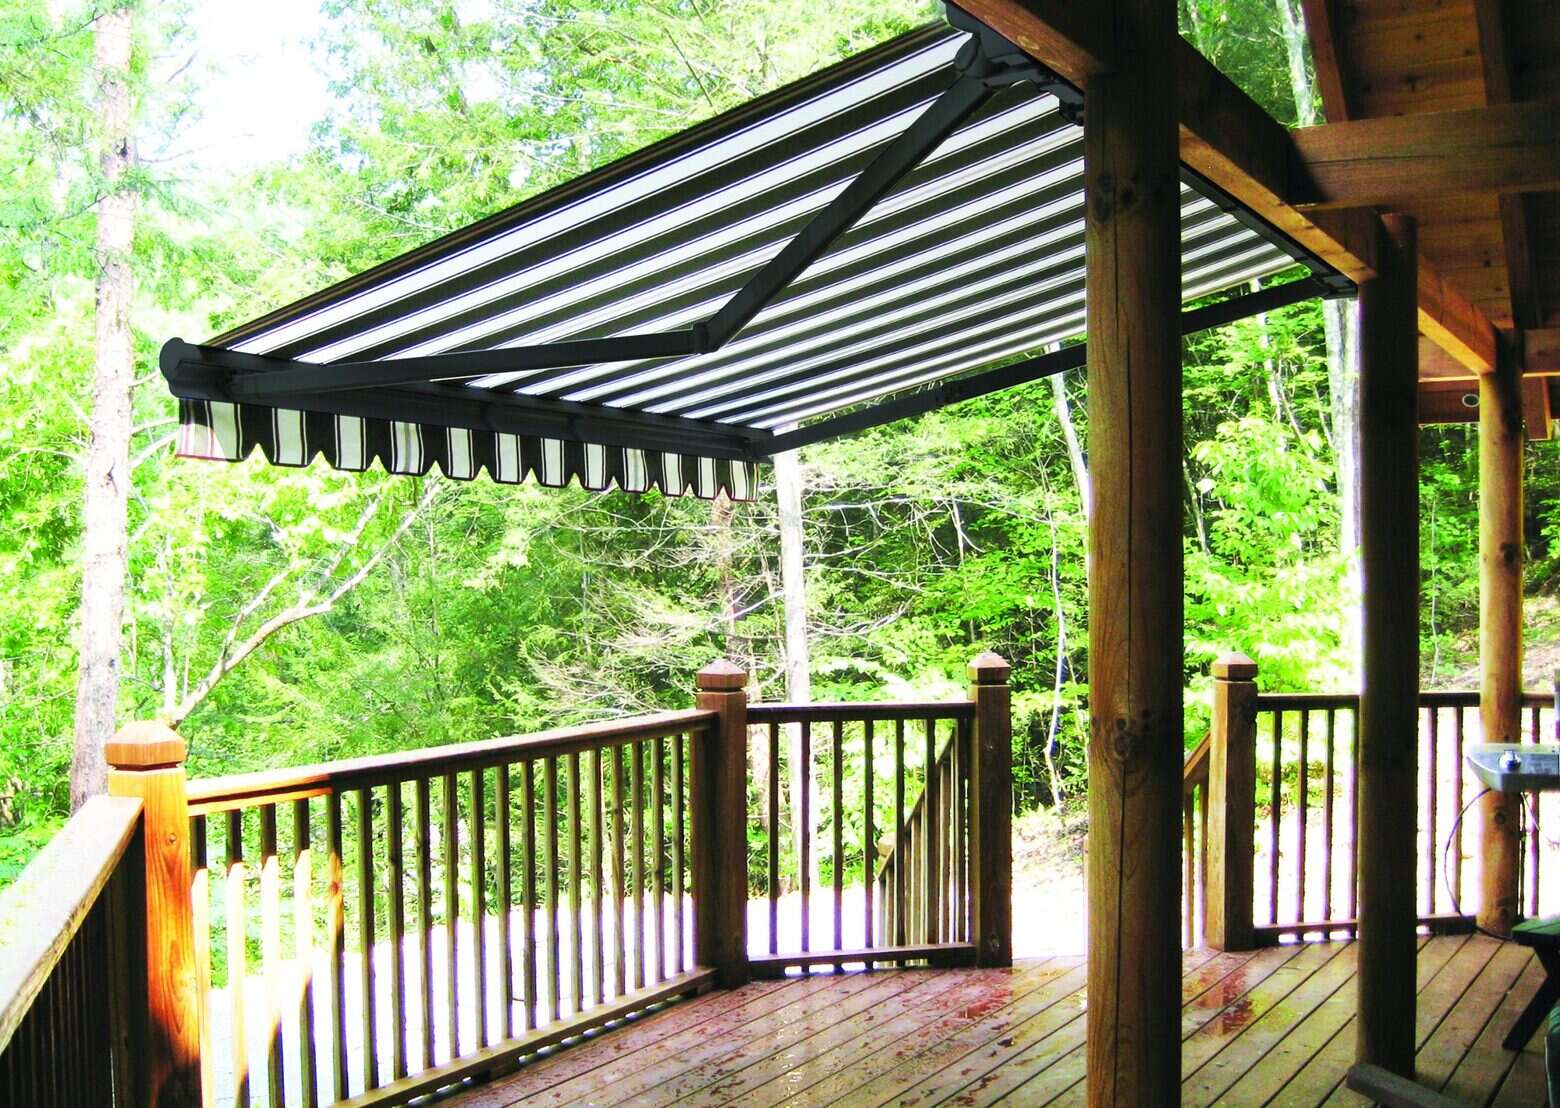
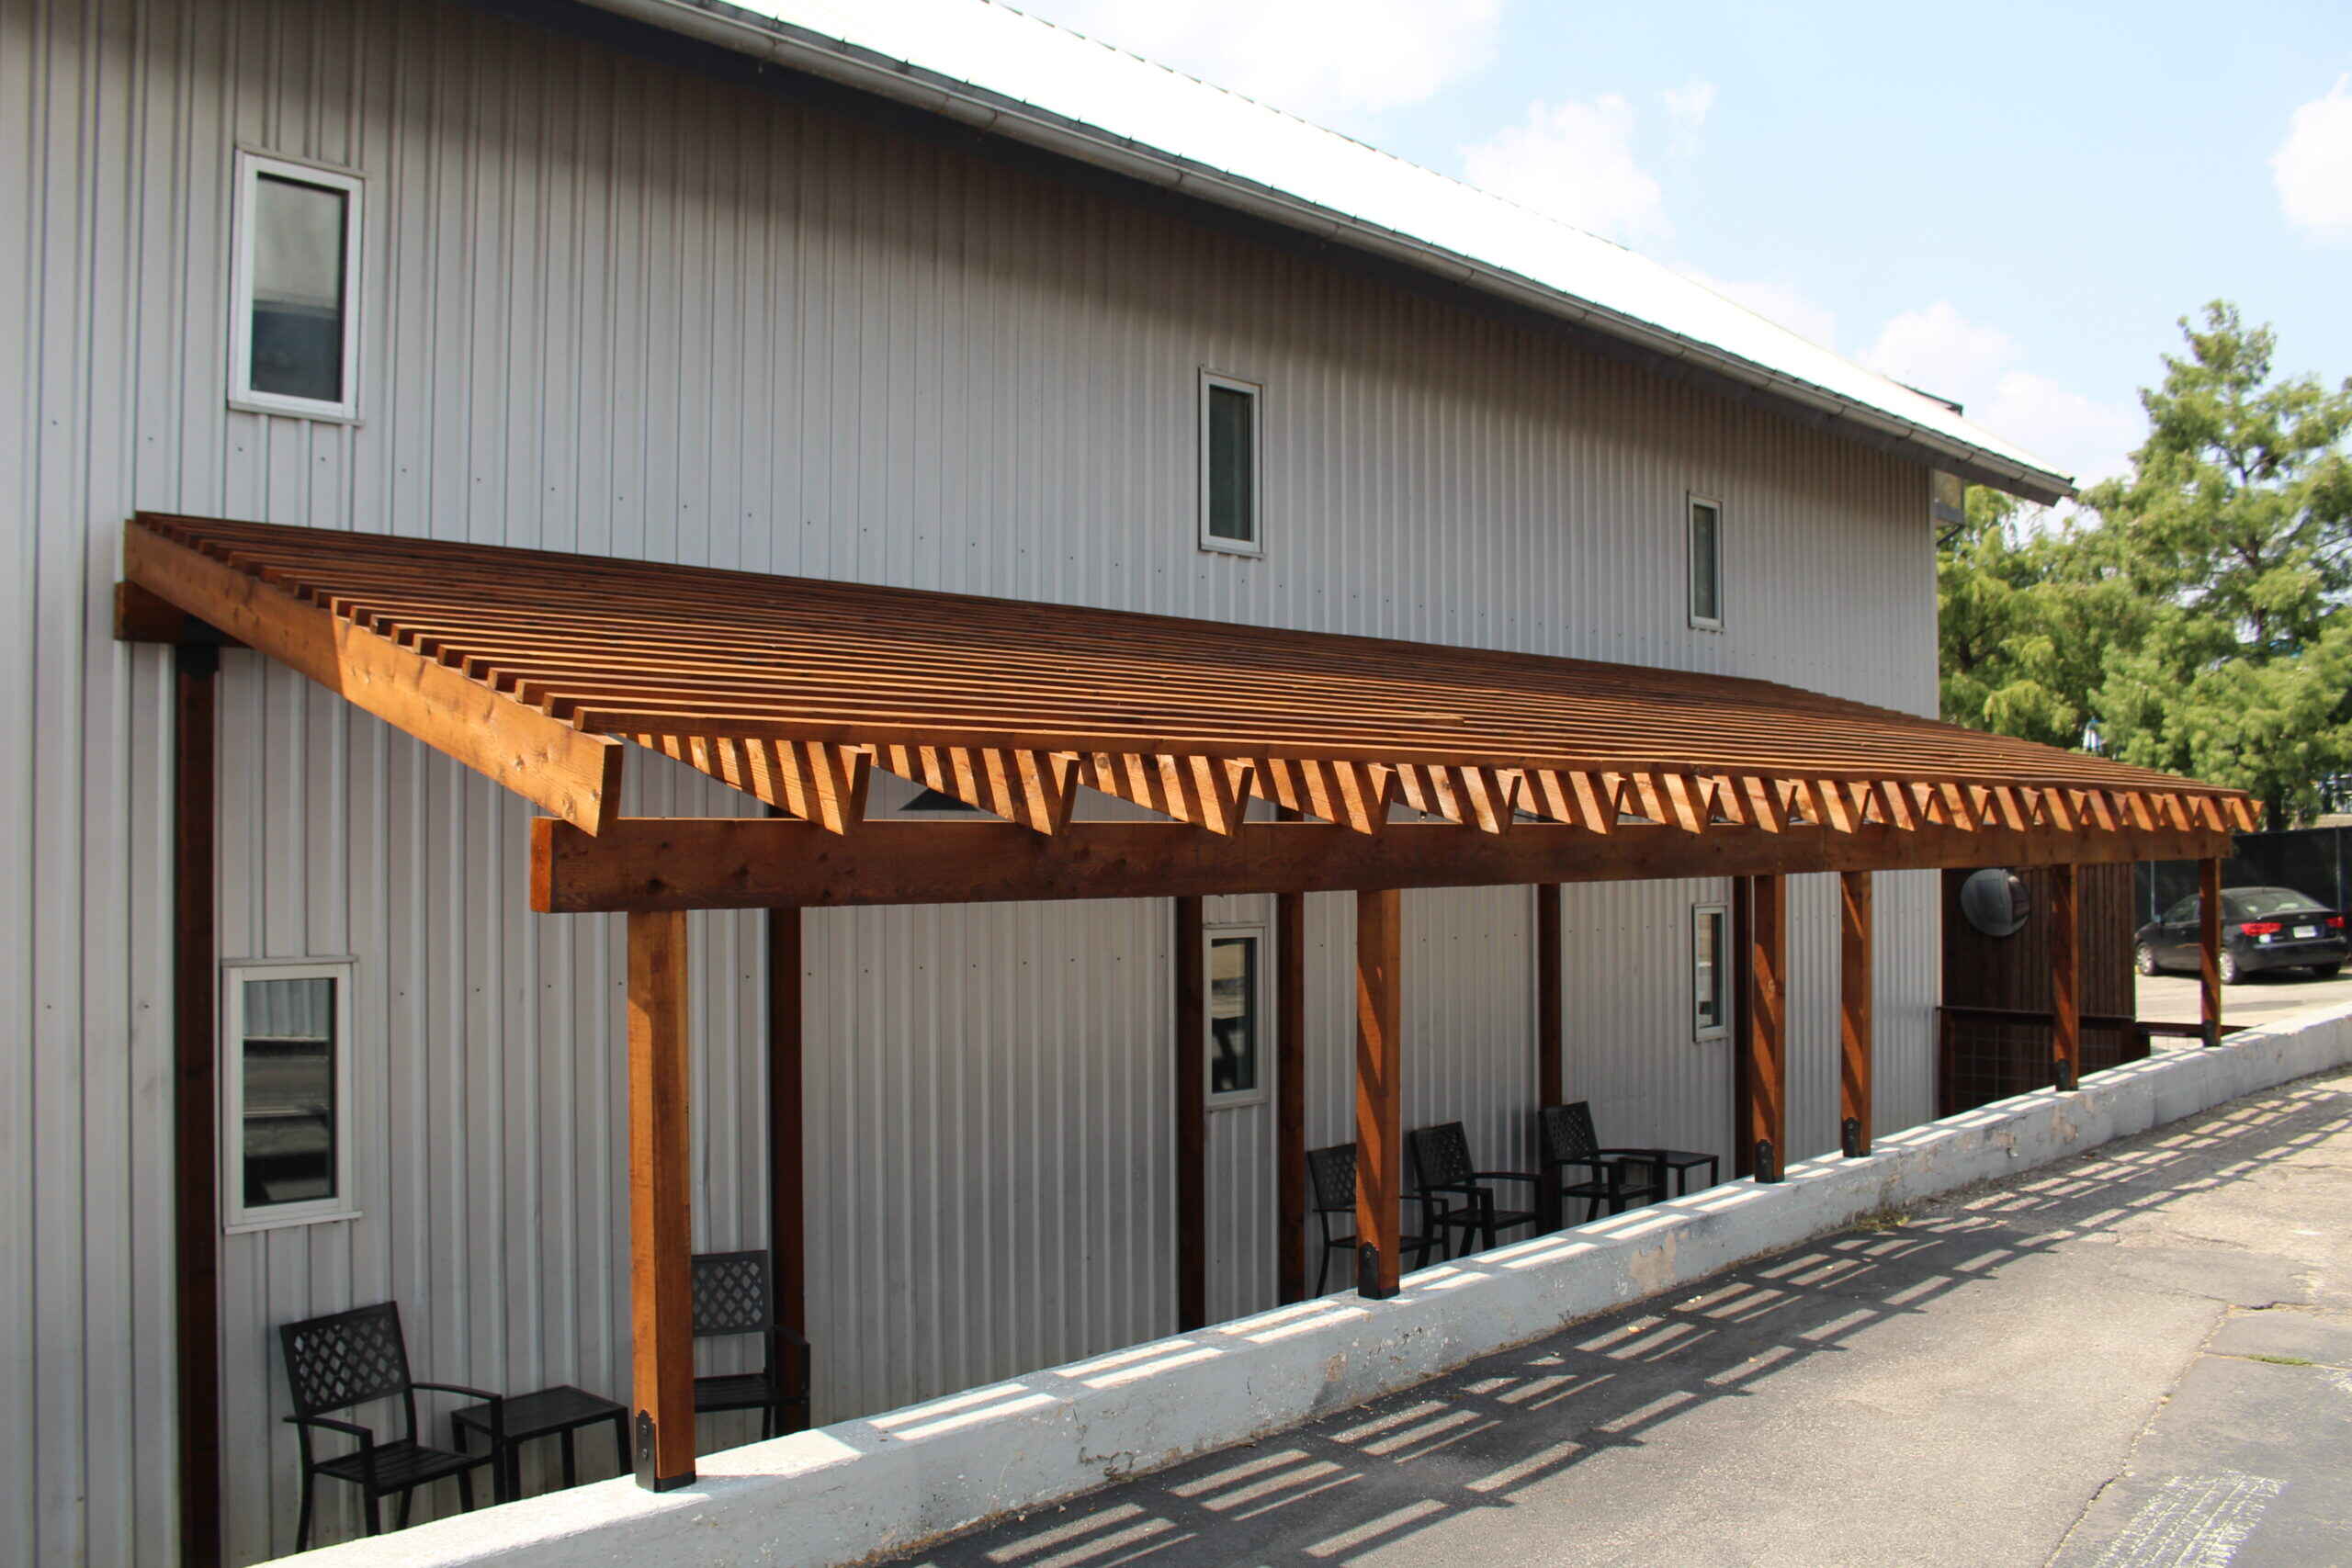
Restoring the Frame
While repairing the canvas is essential, restoring the frame of your canvas awning is equally important for ensuring its stability, functionality, and overall longevity. Over time, exposure to the elements can cause the frame to deteriorate, leading to rust, corrosion, and structural weaknesses. By addressing these issues, you can enhance the structural integrity of the awning and prolong its lifespan.
Begin by thoroughly inspecting the frame for signs of rust, corrosion, or damage. Use a wire brush or sandpaper to remove any rust or corrosion from metal components, such as brackets, screws, and support arms. If the frame is made of aluminum, consider using a specialized aluminum cleaner to remove oxidation and restore its luster.
After removing rust and corrosion, apply a rust-inhibiting primer to the cleaned metal surfaces to prevent future oxidation. Once the primer has dried, apply a weather-resistant paint specifically designed for outdoor metal surfaces to protect the frame from the elements and give it a fresh, rejuvenated appearance.
For wooden frames, carefully inspect the wood for signs of rot, decay, or insect damage. Use a wood filler to repair any minor imperfections, and sand the surface to create a smooth and even finish. Apply a high-quality exterior wood sealant or paint to protect the wood from moisture, UV exposure, and other environmental factors.
Additionally, check the hardware and fasteners securing the frame to the installation surface. Tighten any loose screws, bolts, or brackets, and replace any damaged or corroded hardware with new, weather-resistant components. Ensuring that the frame is securely anchored and free of structural deficiencies is essential for the overall stability and safety of the awning.
By meticulously restoring the frame of your canvas awning, you’re not only enhancing its structural integrity and functionality but also rejuvenating its aesthetic appeal. With the frame restored to optimal condition, your attention can now turn to reattaching the canvas to complete the repair process.
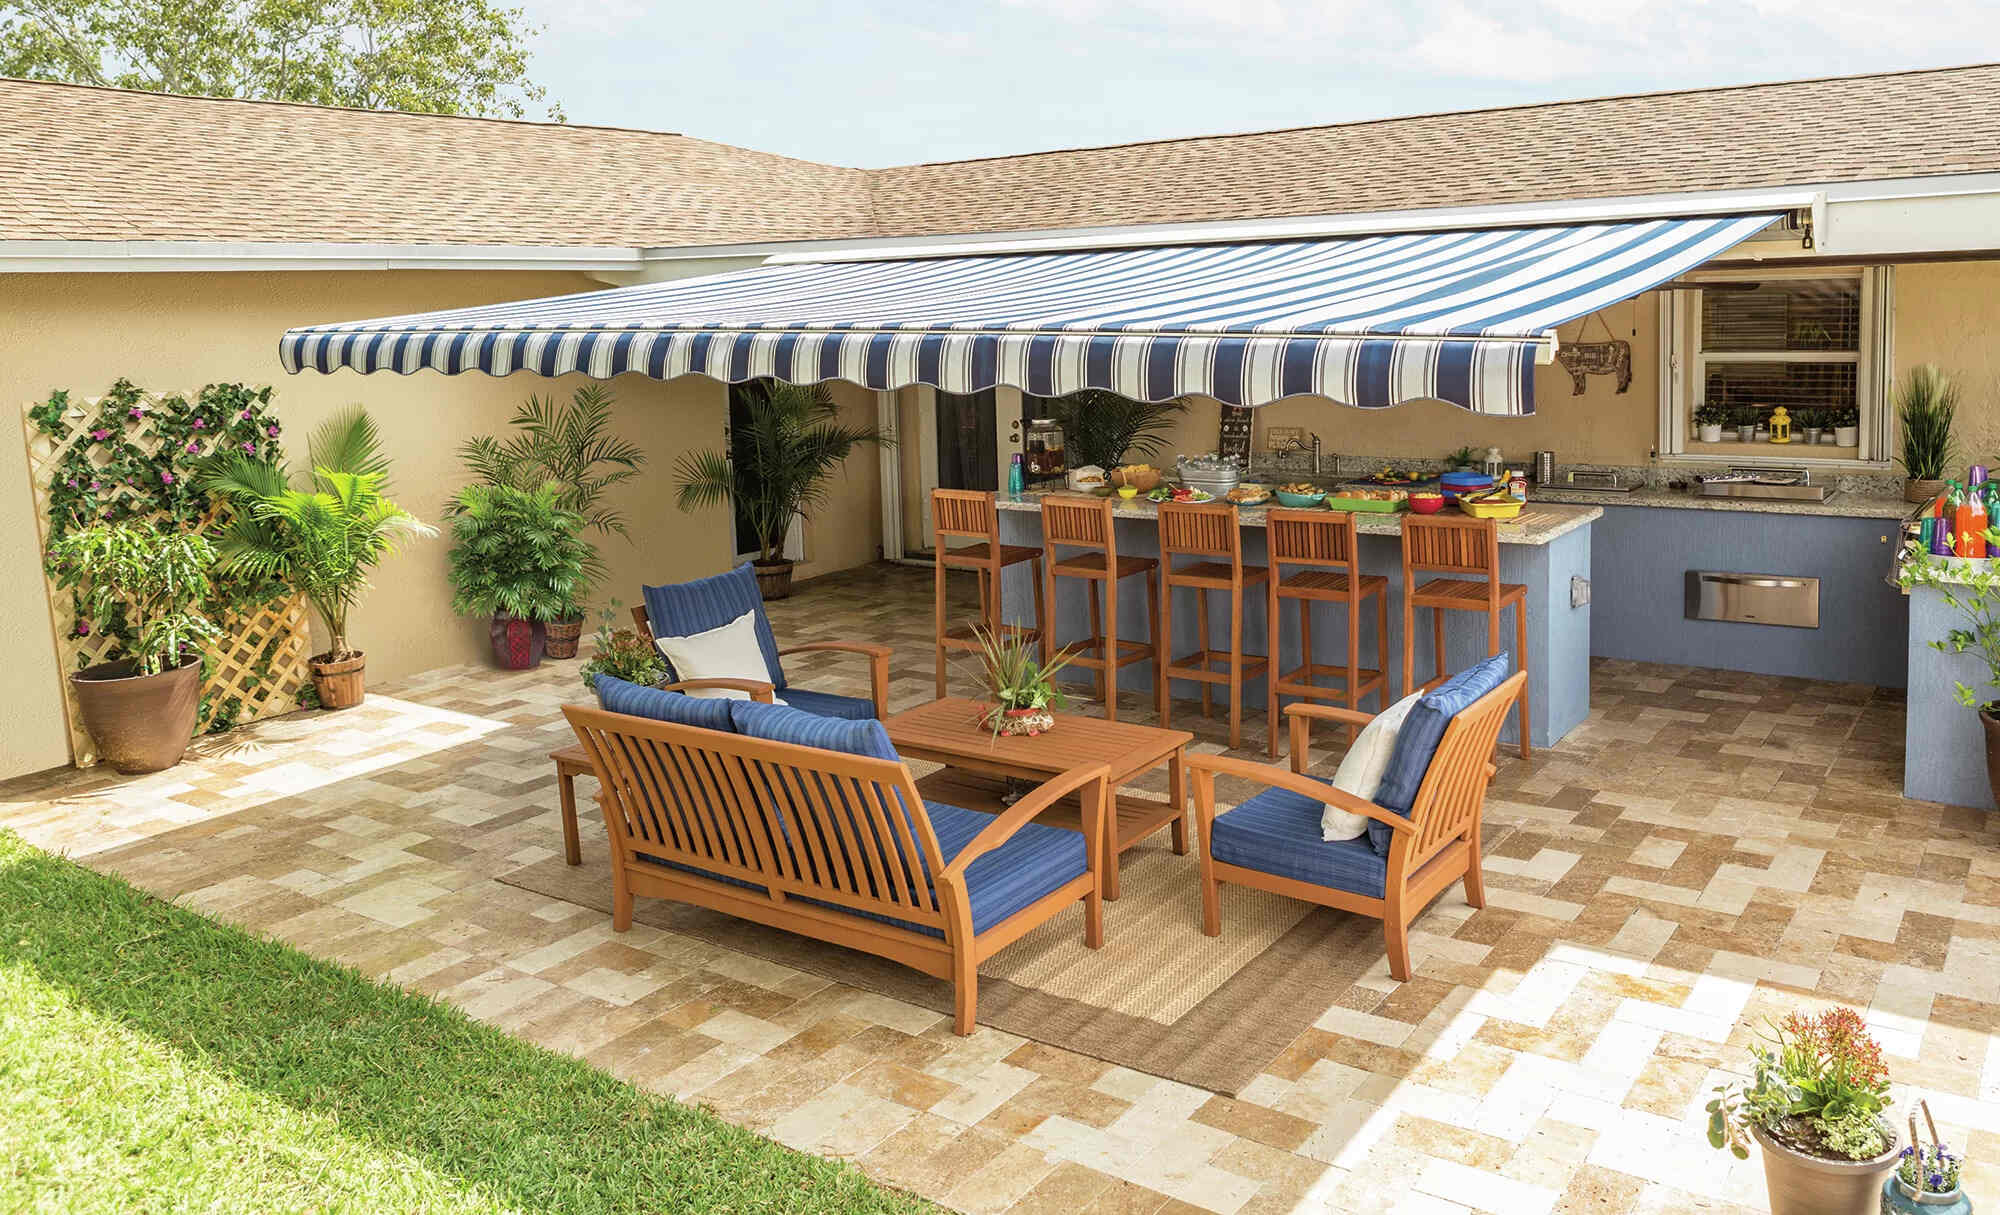
Reattaching the Canvas
With the canvas cleaned, patched, and the frame restored, the next step in repairing your canvas awning is reattaching the canvas to the frame. Proper reattachment is crucial for ensuring a secure and taut fit, as well as the overall functionality and appearance of the awning.
Begin by carefully positioning the canvas over the frame, ensuring that it is evenly aligned and taut. If your awning utilizes a roller tube or similar mechanism, ensure that the canvas is correctly oriented and secured to the tube before proceeding with reattachment to the frame.
Using a durable outdoor-rated thread and a heavy-duty needle, carefully sew the canvas to the frame, employing a secure and even stitch pattern to ensure that the fabric is firmly attached. Pay particular attention to the corners and edges, as these areas experience the most tension and should be securely fastened to prevent sagging or flapping in the wind.
If your canvas awning features a valance – a decorative and functional extension along the lower edge – ensure that it is properly aligned and attached to the frame. The valance adds visual appeal and provides additional shade, making its secure attachment an essential part of the reassembly process.
For awnings with a roller tube mechanism, carefully roll the canvas onto the tube, ensuring that it rolls evenly and smoothly without any wrinkles or bunching. Secure the canvas to the tube according to the manufacturer’s instructions, ensuring that it operates seamlessly and without any binding or resistance.
Once the canvas is securely attached to the frame, inspect the entire assembly to ensure that the fabric is taut, even, and free of wrinkles or slack areas. Proper reattachment is essential for the overall functionality and appearance of the awning, so take the time to ensure that the canvas is securely and evenly fastened to the frame.
With the canvas successfully reattached, the final step in the repair process involves waterproofing the awning to enhance its durability and weather resistance. By effectively waterproofing the canvas, you’ll ensure that it remains resilient and visually appealing for years to come.
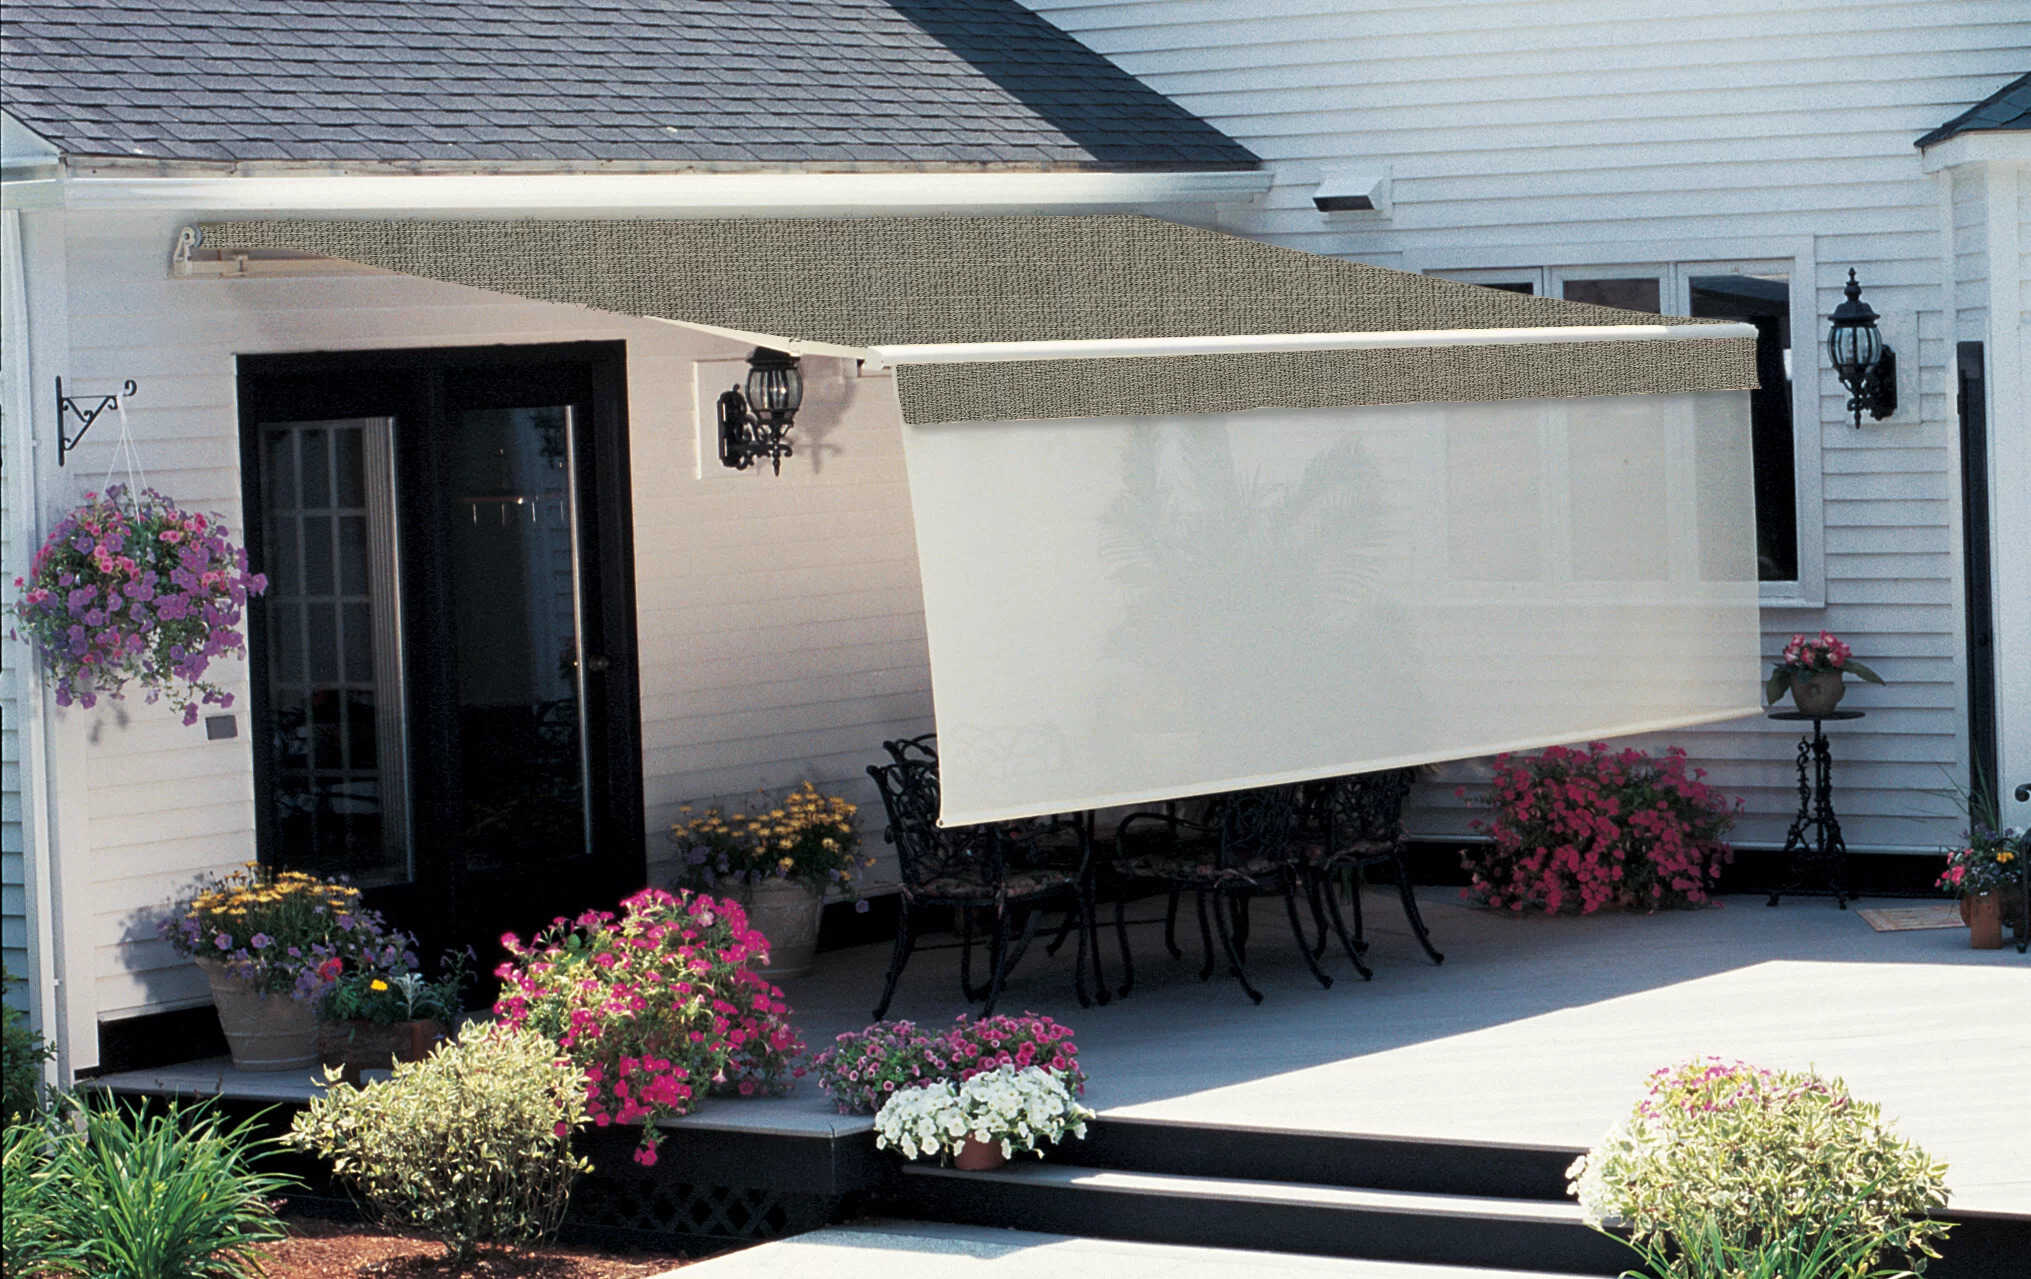
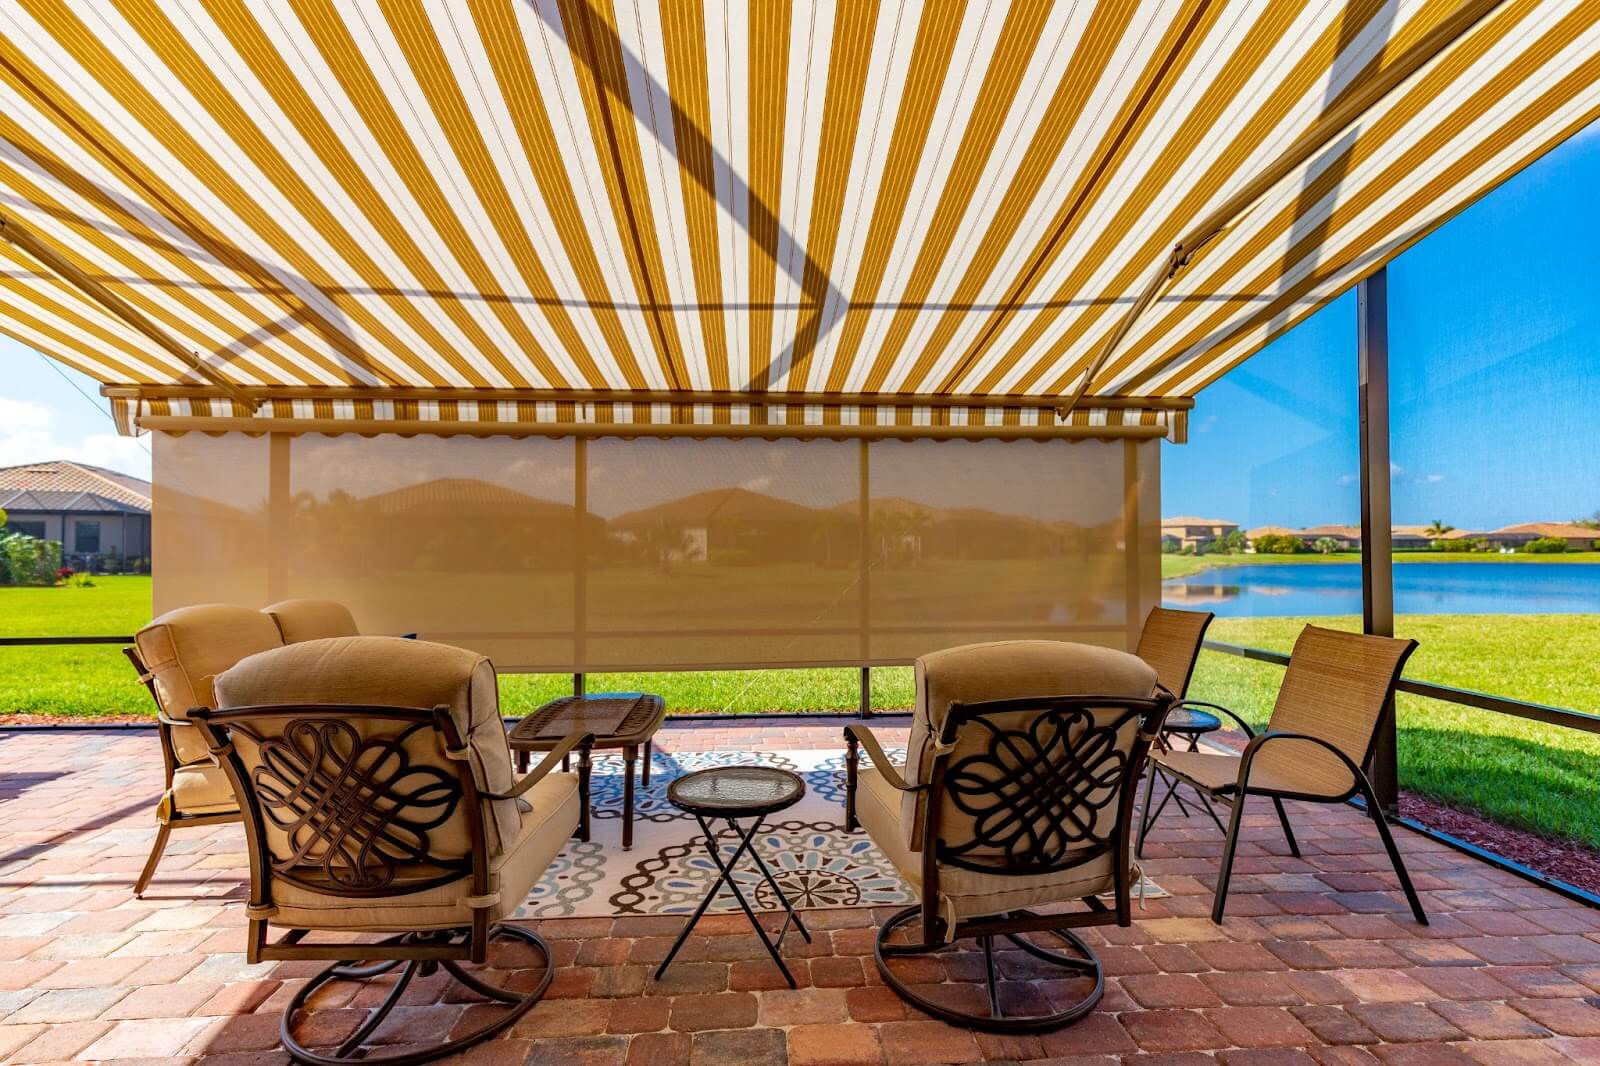
Waterproofing the Awning
Once the canvas is cleaned, patched, and reattached to the frame, the final essential step in repairing your canvas awning is waterproofing. Waterproofing the fabric is crucial for enhancing its durability, weather resistance, and longevity, ensuring that it remains resilient in the face of rain, moisture, and other environmental factors.
Begin by selecting a high-quality waterproofing product specifically designed for outdoor fabrics, such as a silicone-based spray or a specialized fabric sealant. Before applying the waterproofing product, ensure that the canvas is clean and thoroughly dry to facilitate optimal adhesion and effectiveness of the waterproofing treatment.
Position the canvas on a flat, clean surface, ensuring that it’s fully extended and taut. Apply the waterproofing product evenly and generously, using smooth, overlapping strokes to cover the entire surface of the fabric. Pay particular attention to seams, stitches, and areas of high tension, as these are common points of water penetration and should receive extra waterproofing treatment.
Allow the waterproofing product to dry completely according to the manufacturer’s instructions. Depending on the specific product used, this may involve air drying or allowing the awning to cure in a well-ventilated area for a designated period. Ensure that the fabric is entirely dry before retracting or exposing it to moisture to prevent any compromise in the waterproofing treatment’s effectiveness.
After the waterproofing treatment has dried, conduct a visual inspection of the fabric to ensure that it’s evenly coated and that no areas have been missed. Test the effectiveness of the waterproofing by lightly spraying the fabric with water – the water should bead up and roll off the surface, indicating that the treatment has effectively sealed the fabric against moisture.
By waterproofing your canvas awning, you’re fortifying it against the elements and ensuring that it remains resilient and visually appealing for an extended period. The waterproofing treatment enhances the fabric’s ability to repel water, resist mold and mildew, and maintain its structural integrity, ultimately prolonging the lifespan of your newly repaired canvas awning.
With the waterproofing process complete, you’ve successfully navigated the comprehensive journey of repairing and rejuvenating your canvas awning. By following these steps with care and attention to detail, you’ve not only restored the functionality and appearance of your awning but also extended its lifespan for continued enjoyment and protection for years to come.
Conclusion
Congratulations on successfully completing the comprehensive repair process for your canvas awning. By following the step-by-step guide outlined in this article, you’ve taken the necessary measures to restore the functionality, structural integrity, and visual appeal of your awning, ensuring that it continues to provide shade and protection for years to come.
From assessing the damage to cleaning the canvas, patching holes and tears, restoring the frame, reattaching the canvas, and waterproofing the awning, you’ve invested time and effort into revitalizing your canvas awning, and the results speak for themselves. Your dedication to the repair process will undoubtedly pay off in the form of an awning that looks and performs like new.
Remember, regular maintenance and care are essential for preserving the condition of your canvas awning. Periodically inspect the fabric for signs of wear and tear, clean it as needed, and address any issues promptly to prevent further damage. By staying proactive, you can extend the lifespan of your awning and continue to enjoy its benefits for years to come.
Whether it’s providing a shaded retreat on a sunny day or sheltering you from a passing rain shower, your canvas awning is a valuable addition to your outdoor space. By taking the time to repair and maintain it, you’re ensuring that it remains a functional and visually appealing asset for your home or business.
Thank you for embarking on this repair journey with us. We hope that the knowledge and techniques shared in this guide have empowered you to tackle the repair of your canvas awning with confidence and success. Your commitment to preserving and restoring your outdoor structures is a testament to your dedication to creating a welcoming and comfortable outdoor environment.
As you step back and admire your beautifully repaired canvas awning, take pride in knowing that you’ve not only revitalized a functional outdoor feature but also enhanced the overall aesthetic and functionality of your outdoor space. Here’s to many more years of enjoyment under the shade and protection of your expertly repaired canvas awning!
Frequently Asked Questions about How To Repair Canvas Awning
Was this page helpful?
At Storables.com, we guarantee accurate and reliable information. Our content, validated by Expert Board Contributors, is crafted following stringent Editorial Policies. We're committed to providing you with well-researched, expert-backed insights for all your informational needs.


0 thoughts on “How To Repair Canvas Awning”