Home>Gardening & Outdoor>Outdoor Structures>How To Make An Awning
Outdoor Structures
How To Make An Awning
Modified: February 18, 2024
Learn how to make an outdoor awning with our step-by-step guide. Create a stylish and functional addition to your outdoor space.
(Many of the links in this article redirect to a specific reviewed product. Your purchase of these products through affiliate links helps to generate commission for Storables.com, at no extra cost. Learn more)
Introduction
So, you want to add some shade and style to your outdoor space? Look no further than an awning! An awning is a versatile and practical addition to any home, providing protection from the elements while also enhancing the aesthetic appeal of your outdoor area. Whether you want to create a cozy spot to relax on a sunny day or shield your patio from the occasional rain shower, installing an awning is a fantastic way to achieve both form and function.
In this guide, we'll walk you through the process of making your own awning. From gathering the necessary materials to the final installation, we've got you covered. By following these steps, you'll be able to customize the size, style, and fabric of your awning to perfectly suit your outdoor space. So, roll up your sleeves and get ready to embark on a rewarding DIY project that will elevate your outdoor living experience. Let's dive in and learn how to make an awning that will become the envy of the neighborhood!
Key Takeaways:
- Create your own awning to add style and shade to your outdoor space. Gather materials, measure, assemble, and install for a rewarding DIY project that enhances your living experience.
- Personalize your awning with fabric, frame, and optional accessories to elevate your outdoor space. Enjoy the satisfaction of a stylish, functional addition to your home.
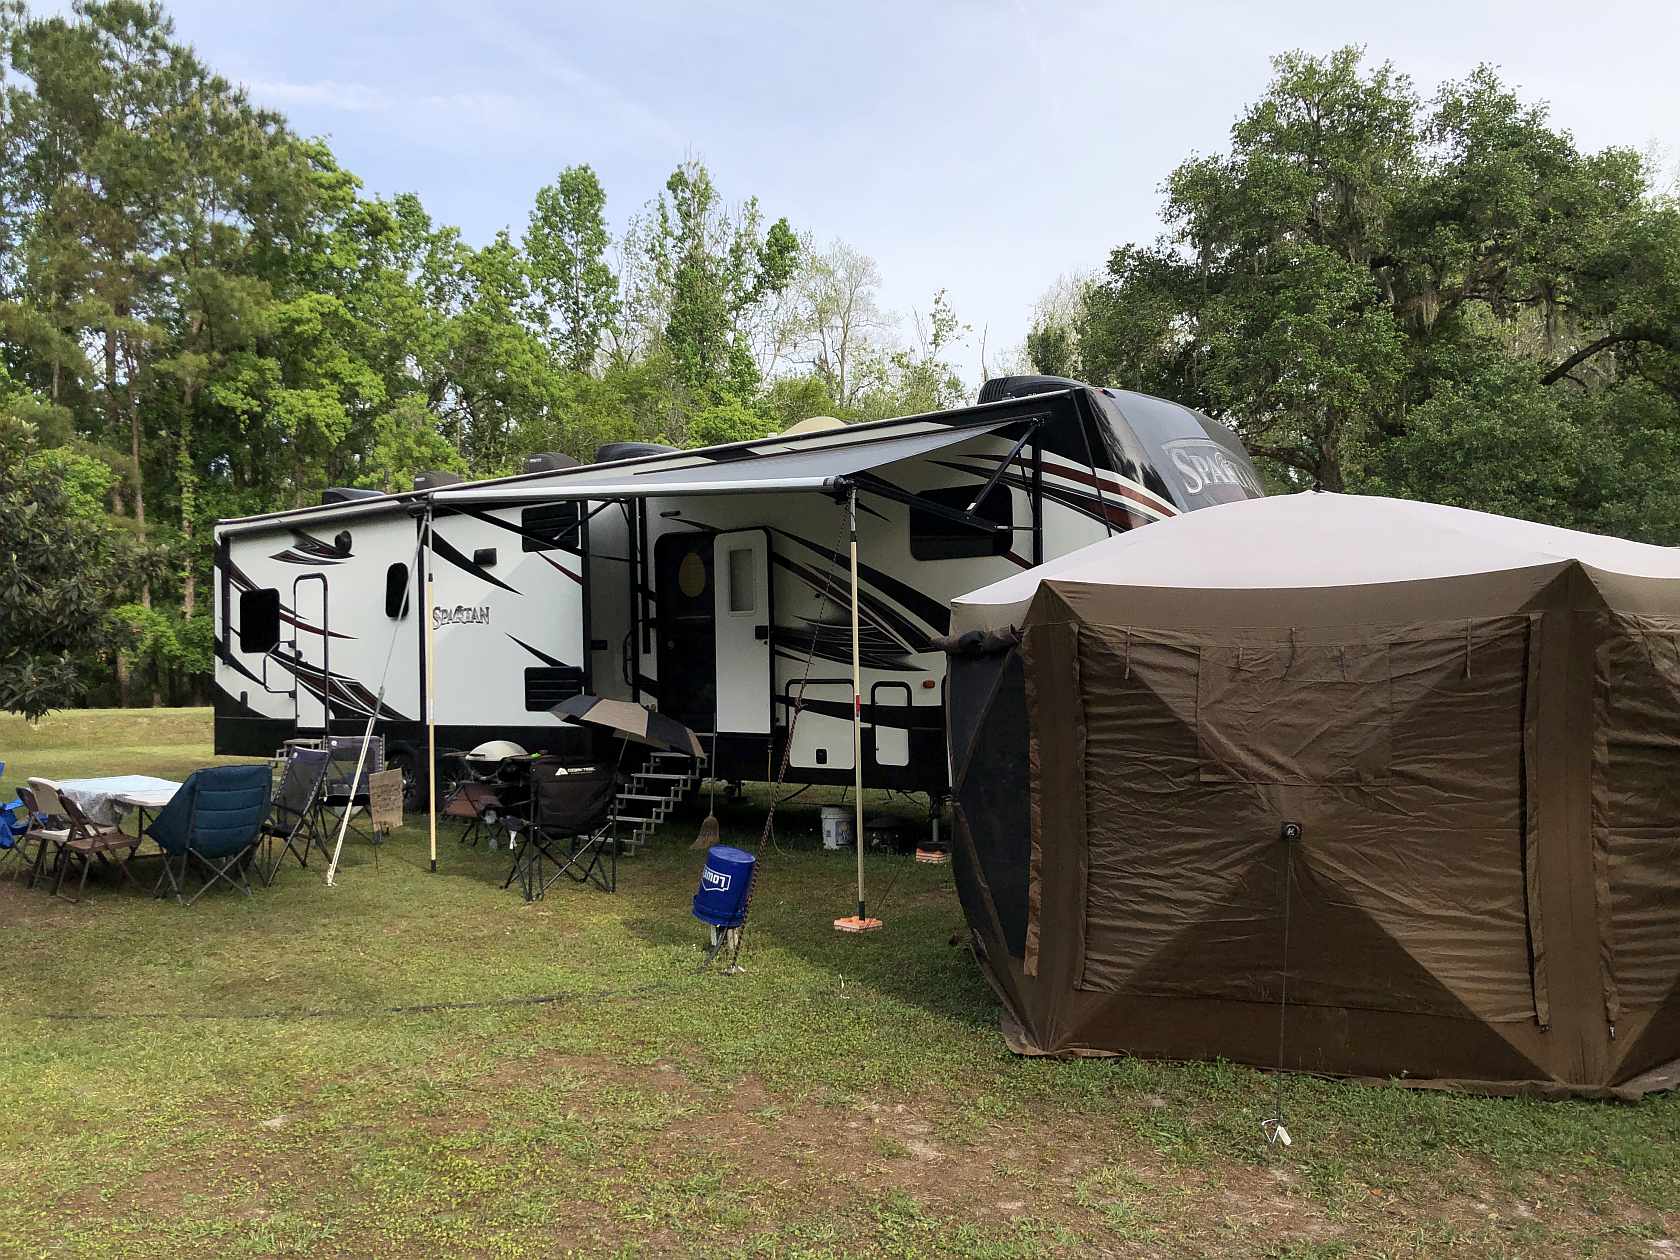
Read more: How To Make An Awning For A Camper
Materials Needed
Before you begin constructing your awning, it’s essential to gather all the necessary materials and tools. Here’s a comprehensive list of what you’ll need to complete this project:
- Frame Materials: Depending on the design of your awning, you’ll require sturdy materials such as aluminum or steel pipes, connectors, and brackets to construct the frame. Ensure that the materials are durable enough to withstand outdoor conditions.
- Fabric: Choose a high-quality outdoor fabric that is water-resistant and provides UV protection. Common options include canvas, acrylic, or polyester fabric. Consider the color and pattern of the fabric to complement your outdoor décor.
- Hardware: You’ll need screws, nuts, bolts, and washers to secure the frame and attach the fabric. Additionally, anchors and bolts will be necessary for installing the awning onto your exterior wall or posts.
- Tools: A drill, saw, measuring tape, level, and a set of wrenches are essential for cutting, assembling, and securing the frame components.
- Protective Gear: Safety goggles, gloves, and a dust mask are crucial when working with power tools and handling materials to ensure your safety throughout the construction process.
- Optional Accessories: Depending on your preferences, you may want to include decorative elements such as trim, valances, or LED lighting to enhance the appearance and functionality of your awning.
By gathering these materials and tools, you’ll be well-prepared to tackle each step of the awning construction process. Once you have everything on hand, you can proceed to measure and mark the area where the awning will be installed.
Step 1: Measure and Mark the Area
Before diving into the construction of your awning, it’s crucial to accurately measure and mark the designated area where the awning will be installed. This step sets the foundation for a seamless and well-fitted awning that complements your outdoor space.
Start by identifying the ideal location for your awning. Consider factors such as the angle of the sun, prevailing wind direction, and the desired coverage area. Once you’ve chosen the spot, use a measuring tape to determine the width and projection (the distance the awning will extend from the wall) that best suits your needs.
After obtaining these measurements, mark the placement of the awning on the exterior wall or supporting posts. Use a level to ensure that the markings are straight and aligned with the surrounding architecture. It’s essential to double-check the accuracy of the measurements before proceeding to the next step, as precise dimensions are pivotal in achieving a well-fitted and visually appealing awning.
Additionally, take into account any potential obstructions such as windows, doors, or architectural features that may impact the installation of the awning. By thoroughly assessing the area and marking the precise location and dimensions, you’ll lay the groundwork for a successful awning construction process.
Once the area is measured and marked, you can proceed to the next step: cutting and assembling the frame, where the structural components of the awning will take shape.
Step 2: Cut and Assemble the Frame
With the area measured and marked, it’s time to bring the structural elements of your awning to life by cutting and assembling the frame. This step forms the backbone of your awning, providing the support and stability necessary to withstand outdoor conditions while showcasing your chosen fabric.
Begin by cutting the frame materials to the precise lengths required for the width and projection of the awning. If using aluminum or steel pipes, a saw designed for cutting metal will ensure clean and accurate cuts. It’s crucial to follow the measurements meticulously to achieve a frame that aligns with the dimensions of the designated area.
Next, assemble the cut pieces using connectors and brackets designed for outdoor use. These components will secure the frame, creating a sturdy structure that will serve as the framework for the fabric. Ensure that the frame is level and securely fastened, as its stability is essential for the successful installation and functionality of the awning.
During the assembly process, it’s beneficial to have a second set of hands to assist in holding and aligning the frame components. This collaborative effort can streamline the assembly process and ensure that the frame is constructed with precision and accuracy.
As you progress through this step, visualize how the assembled frame will complement your outdoor space and provide the desired shade and protection. Once the frame is securely assembled, you’re ready to move on to the next phase: attaching the fabric, where the aesthetic and functional aspects of the awning will come together to create a visually appealing and practical outdoor addition.
When making an awning, be sure to measure the area where you want to install it carefully to ensure a proper fit. Also, consider the material of the awning to ensure it is durable and weather-resistant.
Step 3: Attach the Fabric
With the frame securely assembled, it’s time to infuse your awning with style and functionality by attaching the chosen fabric. The fabric not only provides shade and protection from the elements but also adds a decorative touch to your outdoor space, enhancing its visual appeal.
Begin by laying out the selected outdoor fabric in a clean and spacious area, ensuring that it is free from wrinkles or creases. Carefully position the fabric over the assembled frame, allowing for an overhang that matches the intended projection of the awning. Secure the fabric in place using appropriate fasteners, ensuring a snug and taut fit across the frame.
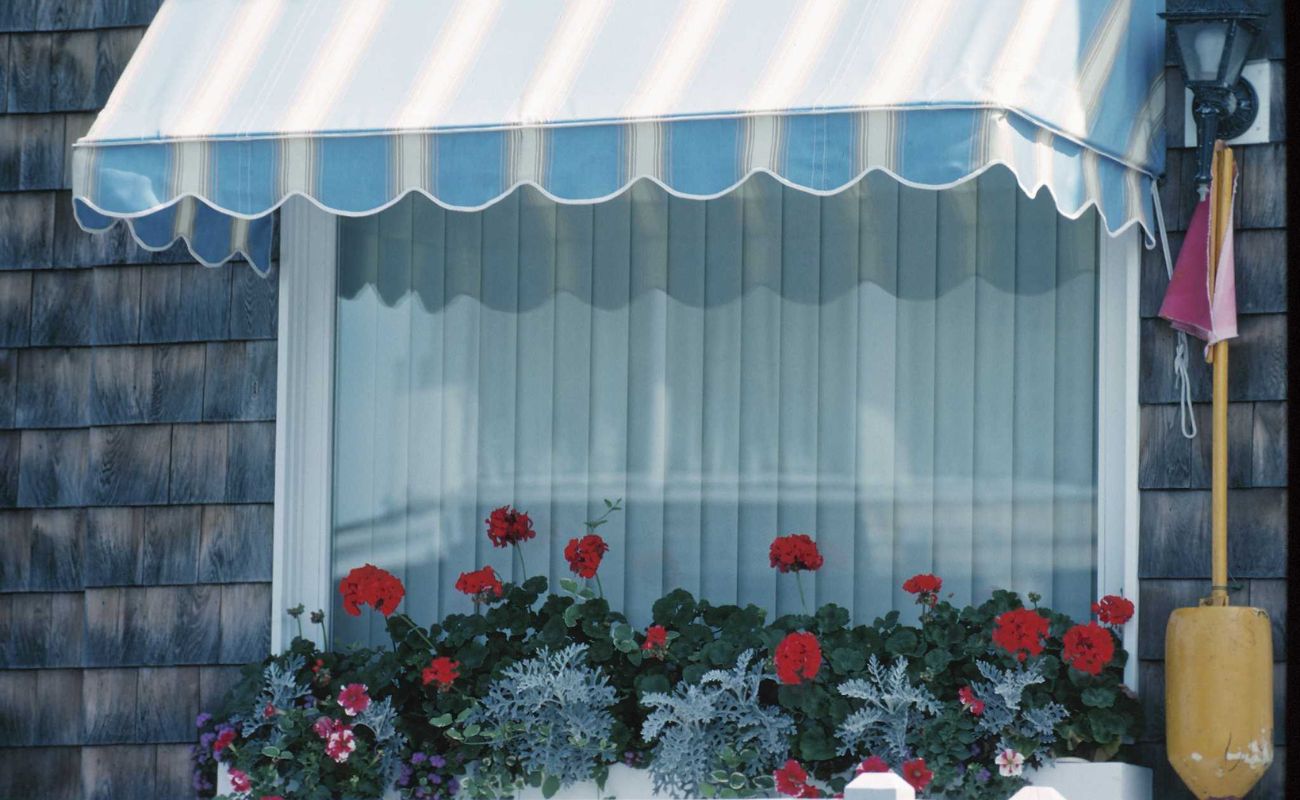
When attaching the fabric, pay attention to the orientation of any patterns or textures to ensure a visually pleasing result. If using a striped or patterned fabric, align the design symmetrically to create a polished and cohesive look. Additionally, consider incorporating a valance, a decorative fabric trim that hangs from the front edge of the awning, adding an extra touch of style and elegance.
As you work through this step, envision how the fabric will interact with the surrounding environment, providing a welcoming and comfortable outdoor retreat. The fabric you choose should not only complement the exterior of your home but also withstand outdoor conditions, offering durability and longevity.
Once the fabric is securely attached to the frame, take a moment to admire the transformation taking place. The awning is now evolving into a functional and visually appealing addition to your outdoor space. With the fabric in place, you’re ready to proceed to the final step: installing the awning, where your DIY project will culminate in a rewarding and satisfying achievement.
Read more: How To Make A Retractable Awning
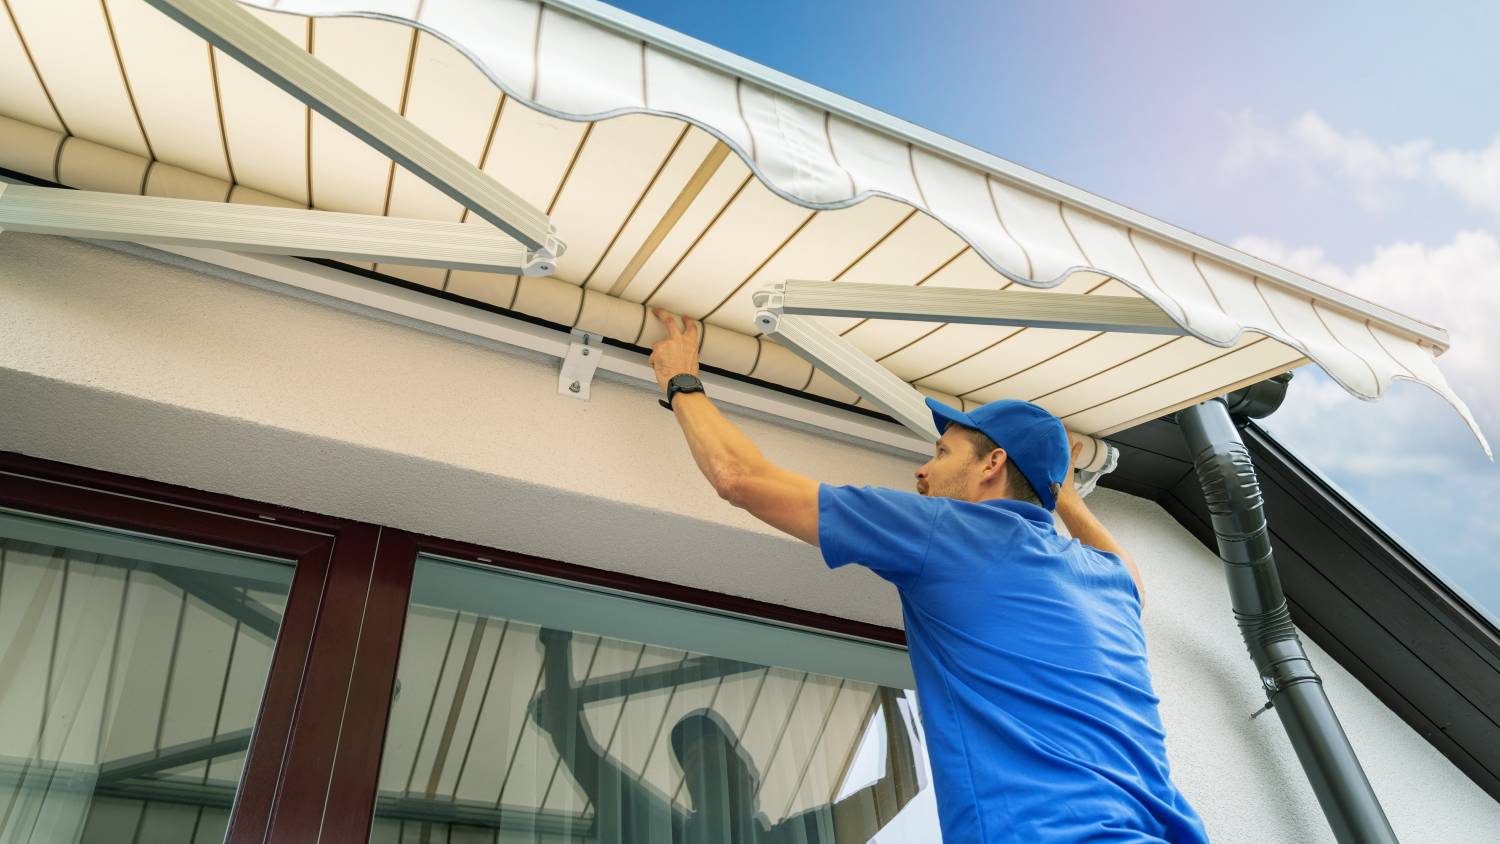
Step 4: Install the Awning
As the construction of your awning nears completion, it’s time to install the finished product in its designated outdoor space. This final step brings together all the meticulous measurements, precise construction, and thoughtful design choices, culminating in the realization of your DIY awning project.
Begin by positioning the assembled awning frame in the marked area, ensuring that it aligns with the previously determined measurements. If attaching the awning to an exterior wall, use anchors and bolts to securely fasten the frame, ensuring that it is level and firmly anchored. Alternatively, if the awning is being installed on supporting posts, verify that they are stable and securely anchored in the ground before attaching the frame.
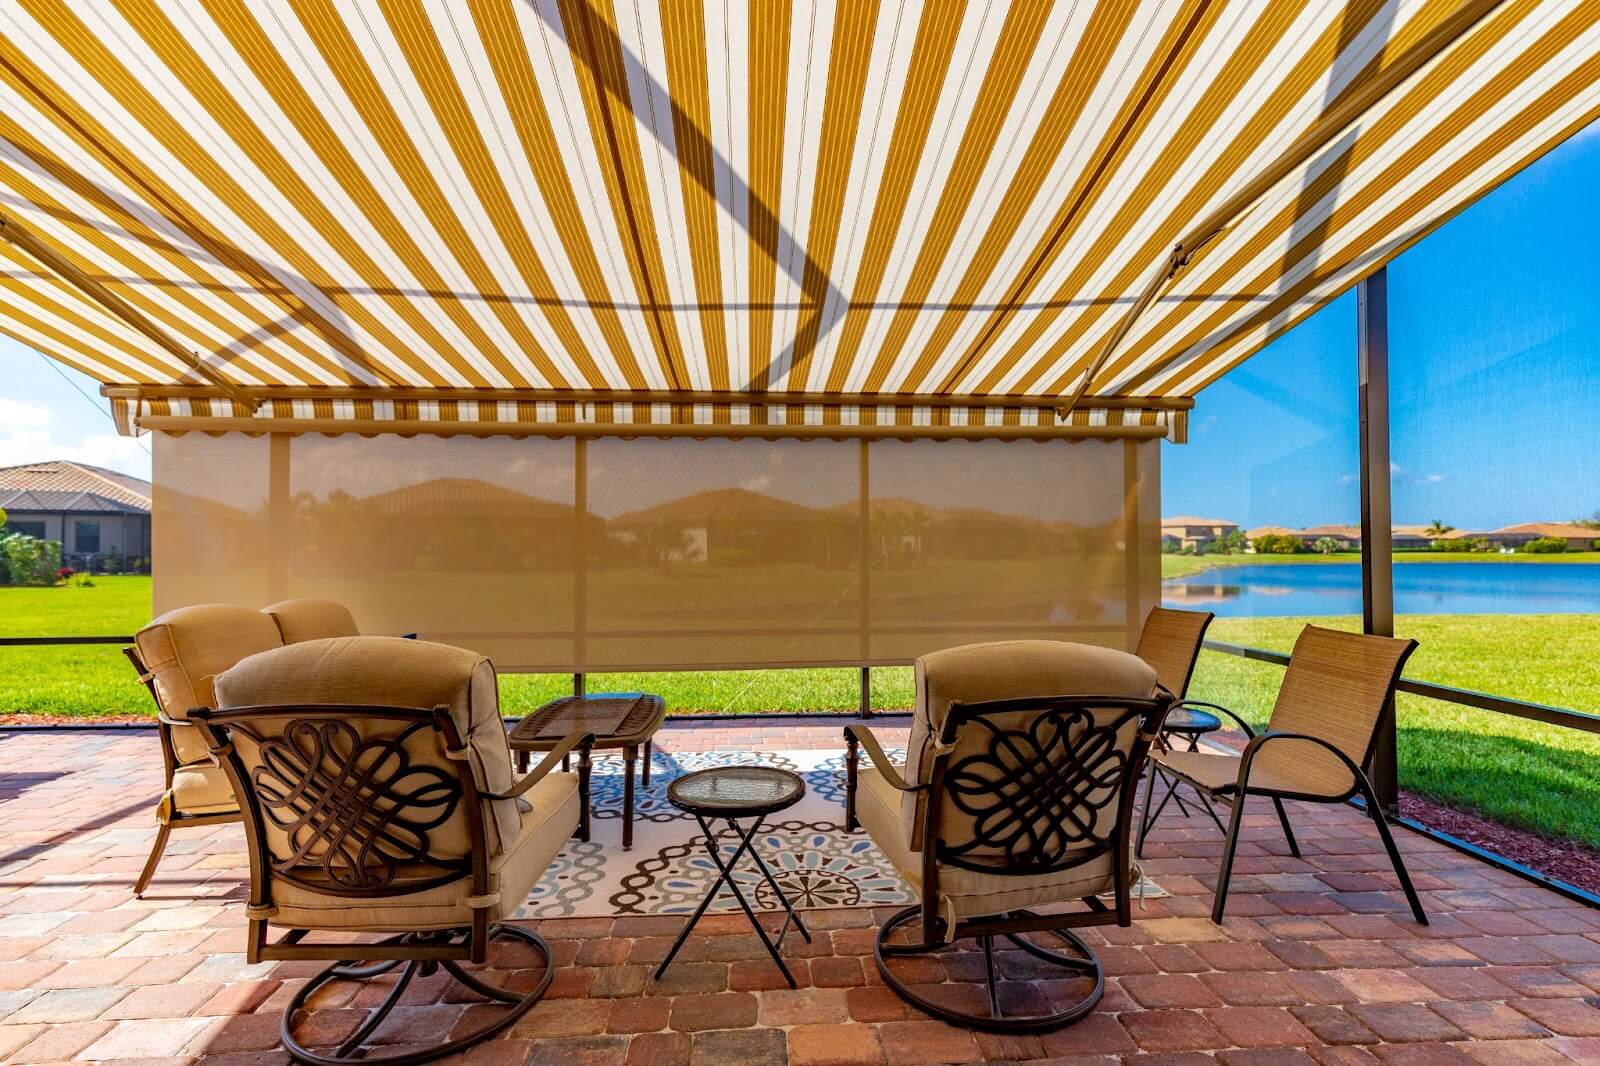
As you secure the awning in place, take a moment to step back and admire the transformation it brings to your outdoor space. Visualize how the shade and shelter provided by the awning will enhance your outdoor activities, whether it’s creating a cozy spot for al fresco dining or a relaxing retreat from the sun’s rays.
If your awning features optional accessories such as LED lighting or decorative trim, now is the time to incorporate these elements, adding a personalized touch to the finished installation. By customizing your awning with these additional features, you can elevate its functionality and aesthetic appeal, creating an inviting and stylish outdoor haven.
With the awning securely installed and any optional accessories in place, take a moment to bask in the satisfaction of completing this DIY project. Your efforts have resulted in a stylish and practical addition to your outdoor space, providing shade, shelter, and a touch of personalized flair.
Now that your awning is successfully installed, it’s time to relax and enjoy the fruits of your labor. Whether you’re hosting outdoor gatherings, unwinding with a good book, or simply savoring the beauty of your outdoor surroundings, your new awning is sure to enrich your outdoor living experience.
Conclusion
Congratulations on successfully completing the journey of creating your own awning! Through careful measurements, precise construction, and thoughtful design choices, you’ve transformed your outdoor space into a stylish and functional retreat. As you reflect on the process, you can take pride in the craftsmanship and creativity that have gone into this DIY project.
Your newly installed awning not only provides shade and protection from the elements but also adds a touch of elegance and character to your outdoor area. Whether it’s a vibrant splash of color or a subtle complement to your home’s exterior, the fabric you’ve chosen has the power to enhance the visual appeal of your outdoor space while serving a practical purpose.
As you enjoy the benefits of your awning, from creating a comfortable spot for outdoor gatherings to finding respite from the sun’s rays, remember the effort and attention to detail that have gone into its construction. Your DIY awning stands as a testament to your creativity and determination to enhance your living space in a personalized and meaningful way.
By embarking on this DIY project, you’ve not only added a valuable and versatile feature to your home but also gained a sense of accomplishment and satisfaction. The process of making your own awning has empowered you to customize your outdoor space according to your preferences, creating a welcoming and functional environment for relaxation and recreation.
As you continue to savor the benefits of your newly installed awning, take pride in the fact that you’ve successfully brought your vision to life. Whether it’s a tranquil retreat for enjoying a morning coffee or a sheltered space for entertaining guests, your DIY awning represents a harmonious blend of practicality and style that enriches your outdoor living experience.
So, as you bask in the comfort and beauty of your outdoor haven, take a moment to appreciate the impact of your DIY awning. Your dedication and creativity have yielded a remarkable addition to your home, one that will be cherished for years to come.
Frequently Asked Questions about How To Make An Awning
Was this page helpful?
At Storables.com, we guarantee accurate and reliable information. Our content, validated by Expert Board Contributors, is crafted following stringent Editorial Policies. We're committed to providing you with well-researched, expert-backed insights for all your informational needs.


0 thoughts on “How To Make An Awning”