Home>Gardening & Outdoor>Outdoor Structures>How To Sew An Awning

Outdoor Structures
How To Sew An Awning
Published: January 31, 2024
Learn how to sew an awning for your outdoor structures with our step-by-step guide. Create shade and protection with your own custom-made awning.
(Many of the links in this article redirect to a specific reviewed product. Your purchase of these products through affiliate links helps to generate commission for Storables.com, at no extra cost. Learn more)
Introduction
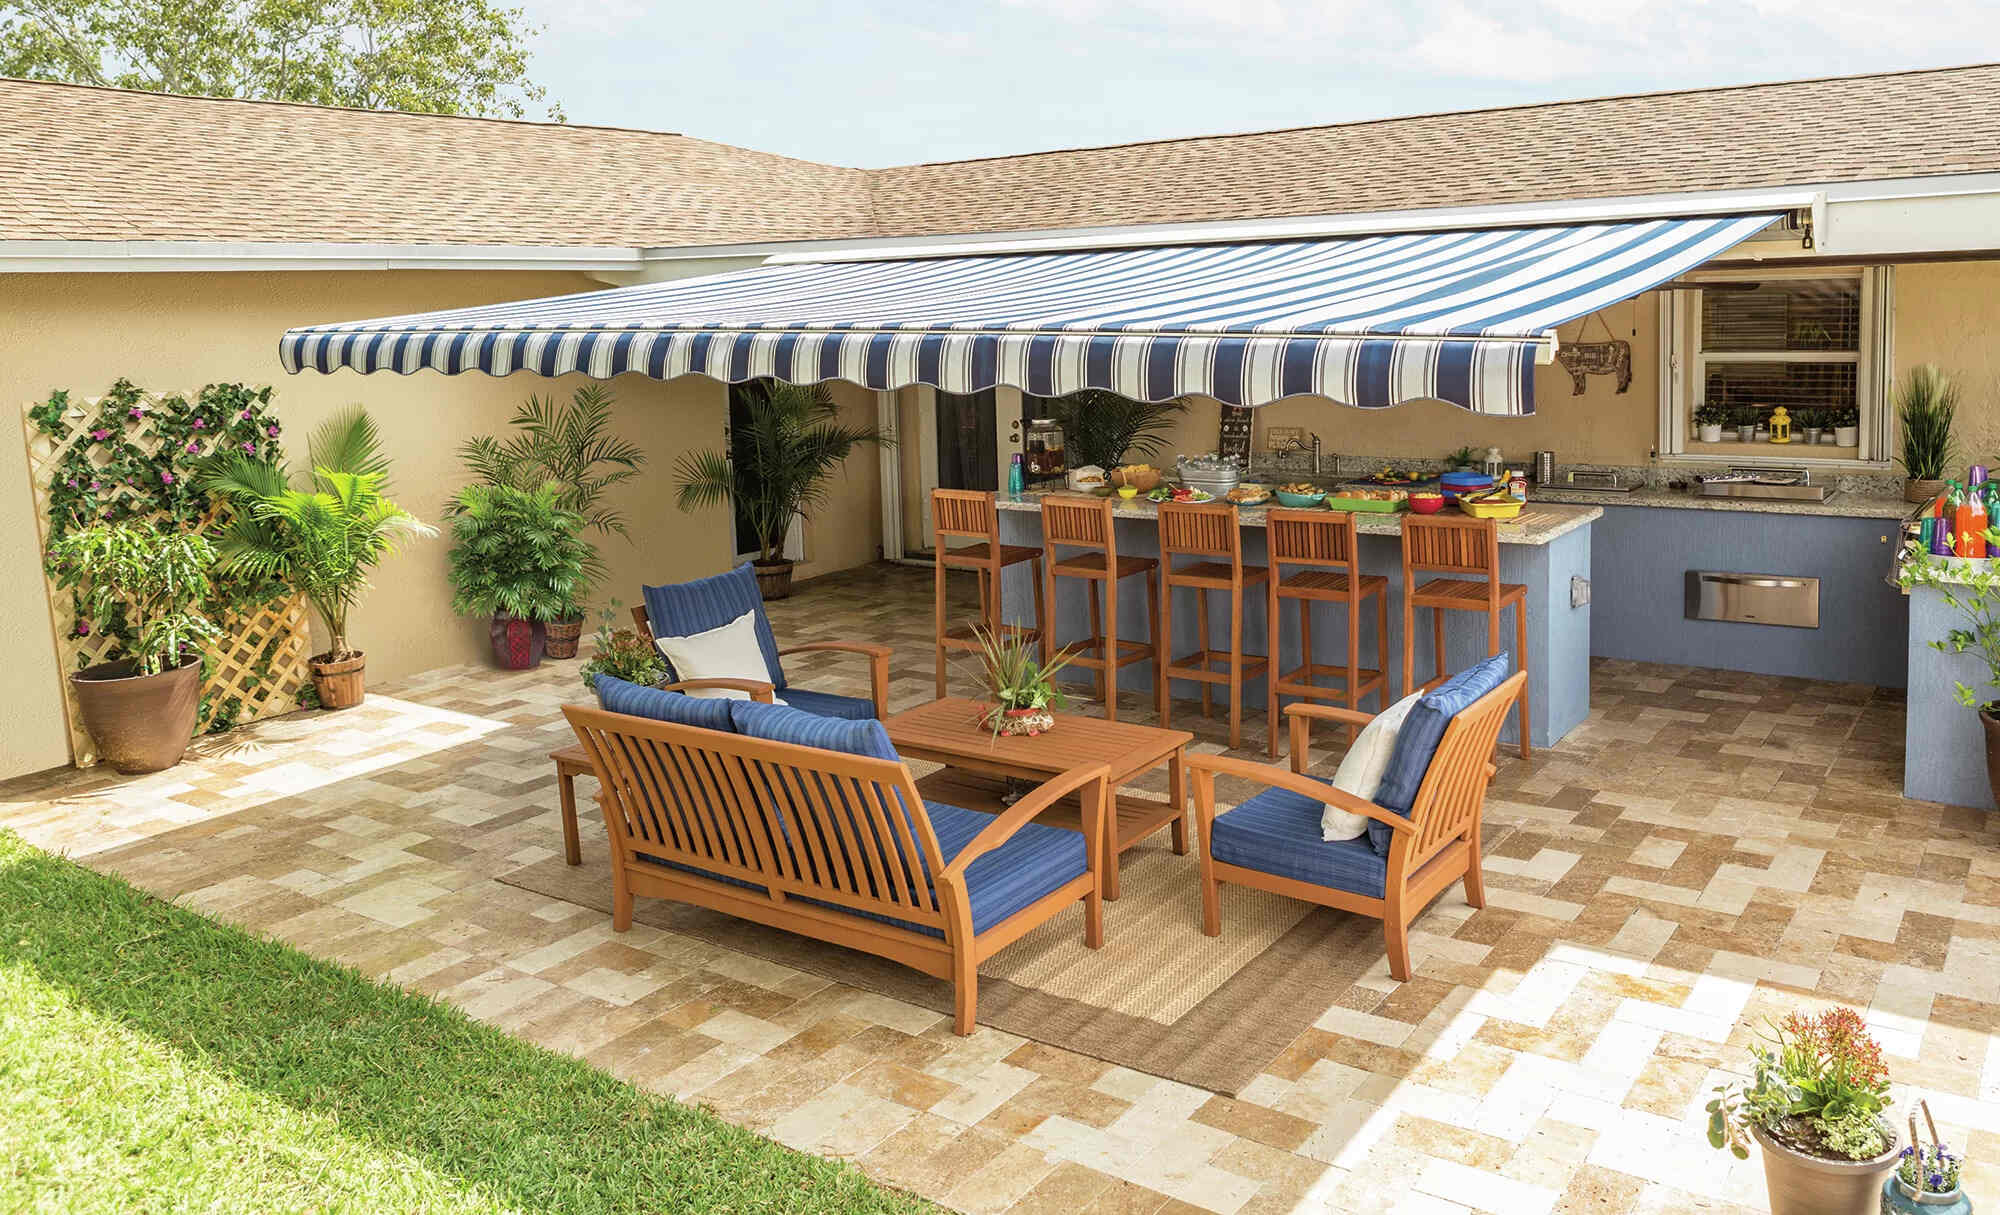
So, you've decided to take on the task of sewing your own awning. Congratulations! Not only is this a practical and cost-effective project, but it also allows for a level of customization that store-bought awnings simply can't match. Whether you're looking to create a shaded retreat in your backyard or seeking to enhance the aesthetic appeal of your home, sewing your own awning puts you in control of the design, fabric, and size.
Sewing an awning may seem like a daunting task, especially if you're new to sewing or DIY projects. However, with the right guidance and a bit of patience, you'll soon find yourself enjoying the satisfaction of creating a functional and stylish addition to your outdoor space.
In this comprehensive guide, we'll walk you through the step-by-step process of sewing an awning, from gathering the necessary materials to adding the finishing touches. By the end of this journey, you'll not only have a newfound sense of accomplishment but also a beautiful and practical awning to show for it. So, roll up your sleeves, dust off your sewing machine, and let's dive into the wonderful world of awning creation!
Key Takeaways:
- Sewing your own awning allows for customization, cost-effectiveness, and a sense of accomplishment. With the right materials and guidance, you can create a practical and stylish addition to your outdoor space.
- Accurate measurements, precise sewing, and attention to detail are crucial for creating a strong and visually appealing awning. The finishing touches add durability and visual charm to your handmade creation.
Read more: What Is An Awning
Materials Needed
Before diving into the sewing process, it’s essential to gather all the necessary materials. Here’s a comprehensive list of items you’ll need to bring your awning to life:
- Fabric: Select a durable, weather-resistant fabric that suits your aesthetic preferences and functional requirements. Popular choices include canvas, polyester, and acrylic fabrics designed for outdoor use.
- Thread: Opt for a high-quality, UV-resistant thread that complements the chosen fabric. Consider using a thread specifically designed for outdoor applications to ensure longevity.
- Measuring Tape: A reliable measuring tape is crucial for accurately determining the dimensions of your awning.
- Scissors: Invest in a pair of sharp, sturdy scissors capable of cleanly cutting through the chosen fabric.
- Sewing Machine: A sewing machine equipped with a heavy-duty needle and capable of handling outdoor fabrics will streamline the sewing process.
- Awning Frame Materials: Depending on your design, you may need metal or PVC pipes, brackets, and fittings to construct the frame that supports the awning.
- Grommets: These metal or plastic rings reinforce the fabric and provide attachment points for securing the awning to the frame.
- Awning Hardware: Depending on the installation method, you may require screws, bolts, and other hardware to secure the awning to your chosen outdoor space.
- Seam Sealant: To enhance the awning’s weather resistance, consider using a seam sealant to reinforce the stitched seams and prevent water penetration.
- Weighing Options: If your awning will be exposed to windy conditions, consider incorporating weights or anchors to ensure stability.
- Protective Gear: Safety goggles, gloves, and a dust mask are essential when working with fabrics, hardware, and sealants.
By ensuring you have all the necessary materials at the outset, you’ll be well-prepared to embark on the exciting journey of sewing your own awning.
Measuring and Cutting
Accurate measurements form the foundation of a well-fitted and visually appealing awning. Before cutting into your chosen fabric, it’s crucial to measure the space where the awning will be installed and determine the required dimensions. Here’s a step-by-step guide to the measuring and cutting process:
- Measure the Installation Area: Use a measuring tape to determine the width and projection (the distance the awning will extend from the wall) of the space where the awning will be installed. Ensure that your measurements account for any obstructions or architectural features that may impact the awning’s placement.
- Determine the Awning Size: Based on the measurements of the installation area, calculate the ideal size for your awning. Consider factors such as desired coverage, aesthetic proportions, and practical functionality when determining the width and projection of the awning.
- Transfer Measurements to the Fabric: Using tailor’s chalk or fabric markers, transfer the measured dimensions onto the selected fabric. Double-check the measurements and use a straight edge or a long, straight object to ensure precise lines.
- Cut the Fabric: With a sharp pair of fabric scissors, carefully cut along the marked lines to create the main panels of the awning. If your design includes additional features such as valances or decorative elements, be sure to account for these in your cutting process.
- Consider Seam Allowance: When cutting the fabric, remember to include the necessary seam allowance to accommodate the sewing process. Typically, a seam allowance of 1/2 inch to 1 inch is sufficient for awning construction.
By meticulously following these measuring and cutting steps, you’ll lay the groundwork for a well-proportioned and precisely tailored awning. Accurate measurements and clean cuts are essential for a successful sewing and installation process, so take your time and ensure precision at this stage.
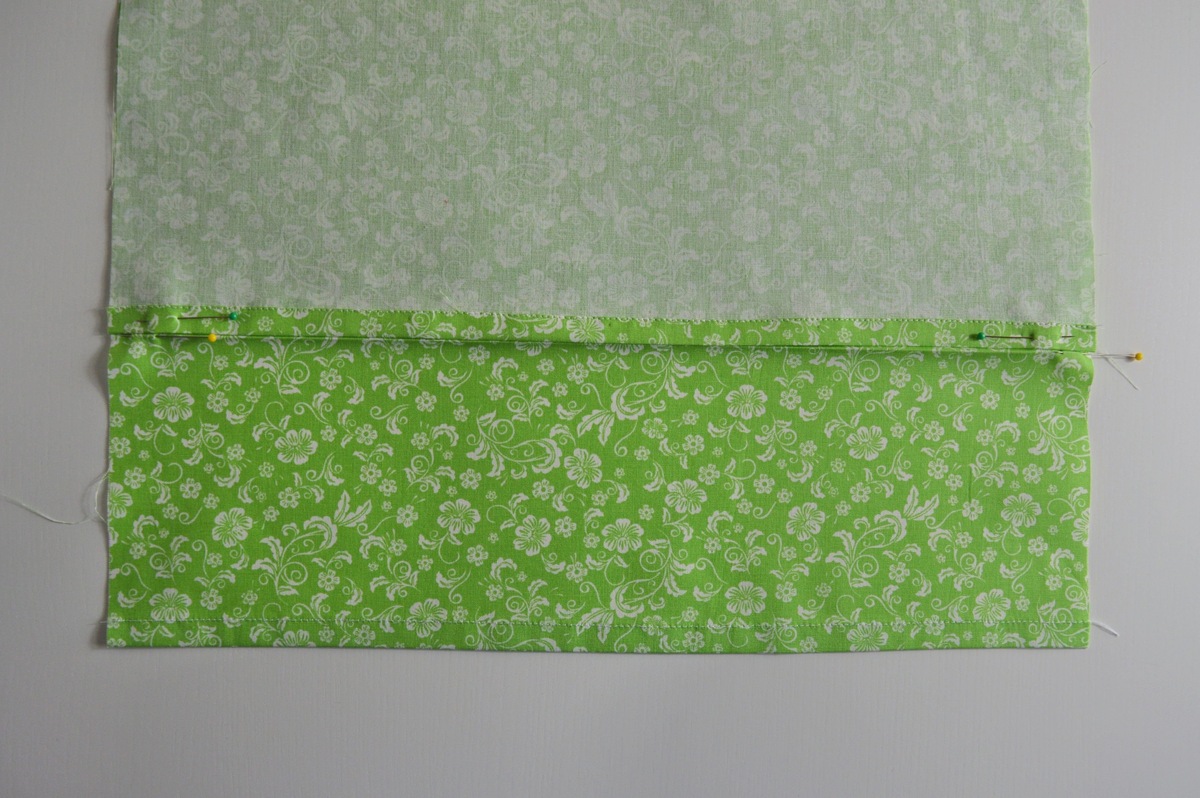
Sewing the Panels
With the fabric panels cut to size, it’s time to bring them together through the art of sewing. This stage is where the individual components of the awning begin to take shape and form a cohesive unit. Follow these steps to sew the panels and create the foundation of your awning:
- Prepare the Sewing Machine: Ensure that your sewing machine is equipped with a heavy-duty needle suitable for the chosen outdoor fabric. Thread the machine with a high-quality, UV-resistant thread that complements the fabric’s color and properties.
- Align and Pin the Panels: Place the fabric panels on a flat surface, aligning the edges that will be joined together. Use straight pins to secure the panels in place, ensuring that the edges remain even and the fabric doesn’t shift during sewing.
- Select the Stitch Type: Depending on your preference and the fabric’s characteristics, choose a suitable stitch type for joining the panels. A straight stitch or a reinforced stitch designed for heavy fabrics and outdoor applications is recommended for sewing awnings.
- Sew the Seams: Carefully guide the fabric through the sewing machine, maintaining a consistent seam allowance and removing the pins as you sew. Backstitch at the beginning and end of each seam to secure the stitches and prevent unraveling.
- Reinforce Stress Points: If your awning design includes areas that will be subjected to additional stress, such as corners or attachment points, consider reinforcing these areas with extra stitching or fabric patches for added durability.
- Test the Integrity: Once the panels are sewn together, inspect the seams for strength and uniformity. Test the fabric’s integrity by gently pulling on the seams to ensure that they can withstand the tension of installation and outdoor conditions.
By approaching the sewing process with attention to detail and precision, you’ll create strong, visually appealing seams that form the backbone of your awning. Take pride in each carefully stitched seam, knowing that it contributes to the overall quality and longevity of your handmade awning.
When sewing an awning, use a heavy-duty sewing machine and strong outdoor fabric. Reinforce stress points with extra stitching for durability.
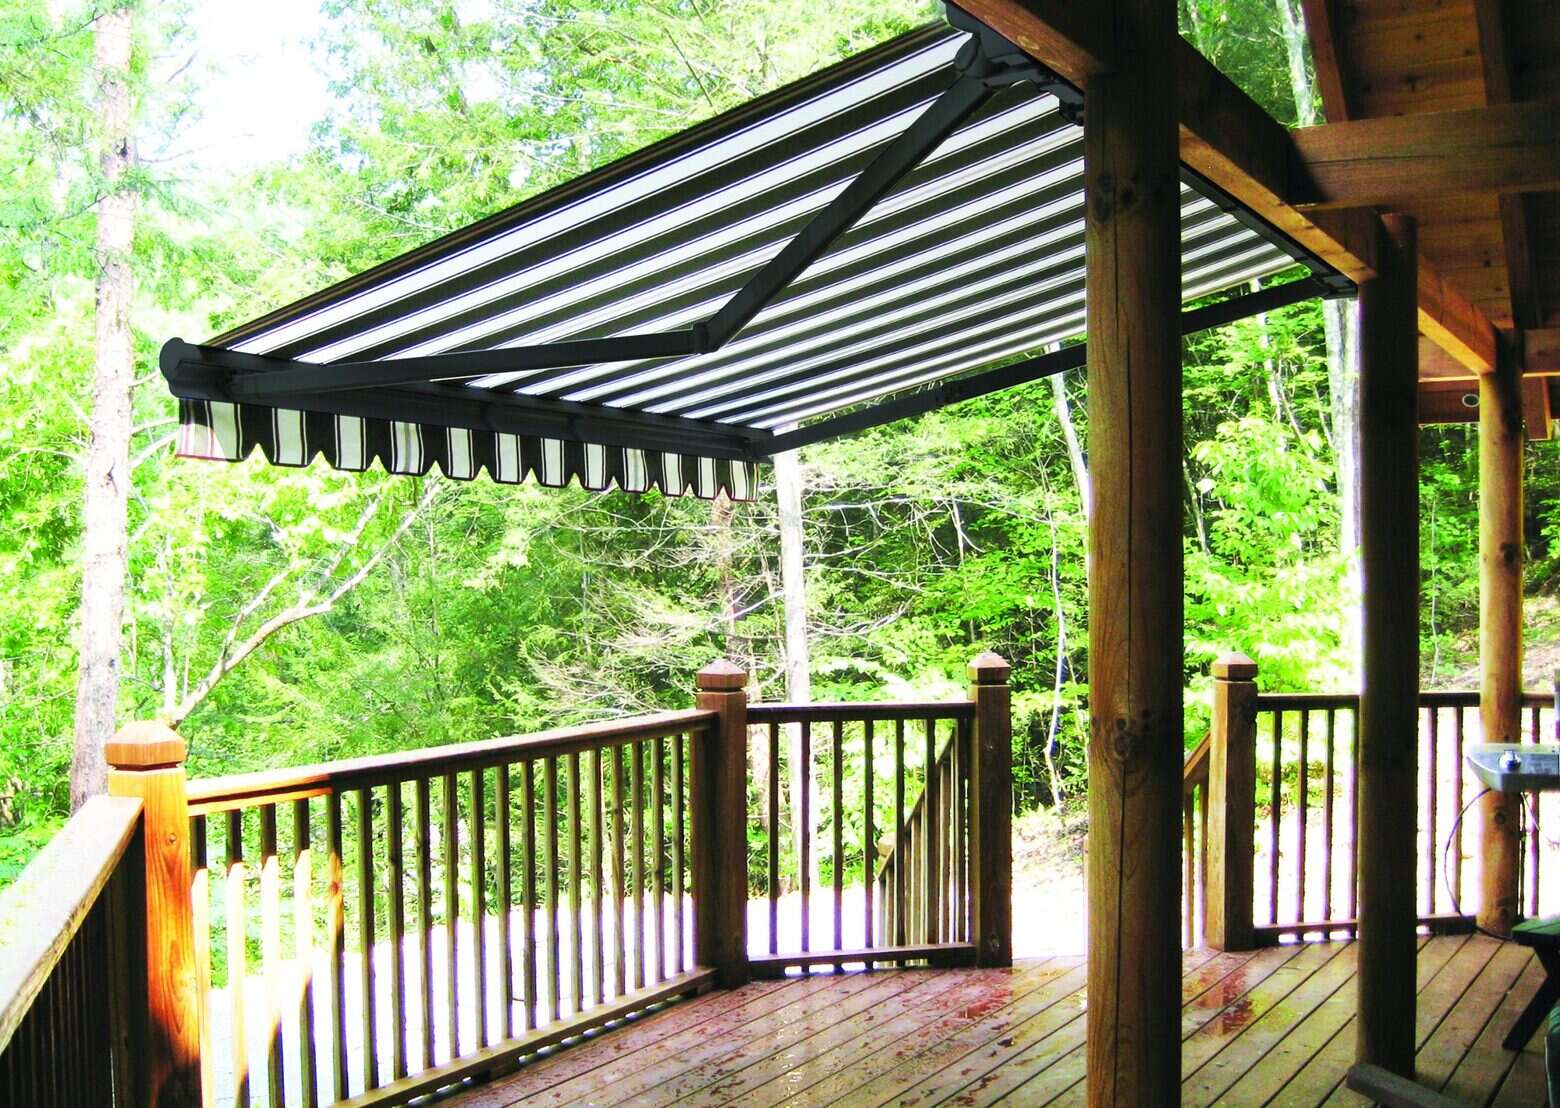
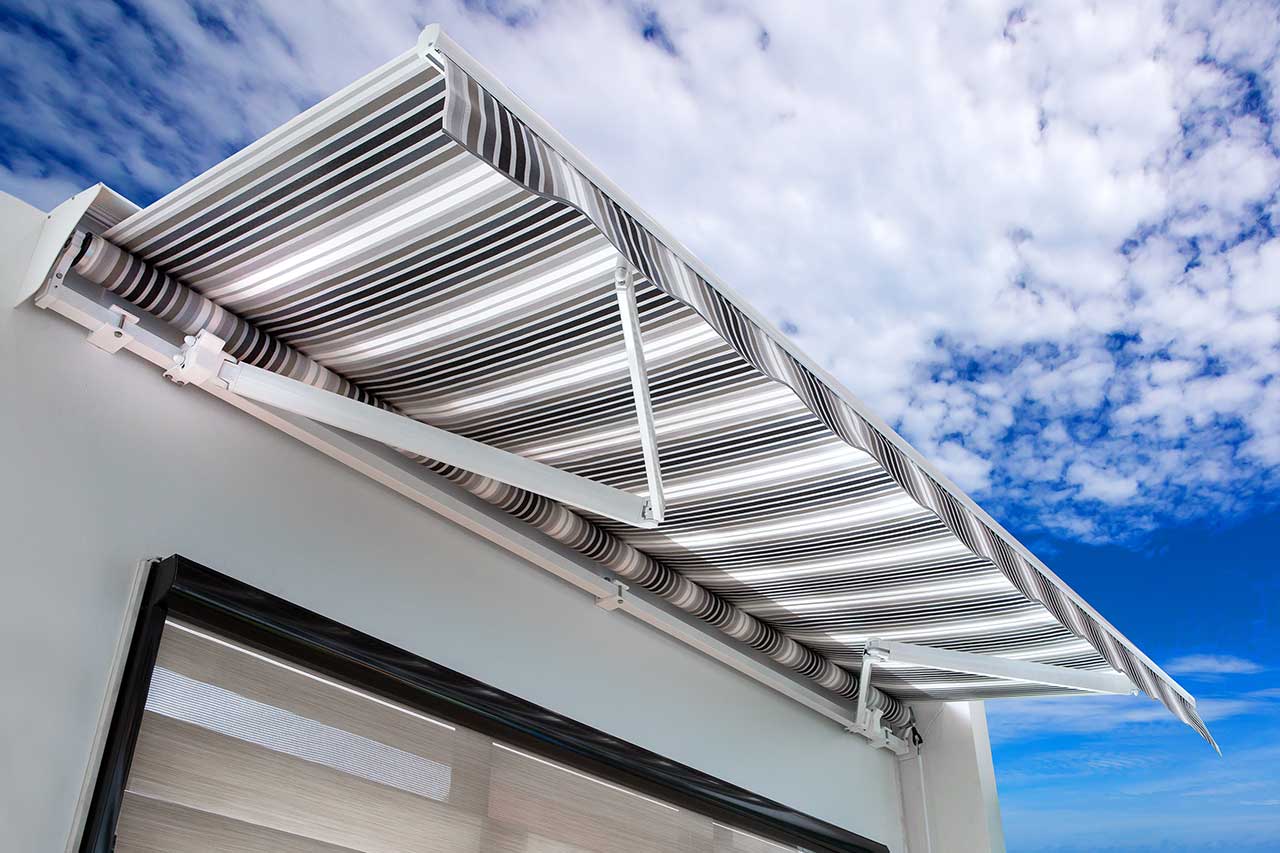
Attaching the Frame
With the fabric panels expertly sewn together, the next crucial step in the awning creation process involves attaching the frame that will provide structural support and stability. The frame not only ensures the proper deployment and functionality of the awning but also contributes to its overall aesthetic appeal. Follow these steps to seamlessly integrate the frame with your sewn panels:
- Assemble the Frame Components: If you’re using a pre-made awning frame, carefully follow the manufacturer’s instructions to assemble the components. If you’re constructing a custom frame, ensure that all metal or PVC pipes, brackets, and fittings are cut and assembled to the specified dimensions and design.
- Position the Fabric Panels: Lay the sewn fabric panels on a clean, flat surface, ensuring that the exterior side of the fabric faces down. Position the frame components on top of the fabric, aligning them with the edges of the panels and allowing for the designated projection and width of the awning.
- Secure the Fabric to the Frame: Using appropriate hardware such as screws, bolts, or clips, carefully secure the fabric to the frame. Begin by attaching the fabric to the frame’s main support structure, ensuring a snug and even fit without excessive tension that could distort the fabric or compromise the seams.
- Reinforce Attachment Points: Pay special attention to the corners and edges of the awning, reinforcing these attachment points to distribute the tension evenly and prevent fabric stress. Consider using grommets or additional fabric layers for reinforcement, especially in areas prone to wind or inclement weather.
- Test the Frame Integration: Once the fabric is securely attached to the frame, carefully test the functionality of the awning by gently extending and retracting it. Ensure that the fabric moves smoothly with the frame and that all attachment points remain secure under operational conditions.
By skillfully integrating the frame with the sewn fabric panels, you’ll transform individual components into a unified and functional awning structure. This pivotal stage brings your creation one step closer to its intended purpose, marking a significant milestone in the realization of your handmade awning.
Read more: How To Sew Curtains With Lining
Adding Finishing Touches
As your awning nears completion, it’s time to focus on the finishing touches that will elevate its functionality, visual appeal, and durability. These final steps add polish and refinement to your creation, ensuring that it not only meets your practical needs but also enhances the aesthetic charm of your outdoor space. Here’s how to add the essential finishing touches to your sewn awning:
- Apply Seam Sealant: To enhance the awning’s weather resistance and prolong its lifespan, carefully apply seam sealant along the stitched seams. This step reinforces the seams, prevents water penetration, and guards against fraying, particularly in outdoor environments.
- Add Valances or Trimmings: If desired, embellish your awning with decorative valances or trimmings to introduce a touch of elegance and flair. These additional fabric elements can complement your outdoor decor and further personalize the awning’s appearance.
- Install Weighing Options: For awnings exposed to windy conditions, consider incorporating weighing options such as pockets for weights or anchor points to ensure stability during gusty weather. This precaution helps prevent the awning from flapping or shifting excessively in the wind.
- Inspect and Reinforce Attachment Points: Thoroughly inspect all attachment points where the fabric connects to the frame, ensuring that they are secure and evenly distributed. Reinforce any areas that may be subject to additional stress, such as corners and edges, to fortify the awning’s overall integrity.
- Clean and Inspect the Awning: Before installation, gently clean the awning to remove any dust, debris, or markings acquired during the construction process. Inspect the entire awning for any imperfections or loose components, addressing any issues before proceeding with installation.
By focusing on these finishing touches, you’ll infuse your handmade awning with a professional touch and a level of craftsmanship that reflects your dedication to quality. These details not only enhance the awning’s performance and longevity but also contribute to its visual allure, making it a standout feature of your outdoor space.
Conclusion
Congratulations on successfully completing the journey of sewing your own awning! From the initial measurements to the final touches, you’ve demonstrated creativity, precision, and a true passion for crafting a functional and visually striking outdoor structure. As you prepare to install and enjoy your handmade awning, take a moment to reflect on the rewarding experience of bringing your vision to life.
By embracing the art of awning creation, you’ve not only personalized your outdoor space but also gained valuable skills in sewing, construction, and design. The satisfaction of crafting a practical yet aesthetically pleasing addition to your home is a testament to your resourcefulness and determination.
As you admire the finished awning, take pride in the craftsmanship and attention to detail that have gone into every seam, attachment, and finishing touch. Your unique creation stands as a testament to your ingenuity and serves as a focal point of comfort and style in your outdoor environment.
Whether you’re seeking shelter from the sun, enhancing your exterior decor, or simply reveling in the joy of hands-on creation, your sewn awning represents a remarkable achievement. Embrace the admiration and enjoyment it brings, knowing that it is a reflection of your skill, dedication, and the fulfillment of a DIY endeavor well done.
As you embark on future projects and endeavors, may the experience of sewing your own awning serve as a reminder of the possibilities that unfold when creativity and craftsmanship intertwine. Your handmade awning is not just a functional addition to your outdoor space; it’s a testament to your ability to transform ideas into tangible, meaningful creations.
Frequently Asked Questions about How To Sew An Awning
Was this page helpful?
At Storables.com, we guarantee accurate and reliable information. Our content, validated by Expert Board Contributors, is crafted following stringent Editorial Policies. We're committed to providing you with well-researched, expert-backed insights for all your informational needs.


0 thoughts on “How To Sew An Awning”