Home>Gardening & Outdoor>Outdoor Structures>How To Remove An Awning From A House
Outdoor Structures
How To Remove An Awning From A House
Published: January 31, 2024
Learn the step-by-step process of removing an awning from your house with our comprehensive guide. Discover tips and tricks for safely dismantling outdoor structures.
(Many of the links in this article redirect to a specific reviewed product. Your purchase of these products through affiliate links helps to generate commission for Storables.com, at no extra cost. Learn more)
Introduction
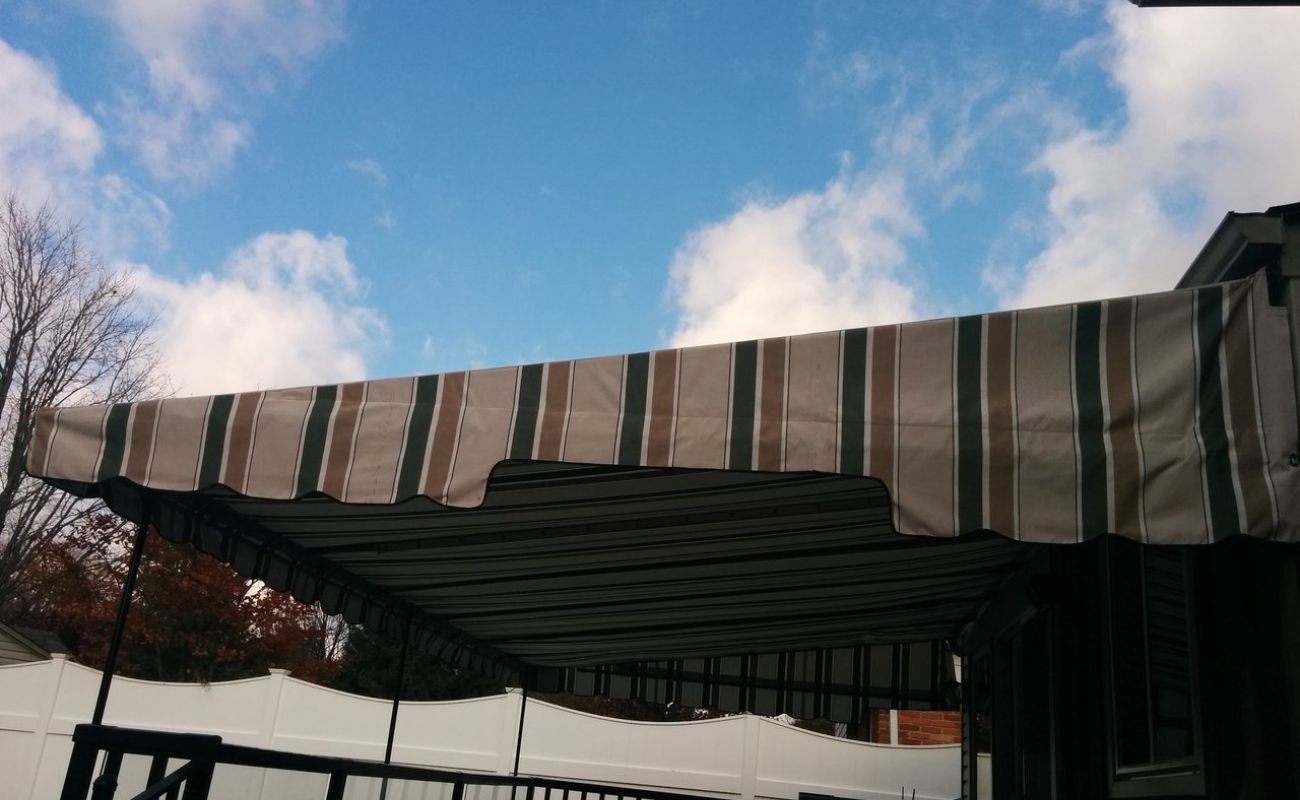
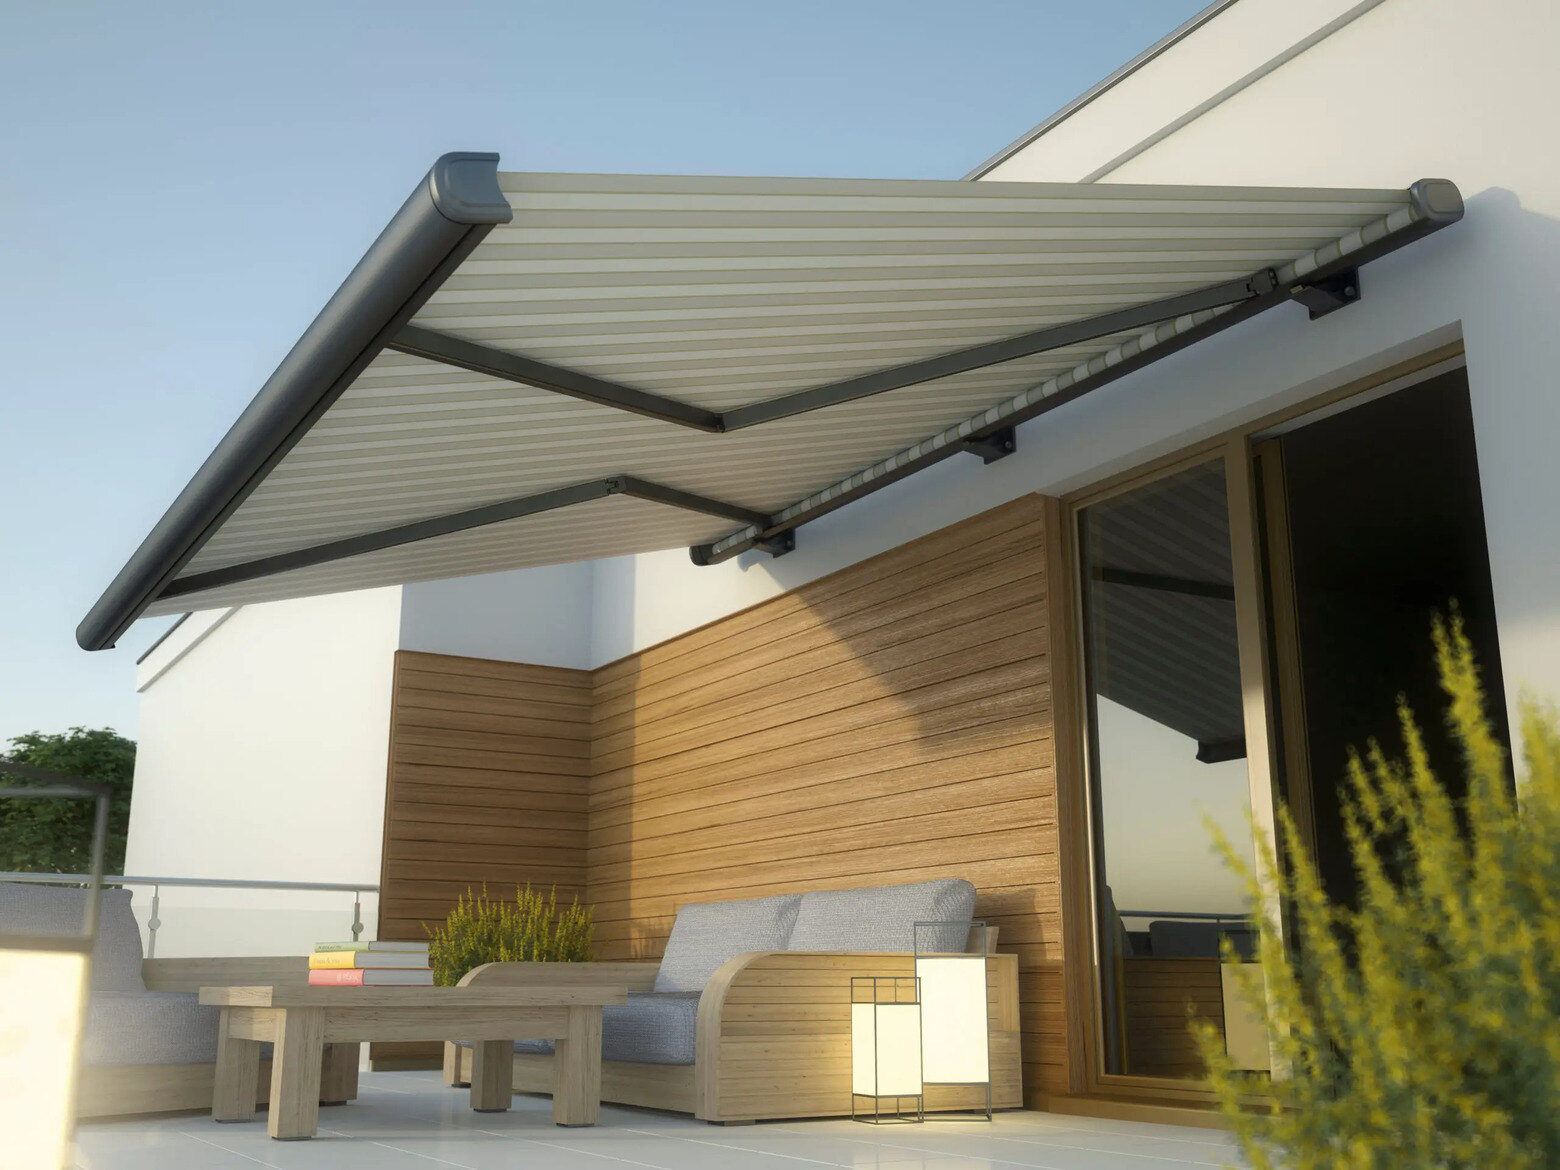
Removing an awning from a house can be a necessary task for various reasons, such as replacing it with a new one, renovating the exterior of the house, or simply wanting a change in the outdoor aesthetics. While the process may seem daunting at first, with the right tools and knowledge, it can be accomplished smoothly and efficiently. In this comprehensive guide, we will walk you through the step-by-step process of removing an awning from your house, ensuring that you are well-equipped to tackle this project with confidence.
Whether you are a seasoned DIY enthusiast or a homeowner looking to take on a new challenge, understanding the process of removing an awning is essential. By following the detailed steps outlined in this guide, you will be able to dismantle the awning safely and effectively, leaving your house ready for the next phase of your outdoor transformation. So, grab your tools and let's embark on this journey to remove an awning from your house!
Key Takeaways:
- Removing an awning from your house requires essential tools like a wrench, utility knife, and safety gear. By following the steps, you can safely dismantle the awning and prepare for a new outdoor look.
- After removing the awning, responsibly dispose of the materials by recycling or following local disposal regulations. This ensures a clean and environmentally friendly completion of the removal process.
Step 1: Gather the Necessary Tools
Before you begin the process of removing the awning from your house, it is crucial to gather the necessary tools to ensure a smooth and efficient operation. Here are the essential tools you will need:
- Safety Gear: Start by prioritizing your safety. Equip yourself with gloves, safety goggles, and a sturdy ladder to protect yourself during the removal process.
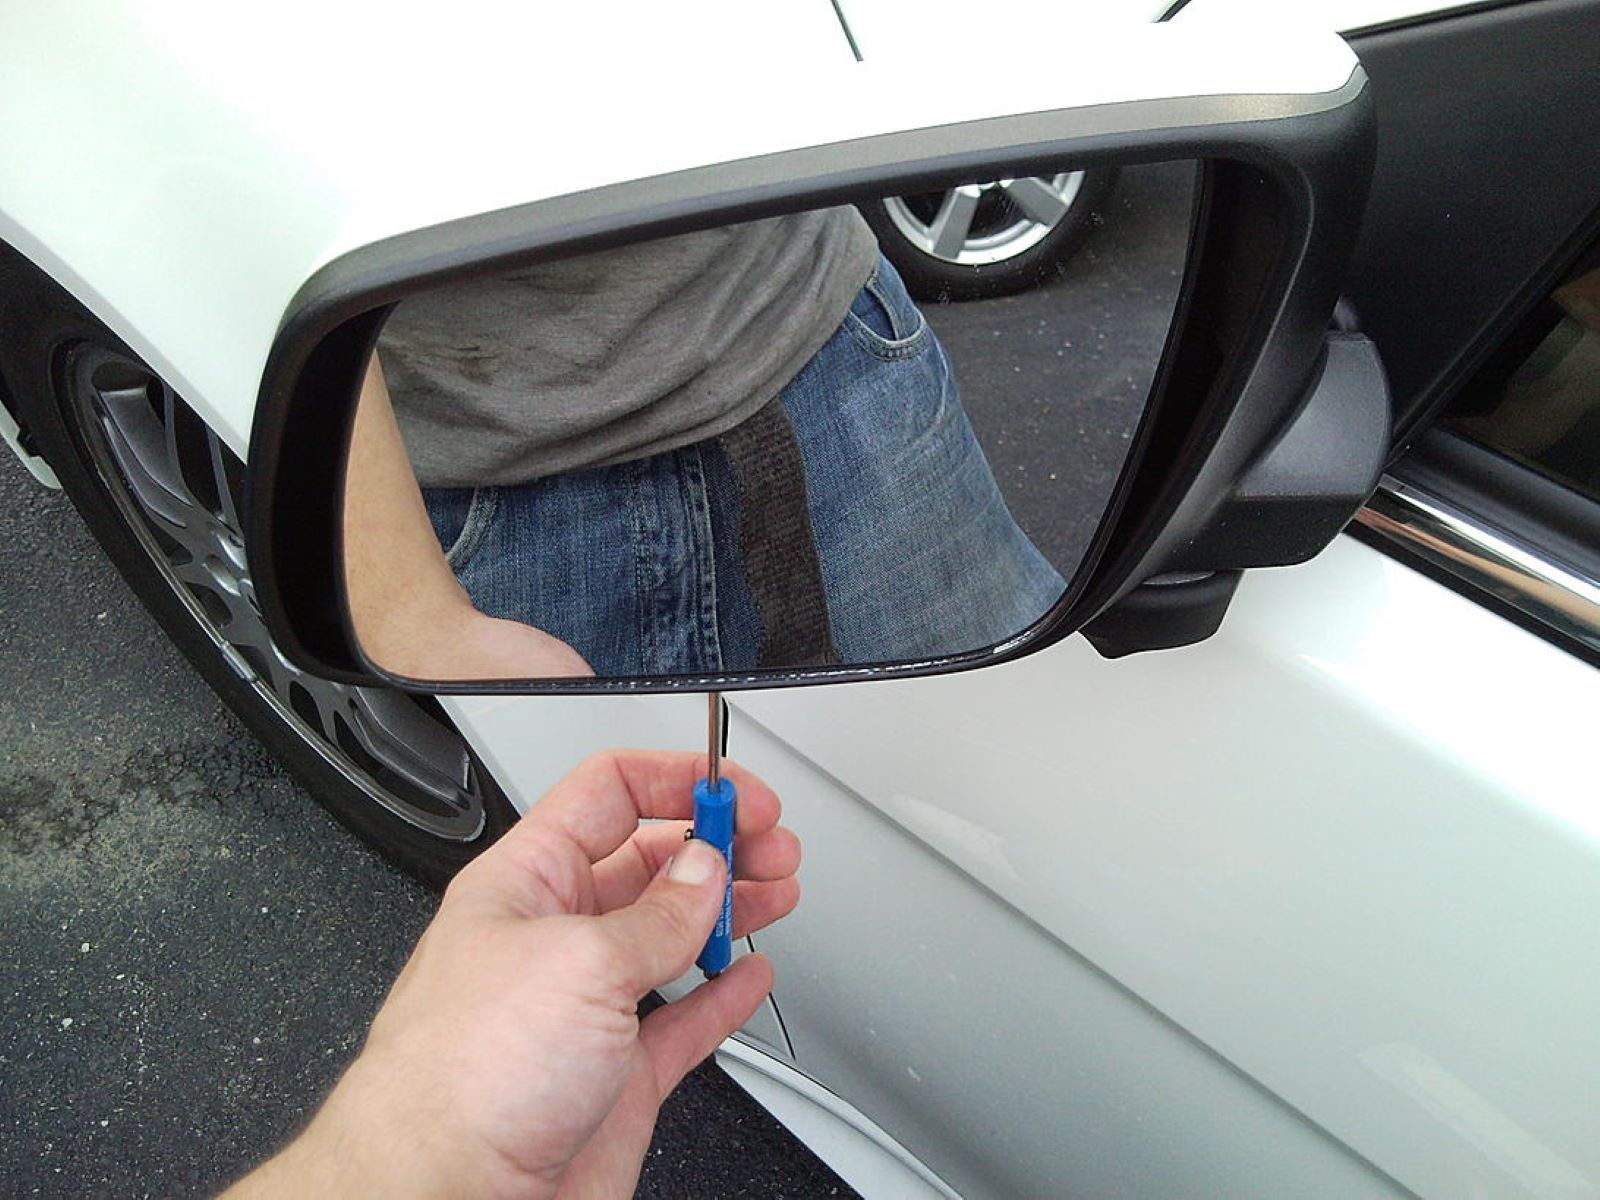
- Wrench or Screwdriver: Depending on the fasteners used to secure the awning to the house, you will need a wrench or screwdriver to loosen and remove the bolts or screws.
- Utility Knife: A utility knife will come in handy for cutting and removing the fabric or any caulking around the awning frame.
- Drill: If the awning is secured with screws, a drill will expedite the removal process.
- Assistance: Enlist the help of a friend or family member to assist you in handling the awning during the removal process, especially if it is large or heavy.
- Drop Cloth: To protect the ground and surrounding area, lay down a drop cloth or tarp to catch any debris or materials that may fall during the removal.
- Disposal Bags: Have disposal bags or containers ready to collect and dispose of the awning fabric, frame, and any other materials safely.
By ensuring that you have all the necessary tools and safety equipment at your disposal, you can approach the awning removal process with confidence and efficiency. With these tools in hand, you are ready to move on to the next step of removing the awning fabric from the house.
Step 2: Remove the Awning Fabric
With the necessary tools gathered, the next step in the process of removing an awning from a house is to focus on detaching the fabric or material that covers the awning frame. Follow these steps to effectively remove the awning fabric:
- Inspect the Attachment Points: Examine how the fabric is attached to the frame. Look for any screws, bolts, or fasteners securing the fabric in place.
- Remove the Fasteners: Utilize your wrench or screwdriver to loosen and remove the fasteners holding the fabric to the frame. Depending on the design, you may need to enlist the help of a friend to hold the fabric while you remove the fasteners.
- Cut and Release the Fabric: Once the fasteners are removed, carefully cut any adhesive or caulking that may be securing the fabric to the frame. Slowly release the fabric from the frame, ensuring that it is not tangled or caught on any protruding parts.
- Dispose of the Fabric: After the fabric is detached, fold it neatly and place it in the disposal bags or containers. If the fabric is in good condition, consider donating it to a local charity or repurposing it for other DIY projects.
By following these steps, you can effectively remove the awning fabric, preparing the frame for the next phase of the removal process. With the fabric safely removed and disposed of, you are ready to proceed to the next crucial step: detaching the awning frame from the house.
Before removing an awning from a house, make sure to disconnect any electrical connections and remove any screws or bolts holding it in place. Have someone help you support the weight as you carefully lift and remove the awning from its brackets.
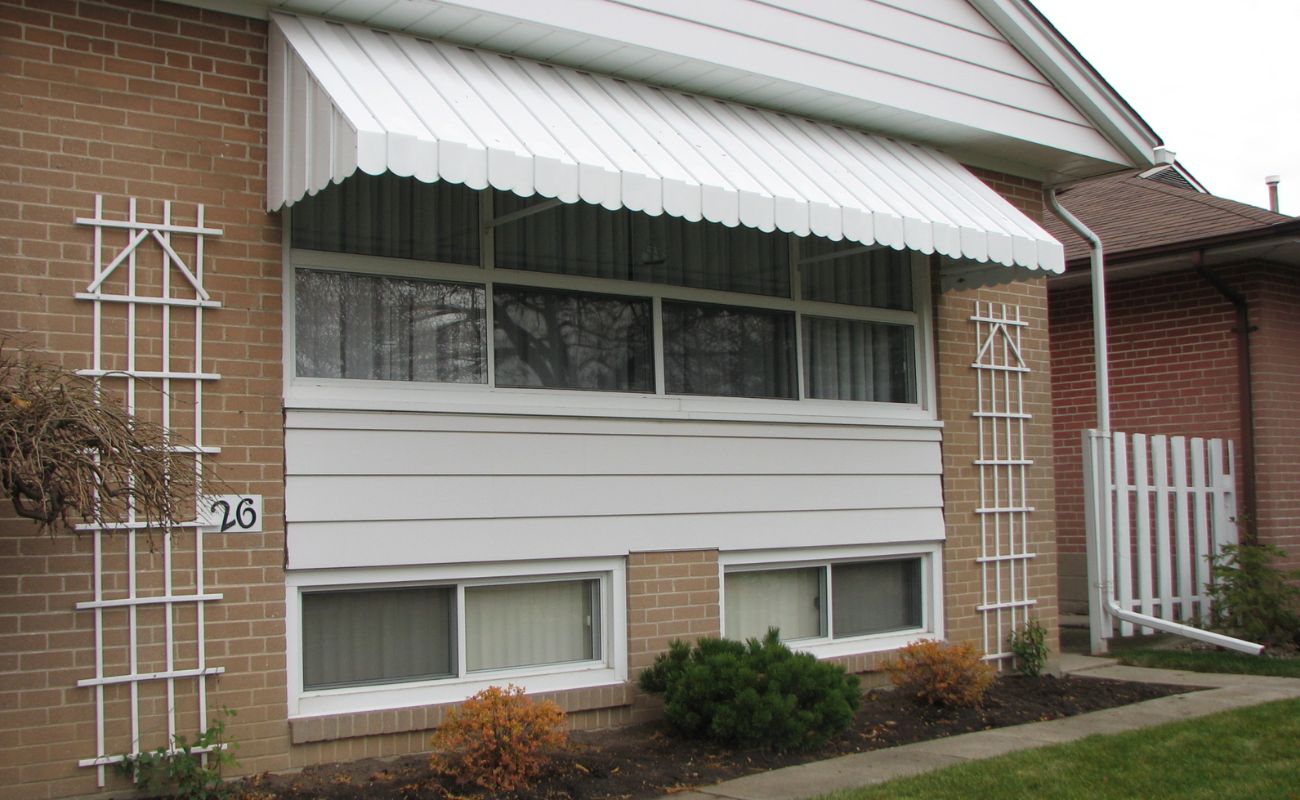
Step 3: Detach the Awning Frame from the House
After removing the awning fabric, the focus shifts to detaching the awning frame from the house. This step requires careful attention to ensure that the frame is removed without causing damage to the exterior of the house. Follow these steps to effectively detach the awning frame:
- Assess the Mounting Points: Examine how the frame is attached to the house. Look for screws, bolts, or brackets securing the frame to the exterior wall.
- Loosen the Fasteners: Use a wrench or drill to loosen and remove the fasteners holding the frame in place. If the frame is large or heavy, have a friend assist you in supporting it during the removal process.
- Support the Frame: As the fasteners are removed, ensure that the frame is adequately supported to prevent it from falling or causing any damage. Use caution and consider using additional support, such as temporary braces, if necessary.
- Detach the Frame: Once the fasteners are removed and the frame is adequately supported, carefully detach it from the house. Check for any remaining adhesive or caulking and use a utility knife to release the frame from any residual attachments.
- Inspect the Exterior: With the frame removed, inspect the exterior of the house for any damage or marks left behind. If there is any remaining caulking or adhesive, use a suitable solvent to clean the area and restore the exterior surface.
By following these steps, you can effectively detach the awning frame from the house, leaving the exterior wall ready for any subsequent modifications or a new awning installation. With the frame successfully removed, the final step involves disposing of the awning materials responsibly.
Step 4: Dispose of the Awning Materials
Once the awning fabric and frame have been successfully removed from the house, the final step in the process involves responsibly disposing of the awning materials. Proper disposal is essential to ensure that the materials are handled in an environmentally friendly manner. Follow these steps to dispose of the awning materials:
- Separate and Organize: Sort the awning materials, including the fabric, frame, and any associated hardware, into separate piles. This will make it easier to manage and dispose of each type of material accordingly.
- Recycling Options: Check if the awning fabric and frame materials are recyclable. Many metal and fabric components can be recycled, reducing the environmental impact of disposal. Contact local recycling facilities or waste management services to inquire about recycling options for these materials.
- Disposal Regulations: Research local disposal regulations and guidelines regarding the disposal of large items such as awning frames. Some areas may have specific requirements for disposing of metal or bulky materials, and it is important to adhere to these regulations to avoid any potential fines or penalties.
- Arrange for Pickup or Drop-Off: If the awning materials are not suitable for regular curbside pickup, arrange for a specialized waste collection service to pick up the materials or transport them to a designated disposal facility. Alternatively, you may be able to drop off the materials at a designated waste disposal site.
- Clean Up the Area: Once the materials have been collected for disposal, thoroughly clean the area where the awning was installed. Remove any debris, sweep the area, and ensure that the surroundings are left clean and free of any leftover materials.
By following these steps, you can ensure that the awning materials are disposed of responsibly and in accordance with local regulations. Whether through recycling or proper waste disposal, you can contribute to environmental sustainability while completing the removal process effectively. With the awning materials properly disposed of, your house is now ready for the next phase of outdoor enhancement or renovation.
Read more: How To Attach An Awning To A House
Conclusion
Congratulations! You have successfully navigated the process of removing an awning from your house, equipping yourself with the necessary tools and knowledge to accomplish this task with confidence. By following the step-by-step guide outlined in this comprehensive resource, you have effectively dismantled the awning, leaving your house ready for the next phase of outdoor transformation or renovation.
Throughout the removal process, you prioritized safety, organization, and responsible disposal, ensuring that the project was carried out efficiently and with minimal impact on the environment. From gathering the essential tools to detaching the awning fabric and frame, you approached each step with precision and attention to detail.
As you reflect on the journey of removing the awning from your house, take pride in the skills and knowledge you have gained. Whether you are preparing for a new awning installation, refreshing the exterior of your house, or embarking on a larger renovation project, the experience of removing an awning has equipped you with valuable insights and capabilities.
Remember, should you decide to embark on a new outdoor project or seek further enhancements, the knowledge and expertise you have acquired in this process will serve as a solid foundation for future endeavors. As you look ahead, envision the possibilities for your outdoor space and the exciting transformations that lie on the horizon.
With the awning successfully removed and the house ready for the next chapter of its outdoor journey, take a moment to appreciate the accomplishment and the newfound confidence in tackling DIY projects. Your proactive approach and dedication to the task have set the stage for a vibrant and inviting outdoor environment that reflects your vision and creativity.
As you embrace the opportunities that lie ahead, may the knowledge and skills gained from this experience continue to inspire and empower you in your future outdoor endeavors. Whether it’s creating a cozy outdoor retreat, enhancing curb appeal, or embarking on new DIY adventures, the journey of removing an awning has laid the groundwork for a vibrant and dynamic outdoor space that reflects your unique style and aspirations.
Frequently Asked Questions about How To Remove An Awning From A House
Was this page helpful?
At Storables.com, we guarantee accurate and reliable information. Our content, validated by Expert Board Contributors, is crafted following stringent Editorial Policies. We're committed to providing you with well-researched, expert-backed insights for all your informational needs.


0 thoughts on “How To Remove An Awning From A House”