Home>Gardening & Outdoor>Outdoor Structures>How To Build An Awning
Outdoor Structures
How To Build An Awning
Published: January 29, 2024
Learn how to build an awning and enhance your outdoor space with our comprehensive guide to outdoor structures. Discover tips and techniques for creating the perfect awning.
(Many of the links in this article redirect to a specific reviewed product. Your purchase of these products through affiliate links helps to generate commission for Storables.com, at no extra cost. Learn more)
Introduction
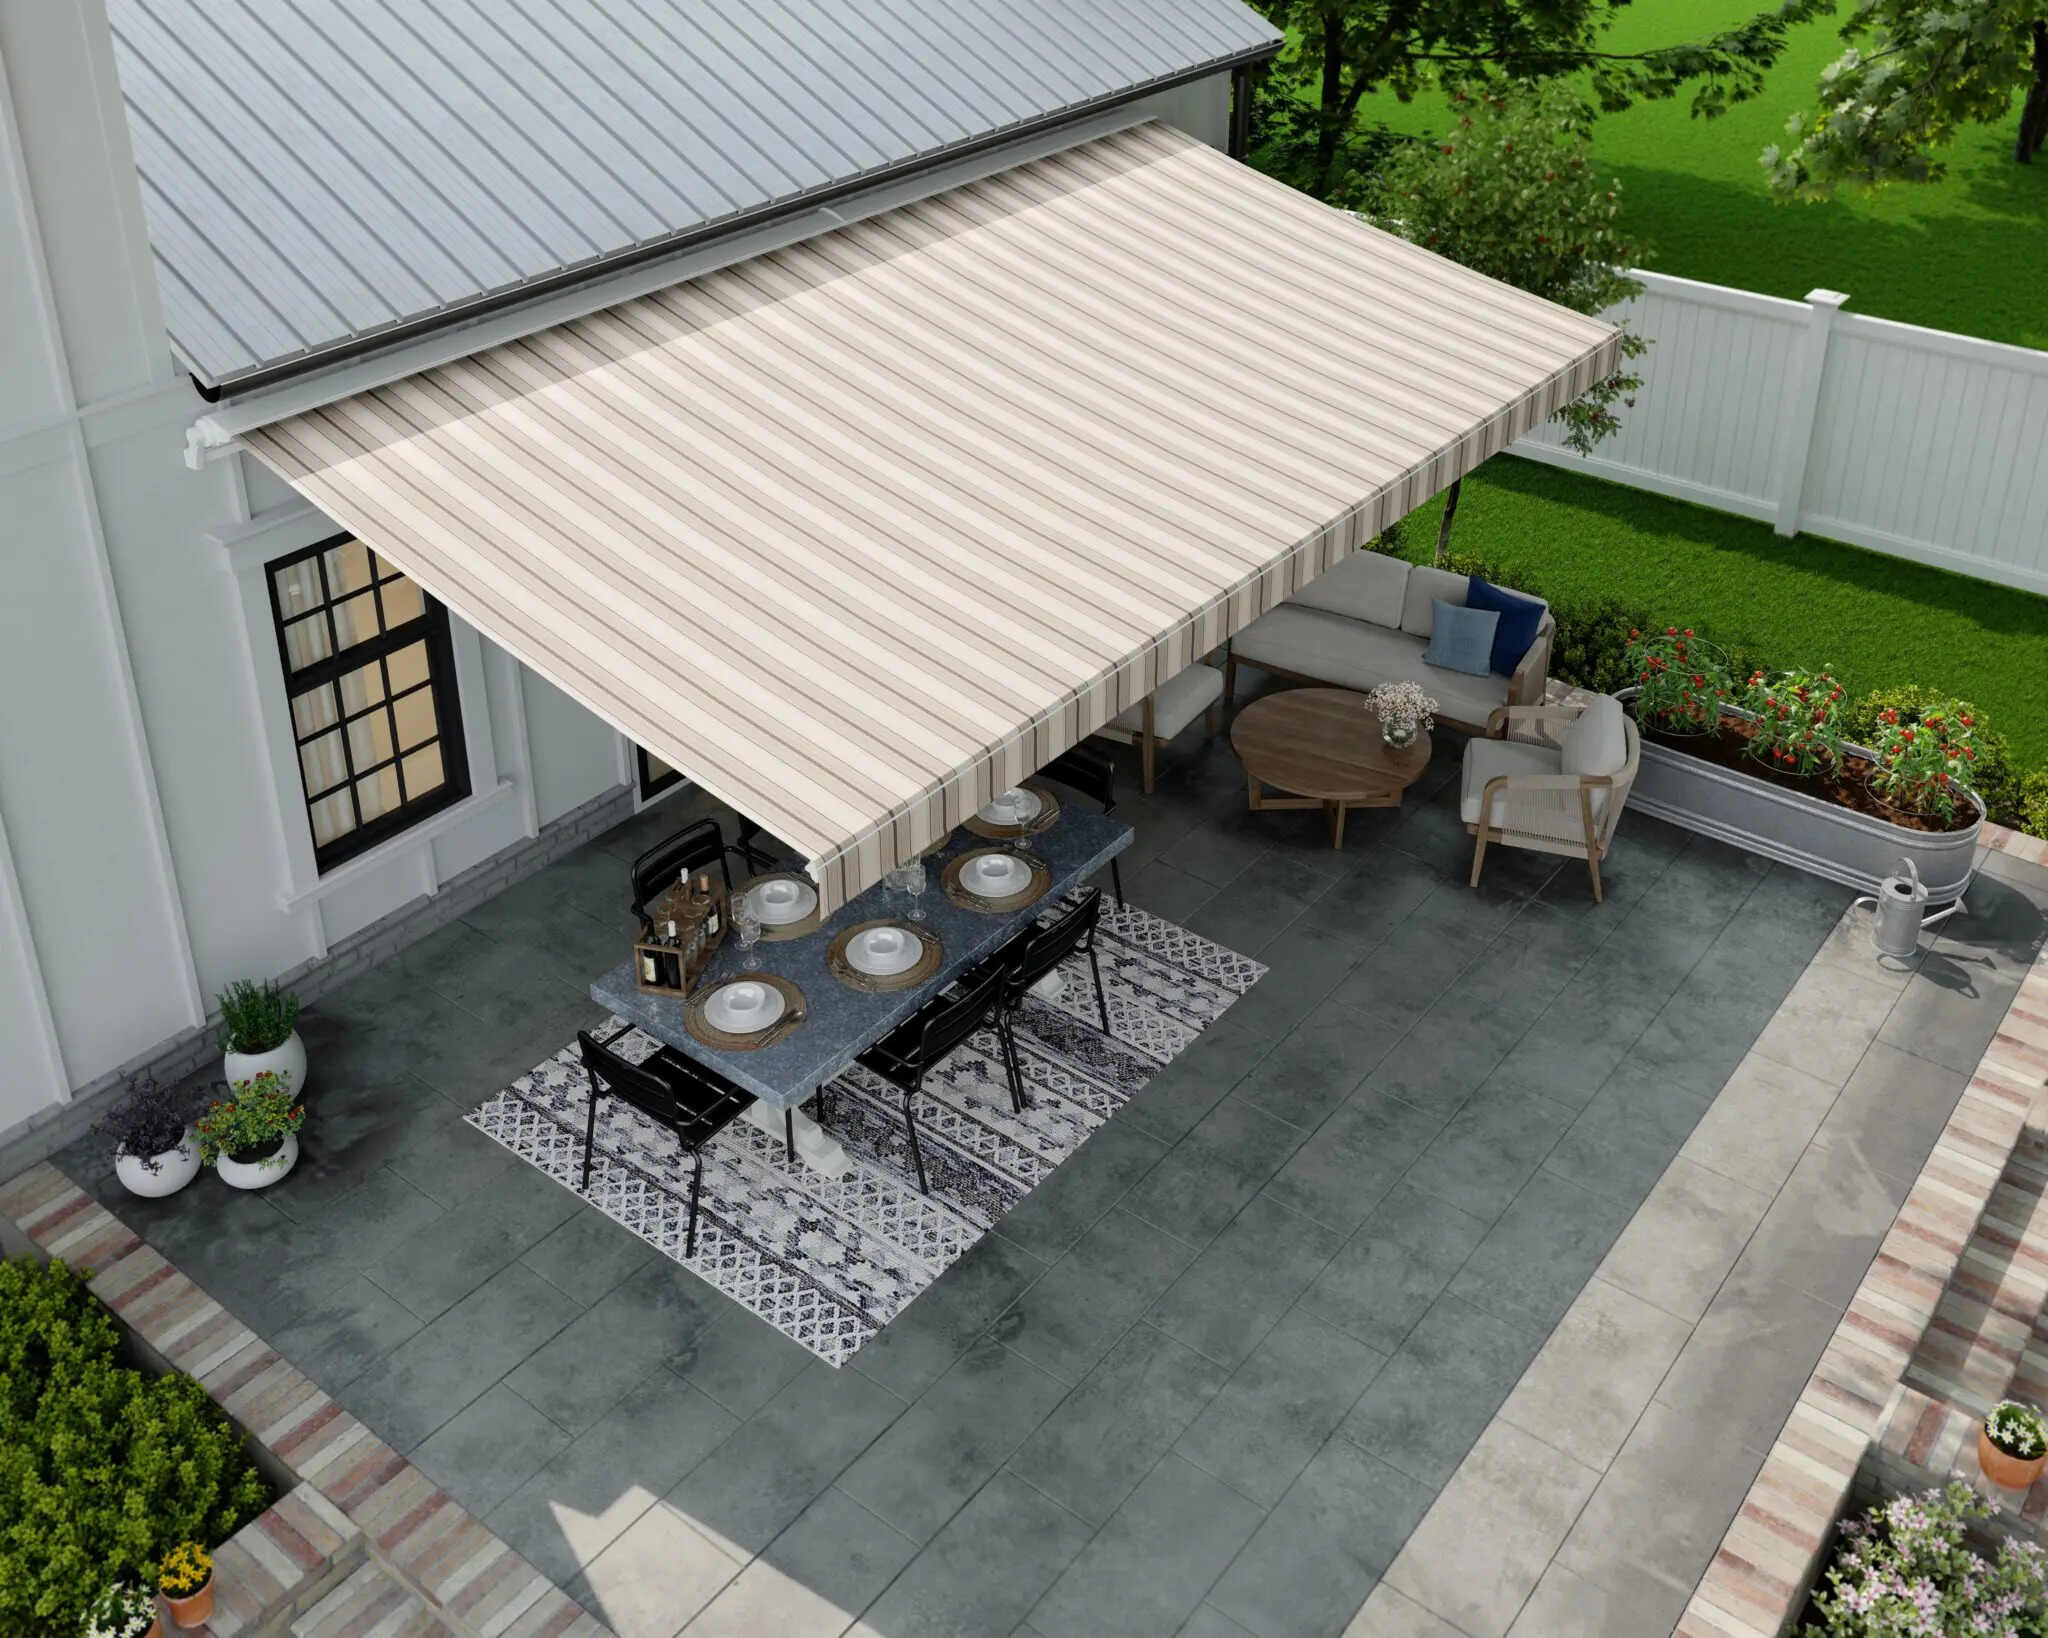
So, you've decided to enhance your outdoor space by adding an awning. Congratulations! This is a fantastic way to create a comfortable and stylish area for relaxation, entertainment, and protection from the elements. Whether you want to provide shade for your patio, deck, or windows, building an awning can significantly improve the functionality and aesthetic appeal of your outdoor living space.
In this comprehensive guide, we will walk you through the step-by-step process of building your own awning. From planning and design to the final installation, we've got you covered. By the end of this journey, you'll have the knowledge and confidence to tackle this exciting project and create a beautiful and functional addition to your home.
Before we dive into the nitty-gritty details, let's take a moment to understand the benefits of adding an awning to your outdoor space. Not only does an awning provide much-needed shade, but it also offers protection from the sun's harmful UV rays, keeping you and your loved ones safe during outdoor activities. Additionally, an awning can help reduce indoor cooling costs by shading windows and minimizing heat gain, making it an energy-efficient addition to your home.
Furthermore, awnings come in a variety of styles, colors, and materials, allowing you to customize the look to complement your home's architecture and your personal taste. Whether you prefer a sleek modern design or a more traditional look, there's an awning style to suit your preferences.
As we embark on this journey, keep in mind that building an awning is a manageable and rewarding DIY project. With careful planning, the right materials, and a bit of elbow grease, you can create a stunning and functional outdoor feature that you'll enjoy for years to come. So, let's roll up our sleeves and get ready to build the perfect awning for your outdoor oasis!
Key Takeaways:
- Building an awning is a manageable and rewarding DIY project that enhances outdoor living spaces by providing shade, protection from UV rays, and energy efficiency. It also allows for customization to match personal preferences and home architecture.
- To build an awning, carefully plan and design the structure, gather the necessary materials and tools, construct a sturdy frame, attach durable fabric, and install the awning securely. This process creates a stylish and functional outdoor retreat for relaxation and entertainment.
Read more: How To Build An Awning Frame
Planning and Design
Before you start building your awning, it's essential to carefully plan and design the structure to ensure it meets your specific needs and complements your outdoor space. Here are the key steps to consider when planning and designing your awning:
- Assess Your Needs: Begin by determining the purpose of your awning. Are you looking to create shade for a patio, deck, or windows? Do you want a permanent structure or a retractable awning that offers flexibility? Understanding your specific requirements will guide the design and construction process.
- Choose the Right Location: Evaluate the best location for your awning based on sun exposure, outdoor activities, and aesthetic considerations. Consider the angle of the sun throughout the day to determine the ideal placement for maximum shade and usability.
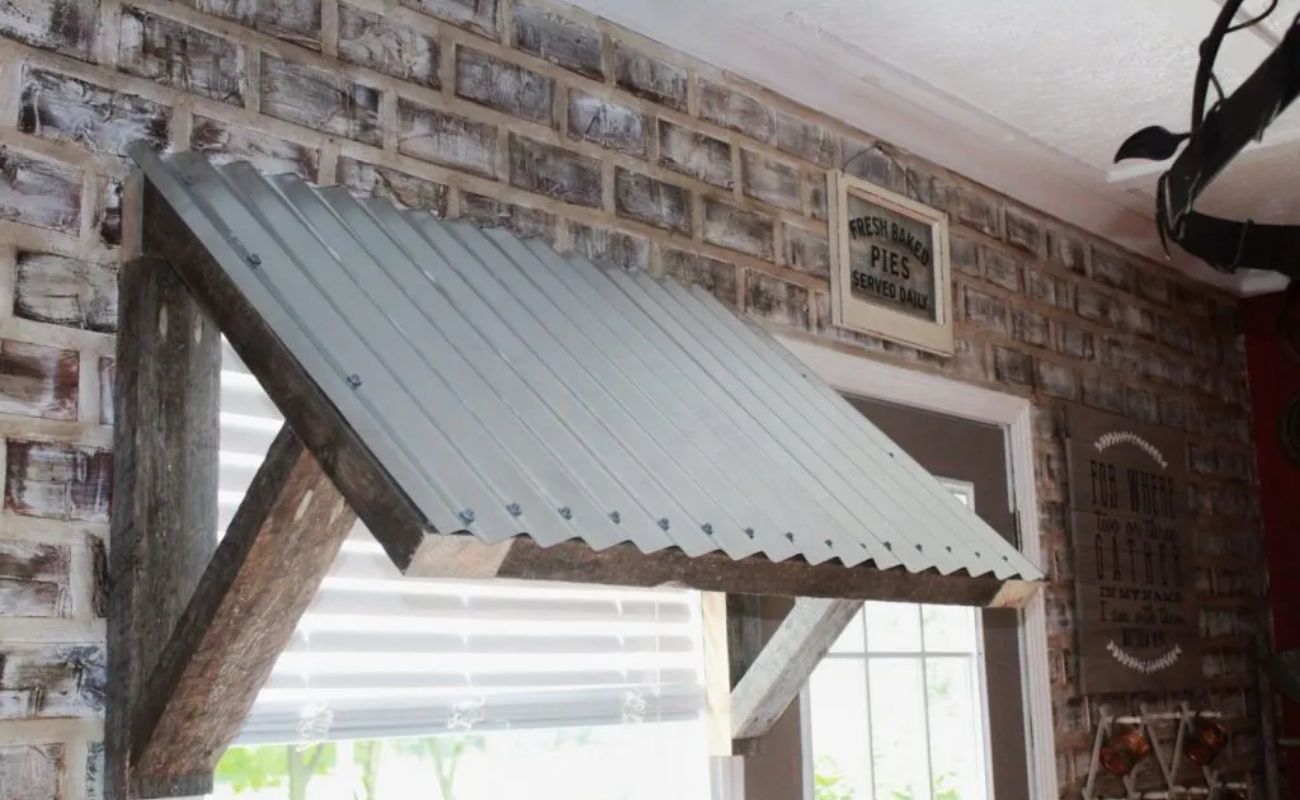
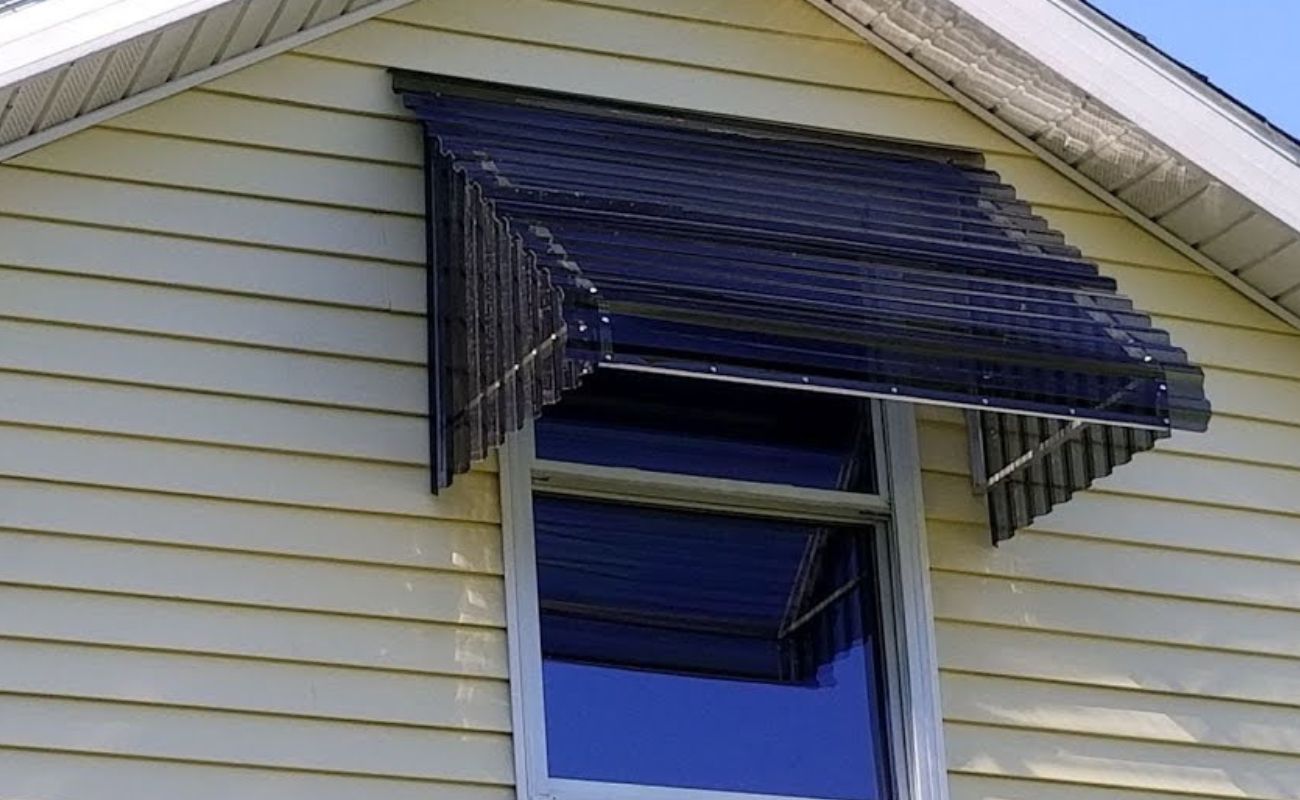
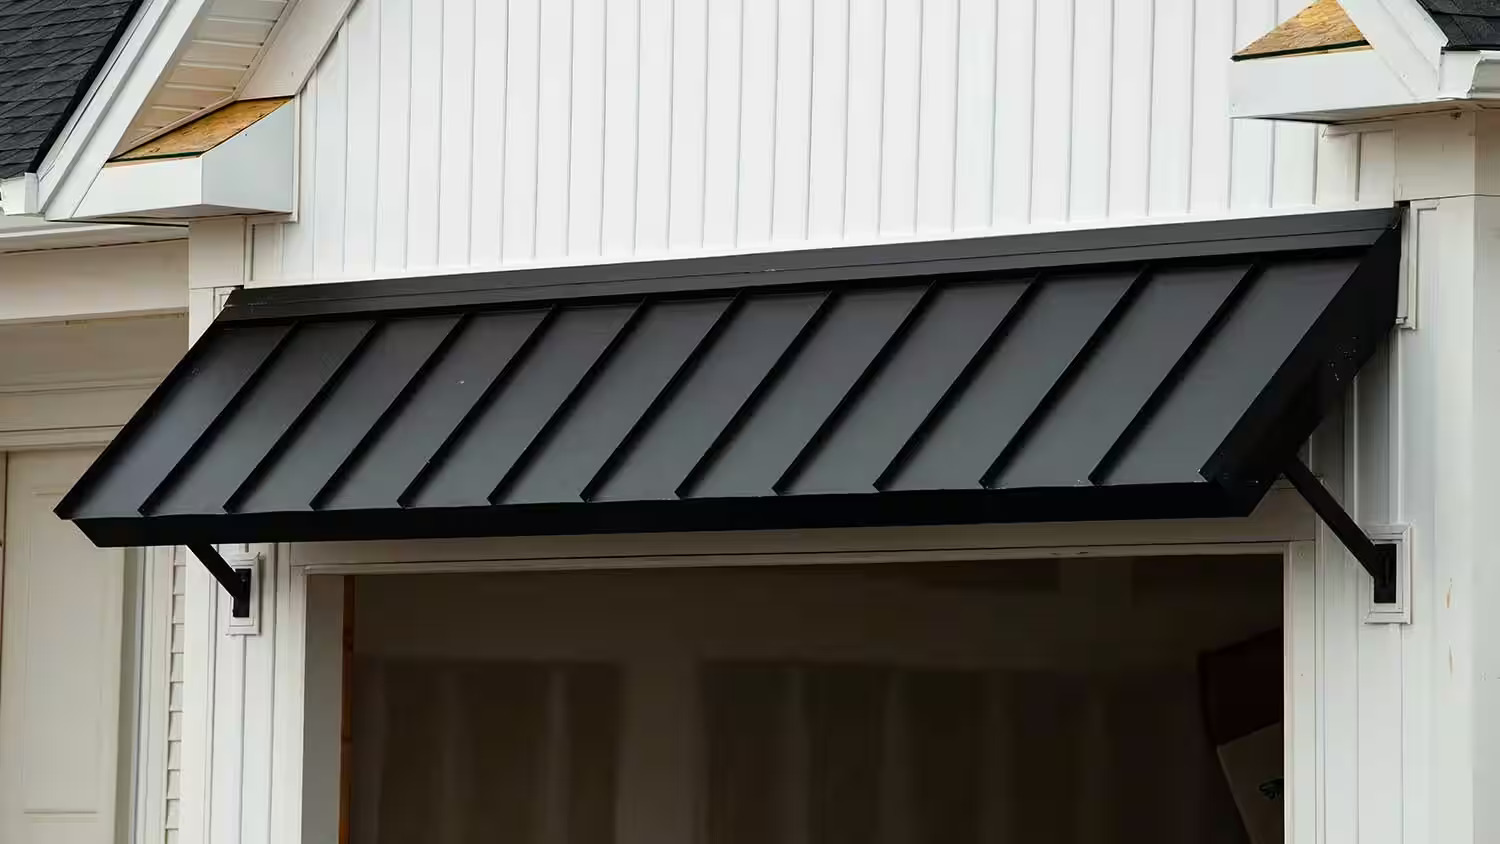
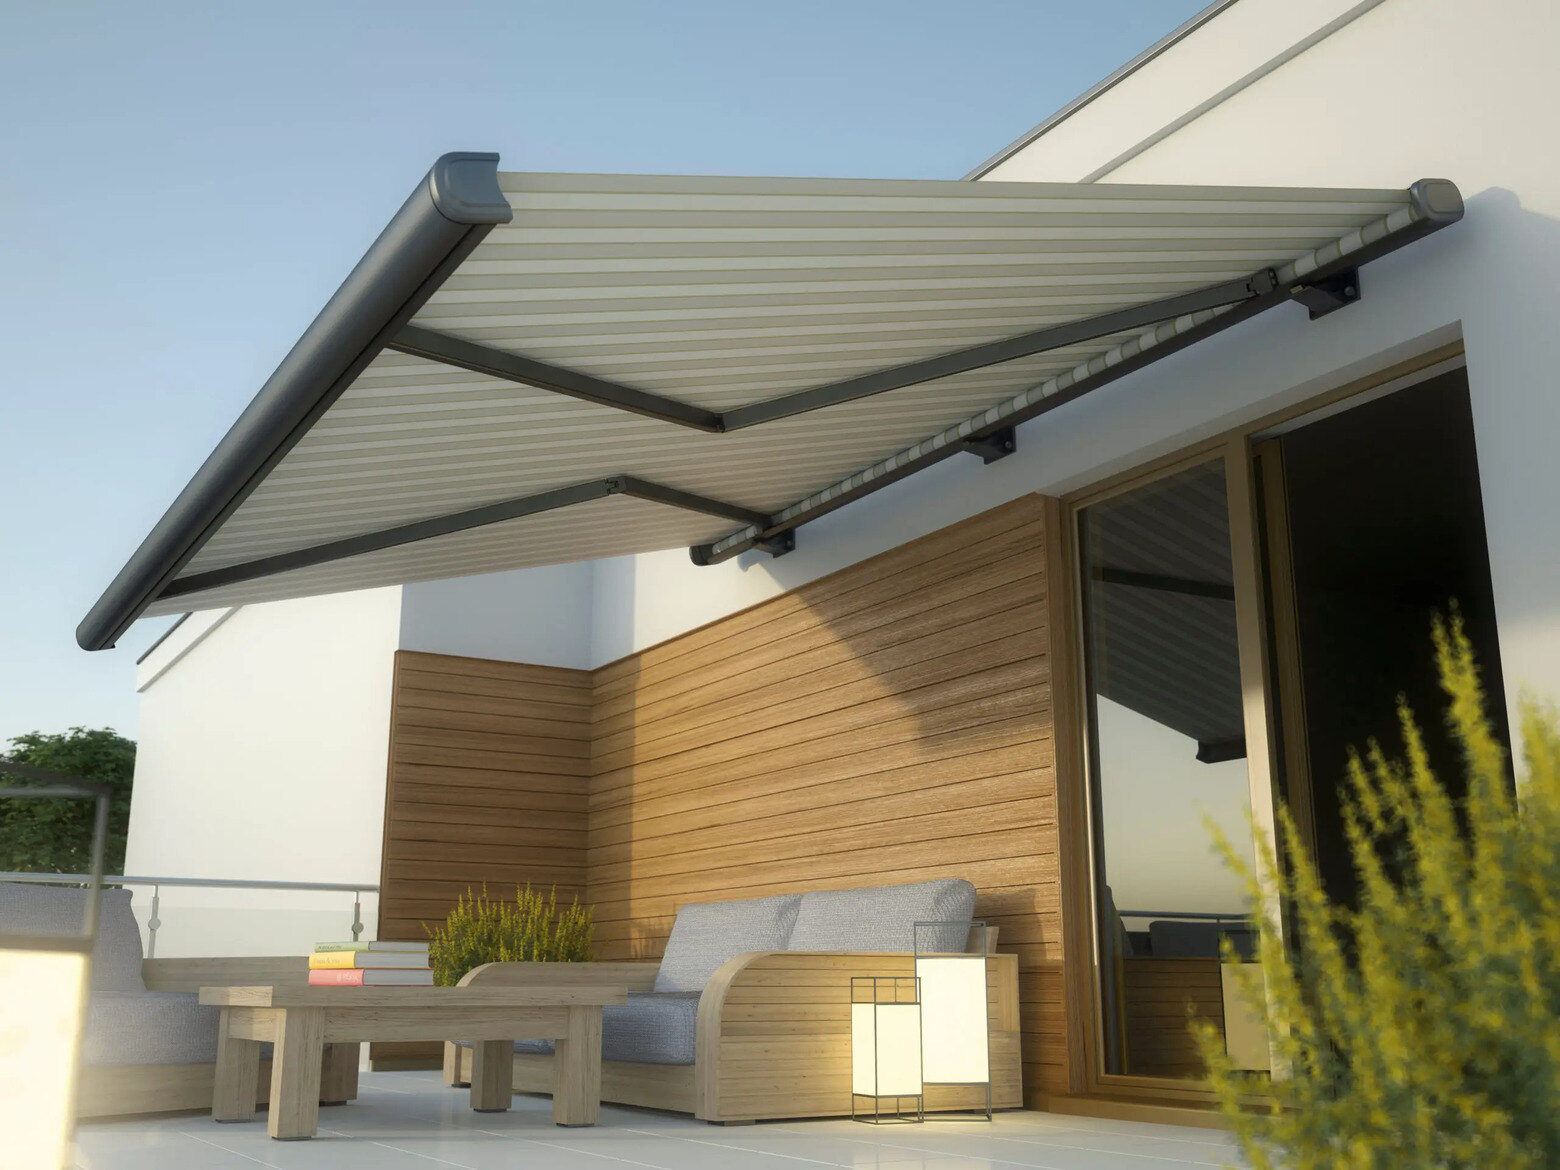
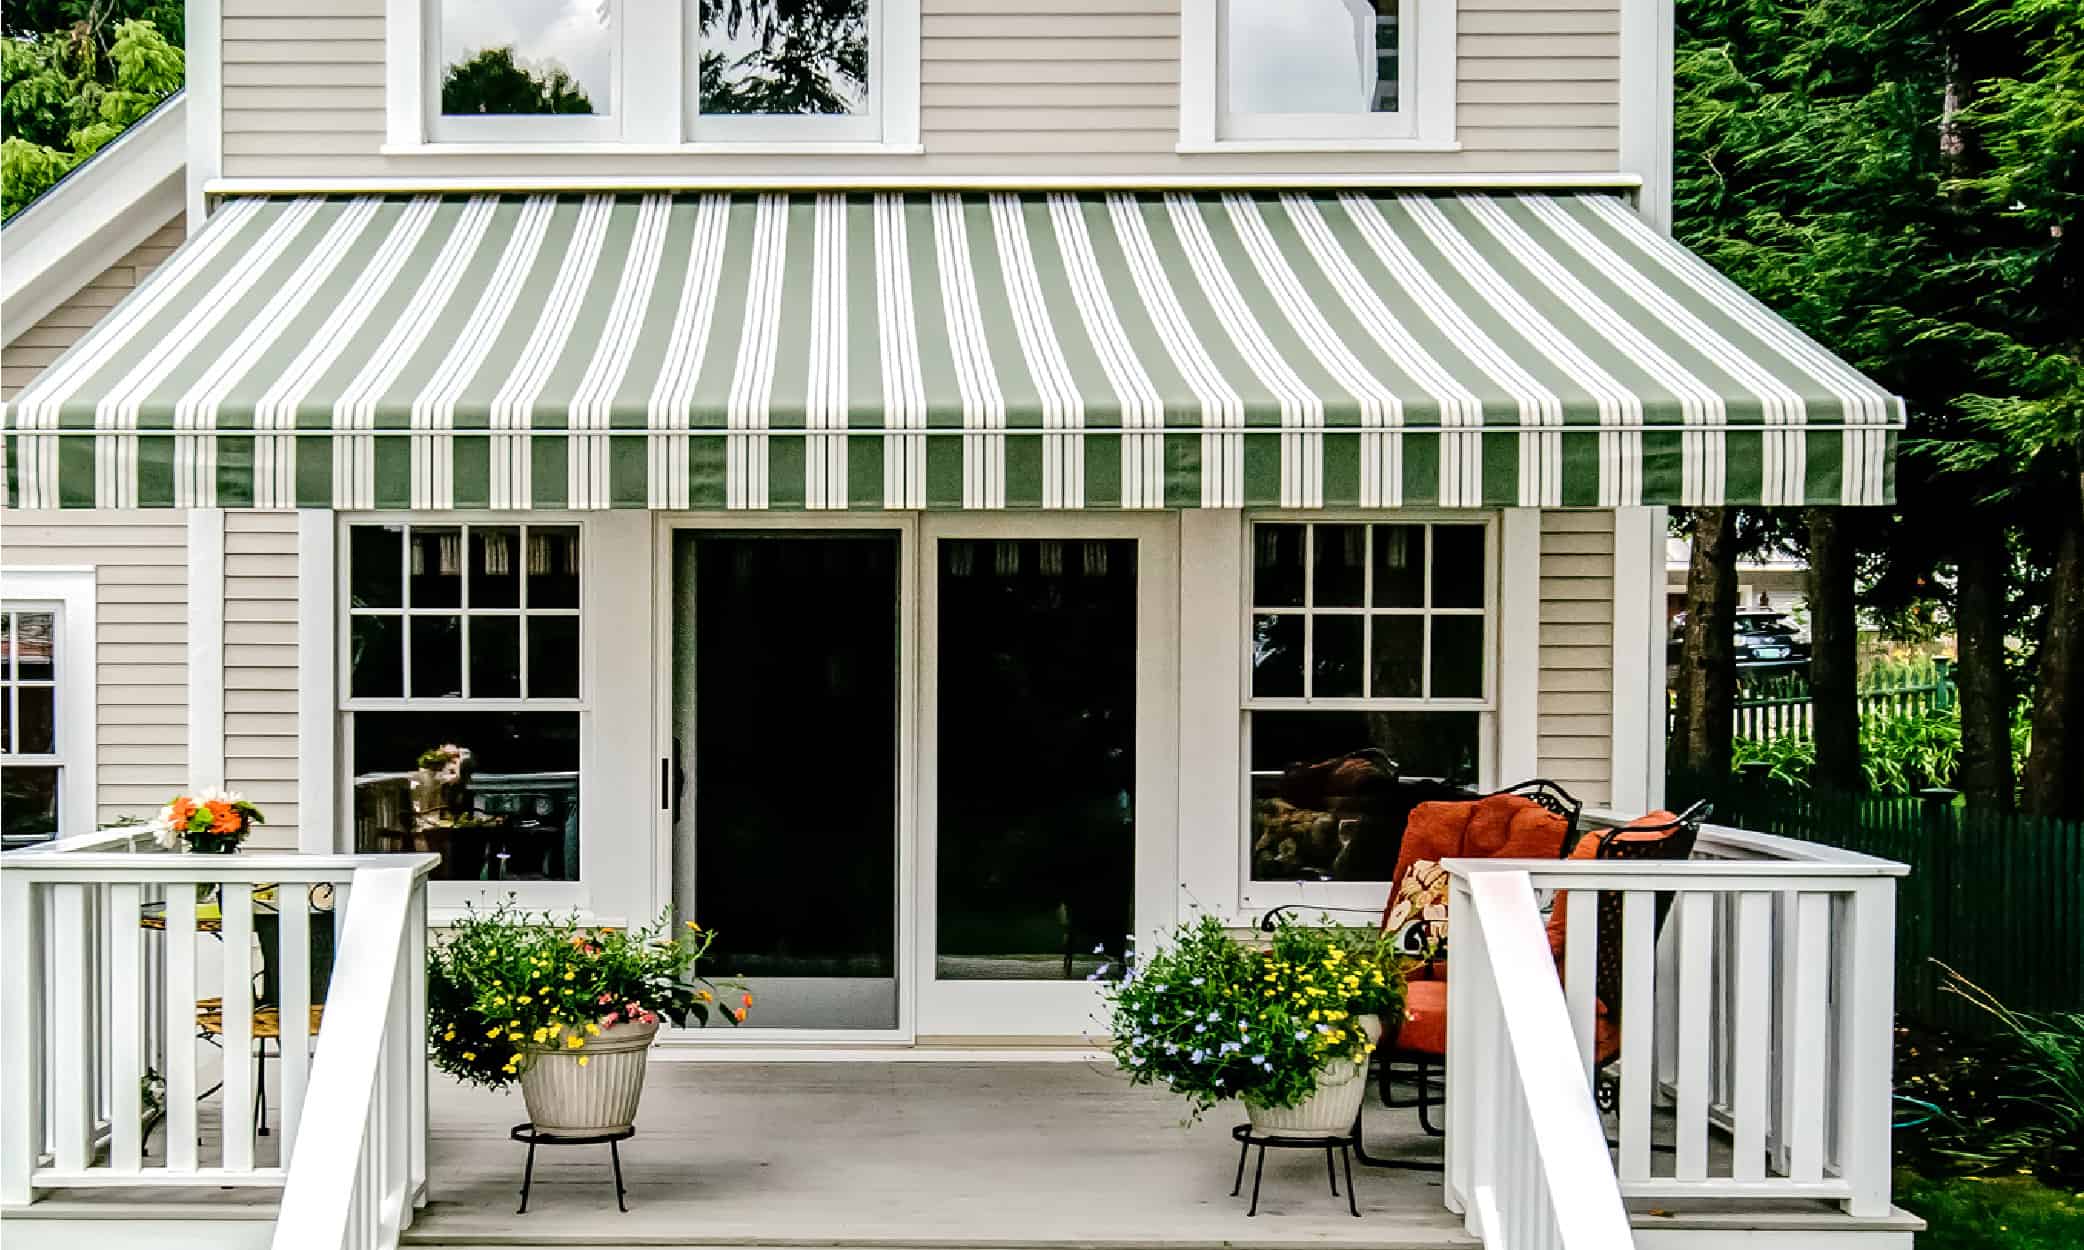
- Consider Awning Style: Explore different awning styles, such as traditional stationary awnings, retractable awnings, or freestanding structures, and select the style that best suits your outdoor space and lifestyle.
- Take Measurements: Accurately measure the area where the awning will be installed, ensuring that you have the proper dimensions for the structure. This step is crucial for determining the amount of materials needed and ensuring a precise fit.
- Design the Frame: Decide on the frame design and materials. Common options include wood, metal, or PVC for the frame, each offering unique benefits in terms of durability, appearance, and maintenance.
- Choose Awning Fabric: Select a high-quality, weather-resistant fabric for your awning. Consider factors such as color, pattern, and UV protection to find a fabric that complements your outdoor decor and provides the desired level of sun protection.
- Check Local Regulations: Before proceeding with your awning project, check local building codes and regulations to ensure compliance with any permit requirements or restrictions related to outdoor structures.
By carefully planning and designing your awning, you can create a functional and visually appealing addition to your outdoor space that meets your specific needs and enhances your overall outdoor living experience. Once you have a clear plan in place, you're ready to gather the necessary materials and tools for the construction phase.
Materials and Tools
Now that you have a solid plan in place for your awning, it’s time to gather the necessary materials and tools to bring your vision to life. Here’s a comprehensive list of the items you’ll need to build your awning:
Materials:
- Frame Material: Depending on your design preferences, you’ll need to acquire the appropriate material for the awning frame. This could include pressure-treated lumber for a traditional look, metal pipes for a modern aesthetic, or PVC for a lightweight and low-maintenance option.
- Awning Fabric: Choose a durable, weather-resistant fabric specifically designed for outdoor use. Look for UV-resistant and waterproof materials to ensure longevity and protection from the elements.
- Fasteners and Hardware: Stock up on screws, bolts, nuts, and other fasteners required for assembling the frame and attaching the fabric securely.
- Concrete or Anchoring System: If your awning will be attached to the ground, you’ll need concrete for setting posts or an anchoring system to secure the structure in place.
- Primer and Paint: If you’re using wood for the frame, invest in high-quality primer and outdoor paint to protect the material from moisture and UV exposure.
- Sealant: A waterproof sealant is essential for protecting the frame and hardware from moisture and prolonging the lifespan of your awning.
Tools:
- Measuring Tape: An essential tool for accurately measuring the dimensions of the awning and ensuring a precise fit.
- Saw: Depending on the material you’re using for the frame, you’ll need a saw for cutting lumber, metal pipes, or PVC to the required lengths.
- Drill and Bits: A power drill with a selection of drill bits is necessary for creating pilot holes and securing fasteners during assembly.
- Level: To ensure that the awning frame is installed perfectly horizontal and level, a reliable spirit level is indispensable.
- Paintbrushes and Rollers: If you’re painting the frame, have the appropriate brushes and rollers on hand for a smooth and even application of primer and paint.
- Work Gloves and Safety Gear: Always prioritize safety by wearing work gloves, safety goggles, and any other necessary protective gear during construction.
By gathering these materials and tools, you’ll be well-prepared to move on to the construction phase of building your awning. With everything in place, you’re one step closer to creating a stylish and functional outdoor retreat!
Read more: How To Build A Wood Awning
Building the Frame
With your materials and tools at the ready, it’s time to roll up your sleeves and start constructing the frame for your awning. The frame serves as the backbone of the structure, providing stability and support for the awning fabric. Follow these steps to build a sturdy and well-crafted frame for your awning:
Step 1: Cut the Frame Material
Using your measurements from the planning phase, carefully cut the frame material to the required lengths. Whether you’re working with wood, metal, or PVC, precision is key to ensuring that the frame components fit together seamlessly.
Step 2: Assemble the Frame
Depending on your design, assemble the frame components using the appropriate fasteners and hardware. If you’re using wood, pre-drill pilot holes to prevent splitting, and then secure the pieces together with screws or bolts. For metal or PVC frames, utilize the recommended joining methods for a secure and durable assembly.
Step 3: Install Support Posts
If your awning requires support posts, position them at the designated locations and secure them to the ground using concrete or an anchoring system. Ensure that the posts are level and securely anchored to provide a stable foundation for the awning.
Read more: How To Build A Metal Awning
Step 4: Apply Protective Finishes
If you’re working with wood, apply a coat of high-quality primer to all surfaces of the frame to protect it from moisture and UV damage. Once the primer is dry, apply outdoor paint in your desired color to enhance the frame’s durability and visual appeal.
Step 5: Seal the Joints
To prevent water penetration and ensure the longevity of the frame, apply a waterproof sealant to all joints and connections. This additional layer of protection will help safeguard the frame from the elements and prolong its lifespan.
By following these steps, you’ll construct a robust and well-finished frame for your awning, setting the stage for the next phase of attaching the fabric. With the frame in place, you’re one step closer to enjoying the shade and style that your new awning will bring to your outdoor space.
Attaching the Fabric
Now that the frame is securely in place, it’s time to add the fabric to your awning. The fabric not only provides shade and protection but also contributes to the overall aesthetic of the structure. Follow these steps to attach the fabric to your awning frame:
Step 1: Measure and Cut the Fabric
Using precise measurements, carefully cut the awning fabric to the required dimensions. Ensure that the fabric is slightly larger than the frame to allow for proper coverage and a secure attachment.
Read more: How To Build An Awning Over A Patio
Step 2: Secure the Fabric to the Frame
Starting at one end of the frame, secure the fabric in place using appropriate fasteners, such as screws or staples. Work your way along the frame, pulling the fabric taut as you go to eliminate sagging and ensure a smooth, wrinkle-free surface.
Step 3: Create Tensioning Mechanism (if applicable)
If you’re installing a retractable awning or a design that requires adjustable tension, follow the manufacturer’s instructions to integrate the tensioning mechanism into the fabric installation. This step is crucial for ensuring proper functionality and longevity of the awning.
Step 4: Trim Excess Fabric
Once the fabric is securely attached and properly tensioned, trim any excess material to achieve a clean and polished appearance. Take care to leave a small allowance for future adjustments or repairs, if needed.
Step 5: Apply Fabric Protection
To enhance the fabric’s durability and resistance to the elements, consider applying a specialized fabric protector or sealant. This extra layer of protection can help prevent fading, mold, and water damage, extending the lifespan of your awning fabric.
With the fabric securely attached and finished with protective treatments, your awning is now ready to provide shade, style, and functionality to your outdoor space. The next and final step is the installation of the awning, bringing your vision to life and creating a welcoming outdoor retreat.
Read more: How To Build An Awning Over A Deck
Installing the Awning
Congratulations, you’ve reached the final phase of your awning construction journey! With the frame assembled and the fabric securely attached, it’s time to install the awning in its designated location. Follow these steps to ensure a successful and functional installation:
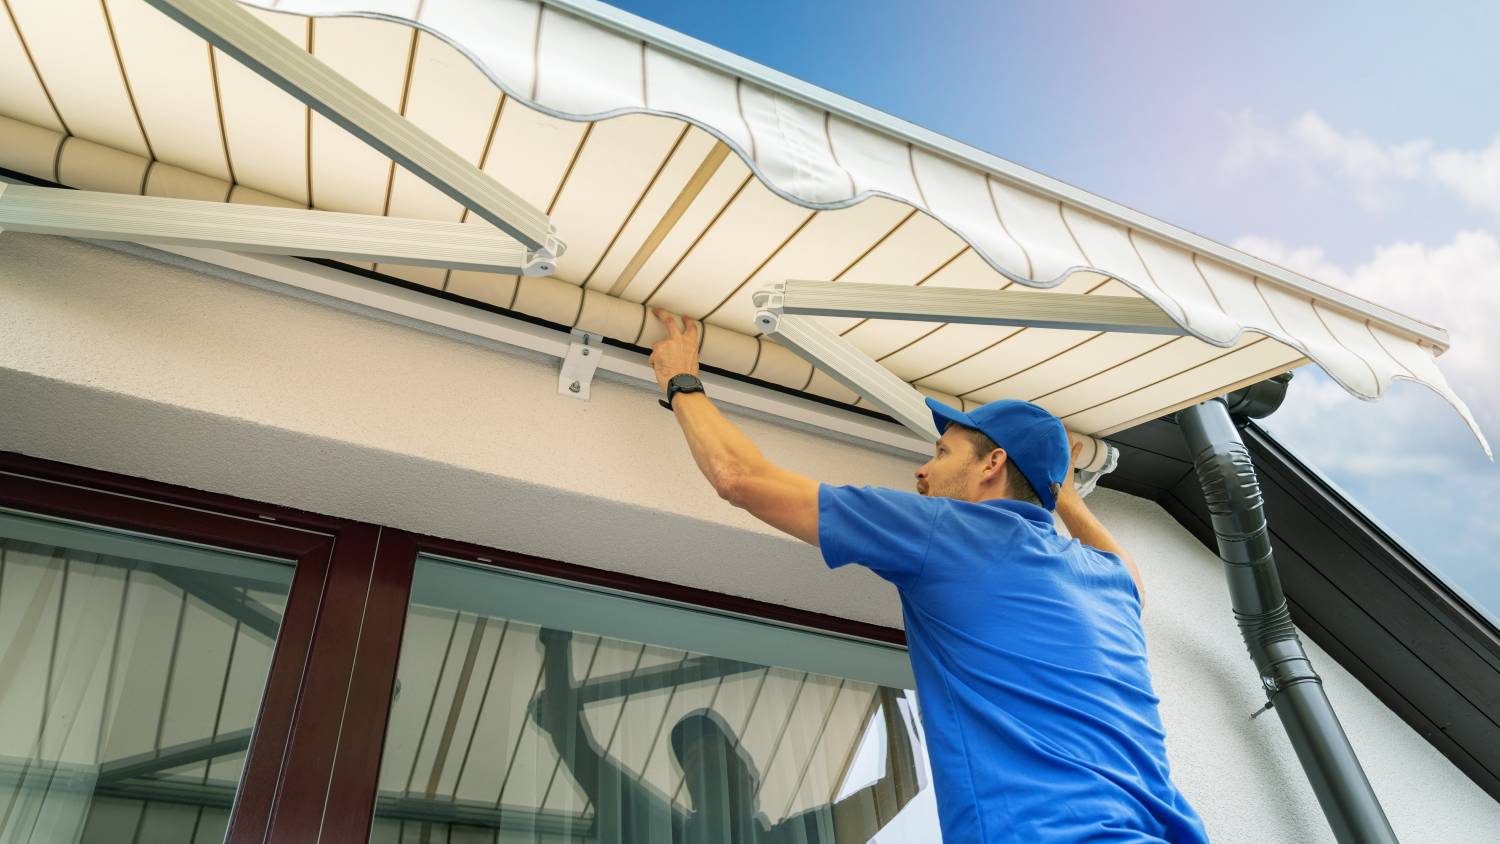
Step 1: Enlist Assistance
Depending on the size and weight of your awning, consider enlisting the help of a friend or family member to assist with the installation process. Having an extra set of hands can make the task safer and more manageable.
Step 2: Position the Awning
Carefully position the assembled awning structure in its designated location, ensuring that it aligns with the previously determined placement and orientation. Take into account factors such as sun exposure, clearance from obstacles, and overall aesthetic appeal.
Step 3: Secure the Awning
Using the appropriate fasteners and installation hardware, secure the awning to the supporting structure or mounting surface. Ensure that the awning is level and securely anchored to withstand wind and other environmental factors.
Read more: How To Build An Awning Over A Door
Step 4: Test Functionality
If you’re installing a retractable or adjustable awning, carefully test the functionality of the mechanism to ensure smooth operation and proper tensioning of the fabric. Make any necessary adjustments to achieve the desired functionality and appearance.
Step 5: Final Inspections
Thoroughly inspect the installed awning for any signs of instability, loose fasteners, or fabric irregularities. Address any issues promptly to ensure the safety and longevity of your awning.
Step 6: Enjoy Your New Outdoor Oasis
With the awning securely installed and functioning as intended, take a moment to appreciate the transformation of your outdoor space. Whether you’re creating a shaded retreat for relaxation, outdoor dining, or social gatherings, your new awning is sure to enhance your outdoor lifestyle.
By following these steps, you’ve successfully completed the construction and installation of your awning, adding both practical functionality and aesthetic charm to your outdoor living area. With proper care and maintenance, your awning will continue to provide enjoyment and protection for years to come.
Frequently Asked Questions about How To Build An Awning
Was this page helpful?
At Storables.com, we guarantee accurate and reliable information. Our content, validated by Expert Board Contributors, is crafted following stringent Editorial Policies. We're committed to providing you with well-researched, expert-backed insights for all your informational needs.


0 thoughts on “How To Build An Awning”