Home>Gardening & Outdoor>Outdoor Structures>How To Fix An Awning
Outdoor Structures
How To Fix An Awning
Modified: February 18, 2024
Learn how to fix outdoor structures like awnings with our comprehensive guide. Get expert tips and step-by-step instructions for repairing your outdoor awning.
(Many of the links in this article redirect to a specific reviewed product. Your purchase of these products through affiliate links helps to generate commission for Storables.com, at no extra cost. Learn more)
Introduction
Welcome to the comprehensive guide on how to fix an awning! Whether your awning is showing signs of wear and tear or has sustained damage from the elements, this article is designed to equip you with the knowledge and skills to address these issues effectively. Awnings are not only functional but also add aesthetic appeal to outdoor spaces, providing shade and protection from the elements. However, like any outdoor structure, they are susceptible to damage over time.
In this guide, we will cover a range of common issues that can affect awnings, from small tears and holes to bent or broken components. You will learn how to assess the damage, gather the necessary tools and materials, and execute the repairs with confidence. Additionally, we will explore the importance of regular maintenance to prolong the lifespan of your awning and keep it in optimal condition.
By following the step-by-step instructions and maintenance tips provided in this guide, you will be able to restore your awning to its former glory and ensure that it continues to enhance your outdoor space for years to come. Let's dive in and empower you to become proficient in awning repair and maintenance!
Key Takeaways:
- Keep your awning in top shape by regularly cleaning, inspecting, and lubricating it. Address small tears and holes promptly to prevent further damage and ensure longevity.
- Proactively adjust tension and alignment, replace damaged components, and protect your awning from harsh weather to maintain its functionality and visual appeal. Regular maintenance is key to enjoying your outdoor space.
Read more: How To Fix An RV Awning
Assessing the Damage
Before embarking on the repair process, it is crucial to thoroughly assess the damage to your awning. By conducting a detailed inspection, you can accurately identify the issues that need to be addressed and determine the most appropriate course of action. Here are the key steps to consider when assessing the damage:
- Visual Inspection: Begin by visually examining the entire surface of the awning. Look for signs of wear, tear, or damage, such as fraying fabric, small tears, holes, or bent components. Pay attention to the seams, edges, and any areas that are exposed to the elements.
- Functional Evaluation: Test the functionality of the awning by extending and retracting it. Observe any unusual sounds, resistance, or misalignment during the operation. This will help you identify any mechanical issues that may require attention.
- Weather Impact: Consider the recent weather conditions and their potential impact on the awning. High winds, heavy rain, or prolonged exposure to sunlight can contribute to damage over time. Assess how these factors may have affected the structural integrity and appearance of the awning.
- Documentation: Take note of the specific areas of damage and document them with photographs if possible. This will serve as a reference point when planning the repairs and help track the progress as you work through the restoration process.
By conducting a thorough assessment, you will gain a clear understanding of the extent of the damage and be better prepared to proceed with the necessary repairs. Whether it’s addressing small tears and holes, replacing components, or adjusting tension and alignment, a comprehensive assessment sets the foundation for effective awning restoration.
Gathering Necessary Tools and Materials
Before commencing the repair process, it is essential to gather the appropriate tools and materials to ensure a smooth and effective restoration of your awning. Having the right equipment at your disposal will streamline the repair tasks and enable you to address the identified issues with precision. Here’s a comprehensive list of tools and materials you may need:
Tools:
- Scissors or Utility Knife: These are essential for cutting and trimming fabric, especially when addressing small tears or frayed edges.
- Needle and Thread or Sewing Machine: If the damage involves sewing repairs, having a needle and thread or a sewing machine will be necessary to mend tears and reinforce seams.
- Awning Repair Tape: High-quality, weather-resistant repair tape can be used to patch small tears and holes in the fabric, providing a quick and effective solution.
- Adjustable Wrench or Screwdriver: Depending on the type of awning mechanism, these tools may be required to access and adjust components during the repair process.
- Lubricant Spray: A silicone-based lubricant can aid in maintaining the smooth operation of the awning’s moving parts and hinges.
- Ladder or Step Stool: Accessing certain areas of the awning may require a stable and secure platform for safe inspection and repair work.
Materials:
- Awning Fabric Patch or Replacement Fabric: Depending on the extent of the damage, you may need fabric patches or replacement fabric to address larger tears or worn-out sections.
- Cleaning Solution and Soft Brush: If the awning fabric requires cleaning before repairs, a mild cleaning solution and a soft brush can help remove dirt and debris.
- Replacement Components: For awnings with adjustable arms or support structures, replacement components such as brackets, bolts, or springs may be necessary if damage is detected.
- Protective Gear: Safety goggles, gloves, and a dust mask are essential for personal protection during the repair process, especially when handling cleaning solutions or working in elevated positions.
By ensuring that you have the required tools and materials on hand, you can proceed with confidence and efficiency, addressing the identified issues and restoring your awning to optimal condition. With the right resources at your disposal, you are well-equipped to tackle the repair tasks and maintain the functionality and visual appeal of your awning.
Read more: How To Fix An Awning Window That Won’t Close
Repairing Small Tears and Holes
Small tears and holes in awning fabric can compromise its integrity and detract from its visual appeal. Fortunately, with the right approach and materials, you can effectively repair these issues and prevent them from escalating into larger problems. Here’s a step-by-step guide to addressing small tears and holes in your awning fabric:
Step 1: Clean the Area
Before initiating the repair, ensure that the damaged area is clean and free from dirt and debris. Use a mild cleaning solution and a soft brush to gently remove any accumulated dirt, ensuring a clean surface for the repair.
Step 2: Trim Loose Threads
If the tear has resulted in loose threads along the edges, carefully trim them using scissors to prevent further unraveling of the fabric. Be cautious not to enlarge the tear during this process.
Step 3: Apply Awning Repair Tape
Measure and cut a piece of high-quality awning repair tape to cover the damaged area with a margin of overlap. Carefully apply the tape over the tear, ensuring a secure and even adhesion to the fabric. Press down firmly to eliminate air bubbles and ensure a strong bond.
Read more: How To Make An Awning
Step 4: Reinforce the Repair
If the tear is located in a high-stress area or subjected to significant tension, consider applying a second layer of repair tape perpendicular to the first, creating a cross-shaped reinforcement. This additional layer enhances the strength and durability of the repair.
Step 5: Smooth Out the Surface
After applying the repair tape, smooth out the surface to ensure a seamless and uniform appearance. Run your hand over the repaired area to verify that the tape is securely adhered and the fabric is free from wrinkles or creases.
Step 6: Allow for Proper Adhesion
Follow the manufacturer’s guidelines regarding the recommended time for the repair tape to fully adhere to the fabric. This ensures that the repair is secure and resistant to environmental factors such as wind and rain.
By following these steps, you can effectively address small tears and holes in your awning fabric, restoring its integrity and visual appeal. This proactive approach to repair helps prolong the lifespan of your awning and ensures that it continues to provide reliable shade and protection in your outdoor space.
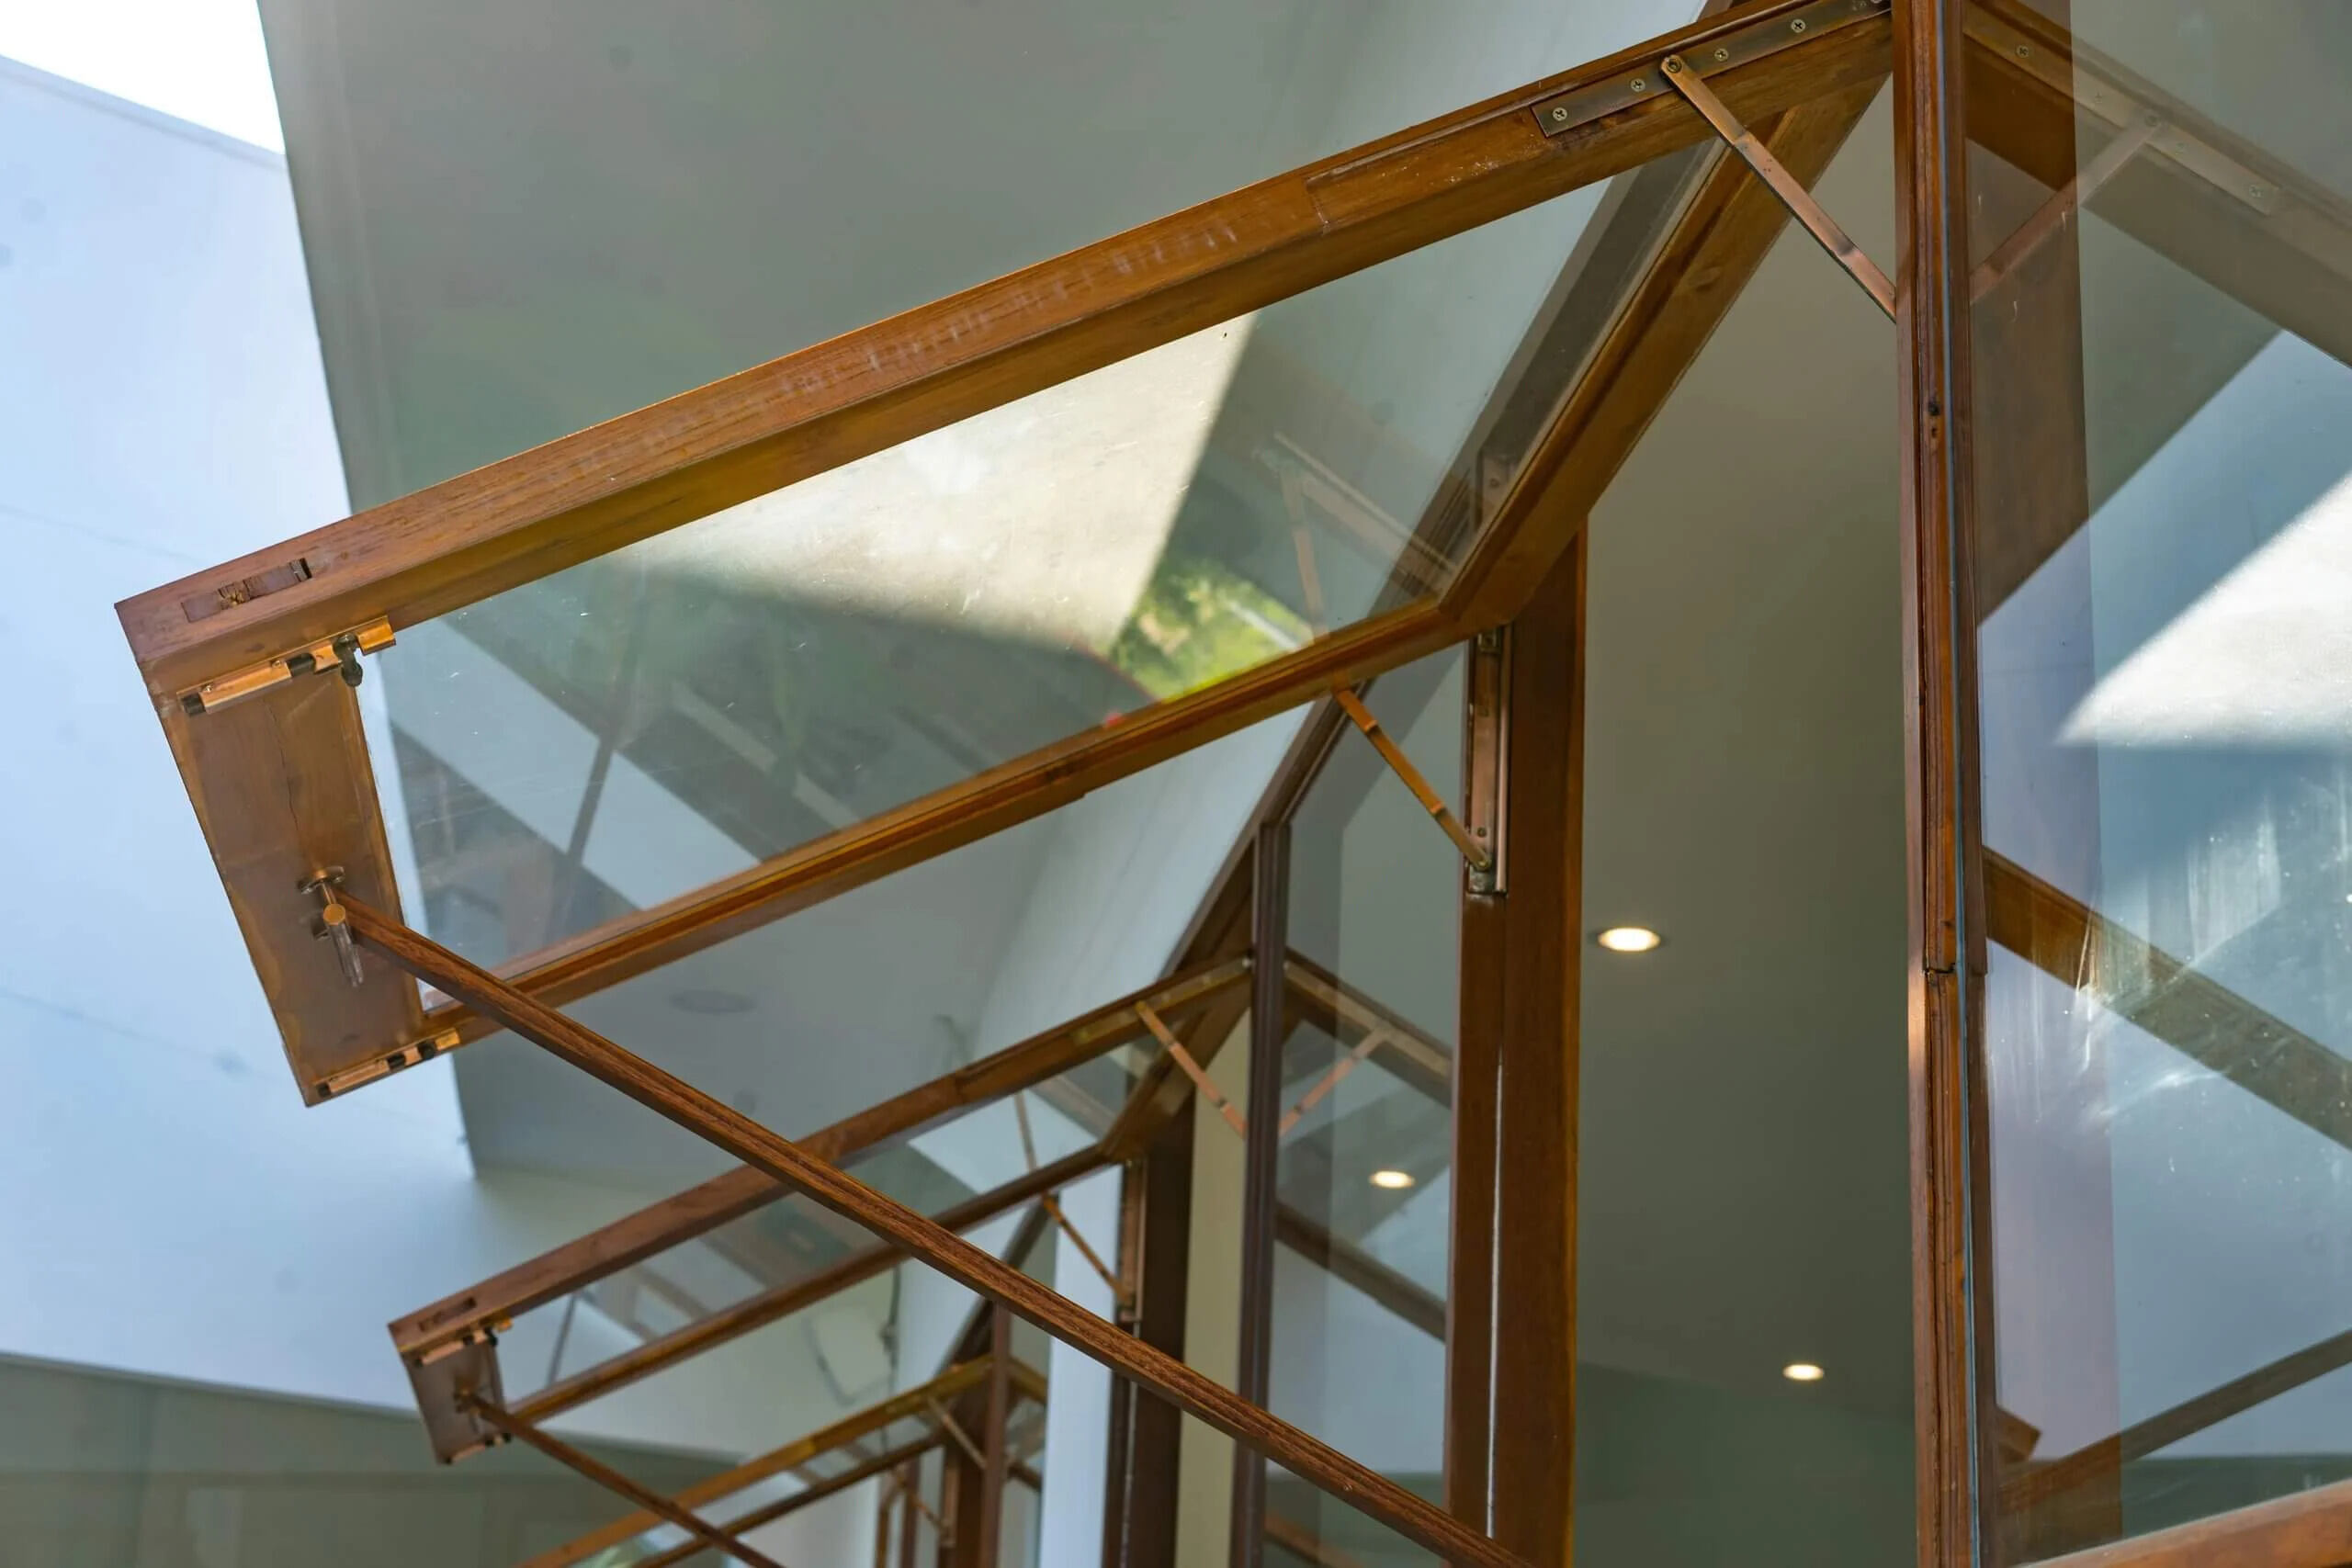
Replacing Bent or Broken Components
When the structural components of an awning become bent or broken, it can compromise the functionality and stability of the entire assembly. Whether it’s a damaged support arm, bracket, or hinge, replacing these components is essential to ensure the proper operation and structural integrity of the awning. Here’s a comprehensive guide to replacing bent or broken components:
Read more: How To Sew An Awning
Step 1: Identify the Damaged Components
Conduct a thorough inspection of the awning to identify any bent or broken components. This may include support arms, brackets, hinges, or any other parts that have sustained damage. Take note of the specific components that require replacement.
Step 2: Source Replacement Parts
Obtain the necessary replacement components from a reputable supplier or the awning manufacturer. Ensure that the replacement parts are compatible with your awning model and specifications, and that they meet the required quality standards for durability and performance.
Step 3: Prepare the Work Area
Create a safe and organized work area for the replacement process. Clear the space around the awning and ensure that you have sufficient room to maneuver and access the components that need to be replaced. Use a stable ladder or step stool if elevated access is required.
Step 4: Disassemble and Remove Damaged Components
Carefully disassemble and remove the damaged components from the awning assembly. Depending on the specific design of your awning, this may involve unscrewing bolts, releasing tension mechanisms, or detaching the affected parts from their mounting points. Follow the manufacturer’s guidelines for disassembly to avoid causing further damage.
Read more: How To Build An Awning
Step 5: Install Replacement Components
Install the new replacement components in place of the damaged parts, ensuring a secure and proper fit. Use the appropriate tools, such as wrenches or screwdrivers, to fasten the new components according to the manufacturer’s specifications. Verify that the replacement parts are aligned and positioned correctly for optimal functionality.
Step 6: Test and Adjust
After installing the replacement components, test the operation of the awning to ensure that the new parts function as intended. Verify that the movement is smooth, the tension is properly adjusted, and the alignment is accurate. Make any necessary adjustments to achieve the desired performance.
By following these steps, you can effectively replace bent or broken components of your awning, restoring its functionality and structural stability. This proactive approach to maintenance ensures that your awning remains reliable and resilient, providing shade and protection for your outdoor space.
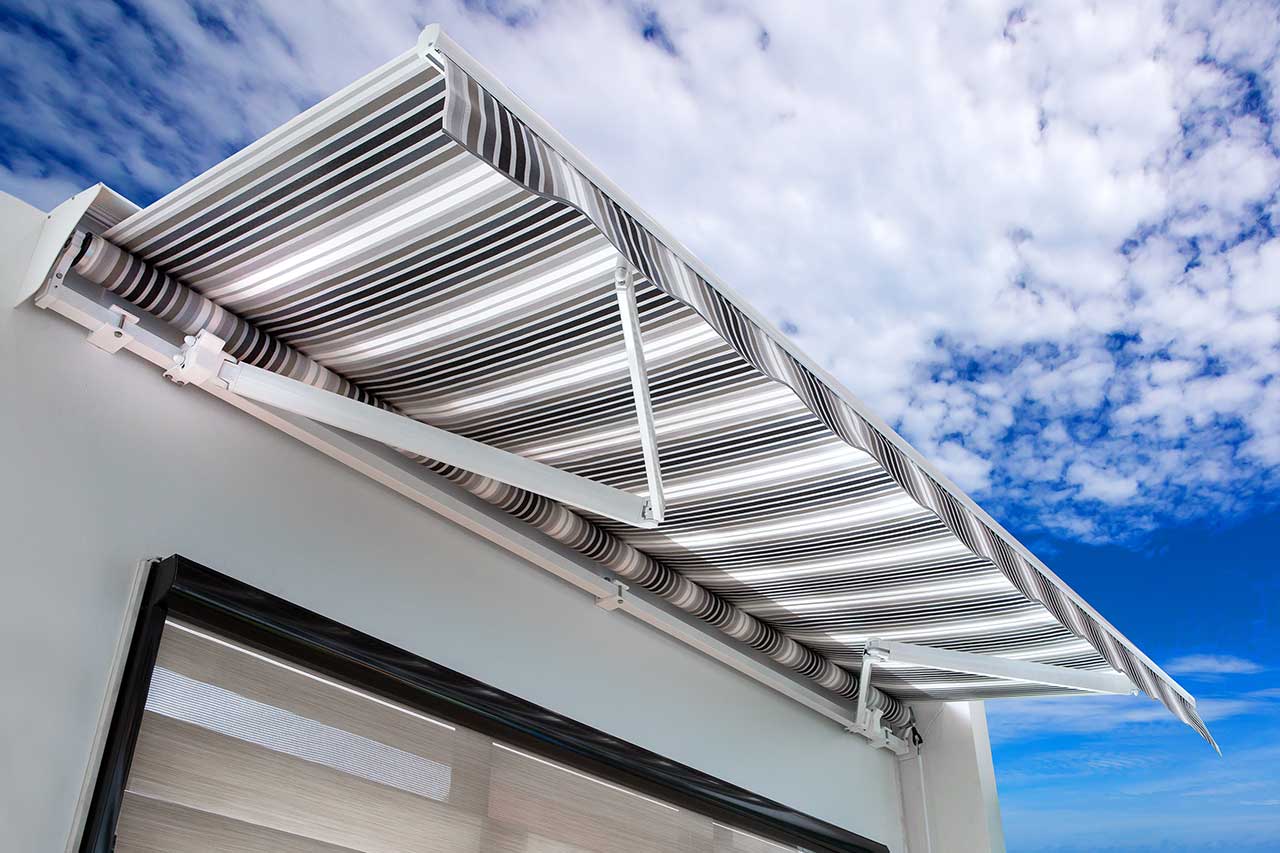
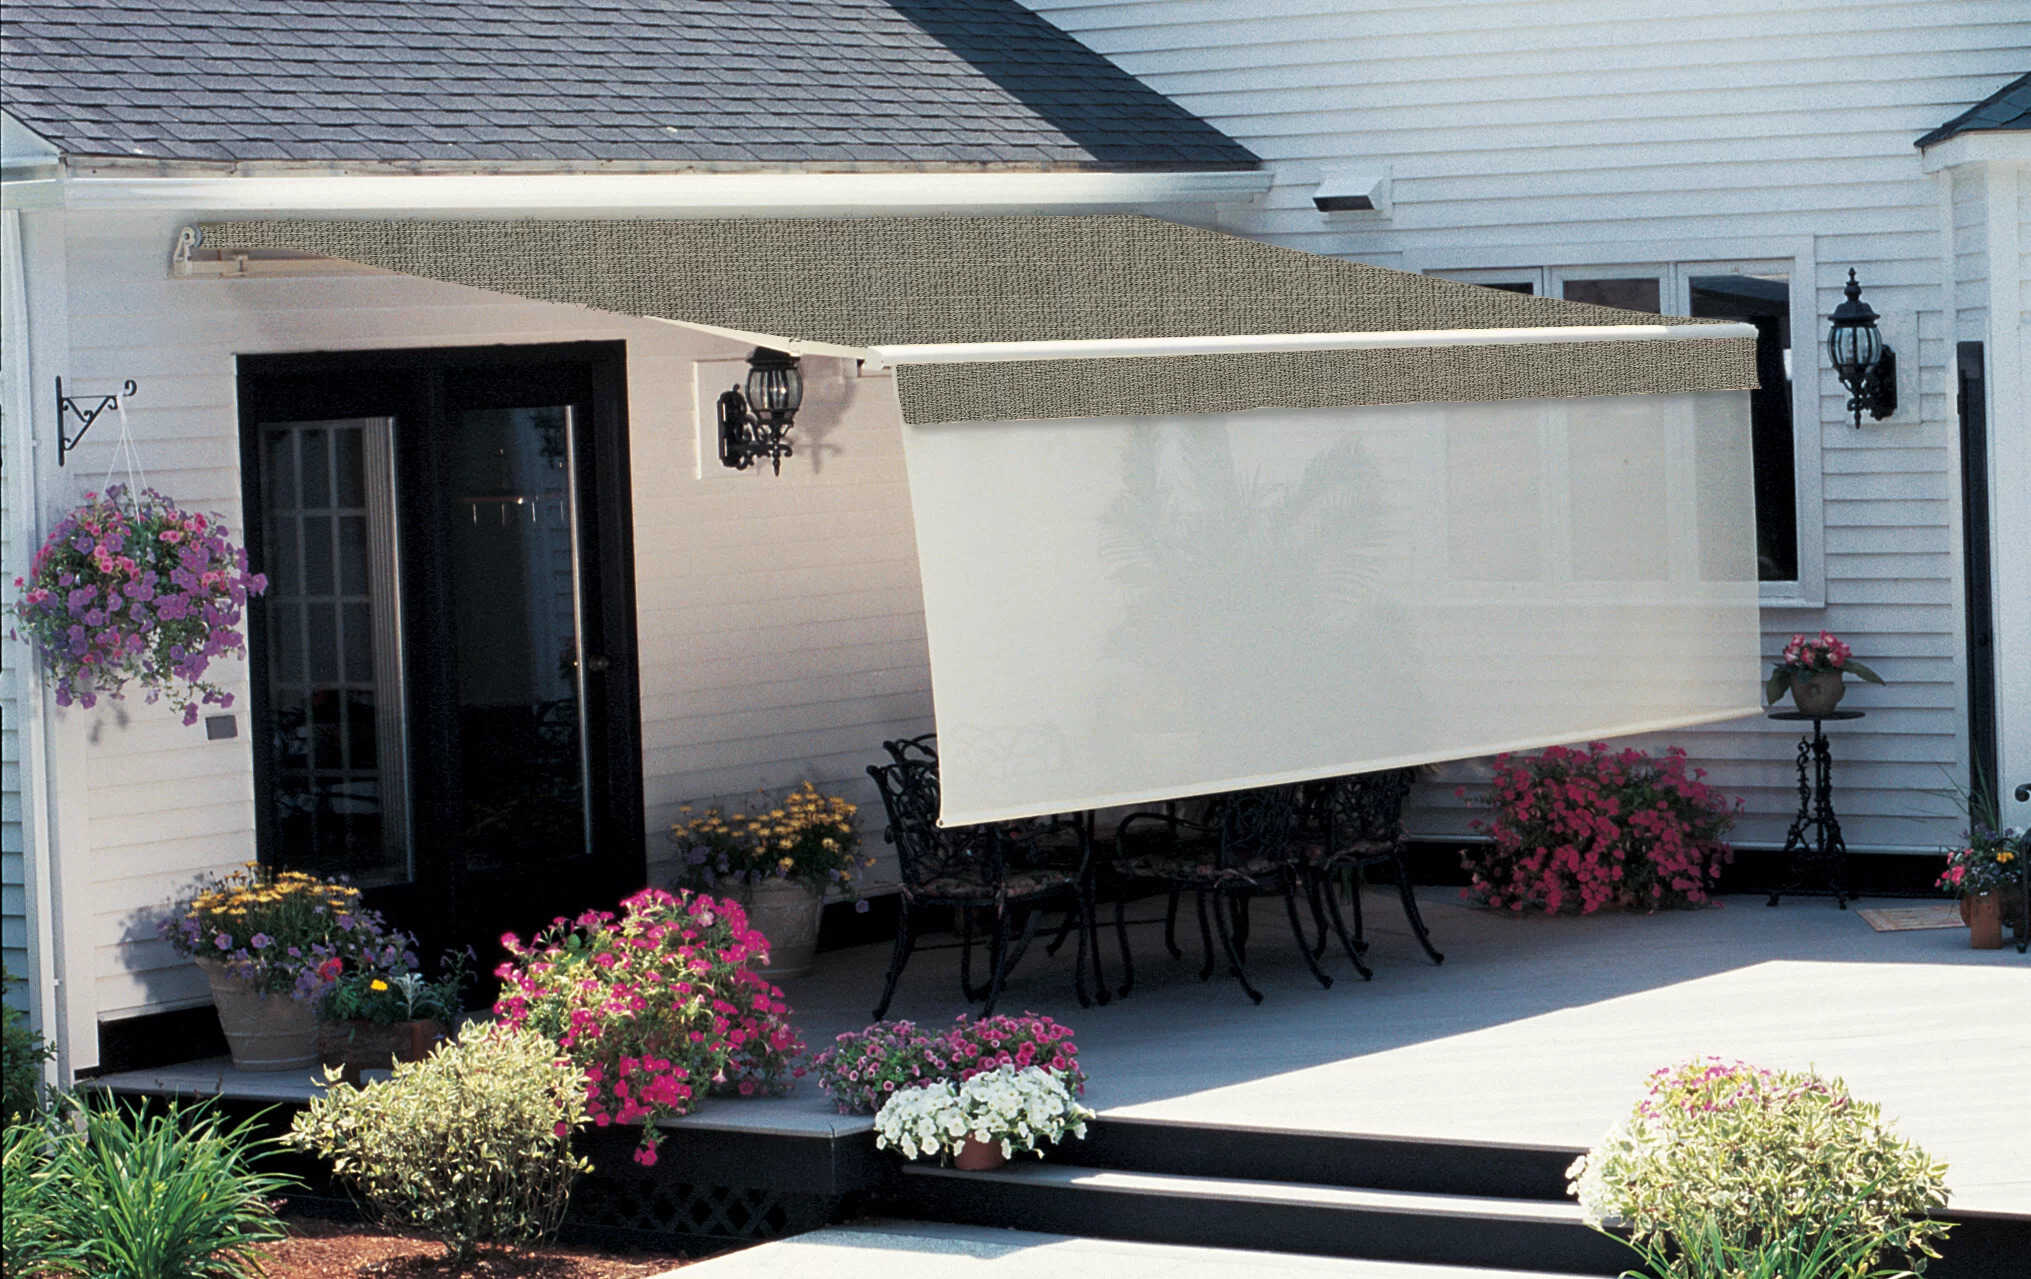
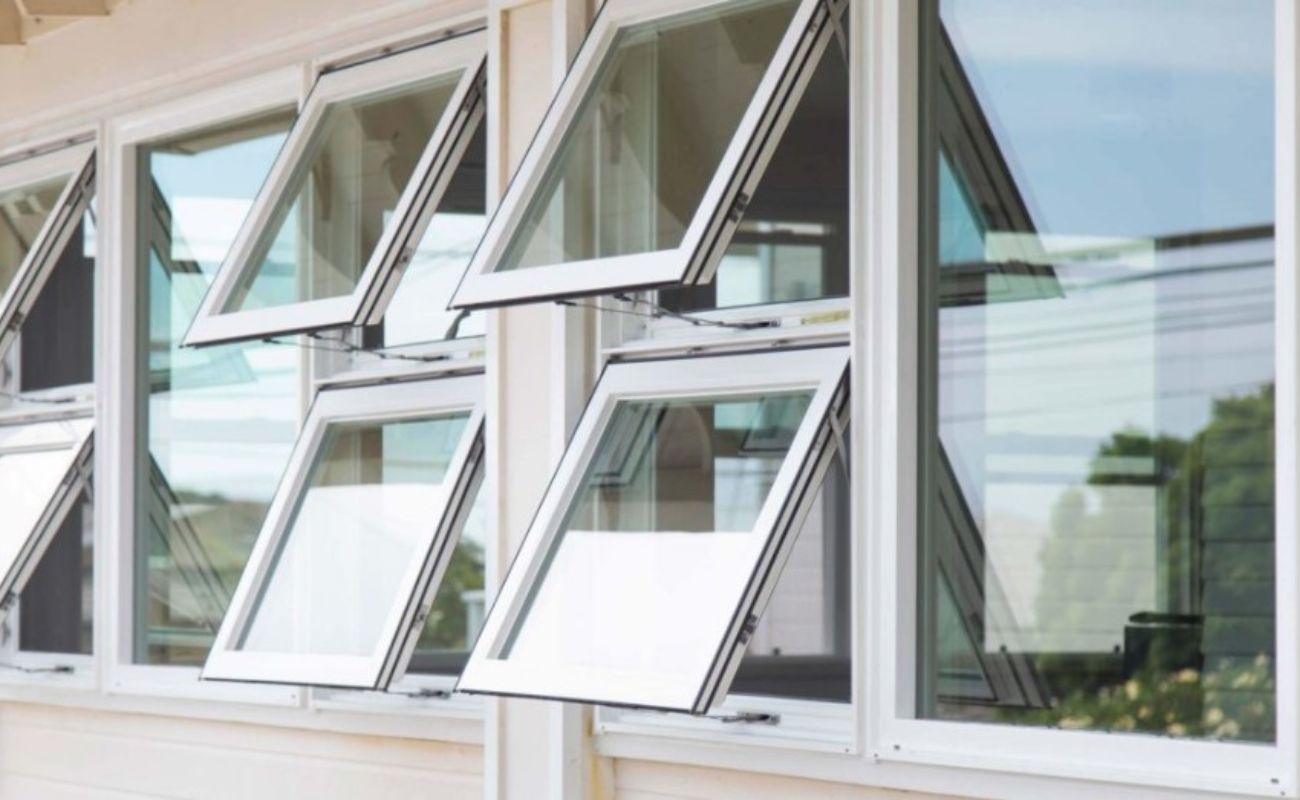
Adjusting Tension and Alignment
Proper tension and alignment are crucial for the optimal functionality and longevity of an awning. Over time, factors such as weather exposure and regular use can affect the tension of the fabric and the alignment of the moving components. Adjusting the tension and alignment of your awning is essential to ensure smooth operation and prevent premature wear and tear. Here’s a comprehensive guide to adjusting the tension and alignment of your awning:
Step 1: Assess the Current Tension and Alignment
Begin by extending the awning to its fully open position and visually inspecting the fabric for any sagging or excessive tension. Observe the alignment of the support arms, hinges, and other moving components to identify any misalignments or irregularities in their positioning.
Read more: How To Measure An Awning
Step 2: Adjust the Tension Mechanism
If your awning is equipped with a tension mechanism, follow the manufacturer’s guidelines for making adjustments. This may involve using a crank or lever to tighten or release the tension in the fabric. Gradually make small adjustments and observe the impact on the fabric’s tautness, ensuring that it remains evenly tensioned across the entire surface.
Step 3: Inspect and Lubricate Moving Components
Examine the hinges, support arms, and other moving parts for signs of friction or resistance during operation. Apply a silicone-based lubricant to the pivot points and moving components to ensure smooth movement and reduce wear caused by friction. This enhances the overall functionality and lifespan of the awning.
Step 4: Verify Proper Alignment
Check the alignment of the support arms and other structural components to ensure that they are parallel and evenly positioned. Misaligned components can cause unnecessary stress on the awning and lead to premature wear. Make any necessary adjustments to achieve proper alignment, using the appropriate tools as recommended by the manufacturer.
Step 5: Test the Operation
After making tension and alignment adjustments, test the operation of the awning by extending and retracting it several times. Observe the movement for smoothness, even tension in the fabric, and proper alignment of the components. Make further adjustments if needed to achieve the desired performance.
Read more: What Is An Awning
Step 6: Regular Maintenance Checks
Incorporate regular maintenance checks into your routine to monitor the tension and alignment of the awning. This proactive approach allows you to identify and address any issues promptly, ensuring that the awning remains in optimal condition and operates smoothly over time.
By following these steps, you can effectively adjust the tension and alignment of your awning, promoting its longevity and reliable functionality. This proactive maintenance approach contributes to the overall performance and aesthetic appeal of your outdoor space, allowing you to enjoy the benefits of a well-maintained awning for years to come.
Regular Maintenance Tips
Maintaining the condition of your awning is essential for preserving its functionality, appearance, and longevity. By incorporating regular maintenance into your outdoor care routine, you can prevent potential issues, prolong the lifespan of the awning, and ensure that it continues to enhance your outdoor space. Here are some valuable maintenance tips to keep your awning in optimal condition:
1. Routine Cleaning:
Regularly clean the awning fabric to remove dirt, debris, and environmental residues. Use a mild cleaning solution and a soft brush to gently scrub the fabric, paying attention to areas prone to accumulation, such as seams and edges. Rinse thoroughly and allow the fabric to dry completely before retracting the awning.
2. Inspection and Repairs:
Conduct periodic inspections of the awning to identify any signs of wear, tear, or damage. Address small tears, holes, or loose threads promptly using high-quality repair tape or sewing techniques. Replace any worn-out or damaged components to maintain the structural integrity of the awning.
Read more: How Much Is An Awning For A Deck
3. Lubrication of Moving Parts:
Apply a silicone-based lubricant to the moving components, hinges, and pivot points of the awning to ensure smooth operation and reduce friction. Regular lubrication minimizes wear and tear on the mechanical parts, contributing to the longevity of the awning.
4. Seasonal Adjustments:
Adjust the tension and alignment of the awning at the beginning of each season to account for changes in weather conditions and temperature. This proactive approach helps maintain proper fabric tension and ensures that the moving components are aligned for optimal performance.
5. Protection from Harsh Weather:
During inclement weather, such as heavy rain or strong winds, retract the awning to protect it from potential damage. Avoid prolonged exposure to extreme weather conditions, as this can accelerate wear and deterioration of the fabric and components.
6. Professional Inspection:
Consider scheduling periodic professional inspections of the awning to assess its condition and identify any underlying issues that may require expert attention. Professional maintenance can help detect potential problems early and prevent costly repairs in the long run.
Read more: How To Install A Sunsetter Awning
7. Storage During Off-Season:
If the awning is not intended for use during certain seasons, consider storing it properly to protect it from prolonged exposure to the elements. Follow the manufacturer’s guidelines for storage and take necessary precautions to preserve the fabric and components.
By implementing these regular maintenance tips, you can proactively care for your awning, ensuring that it remains in optimal condition and continues to enhance your outdoor living space. A well-maintained awning not only provides functional benefits but also contributes to the aesthetic appeal and comfort of your outdoor environment.
Conclusion
Congratulations on completing this comprehensive guide on how to fix and maintain an awning! By gaining the knowledge and skills to assess damage, gather necessary tools and materials, and execute repairs, you are now equipped to ensure the longevity and optimal performance of your awning. Whether addressing small tears and holes, replacing bent or broken components, or adjusting tension and alignment, your proactive approach to maintenance will contribute to the overall functionality and visual appeal of your outdoor space.
Remember, regular maintenance is key to preserving the condition of your awning and preventing potential issues from escalating. By incorporating routine cleaning, inspections, lubrication, and seasonal adjustments, you can proactively care for your awning and enjoy its benefits for years to come. Additionally, being mindful of protection from harsh weather, professional inspections, and proper storage during off-season periods will further contribute to the longevity of your awning.
As you embark on the journey of awning maintenance and repair, remember that your efforts will not only enhance the functionality and appearance of the awning but also create a welcoming and comfortable outdoor environment for relaxation and entertainment. Your commitment to maintaining the awning reflects your dedication to creating an inviting and well-maintained outdoor space for yourself, your family, and your guests to enjoy.
With the knowledge and insights gained from this guide, you are well-prepared to tackle any awning maintenance and repair tasks with confidence and proficiency. Your proactive approach to caring for your awning will undoubtedly contribute to the overall enjoyment and comfort of your outdoor living space, allowing you to make the most of your time spent outdoors.
Thank you for taking the initiative to learn about awning maintenance and repair. Your dedication to preserving the condition and functionality of your awning is a testament to your commitment to creating a welcoming and enjoyable outdoor oasis. Here’s to many more years of relaxation and comfort under the shade of your well-maintained awning!
Frequently Asked Questions about How To Fix An Awning
Was this page helpful?
At Storables.com, we guarantee accurate and reliable information. Our content, validated by Expert Board Contributors, is crafted following stringent Editorial Policies. We're committed to providing you with well-researched, expert-backed insights for all your informational needs.


0 thoughts on “How To Fix An Awning”