Home>Gardening & Outdoor>Outdoor Structures>How To Turn A Shed Into A She Shed

Outdoor Structures
How To Turn A Shed Into A She Shed
Modified: October 27, 2024
Transform your outdoor shed into a cozy and stylish she shed with our expert tips and ideas for outdoor structures. Create your own personal retreat today!
(Many of the links in this article redirect to a specific reviewed product. Your purchase of these products through affiliate links helps to generate commission for Storables.com, at no extra cost. Learn more)
Introduction
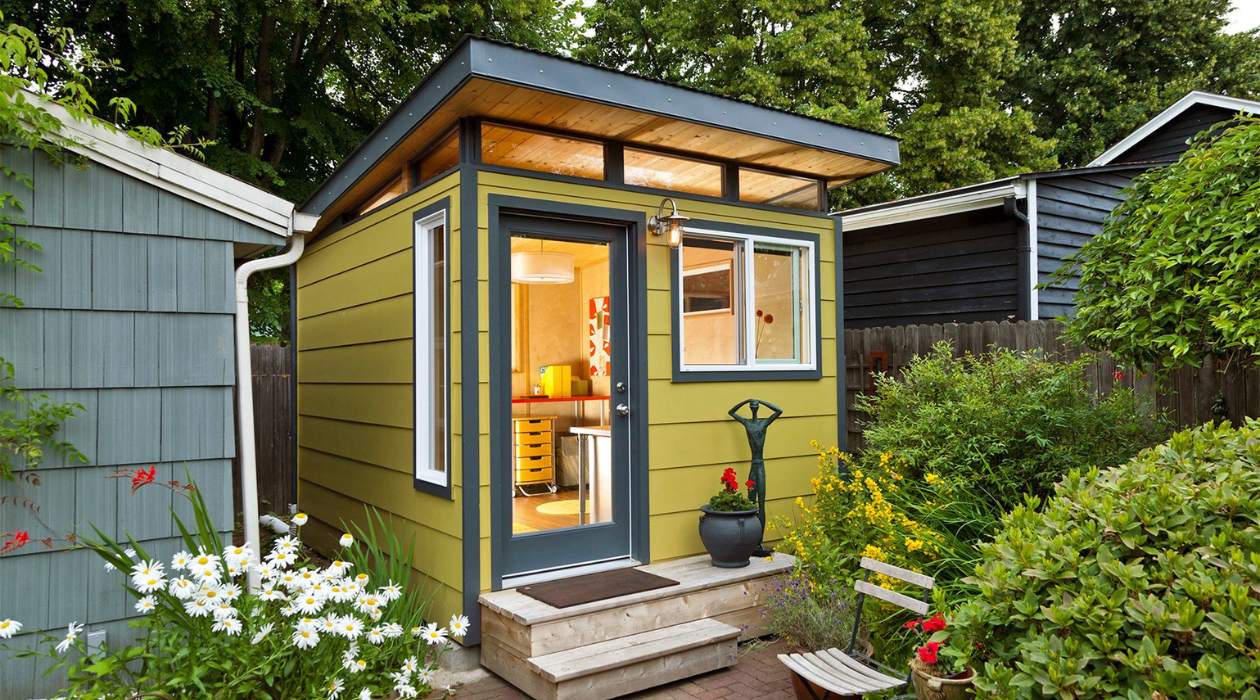
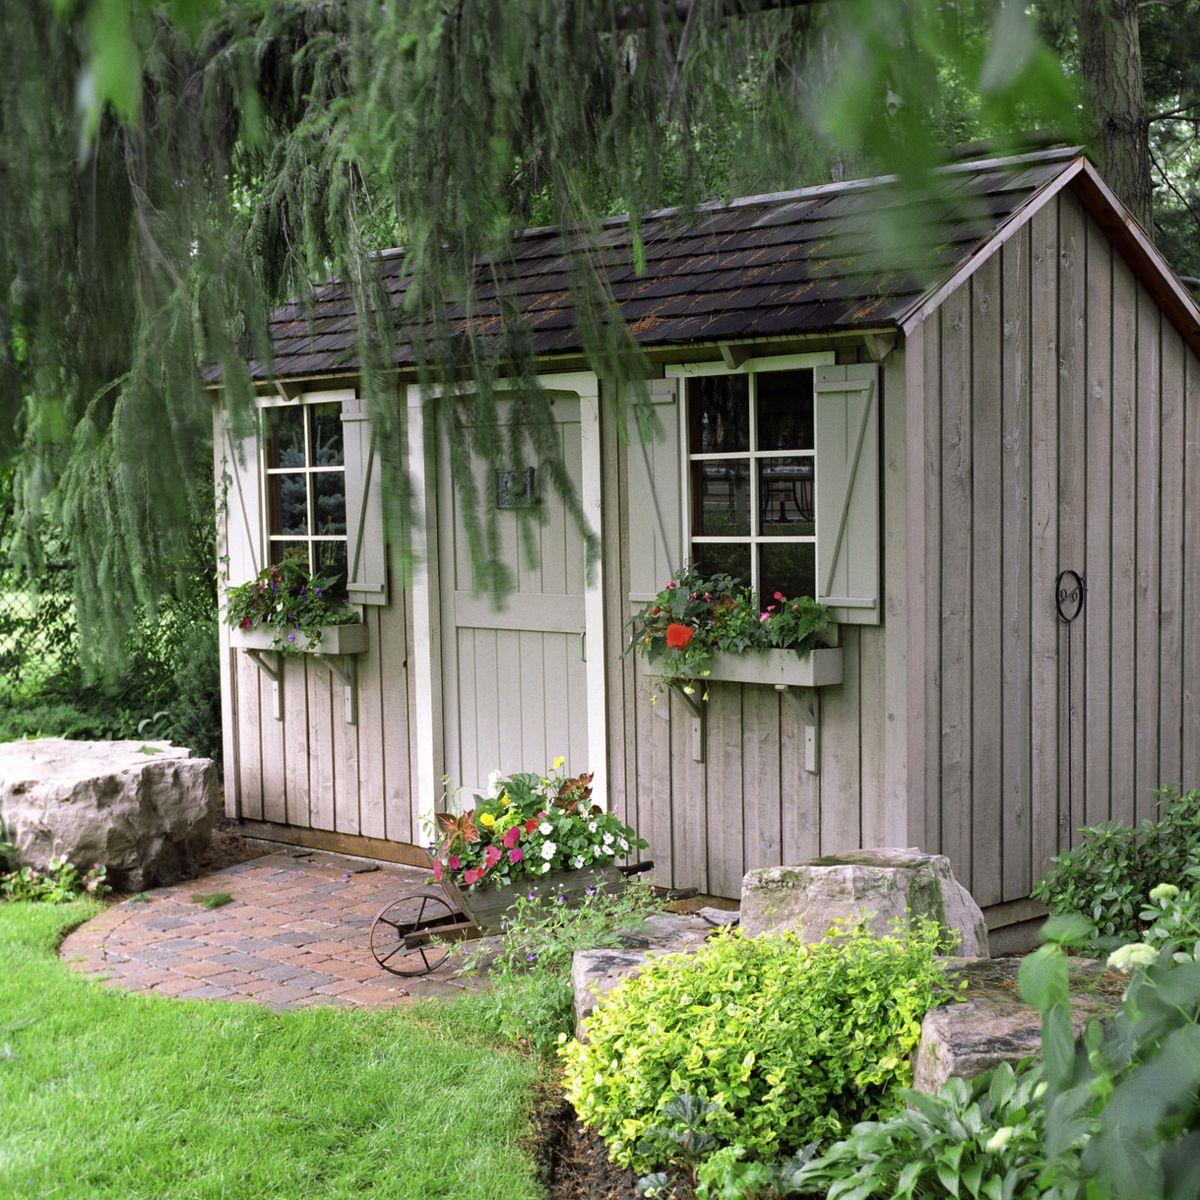
Welcome to the world of she sheds! If you're seeking a tranquil retreat right in your backyard, then transforming a humble shed into a she shed is the perfect project for you. Whether you're a gardening enthusiast, an avid reader, a creative artist, or simply someone in need of a peaceful sanctuary, a she shed offers a personalized space to unwind and indulge in your favorite activities.
In this comprehensive guide, we'll walk you through the step-by-step process of turning a basic shed into a charming and functional she shed. From planning and design to adding personal touches, we'll cover everything you need to know to create your own haven of relaxation and inspiration.
So, roll up your sleeves, unleash your creativity, and get ready to embark on an exciting journey of transformation. Let's dive into the enchanting world of she sheds and discover how you can elevate a simple shed into a captivating retreat that reflects your unique style and passions.
Key Takeaways:
- Transforming a basic shed into a personalized she shed involves careful planning, cleaning, insulation, decorating, and adding personal touches. It’s a creative and rewarding process that results in a unique backyard retreat.
- Your she shed reflects your personality and passions, providing a space for relaxation, creativity, and self-expression. It’s a testament to your creativity and resourcefulness, offering a haven for cherished moments and meaningful experiences.
Read more: How To Turn An Old Shed Into A She Shed
Step 1: Planning and Design
Before diving into the physical transformation of your shed, it’s crucial to lay a solid foundation through thoughtful planning and innovative design. This initial step sets the stage for the entire project and ensures that your she shed aligns perfectly with your vision.
Assess Your Needs: Start by envisioning how you intend to use your she shed. Will it serve as a cozy reading nook, an art studio, a gardening haven, or a serene meditation space? Understanding the primary purpose of your she shed will guide the entire planning process.
Sketch Your Layout: Grab a pen and paper to sketch a rough layout of your ideal she shed. Consider the placement of windows for natural light, the positioning of furniture, and any additional features you wish to incorporate. This visual representation will help you make informed decisions as you progress.
Choose a Theme: Infuse your she shed with a theme that resonates with your personality and interests. Whether it’s a rustic cabin retreat, a beachside oasis, or a bohemian escape, selecting a theme will guide your design choices and create a cohesive ambiance.
Consider Functionality: Evaluate the practical aspects of your she shed, such as storage space, electrical outlets for lighting or electronics, and the need for heating and cooling. Ensuring that your she shed is functional and comfortable is essential for maximizing its utility.
Research Materials and Decor: Explore different materials, color schemes, and decor elements that complement your chosen theme. From cozy rugs and comfortable seating to decorative accents and lighting fixtures, gathering design inspiration will fuel your creativity and refine your vision.
By meticulously planning and designing your she shed, you’ll establish a clear roadmap for the transformation process, setting the stage for a captivating and personalized retreat right in your backyard.
Step 2: Clearing and Cleaning
With your she shed’s design and layout planned out, it’s time to roll up your sleeves and prepare the canvas for transformation. Clearing and cleaning the interior and exterior of the shed is a crucial step that sets the stage for the upcoming enhancements.
Declutter the Space: Begin by removing any unnecessary items and clutter from the shed. Clearing out old tools, unused equipment, and miscellaneous items will create a blank canvas for your she shed project.
Clean Thoroughly: Dust, sweep, and scrub every nook and cranny of the shed to eliminate dirt, cobwebs, and debris. A clean foundation ensures that your design and decor elements will shine without being overshadowed by grime.
Inspect for Repairs: Take this opportunity to inspect the shed for any structural issues, such as leaks, rot, or damage. Addressing these repairs early on will prevent future complications and ensure that your she shed remains a durable and inviting space.
Enhance the Exterior: Extend your cleaning efforts to the shed’s exterior. Pressure wash the walls, repair any damaged siding, and consider a fresh coat of paint to revitalize the exterior aesthetics and create an inviting first impression.
Organize Storage Solutions: If your she shed will serve multiple functions, consider implementing smart storage solutions to keep the space organized. From shelving units to storage bins, efficient organization will maximize the usability of your she shed.
By clearing and cleaning the shed, you’re laying the groundwork for a transformative journey, ensuring that your she shed emerges as a pristine and welcoming sanctuary that reflects your unique style and purpose.
Step 3: Insulation and Weatherproofing
As you delve deeper into the transformation of your she shed, prioritizing insulation and weatherproofing is essential to create a comfortable and resilient space that can be enjoyed year-round. These measures not only enhance the structural integrity of the shed but also contribute to energy efficiency and climate control.
Assess Insulation Needs: Evaluate the existing insulation in the shed and determine if additional insulation is required. Proper insulation helps regulate the indoor temperature, making your she shed cozy during chilly seasons and cool during warmer months.
Seal Gaps and Cracks: Seal any gaps, cracks, or draft-prone areas to prevent heat loss and maintain a consistent temperature inside the she shed. Weather-stripping doors and windows, caulking gaps, and insulating attics and crawl spaces are effective measures to minimize air infiltration.
Upgrade Windows and Doors: Consider upgrading to energy-efficient windows and doors to enhance insulation and minimize heat transfer. Double-paned windows and insulated doors contribute to a more comfortable and sustainable she shed environment.
Weatherproof the Exterior: Protect the exterior of the shed from the elements by applying weatherproofing treatments. This may include waterproof paint or sealant for wooden surfaces, as well as addressing any areas susceptible to water intrusion.
Install Climate Control: If you plan to use your she shed year-round, consider installing a heating and cooling system. This ensures that the space remains comfortable regardless of the outdoor temperature, allowing you to fully enjoy your retreat in any season.
By prioritizing insulation and weatherproofing, you’re creating a resilient and inviting she shed that offers a comfortable escape from the elements, allowing you to immerse yourself in tranquility and inspiration throughout the year.
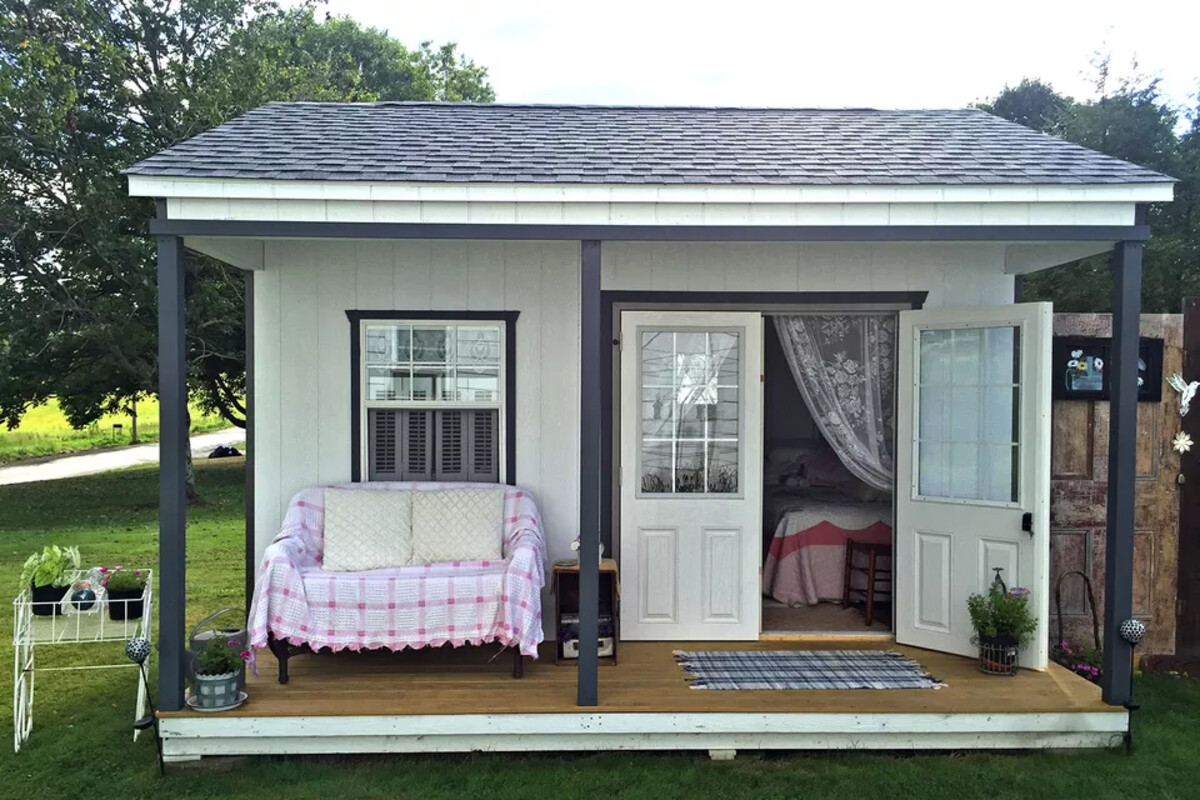
Consider adding insulation, electricity, and comfortable furnishings to your shed to create a cozy she shed. This will make the space more inviting and functional for relaxing or pursuing hobbies.
Step 4: Decorating and Furnishing
With the foundational aspects of your she shed in place, it’s time to infuse the space with personality, charm, and functionality through thoughtful decorating and furnishing. This step allows you to bring your design vision to life and create a welcoming environment tailored to your preferences.
Select Comfortable Seating: Choose seating options that prioritize comfort and relaxation. Whether it’s a cozy armchair, a cushioned bench, or a hammock, comfortable seating sets the tone for a tranquil and inviting atmosphere.
Introduce Functional Furniture: Incorporate furniture pieces that align with the intended use of your she shed. From storage cabinets and worktables to a comfortable reading nook or an art easel, functional furniture enhances the practicality of the space.
Layer Textures and Fabrics: Infuse warmth and visual interest by layering different textures and fabrics. Add soft throw blankets, plush cushions, and decorative rugs to create a cozy and inviting ambiance within the she shed.
Illuminate with Lighting: Enhance the atmosphere with strategic lighting choices. Incorporate a mix of overhead lighting, task lighting for specific activities, and ambient lighting to create a versatile and well-lit environment that suits various moods and purposes.
Add Personal Touches: Display cherished mementos, artwork, and decor items that reflect your personality and passions. Whether it’s botanical prints, vintage finds, or handmade crafts, these personal touches infuse the she shed with character and individuality.
Embrace Nature: Integrate natural elements such as potted plants, floral arrangements, or a small indoor garden to bring the beauty of the outdoors inside. Connecting with nature within the she shed fosters a serene and rejuvenating atmosphere.
By thoughtfully decorating and furnishing your she shed, you’re creating a harmonious and personalized space that resonates with your interests and provides a cozy retreat for relaxation, creativity, and introspection.
Step 5: Adding Personal Touches
As you near the completion of your she shed transformation, it’s time to infuse the space with distinctive personal touches that elevate its ambiance and truly make it your own. Adding meaningful details and custom elements enhances the emotional connection to the space, creating a haven that reflects your unique identity and passions.
Custom Art and Décor: Incorporate custom art pieces, handmade crafts, or personalized decor items that hold sentimental value. Whether it’s a hand-painted mural, a family heirloom, or a DIY project, these elements infuse the she shed with personal significance.
Display Treasured Keepsakes: Showcase cherished keepsakes, photographs, or memorabilia that evoke fond memories and inspire positivity. These personal artifacts contribute to a warm and nostalgic ambiance within the she shed.
Create a Vision Board: Dedicate a space for a vision board or inspiration wall where you can display quotes, images, and aspirations that resonate with your dreams and aspirations. This visual representation serves as a source of motivation and empowerment within the she shed.
Customized Signage: Consider incorporating customized signage or a personalized nameplate for your she shed. This adds a touch of whimsy and identity, signaling that the space is uniquely yours.
Signature Scent: Introduce a signature scent through candles, diffusers, or potpourri that embodies your favorite aromas and creates a sensorial experience within the she shed. A familiar and delightful fragrance can evoke a sense of comfort and tranquility.
Reflect Your Passions: Whether it’s a collection of books, musical instruments, or hobby-related paraphernalia, infuse the she shed with elements that reflect your passions and interests. This creates a space where you can immerse yourself in activities that bring you joy and fulfillment.
By adding personal touches that resonate with your individuality and experiences, you’re infusing the she shed with a sense of authenticity and emotional resonance, creating a nurturing and inspiring retreat that is uniquely yours.
Conclusion
Congratulations on embarking on the journey of transforming a simple shed into a captivating she shed that reflects your personality and passions. Through meticulous planning, creative design, and thoughtful execution, you’ve reimagined a humble structure into a personalized sanctuary that offers a tranquil escape right in your backyard.
By embracing the five essential steps of planning and design, clearing and cleaning, insulation and weatherproofing, decorating and furnishing, and adding personal touches, you’ve brought your vision to life, creating a space that resonates with your individuality and provides a haven for relaxation, creativity, and self-expression.
Your she shed is not merely a physical structure but a reflection of your unique identity, interests, and aspirations. It’s a space where you can unwind with a good book, indulge in artistic pursuits, connect with nature, or simply savor moments of solitude and reflection. It stands as a testament to your creativity and resourcefulness, showcasing the transformative power of envisioning and bringing to life a space that is wholly your own.
As you step into your newly transformed she shed, may it serve as a retreat that nurtures your spirit, inspires your imagination, and provides a canvas for cherished moments and meaningful experiences. Whether it’s a place for quiet introspection, creative endeavors, or joyful gatherings with loved ones, your she shed is a testament to the beauty of crafting a space that brings joy and fulfillment into your life.
So, bask in the tranquility of your she shed, surrounded by the curated elements that make it uniquely yours. Let it be a haven where you can escape the demands of daily life and immerse yourself in the simple pleasures that rejuvenate the soul. Your she shed is a testament to your creativity, individuality, and the transformative power of envisioning and creating a space that resonates with your heart and spirit.
Frequently Asked Questions about How To Turn A Shed Into A She Shed
Was this page helpful?
At Storables.com, we guarantee accurate and reliable information. Our content, validated by Expert Board Contributors, is crafted following stringent Editorial Policies. We're committed to providing you with well-researched, expert-backed insights for all your informational needs.



0 thoughts on “How To Turn A Shed Into A She Shed”