Home>Garden Essentials>Garden Storage>How To Turn Your Garden Shed Into A Multi-Use Structure
Garden Storage
How To Turn Your Garden Shed Into A Multi-Use Structure
Modified: October 20, 2024
Transform your garden shed into a versatile space with these expert tips for creating additional storage options. Maximize functionality while adding style to your outdoor area.
(Many of the links in this article redirect to a specific reviewed product. Your purchase of these products through affiliate links helps to generate commission for Storables.com, at no extra cost. Learn more)
Introduction
A garden shed is often seen as a simple storage solution for tools, equipment, and garden supplies. However, with a little creativity and a few modifications, it can become a versatile multiuse structure that enhances your outdoor space and meets your specific needs. Whether you’re looking to create a workspace, a relaxation corner, a mini greenhouse, or even a guest room, your garden shed can be transformed into an area that adds value and functionality to your home.
In this article, we will explore various tips and ideas on how to turn your garden shed into a multiuse structure. From choosing the right shed to adding insulation, electrical outlets, storage solutions, and more, we will provide you with the inspiration and guidance you need to make the most out of your shed.
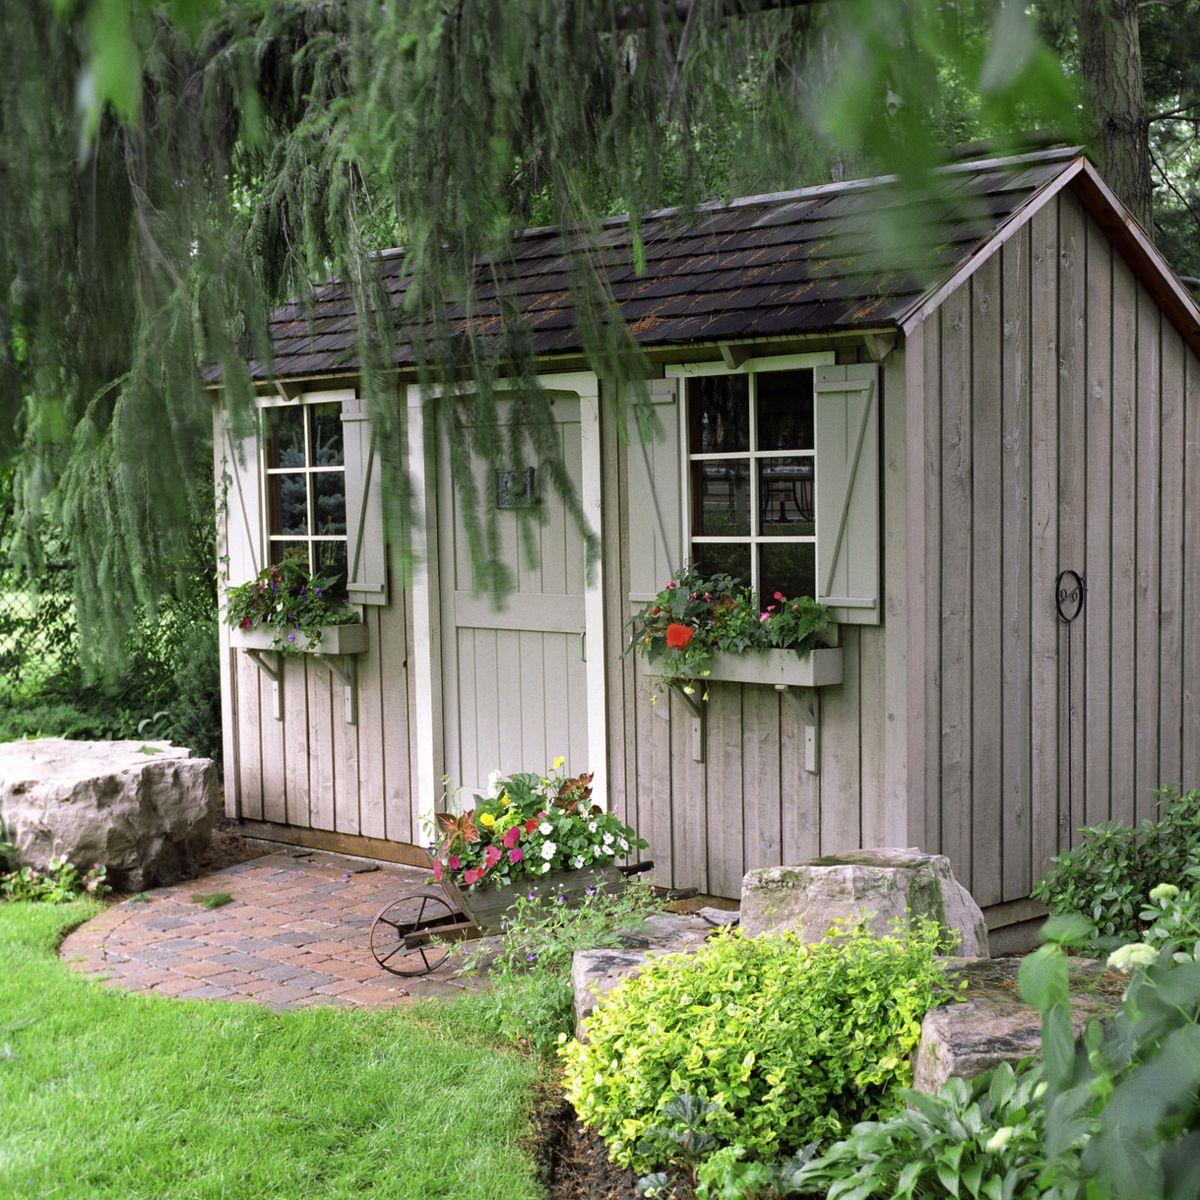
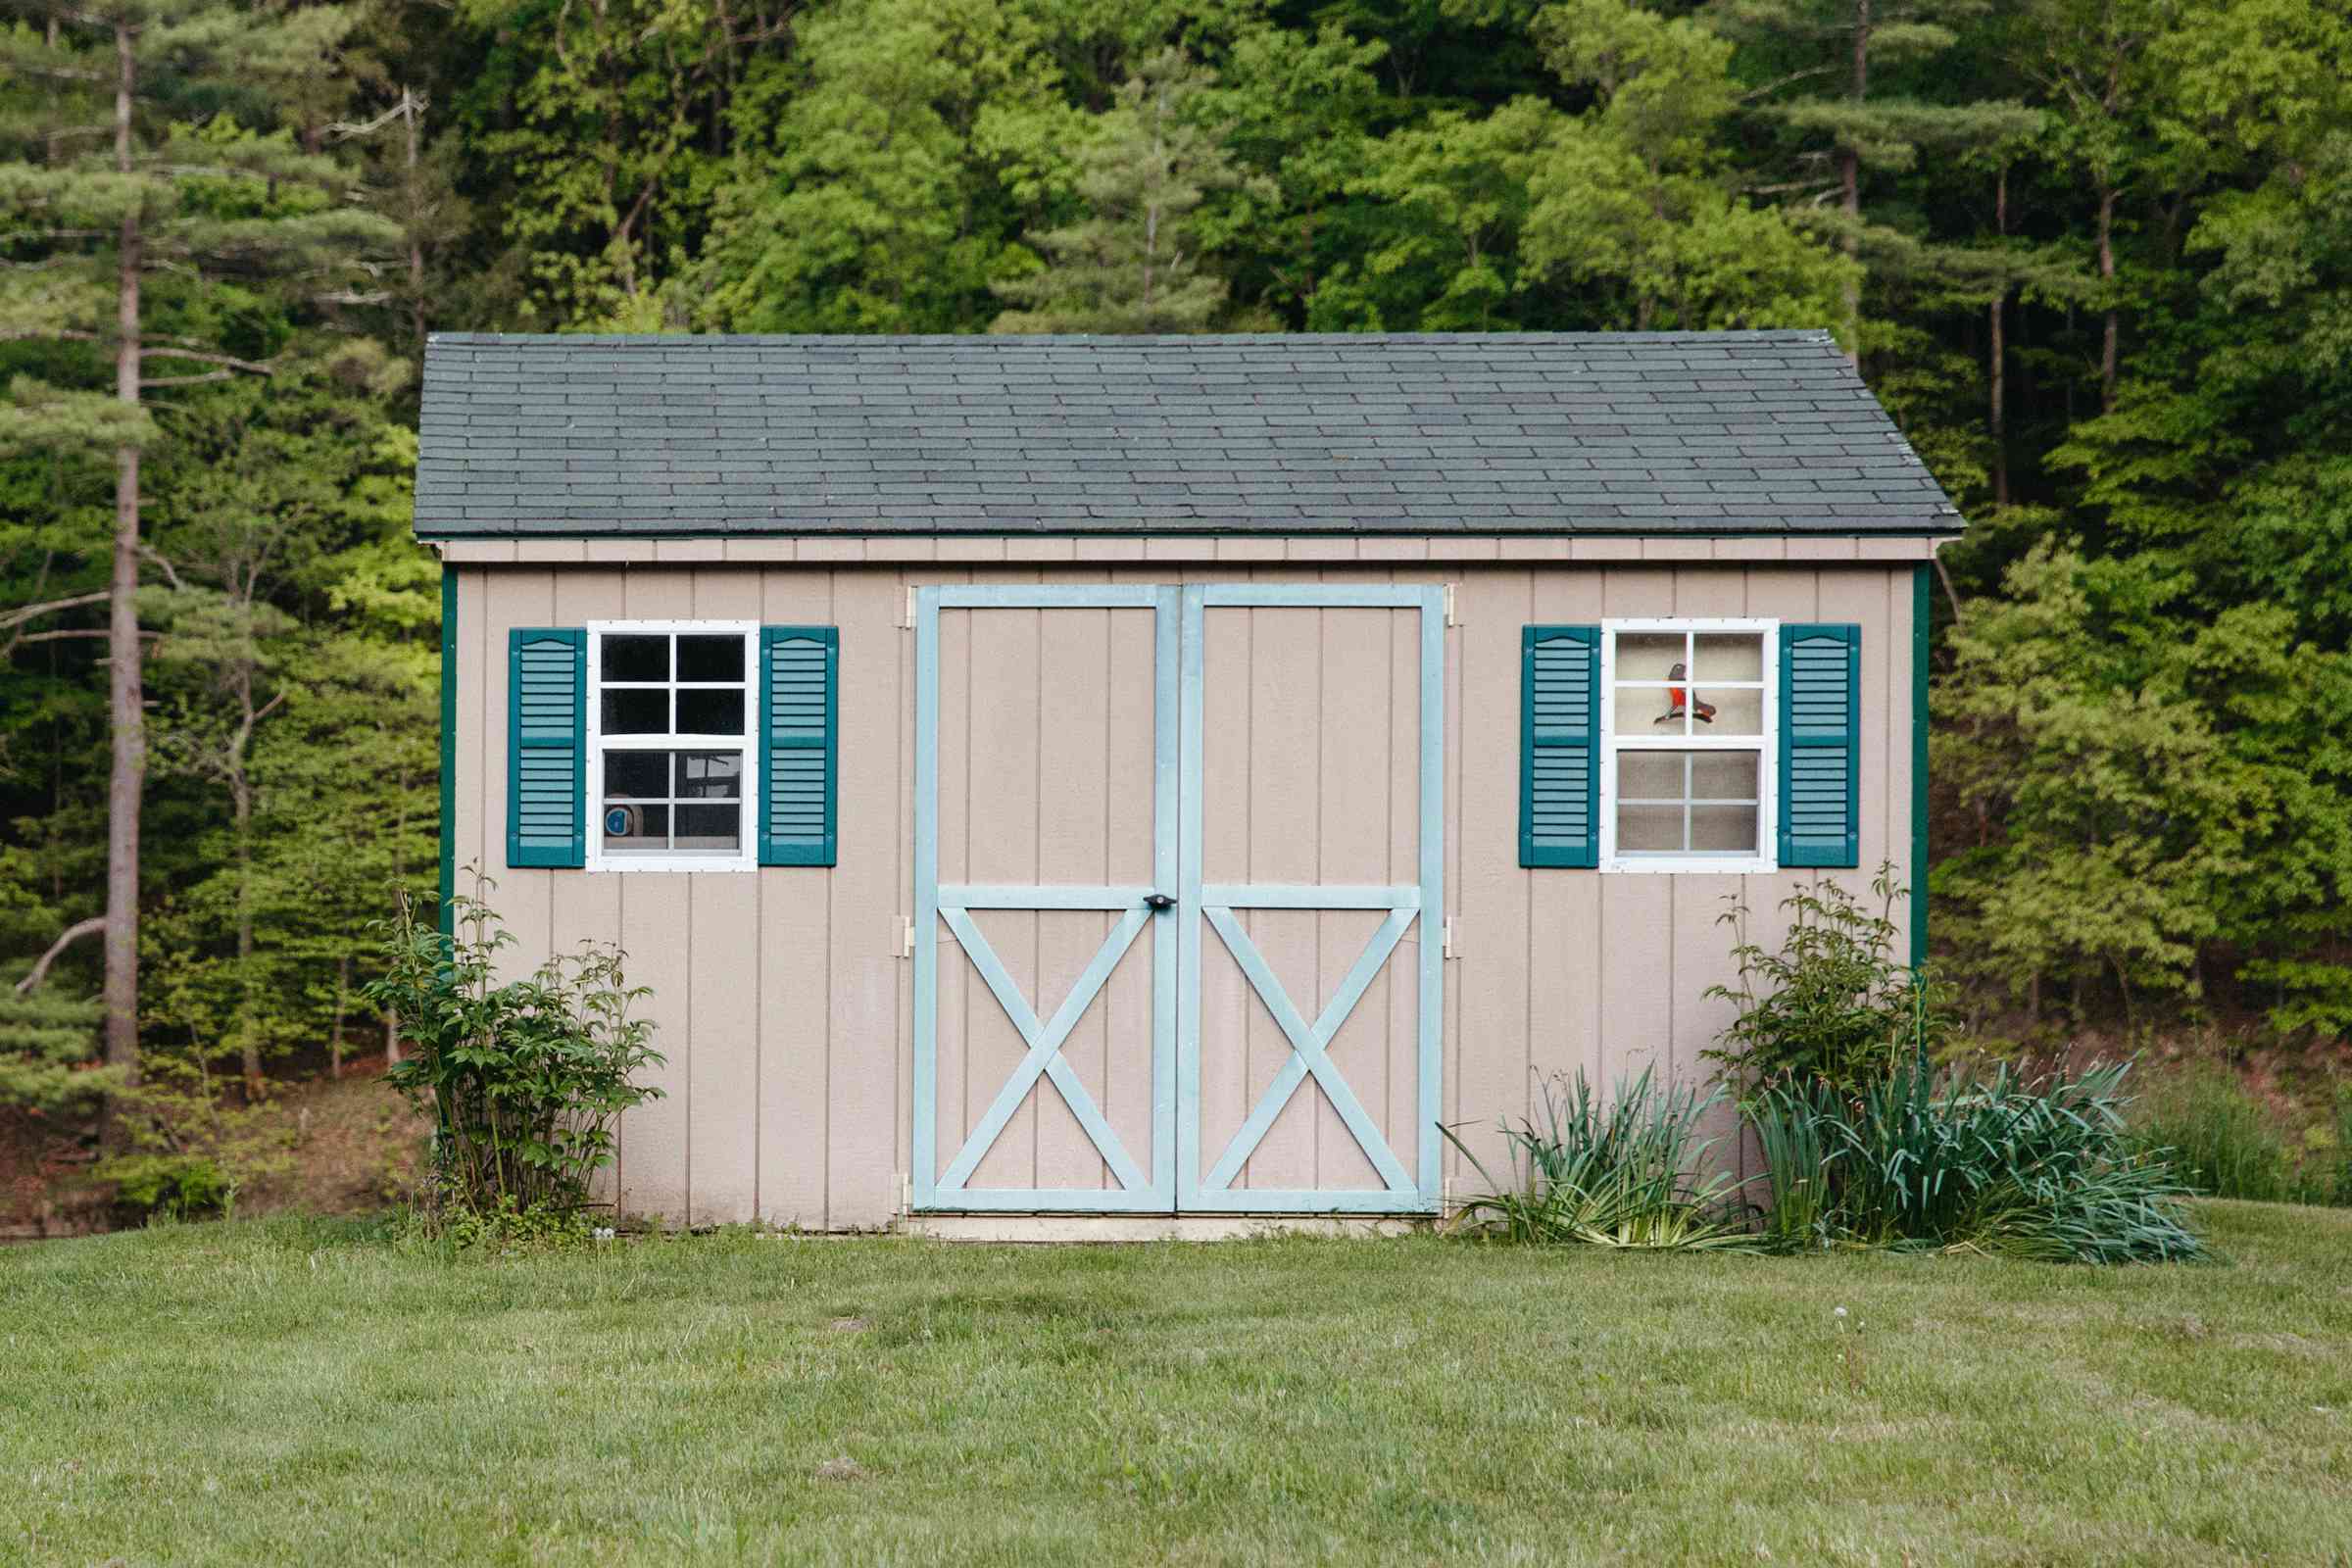
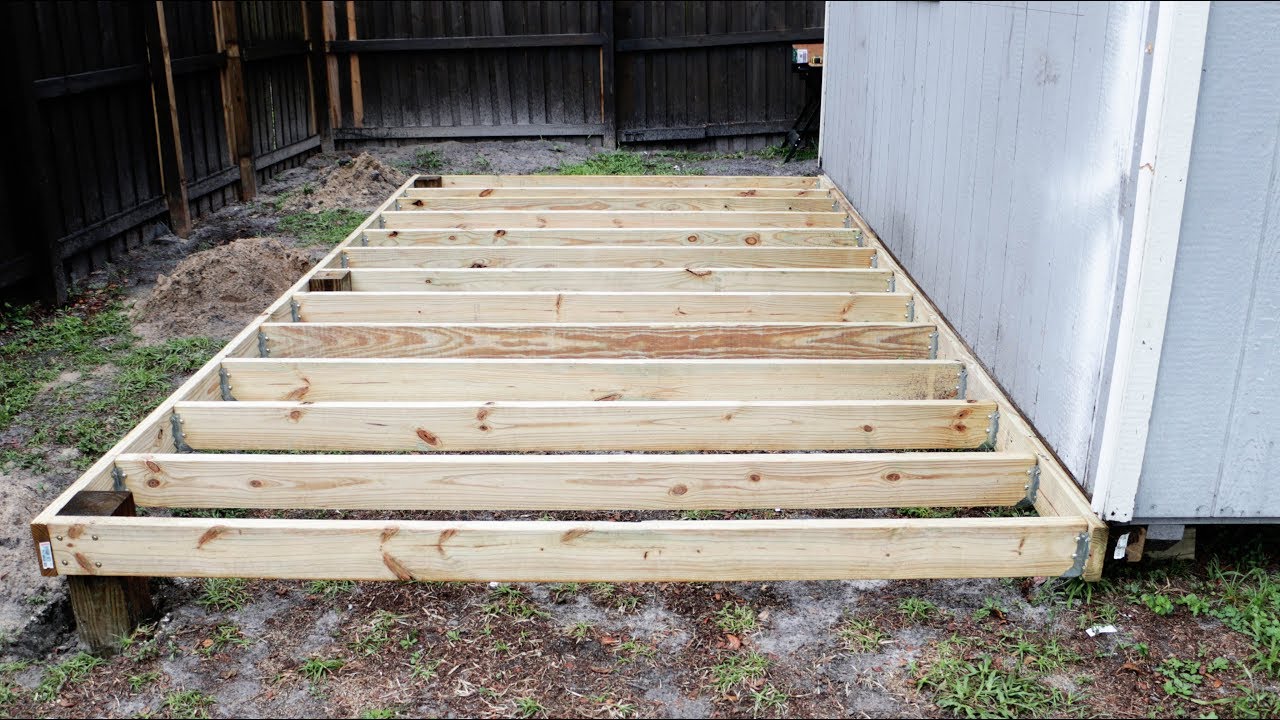
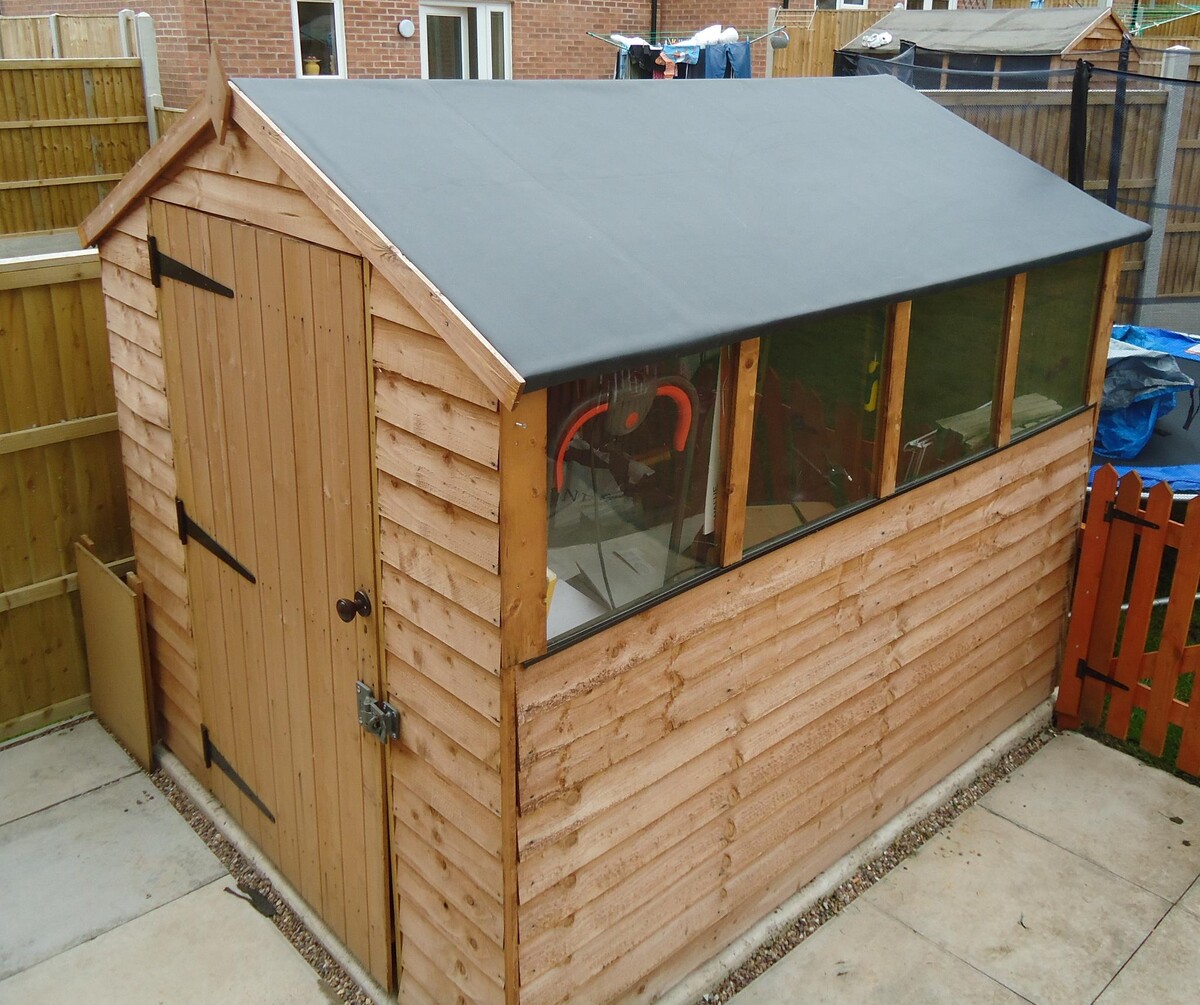
Choosing the Right Garden Shed
Before embarking on a shed transformation journey, it is important to select the right garden shed that suits both your aesthetic preferences and functional requirements. Consider the size, material, and design of the shed, ensuring it complements the overall look and feel of your outdoor space. Additionally, evaluate the shed”s structural integrity and make any necessary repairs or reinforcements before proceeding with your chosen transformation.
Clearing and Preparing the Shed
Once you have chosen the perfect garden shed, the next step is to clear out any existing clutter and prepare the space for its new purpose. Remove all items and assess the condition of the shed. Clean the interior thoroughly, repair any damage, and ensure proper ventilation to create a fresh and welcoming environment for your desired transformation.
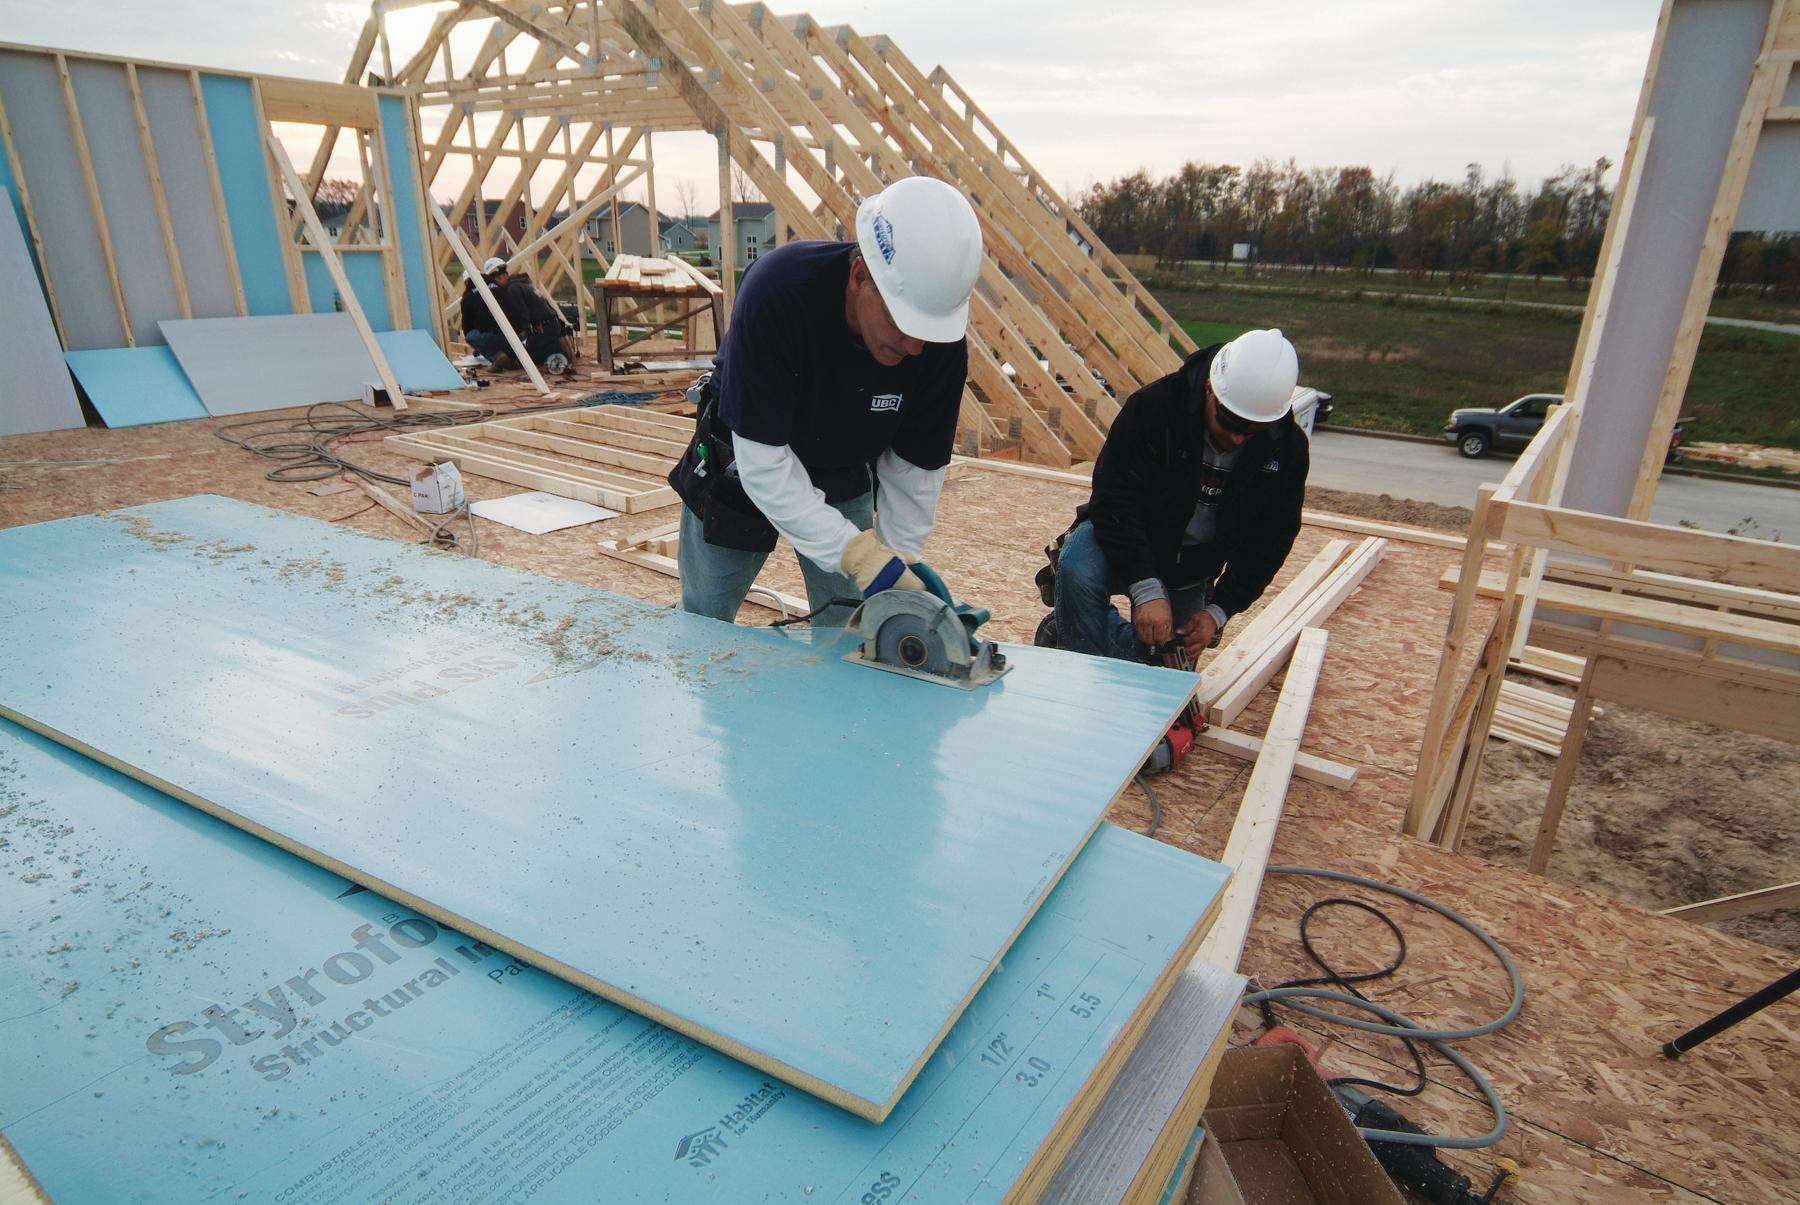
Insulating the Shed
To ensure year-round comfort and usability of your transformed shed, insulation is crucial. Proper insulation will regulate temperature, prevent moisture build-up, and reduce noise transmission. Depending on your location and intended use of the shed, you can choose from various insulation materials such as fiberglass batts, foam boards, or spray foam insulation. Consult with a professional if needed to determine the best insulation option for your specific project.
Key Takeaways:
- Transform your garden shed into a versatile multiuse structure by carefully planning and utilizing the available space effectively. Whether it’s a workspace, relaxation corner, mini greenhouse, or guest room, the possibilities are endless.
- Insulation, proper ventilation, electrical outlets, and lighting are crucial for creating a comfortable and usable multiuse shed. From a home gym to a relaxation corner, with creativity and attention to detail, your shed can become a valuable addition to your outdoor space.
Read more: How To Turn A Shed Into A She Shed
Choosing the Right Garden Shed
A garden shed is an essential addition to any outdoor space, providing storage and organization for tools, equipment, and gardening supplies. However, when it comes to turning your garden shed into a multiuse structure, you need to consider certain factors to ensure its suitability for your desired purposes. Here are some tips to help you choose the right garden shed:
1. Size: Assess how much space you will need inside the shed. Consider the items you plan to store or the activities you want to accommodate. Measure the available area in your yard to ensure the shed fits comfortably without overwhelming the space or violating any local regulations.
2. Material: Garden sheds are typically made from wood, metal, or plastic. Each material has its own advantages and considerations. Wood sheds offer a rustic and natural aesthetic, while metal sheds provide durability and low maintenance. Plastic sheds are lightweight and resistant to rot and rust. Choose the material that suits your personal preferences and the weather conditions of your area.
3. Design: Consider the design and style of the shed to ensure it complements your outdoor space. Look for features such as windows, doors, and roof slope that match the overall architecture of your home and garden. Remember that the shed will be a visible part of your landscape, so it’s important to choose a design that enhances the visual appeal of your property.
4. Durability: Since you plan to use the shed for multiple purposes, it needs to withstand wear and tear. Consider the quality of construction, including the thickness of the walls, the strength of the roof, and the integrity of the doors and windows. Investing in a well-built and durable shed will ensure its longevity and usability for years to come.
5. Accessibility: Think about how easily you can access the shed and its contents. Choose a location that is convenient for you and allows for easy entry and exit. Also, consider the placement of doors and windows to maximize natural light and ventilation.
6. Budget: Determine your budget before starting your search for a garden shed. Prices can vary depending on the size, material, and features of the shed. Set a realistic budget and look for sheds within that range. Remember that investing in a high-quality shed will save you money in the long run, as it will require fewer repairs and replacements.
By considering these factors and conducting thorough research, you can choose a garden shed that aligns with your needs and preferences. Remember that the right shed will serve as a solid foundation for transforming it into a multiuse structure that enhances your outdoor space and meets your specific requirements.
Clearing and Preparing the Shed
Once you have selected the perfect garden shed for your project, the next step is to clear out any existing clutter and prepare the space for its new purpose. This process involves a few key steps to ensure that your shed is ready to undergo its transformation:
1. Remove all items: Start by taking out all items currently stored in the shed. This includes tools, gardening supplies, and any other belongings. Assess each item and determine what you still need and what can be discarded or donated. Clearing out the space completely will give you a blank canvas to work with.
2. Assess the condition: Once the shed is empty, carefully evaluate its condition. Look for any signs of damage, such as leaks, rot, or pest infestations. Address these issues before proceeding with your transformation project. Repair any structural damage, replace damaged panels or roofing, and patch up any holes or gaps that may compromise the shed’s integrity.
3. Clean thoroughly: Clean the shed from top to bottom, removing any dirt, dust, cobwebs, or debris. Use a broom, brush, or vacuum cleaner to clear the surfaces, including the walls, ceiling, corners, and floor. If necessary, use a mild detergent and warm water to remove stubborn stains or grime. Allow the shed to dry completely before continuing.
4. Improve ventilation: Adequate ventilation is essential to prevent moisture buildup and maintain a healthy environment inside the shed. Check the existing ventilation openings and make sure they are clear and functional. If needed, consider installing additional vents or windows to improve airflow. Proper ventilation will help prevent the growth of mold and mildew, keeping your transformed shed fresh and dry.
5. Address pest control: Take proactive steps to prevent pest infestations in your shed. Ensure that there are no openings or cracks that insects or rodents could use as entry points. Seal all gaps and holes with caulk or weather-stripping to keep pests out. Consider using insect and rodent repellents or traps to further protect the shed from unwanted visitors.
By clearing out the shed and preparing it for its new purpose, you are setting the stage for a successful transformation. The process of assessing, repairing, cleaning, and improving ventilation will help create a clean and functional space that is ready to be customized according to your specific needs and preferences.
Insulating the Shed
Insulating your garden shed is a critical step in transforming it into a multiuse structure that is comfortable and usable year-round. Insulation helps regulate temperature, prevent moisture buildup, and reduce noise transmission. Here are some tips on how to effectively insulate your shed:
1. Choose the right insulation material: There are several insulation options available for sheds, including fiberglass batts, foam boards, and spray foam insulation. Fiberglass batts are affordable and easy to install, providing good thermal performance. Foam boards offer high insulation value and moisture resistance. Spray foam insulation provides excellent coverage and seals gaps effectively. Consider the specific needs of your shed and consult with a professional if needed to determine the best insulation material for your project.
2. Insulate the walls: Insulating the walls of your shed is essential for temperature control. Measure the dimensions of the walls and cut the insulation material to fit snugly within the wall cavities. Install the insulation by pressing it against the wall and securing it with adhesive or staples. Be sure to cover the entire wall surface, leaving no gaps or exposed areas. Repeat this process for each wall of the shed.
3. Insulate the ceiling: The ceiling of your shed is another important area to insulate. Measure the dimensions of the ceiling and cut the insulation material to fit between the rafters or joists. Install the insulation, ensuring that it is tight against the ceiling and covers the entire surface. Use adhesive or staples to secure it in place. If the roof of your shed is exposed to the elements, consider adding a layer of reflective foil insulation under the roofing material for added protection and energy efficiency.
4. Seal gaps and cracks: To maximize the effectiveness of insulation, it’s crucial to seal any gaps and cracks in the shed walls and ceiling. Use caulk or weather stripping to seal around windows, doors, and electrical outlets. Fill any small gaps or cracks with expanding foam insulation. This will prevent air leakage and enhance the overall insulation performance of the shed.
5. Consider floor insulation: Depending on the intended use of your shed, you may also want to consider insulating the floor. This is particularly important if you plan to use the shed as a workspace or hobby area. Insulating the floor can help prevent cold drafts and increase comfort. Install insulation boards or batts beneath the floor, ensuring they fit tightly and cover the entire surface. Finish off the floor with a suitable flooring material that complements your shed’s purpose.
By properly insulating your shed, you can create a space that is comfortable and usable throughout the year. Insulation helps regulate temperature, prevents moisture issues, and reduces external noise, ensuring that your transformed shed is a functional and enjoyable addition to your property.
Installing Electrical Outlets and Lighting
To make your transformed garden shed more functional and versatile, installing electrical outlets and lighting is essential. Whether you plan to use the shed as a workshop, an office space, a hobby area, or even a guest room, having access to power and adequate lighting will greatly enhance its usability. Here are some tips for installing electrical outlets and lighting in your shed:
1. Determine your electrical needs: Start by assessing your electrical requirements. Consider the number of outlets you will need and the types of devices or equipment that will be used in the shed. This will help you determine the electrical capacity required and plan the layout accordingly.
2. Consult a licensed electrician: If you’re not experienced in electrical work, it’s highly recommended to consult a licensed electrician for this task. They will ensure that the electrical installation meets safety guidelines and local building codes. They can also provide valuable advice on wiring options and the best placement of outlets and lighting fixtures.
3. Plan the outlet and lighting locations: Determine where you want to place the electrical outlets and lighting fixtures in your shed. Consider the functionality and layout of the space. Install outlets near workbenches or desks for easy access to power. Ensure that lighting fixtures are strategically placed to provide sufficient illumination throughout the shed.
4. Choose weatherproof outlets and fixtures: Since your shed is exposed to the elements, it is important to select weatherproof outlets and lighting fixtures. These are designed to withstand moisture, rain, and other outdoor conditions. Make sure to choose materials specifically rated for outdoor use to ensure durability and safety.
5. Run electrical wiring: You will need to run electrical wiring from your home’s main electrical panel to the shed. This can be done through underground wiring or overhead wiring, depending on your specific circumstances and local regulations. Again, it is strongly advised to hire a licensed electrician for this task to ensure proper installation and compliance with electrical codes.
6. Install outlets and lighting fixtures: Once the electrical wiring is in place, you can proceed with installing the electrical outlets and lighting fixtures. Follow the manufacturer’s instructions for proper installation. Ensure that all connections are secure and that wiring is properly grounded. Test each outlet and lighting fixture before using them to ensure they are functioning correctly.
7. Consider energy-efficient lighting: To reduce energy consumption and lower your electricity bills, consider using energy-efficient lighting options in your shed. LED lights, for example, provide bright illumination while consuming less energy. They also have a longer lifespan, saving you money on replacement bulbs.
Remember, electrical work can be dangerous if not done correctly. If you are unsure or uncomfortable with any aspect of the installation, it is best to consult a professional electrician. By properly installing electrical outlets and lighting in your shed, you can create a safe and functional space that is ready for a variety of uses.
Read more: How To Turn An Old Shed Into A She Shed
Adding Shelving and Storage Solutions
One of the key components in transforming your garden shed into a multiuse structure is the addition of shelving and storage solutions. These will help you organize your belongings and maximize the available space. Whether you’re using the shed as a workshop, a storage area, or a hobby space, here are some tips for adding shelving and storage solutions:
1. Assess your storage needs: Start by assessing the items you plan to store in the shed. Identify the different categories of items and determine what type of storage solutions would best suit your needs. Whether you need shelves, cabinets, hooks, or a combination of these, understanding your storage requirements will guide your decision-making process.
2. Utilize vertical space: To optimize storage, make use of the vertical space in your shed. Install tall shelves or wall-mounted cabinets that go all the way up to the ceiling. This will help maximize storage capacity while keeping the floor area clear and uncluttered. Use sturdy brackets or anchors to secure the shelves to the walls for added stability.
3. Invest in adjustable shelving: Adjustable shelving is a versatile option that allows you to customize the space according to your changing storage needs. Consider investing in adjustable shelves that can be easily repositioned or removed to accommodate different-sized items. This will provide flexibility and efficiency in organizing and storing your belongings.
4. Use clear bins and labels: Opt for clear plastic storage bins to help you easily identify the contents without having to open each one. Label the bins with descriptive labels or use color-coded labels for specific categories of items. This will make it easier to locate and access stored items when needed.
5. Make use of hooks and pegboards: Hooks and pegboards are excellent storage solutions for tools, equipment, and smaller items. Install hooks on the walls to hang items such as garden tools, power cords, or hanging plants. Mount a pegboard on a wall and use it to hang tools with hooks or add baskets and shelves for additional storage options.
6. Consider overhead storage: If you have limited floor space, consider utilizing the overhead area for storage. Install sturdy hooks or hanging baskets from the ceiling to store items such as bikes, ladders, or seasonal decorations. This will free up floor space and provide additional storage capacity.
7. Make use of unused corners: Don’t overlook the corners of your shed as potential storage areas. Install corner shelves or corner cabinets to maximize storage in these often underutilized spaces. These corner storage solutions can accommodate smaller items or provide a display area for decorative objects.
Remember to consider the weight capacity of the shelves and storage solutions you choose. Ensure that they can safely hold the items you plan to store. Regularly declutter and organize your shed to maintain a tidy and functional space. By adding shelving and storage solutions to your garden shed, you can create a well-organized and efficient space that meets your storage needs and allows for easy access to your belongings.
Consider adding insulation to your garden shed to regulate temperature and make it suitable for year-round use. This will make it more comfortable for various activities such as a home office, workout space, or hobby room.
Creating a Workspace or Hobby Area
If you’re looking to transform your garden shed into a functional workspace or hobby area, you can create a dedicated space where you can pursue your passions and enjoy your hobbies. Whether you’re an artist, a woodworker, a crafter, or someone with a specific hobby, here are some tips for creating a workspace or hobby area in your shed:
1. Assess your needs and layout: Determine the specific requirements of your hobby or work. Consider the tools, equipment, and materials you need and plan the layout accordingly. Ensure that you have enough space to comfortably work and move around. Take into account factors like ventilation, lighting, and access to electrical outlets.
2. Invest in a sturdy workbench: A solid workbench is a key component of any productive workspace. Invest in a well-built workbench that provides ample surface area and stability. Consider one with built-in storage drawers or shelves for added convenience.
3. Optimize storage for tools and materials: Organize your tools and materials in a way that is easily accessible and keeps your workspace clutter-free. Install pegboards or wall-mounted tool racks to hang your tools and keep them within reach. Utilize storage bins, shelves, and cabinets to store materials, supplies, and finished projects.
4. Ensure proper lighting: Good lighting is essential for any workspace or hobby area. Natural light is ideal, so consider adding windows or skylights if possible. If natural light is limited, install bright LED lights or task lighting to illuminate your work area. Adjustable lighting options are beneficial for detailed tasks and projects.
5. Create a comfortable seating area: If your hobby involves activities that require sitting for extended periods, create a comfortable seating area within your shed. Choose a comfortable chair or stool with proper back support. Add a small table nearby for holding supplies, books, or a beverage.
6. Organize and personalize the space: Create an organized and inspiring environment by implementing storage solutions that suit your specific needs. Use containers, bins, and labeling systems to keep everything in order. Personalize the space with artwork, motivational quotes, or decorations that reflect your personality and inspire your creativity.
7. Ensure a productive atmosphere: Minimize distractions in your workspace by keeping it separate from other areas of your property. Create boundaries and establish a routine to maintain focus and productivity. Consider soundproofing the shed to reduce noise interruptions and provide a quieter environment for concentration.
Remember to always work in a safe manner and keep your workspace clean and organized. Regularly inspect and maintain your tools and equipment for optimal performance and safety. By creating a dedicated workspace or hobby area in your garden shed, you can enjoy your hobbies and pursue your passions in a dedicated and inspiring space.
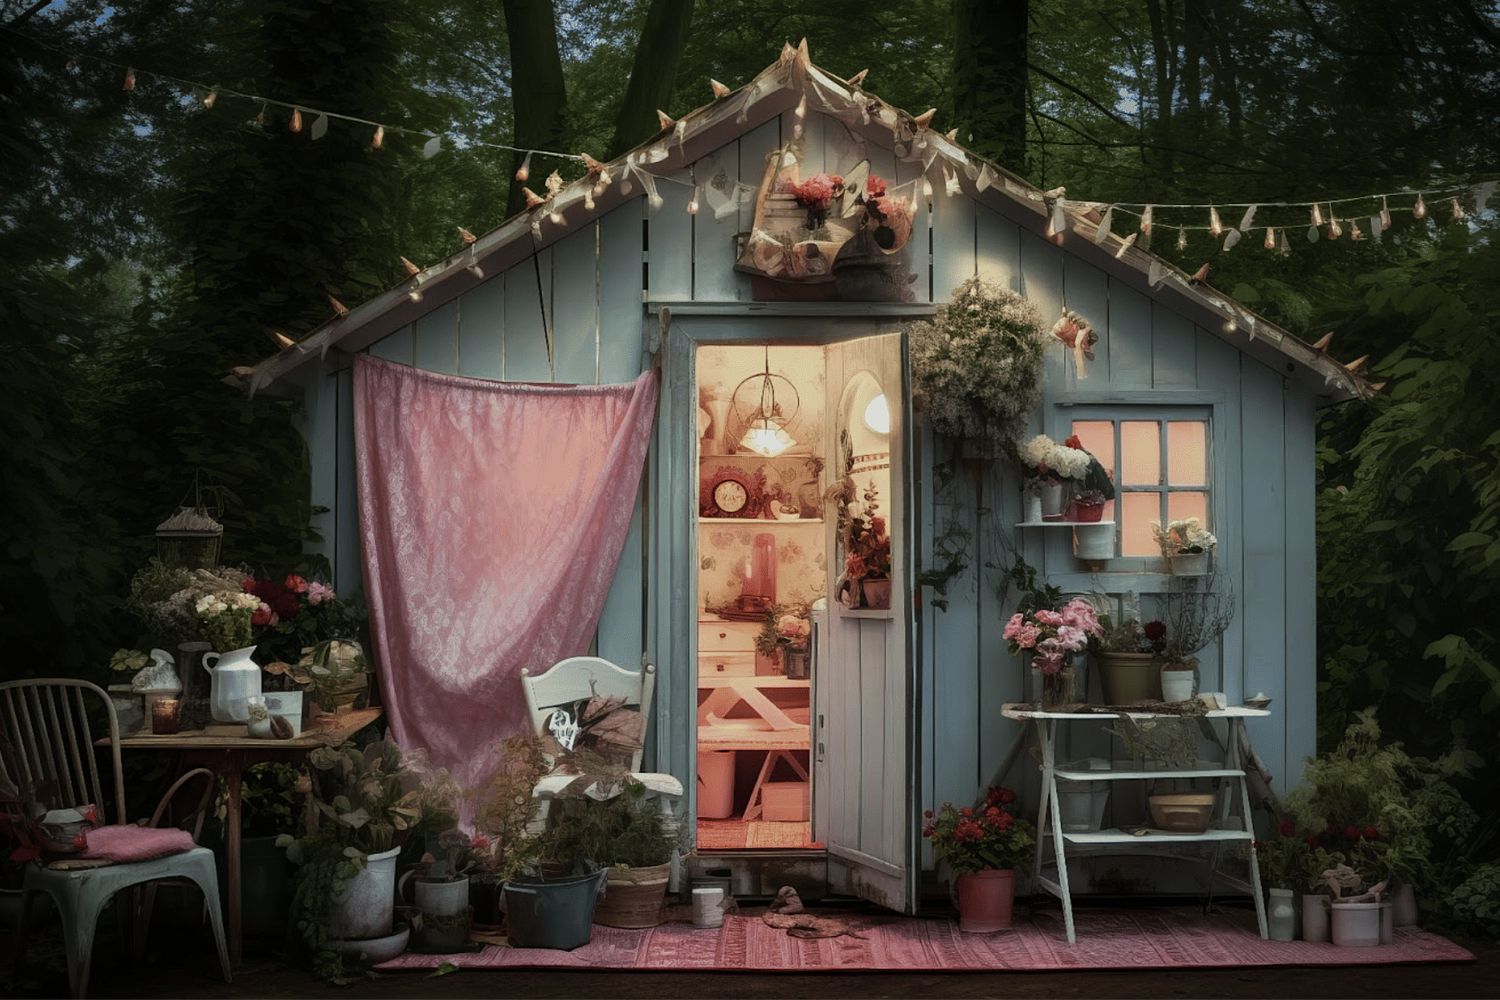
Incorporating a Relaxation Corner
Transforming your garden shed into a relaxation corner is a wonderful way to create a peaceful oasis in your outdoor space. Whether you wish to unwind after a long day, read a book, meditate, or simply enjoy some quiet time, here are some tips for incorporating a relaxation corner in your shed:
1. Define the purpose and atmosphere: Determine how you envision using your relaxation corner. Do you want a cozy reading nook, a serene meditation space, or a comfortable spot to simply unwind? Understanding your desired purpose will help guide your design choices and create the right atmosphere.
2. Choose comfortable seating: Select seating options that prioritize comfort and relaxation. Consider a plush armchair, a chaise lounge, or a hammock chair. Add soft cushions, throws, and pillows to create a cozy and inviting space.
3. Create a calming color scheme: Choose soothing colors for your relaxation corner. Opt for pastel shades, cool blues, soft greens, or warm neutrals to promote a calming ambiance. Use these colors for the walls, seating, cushions, and accessories to create a harmonious environment.
4. Install soft lighting: Lighting plays a crucial role in setting a relaxing mood. Consider using soft, warm lighting options such as string lights, fairy lights, or table lamps. Dimmer switches or candles can also help create a serene atmosphere. Strive to achieve a gentle and soothing illumination that complements the purpose of your relaxation corner.
5. Add natural elements: Incorporate elements from nature to enhance the calming atmosphere. Place potted plants or hanging baskets to bring a sense of tranquility and freshness to the space. Consider adding natural materials such as wood, rattan, or bamboo for furniture and decor accents.
6. Integrate sensory elements: Enhance the relaxation experience by incorporating sensory elements. Play soft, soothing music or nature sounds in the background to create an auditory sanctuary. Place aromatic candles, essential oil diffusers, or fresh flowers to introduce pleasant scents that promote relaxation.
7. Create privacy: If your shed is situated in an open area, ensure privacy for your relaxation corner. Use window coverings or blinds to block out distractions and create a more intimate atmosphere. Consider adding curtains or a room divider to partition the space and create a sense of seclusion.
8. Personalize the space: Make your relaxation corner feel like your own personal sanctuary by incorporating personal touches. Display meaningful artwork, photographs, or mementos that evoke positive emotions. Surround yourself with books, magazines, or hobbies that bring you joy and allow for moments of relaxation and self-reflection.
By incorporating a relaxation corner in your garden shed, you can create a tranquil retreat within the comfort of your own outdoor space. It’s a place where you can escape from the stresses of everyday life and find peace and rejuvenation.
Transforming the Shed into a Home Gym
Do you dream of having a convenient and private workout space? Transforming your garden shed into a home gym can make that dream a reality. With a little planning and creativity, you can create a dedicated space for your fitness routines. Here are some tips for transforming your shed into a home gym:
1. Assess your fitness goals: Determine the type of workouts and exercises you enjoy and plan your gym accordingly. Consider whether you need space for cardio equipment, strength training equipment, or yoga and stretching areas. Understanding your fitness goals will guide your equipment choices.
2. Consider the shed’s layout and size: Evaluate the size and layout of your shed to determine the best arrangement for your gym equipment. Take accurate measurements and plan the placement of machines, weights, and other items to ensure they fit comfortably without cluttering the space.
3. Invest in versatile equipment: Choose equipment that allows for variety in your workouts and can accommodate multiple exercises. Opt for adjustable dumbbells, resistance bands, or a multi-station gym system to maximize the use of your space. Look for functional and space-saving options that suit your needs.
4. Ensure proper flooring: Install suitable flooring that can withstand the impact of exercise routines and protect the shed’s structure. Opt for rubber flooring, interlocking foam tiles, or a durable gym mat. Having the right flooring will provide a cushioned surface, reduce noise, and protect your equipment.
5. Create a motivational atmosphere: Design a space that motivates and inspires you to work out. Use bright, energetic colors to create an energetic vibe, or opt for a calming and Zen-like ambiance with soothing colors. Hang motivational quotes or posters to keep you focused and driven during your workouts.
6. Ensure proper lighting and ventilation: Adequate lighting and ventilation are crucial for an enjoyable and safe workout environment. Install bright overhead lights to ensure proper visibility and prevent accidents. Consider adding windows or vents to promote air circulation and maintain a comfortable temperature during your workouts.
7. Include storage solutions: Efficient storage is essential for keeping your gym organized and clutter-free. Install shelves, racks, or storage units to store weights, resistance bands, yoga mats, and other accessories. This will ensure that everything has its place and is easily accessible when needed.
8. Personalize your space: Add personal touches to make your home gym feel inviting and motivational. Display your favorite fitness quotes, hang mirrors to check your form during exercises, or play upbeat music to keep you energized and focused.
Remember to warm up, cool down, and stretch properly before and after your workouts to prevent injuries. Also, consider the safety aspects of your shed by ensuring proper electrical outlets, fire extinguishers, and emergency exits.
By transforming your garden shed into a home gym, you can conveniently exercise whenever you want, without the need for a costly gym membership. It’s a valuable investment in your health and wellbeing!
Read more: How To Turn A Shed Into A House
Tips for Creating a Mini Greenhouse
If you’re a gardening enthusiast or want to extend your growing season, creating a mini greenhouse in your garden shed is a great solution. A mini greenhouse provides a controlled environment for plants, protects them from harsh weather conditions, and allows you to indulge in gardening year-round. Here are some tips to help you create a successful mini greenhouse:
1. Choose the right location: Select a location in your garden shed that receives sufficient sunlight throughout the day. Most plants require at least six hours of direct sunlight. Avoid areas that are shaded by trees or buildings, as the lack of sunlight can hinder plant growth.
2. Consider the size and design: Assess the available space in your shed and determine the size and design of your mini greenhouse. Consider factors such as the types of plants you want to grow, the number of shelves or benches you need, and the space required for proper ventilation and movement. Plan accordingly to maximize the use of your space.
3. Install shelving or benches: Utilize vertical space by installing shelves or benches inside your mini greenhouse. This will provide ample space for potted plants and allow for better organization. Ensure the shelving or benches are sturdy enough to hold the weight of your plants and provide adequate drainage.
4. Provide proper ventilation: Proper ventilation is crucial in a mini greenhouse to regulate temperature, humidity, and airflow. Install vents or windows that can be opened and closed as needed. This will prevent heat build-up on warm days and allow for air exchange to prevent the development of mold or fungus.
5. Maintain proper temperature and humidity: Monitor and maintain the temperature and humidity levels inside your mini greenhouse. Use a thermometer and hygrometer to ensure that the conditions are suitable for your plants. Consider using a fan or small heater to control temperature, or a misting system to maintain humidity levels.
6. Choose the right growing medium: Use a high-quality growing medium, such as a well-draining potting mix, to provide the necessary nutrients and support for your plants. Avoid using garden soil, as it can be heavy and may contain pests or diseases. Consider adding organic matter or compost to enhance the fertility and structure of the growing medium.
7. Water and fertilize appropriately: Pay attention to the watering needs of your plants and adjust accordingly. Provide adequate moisture without overwatering, as excess moisture can lead to root rot or fungal diseases. Additionally, fertilize your plants regularly using a balanced fertilizer to ensure healthy growth.
8. Protect against pests: Keep pests at bay by regularly inspecting your plants and taking preventive measures. Use natural pest control methods, such as introducing beneficial insects or using neem oil, to deter common garden pests. Consider using row covers or insect netting to provide an additional layer of protection.
Remember to regularly monitor your plants for any signs of disease or nutrient deficiencies. Maintain cleanliness inside your mini greenhouse by removing any fallen leaves or debris. With proper care and attention, your mini greenhouse can provide a nurturing environment for your plants to thrive throughout the year.
Converting the Shed into a Guest Room
Need extra space for overnight guests? Converting your garden shed into a guest room can provide a cozy and comfortable accommodation option for family and friends. With some careful planning and creativity, you can transform your shed into a welcoming and functional guest space. Here are some tips to guide you through the process:
1. Ensure proper insulation: Insulating your shed is essential to regulate temperature and make the space comfortable for guests. Insulate the walls, ceiling, and floor using suitable insulation materials such as fiberglass or foam boards. This will help maintain a pleasant temperature and improve energy efficiency.
2. Improve ventilation: Install windows that can be opened to allow fresh air circulation. Consider installing a small ceiling fan or portable air conditioner to provide additional cooling in hot weather. Proper ventilation will ensure a comfortable and enjoyable stay for your guests.
3. Add lighting fixtures: Install adequate lighting fixtures to create a warm and inviting atmosphere. Place a combination of overhead lights, table lamps, and bedside lighting to provide different lighting options. Make sure to include task lighting near seating and reading areas.
4. Invest in a comfortable bed: The key to a successful guest room is a comfortable bed. Choose a high-quality mattress, preferably with medium firmness, to ensure a good night’s sleep for your guests. Dress the bed with cozy linens, pillows, and blankets for added comfort.
5. Provide storage options: Allow your guests to unpack and settle in comfortably by offering storage solutions. Install shelves, a small closet, or a dresser where guests can store their belongings. Provide hangers, hooks, and a luggage rack for added convenience.
6. Create a welcoming ambiance: Add personal touches to make your guest room feel inviting and homey. Decorate the walls with artwork, photographs, or wall decals. Include a small seating area with comfortable chairs or a cozy reading nook with a bookshelf. Use soft colors and decorative accents to create a warm and welcoming space.
7. Add a small bathroom or washroom: Consider adding a small bathroom or washroom adjacent to the guest room. This will provide privacy and convenience for your guests. If a bathroom is not feasible, ensure they have easy access to bathroom facilities in your home or provide a portable toilet or outdoor shower solution.
8. Ensure privacy and security: Install window coverings, such as blinds or curtains, to offer privacy for your guests. Add locks on doors and windows to ensure their safety and peace of mind. Consider installing motion sensor lights outside the shed to provide added security during the night.
Before hosting guests in your shed-turned-guest room, spend a night yourself to test the comfort and functionality of the space. This will help you identify any necessary adjustments or improvements. With careful planning and attention to detail, your garden shed can provide a welcoming and comfortable guest room experience for your visitors.
Conclusion
Transforming your garden shed into a multiuse structure opens up a world of possibilities for enhancing your outdoor space and meeting your specific needs. Whether you choose to create a workspace, a relaxation corner, a mini greenhouse, a home gym, or a guest room, the key is to plan carefully and utilize the available space effectively.
Choosing the right garden shed that suits your aesthetic preferences and functional requirements is the first step. Clearing and preparing the space, insulating the shed, and adding electrical outlets and lighting are crucial for creating a comfortable and usable area. Incorporating shelving and storage solutions helps keep your shed organized and maximizes space utilization.
Creating a workspace or hobby area allows you to pursue your passions and enjoy a dedicated space for your creative endeavors. Meanwhile, an inviting relaxation corner provides a tranquil oasis where you can unwind and rejuvenate. A mini greenhouse extends your growing season and enables you to nurture plants year-round.
For fitness enthusiasts, converting the shed into a home gym offers convenience and privacy for your workouts. And for accommodating guests, transforming the shed into a guest room provides a cozy and welcoming space for friends and family.
In conclusion, whether you’re looking for practical functionality or a peaceful retreat, the transformation of your garden shed into a multiuse structure offers endless possibilities. With proper planning, attention to detail, and a touch of creativity, your garden shed can become a versatile and valuable addition to your outdoor space.
So, take a step forward, unleash your creativity, and make the most of your garden shed to meet your unique needs and create a space that brings joy, relaxation, productivity, and harmony into your life. Happy transforming!
Frequently Asked Questions about How To Turn Your Garden Shed Into A Multi-Use Structure
Was this page helpful?
At Storables.com, we guarantee accurate and reliable information. Our content, validated by Expert Board Contributors, is crafted following stringent Editorial Policies. We're committed to providing you with well-researched, expert-backed insights for all your informational needs.


0 thoughts on “How To Turn Your Garden Shed Into A Multi-Use Structure”