Home>Gardening & Outdoor>Outdoor Structures>How To Build A 10X12 Shed
Outdoor Structures
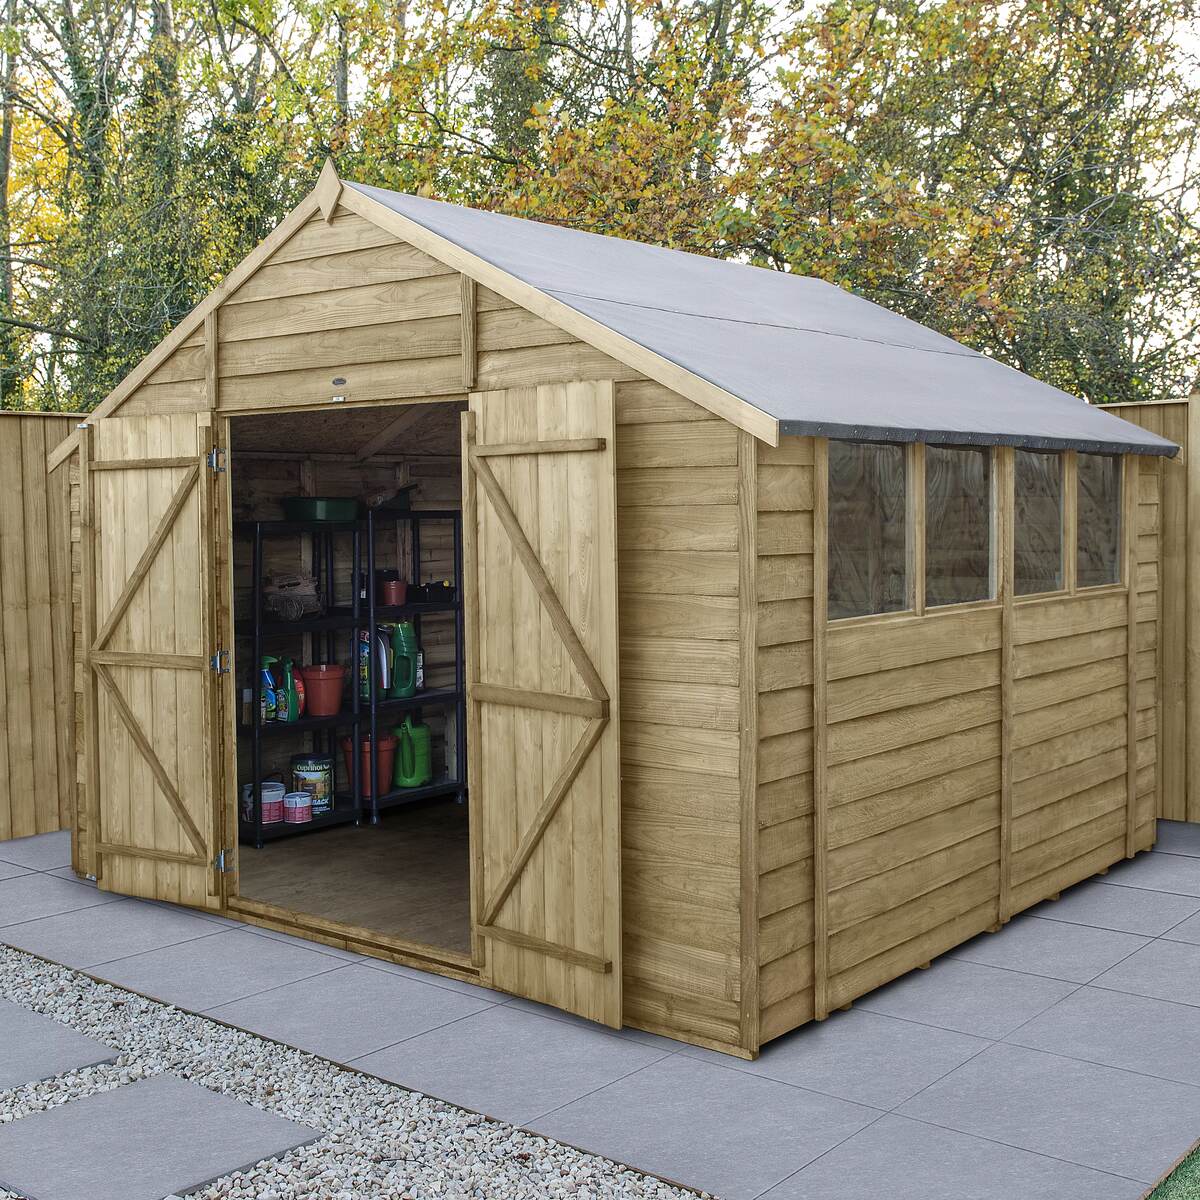
How To Build A 10X12 Shed
Modified: August 27, 2024
Learn how to build a durable 10x12 shed for your outdoor space with our expert tips and step-by-step guide. Create the perfect outdoor structure for your needs.
(Many of the links in this article redirect to a specific reviewed product. Your purchase of these products through affiliate links helps to generate commission for Storables.com, at no extra cost. Learn more)
Introduction
Welcome to the world of do-it-yourself shed building! Whether you're a seasoned handyman or a novice DIY enthusiast, constructing a 10×12 shed can be a rewarding and practical project. This guide will take you through the step-by-step process of building a sturdy and functional outdoor structure that can serve as a storage space, workshop, or even a cozy retreat in your backyard.
Building a shed is not just about creating a practical space; it's also an opportunity to unleash your creativity and craftsmanship. From planning and preparation to the finishing touches, each stage of the construction process offers a chance to bring your vision to life. So, roll up your sleeves, gather your tools, and let's embark on this exciting journey of building a 10×12 shed that will stand the test of time and add value to your outdoor space.
Key Takeaways:
- Planning and preparation are crucial for building a 10×12 shed. Understanding the shed’s purpose, obtaining permits, and selecting the right location are essential steps for a successful project.
- Attention to detail and thoughtful finishing touches, such as exterior finish, interior organization, and landscaping, elevate the functionality and visual appeal of the shed, creating a valuable outdoor space.
Read more: How Many 2x4s To Build A 10×12 Shed
Planning and Preparation
Before diving into the construction phase, meticulous planning is essential for a successful shed-building project. Start by determining the shed’s purpose. Will it primarily serve as a storage area for garden tools, a workshop for DIY projects, or a multifunctional space? Understanding the shed’s intended use will guide the design and layout decisions.
Next, familiarize yourself with local building codes and regulations. Check with your municipality to obtain any necessary permits and ensure compliance with zoning laws. This step is crucial to avoid potential legal issues and guarantee the structural integrity of your shed.
Once the purpose and legal considerations are addressed, it’s time to select an ideal location for the shed. Factors such as sunlight exposure, proximity to utilities, and aesthetic appeal should influence the placement decision. Additionally, take into account the surrounding landscape and ensure the chosen spot is level to simplify the foundation construction.
With the location finalized, create a detailed plan or blueprint for the shed. Consider the dimensions, door and window placements, and the overall architectural style. This plan will serve as a roadmap throughout the construction process, ensuring that each component fits together seamlessly.
Lastly, compile a comprehensive list of materials and tools required for the project. From lumber and roofing materials to nails, screws, and power tools, having a detailed inventory will streamline the procurement process and minimize delays during construction.
Effective planning and thorough preparation set the stage for a smooth and efficient shed-building endeavor. By investing time in these initial steps, you’ll lay a solid foundation for the construction phase, leading to a well-executed and visually appealing 10×12 shed.
Gathering Materials and Tools
With the planning phase complete, it’s time to gather the essential materials and tools necessary for constructing your 10×12 shed. The following is a comprehensive list to ensure you have everything needed to bring your shed to life:
Materials:
- Pressure-treated lumber for the foundation, floor joists, wall framing, and roof trusses
- Exterior-grade plywood for the walls, roof sheathing, and subfloor
- Roofing materials, such as shingles or metal panels
- Doors and windows suited for outdoor structures
- Nails, screws, and construction adhesive
- Weather-resistant paint or stain for the exterior finish
- Concrete mix for the foundation footings
- Gravel for the foundation base
Tools:
- Tape measure, carpenter's square, and level for precise measurements and alignment
- Circular saw, jigsaw, and miter saw for cutting lumber and plywood
- Hammer, nail gun, and screwdriver for fastening components
- Power drill with drill bits and screwdriver attachments
- Roofing nailer for efficient installation of roofing materials
- Shovel and wheelbarrow for excavating and transporting materials
- Paint brushes, rollers, and paint sprayer for applying the exterior finish
Before starting the construction, ensure that all materials are of high quality and suitable for outdoor use. Additionally, verify that your tools are in good working condition and that you have the necessary safety equipment, such as goggles, gloves, and a dust mask, to protect yourself during the construction process.
By acquiring the right materials and tools, you’ll be well-prepared to commence the construction of your 10×12 shed, ensuring that the project progresses smoothly and efficiently.
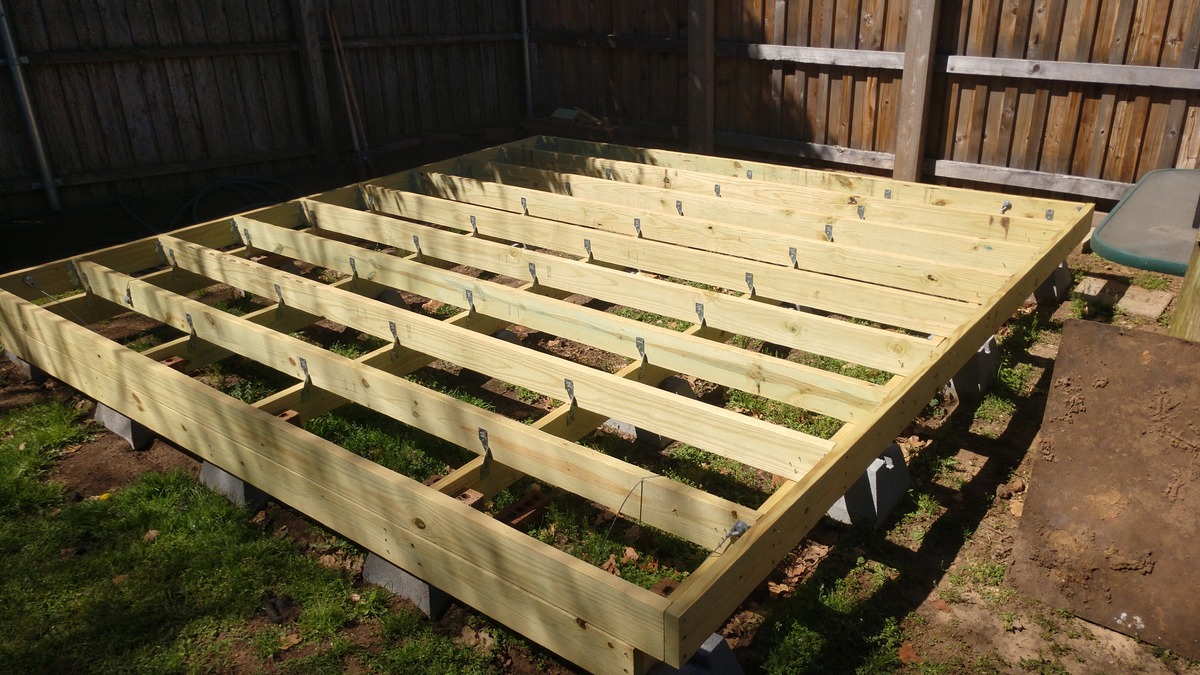
Building the Foundation
The foundation is a critical element of any shed, providing stability and ensuring the structural integrity of the entire building. For a 10×12 shed, a sturdy and level foundation is paramount to support the weight of the structure and withstand the elements. Here’s a step-by-step guide to constructing a solid foundation:
1. Site Preparation:
Begin by clearing and leveling the ground where the shed will be situated. Remove any debris, rocks, or vegetation, and use a shovel and rake to create a smooth and level surface. It’s essential to ensure that the foundation site is square and properly aligned with the shed’s dimensions.
2. Excavation and Footings:
Dig holes for the concrete footings at each corner of the shed and at intervals along the perimeter, following the local building codes and recommended depth for your region. Place the concrete footings in the excavated holes and allow them to cure according to the manufacturer’s instructions.
3. Installing Skids or Floor Joists:
Once the footings are set, position pressure-treated skids or floor joists on the footings to create the base of the shed. Use a level to ensure that the skids are perfectly horizontal and aligned with the shed’s layout.
Read more: How Much Does A 10×12 Wood Shed Weigh
4. Subfloor Construction:
With the skids in place, lay down the subfloor using exterior-grade plywood, securing it to the skids with screws. This subfloor will provide a stable base for the shed’s walls and ensure a level surface for the subsequent construction phases.
By meticulously executing each step of the foundation construction, you’ll establish a robust base for your 10×12 shed, setting the stage for the vertical assembly of the walls and the installation of the roof structure. A well-built foundation is the cornerstone of a durable and long-lasting outdoor structure, ensuring that your shed stands the test of time.
Constructing the Walls
With the foundation in place, it’s time to focus on constructing the walls of your 10×12 shed. This phase of the project involves precision and attention to detail to ensure that the walls are structurally sound and ready to support the roof. Here’s a comprehensive guide to building the shed walls:
1. Framing the Walls:
Begin by measuring and cutting the lumber to the specified dimensions for the wall framing. Use a carpenter’s square to ensure that the corners are perfectly square, and assemble the wall frames on a level surface. Incorporate openings for doors and windows as per your shed design.
2. Wall Sheathing:
Once the wall frames are assembled, cover them with exterior-grade plywood or oriented strand board (OSB) to provide stability and rigidity to the structure. Secure the sheathing to the frames using nails or screws, ensuring a tight fit and uniform appearance.
Read more: How To Build A 12×12 Shed
3. Adding Door and Window Openings:
If your shed design includes doors and windows, carefully cut out the openings in the wall sheathing, following the precise measurements outlined in your shed plan. Install the door and window frames, ensuring they are plumb and securely anchored.
4. Wall Erection:
With the wall frames and sheathing completed, raise the walls into position on the shed’s foundation. Use temporary braces to hold the walls upright and ensure they are aligned according to the blueprint. Secure the walls to the foundation and to each other, creating a solid and stable structure.
Constructing the walls is a pivotal stage in the shed-building process, laying the groundwork for the subsequent installation of the roof and the addition of doors and windows. Attention to detail and precision during this phase will result in sturdy, well-constructed walls that form the framework of your 10×12 shed.
Installing the Roof
As the walls of your 10×12 shed stand tall and sturdy, it’s time to turn your attention to the crowning element of the structure: the roof. The roof not only provides protection from the elements but also contributes to the shed’s overall aesthetic appeal. Here’s a detailed guide to installing the roof of your shed:
1. Roof Truss Assembly:
Begin by constructing the roof trusses according to the specifications outlined in your shed plan. Use precise measurements and angles to ensure that the trusses are uniform and capable of supporting the roof load. Once assembled, position the trusses at the designated intervals along the top of the shed walls.
Read more: How To Build A 10×10 Shed
2. Roof Sheathing:
With the trusses in place, cover the roof structure with exterior-grade plywood or oriented strand board (OSB) to form the roof deck. Secure the sheathing to the trusses using nails or screws, creating a solid and stable foundation for the roof covering.
3. Roof Covering:
Select the appropriate roofing material based on your preferences and local climate conditions. Whether it’s asphalt shingles, metal panels, or another roofing option, carefully install the chosen material, ensuring proper overlap and alignment to prevent water infiltration and enhance the shed’s durability.
4. Finishing Touches:
Complete the roof installation by adding appropriate flashing around roof penetrations, such as vents and chimneys, to prevent water seepage. Additionally, consider installing gutters and downspouts to efficiently manage rainwater runoff and protect the shed’s foundation and surroundings.
The roof installation marks the culmination of the structural assembly of your 10×12 shed, providing shelter and security for the interior space. A well-constructed and properly installed roof ensures that your shed is resilient against adverse weather conditions, further enhancing its functionality and longevity.
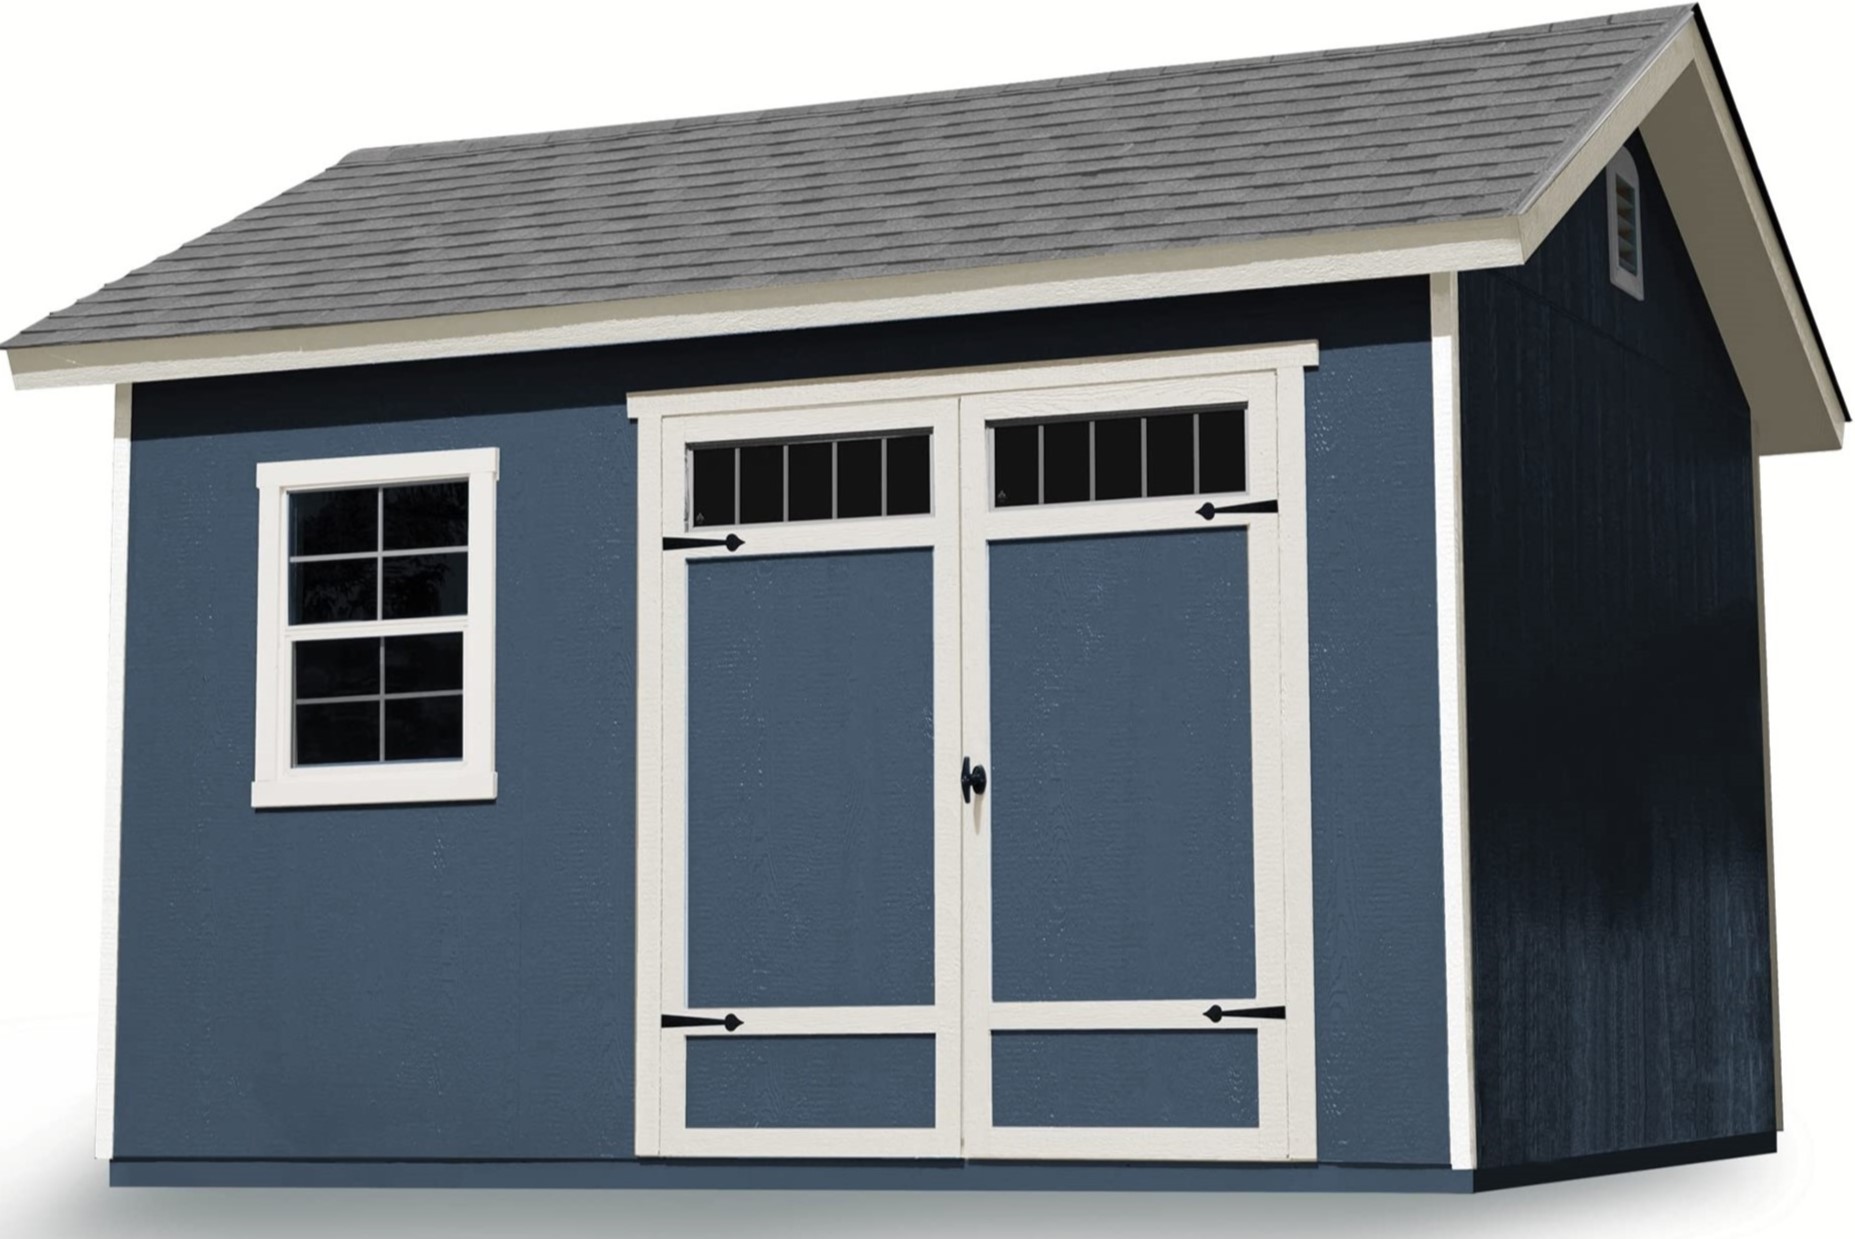
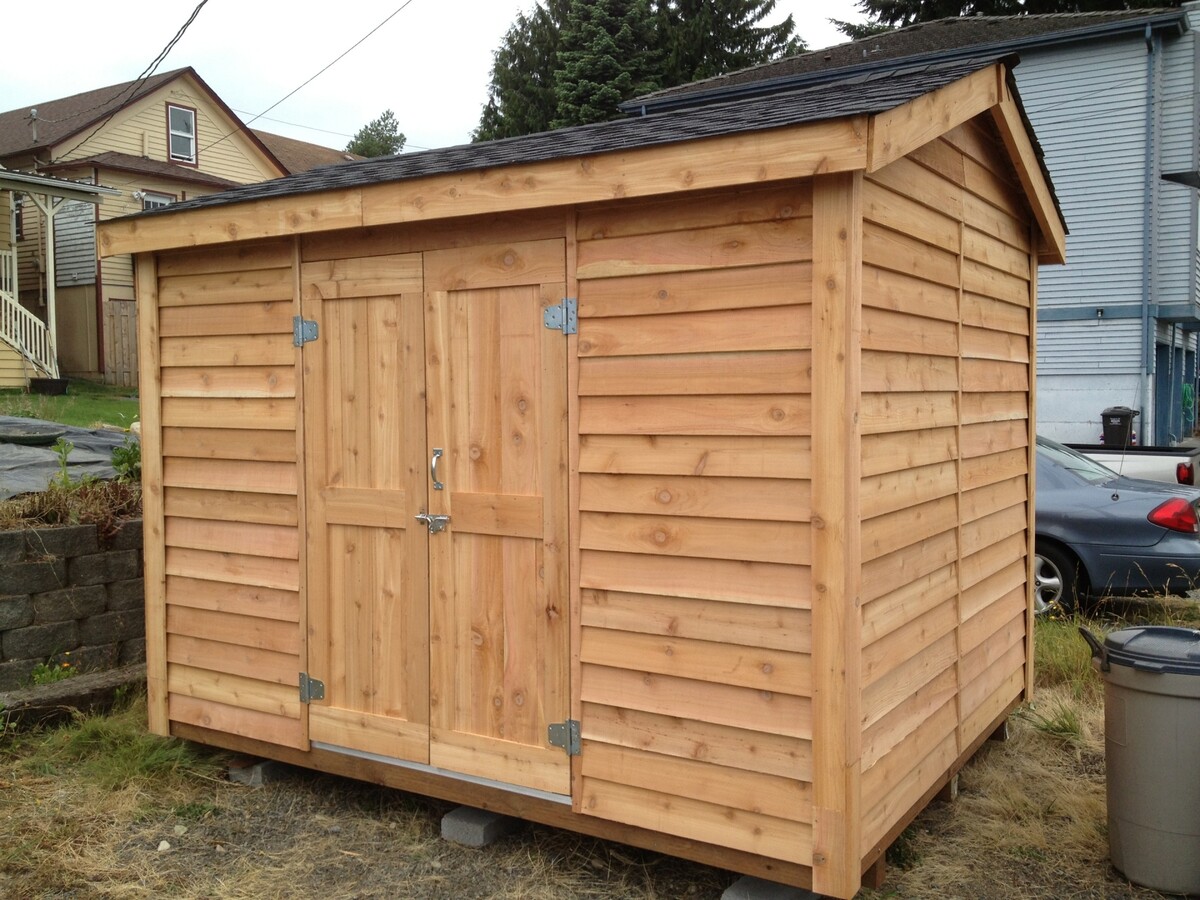
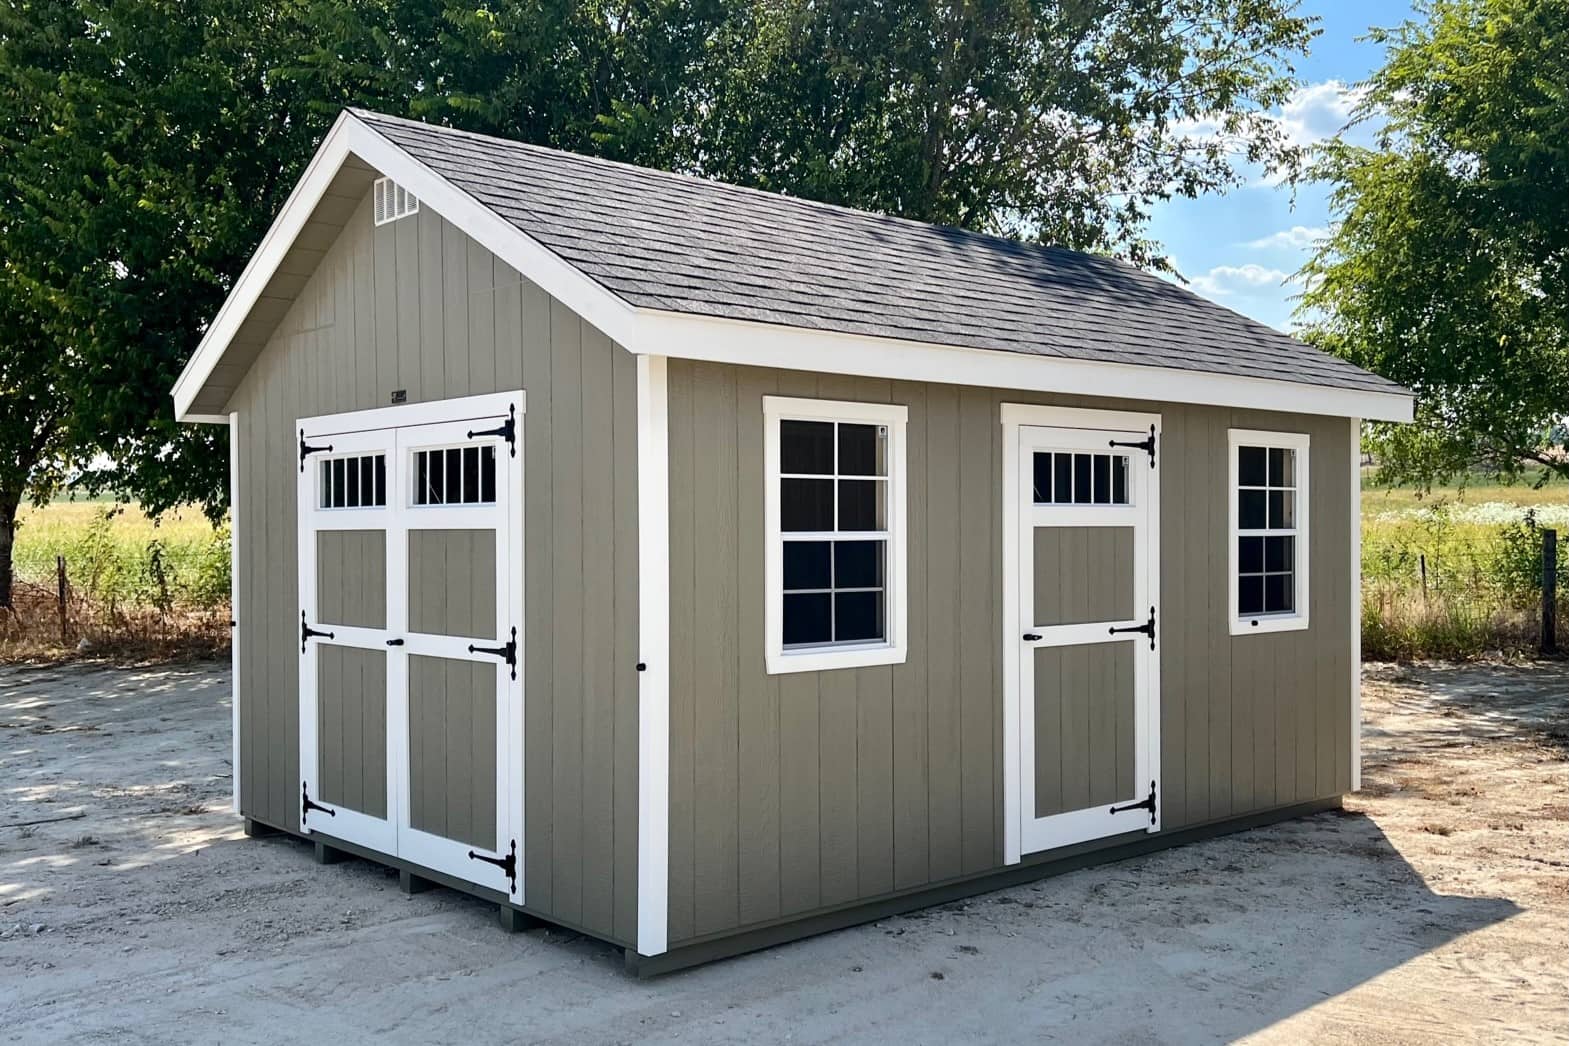
Adding Doors and Windows
With the main structure of your 10×12 shed complete, it’s time to introduce elements that enhance both functionality and aesthetics: doors and windows. These components not only provide access and ventilation but also contribute to the shed’s visual appeal. Here’s a comprehensive guide to adding doors and windows to your shed:
Read more: How To Build A 12×16 Shed
1. Door Installation:
Select a durable and weather-resistant door that suits the shed’s design and your specific requirements. Whether it’s a single or double door, carefully position it within the designated opening, ensuring proper clearance and smooth operation. Secure the door frame to the shed structure, making any necessary adjustments to guarantee a snug fit and proper alignment.
2. Window Placement:
Choose windows that complement the shed’s architectural style and provide adequate natural light and ventilation. Position the windows within the prepared openings, ensuring they are level and securely anchored. Seal the perimeter of the window frames to prevent air and water infiltration, enhancing the shed’s energy efficiency and weather resistance.
3. Hardware and Accessories:
Install appropriate hardware, such as handles, locks, and hinges, on the doors to ensure functionality and security. For windows, consider adding shutters or window boxes to enhance the shed’s visual appeal and create a charming outdoor space.
4. Sealing and Insulation:
Apply weather-stripping around the door frame to create a tight seal, preventing drafts and moisture ingress. If desired, insulate the doors and windows to improve the shed’s thermal performance, creating a comfortable and functional interior environment.
The addition of doors and windows transforms your 10×12 shed into a welcoming and practical space, ready to accommodate various activities and storage needs. These elements not only enhance the shed’s functionality but also contribute to its overall charm and livability, creating a versatile outdoor structure that complements your property.
Read more: How To Build A 12X20 Shed
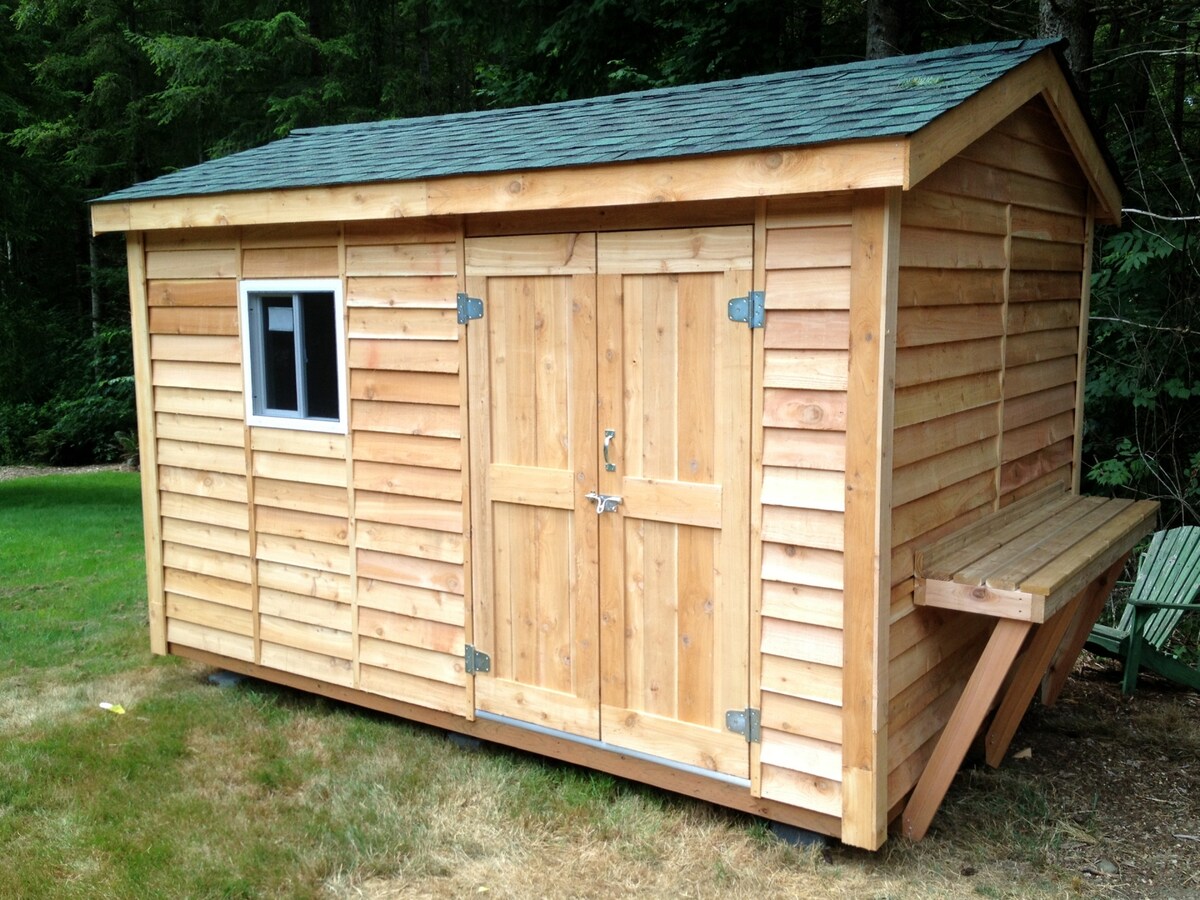
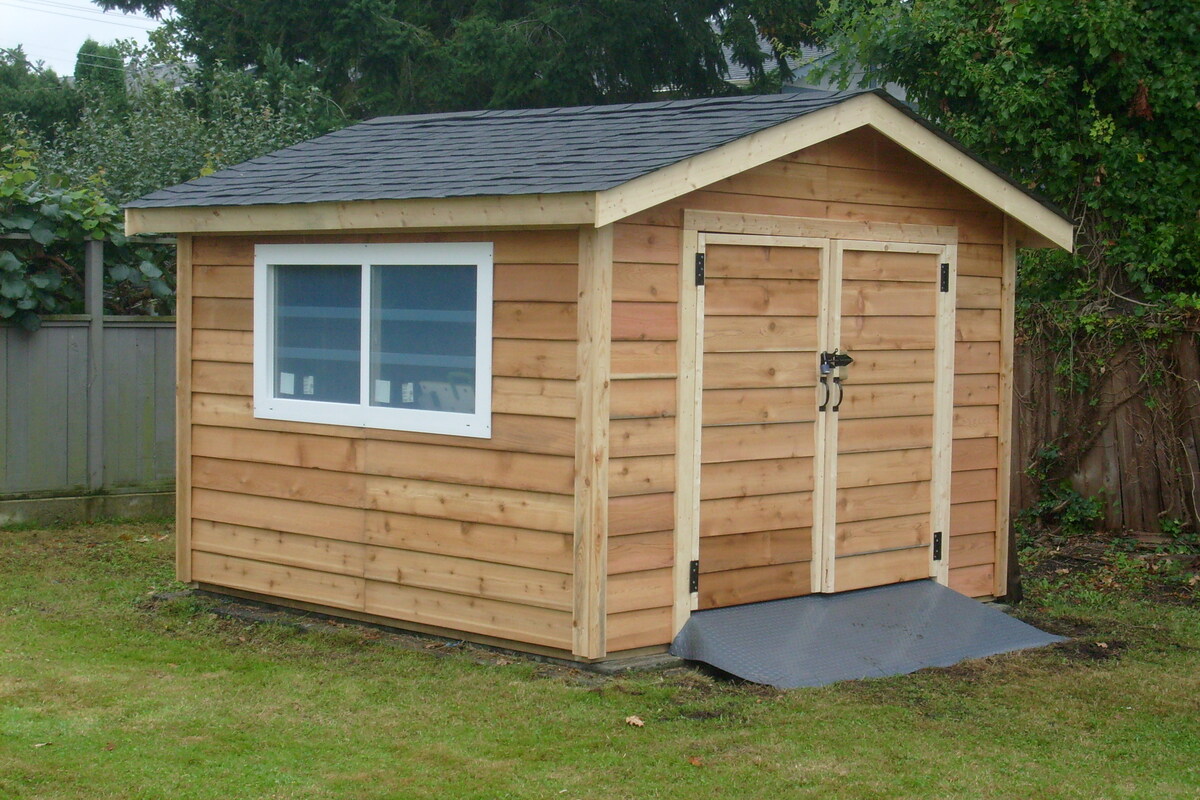
Finishing Touches
As your 10×12 shed nears completion, attention to detail and thoughtful finishing touches will elevate its functionality, durability, and visual appeal. From protective coatings to interior organization, here’s a guide to adding the final touches that will transform your shed into a fully realized outdoor space:
1. Exterior Finish:
Apply a weather-resistant paint or stain to the exterior surfaces of the shed to protect the wood from moisture, UV exposure, and other environmental factors. Choose a finish that complements your property’s aesthetics and enhances the shed’s durability, ensuring it remains an attractive and enduring outdoor feature.
2. Interior Organization:
Consider adding shelving, hooks, and storage solutions to optimize the interior space for your specific needs. Organizing tools, equipment, and supplies will maximize the shed’s functionality and make it a practical and efficient workspace or storage area.
3. Lighting and Electrical:
If you plan to use the shed as a workshop or hobby space, consider installing lighting fixtures and electrical outlets. Proper illumination and access to power will enhance the shed’s usability, allowing you to comfortably pursue activities and projects within the space.
Read more: How To Build A 10×20 Shed
4. Landscaping and Surroundings:
Enhance the shed’s visual impact by incorporating landscaping elements around its perimeter. Planting shrubs, flowers, or creating a pathway leading to the shed can integrate it seamlessly into your outdoor environment, creating a cohesive and inviting backyard setting.
5. Security and Access:
Ensure that the shed is equipped with secure locks and, if desired, a security system to protect valuable items stored inside. Additionally, consider the accessibility of the shed by creating a clear pathway and ensuring easy entry and exit for practical use.
By attending to these finishing touches, you’ll not only enhance the functionality and longevity of your 10×12 shed but also create a space that seamlessly integrates with your outdoor lifestyle. The thoughtful details and personalization will transform the shed into a valuable and cherished asset, serving your needs for years to come.
Conclusion
Congratulations on successfully building your 10×12 shed! From the initial planning and preparation to the final finishing touches, this project has been a testament to your dedication, creativity, and craftsmanship. As you stand back and admire the completed structure, you can take pride in the tangible result of your hard work and vision.
Not only does your new shed provide valuable storage space and functional utility, but it also adds character and practicality to your outdoor environment. Its presence enhances the appeal of your property while offering a dedicated space for hobbies, DIY projects, or simply enjoying moments of tranquility amid the beauty of the outdoors.
Throughout the construction process, you’ve not only honed your practical skills but also gained a deeper appreciation for the art of building. The attention to detail, precision in assembly, and thoughtful consideration of design elements have contributed to the creation of a structure that is not only enduring but also a reflection of your unique style and purpose.
As you embark on new adventures within your completed shed, whether it’s organizing tools, pursuing creative projects, or finding solace in its peaceful ambiance, may it continue to inspire and serve you well. Remember, the journey of building a shed is not just about the physical construction but also the memories made, the lessons learned, and the sense of accomplishment that accompanies the realization of a meaningful project.
As you enjoy the fruits of your labor, may your 10×12 shed stand as a testament to your ingenuity and determination, a space where practicality meets creativity, and where functionality harmonizes with aesthetics. Here’s to the countless moments and experiences that await within the walls of your newly built shed, a testament to your dedication and the fulfillment of your vision.
Frequently Asked Questions about How To Build A 10X12 Shed
Was this page helpful?
At Storables.com, we guarantee accurate and reliable information. Our content, validated by Expert Board Contributors, is crafted following stringent Editorial Policies. We're committed to providing you with well-researched, expert-backed insights for all your informational needs.
0 thoughts on “How To Build A 10X12 Shed”